Frames in Figma
Understand the nature of frames in Figma to bring clarity and fluidity to your designs.
In Figma, frames serve as the canvas for your creativity, acting as containers that can take the shape of a device screen or house elements like buttons. Similar to artboards but with added functionality, frames can be nested within each other.
Unlike basic layers on the canvas, frames are dynamic and adaptable. They support styles and constraints, ensuring your design remains responsive and cohesive. Frames are also more than just groups. They facilitate the creation of organized and responsive designs.
Frames in Figma are like versatile
What sets frames apart is their nesting capability. You can tuck frames within frames, layering your design elements precisely. This feature is a game-changer for complex projects where components interact or overlap, ensuring everything aligns perfectly.
Beyond structure, they support the functionality of Layout grids, Auto layout, and Constraints. Plus, frames are integral to prototyping, linking your designs into interactive flows.
In Figma, frames and groups organize your design, but each serves its purpose distinctly. Think of groups as a way to bundle elements tightly together. They're like a family photo album, keeping related pictures (elements) in one place, their size and position locked in harmony. When you resize a group, its contents scale together, ideal for logos or icons where proportion is key.
Frames, on the other hand, are like dynamic canvases. They hold
Figma frames and Sketch artboards both house design content, but they have distinct functionalities. Figma frames are versatile div tags in web design, allowing for
Unlike Sketch artboards, Figma frames come with added perks. They can have their own background fill, support multiple
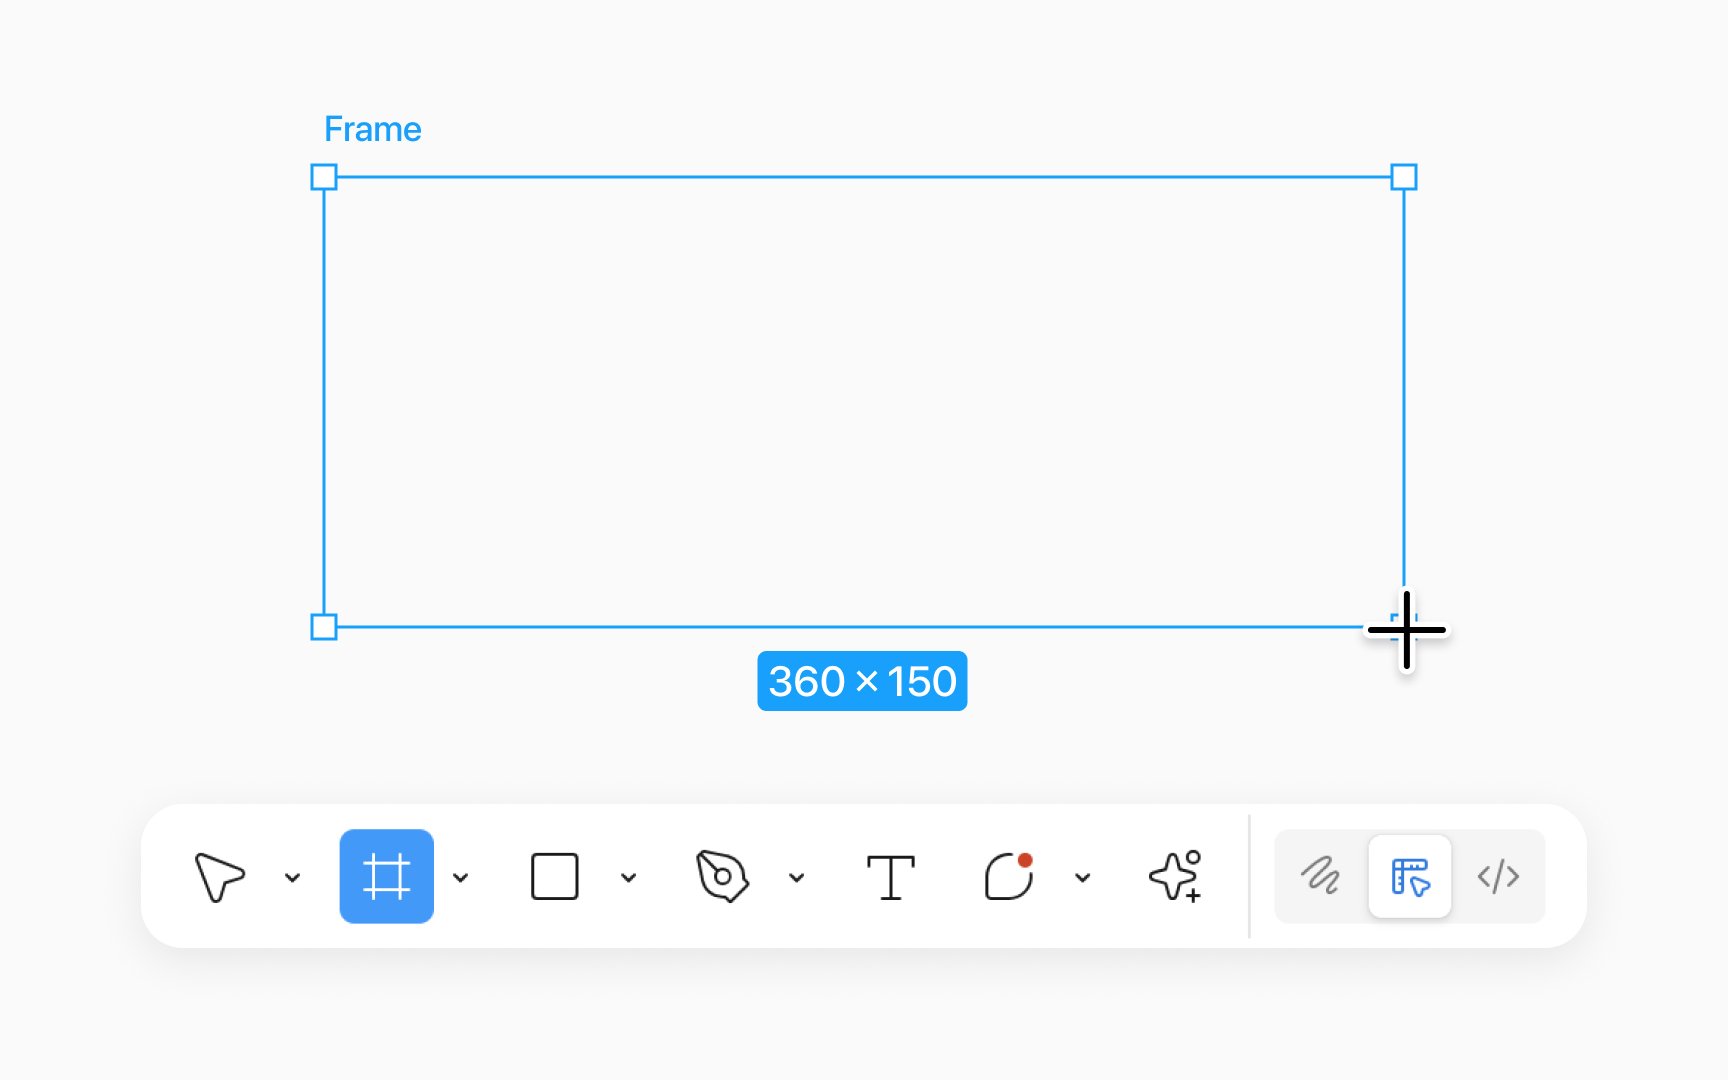
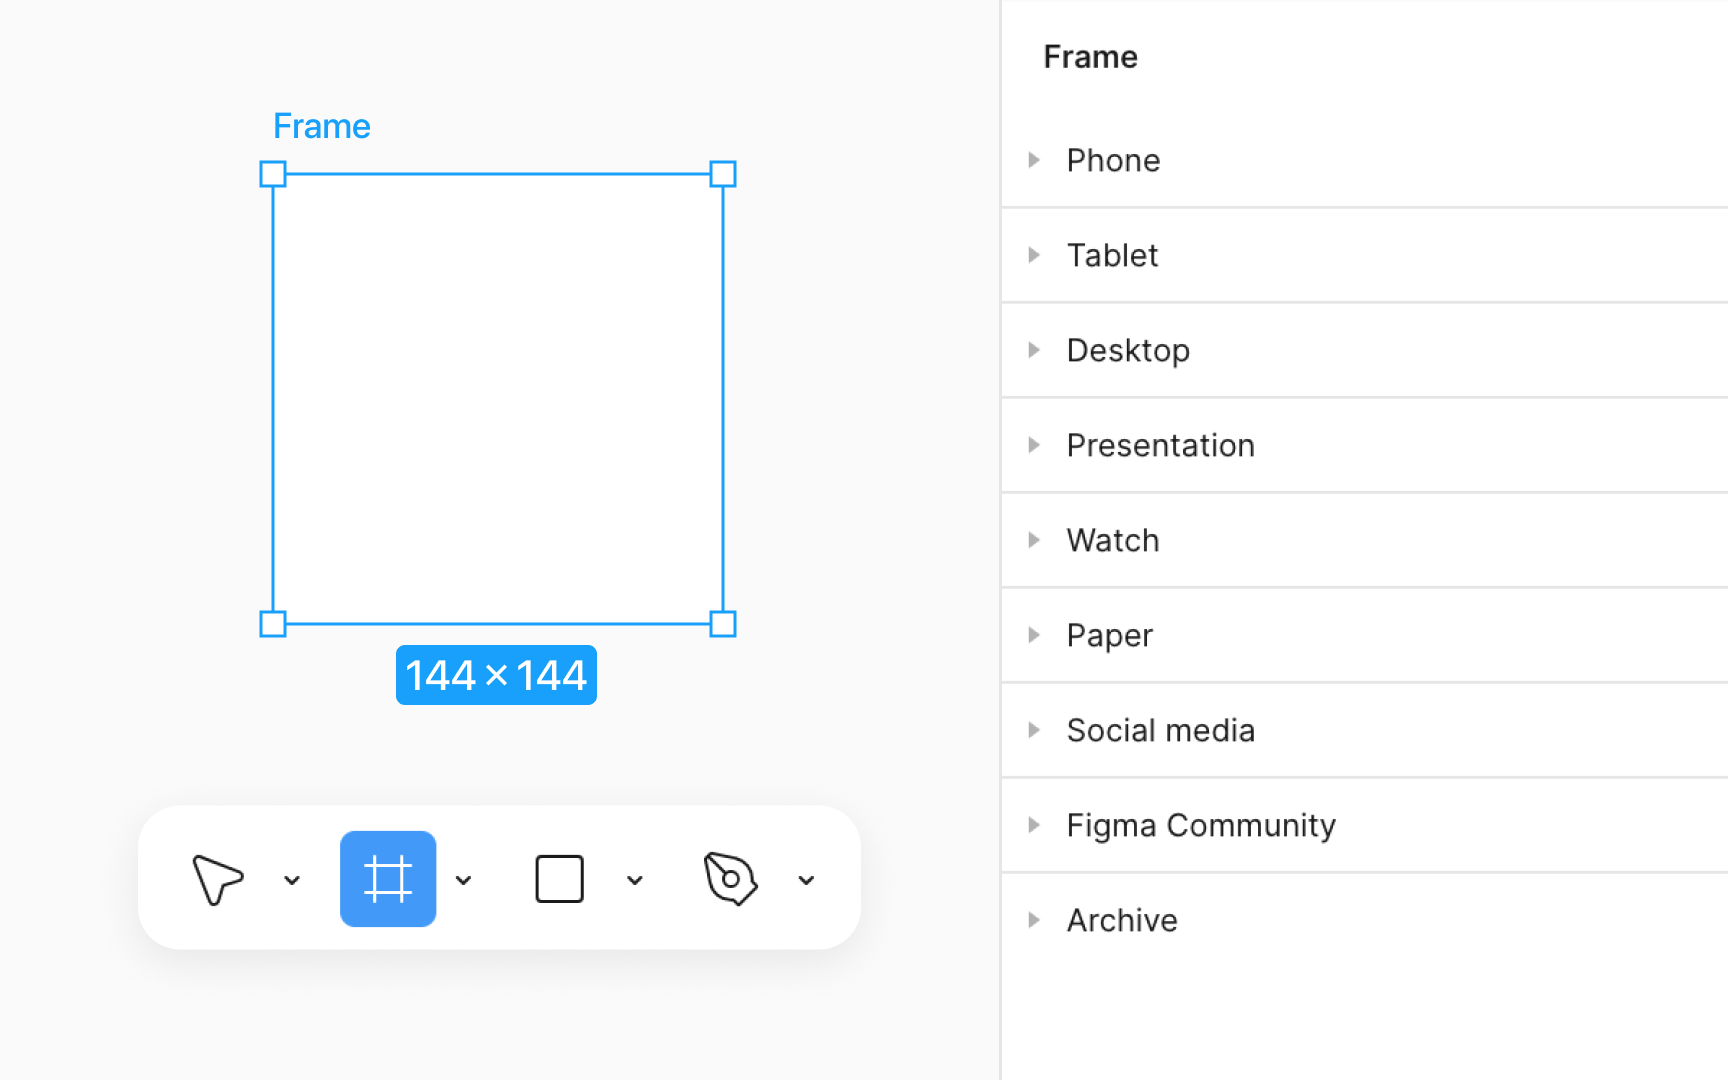
Creating frames in Figma is a straightforward process that adds structure to your designs. Start by activating the frame tool, either by pressing F or A on your keyboard or by selecting the grid-like
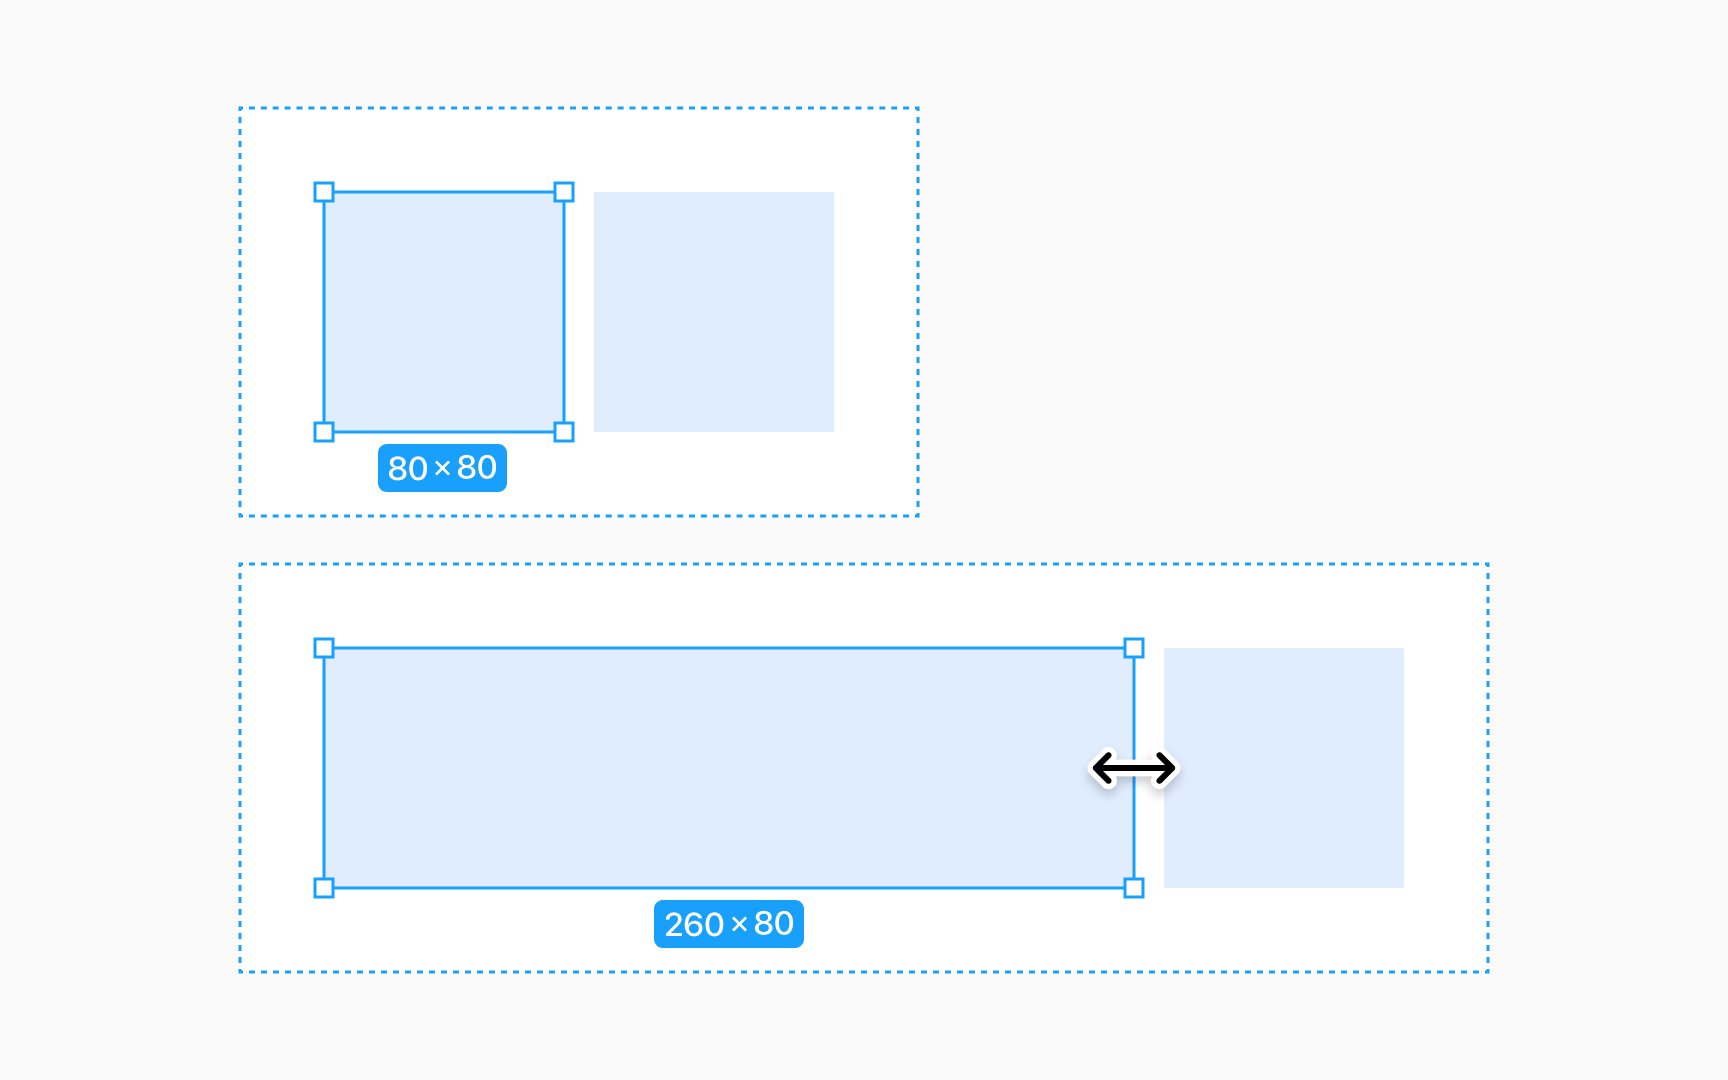
With the tool active, you have control over your canvas. A single click creates a standard 100x100 frame. For custom dimensions, click and drag to define the frame size exactly as you need it.
Figma also simplifies your workflow with a variety of frame presets. Explore the dropdown in the Design panel to select a preset that suits your project, from device templates like phones and tablets to social media and desktop
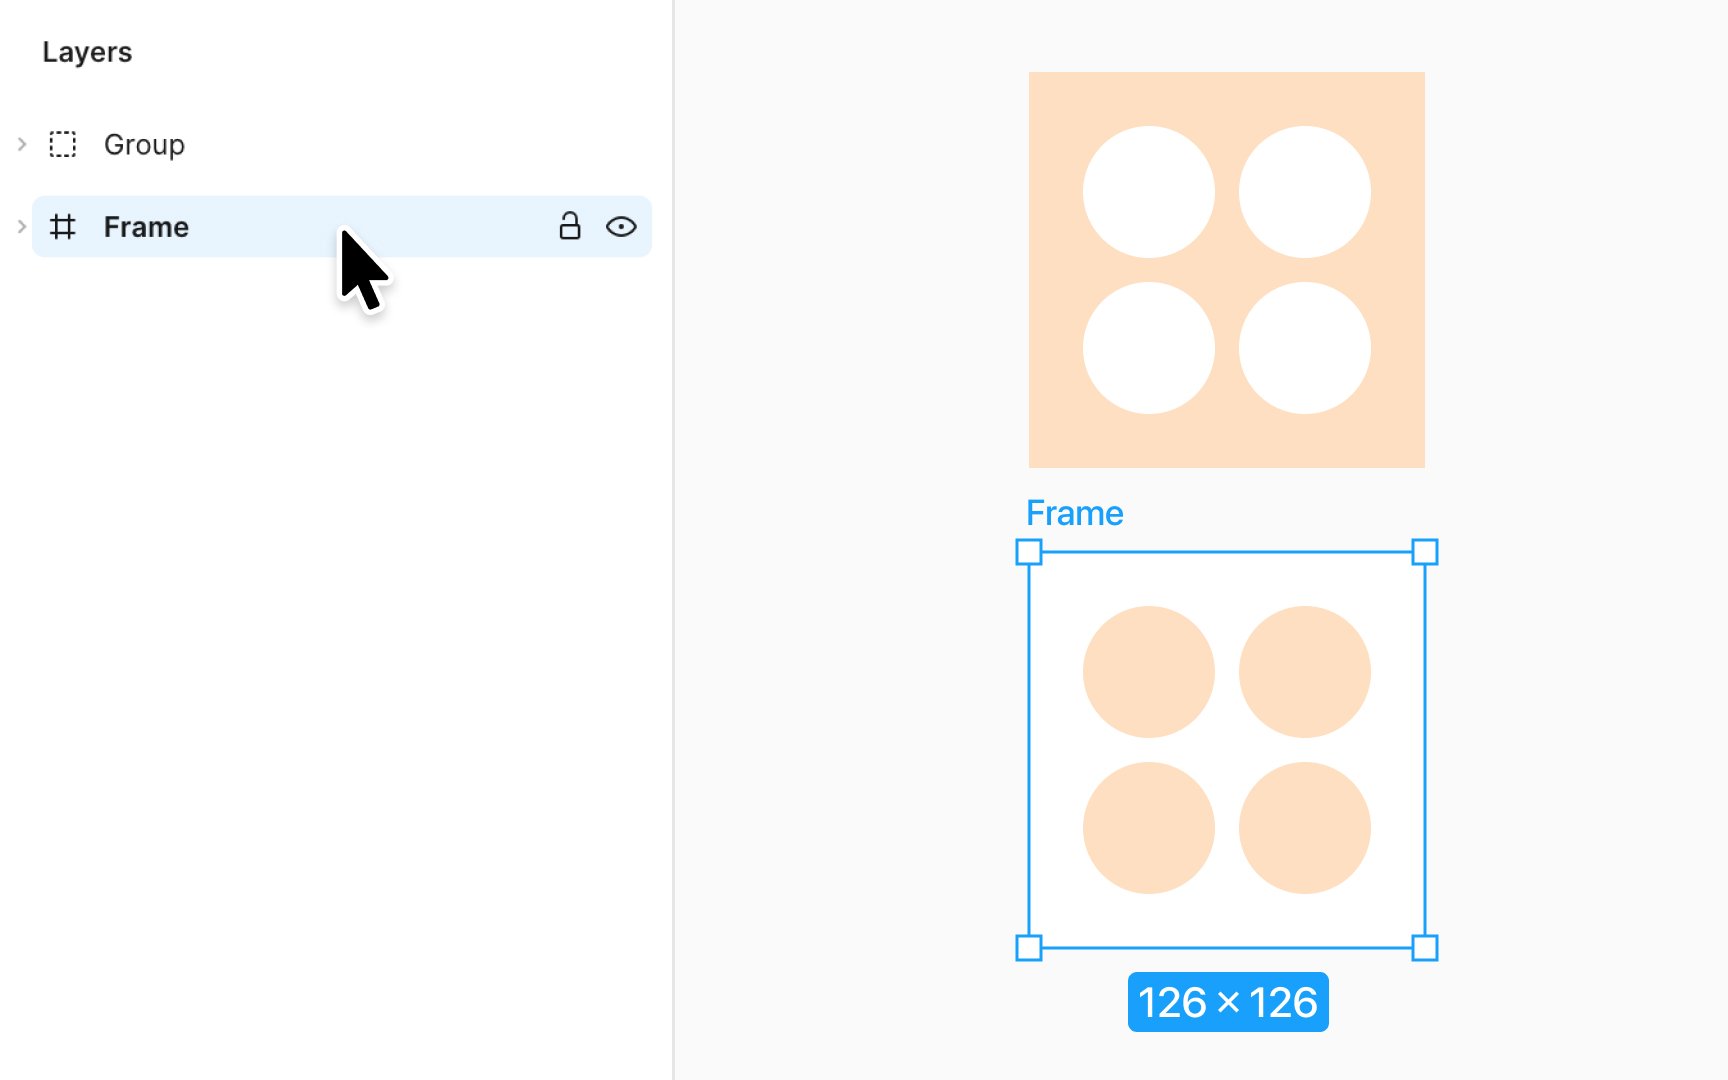
Organizing your frames is hassle-free. Each frame is marked with the grid-like icon in the Layers panel, making it easy to identify and manage your
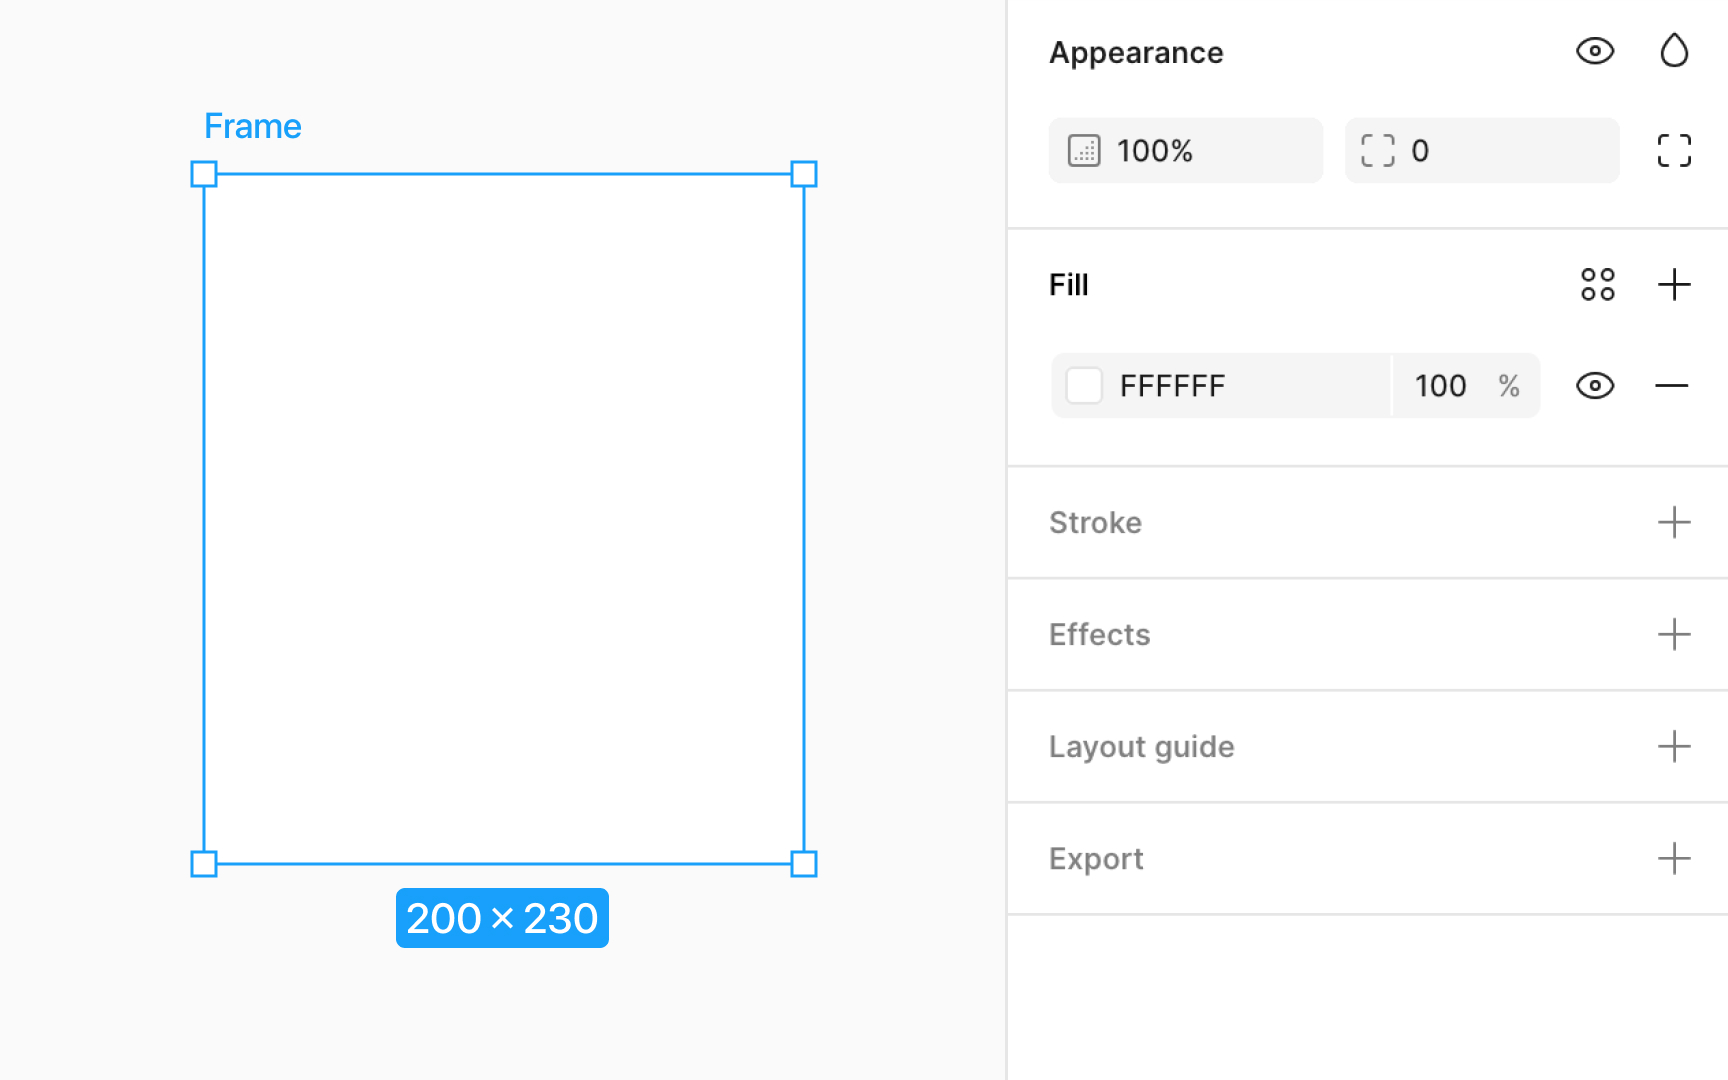
Frames in Figma are more than structural elements. They're a canvas for creativity. Personalize your frames with these styling properties:
- Corner radius: Soften your frame's edges by rounding its corners, perfect for a gentle, modern look.
- Fill: Bring vibrancy to your frames with solid colors, gradients, or images (PNG, JPEG, GIF, TIFF, and WEBP), transforming simple shapes into eye-catching elements.
- Stroke: Define or accentuate your frames with strokes. Adjust thickness or color to make your frame pop or blend subtly with your design.
- Effects: Add dimension with shadows or create focus with blurs. These touches can elevate a flat design into something dynamic and engaging.
Frames are your ally in structuring and organizing
- Clip content: Keep your design tidy by ensuring elements don't spill out of the frame's edges. It's like keeping everything inside a neat, invisible box.
- Layout grids: Set the stage for impeccable alignment with grids. They guide you in placing elements so that your design breathes balance and precision.
- Auto layout: Embrace adaptability with frames that
resize based on their content. It's perfect for designs that need to be flexible across different device sizes or content lengths.
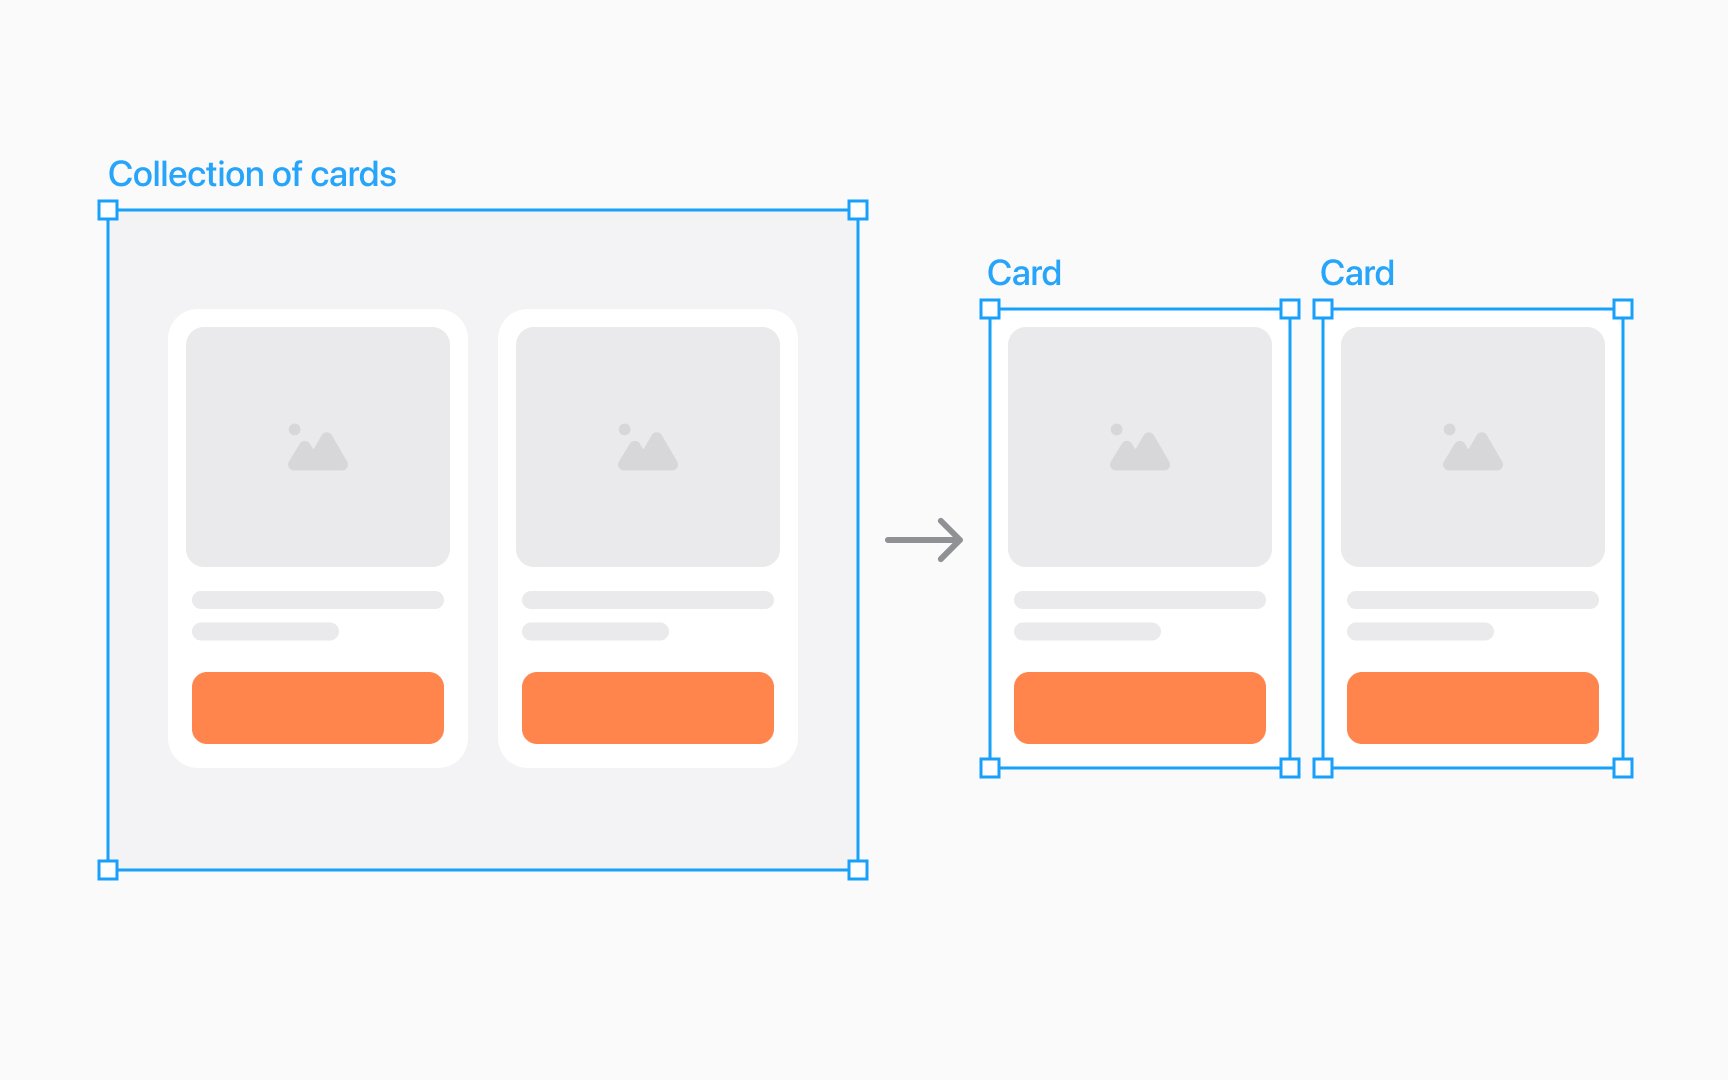
In Figma, you can nest frames by placing one within another to construct intricate designs. This
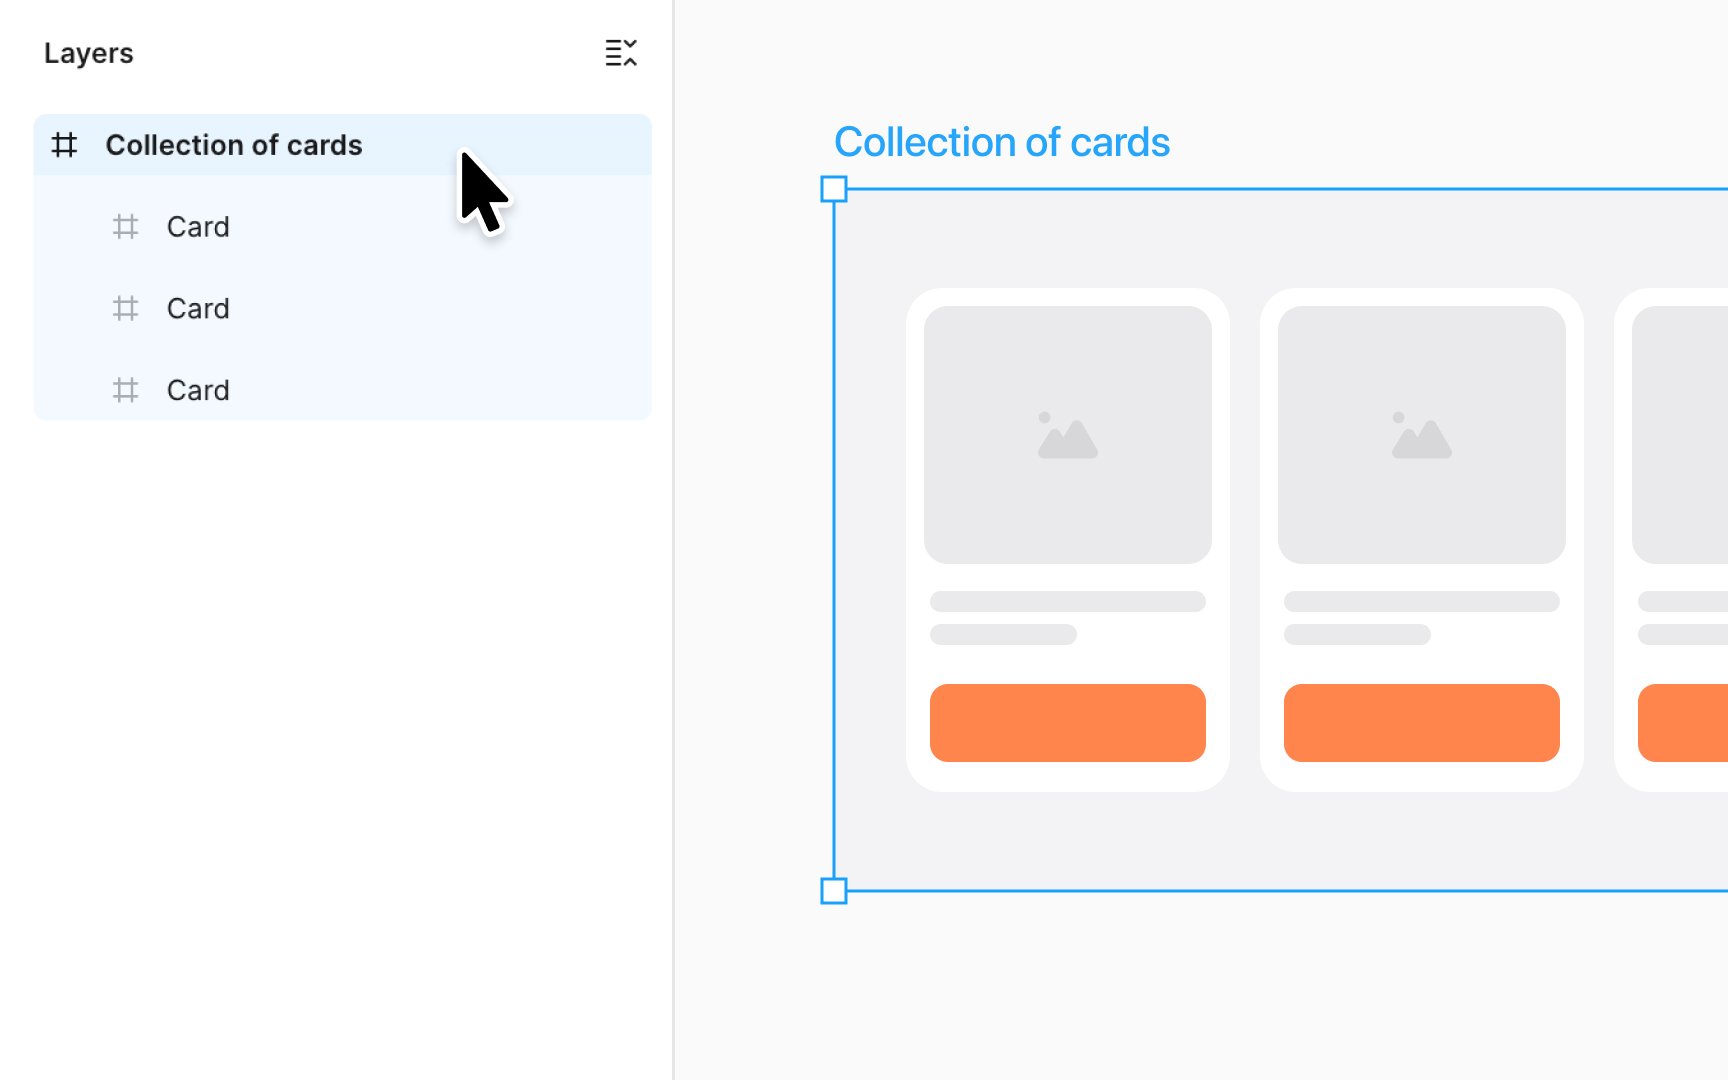
At the hierarchy's peak are top-level frames. These frames sit directly on the canvas, not nested within any other frame or group. They're the foundation, the starting point of your design structure.
Figma highlights these top-level frames, making them bold in the Layers panel for easy identification. On the canvas, their names are prominently displayed, serving as clear markers in your design blueprint.
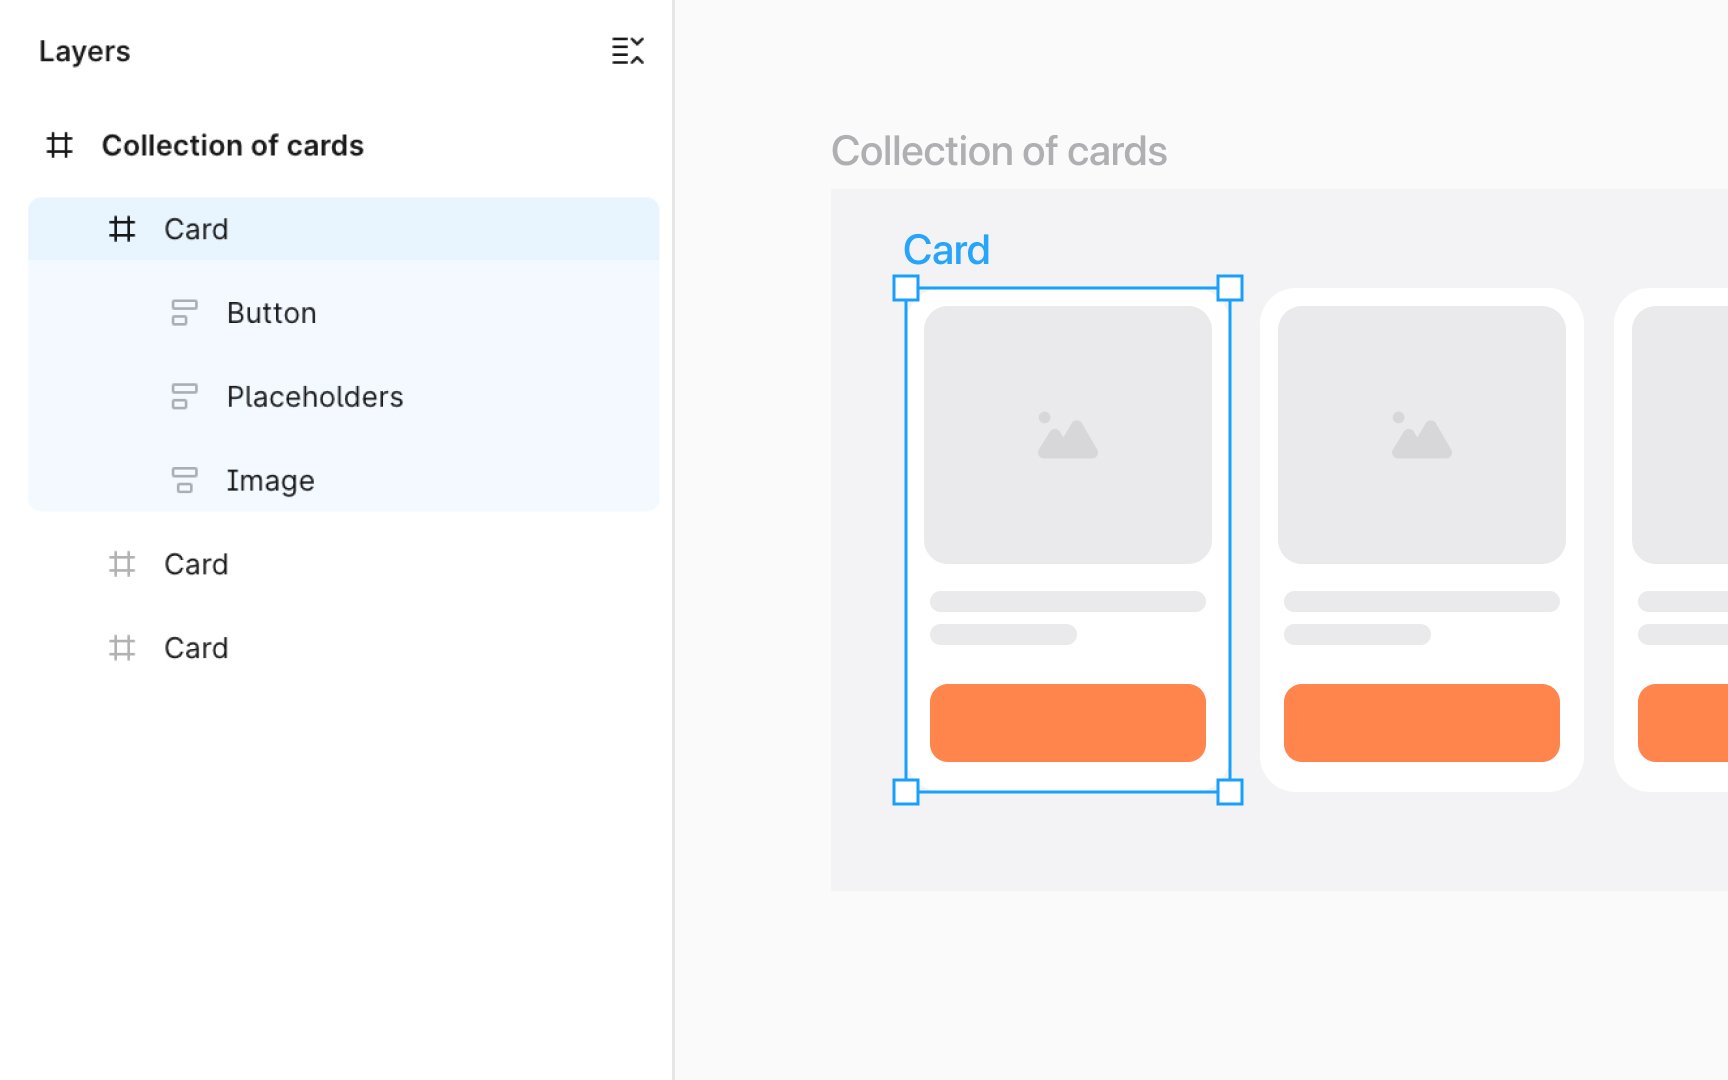
Nested frames in Figma are like boxes within boxes, each holding its part of your design. A frame becomes nested when you place it inside another, be it a top-level frame or another nested frame. This dual role of being a parent and a child adds depth and structure to your designs.
Imagine creating a website
Nested frames help organize your
To resize a frame in Figma:
- Select your frame either directly on the canvas or from the Layers panel.
- Look for handles at the frame's corners or edges. Click and drag these to resize your frame smoothly and precisely.
This method gives you full control, letting you visually adjust the frame to encase your
Figma also allows frames to
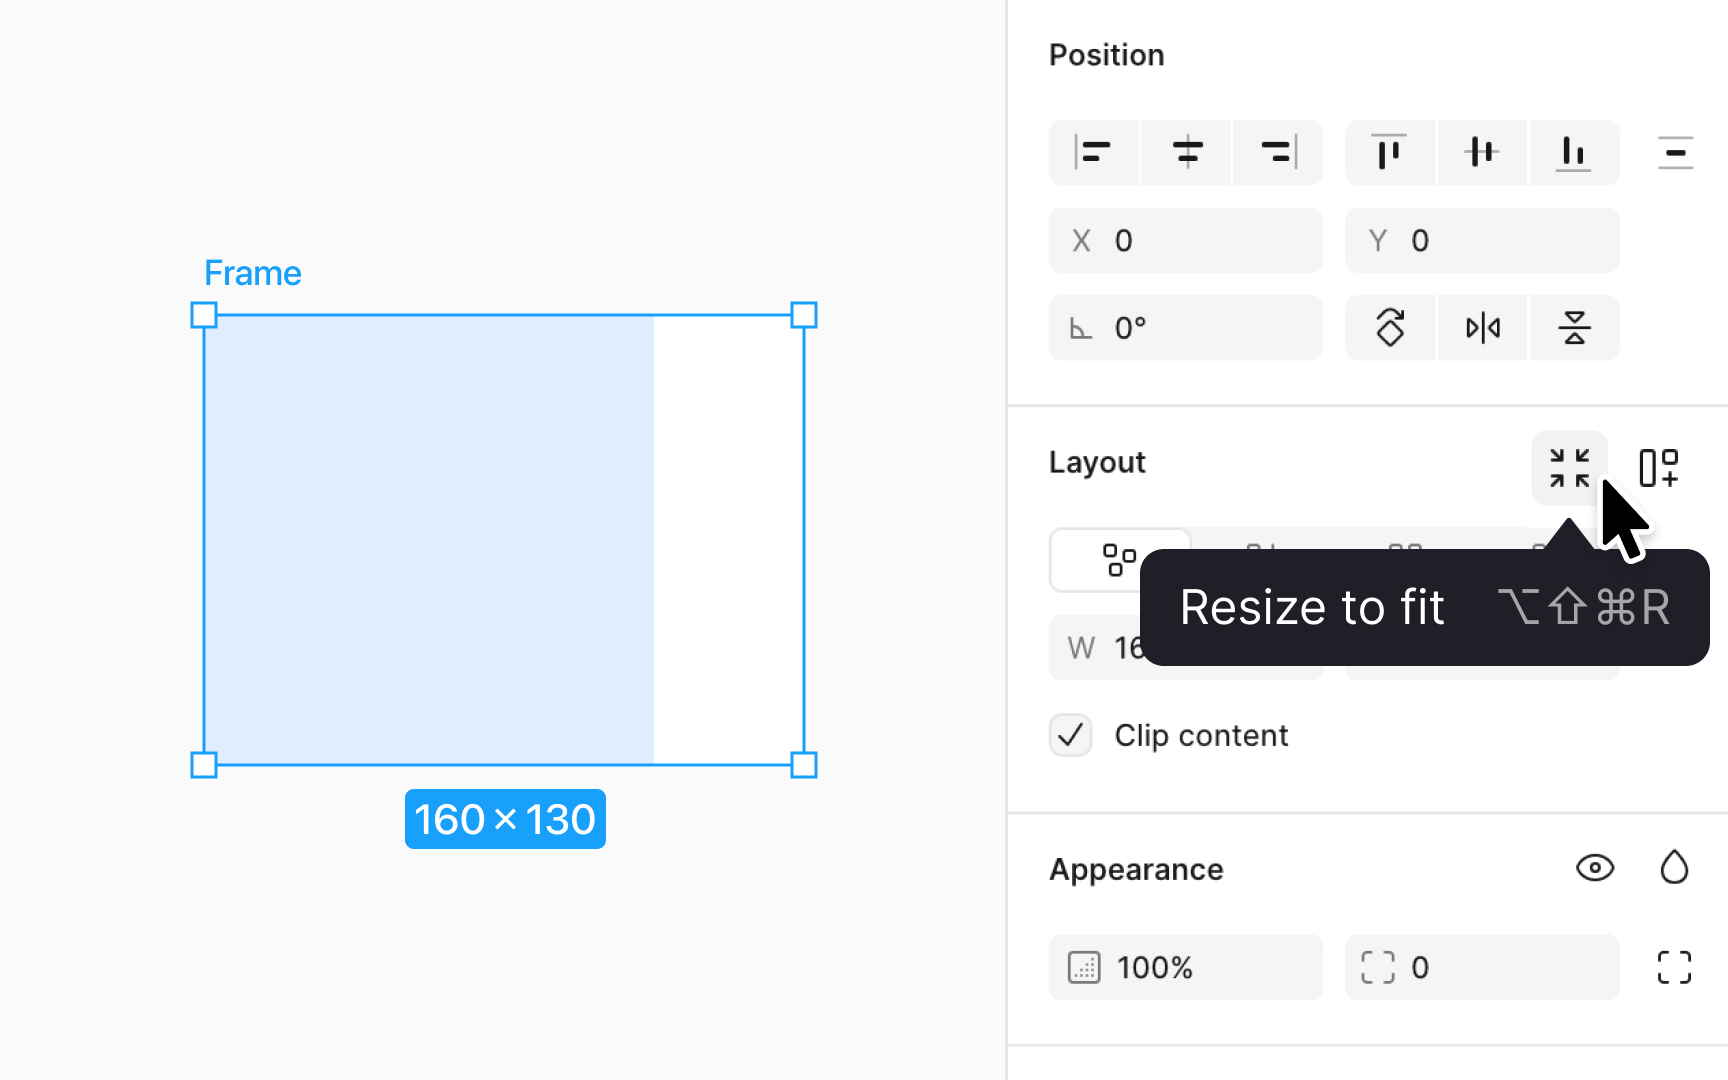
For a quick resize, Figma supports keyboard shortcuts:
- Mac: Option Shift Command R
- Windows: Alt Shift Ctrl R
This shortcut prompts the frame to auto-adjust to its content, streamlining your workflow. Additionally, the Design panel houses a handy
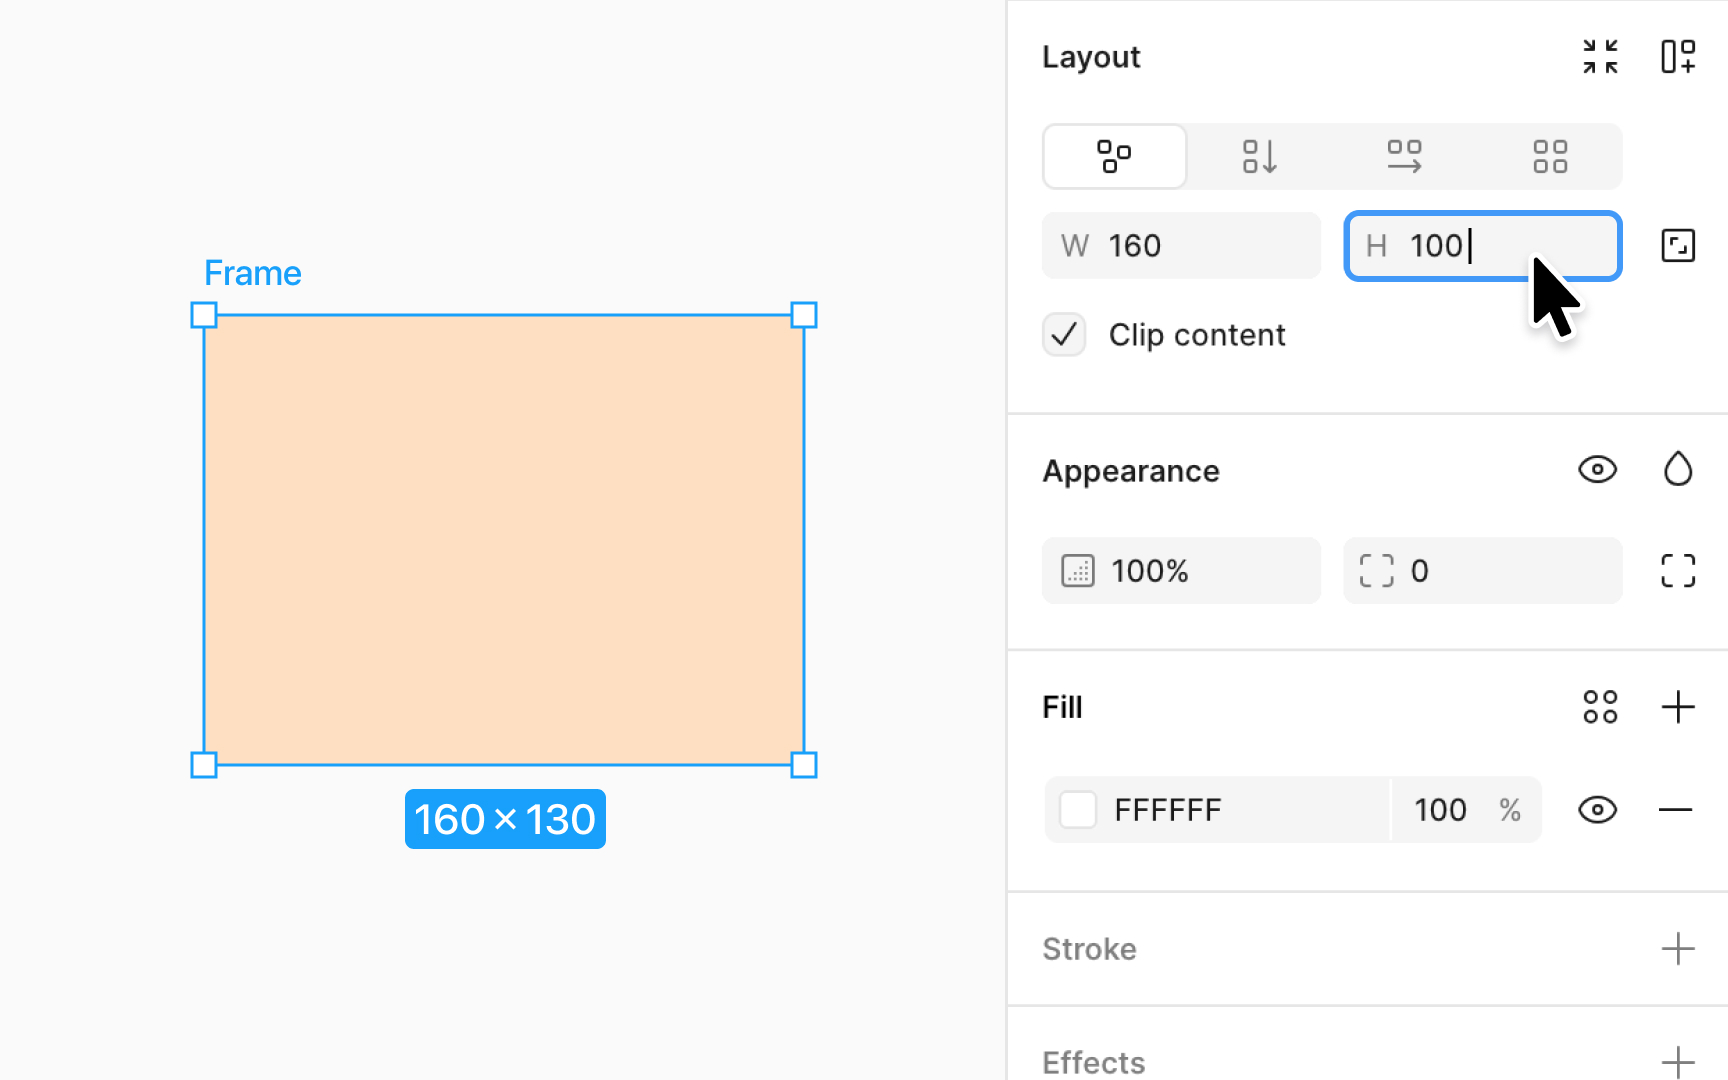
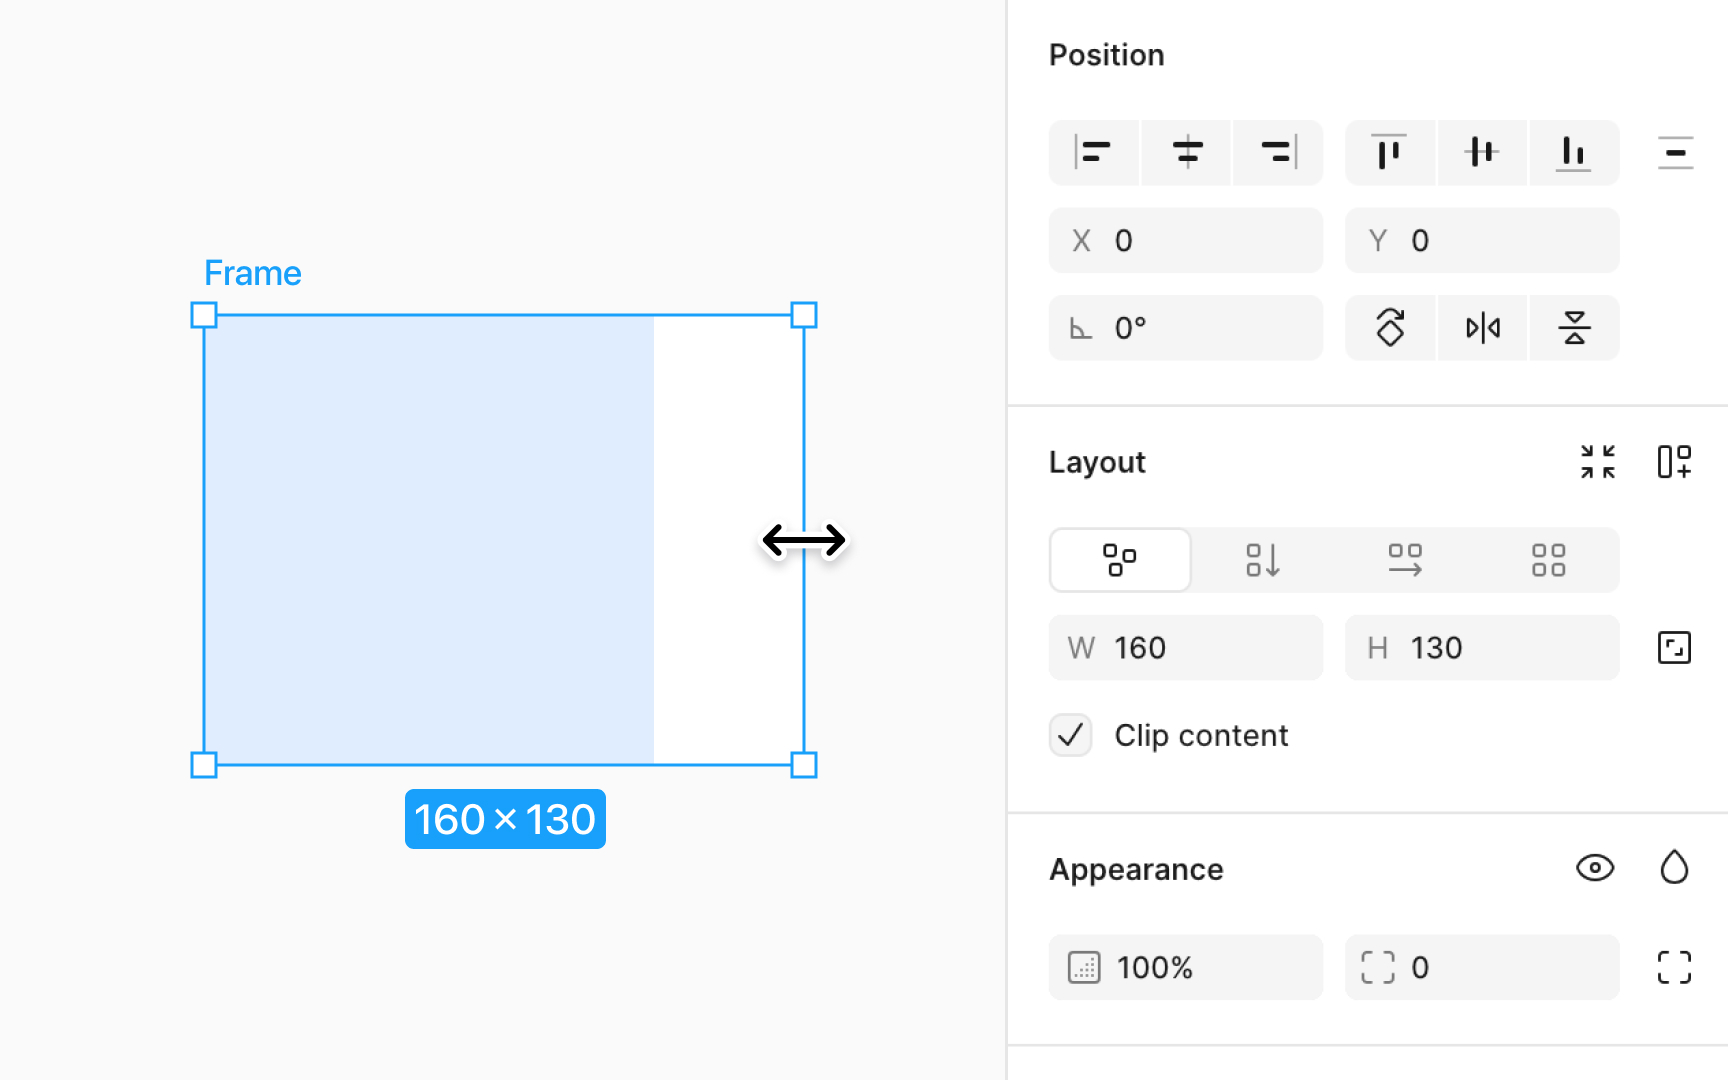
To adjust a frame's size in Figma, use the Design panel on the right. This method is not only quick but also precise, ensuring your designs maintain balance and proportion. Here's how:
- Locate the W (Width) and H (Height) fields under the Frame section of the Design panel.
- Type in new values or click and drag horizontally over the input field's
icon to adjust size dynamically. Dragging left shrinks and dragging right expands the frame. - To maintain aspect ratio, click the icon on the right of the W and H fields. This locks proportions during
resizing .
Remember, tweaking frame sizes tailors your canvas to fit diverse
Imagine you've grouped a set of
To ungroup, select a group and use the shortcuts:
- Mac: Command Shift G or Command Delete
- Windows: Ctrl Shift G or Ctrl Backspace
This action breaks the frame into individual elements, allowing you to edit or rearrange them independently.
Top contributors

Topics
From Course

Share


Similar lessons

Common UI Component Definitions I

Image Terminology
