Layers Actions
Explore the basic actions you can perform on layers within Figma.
Layers represent the building blocks of a design, each containing different elements such as text, images, or shapes. Proper handling and organization of these layers enable you to efficiently manipulate elements, adjust their properties, and experiment with various layouts.
Think of it like organizing a complex puzzle where each piece must be correctly positioned and layered to reveal the bigger picture. Knowing how to skillfully manage layers — such as grouping, hiding, locking, ordering, aligning, and resizing them — not only streamlines the design process but also enhances collaboration among team members by maintaining clarity and consistency across the design.
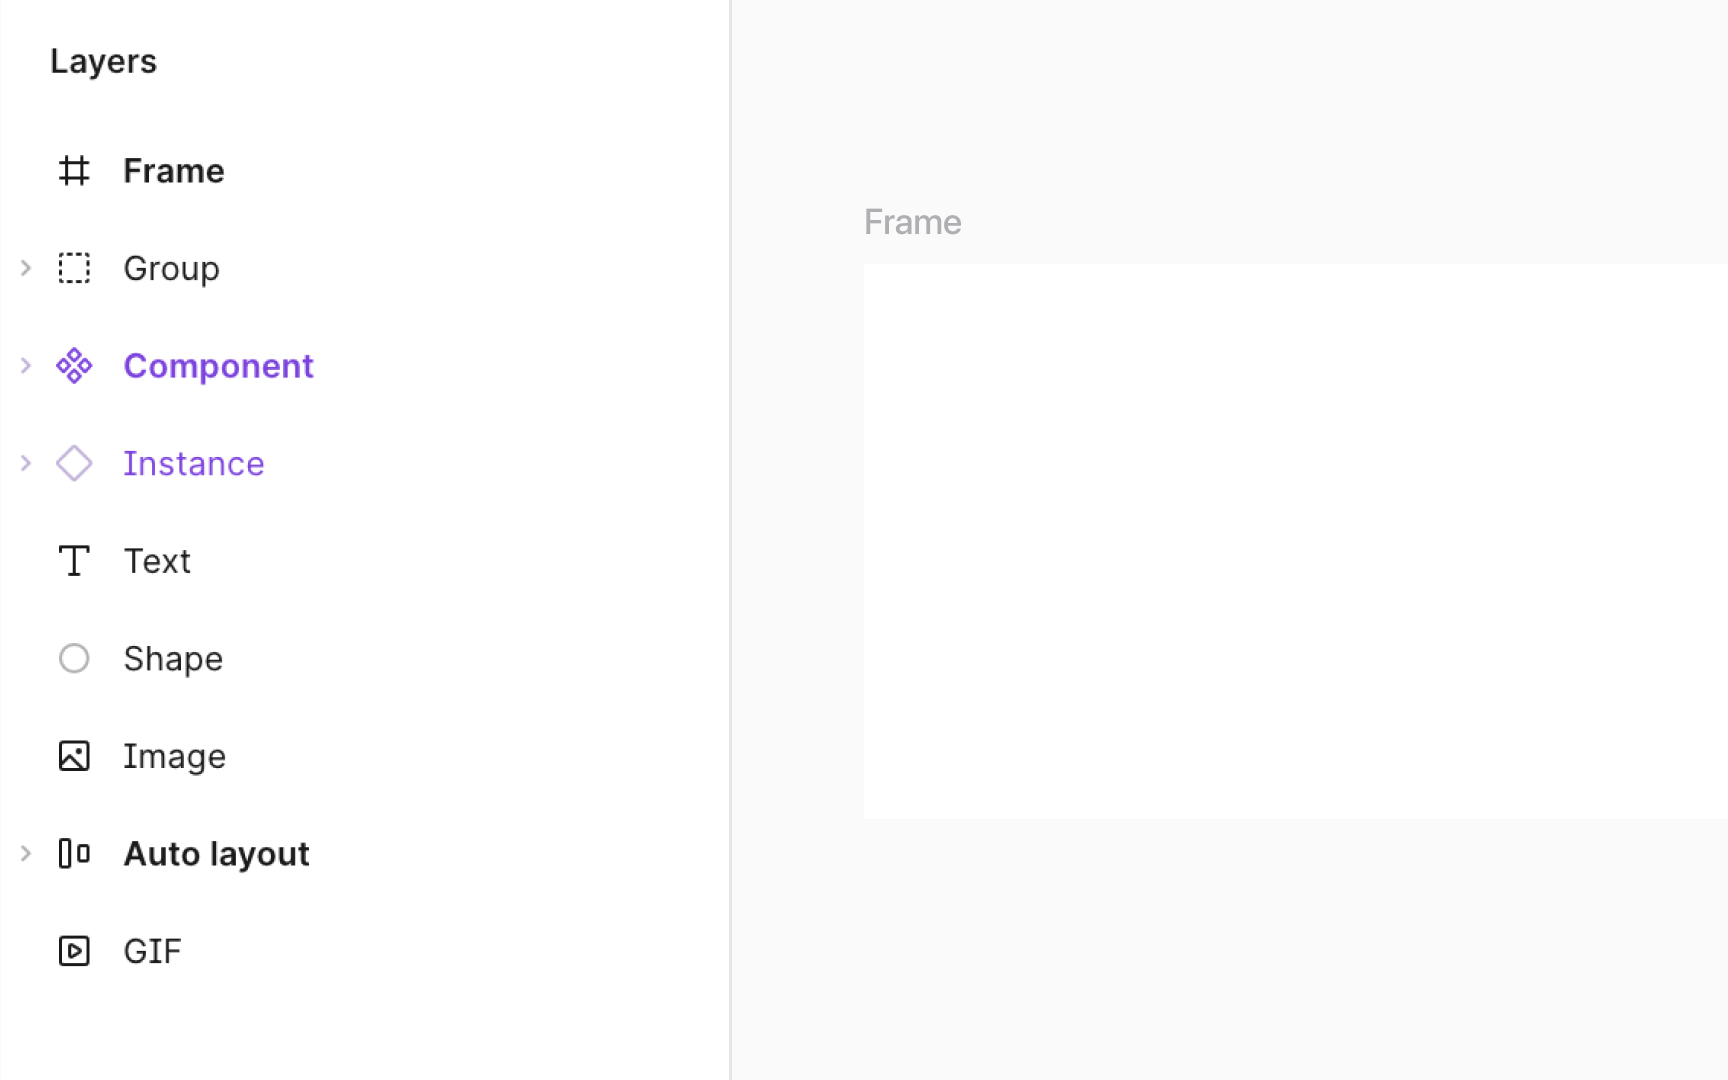
In Figma, layers are the core elements that make up a design. The main layer types are:
- Frame: A container layer that can hold text,
images , shapes, and even other frames. Frames are crucial for structuring layouts and organizing content. - Text: A layer dedicated to typography, allowing for detailed editing and formatting of written content.
- Shape: Layers that represent basic geometric forms or custom vector paths, forming the visual foundation of a design.
- Image: A layer that displays bitmap graphics or photographs.
- GIF or Video: Layers that incorporate motion or animation, adding dynamic content to your design.
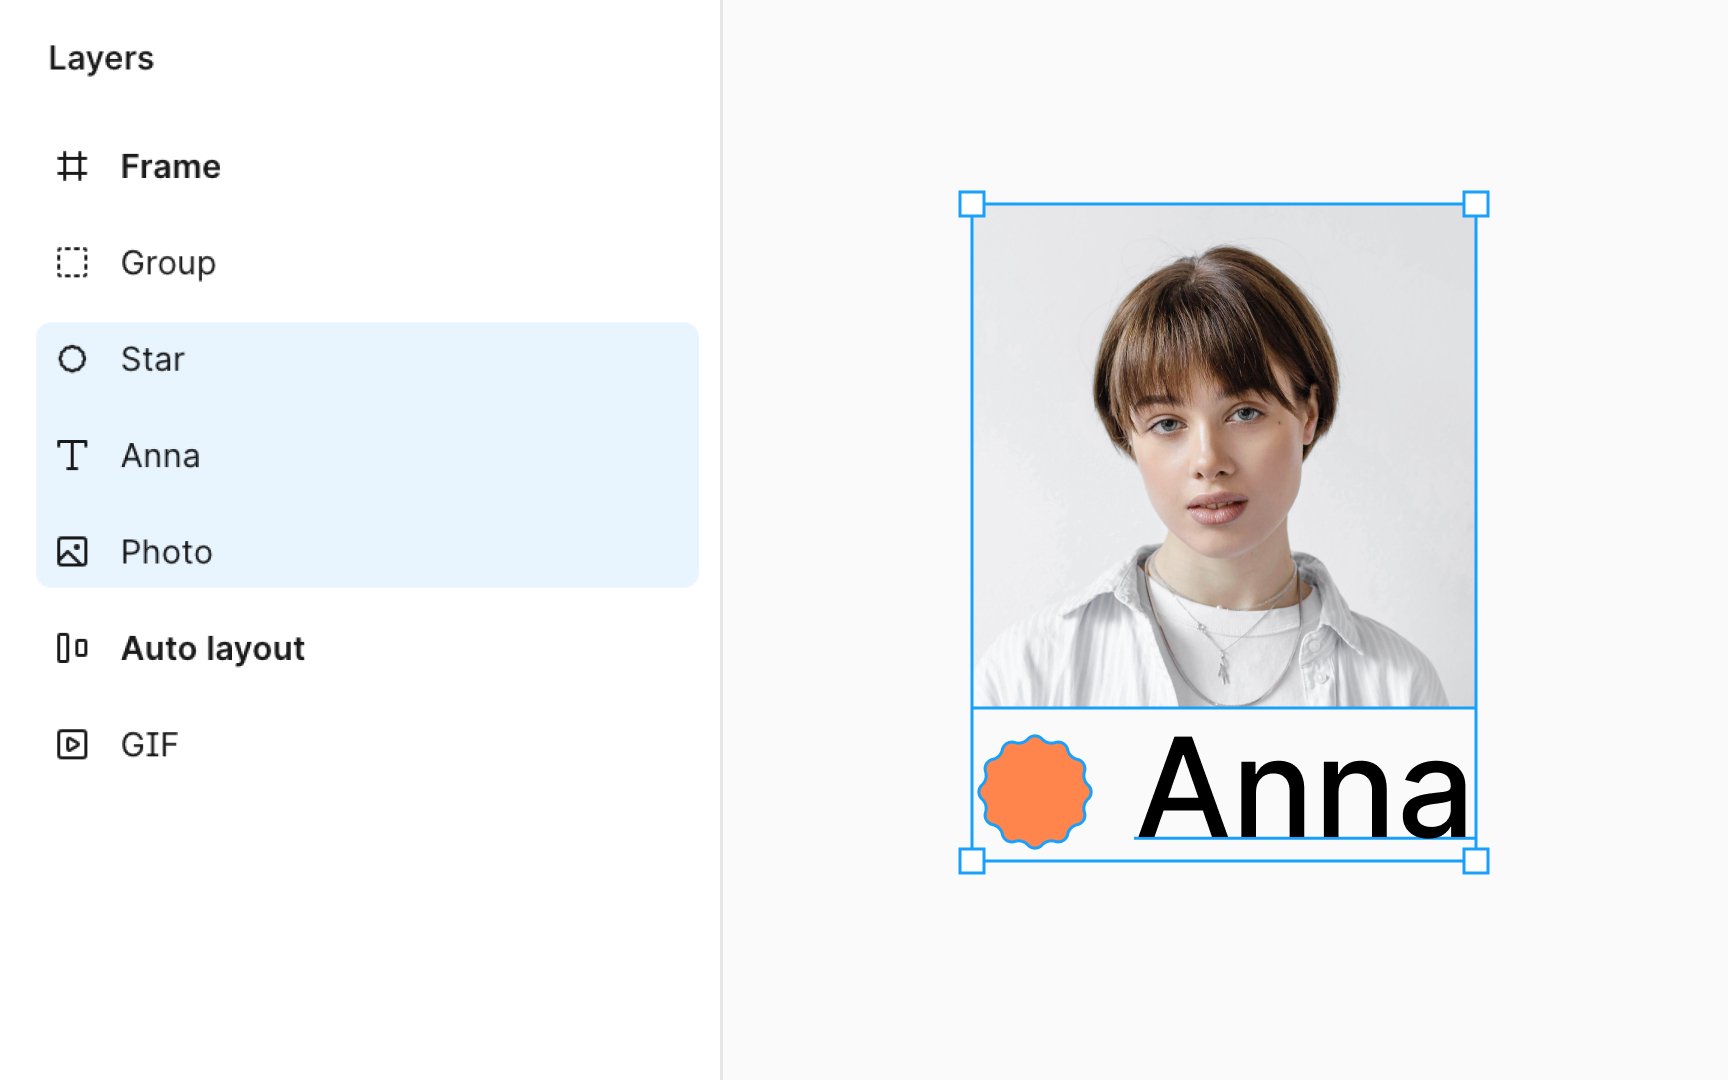
Other concepts often discussed alongside layers include groups, which combine multiple layers for easier movement; components and instances, which introduce reusability and consistency but are not distinct layer types; and auto
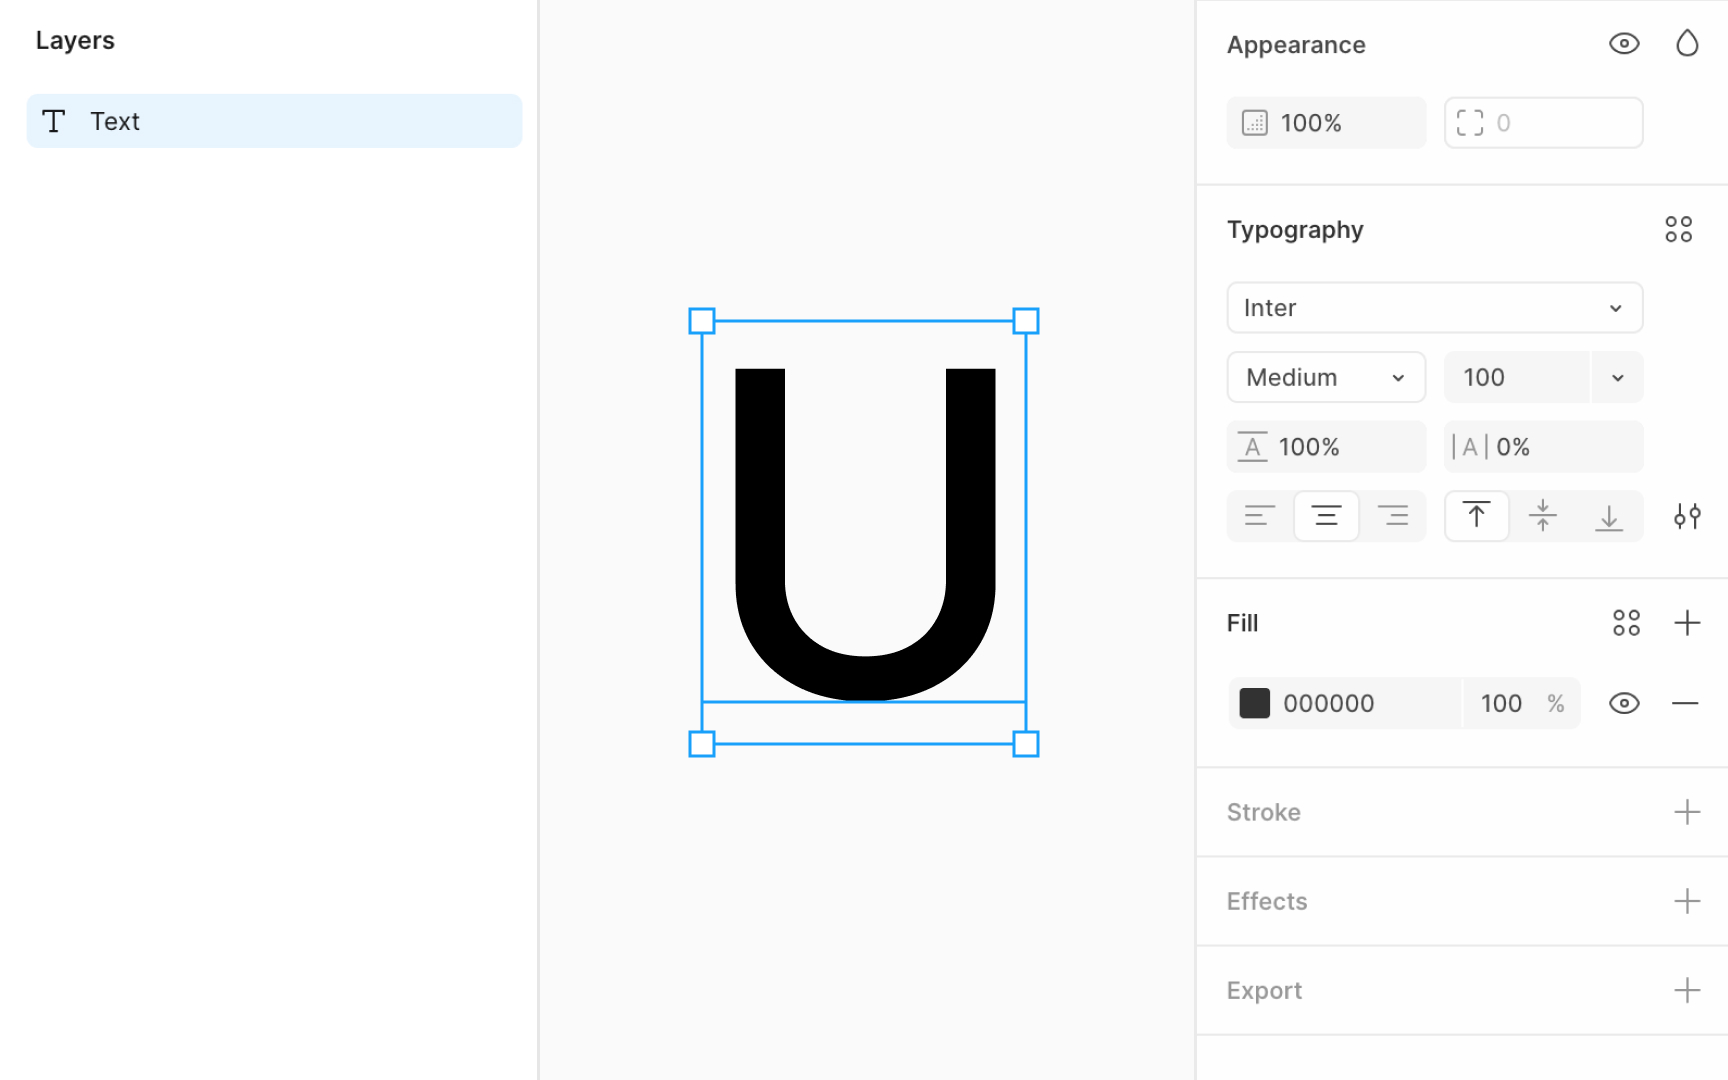
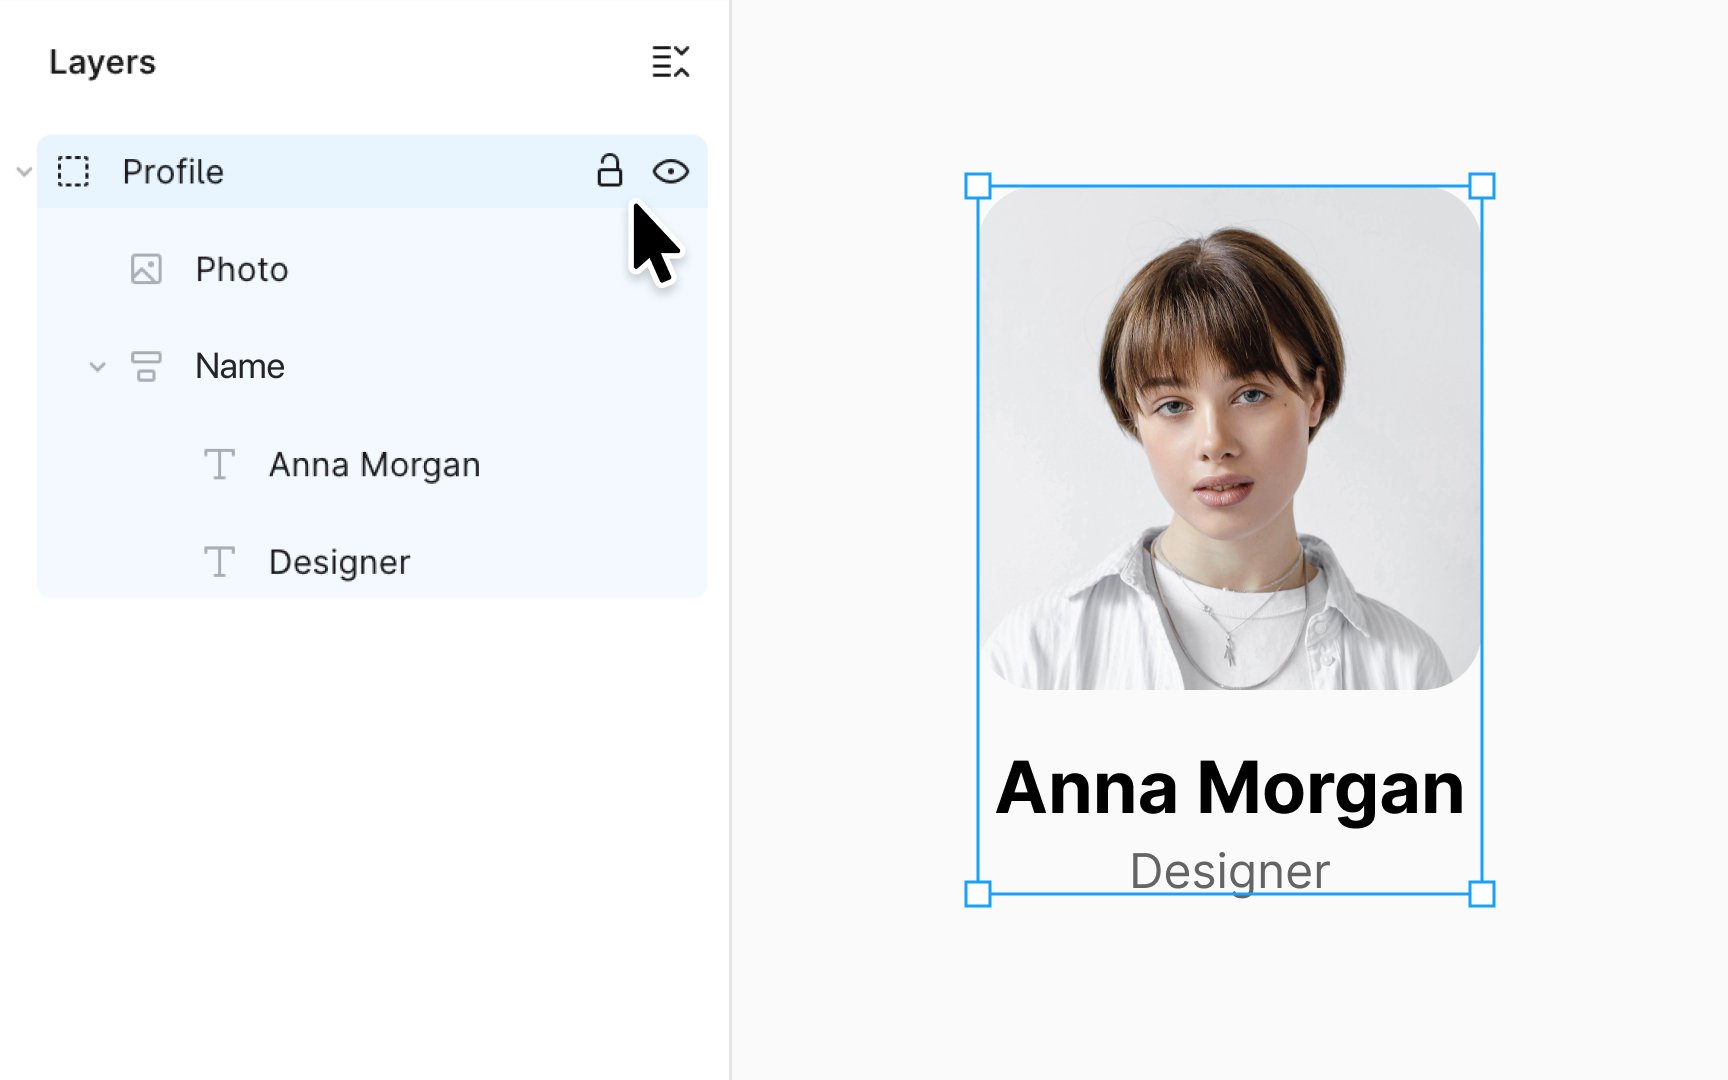
To explore a layer’s
Simultaneously, the Design panel on the right becomes populated with information specific to the selected layer. Basic information such as the layer's dimensions and its precise location on the canvas is available here. Additionally, this panel displays attributes including styling options like color, text properties for
The specific properties available for adjustment will vary depending on the type of layer selected.
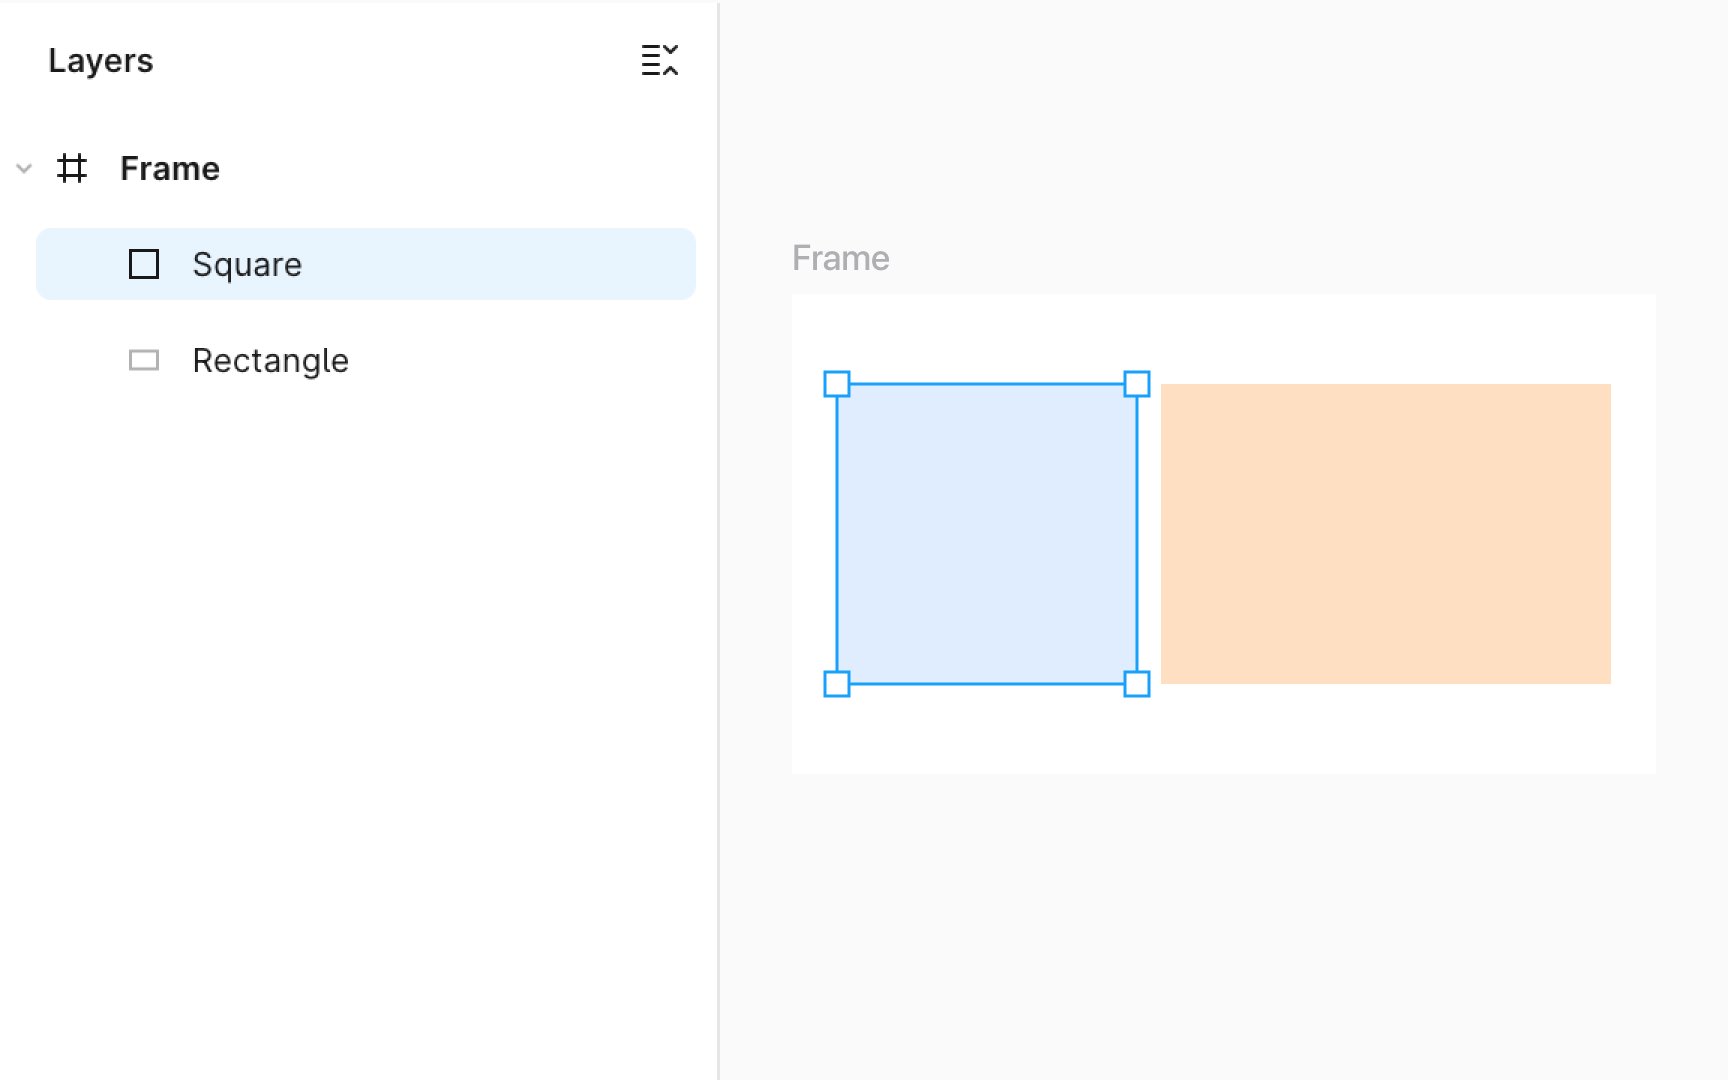
Understanding the relationships between layers is key to managing complex designs efficiently. These relationships are described using terms like parent, child, and sibling, which reflect how layers are organized and interact with each other.
Layers can belong to 3 levels of hierarchy:
- Parent layer: This is the main
container or frame that holds other layers within it. Think of it as the parent in a family tree, where it supports and organizes the children (sub-layers). - Child layers: These are the layers contained within a parent layer. Each child layer can have its unique
properties and can be moved or edited independently, but its overall positioning is relative to its parent layer. - Sibling layers: Sibling layers are on the same level of hierarchy, meaning they share the same parent. They can influence each other’s
layout , especially when using features like Auto layout, but do not contain one another.
To select a layer, simply click on it in the canvas area where your design is visible. If you're looking to select multiple layers at once, click on the first layer, hold Shift and click on the last layer. This allows you to manipulate several layers simultaneously, ideal for moving or applying changes to a group of continuous layers.
While selecting multiple layers that are not continuous, hold:
- Mac: Command
- Windows: Ctrl
For a more structured approach, select layers from the Layers panel on the left side of the interface. It displays a hierarchical list of all the layers and frames in your project.
Pro Tip: You can also click and drag in the canvas to create a selection marquee around multiple layers.
To select a specific layer within a group, start by clicking on the layer in the Layers panel. This initial click selects the layer's parent group. If you wish to go deeper and select a nested layer within this group, you have two options: double-click on the layer or press the Enter key. This action will take you one level down in the group's hierarchy, allowing you to select the nested layer directly.
For even more precise selection, particularly when dealing with complex groups or wanting to directly select a top-level frame or a deeply nested layer, you can use the deep select feature. Click on the layer or object on the canvas, while holding down:
- Mac: Command
- Windows: Ctrl
This method bypasses the hierarchy and selects the layer or object directly, regardless of its nesting level.
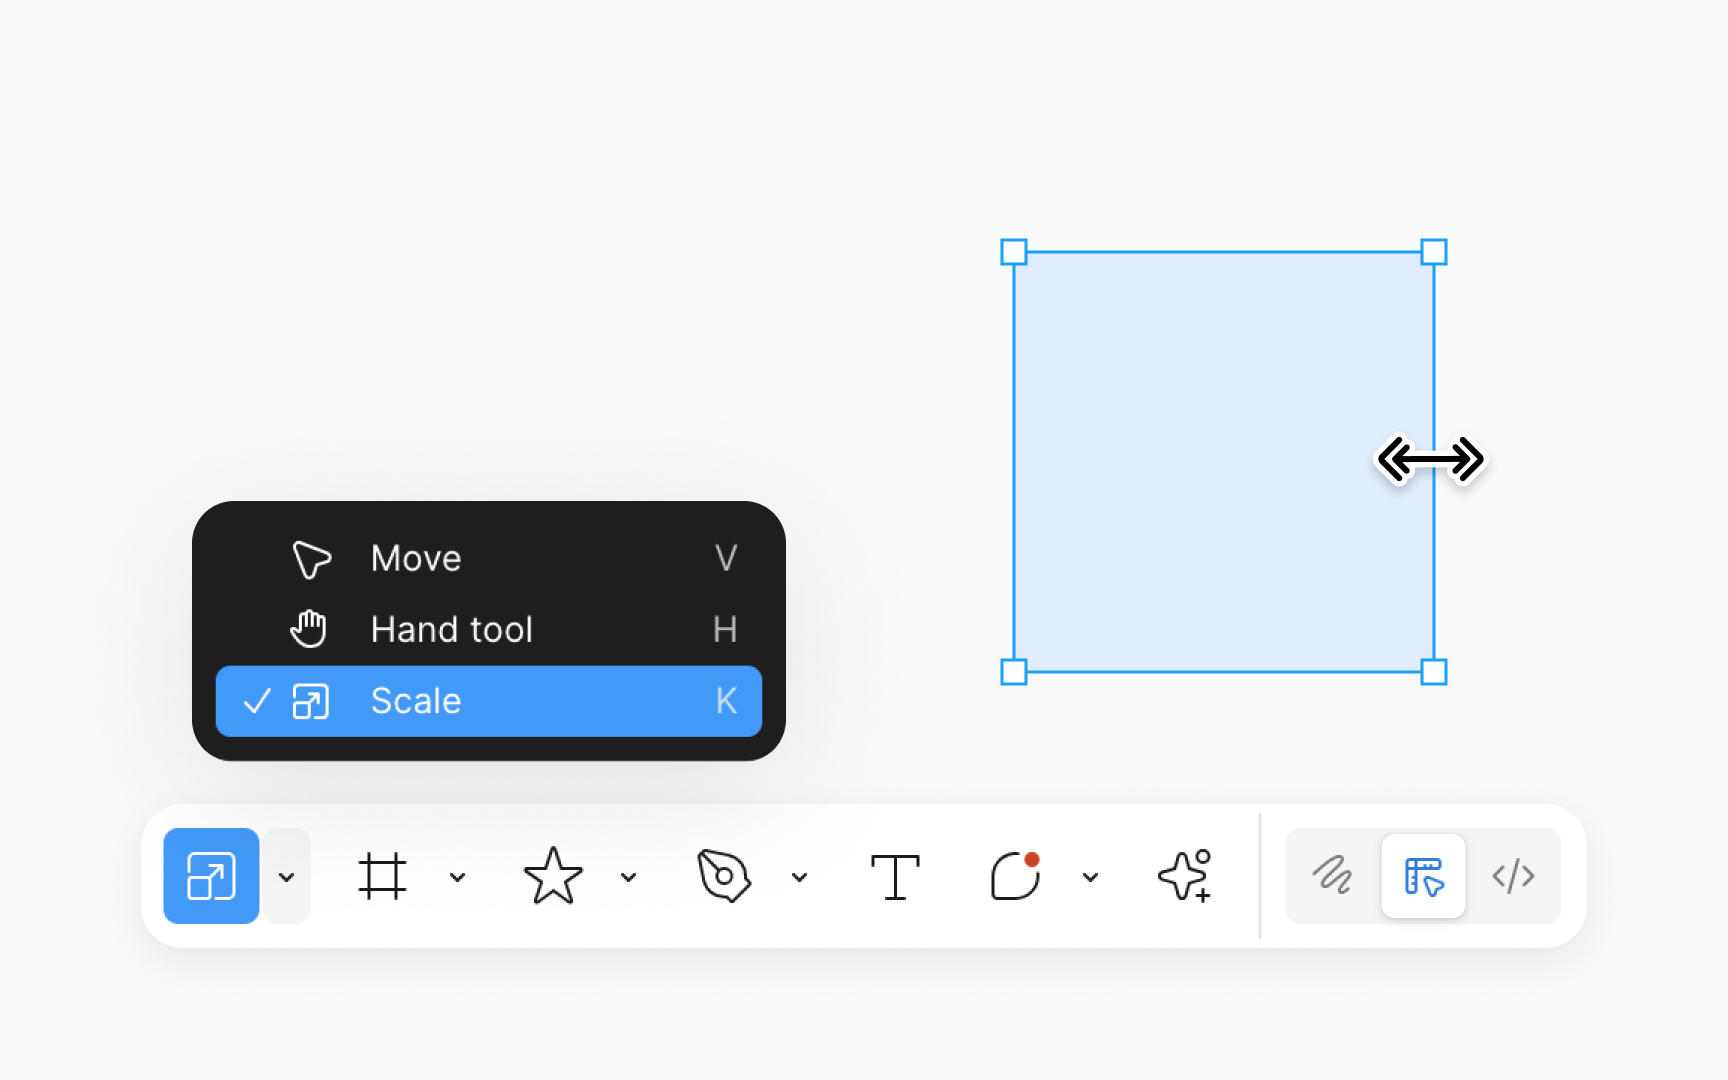
The Scale tool in Figma is used to proportionally
- Activate the Scale tool by pressing K or selecting it from the bottom toolbar.
- Select the object you want to resize.
- Hover over the object's bounding box, then click and drag to resize it. Or, in the Scale panel of the right sidebar, open the dropdown to select a scale multiplier or type a multiplier value in the text field and press Enter (Windows) or Return (Mac) to apply a specific scaling factor.
- Alternatively, modify either the width or height fields in the Scale panel of the right sidebar. The other dimension field will automatically update to maintain the aspect ratio.
Pro Tip: Change the anchor point of the layer in the right sidebar after selecting the Scale tool to determine which direction the object scales in.
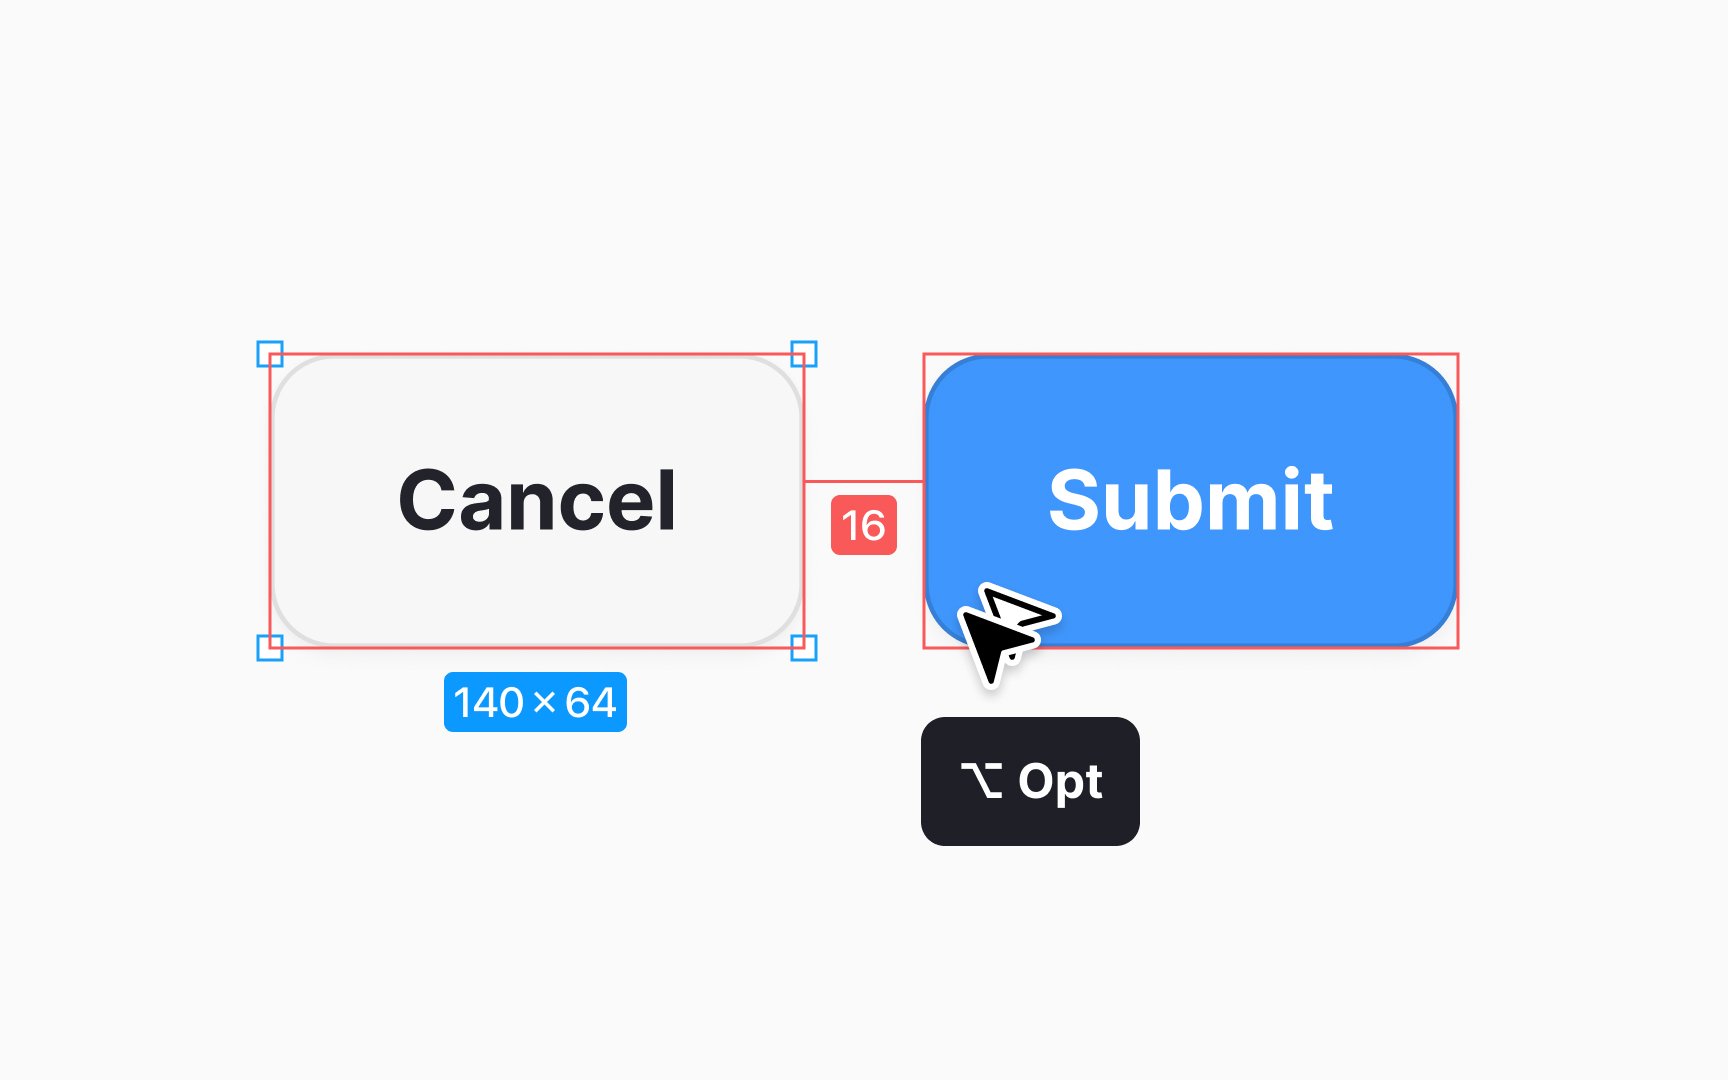
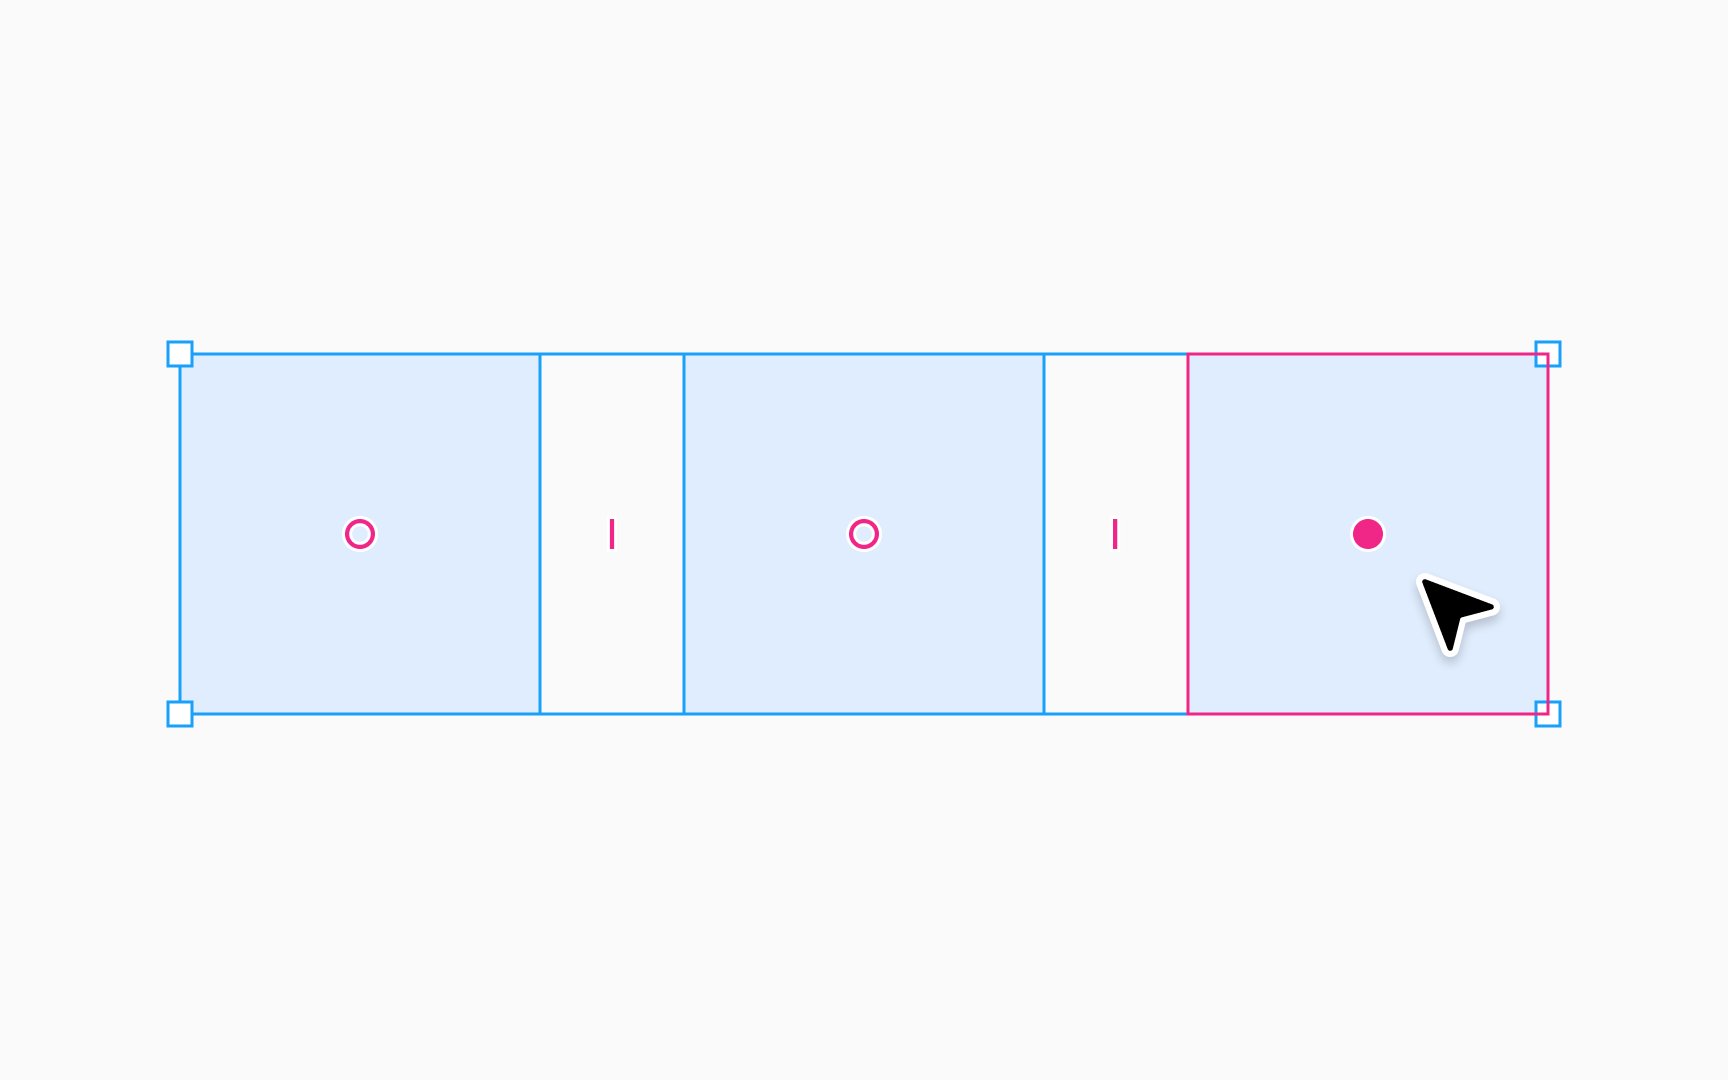
To measure distances between layers in Figma for precise designs, follow these steps:
- Select the first layer on the canvas.
- Hold down Option (Mac) or Alt (Windows)
- If selecting nested layers, use Command Option (Mac) or Ctrl Alt (Windows)
- Hover over the second object you want to measure. Figma will now display a red line measuring the distance between the two layers, along with both horizontal and vertical measurements.
Figma measures the distances between the bounding boxes of the objects. To align the bounding box with the true boundary of a shape (the exact outer edge or perimeter of the shape), you can flatten the shape using the keyboard shortcut:
- Mac: Command E
- Windows: Ctrl E
Properly naming layers in Figma is crucial for organization and collaboration. Clear, consistent naming conventions improve project manageability and speed up the
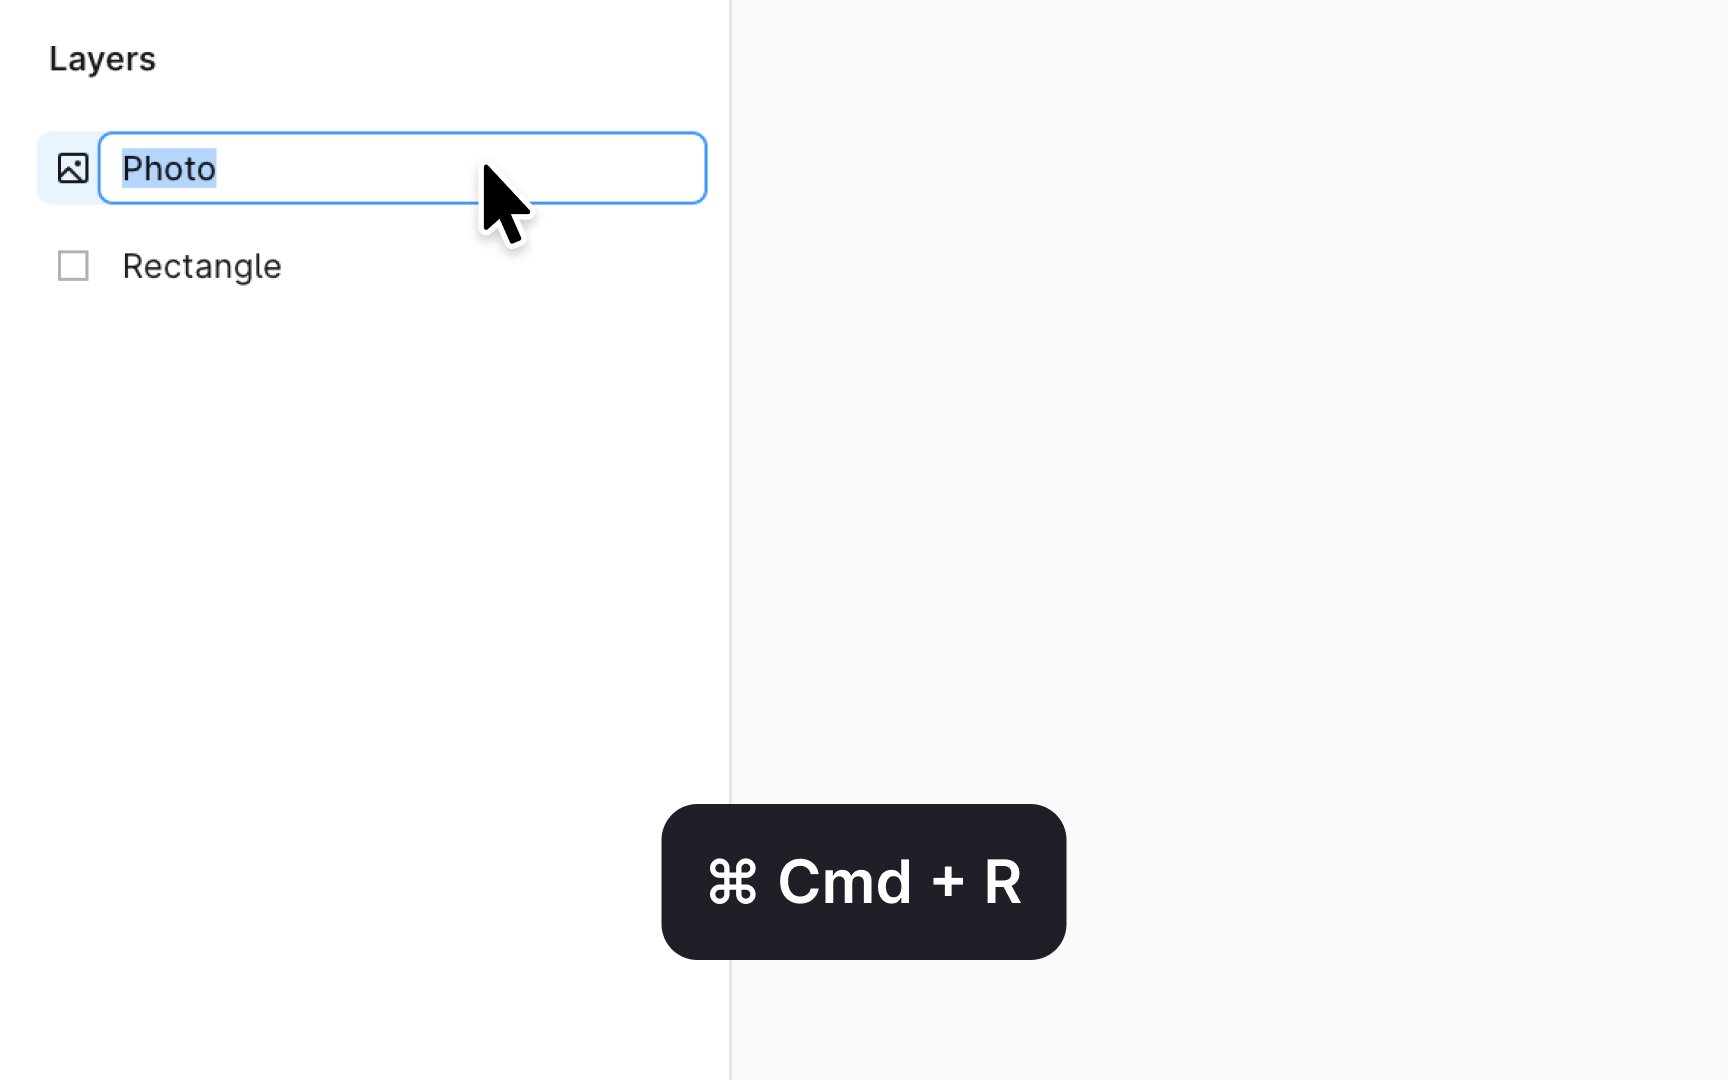
To rename a layer in Figma, double-click on the layer's name in the Layers panel, type the new name, and press Enter. Alternatively, you can click on the layer’s name and press Command R (Mac) or Ctrl R (Windows) and type in a new name. Always make sure each layer is named in a self-explanatory and straightforward manner.
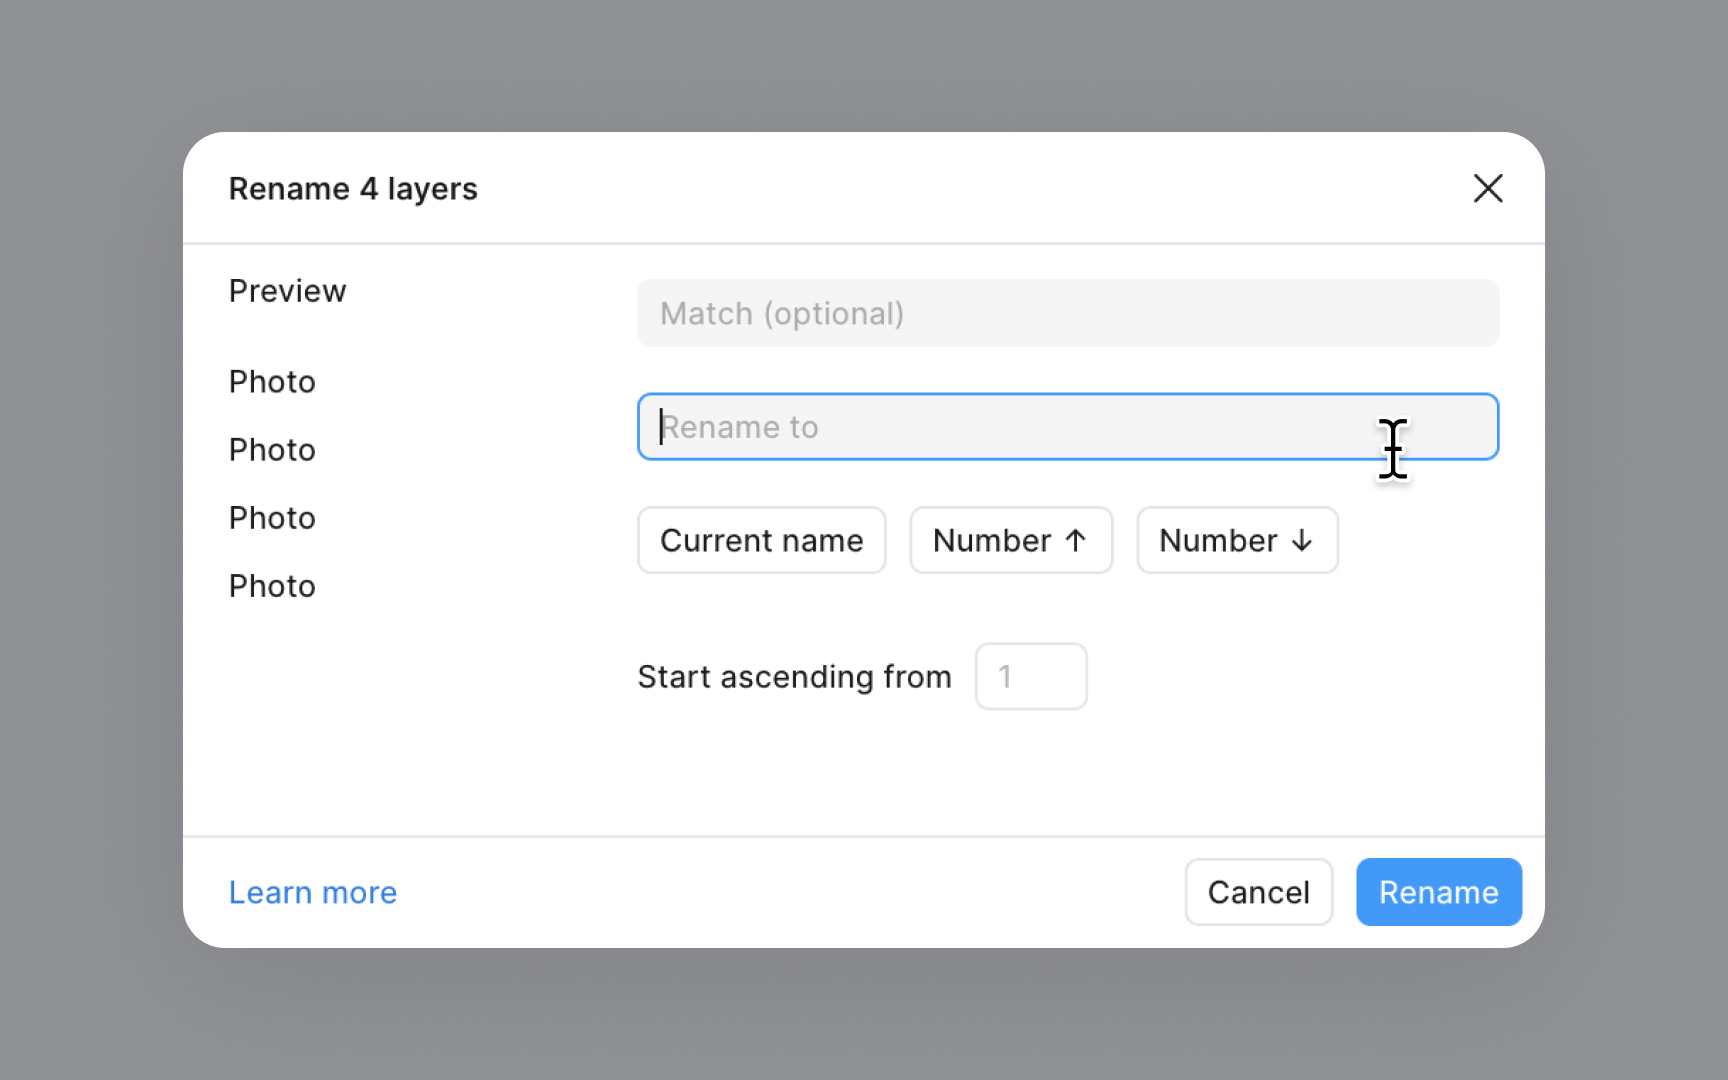
To rename layers in bulk, first, select the layers you wish to rename by holding Shift and clicking on each layer. To open the Rename Layers Modal, press:
- Mac: Command R
- Windows: Ctrl R
If you wish to assign the same name to all selected layers, simply enter the desired name in the Rename to field and click Rename.
However, to distinguish between layers more effectively, you might prefer each layer to have a slightly different name. Below the Rename to field, you'll find buttons that add special codes for generating unique names:
- Current name: Keeps the layer's original name as part of the new name.
- Number ↑: Adds an ascending numerical sequence to each layer name.
- Number ↓: Adds a descending numerical sequence to each layer name.
Utilize these options to add a suffix or prefix, or to modify full or part of the layer names.

Copying
If you prefer using shortcuts:
- Mac: Option Command C to copy properties from a selected layer and Option Command V to paste them onto another layer.
- Windows: Use Ctrl Alt C to copy and Ctrl Alt V to paste properties.
Alternatively, you can use the right-click menu by right-clicking on a layer in the canvas, selecting "Copy properties," then right-clicking on the target layer and choosing "Paste properties." Additionally, from the main menu in the top-left corner, you can search for "Copy Properties" or "Paste Properties" to perform these actions.
Figma will apply any supported properties making it easy to standardize visual aspects across your project.
Hiding and locking layers in Figma are essential features for managing visibility and editability within your designs. Hiding a layer makes it invisible in the canvas without removing it, useful for decluttering the view or focusing on specific parts of your design. To hide a layer, click the eye icon next to it in the Layers panel.
Locking a layer prevents any modifications to it, preserving its position and
Smart selection in Figma is a powerful feature that lets you easily arrange and adjust the spacing between multiple layers or objects. It's particularly useful for beginners to efficiently manage
To use Smart Selection, select multiple objects by clicking and dragging over them or holding Shift while clicking on each. Once selected, if the objects are aligned, Figma automatically activates Smart Selection. You'll see pink spacing indicators between the objects, showing the distance apart.
With Smart selection, you can:
- Adjust spacing uniformly by clicking and dragging these indicators
- Resize multiple objects simultaneously for consistent dimensions
- Rearrange objects by dragging them within the selection, aligning them neatly
You can also enter precise spacing and
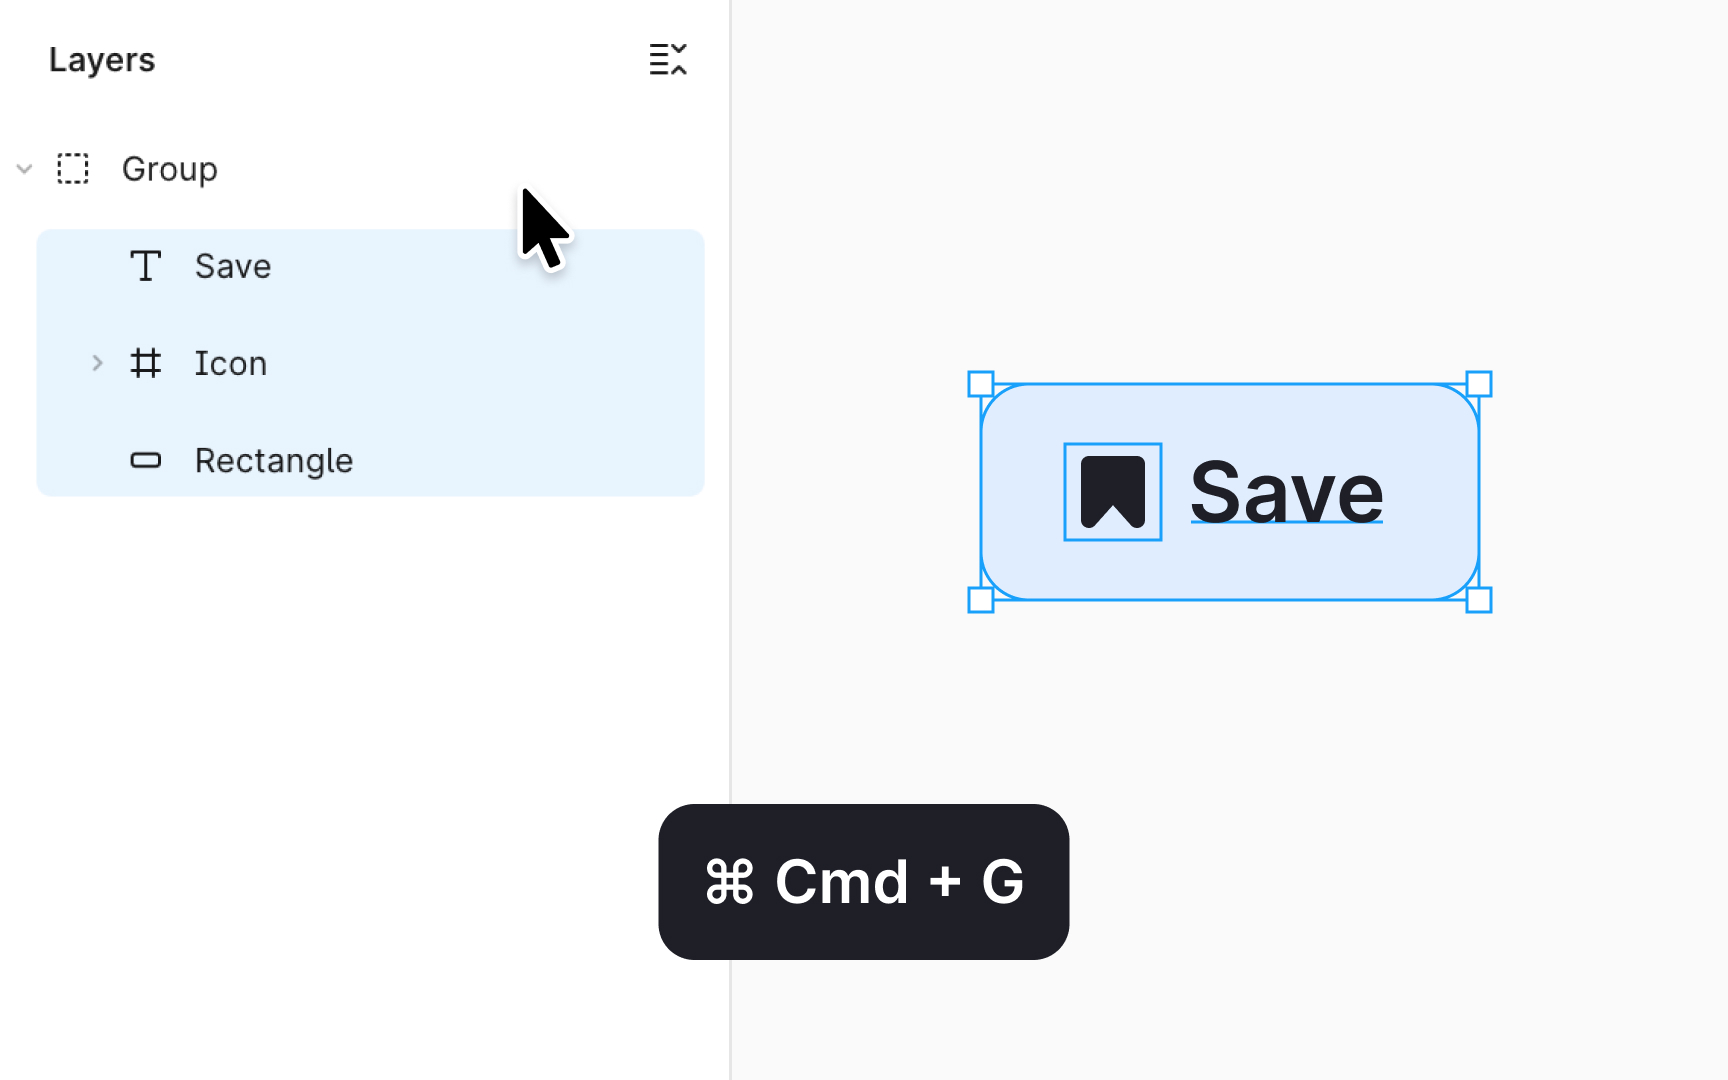
In Figma, grouping layers is a method to organize your design elements into a single unit for easier manipulation. To group layers, select multiple elements by clicking and dragging over them or holding Shift while clicking each element. Once selected, use the shortcut Command G (Mac) or Control G (Windows). Alternatively, you can select the desired layers from the Layers panel, right-click, and select the Group selection option. This action bundles the selected elements, allowing you to move,
You can use the shorcut to ungroup the elements. Select the group and press:
- Mac: Command Shift G
- Windows: Ctrl Shift G
Or, right-click on the group you want to dismantle on the Layers panel and select the Ungroup option.
Grouping is particularly useful when you're working with complex designs. It keeps things neat and makes editing easier by letting you work with several elements as if they were one object. Use grouping when elements are related or to tidy up your workspace and work more efficiently.


Similar lessons

Common UI Component Definitions I

Image Terminology
