Figma Vocabulary
Familiarize yourself with basic Figma terminology.
Figma terminology forms the foundation for effective design in this powerful tool. The interface elements, tool functions, and design process language constitute a vocabulary essential for navigating the platform efficiently. Understanding these key terms enables smooth collaboration between team members and accelerates workflows. When everyone speaks the same language, communication barriers dissolve, allowing teams to focus on creating exceptional products rather than clarifying basic concepts. This shared vocabulary transforms how teams approach design challenges, making complex projects more manageable. Mastering Figma terminology isn't just about learning definitions but about gaining fluency in a language that powers modern digital product creation across industries.
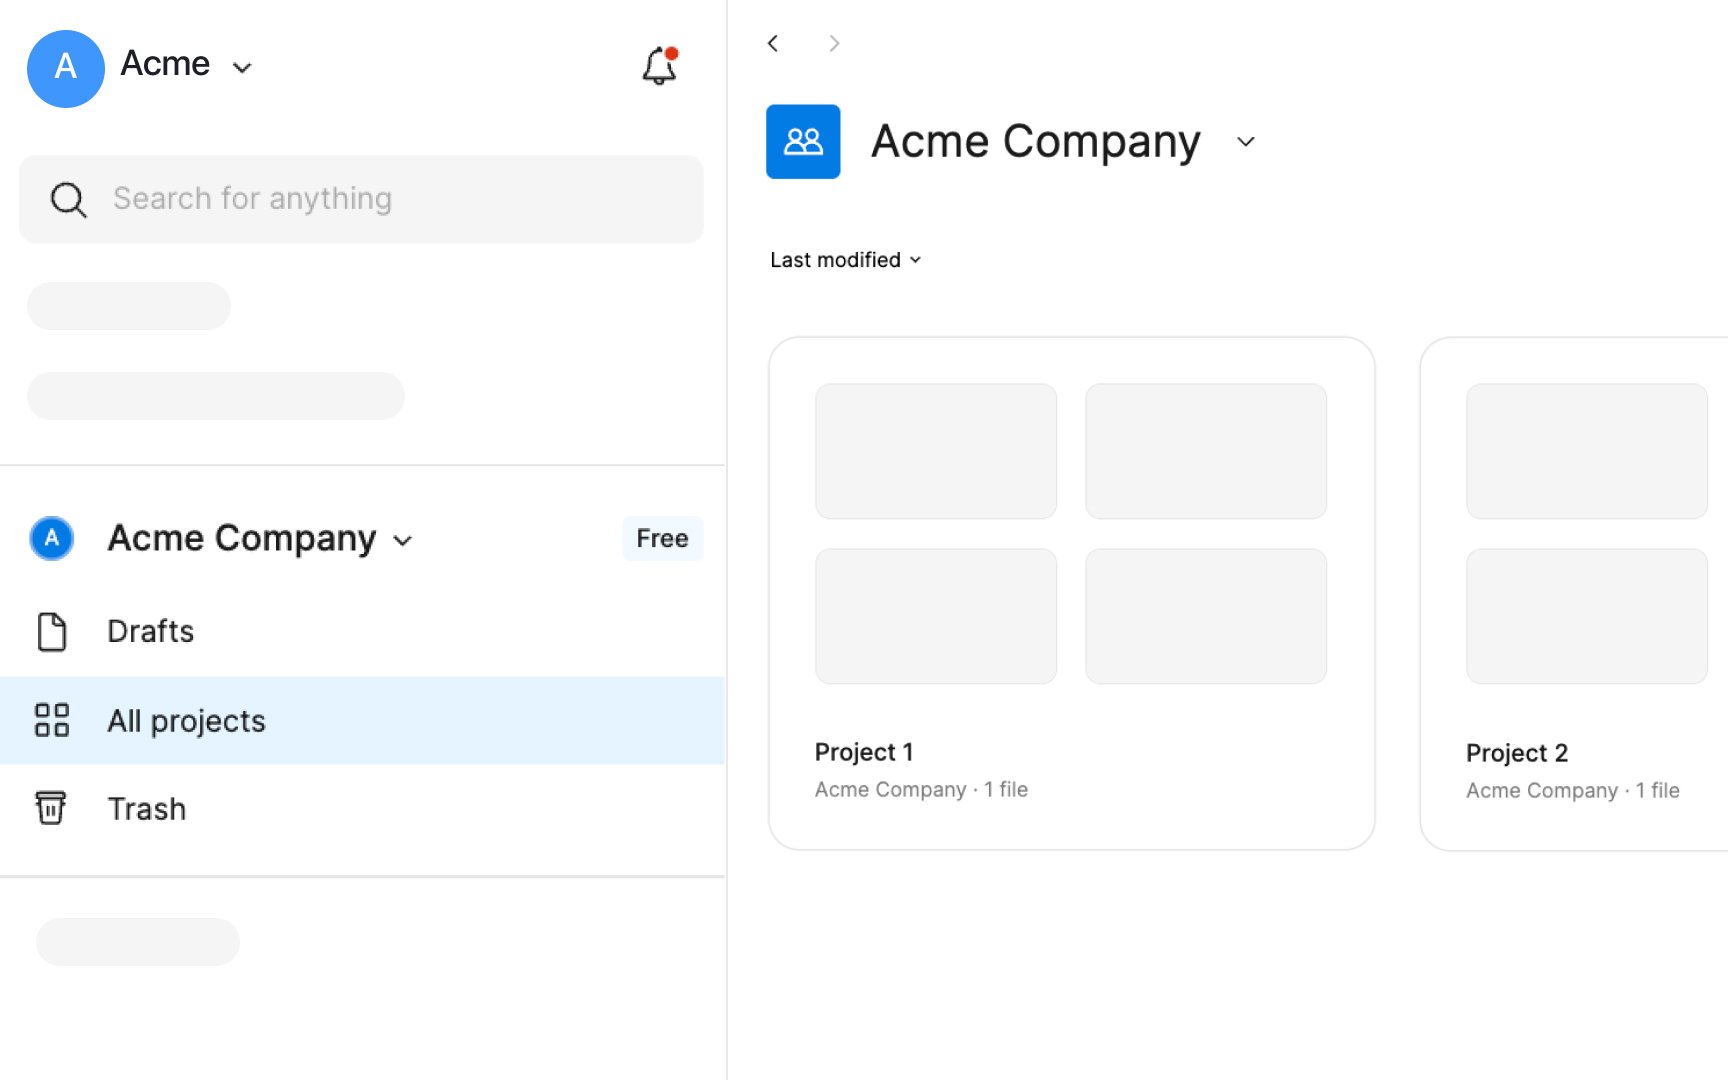
A project is a way to organize and manage your design work on Figma. Think of it like a folder on your computer. Just as you might keep different types of files in separate folders for organization, in Figma, you use projects to group related design files together. Each project can contain multiple design files, known as Figma files.
For example, if you're working on a website, you might have one project for the website. Inside this project, you could have different Figma files for the homepage, contact page, and about page.
Projects allow shared access for viewing or editing, making them useful for team collaboration. Project creation is limited to owners, admins, and team members with edit access.
To create a project, navigate to Figma's home screen (called the file browser), select your team name in the left sidebar, and click the + Project button that appears in the main workspace area.
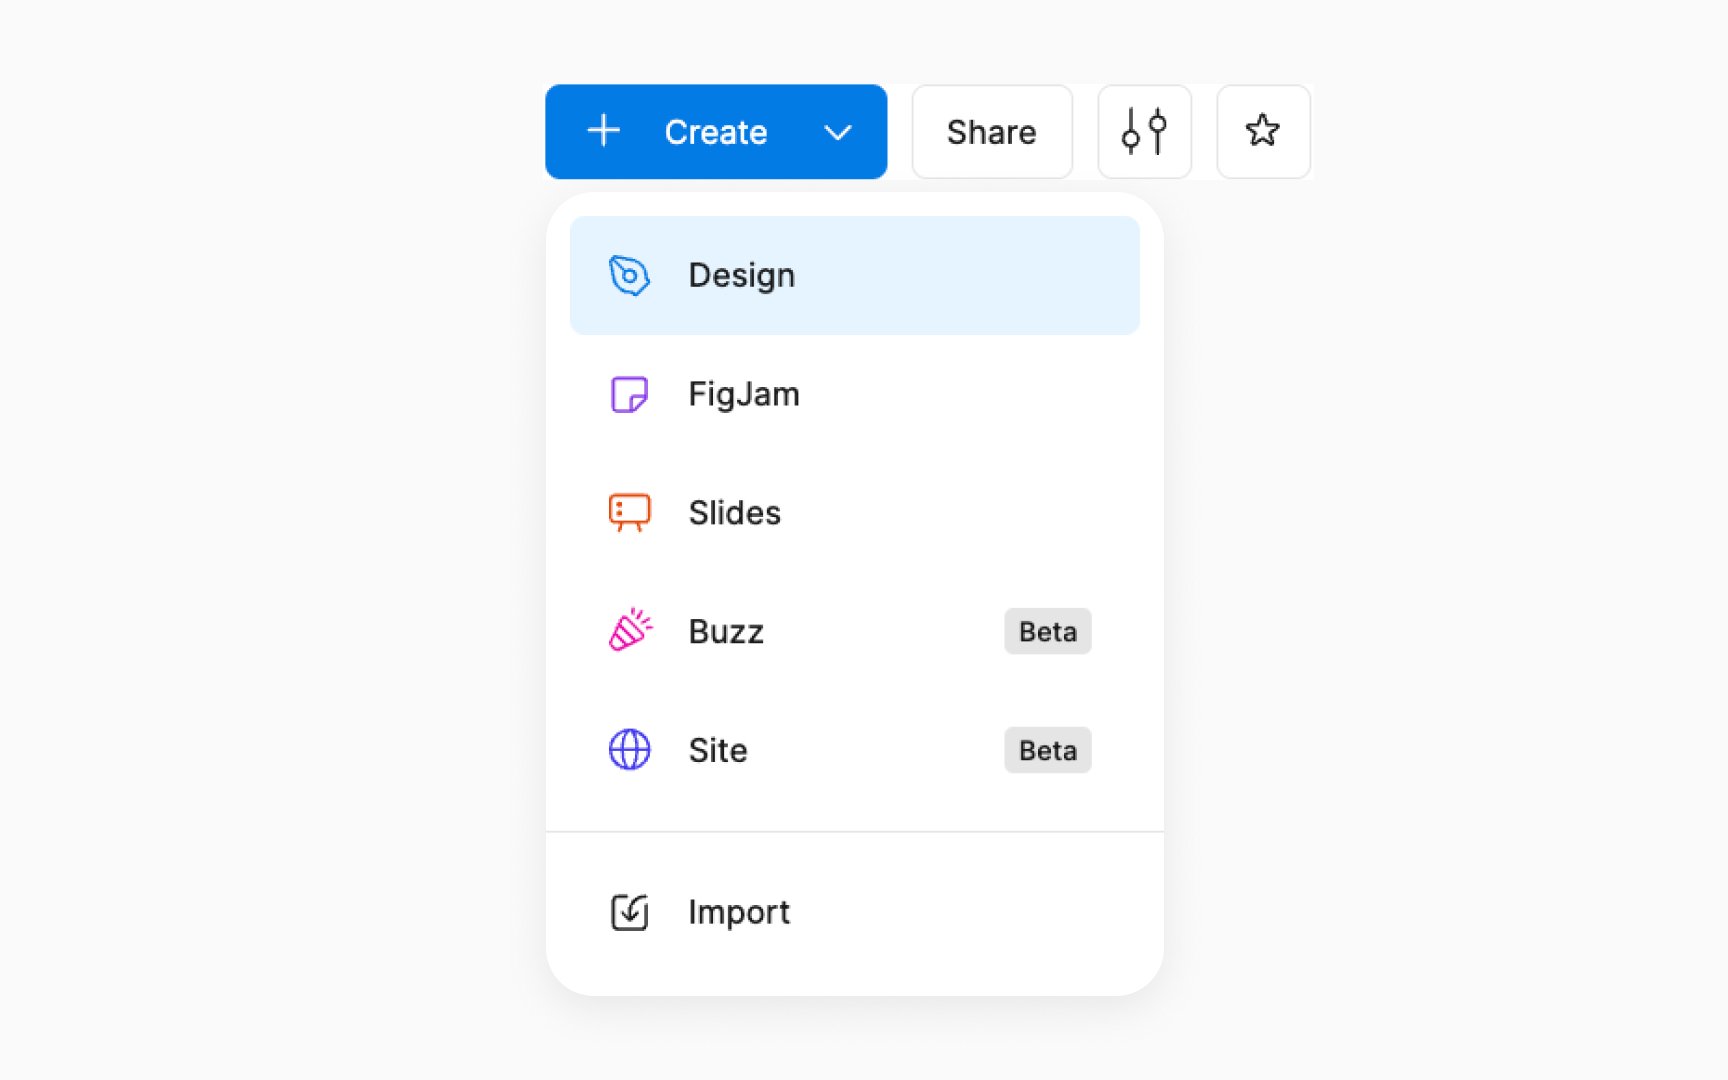
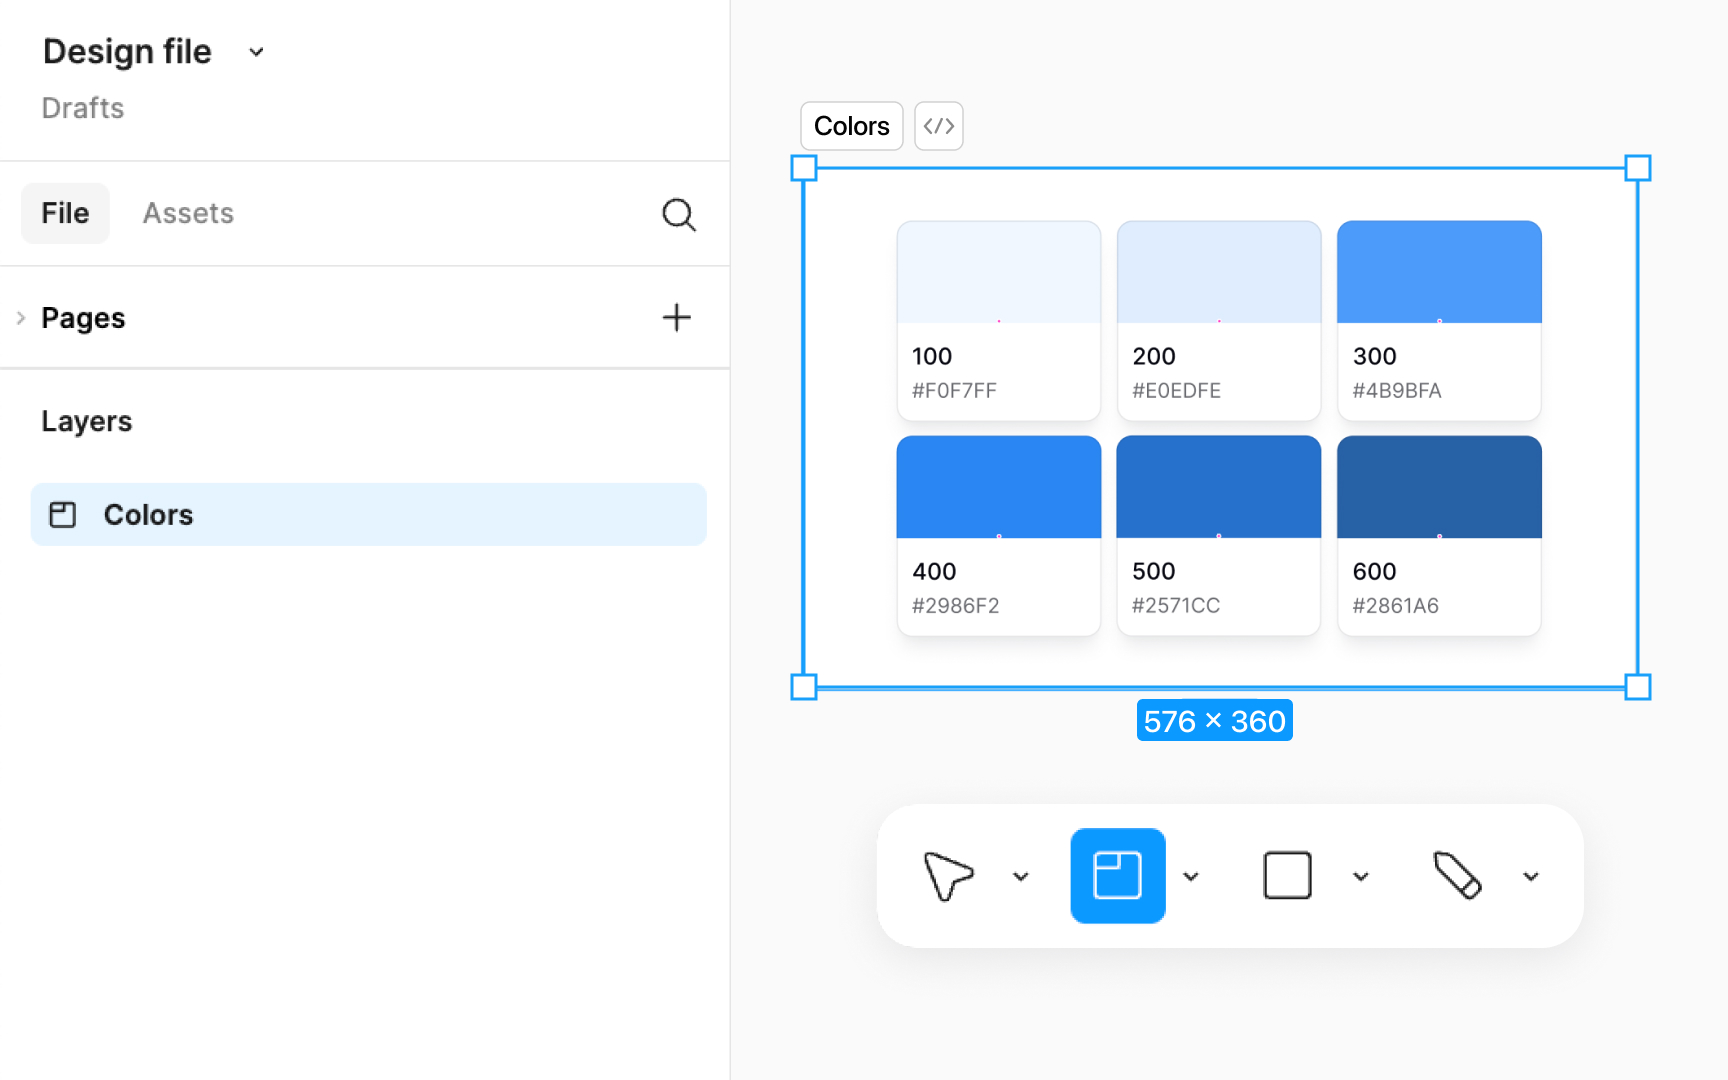
A file is the individual document where you create and design your work. It's similar to a document in word processing software or a canvas in a painting app. Each file in Figma is a separate workspace where you can draw, design, and prototype. For instance, if you're designing a website, each webpage you design might be a different file.
A Figma file contains all your design elements, like text, shapes, images, and layers. You can also add interactive components and create prototypes within the same file. In short, files are where you do the hands-on work of designing. To create a new file, navigate to Figma's file browser, select the desired project, and click the +
Figma uses a proprietary cloud-based format for its design files, supporting collaboration and real-time editing. For exports, it supports PNG, JPG, SVG, and PDF formats, while imports can include SVG, PNG, JPG, and files from Sketch.
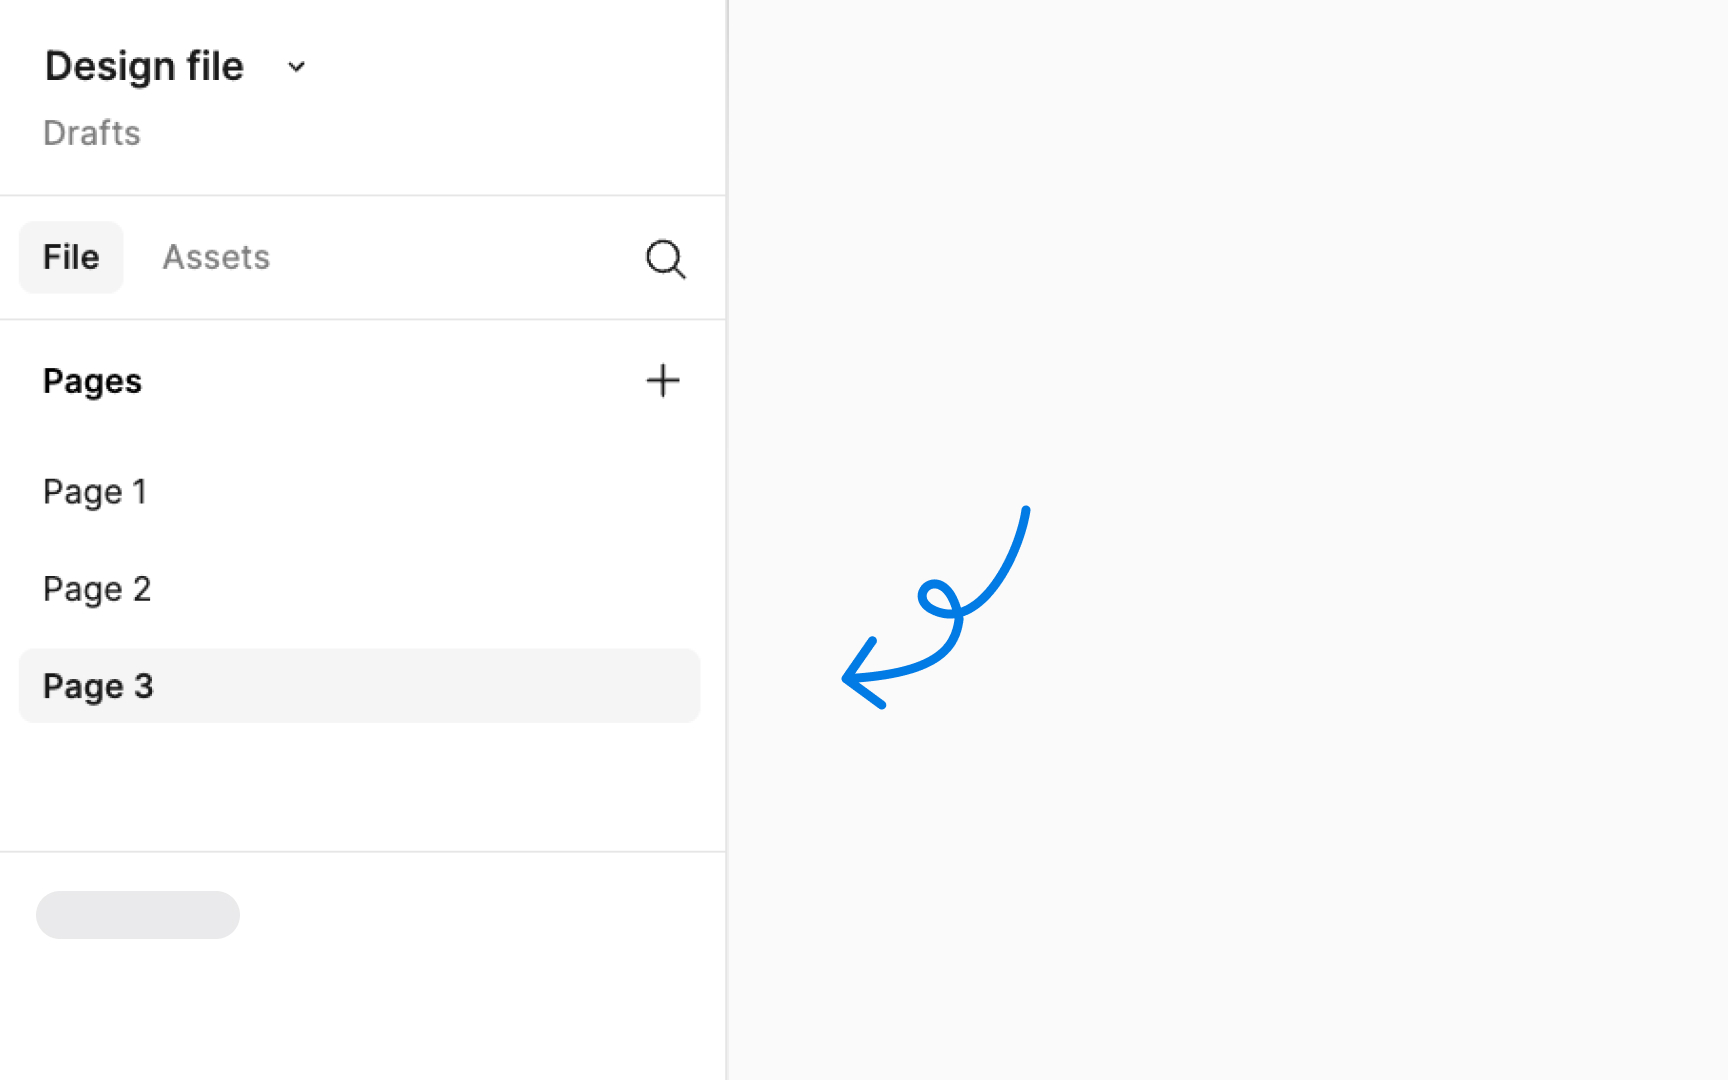
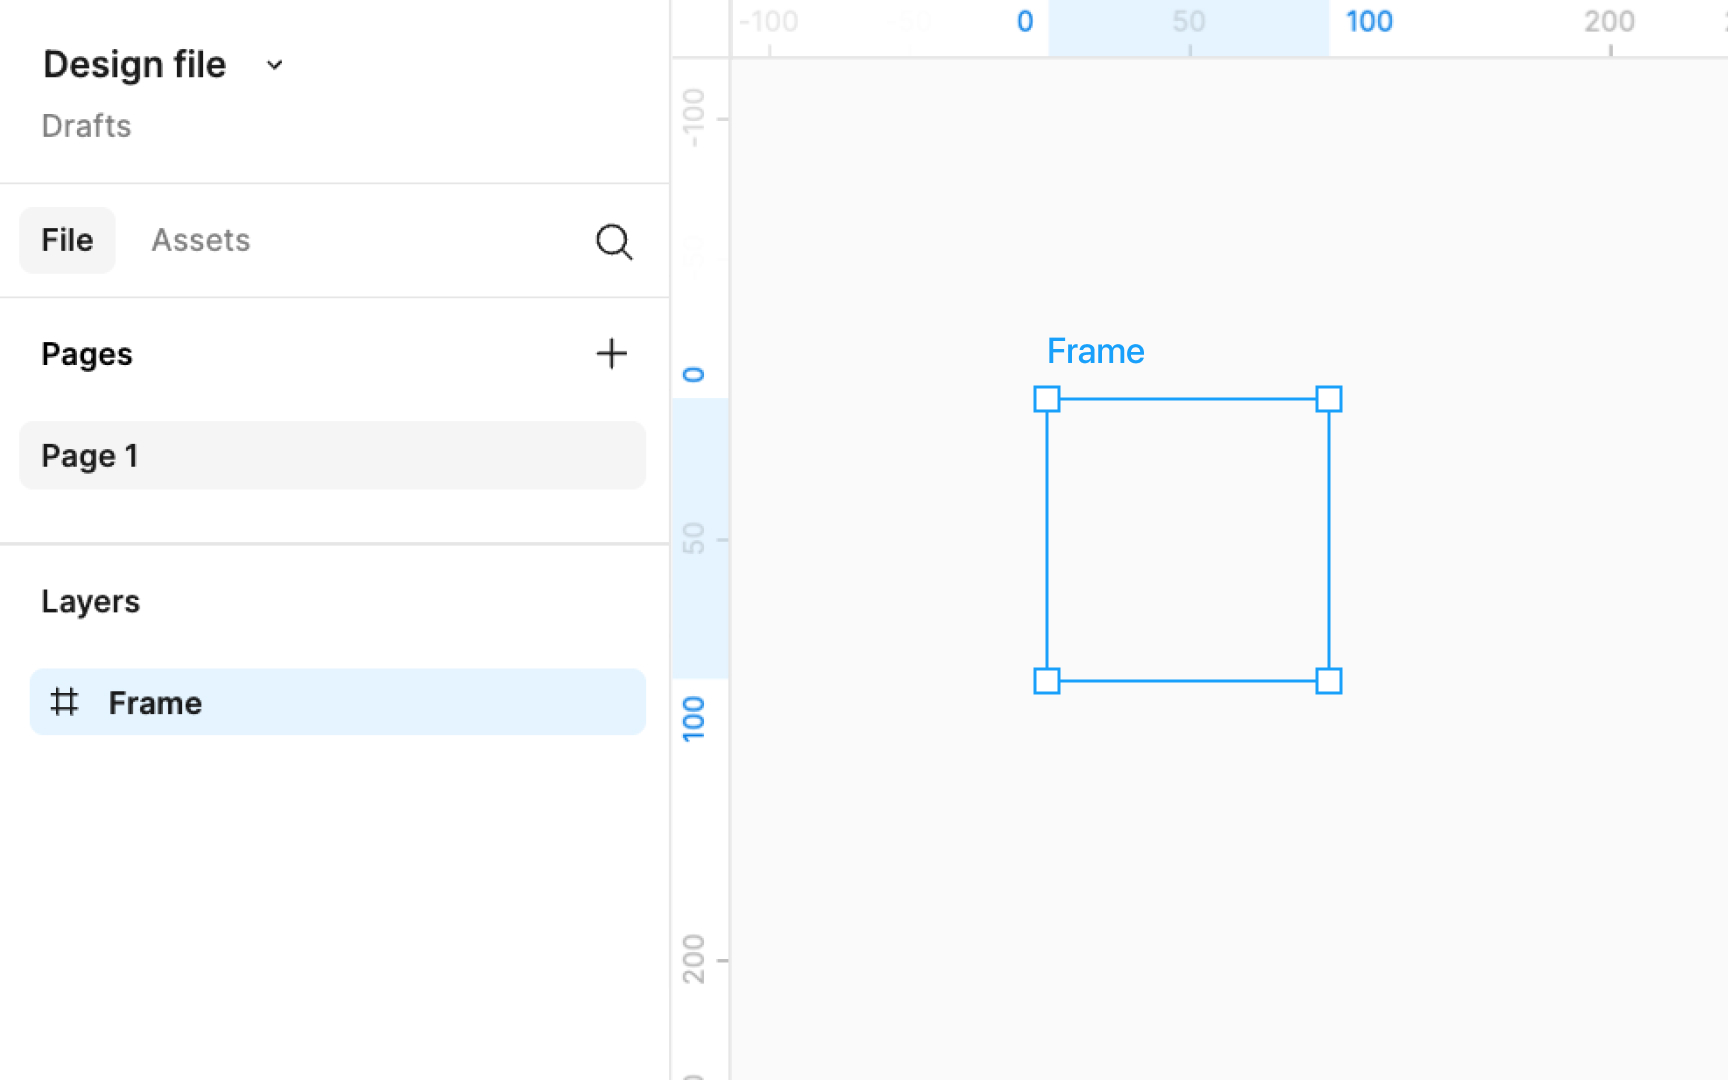
Pages are subdivisions within a Figma file that help you further organize your design work. If a Figma file is like a notebook, then pages are like individual pages within that notebook. For instance, if you're designing the homepage of a website in a Figma file, each
The key difference between files and pages in Figma is their level of organization. A file is a broader container for your entire project or a major part of it, while pages within that file break down the project into more manageable, organized sections. You can easily create and switch between pages in the Pages panel in the left sidebar.
This structure is especially useful for large or complex designs, allowing you to keep related
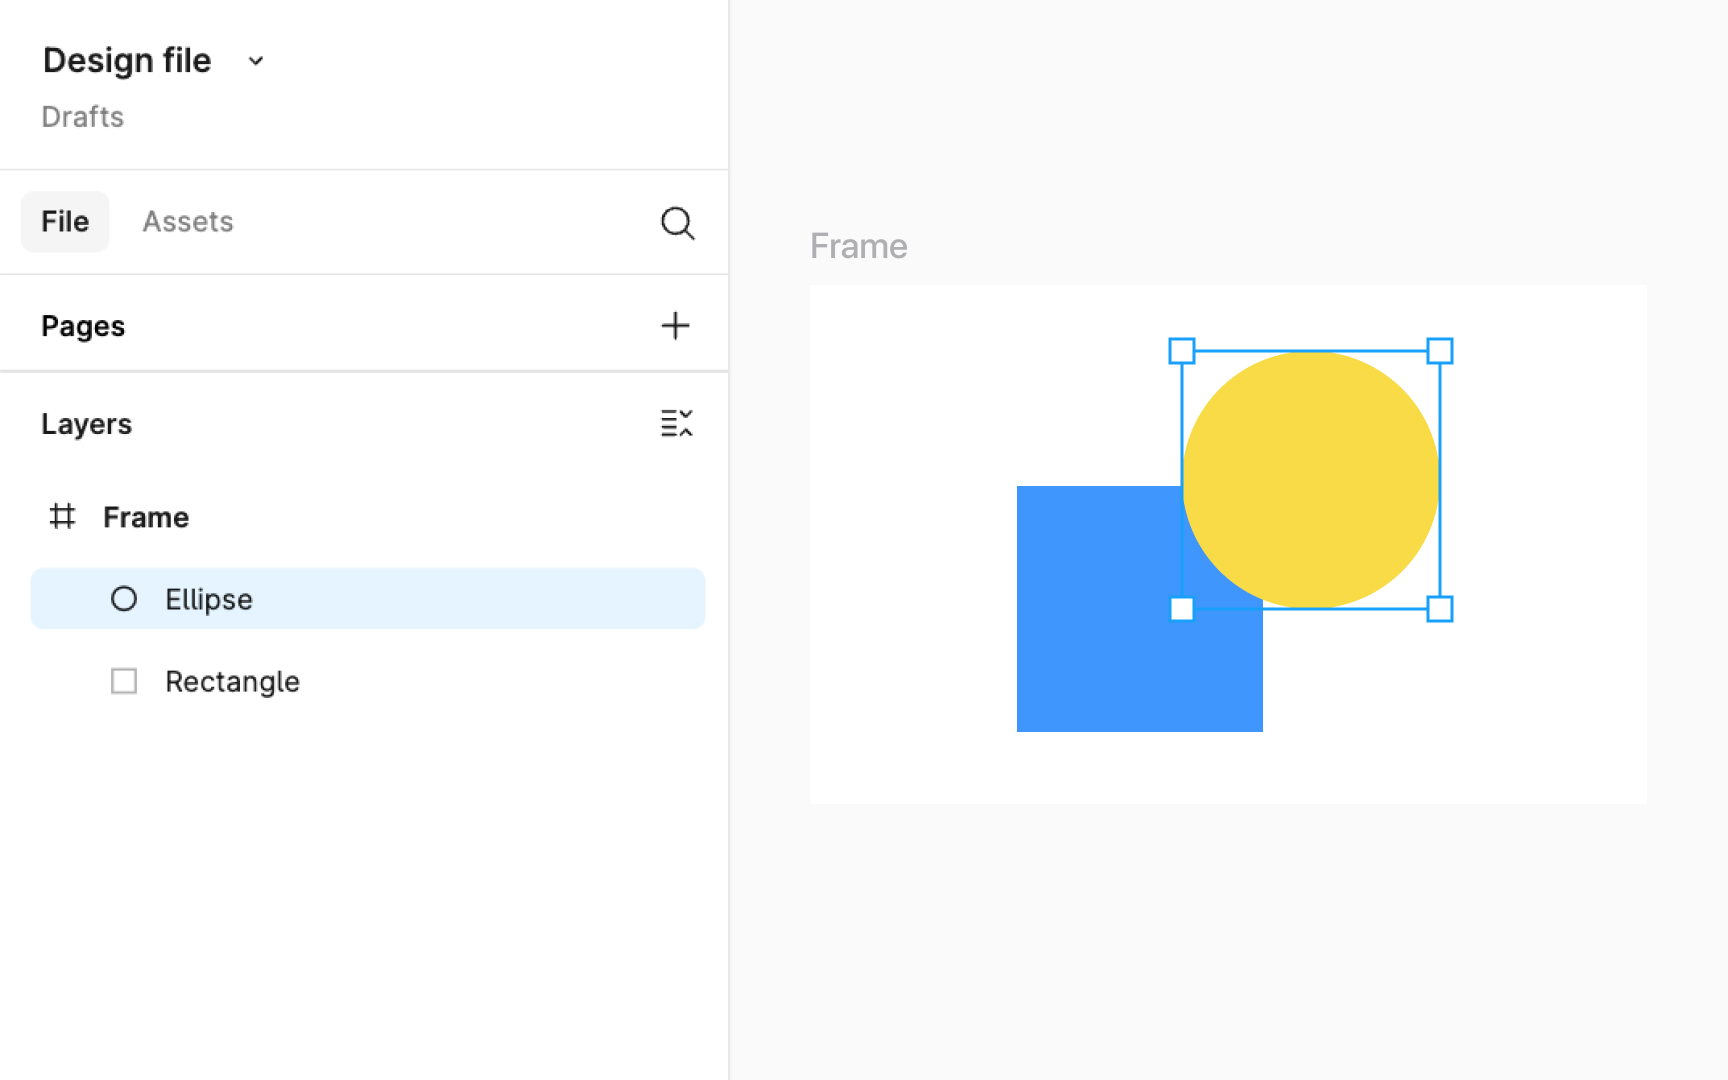
In Figma, and similarly in most design tools, layers are a fundamental concept that helps organize different elements of your design. Think of layers as transparent sheets stacked on top of each other. Each layer can contain different
Layers are also helpful for separating different aspects of your design. For instance, you might have one layer for your background, another for text, and yet another for images or illustrations. This separation makes editing specific parts of your design easier without affecting the rest. In Figma, you'll find the Layers panel on the left sidebar, where you can select, rename, hide, or lock layers as needed.

Nudge values refer to the small incremental adjustments you can make to the position and size of
This precise control is valuable for aligning and positioning elements accurately within your design. For example, you can nudge a
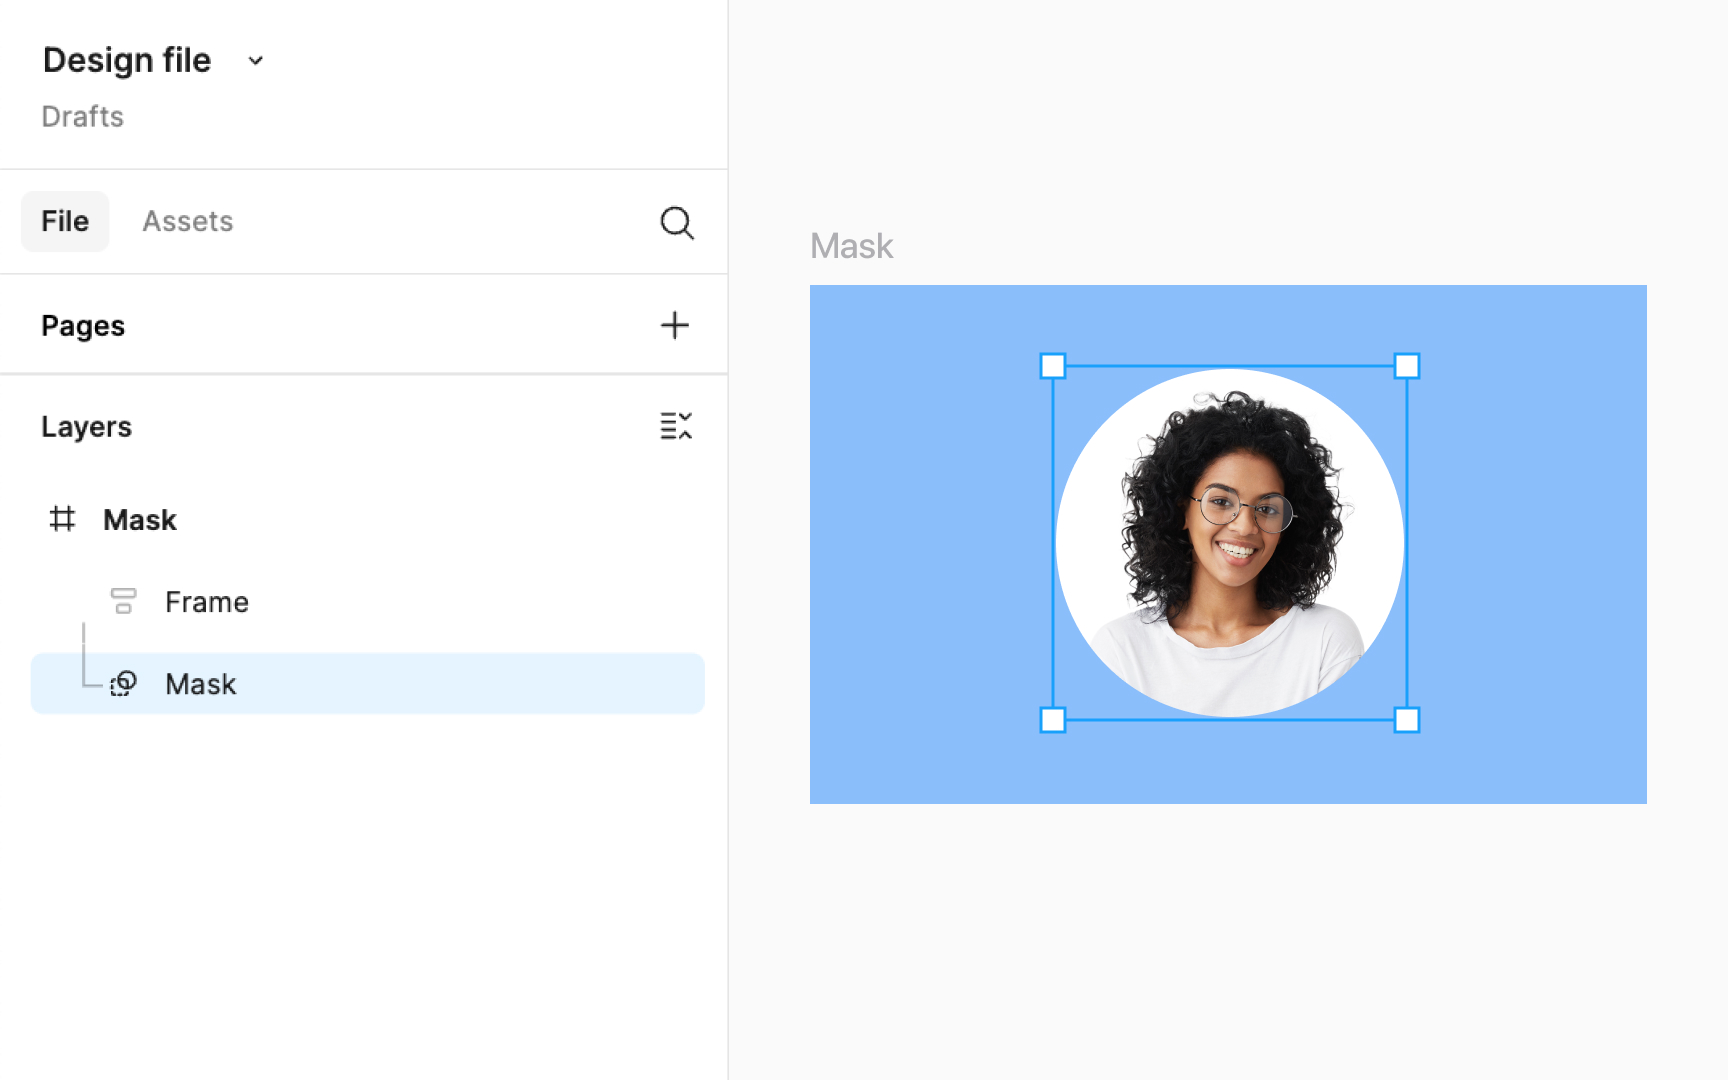
Mask refers to a feature used to control the visibility of certain parts of objects in a design. Imagine you have a thumbnail image for a video and you want to display only a certain section of this image within a specific shape (like a circle for a profile picture or a star for a special feature
Masks are a fundamental tool in design software, functioning similarly across various platforms, not just in Figma. They're essential for creating complex
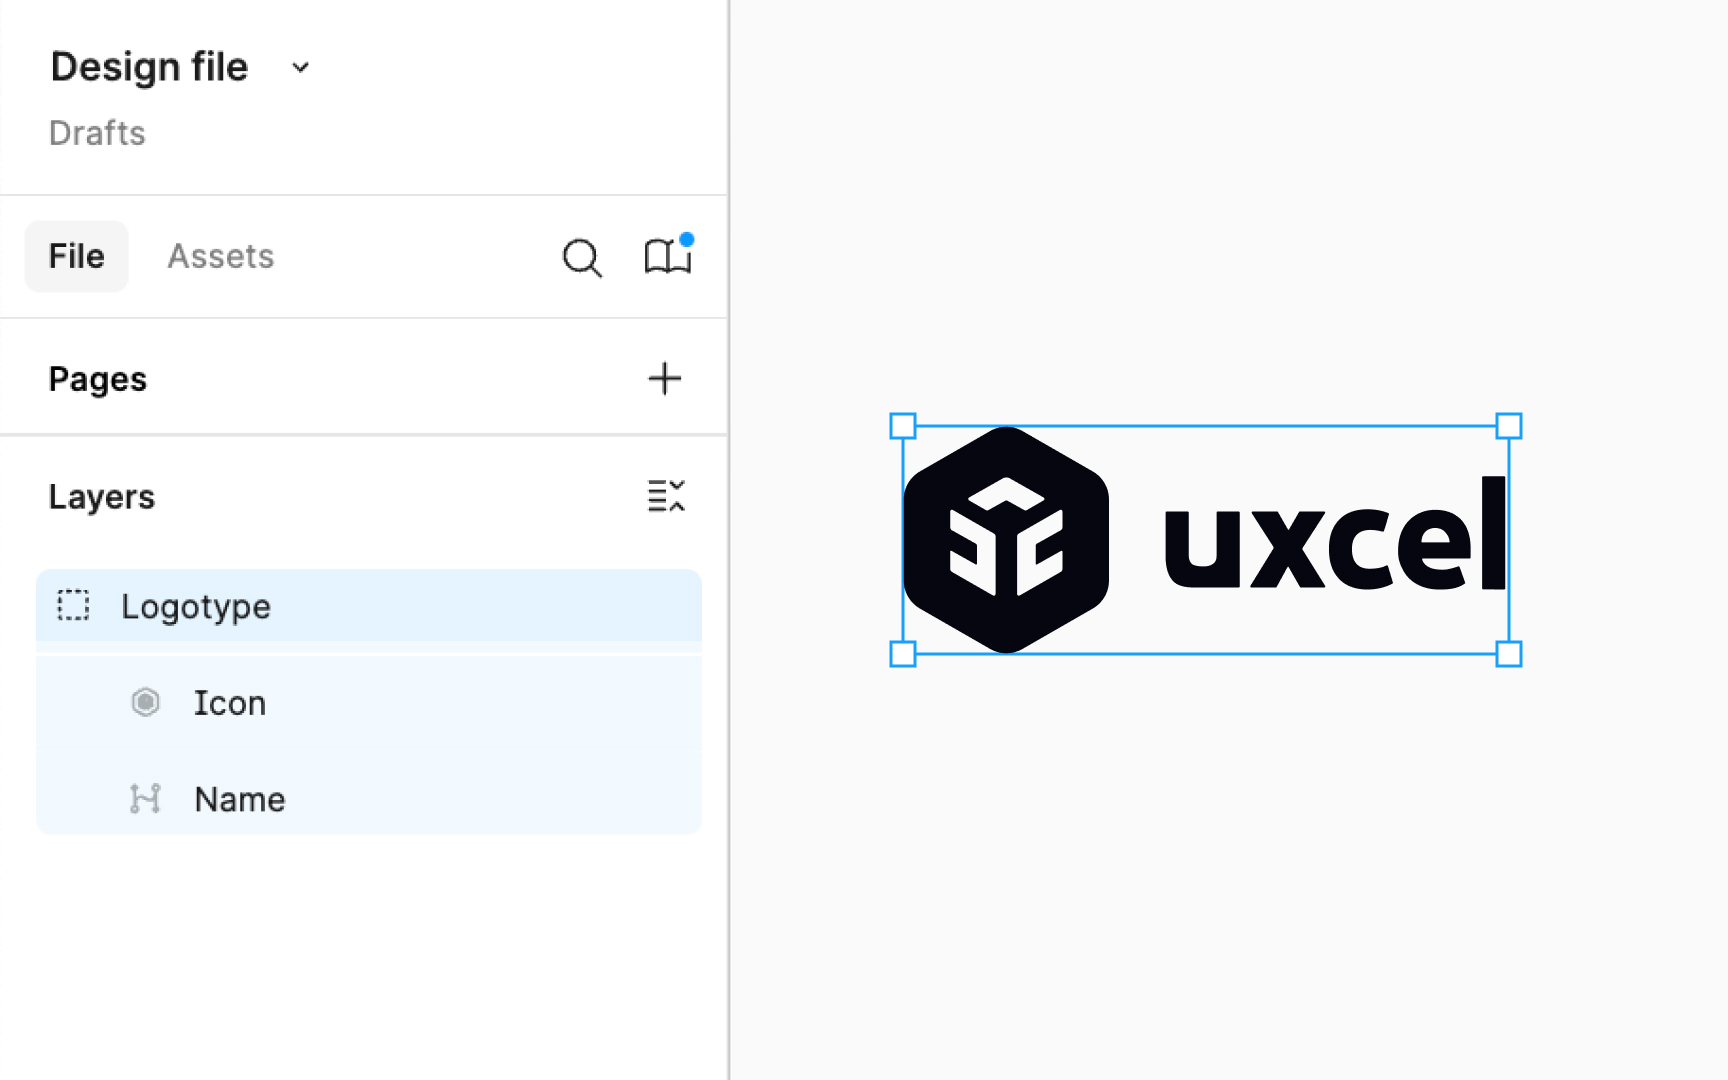
Grouping lets you combine multiple elements into a single unit. Imagine you're creating a design with various parts like shapes, text, and
Groups are particularly helpful when you want to maintain the positioning and size of elements in relation to each other. For instance, if you're designing a
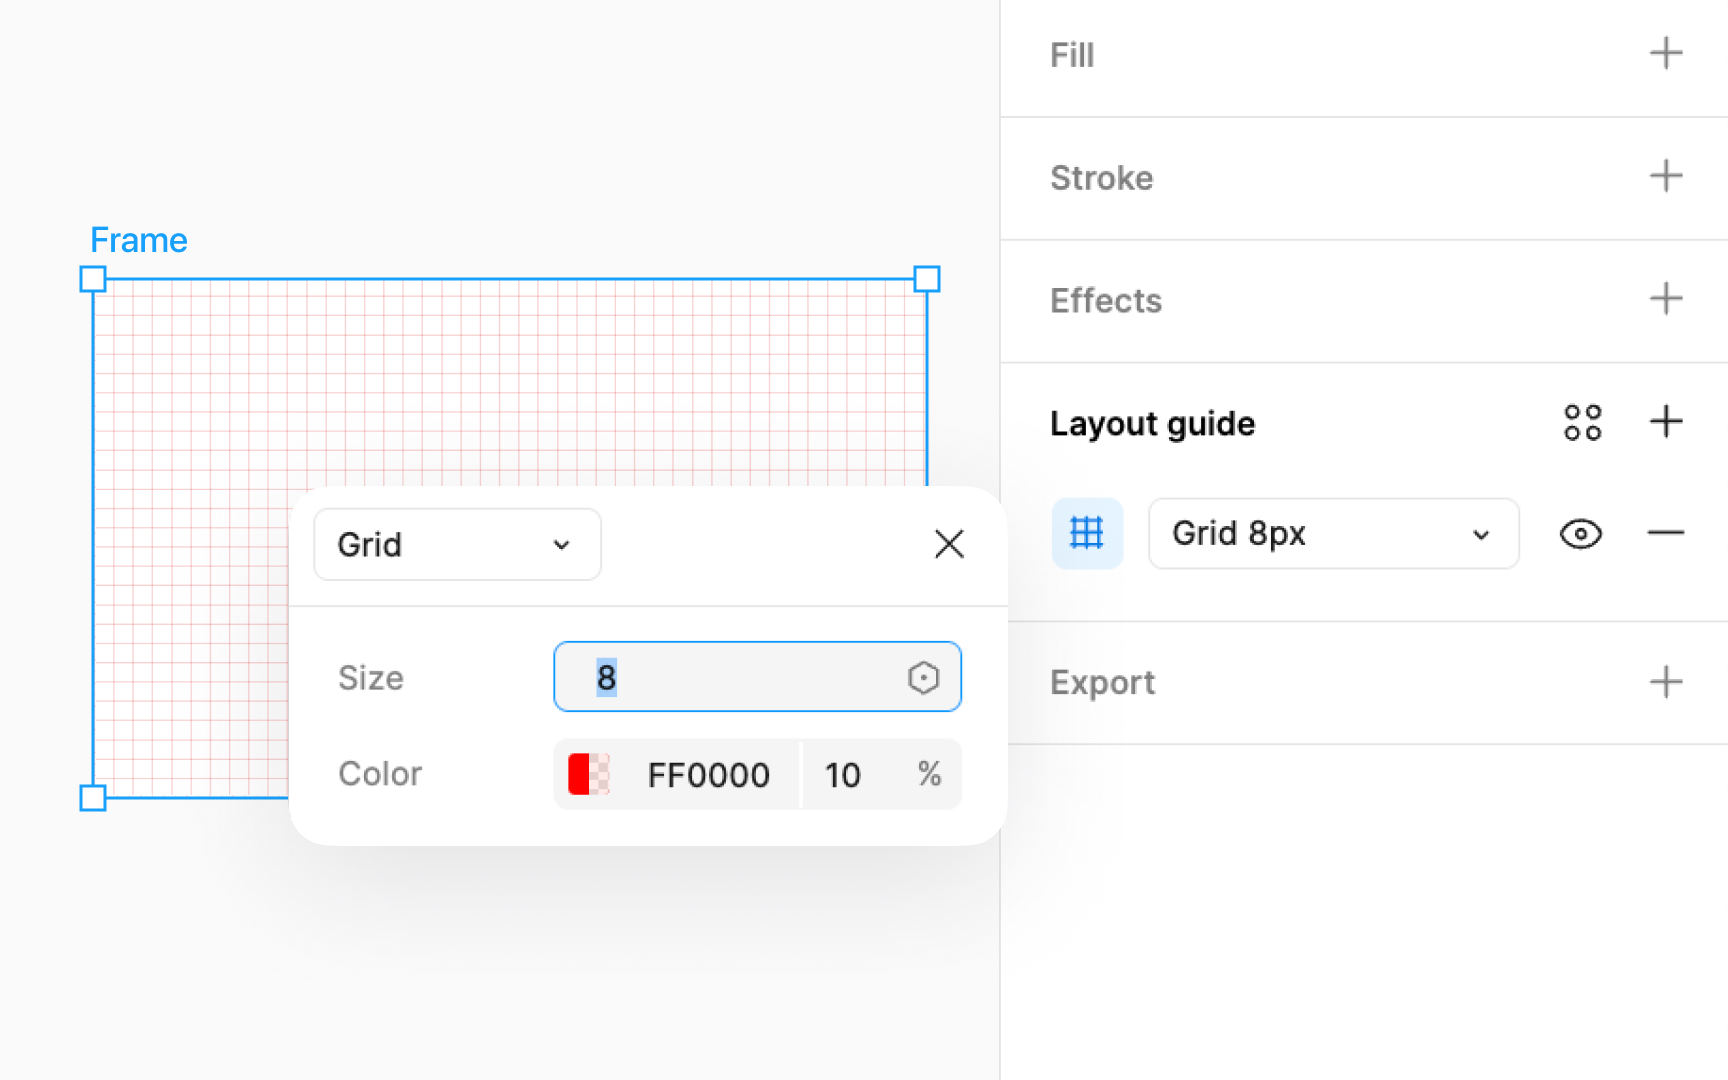
Grids help you align and organize elements in your design with precision. They provide a visual structure, like a pattern of lines or dots, over your design canvas. Think of grids as similar to the lines on graph paper, guiding where you place and align objects. For example, if you're designing a digital logo, you can use a grid to ensure that the logo elements are spaced and aligned correctly. This grid won't be part of the logo export. It's just a guide to help you during the
Figma offers different types of grids such as columns, rows, and uniform grids, each serving a different purpose.
Sections can be used to organize and label different parts of your design canvas, helping you and your collaborators navigate and understand the design file more easily. Think of sections as designated areas on your canvas where you can group related ideas or elements.
Sections are particularly useful for collaborative projects. You can use them to mark specific areas for team brainstorming, idea generation, or to indicate parts of the design that are finalized and ready for development. This organization aids in guiding collaborators through the
This makes sections ideal for dividing your canvas into clear, navigable parts, each with its own focus or stage in the design process.
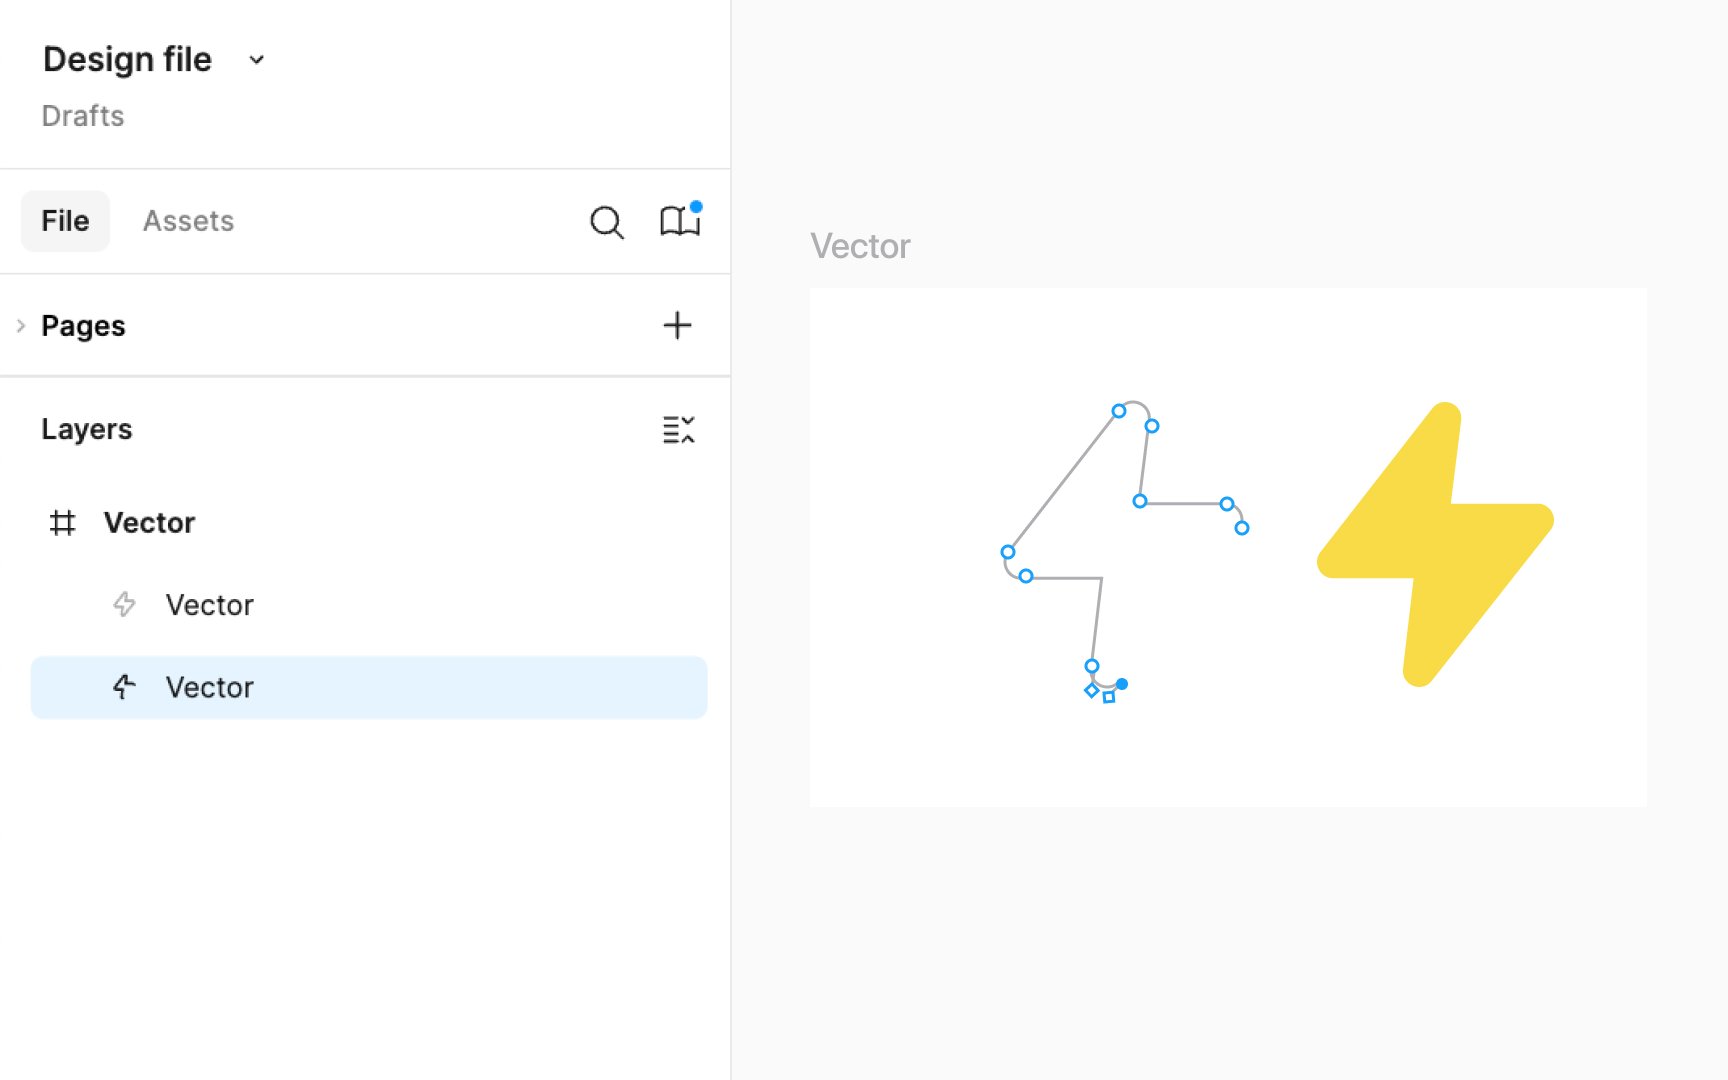
Vectors refer to graphics made of points, lines, and curves defined by mathematical formulas, rather than pixels. Unlike raster
When you create or edit a vector in Figma, you manipulate its points and paths. Each point has handles that you can drag to change the shape and direction of the curves. This gives you great flexibility and precision in crafting complex shapes and designs.
Vectors are especially useful in UI/UX design for their scalability and small file size. They ensure that elements like icons and
Rulers are tools that help you measure and align elements in your design. They appear along the top and left edges of the canvas, showing measurements in
To enable rulers in Figma, go to the main
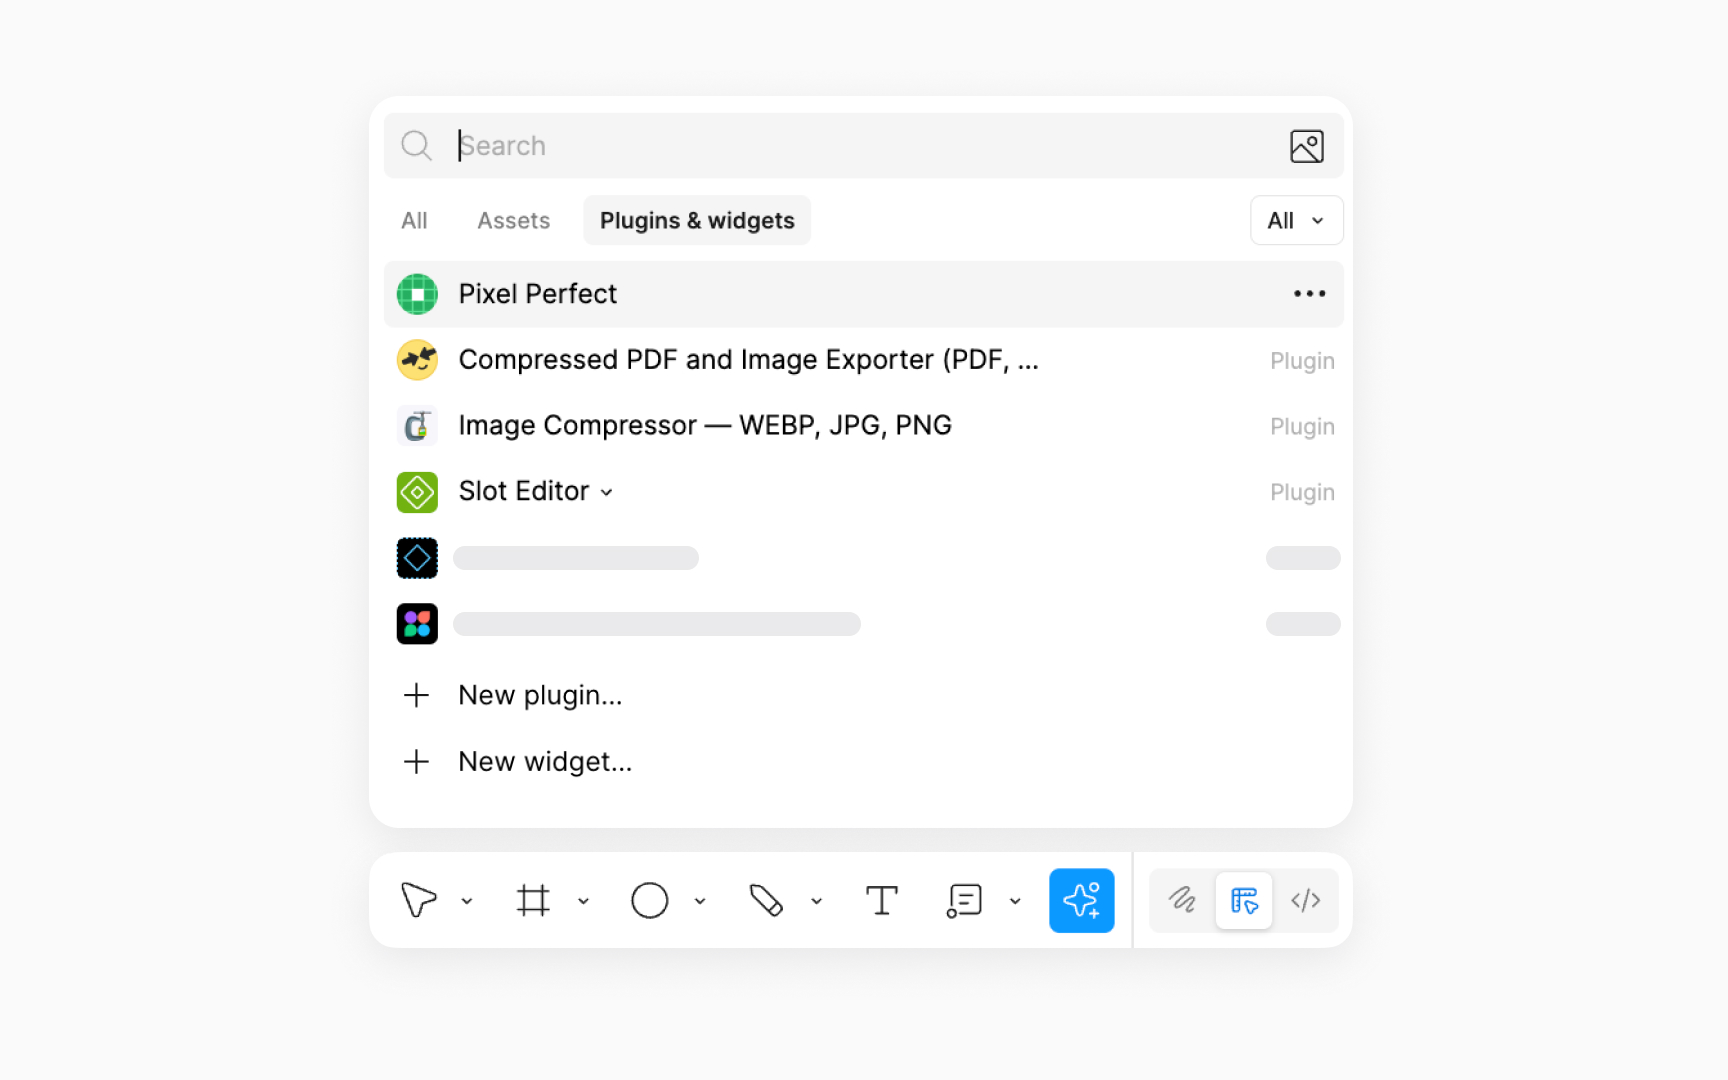
Plugins are additional tools that extend the functionality of the standard Figma application. They're like apps for your smartphone, adding new functions or making tasks easier. For instance, a plugin might help you automatically arrange elements in your design, import
They're particularly useful for repetitive or specialized tasks, allowing you to focus more on the creative aspects of design. You can explore a wide range of plugins in Figma's community library. To access it, simply click the Actions
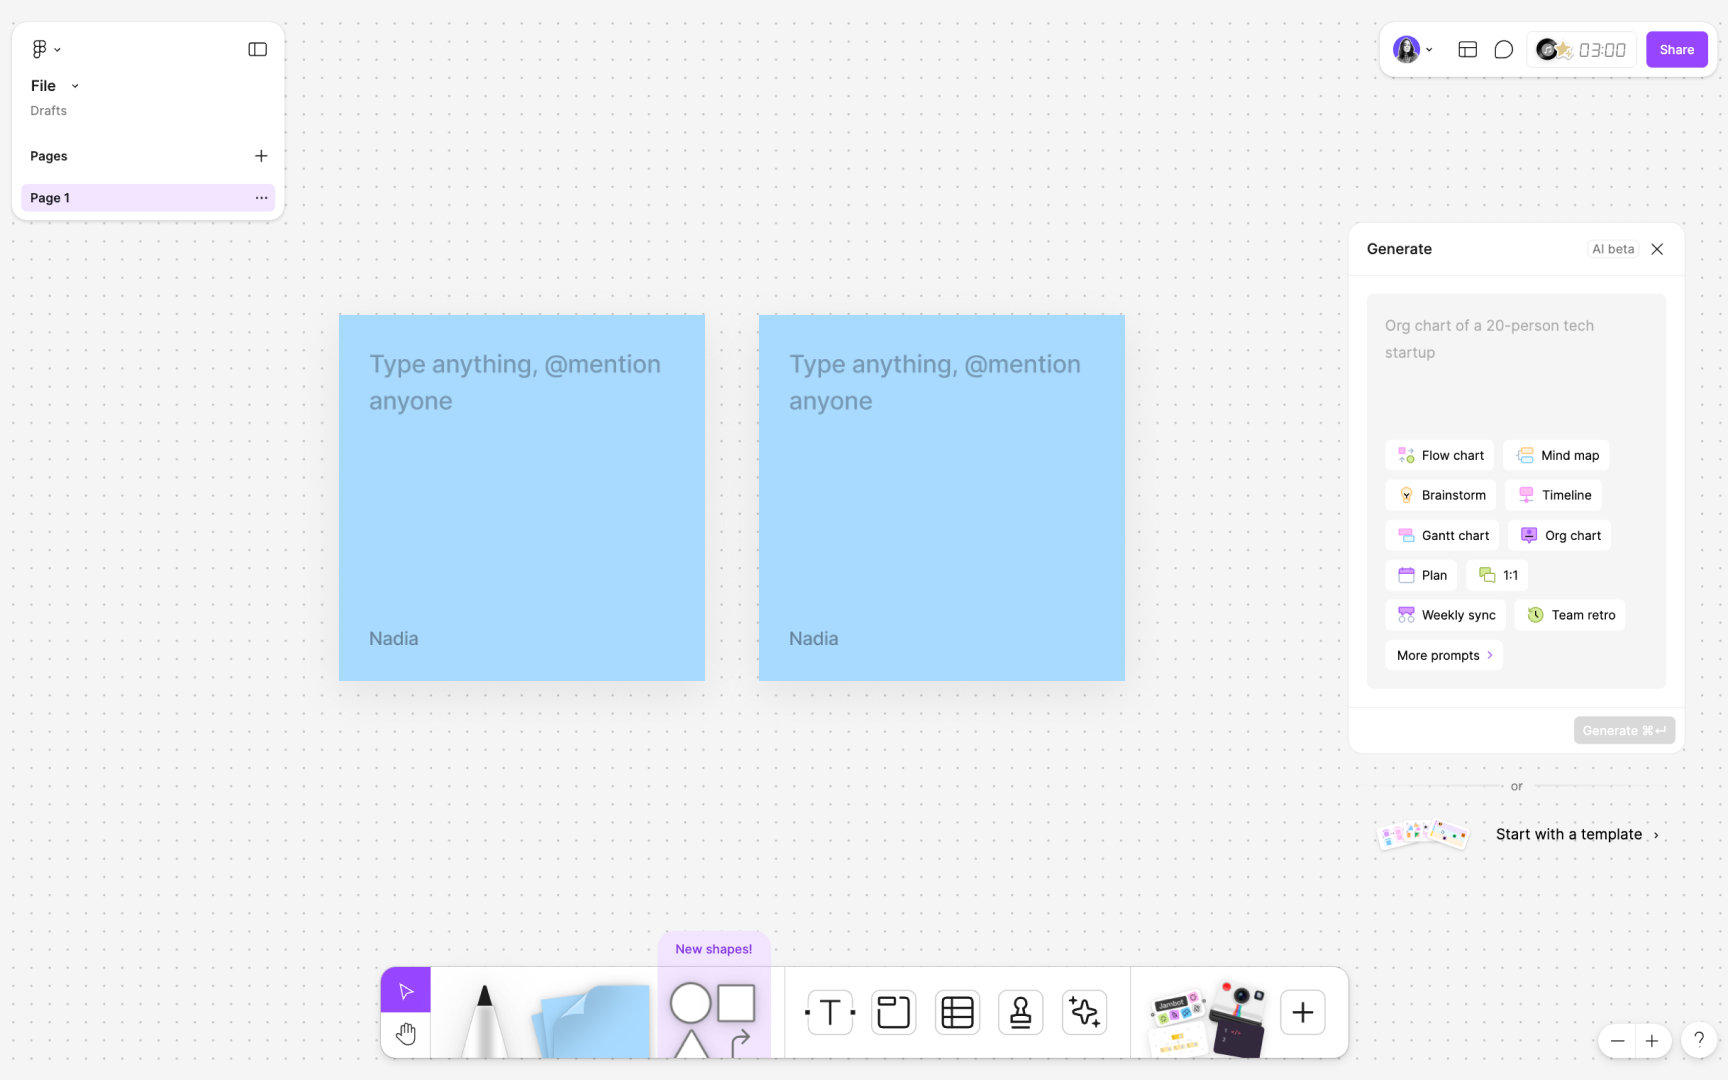
FigJam is an online whiteboarding tool offered by Figma, designed to facilitate collaborative
In FigJam, you can use features like sticky notes, drawing tools, shapes, and connectors to visually organize thoughts and ideas. It's user-friendly and interactive, making it easy for anyone, regardless of their design experience, to contribute. The tool supports real-time collaboration, allowing multiple people to work on the same board simultaneously, making it ideal for remote teams or when working on projects that require input from various stakeholders.
To create a new FigJam file, click the FigJam
Top contributors


Topics
From Course

Share


Similar lessons

Figma Toolbar

Figma Right & Left Sidebars
