Modifying Images in Figma
Explore how you can manipulate images in Figma to integrate them seamlessly into your interfaces.
Images play a pivotal role in design, acting as visual storytellers that convey emotions, concepts, and information simultaneously. They cut through text-heavy content, making designs more accessible and engaging. In Figma, designers can edit, manipulate, and integrate images into their designs, ensuring every visual element aligns perfectly with the project's narrative. From adjusting contrast and brightness to ensuring seamless integration with UI elements, Figma enables you to fine-tune images without the need for separate graphic editing software.
Cropping an
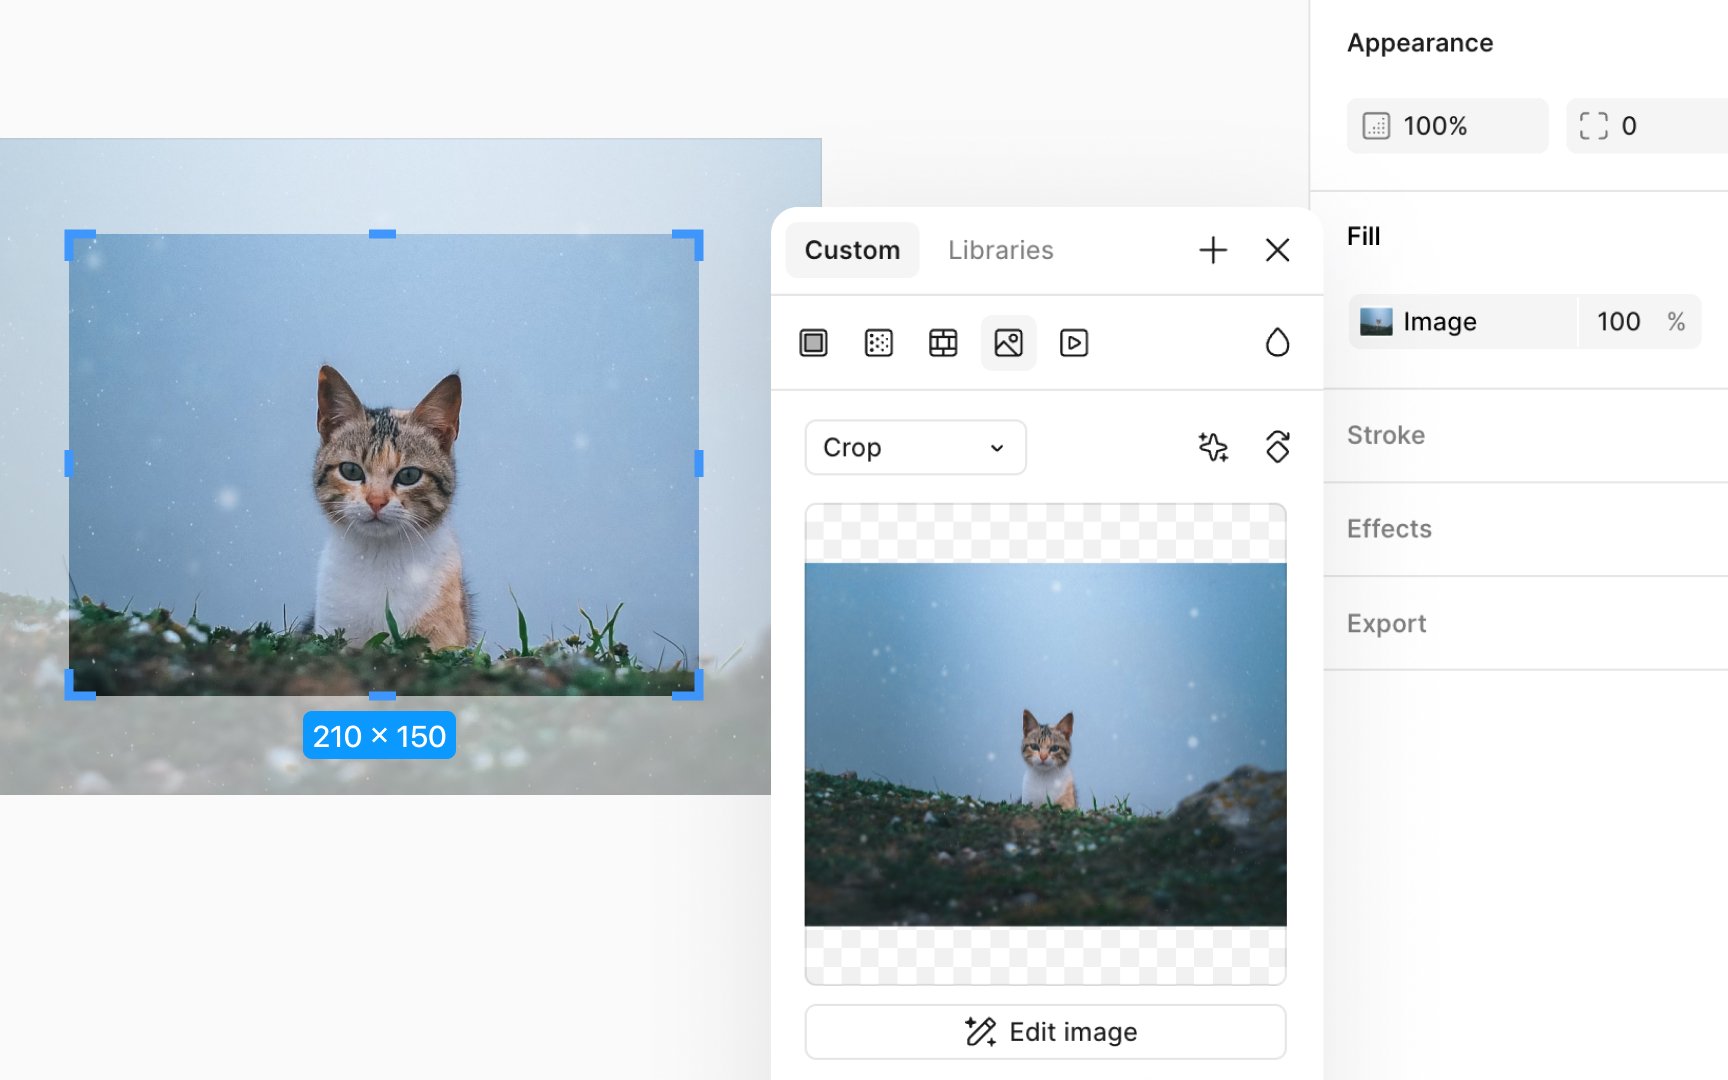
To crop an image:
- First, select the layer that has the image fill.
- Then, navigate to the Fill section in the Design panel and click on the image thumbnail.
- Open the image mode dropdown and select Crop.
- Use the 8 blue handles around the image to adjust your crop.
For proportional cropping, hold the Shift key (on both Mac and Windows) to maintain the image's aspect ratio.
In Figma, various adjustments can be made to an
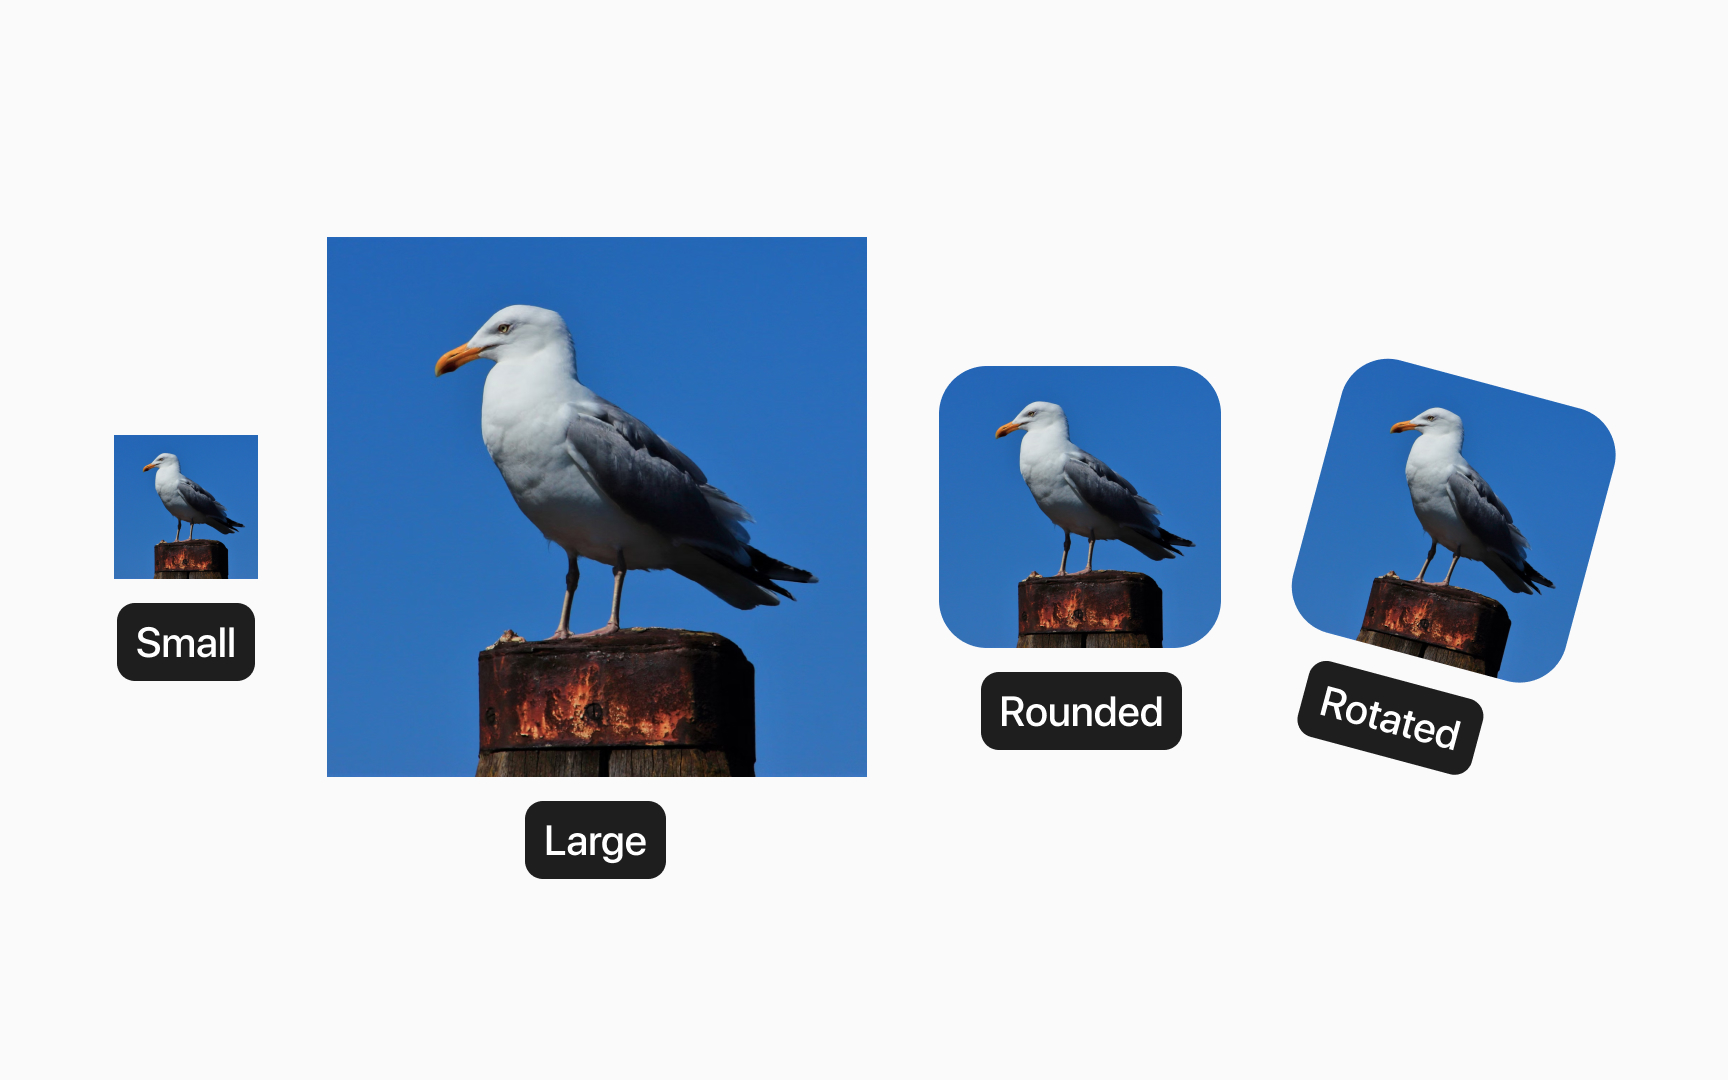
- Repositioning: Click and drag the image to move it to a new location.
- Resizing: Grab any edge of the image and drag it to adjust its size. For proportional resizing, hold the Shift key (on both Mac and Windows) to maintain the image's
aspect ratio . - Rotating: Move your cursor just outside a corner of the image until the rotate icon appears, then click and drag to rotate the image.
- Resizing opposite sides simultaneously: Hold the Option key (Mac) or Alt key (Windows) while dragging to resize both sides at the same time.
- Rounding edges: To round the edges of an image, click on the image. Inside each corner, you'll see a small circle with a dot. This is the corner radius handle. Click and drag it inward to adjust the rounding.

You can fill objects with
- Fill: This makes the image cover the whole object. If the image and object are different shapes, the image might get cut off to make sure the object is fully covered.
- Fit: This mode makes sure you can see the entire image inside the object. If the object and image shapes don't match, you might not fill the whole object, leaving some empty spaces.
- Crop: You can pick which part of the image you want to see by adjusting its edges. It's like putting a frame around the part you want to show.
- Tile: The image repeats over the object, creating a pattern. You can change the size of the repeated images by adjusting the percentage value. You can either type in a new percentage or use the blue handles in the canvas to make it bigger or smaller.
Rotating an
Here’s how to do it:
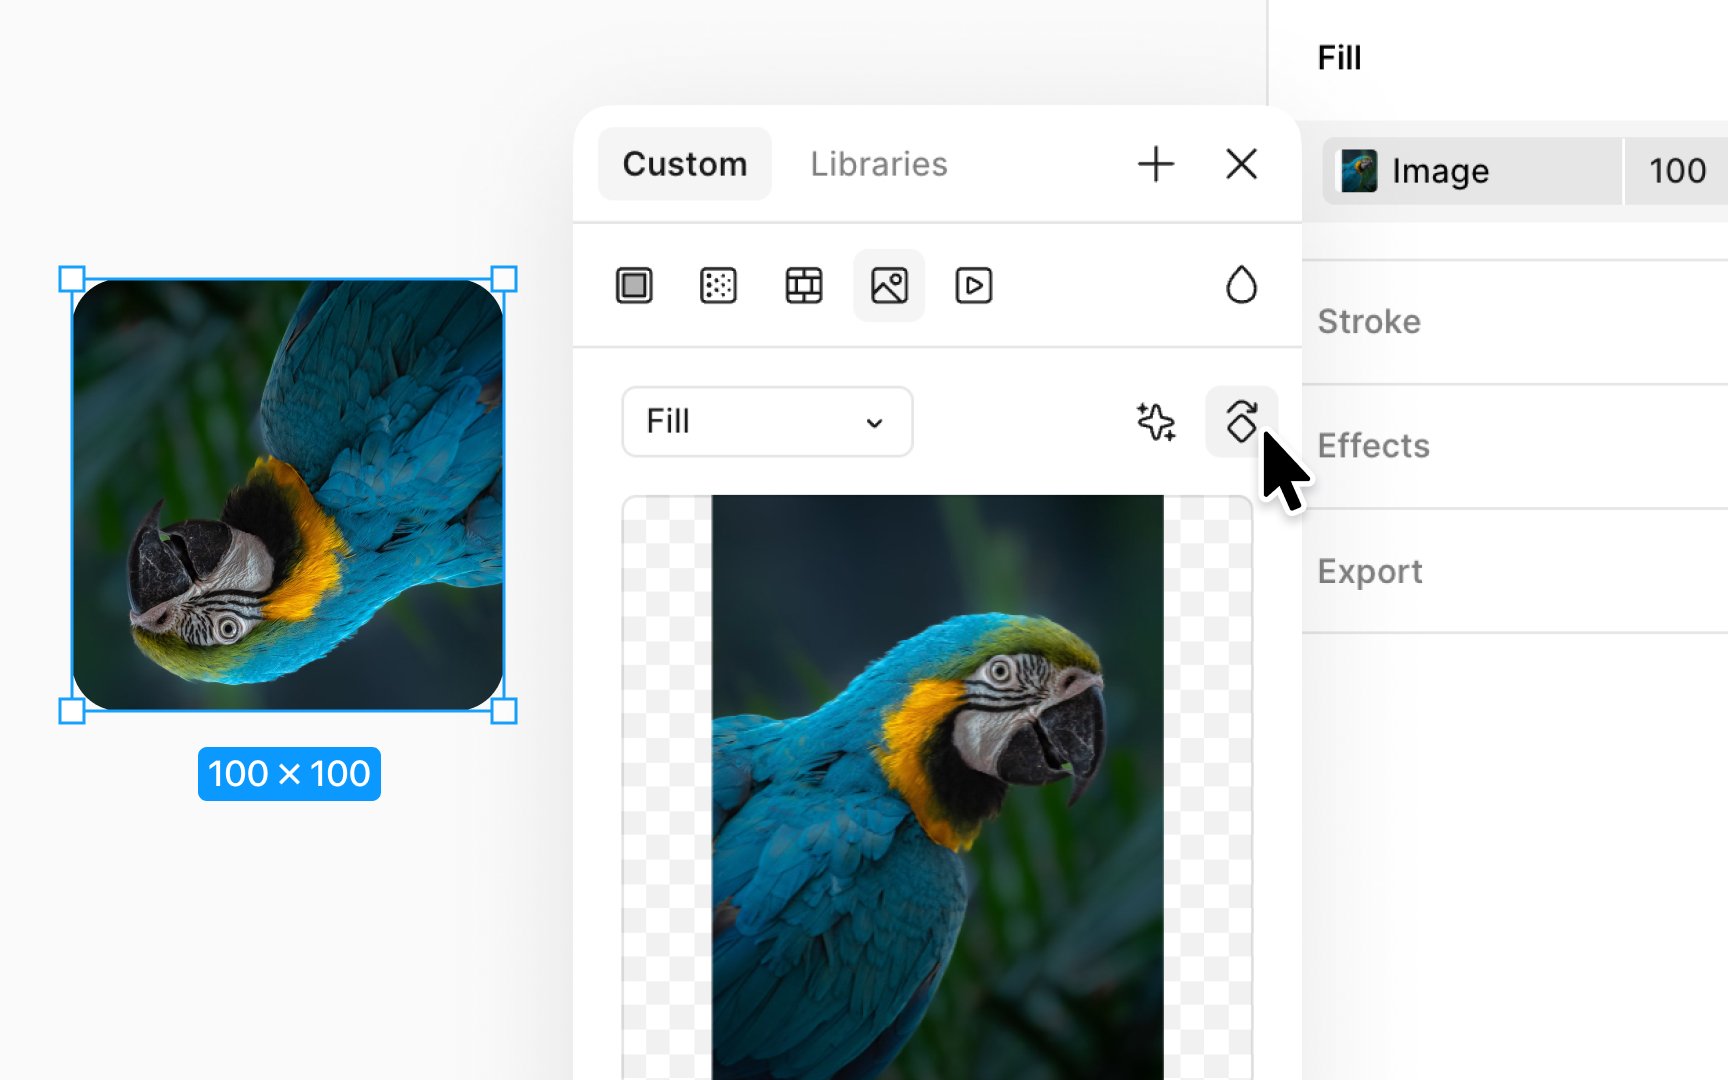
- Select the object with the fill you want to rotate.
- In the Fill section in the Design panel, click the image
thumbnail that reveals a modal. - Look for the rotate
icon and click it to rotate the fill by 90º clockwise. You can click multiple times to keep rotating in 90º increments until you achieve the desired orientation.
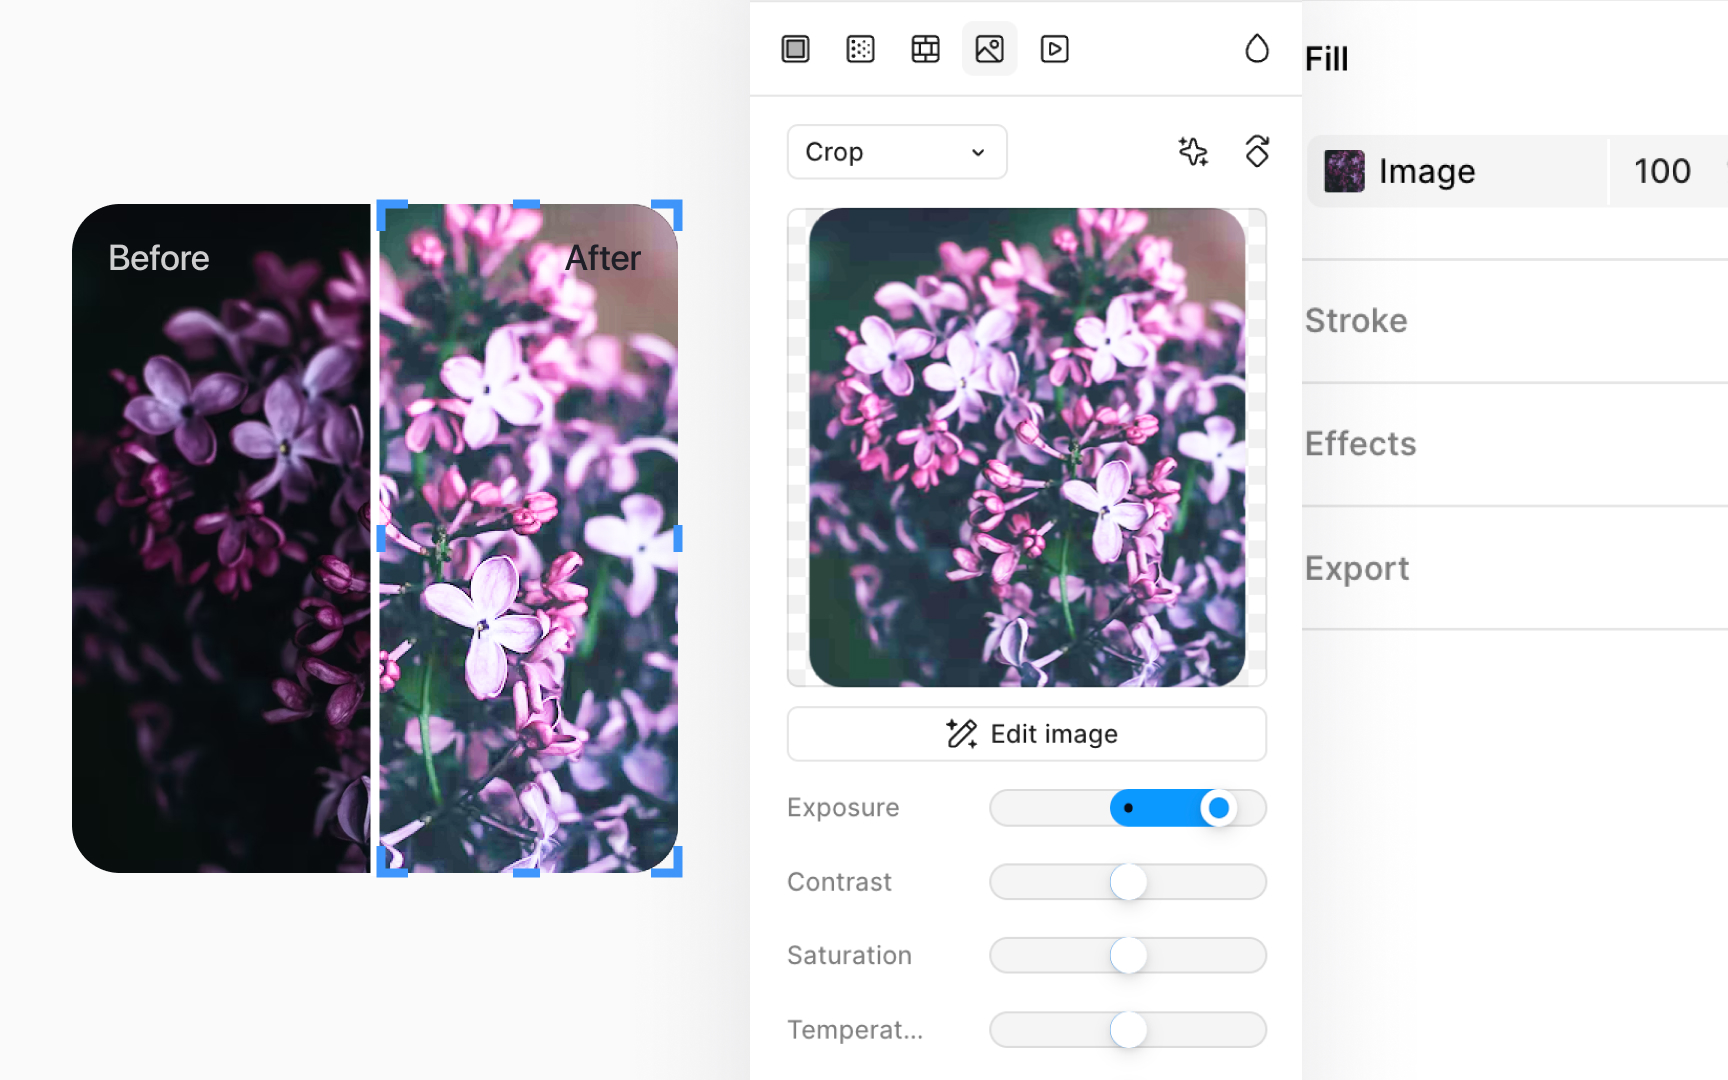
In photography, exposure controls how much light hits the camera sensor, affecting the image’s brightness. In Figma, exposure works the same way, you adjust how light or dark an image appears. To adjust exposure in Figma, click the image
This adjustment is useful when you want to bring out details in dark

Higher
This adjustment helps when an image looks washed out or too harsh. Increasing contrast can sharpen edges and improve focus. Lowering it can help blend the image more smoothly into the background or surrounding elements.
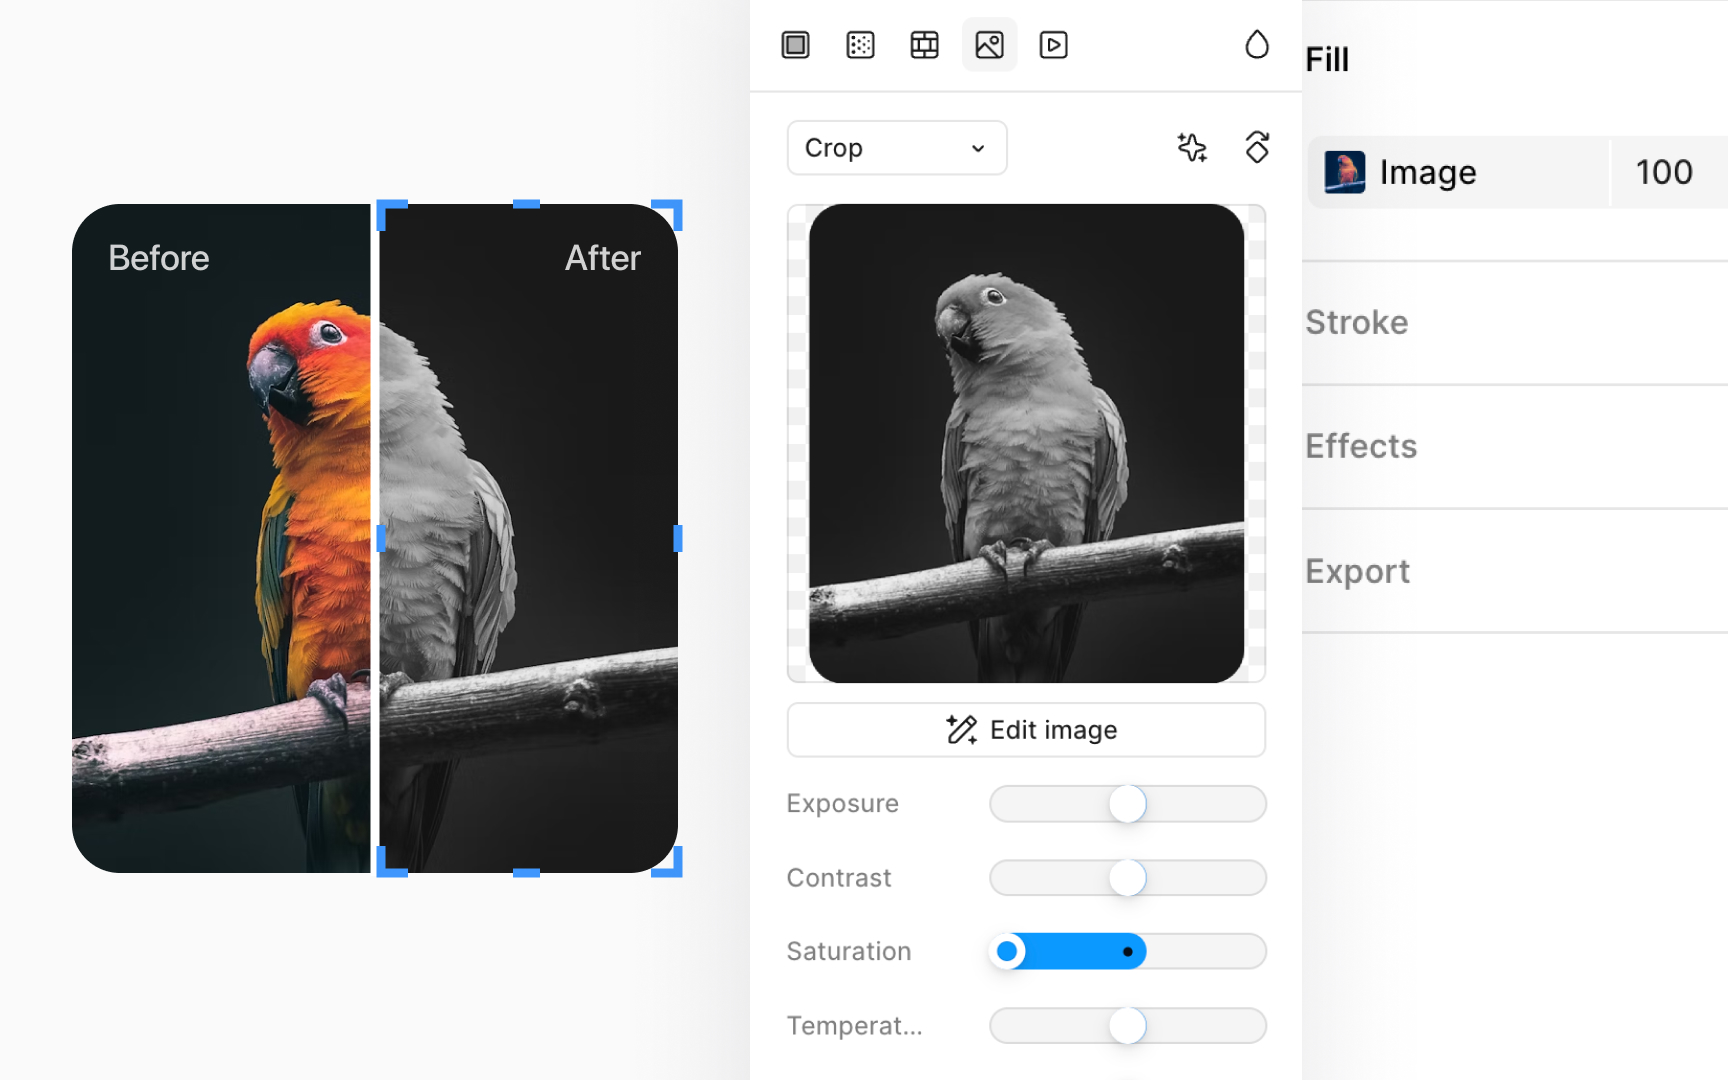
Saturation controls how intense or muted the colors in an
In Figma, you can find the Saturation
Use this when an image looks too dull or too loud. Increasing saturation can help an image stand out. Decreasing it can help it feel more neutral or better match the surrounding
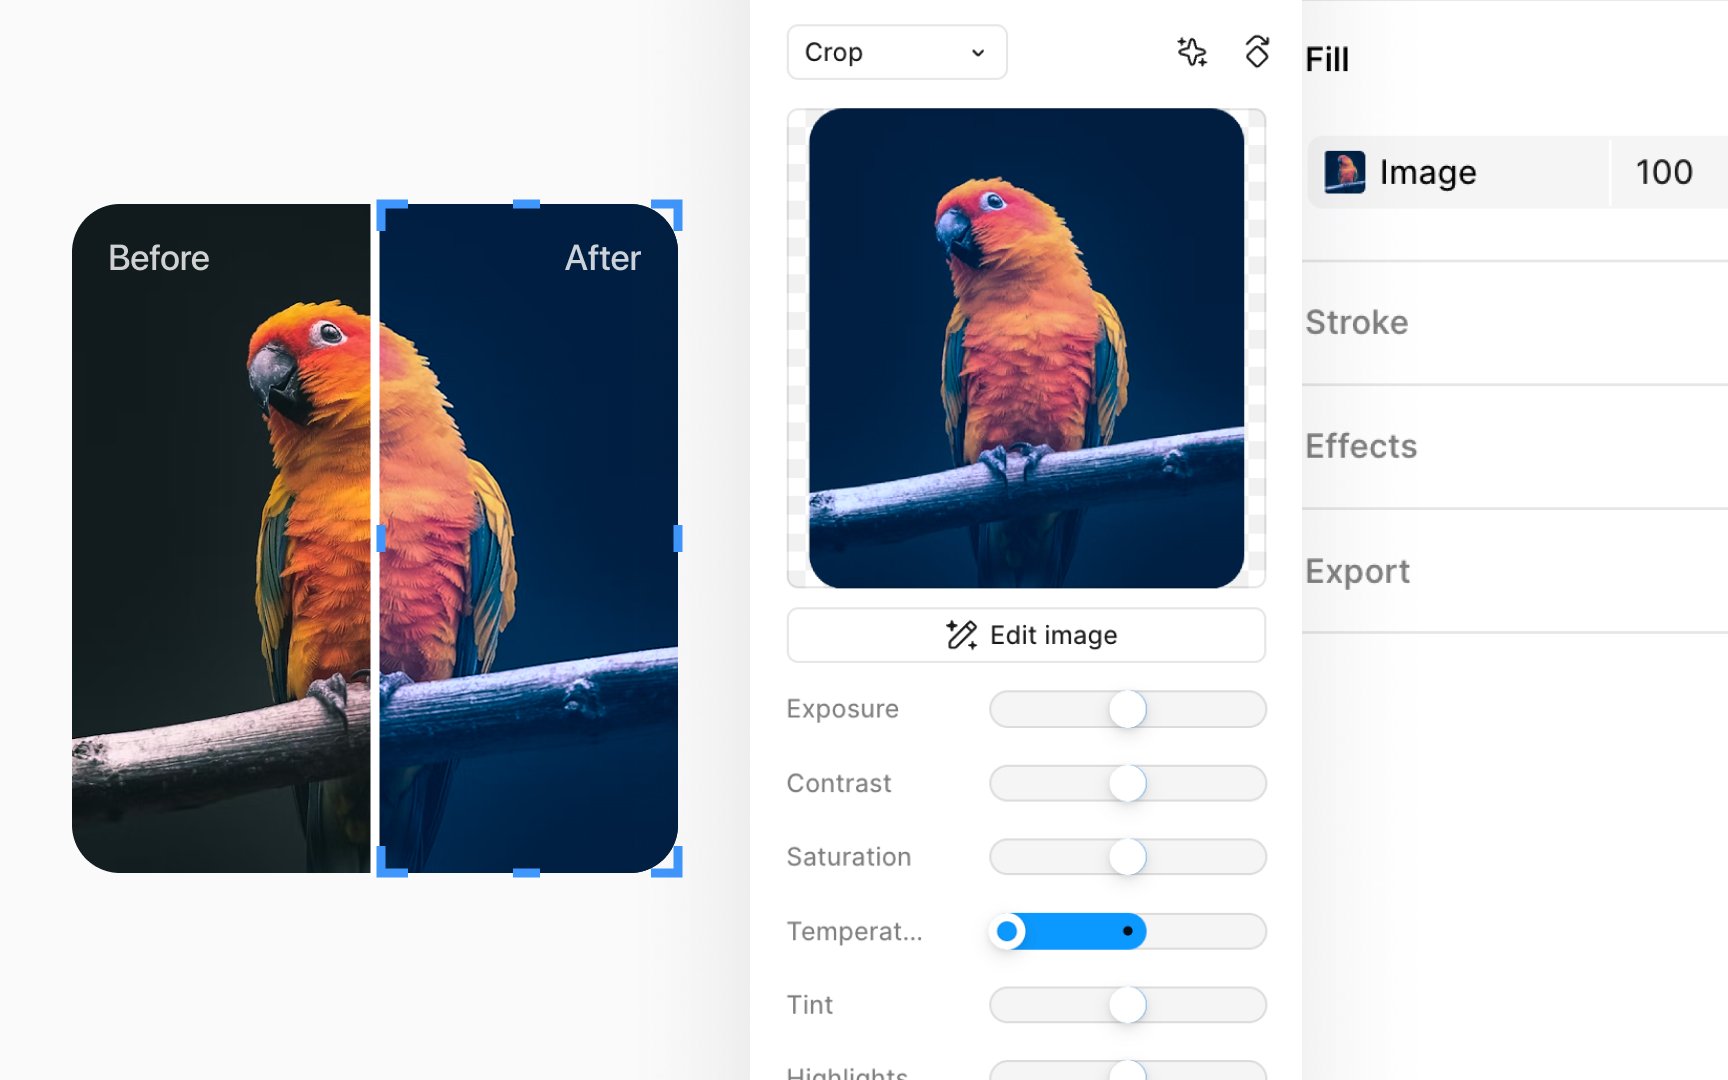
Adjusting an
You can find the Temperature
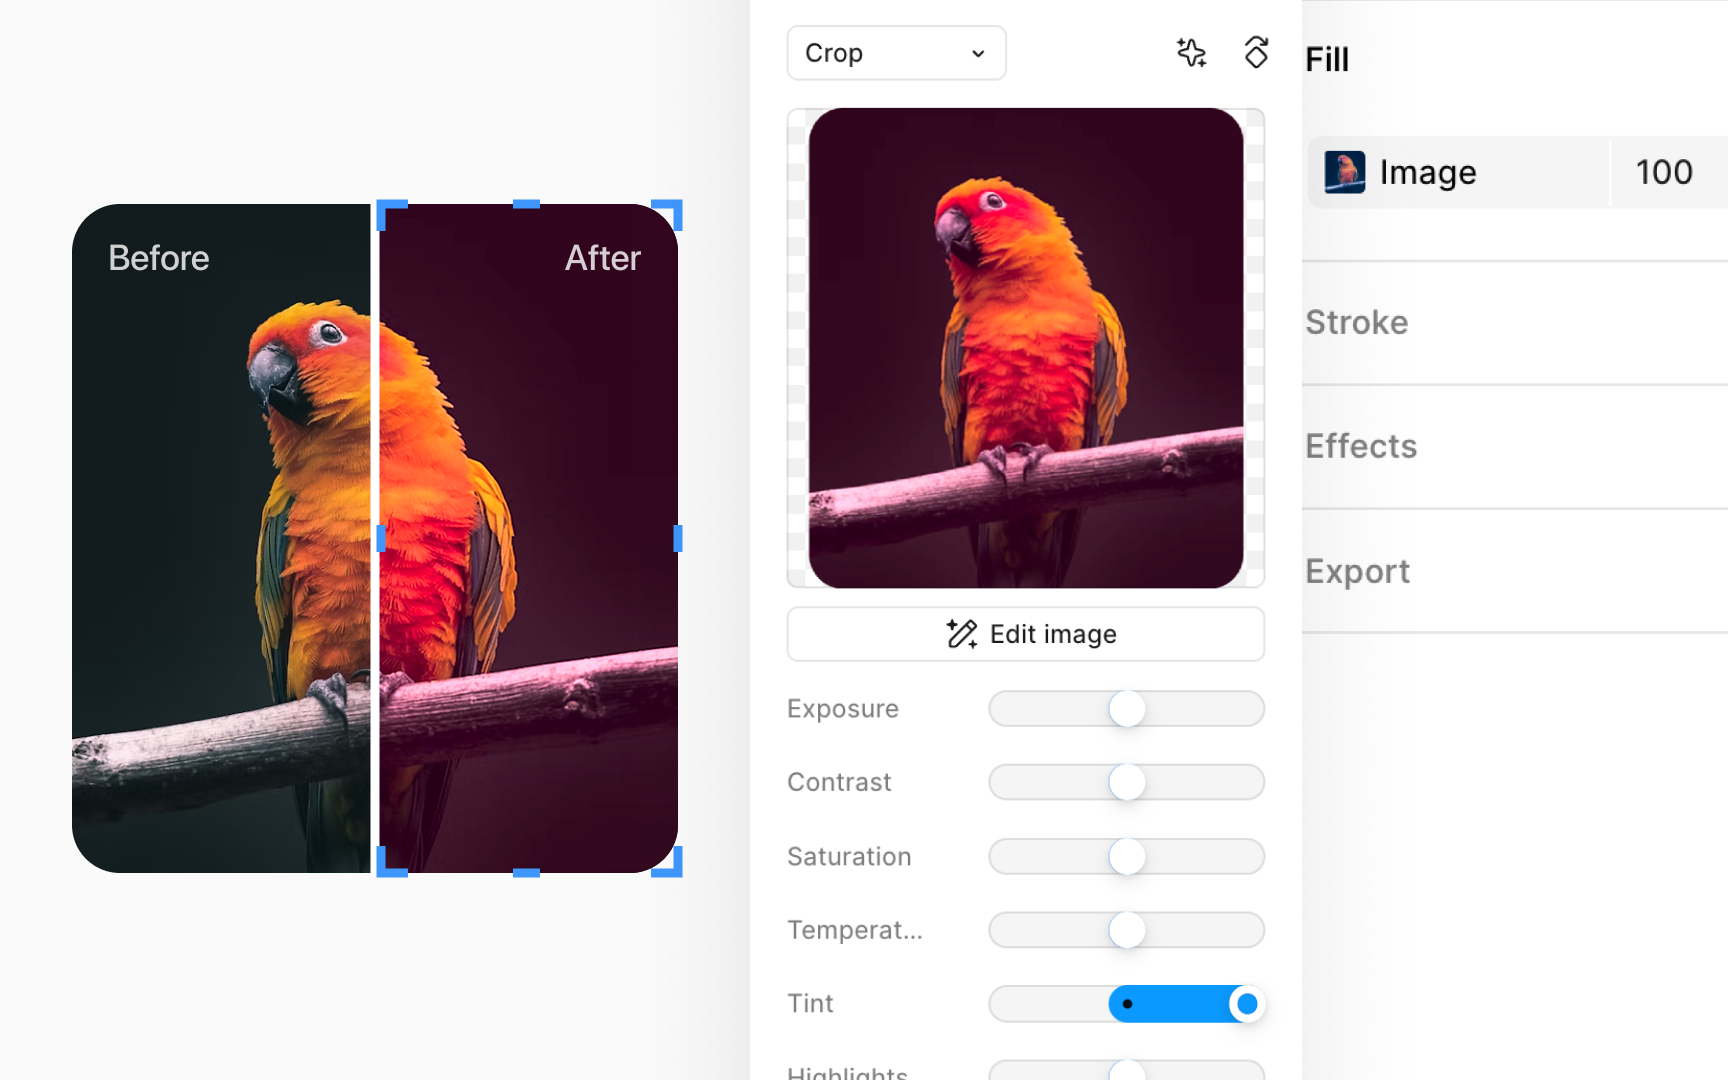
Adding a
This setting is especially useful in creating cohesive color schemes across your design, allowing images to harmonize with your overall palette.
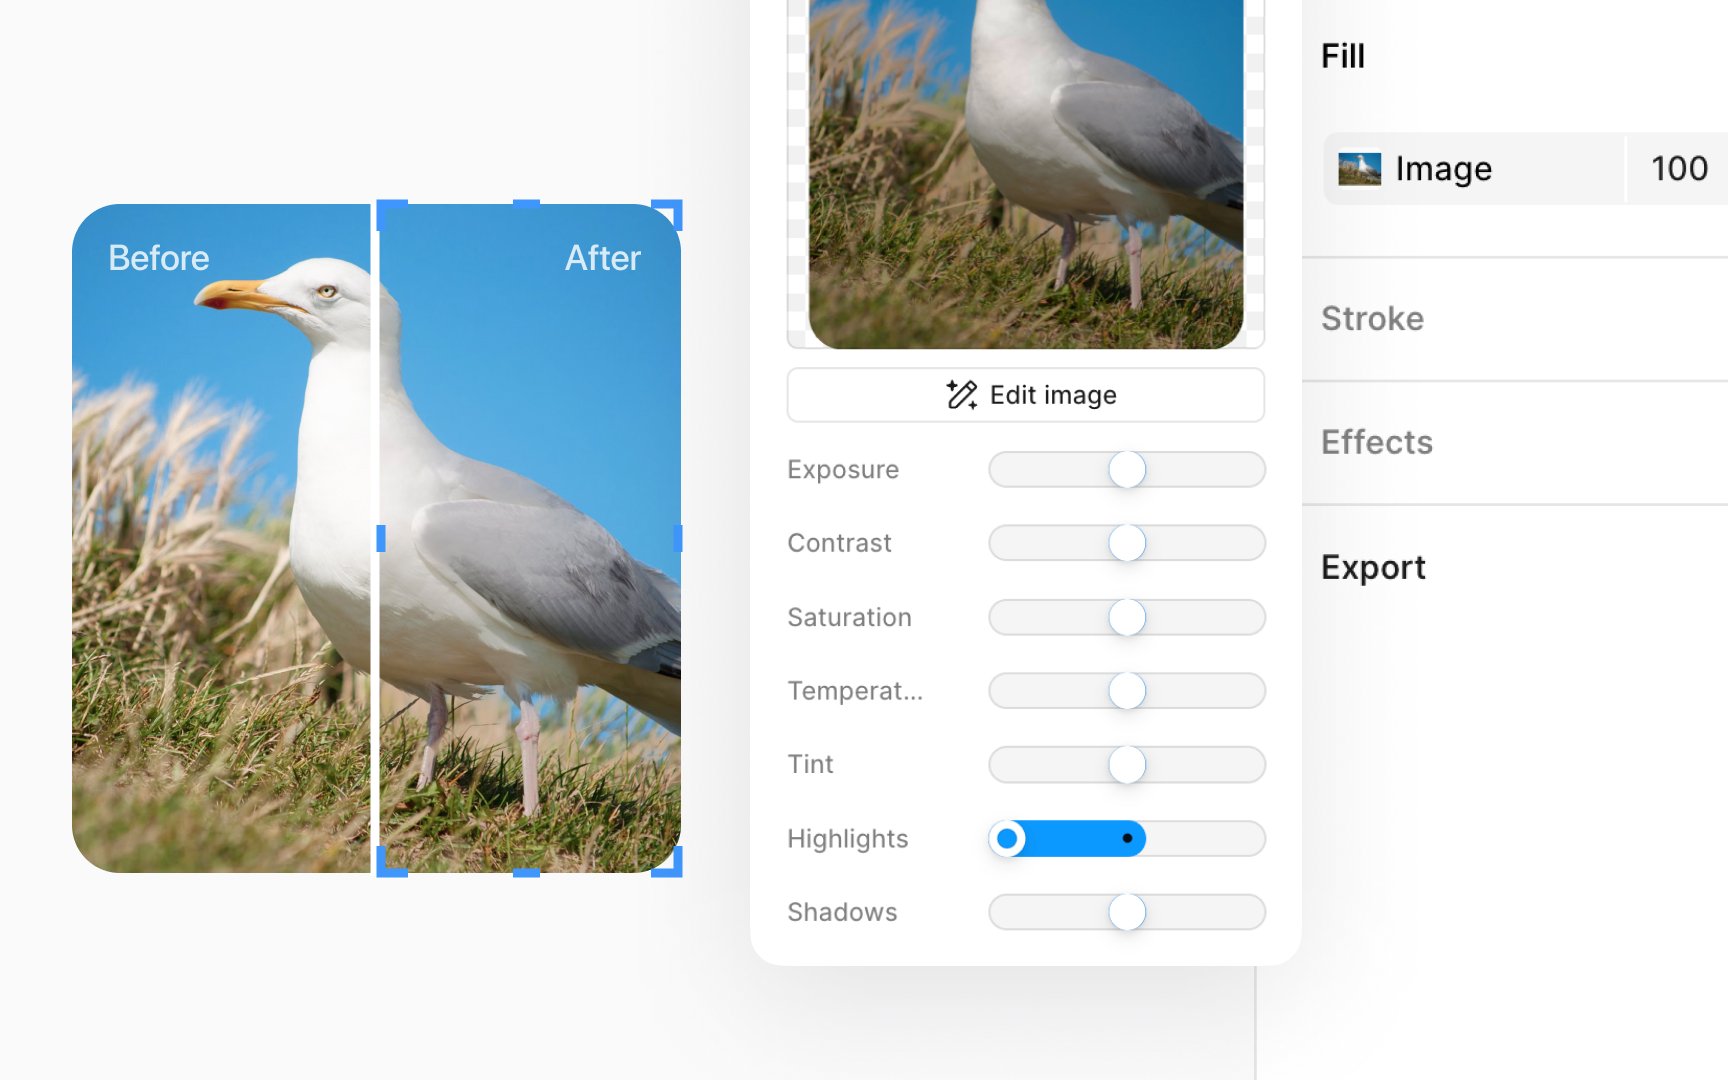
To find the Highlights
This feature is especially handy when you want to balance your image's overall look or highlight specific details, ensuring your design stands out.
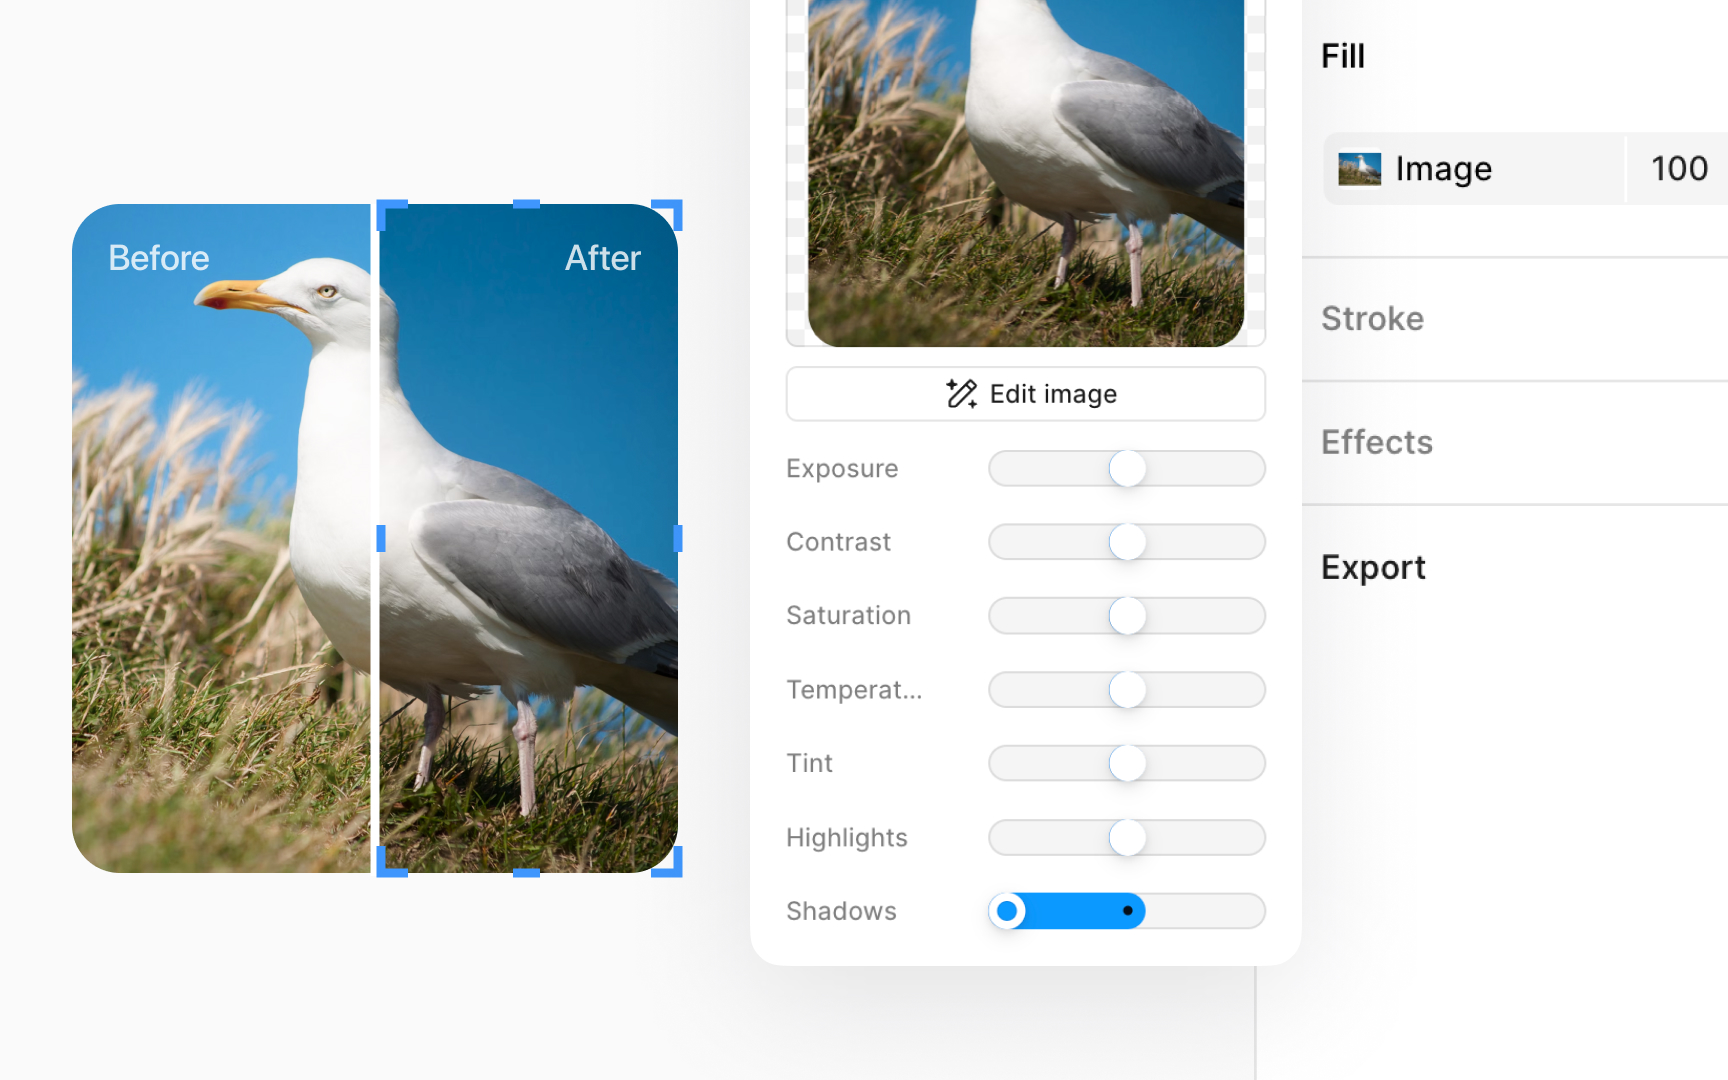
Click the
By focusing on shadows, you can:
- Make your image look more interesting by adding depth.
- Change how dark or light the shadows are, making them softer or more noticeable.
Think of it as controlling how much shade there is in your picture. You can either turn down the shadows to keep things light or dial them up to make your image more dramatic.
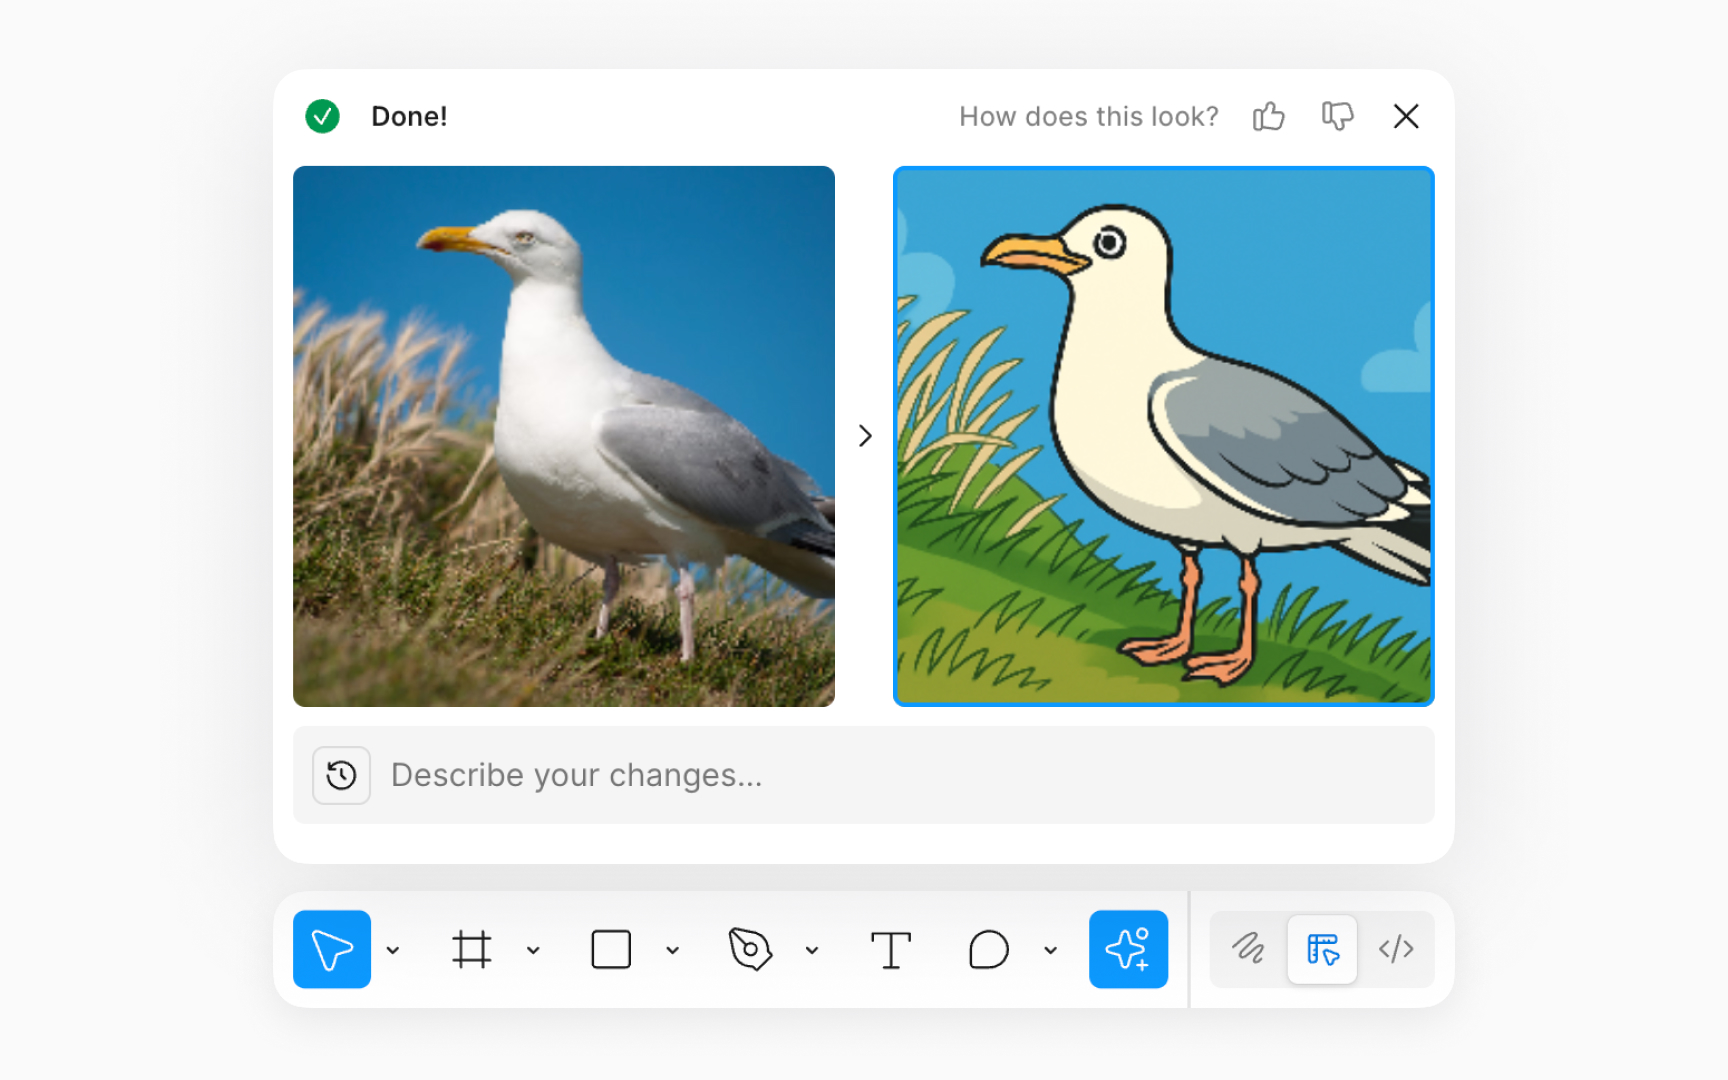
Figma’s AI-powered edit image feature lets you change
Here’s how to use it:
- Select the image you want to edit.
- Go to the Actions
menu in the bottom toolbar - Type what you want in the text box. Be clear and specific. More context helps achieve the desired result.
- Click Edit image or press Command Enter.
This keeps editing fast and simple, without switching tools.
Top contributors

Topics
From Course

Share


Similar lessons

Common UI Component Definitions I

Image Terminology
