HTML Layout
Learn how to structure and arrange the content on your web pages effectively with HTML layout elements
You might have noticed that websites can look entirely different but have similar structures. Developers achieve this by positioning the various HTML layout elements to provide the most comfortable and intuitive layout for all users to read and scan pages.
Moreover, when HTML structure and formatting are in line with the displayed content, it benefits website ranking in search engines. In this lesson, we cover the most fundamental layout elements and how to use them correctly.
Like any other language, <form>, <table>, and <article>, while the second group contains non-semantic elements like <div> and <span>.
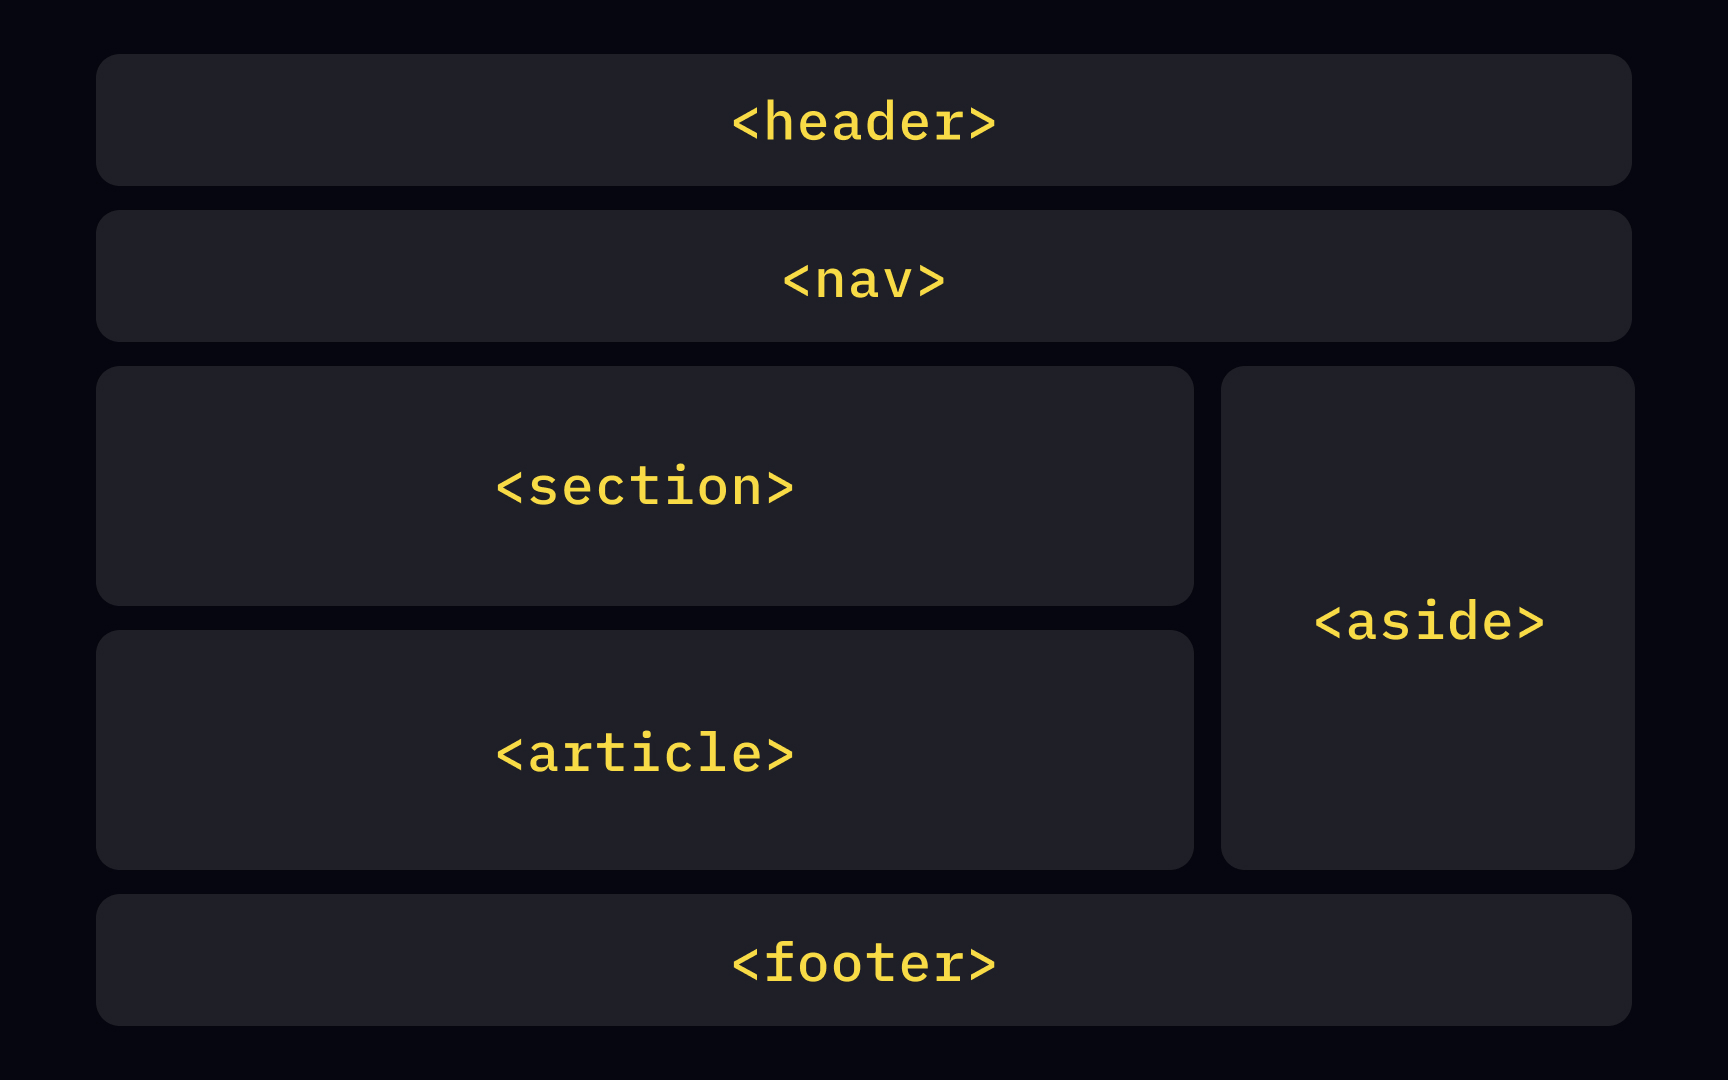
Such semantic elements like <header>, <nav>, <section>, <article>,<aside>, and <footer> define the most typical website
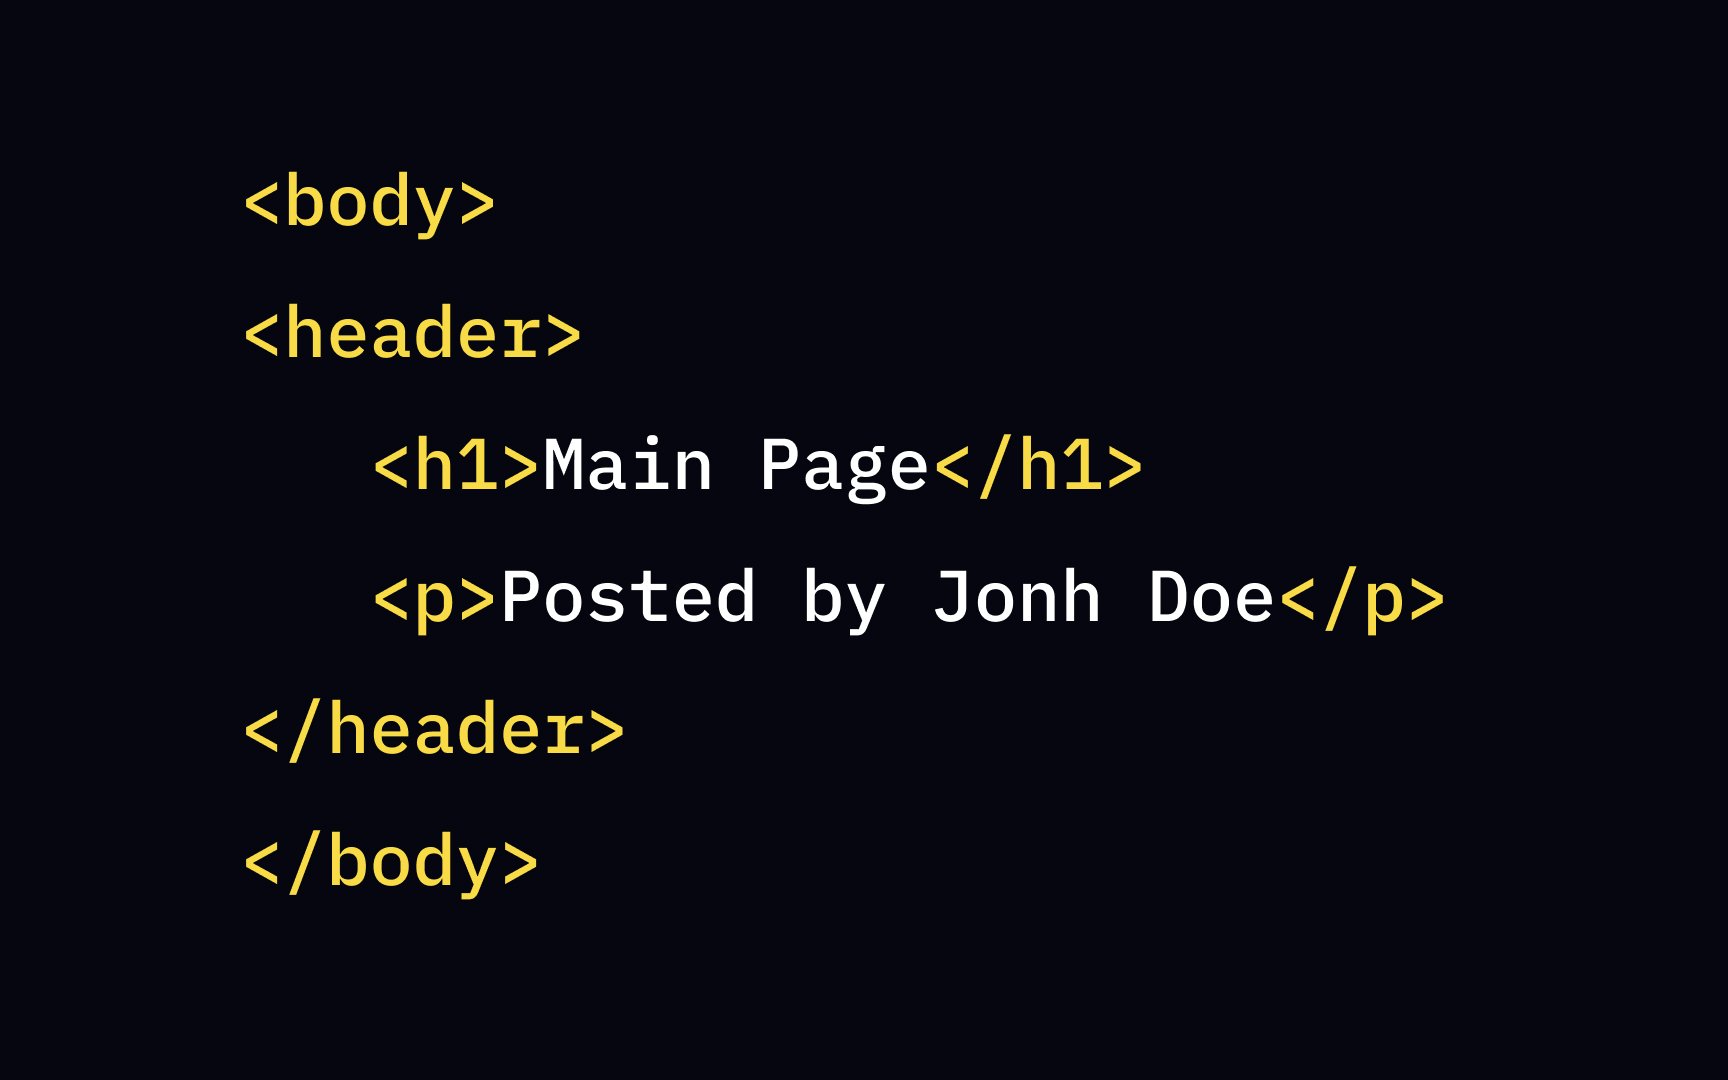
The <header> element is located at the "head" of the website and represents introductory
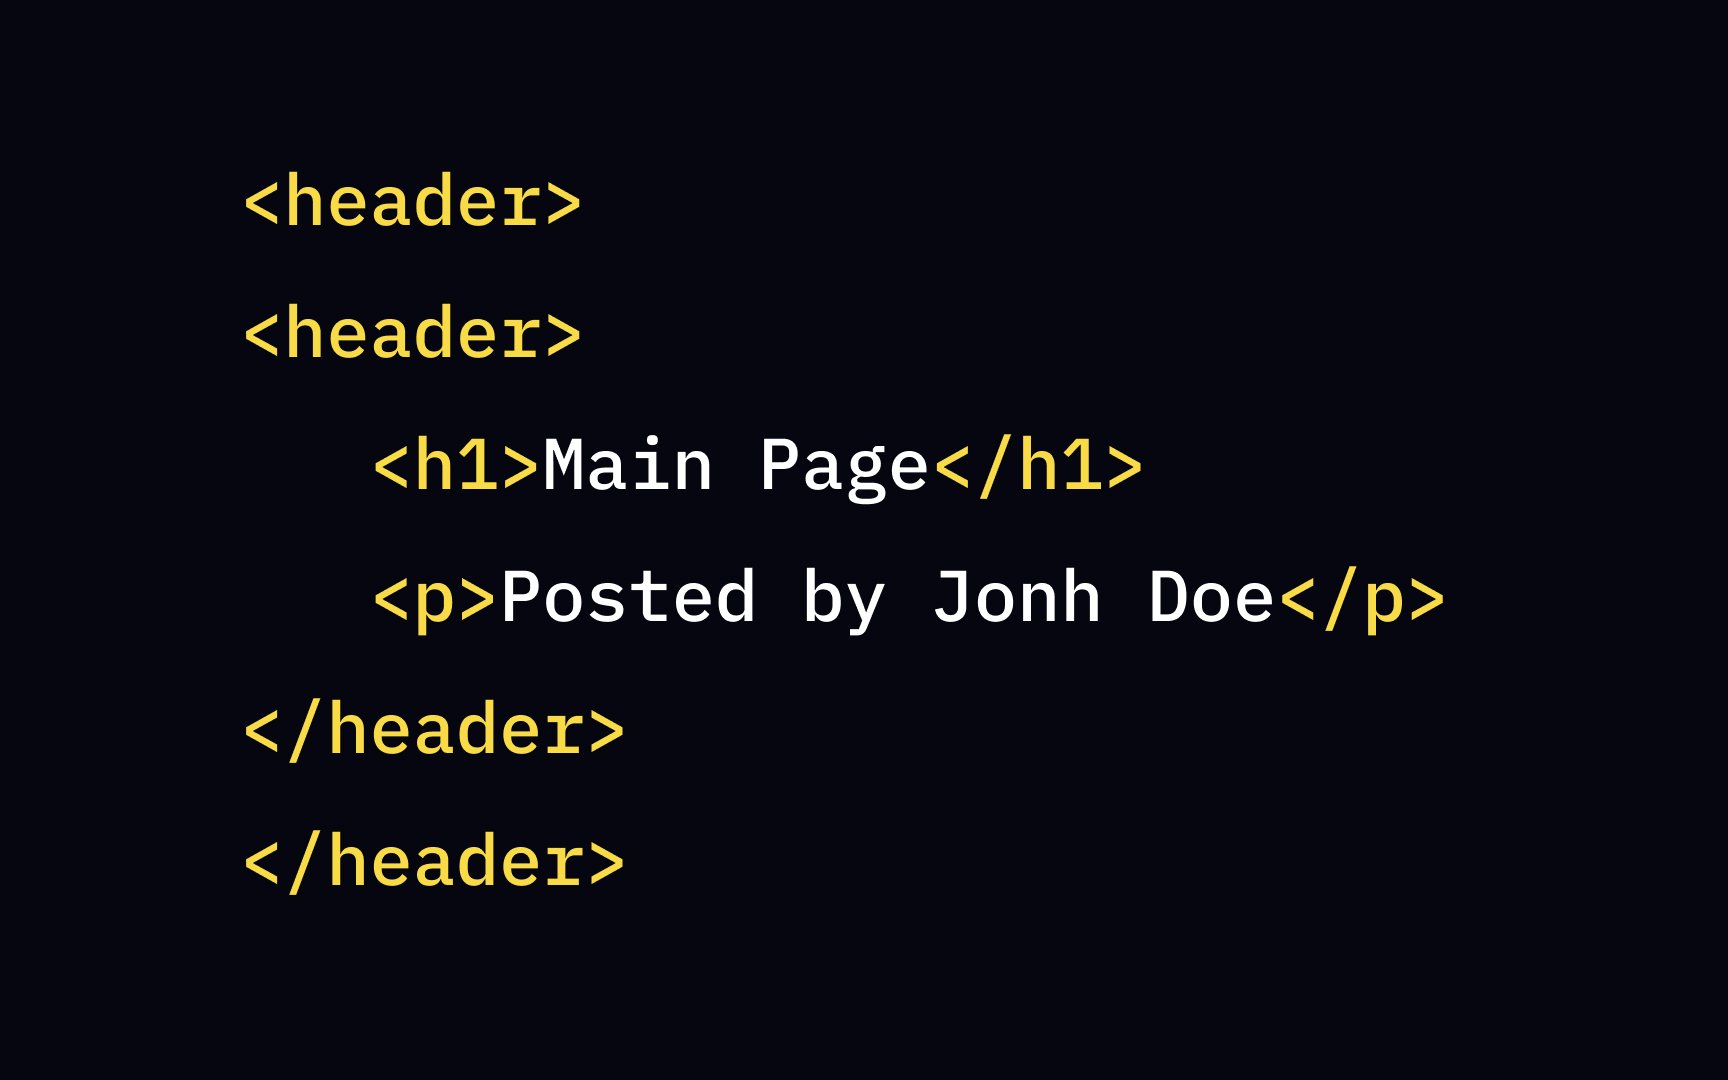
Generally, the header element includes:
• One or more headings (<h1> - <h6>)
• Authorship information
Remember that the <header> element requires both the start and end tags. The <header> but it cannot sit inside <footer>, <address>, or another <header> element.
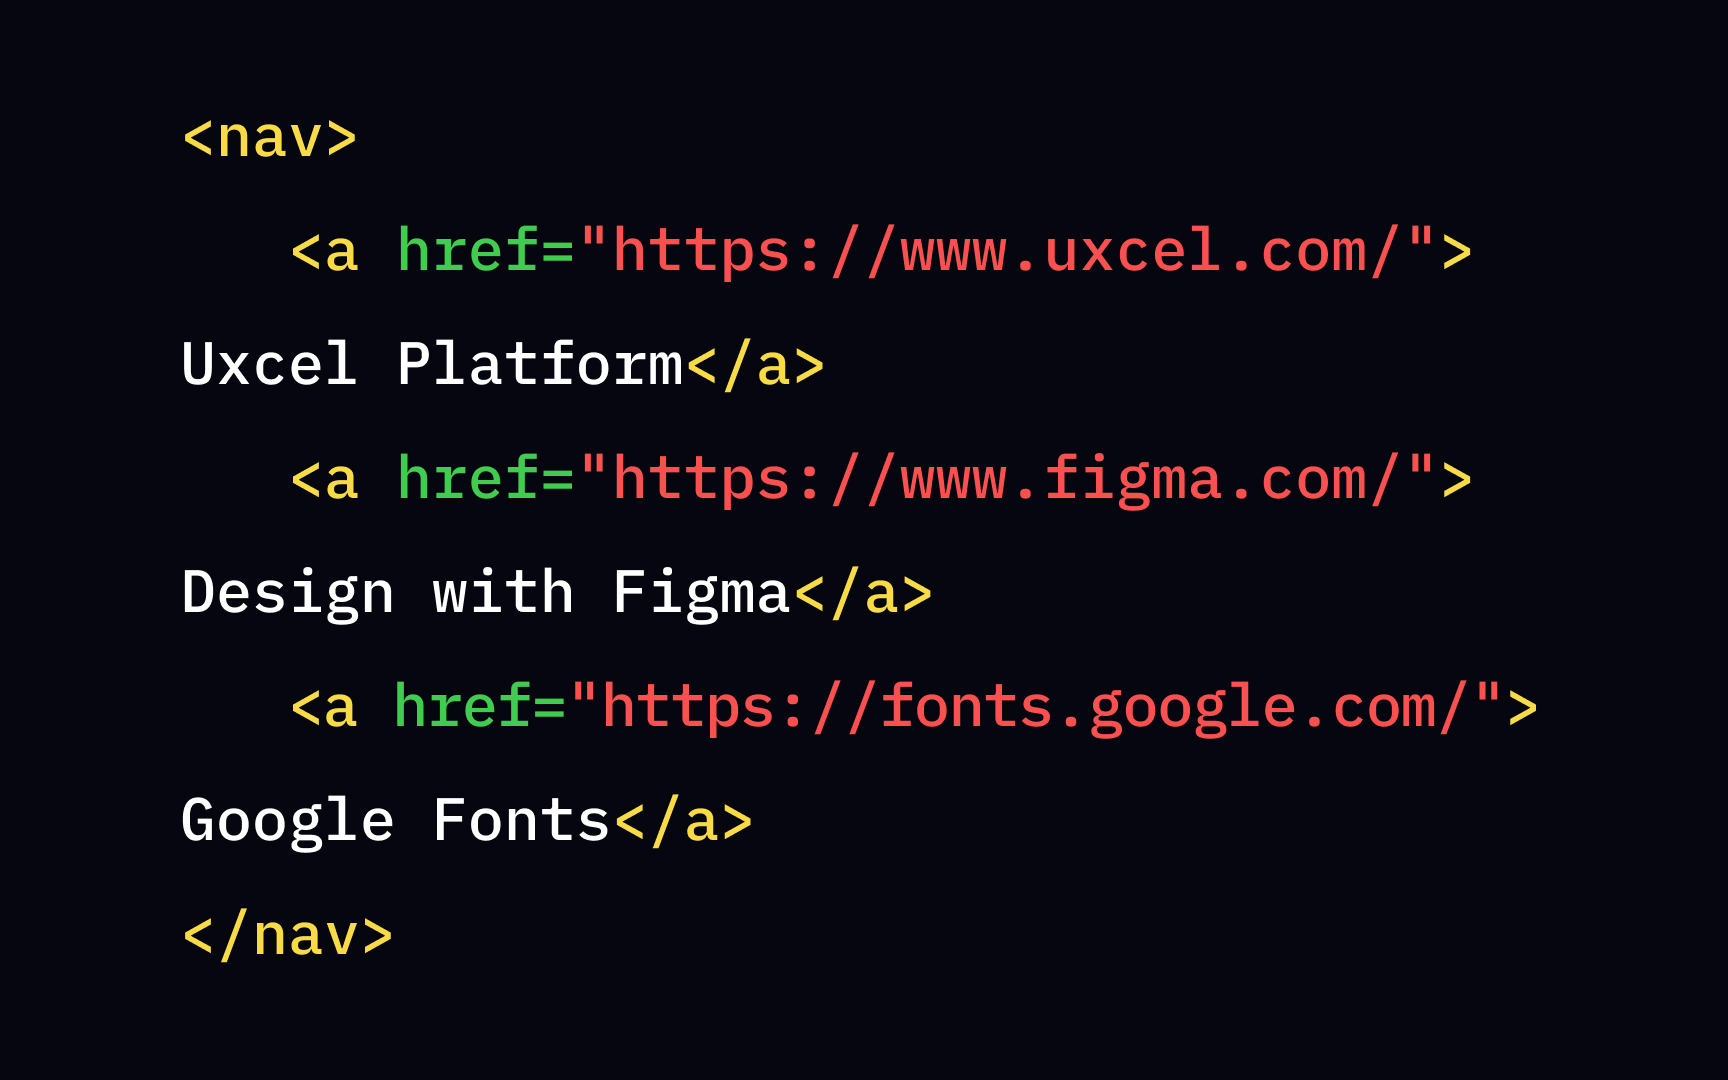
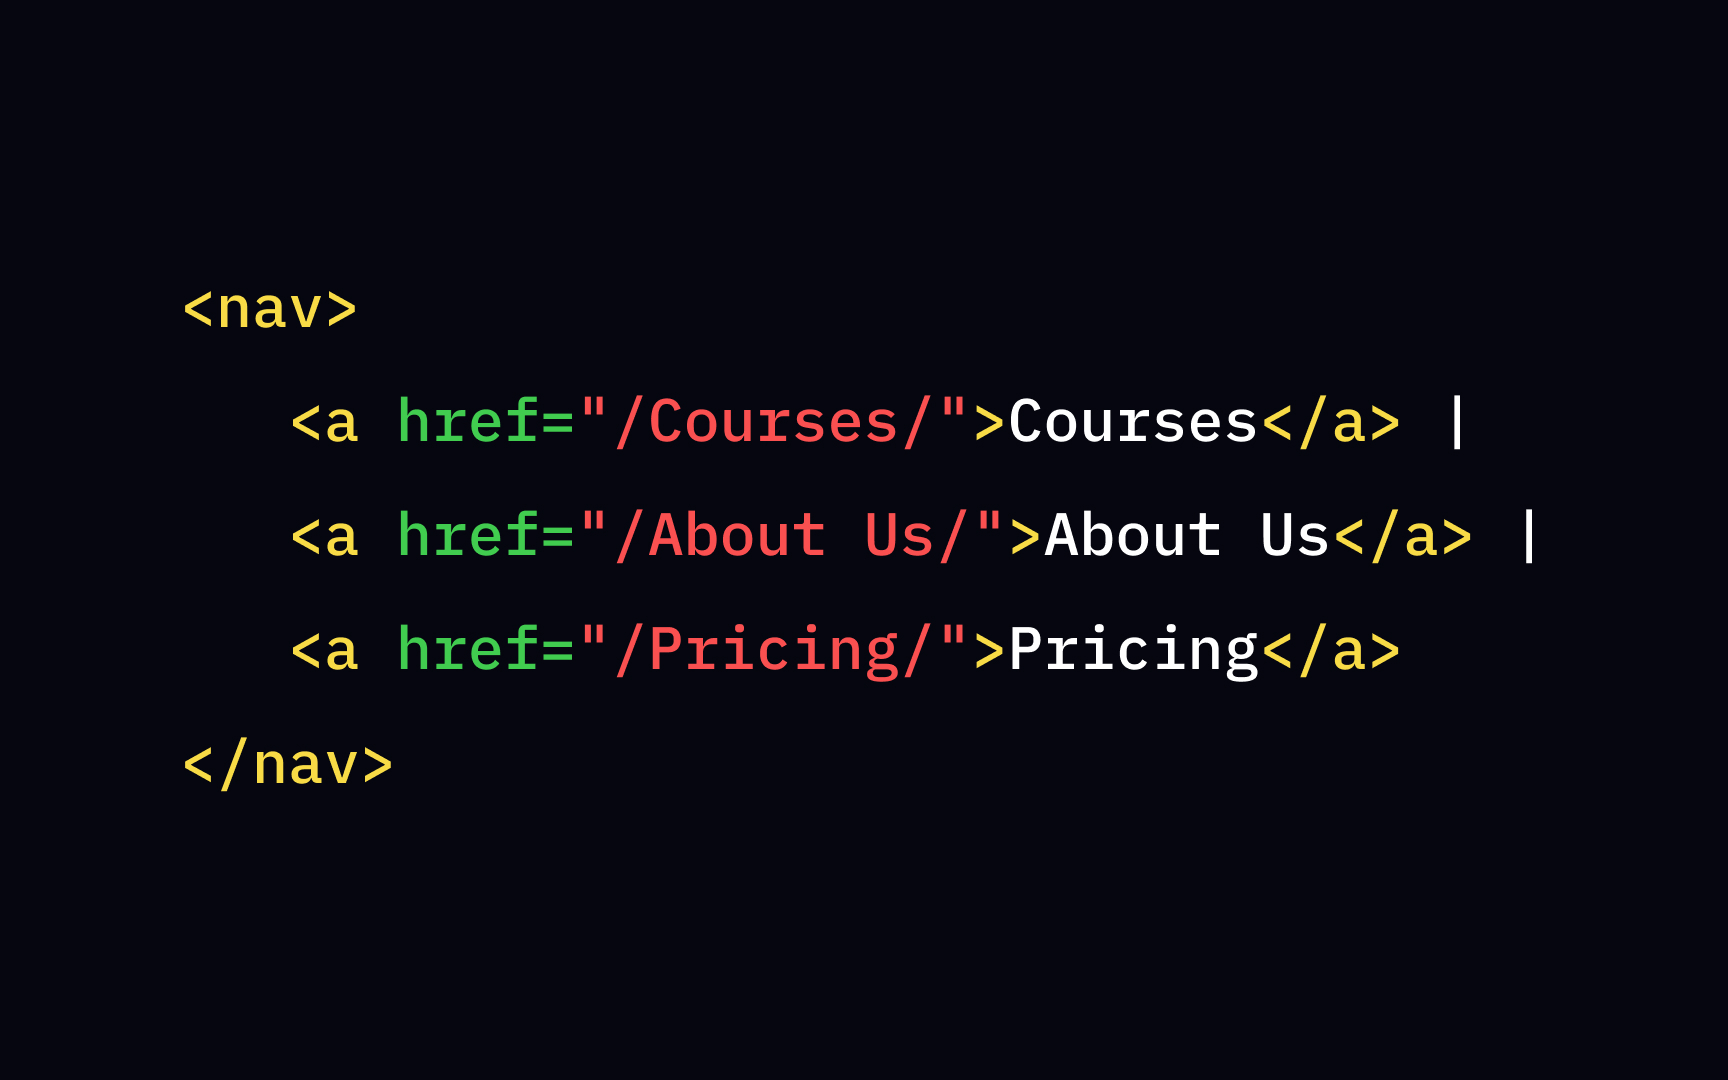
The <nav> tag stands for <nav> element includes menus, tables of contents, and indexes. Like the <header>, the <nav> requires both opening and closing
Pro Tip: The <nav> element shouldn't include all links from the web page, only the main navigation. For instance, the <footer> has its own set of links that don't need to be in a <nav> element.
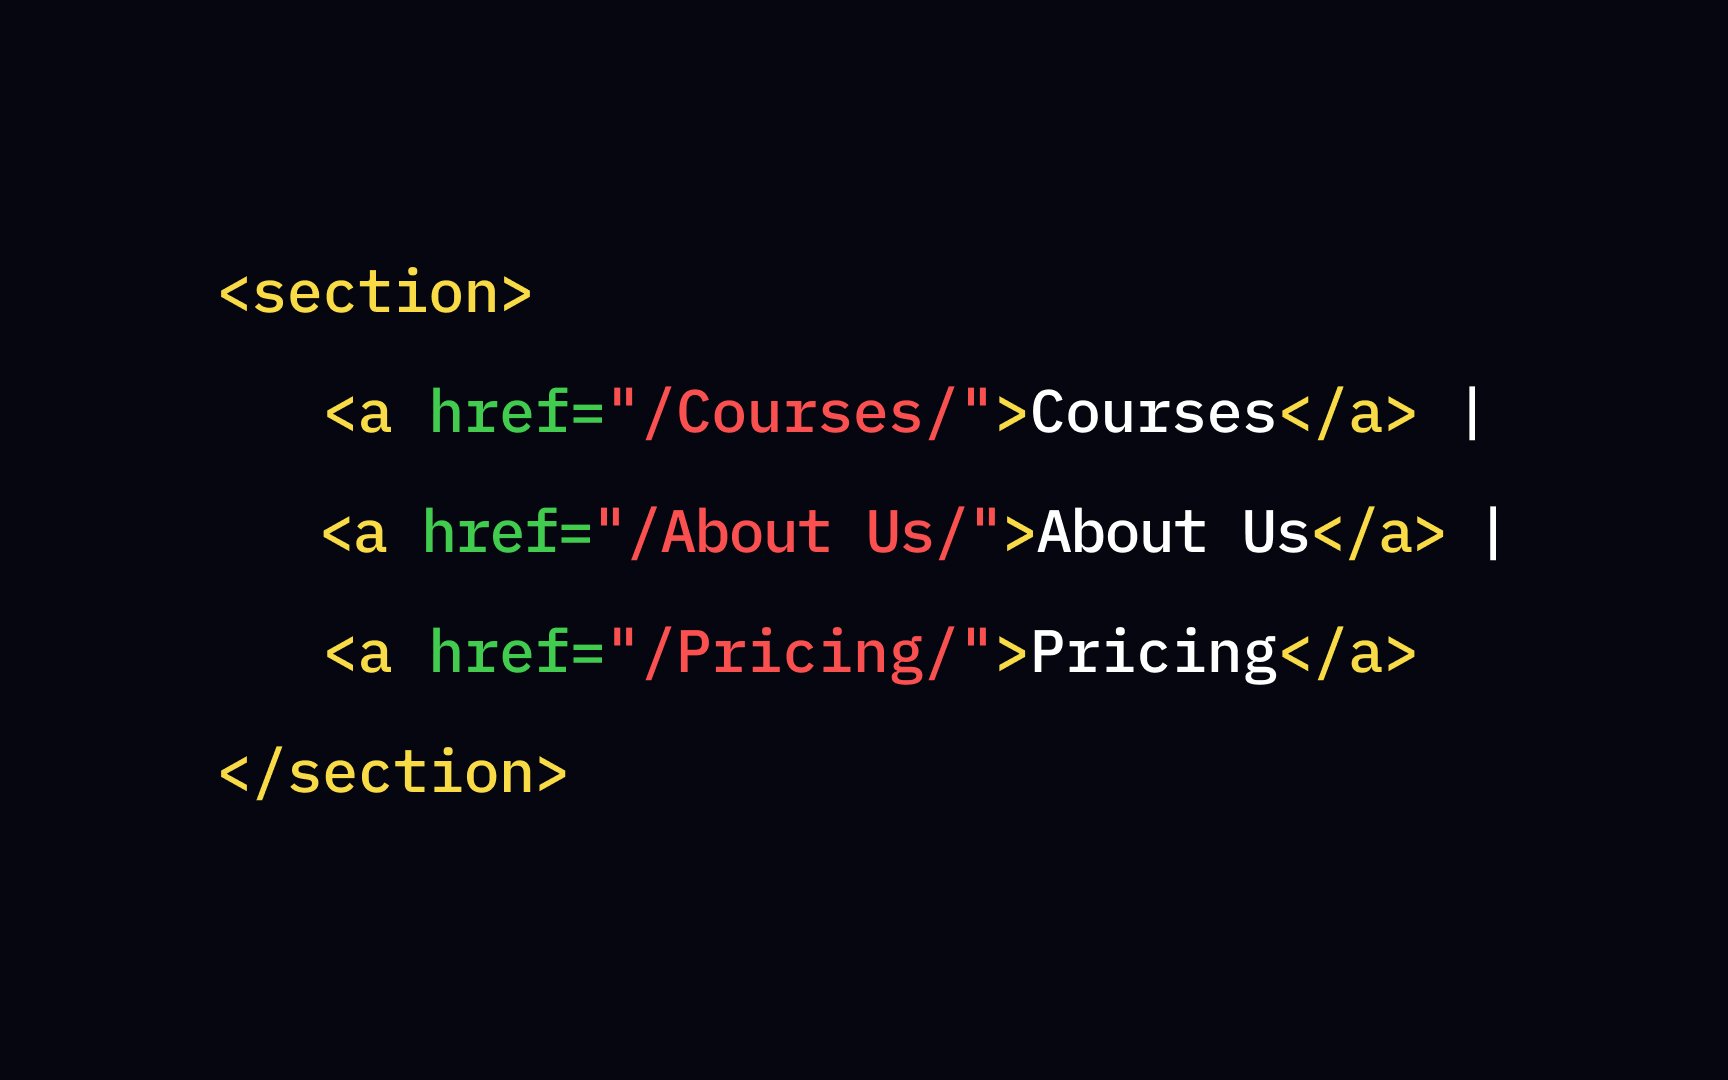
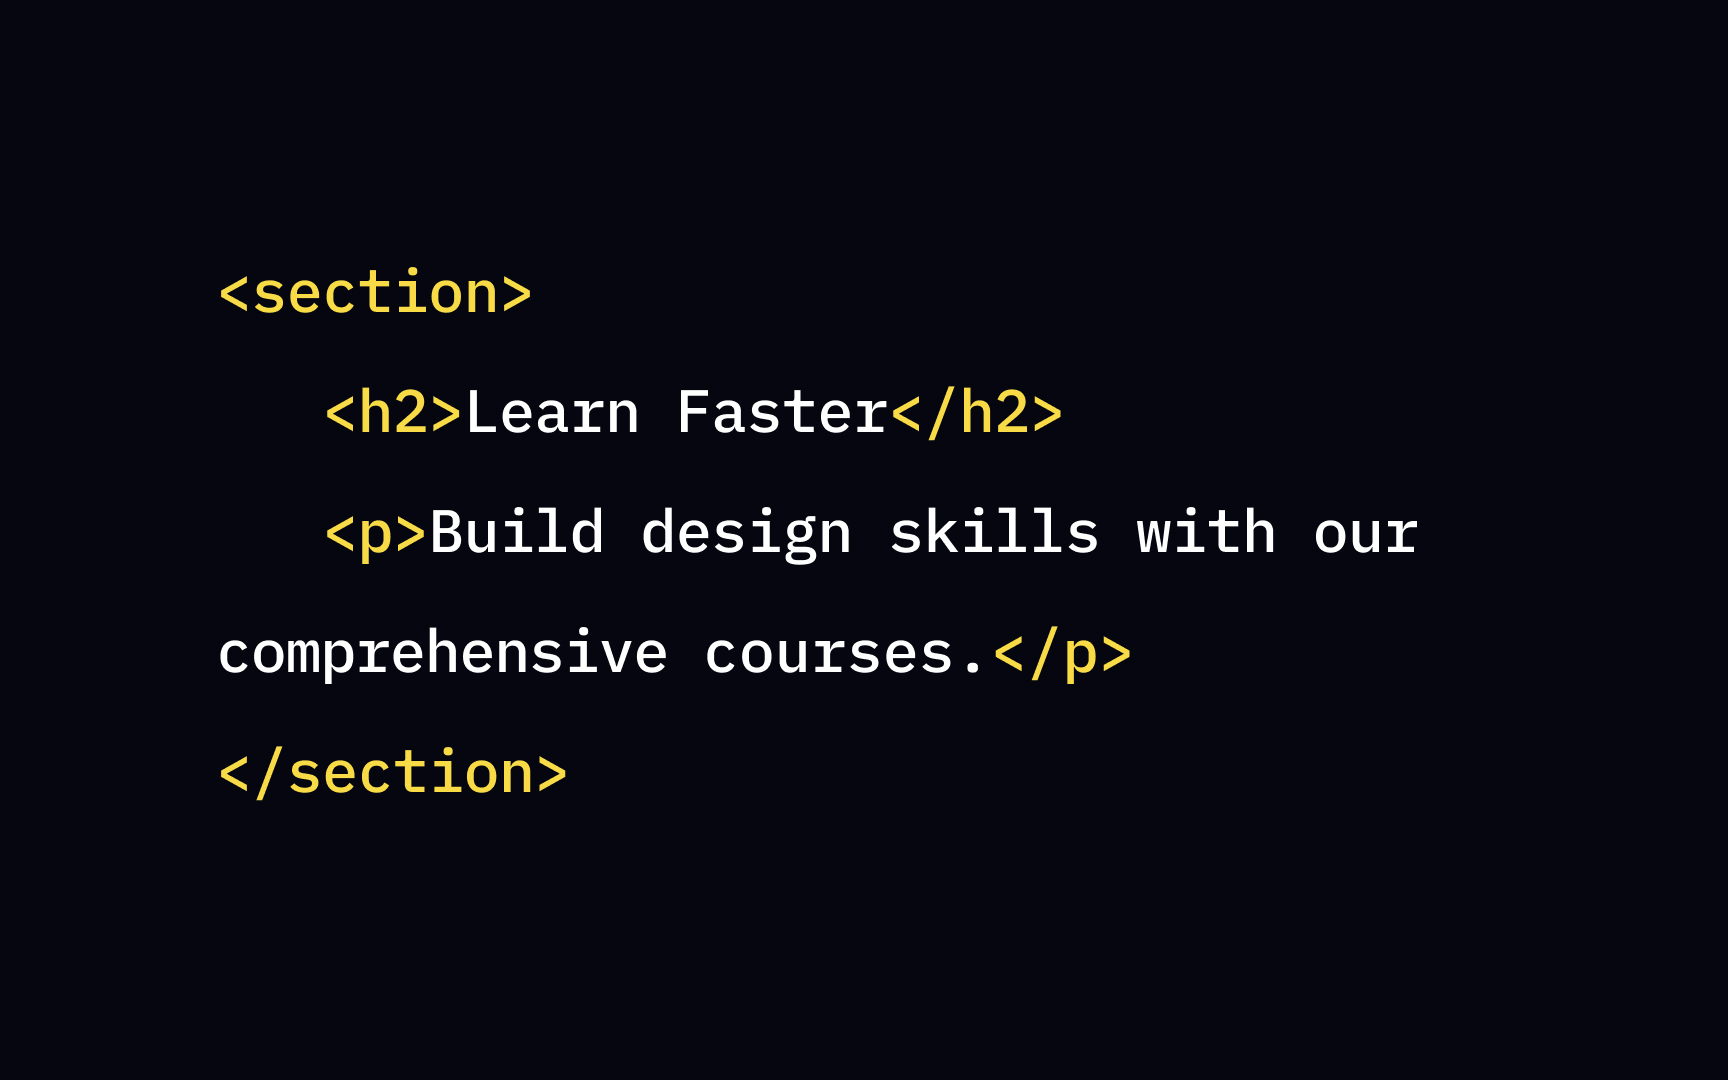
The <section> element represents a thematic group, typically with a heading. Developers use this tag for "dumping" <aside> element instead. Both opening and closing <section> element.
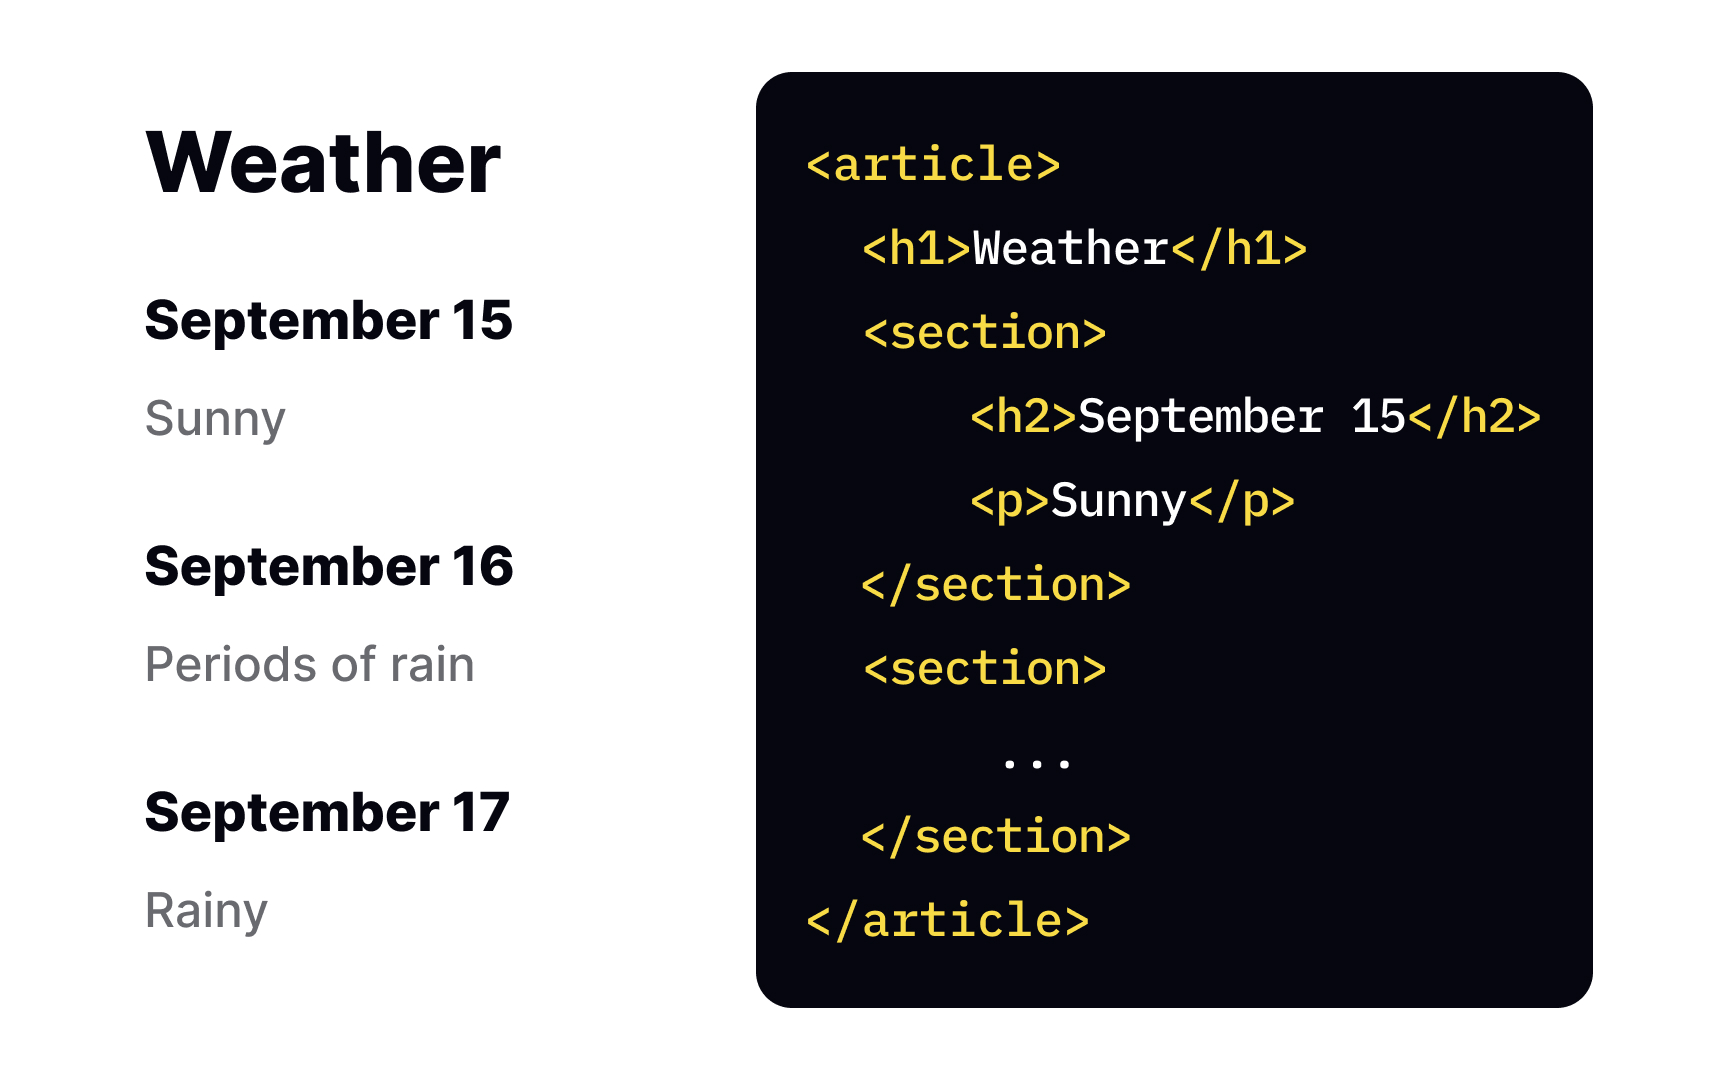
The <article> element represents a self-sufficient, standalone piece that makes sense on its own so that users can share it independently from the rest of the website.
Examples include:
• Forum posts
• Blog posts
• Newspaper or magazine articles
• Product cards
• User comments below the article or posts
An HTML <article> elements with one or more <section> <article> element.
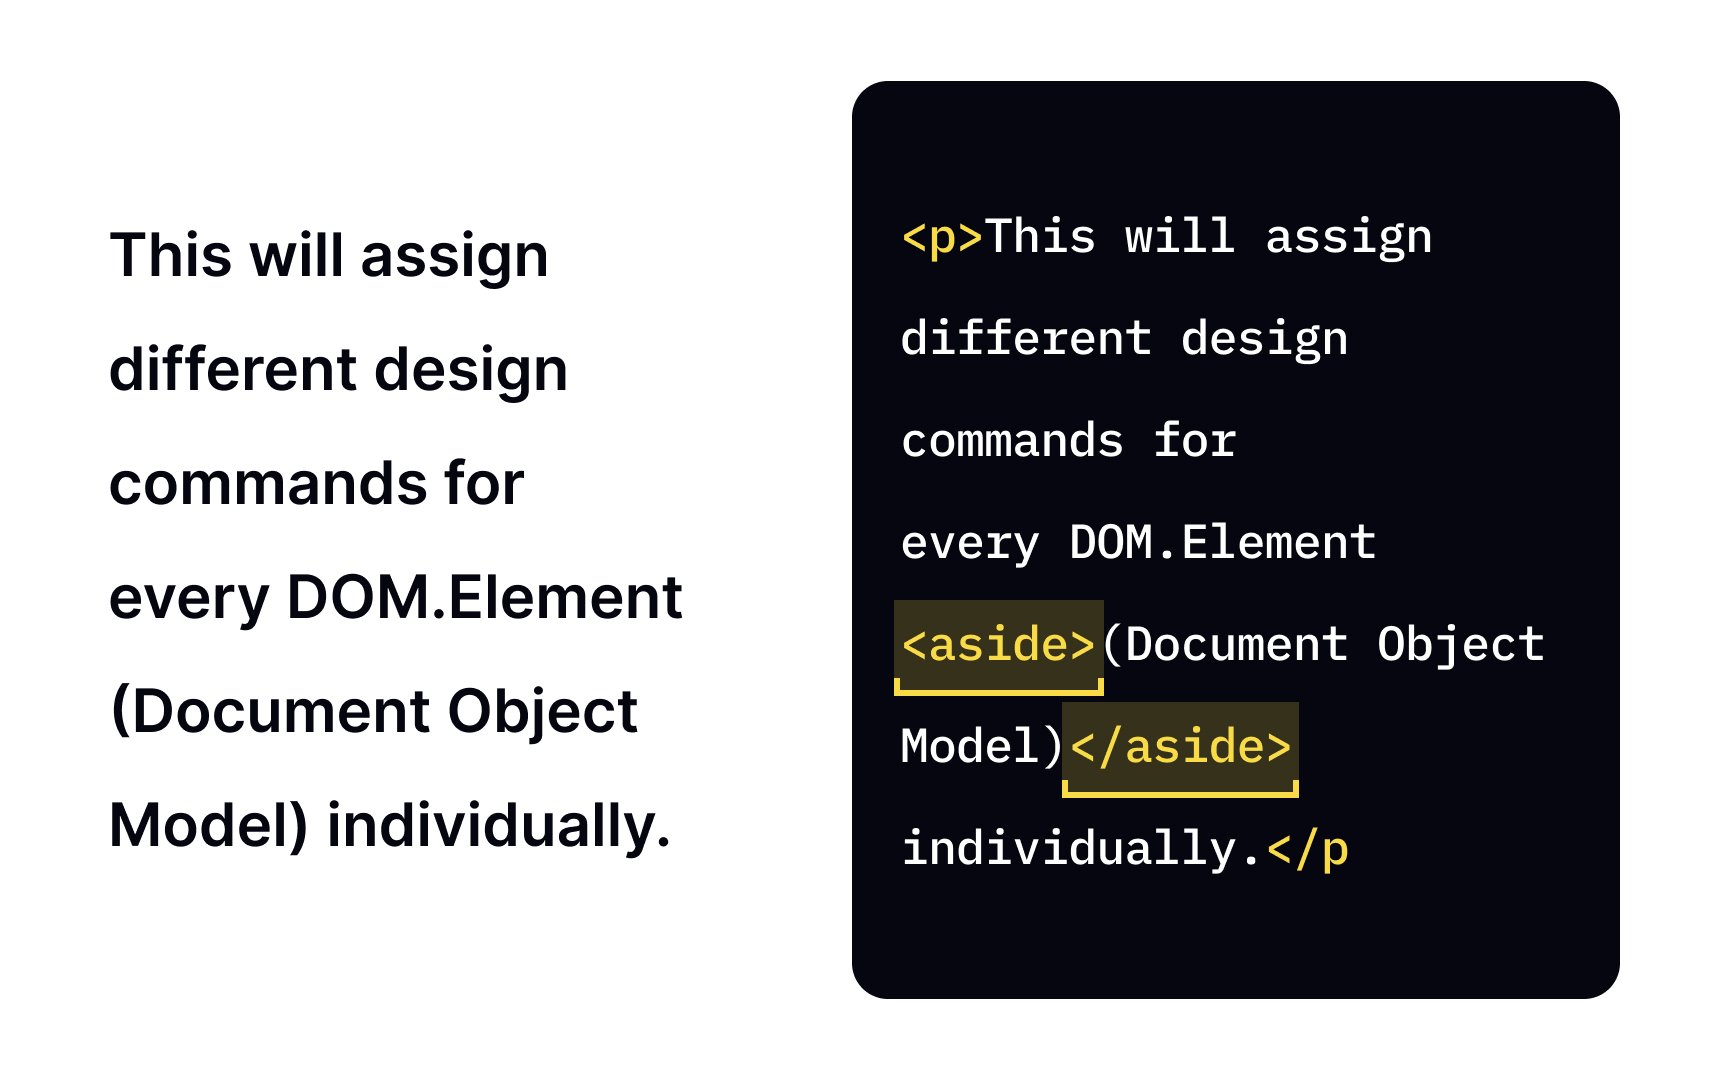
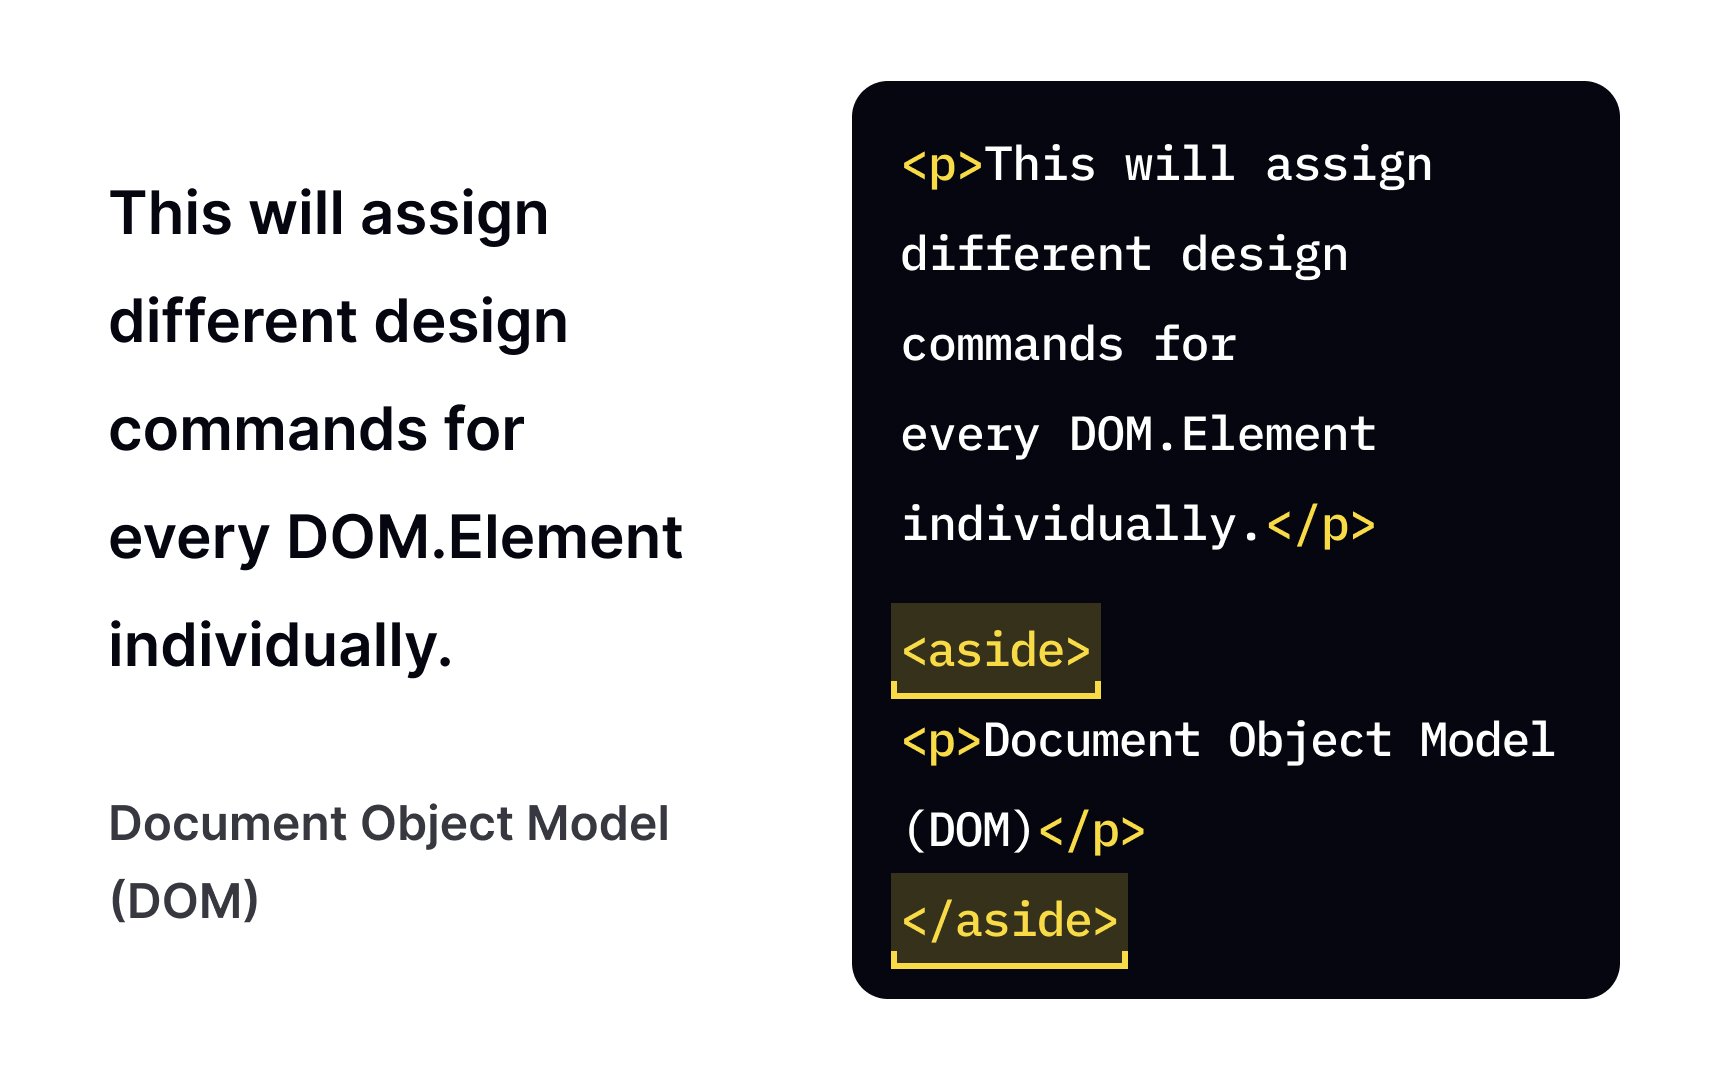
Developers use the <aside> element for accessory information that should be included without distracting users from the main <aside> element requires both start and end

The <footer> element normally lies at the web page's ground and contains copyright information, some navigational
The <footer> element can occupy any place inside the <body>, but you can't put it within an <address> (which provides contact information), <header> or another <footer> element.
The <details> element includes extra information that users can look at or hide on demand. Think of accordions or tooltips as the most familiar examples of the <details> element. These elements give developers and designers the ability to save space while avoiding overwhelming users with data.
To specify that the details should be visible to users (by default, they're hidden), you should use the open attribute. The syntax flows like this: <details open>...</details>[3]
The <summary> element goes in tandem with the <details> <summary> tag defines a heading, while the <details> tag specifies the section
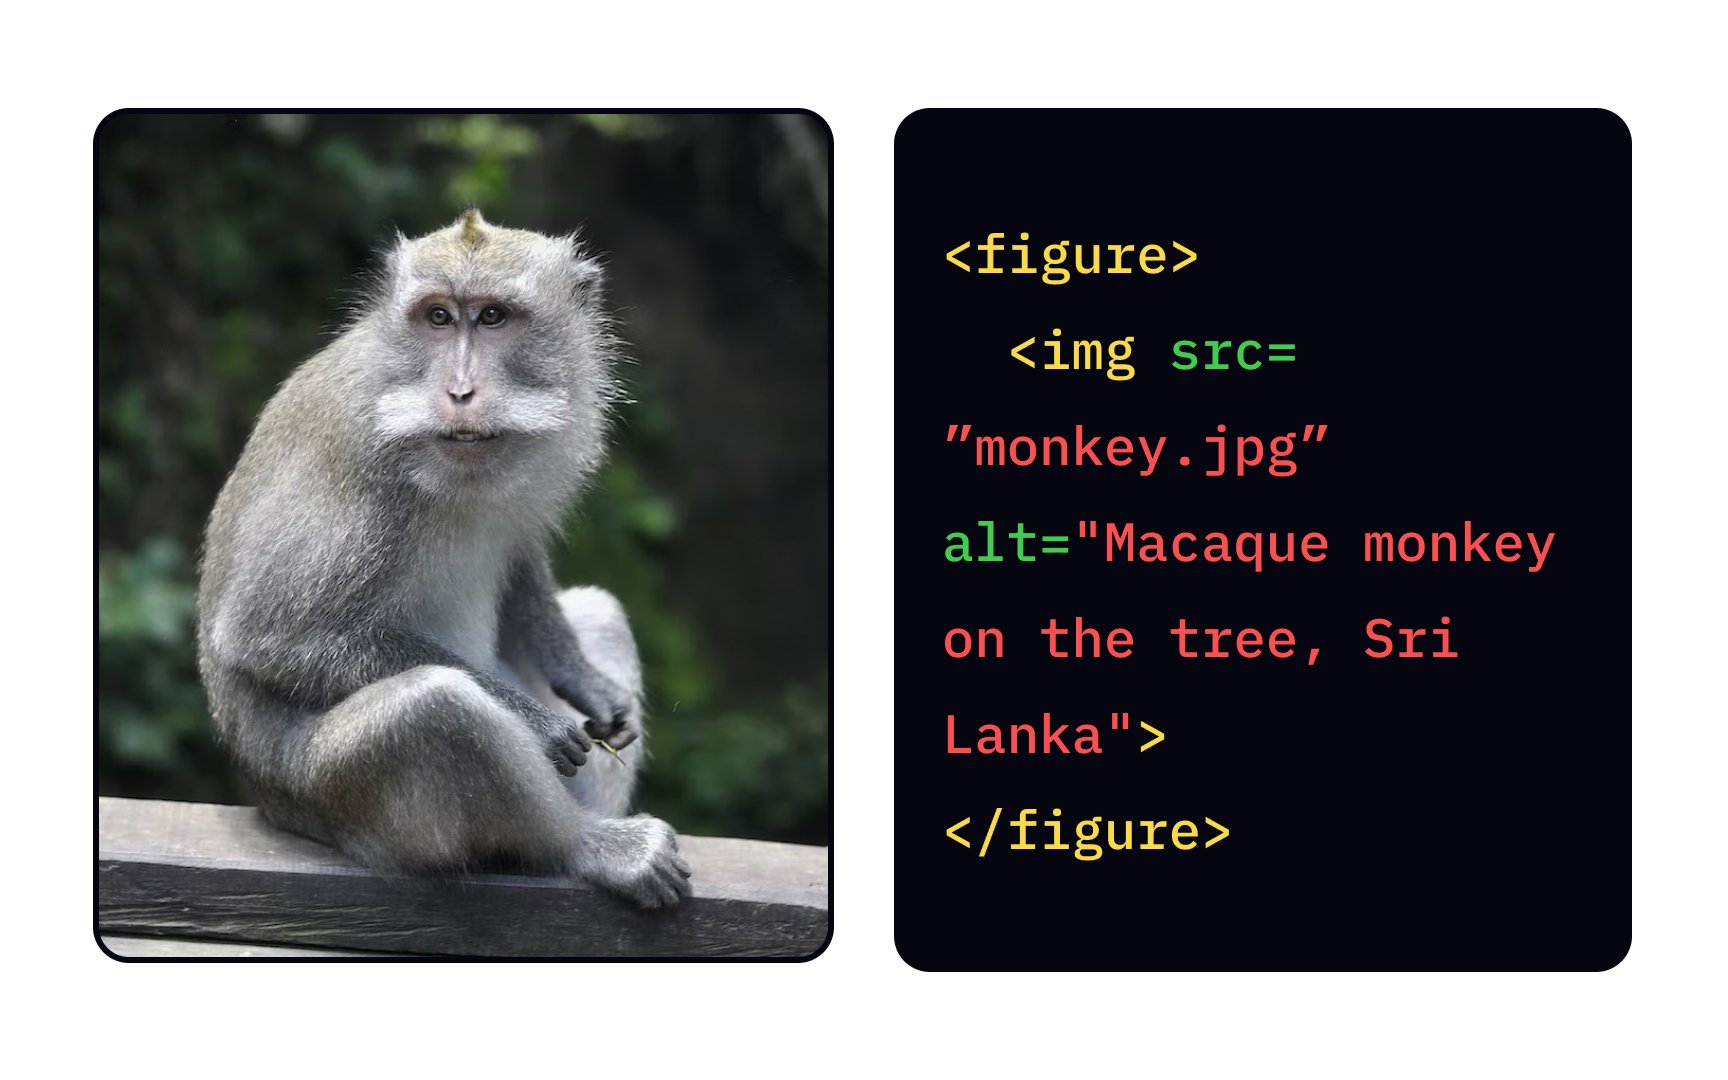
If you have taken our <img> <figure> element for? Developers use the <figure> element to specify self-contained
This tag translates to the browser that the image is a part of the main flow, but its position is independent. If you decide to remove this image, it won't affect the <img> tag is a child of the <figure> element.
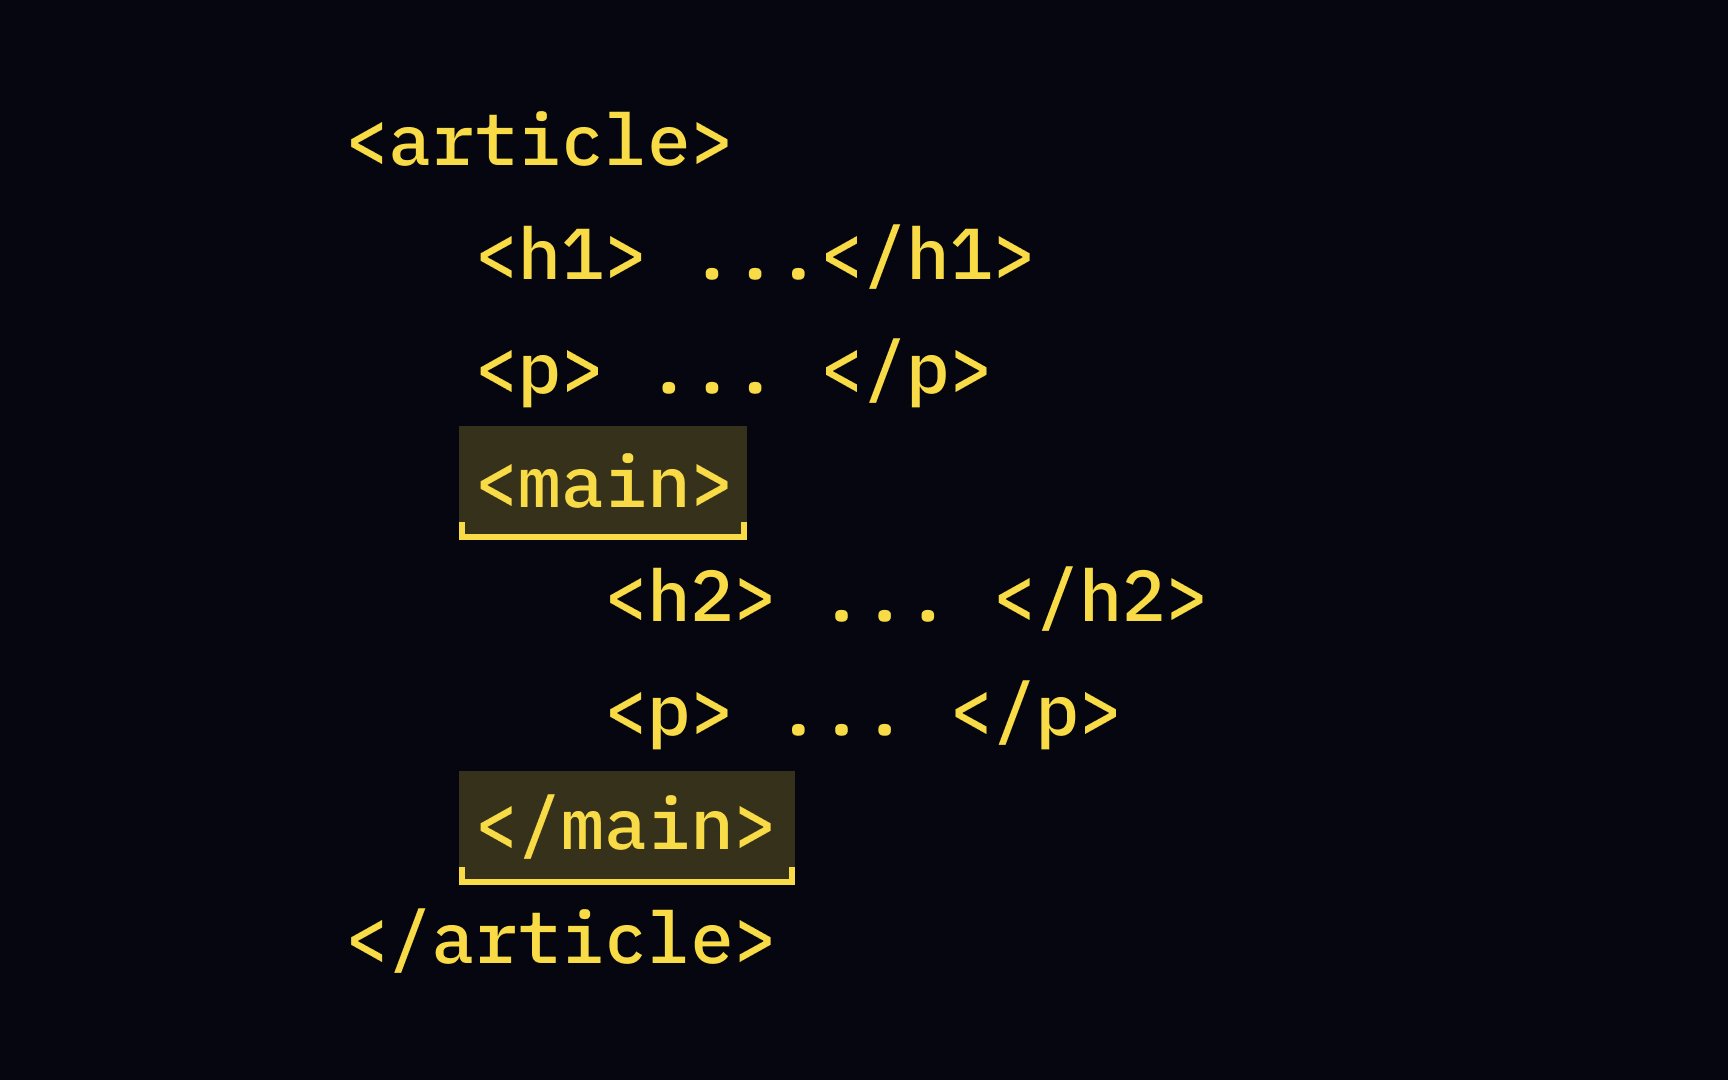
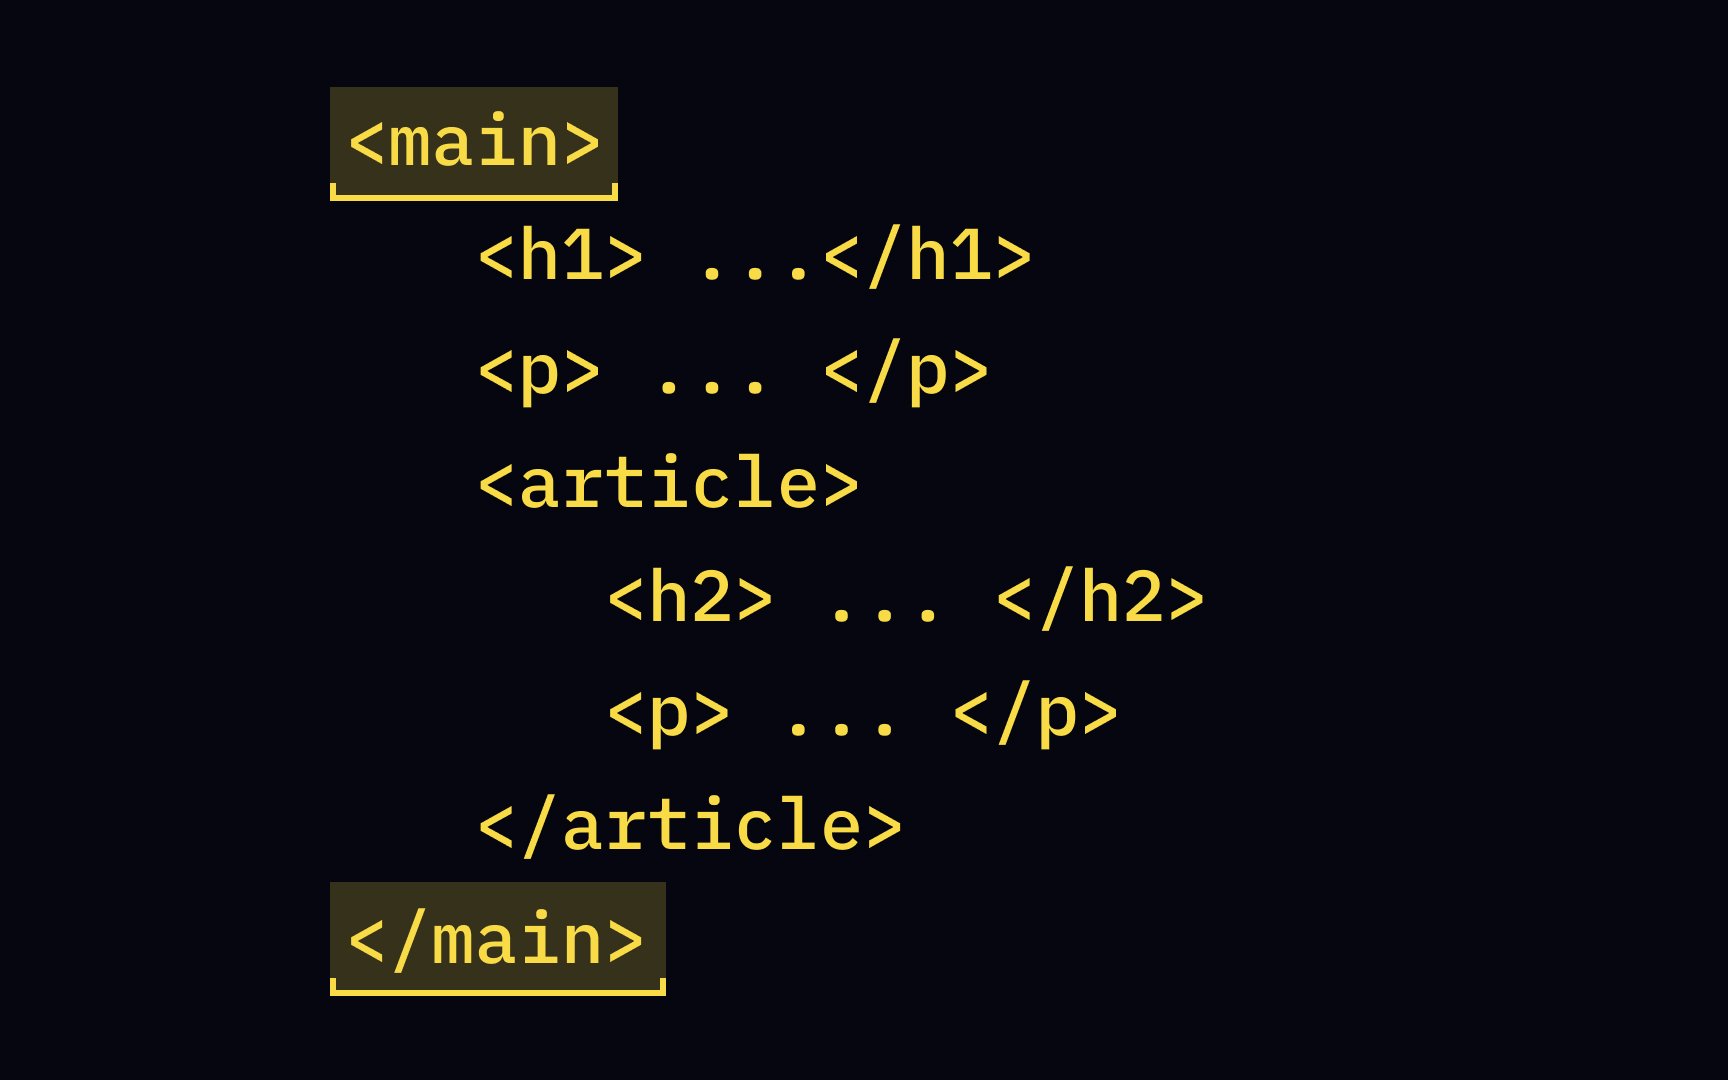
The <main> element defines the most important and unique
From the <main> element acts as a prominent landmark. Simply put, this
The <main> element, and it can't be a child of an <article>, <aside>, <footer>, <header>, or <nav> element.


Similar lessons

Intro to HTML

Intro to HTML Elements
