Intro to HTML Elements
Gain an understanding of the purpose and functionality of common HTML elements, and how they contribute to the overall design
HTML is the foundation of web development, providing the essential components that structure and present content on websites. Just as any language has its basic building blocks, HTML has its own set of essential elements that form the backbone of web pages.
HTML elements serve specific purposes and play a vital role in creating well-structured and semantically meaningful web pages. From headings and paragraphs to images and links, each element has its own syntax and attributes that define its behavior and appearance. Understanding these elements and their usage is crucial for developing web pages that are both functional and visually appealing.
The
Here's an example of the HTML element:
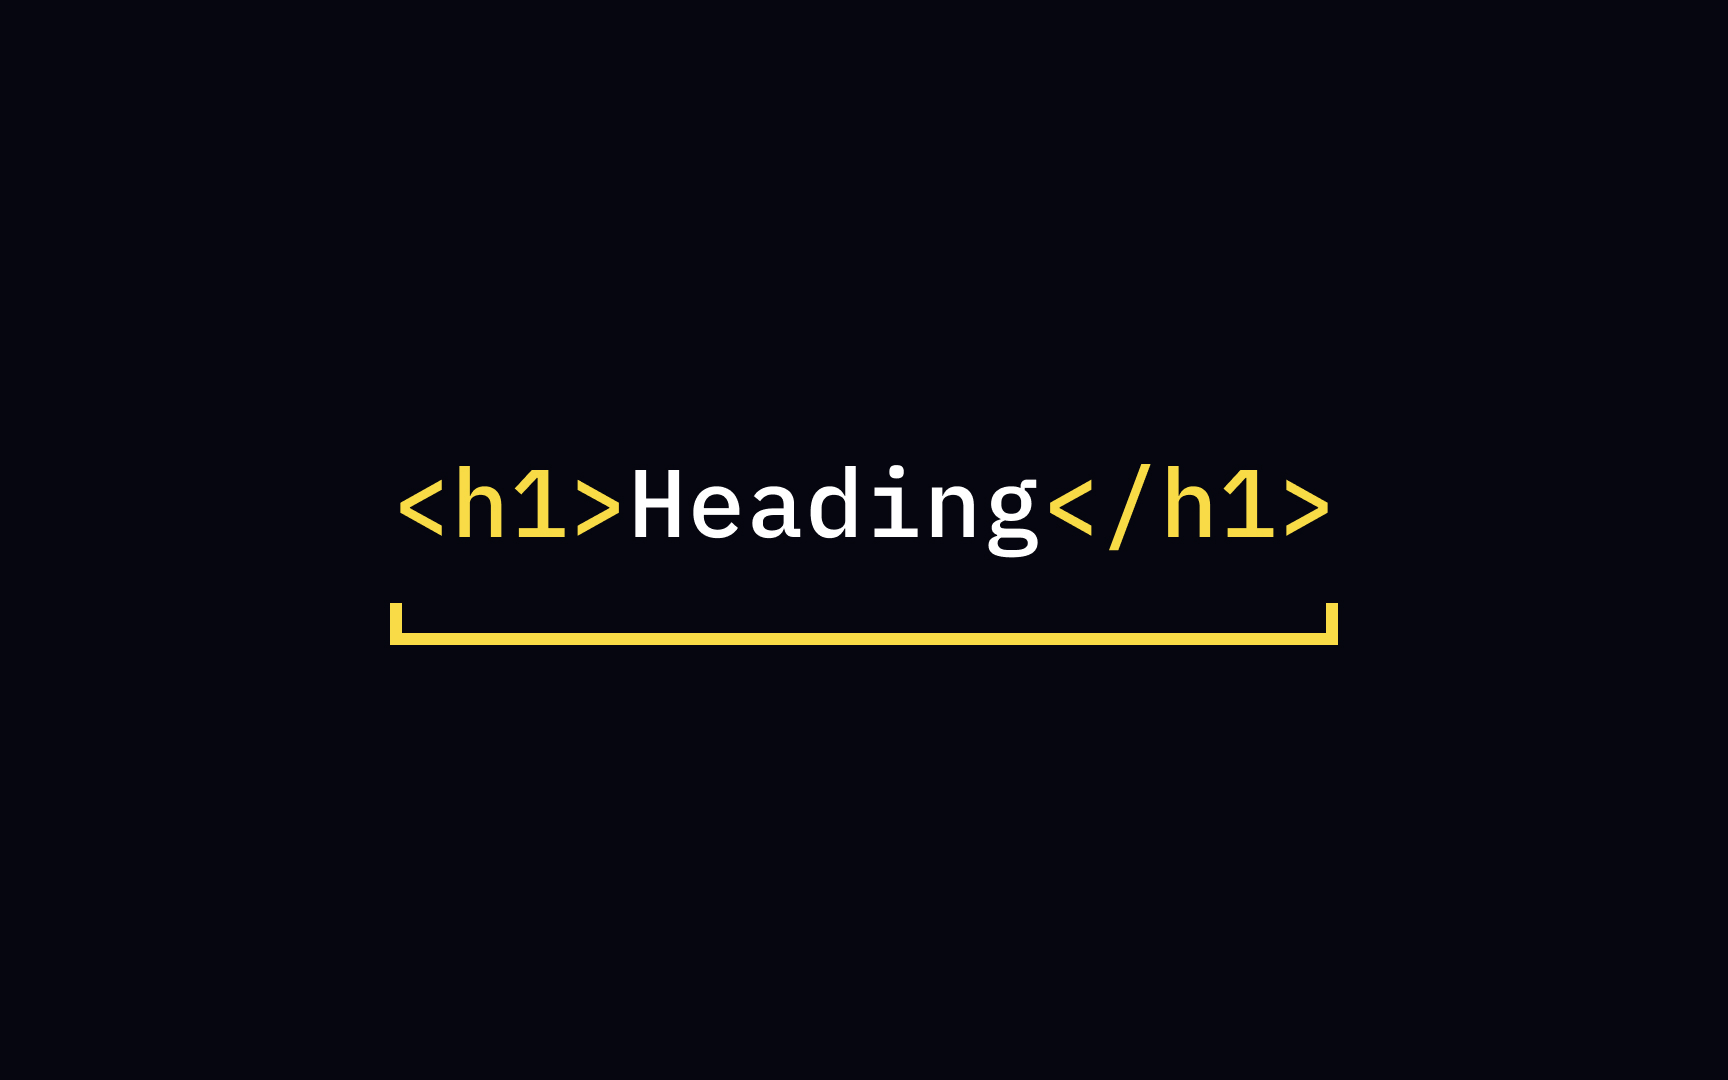
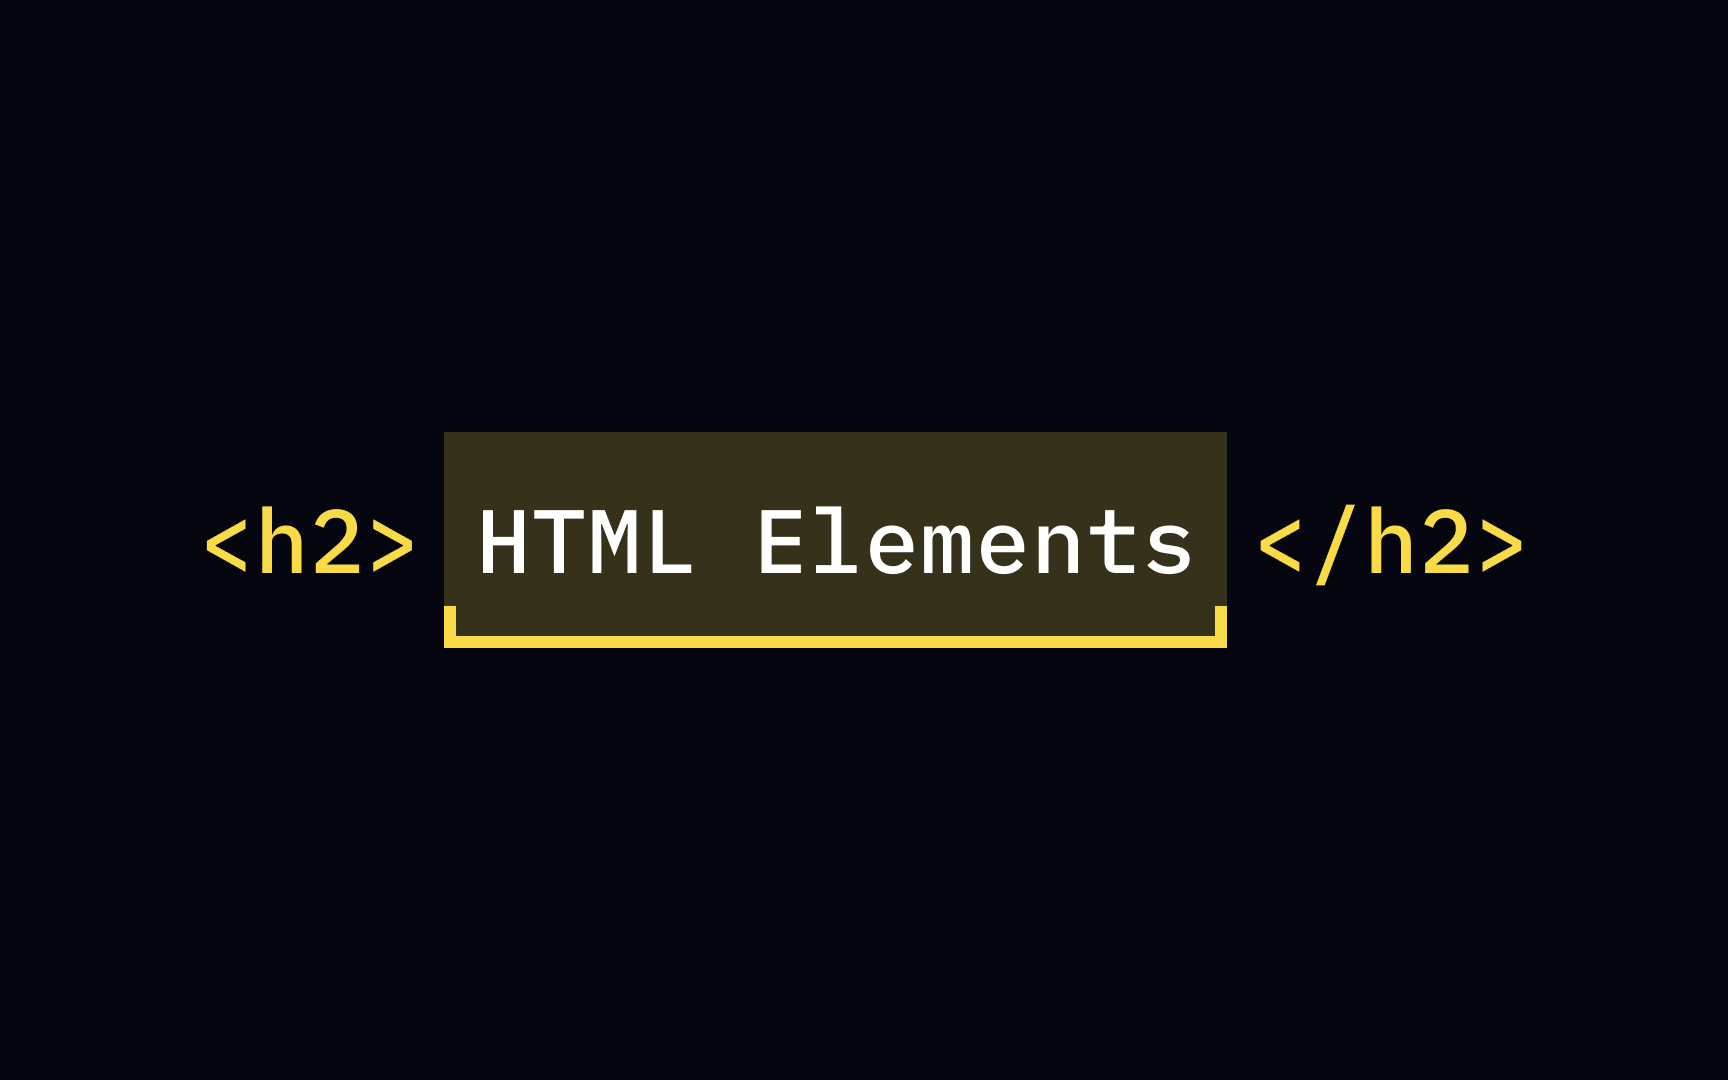
<h1>My First Heading</h1>
However, some elements are self-sufficient enough and don't need the end tag.
Don't forget to use open and close angle brackets and omit spacing inside and between each tag.
Different resources call it the "end" or "closing"
Technically, an
The start tag, aka opening tag, is the one that opens the
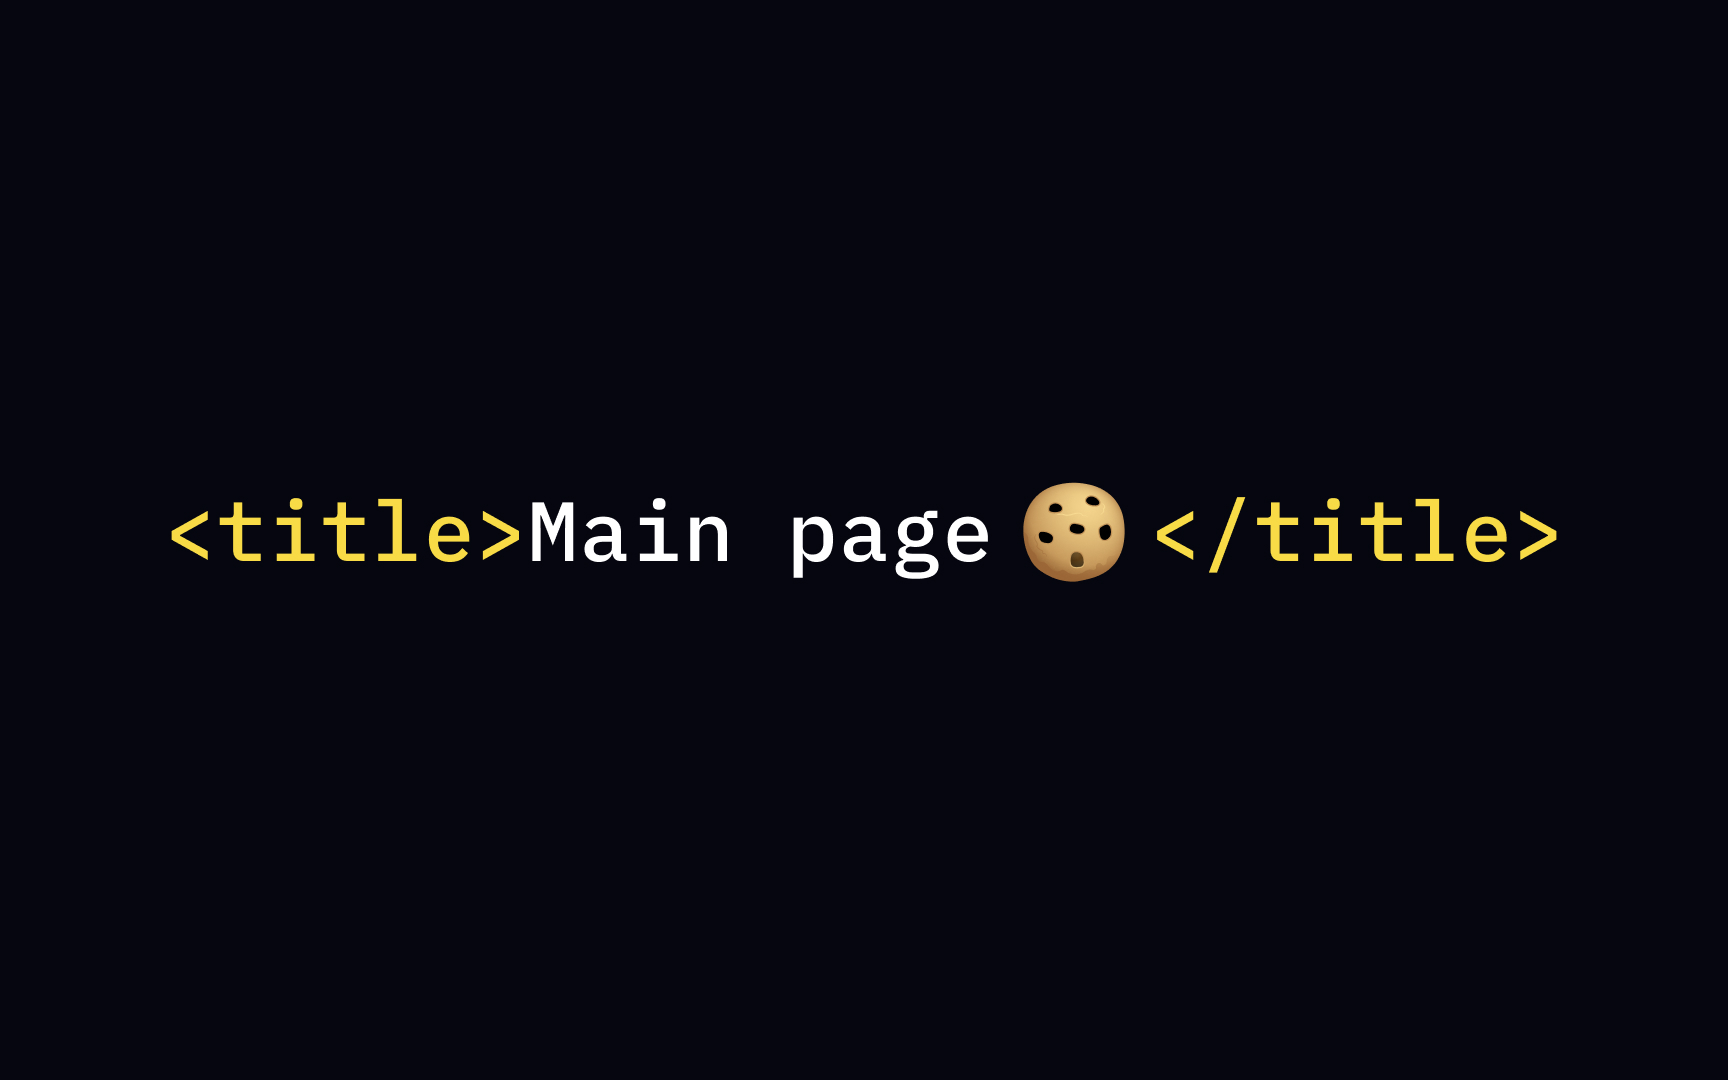
The <h1>Hello, World!</h1> — the text "Hello, World!" is the content, and users will see it as the main headline on a <title> element, it appears only on a browser tab bar and in search results.
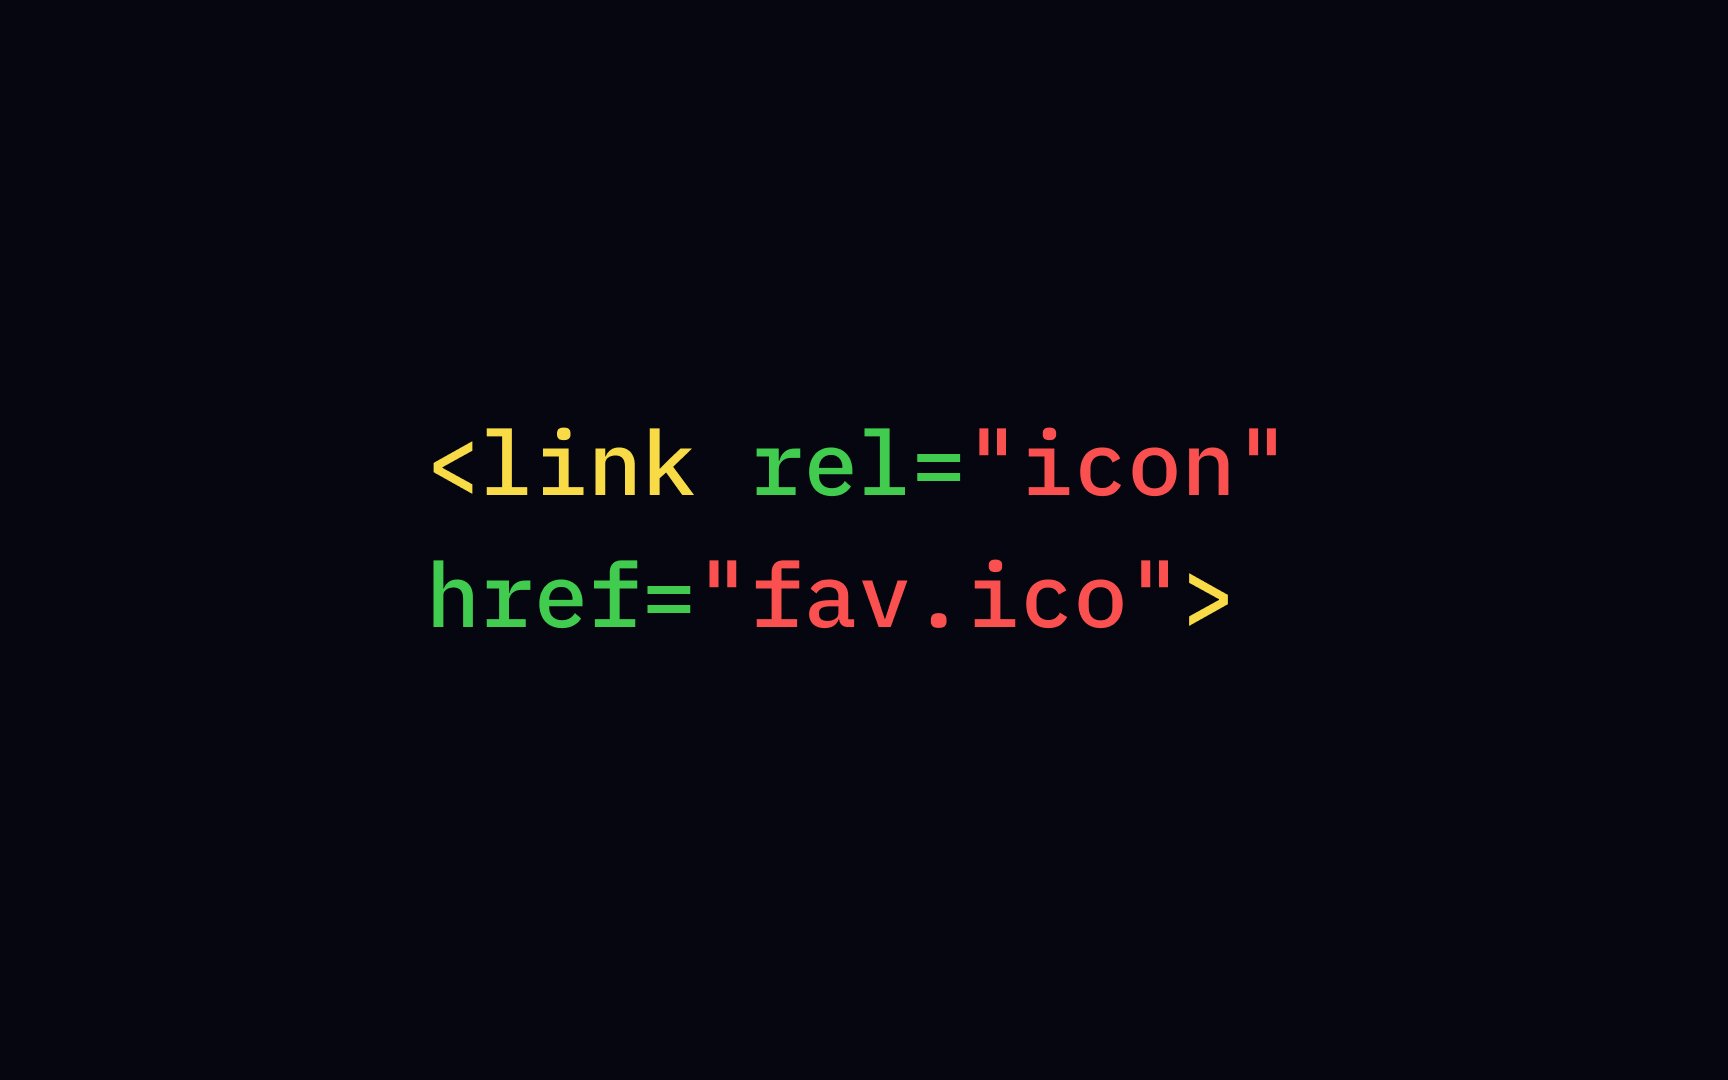
Empty
Common examples include the <img> tag for <br> tag for line breaks, and the <input> tag for form fields. Since there's no content to wrap, these elements are self-closing and don't require a separate closing tag.
Utilizing empty elements correctly can enhance the structure and readability of your code.
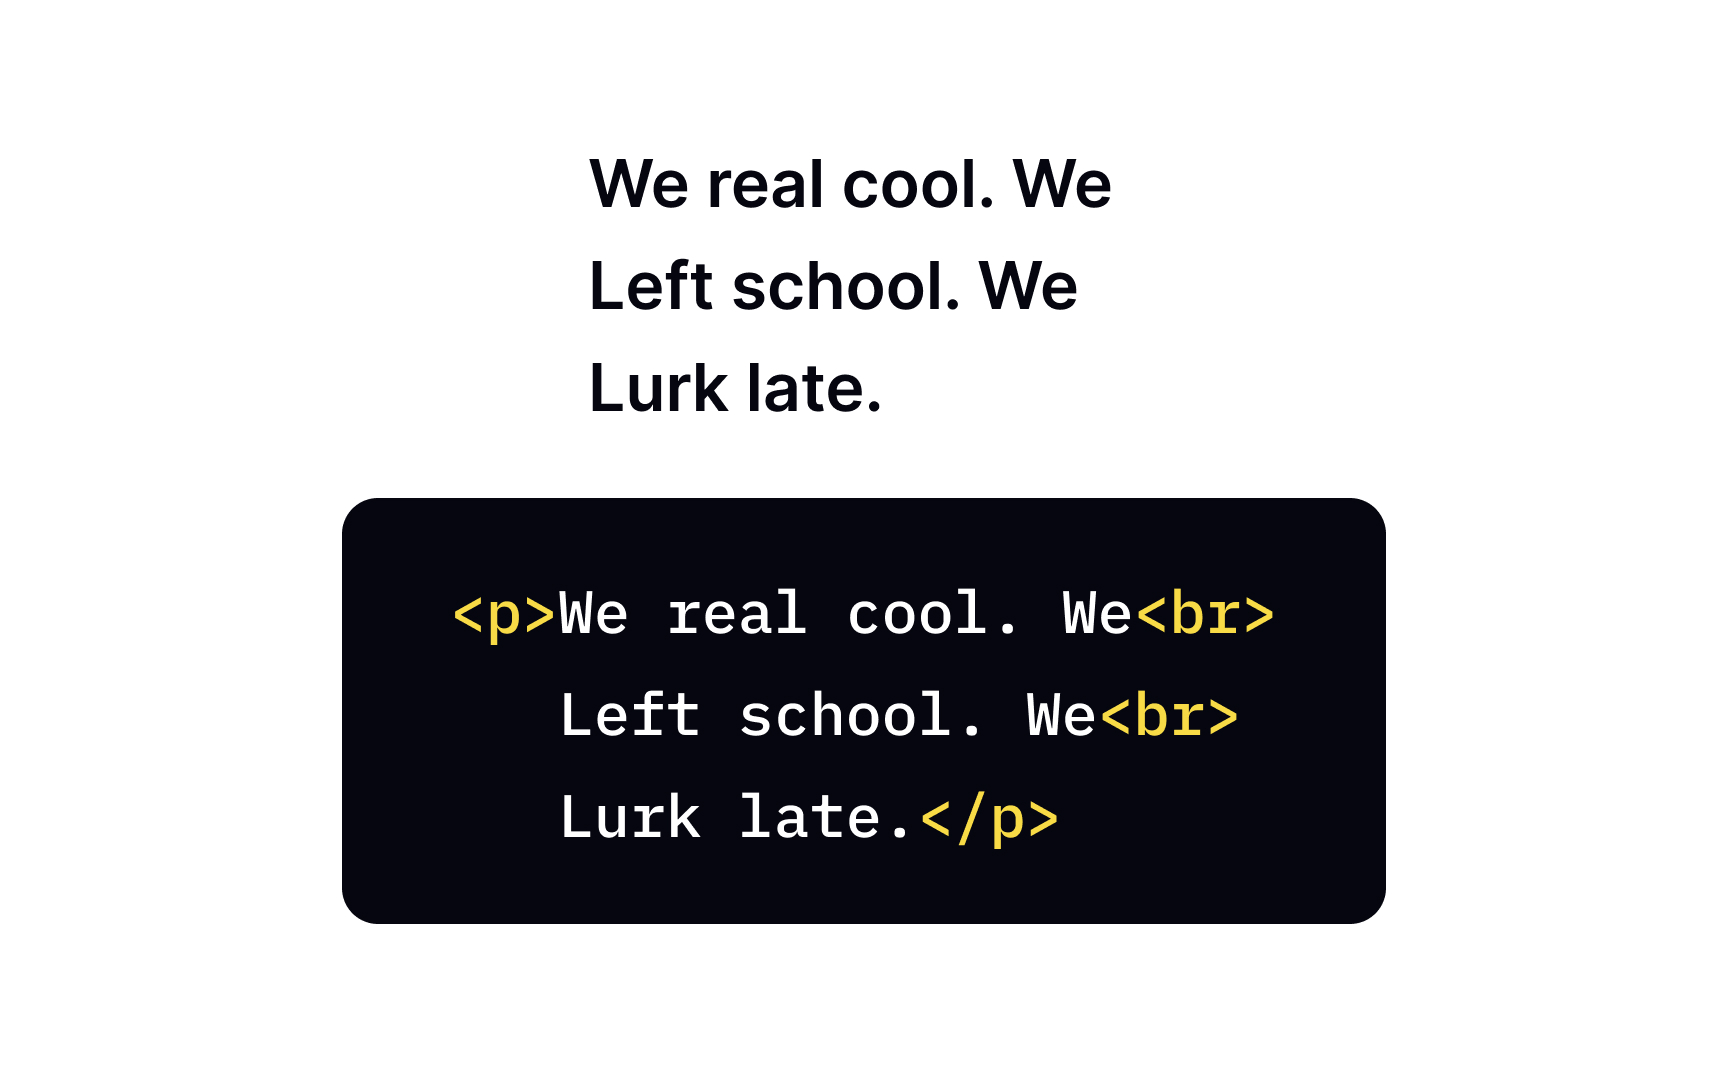
If you're writing a poem or an address on your webpage, you might need to break text into multiple lines. Here comes the <br> element. It produces a line break, and after the <br>, each line starts with a capital letter. Keep in mind that the <br> element is an empty one without a closing
Block-level elements create a rectangular box that takes up the full width of their container. They always start on a new line and push whatever comes next to the next line too.
Some common block-level elements are:
<p>for paragraphs<h1>to<h6>for headings<div>for groupingcontent
These elements help structure the layout by breaking the content into blocks.
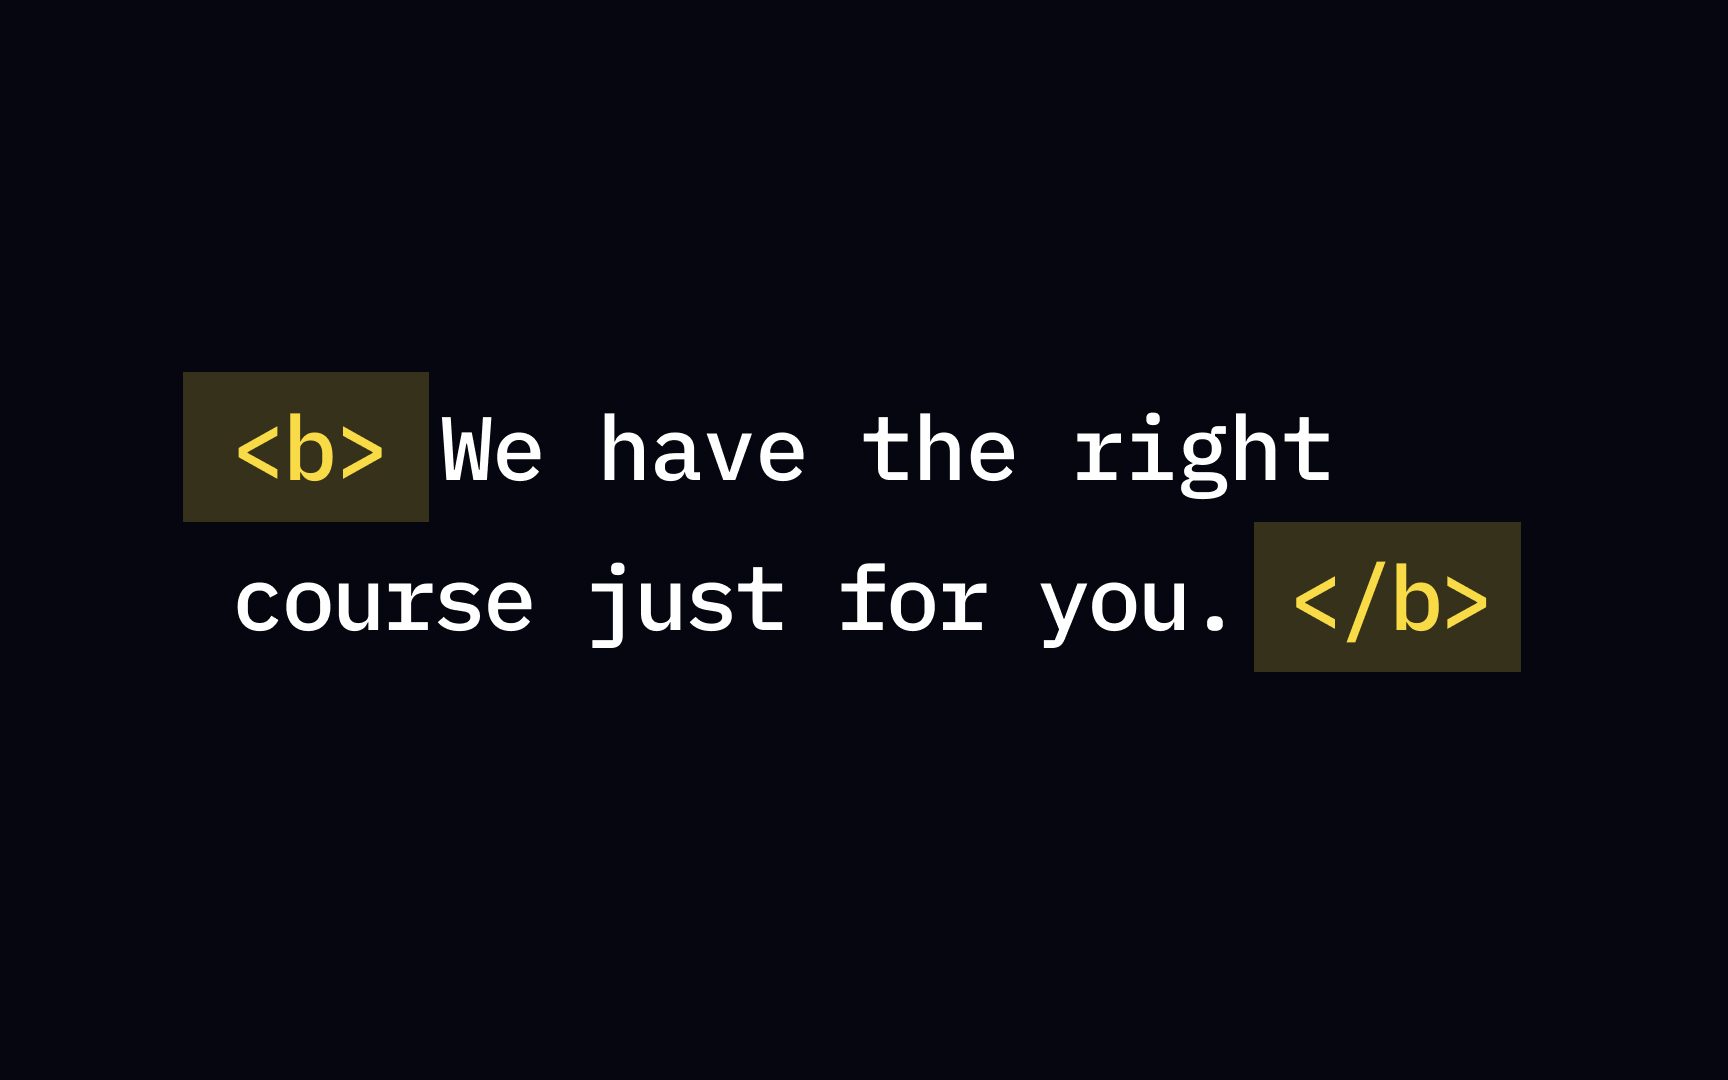
Inline-level elements don't break the flow of text. They stay within the same line and only take up as much space as the <b> makes text bold and <i> makes it italic. But they don’t push the text to a new line. The rest of the content keeps flowing around them.
In contrast, block-level elements (like <div> or <p>) always start on a new line and usually take up the full width of the parent. They break the text into chunks. Inline elements don’t. They just change how a part of the line looks or behaves.
In
Adherence to standards like XHTML requires using slashes, and maintaining the code's integrity and readability. Failing to include a slash where needed can result in errors and affect the overall professionalism of your code. In short, this small detail, although it might seem minor, plays a vital role in web development, contributing to a smooth and consistent user experience.
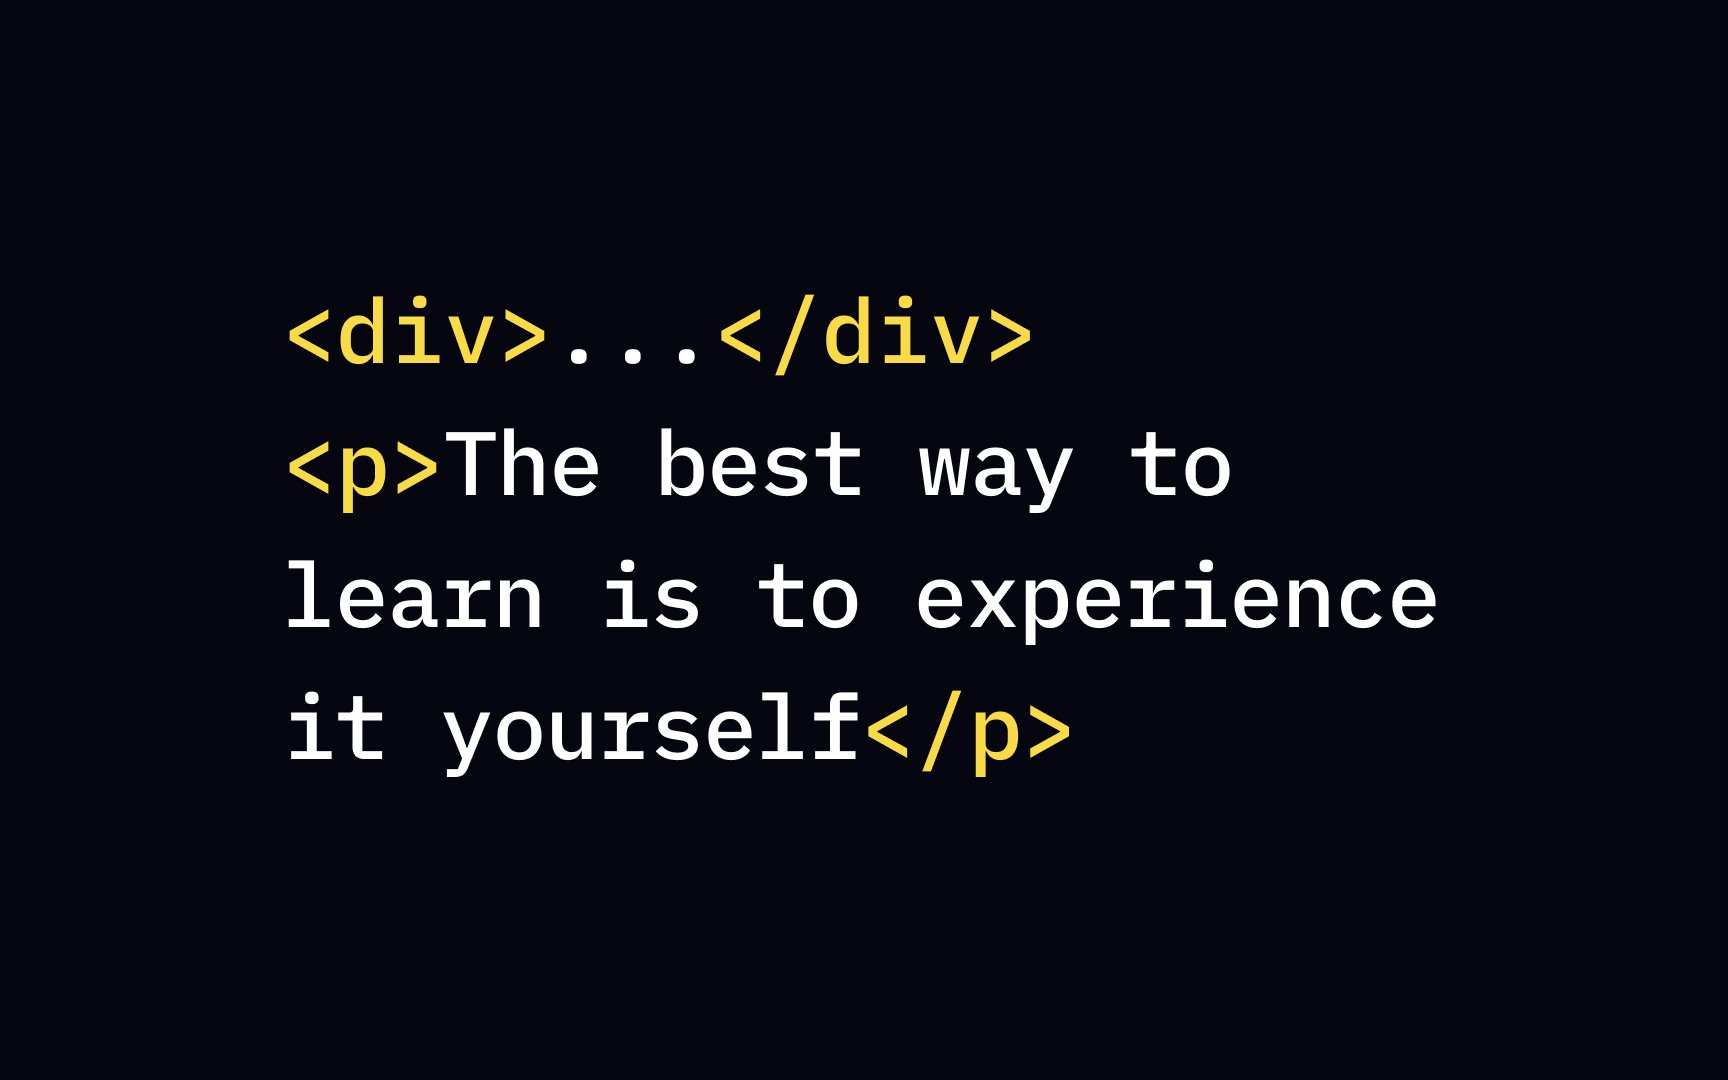
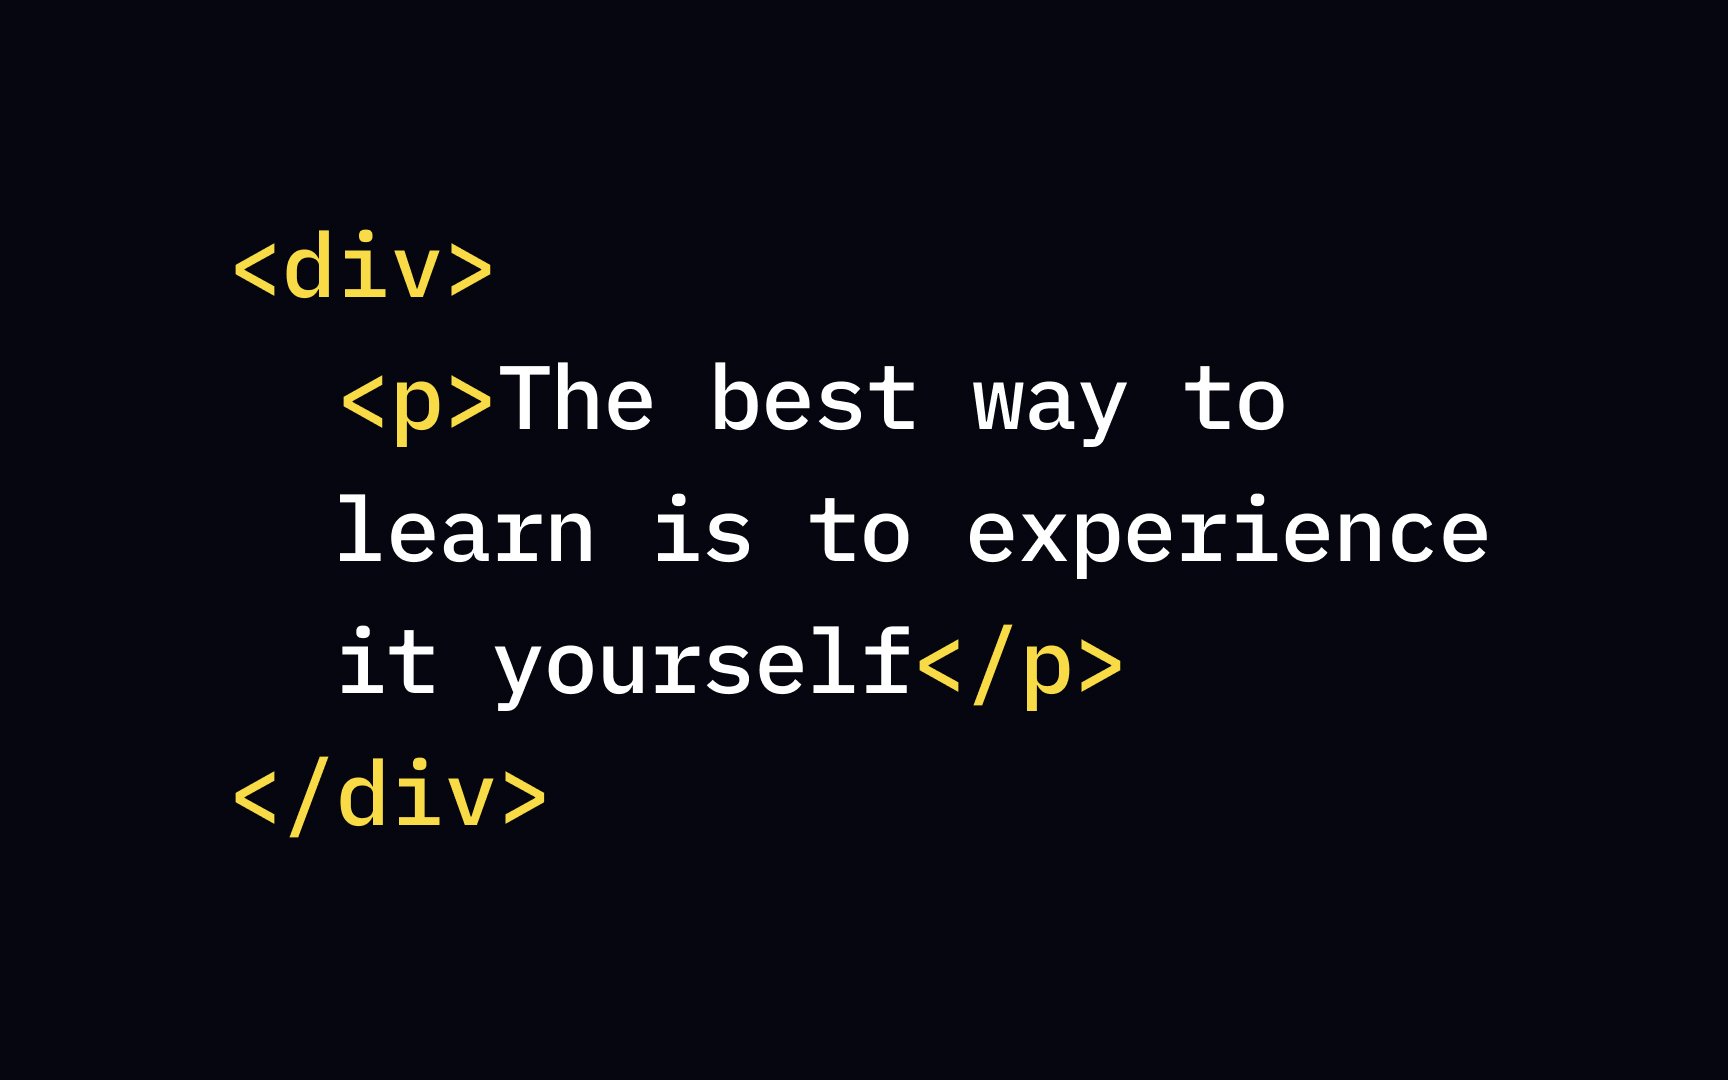
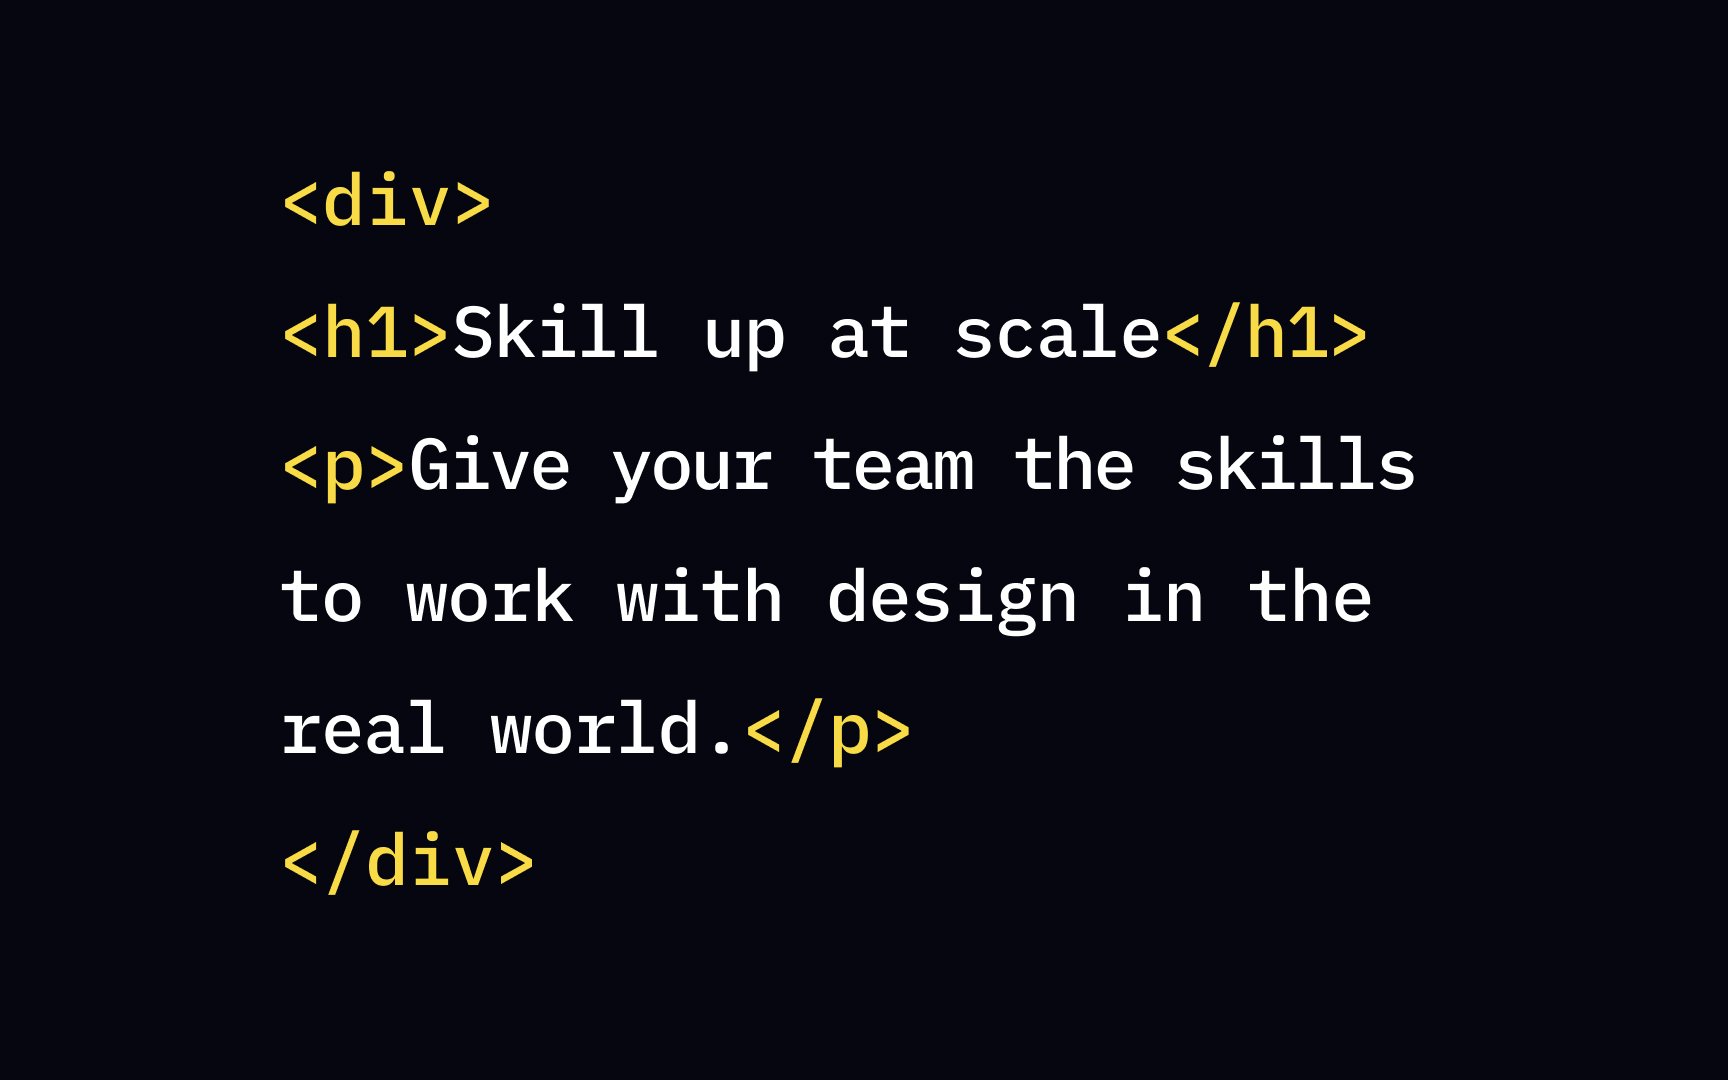
Just like a Russian nesting doll, some <div> element, which defines a division or a section in an HTML document, contains the <p> element — the paragraph in the text. Make sure to place the nesting elements between the start and end
There can be multiple nesting levels, and the relationship between elements and their parent and child elements creates a hierarchy. It's essential to understand this relationship because descendent elements usually inherit behavior and styling from their parent element.
In most cases, the
Top contributors


Topics
From Course

Share


Similar lessons

Intro to HTML

Popular Tags in HTML
