HTML Images
Learn how to add captivating visuals to your web pages with HTML
Images have the power to transform a website or product, infusing it with vibrancy and capturing attention. They go beyond mere decoration, serving as visual storytellers that communicate messages and guide users through an interface. Understanding how to effectively utilize images in HTML is essential for creating engaging and impactful web experiences.
In this lesson, you'll dive into the world of HTML images, exploring their limitless potential and learning the fundamental techniques for incorporating them seamlessly into your web pages. From selecting the right image formats to optimizing file sizes, you'll discover the nuances of image handling in HTML. Additionally, you'll gain insights into properly structuring and positioning images to ensure a harmonious visual flow within your designs.
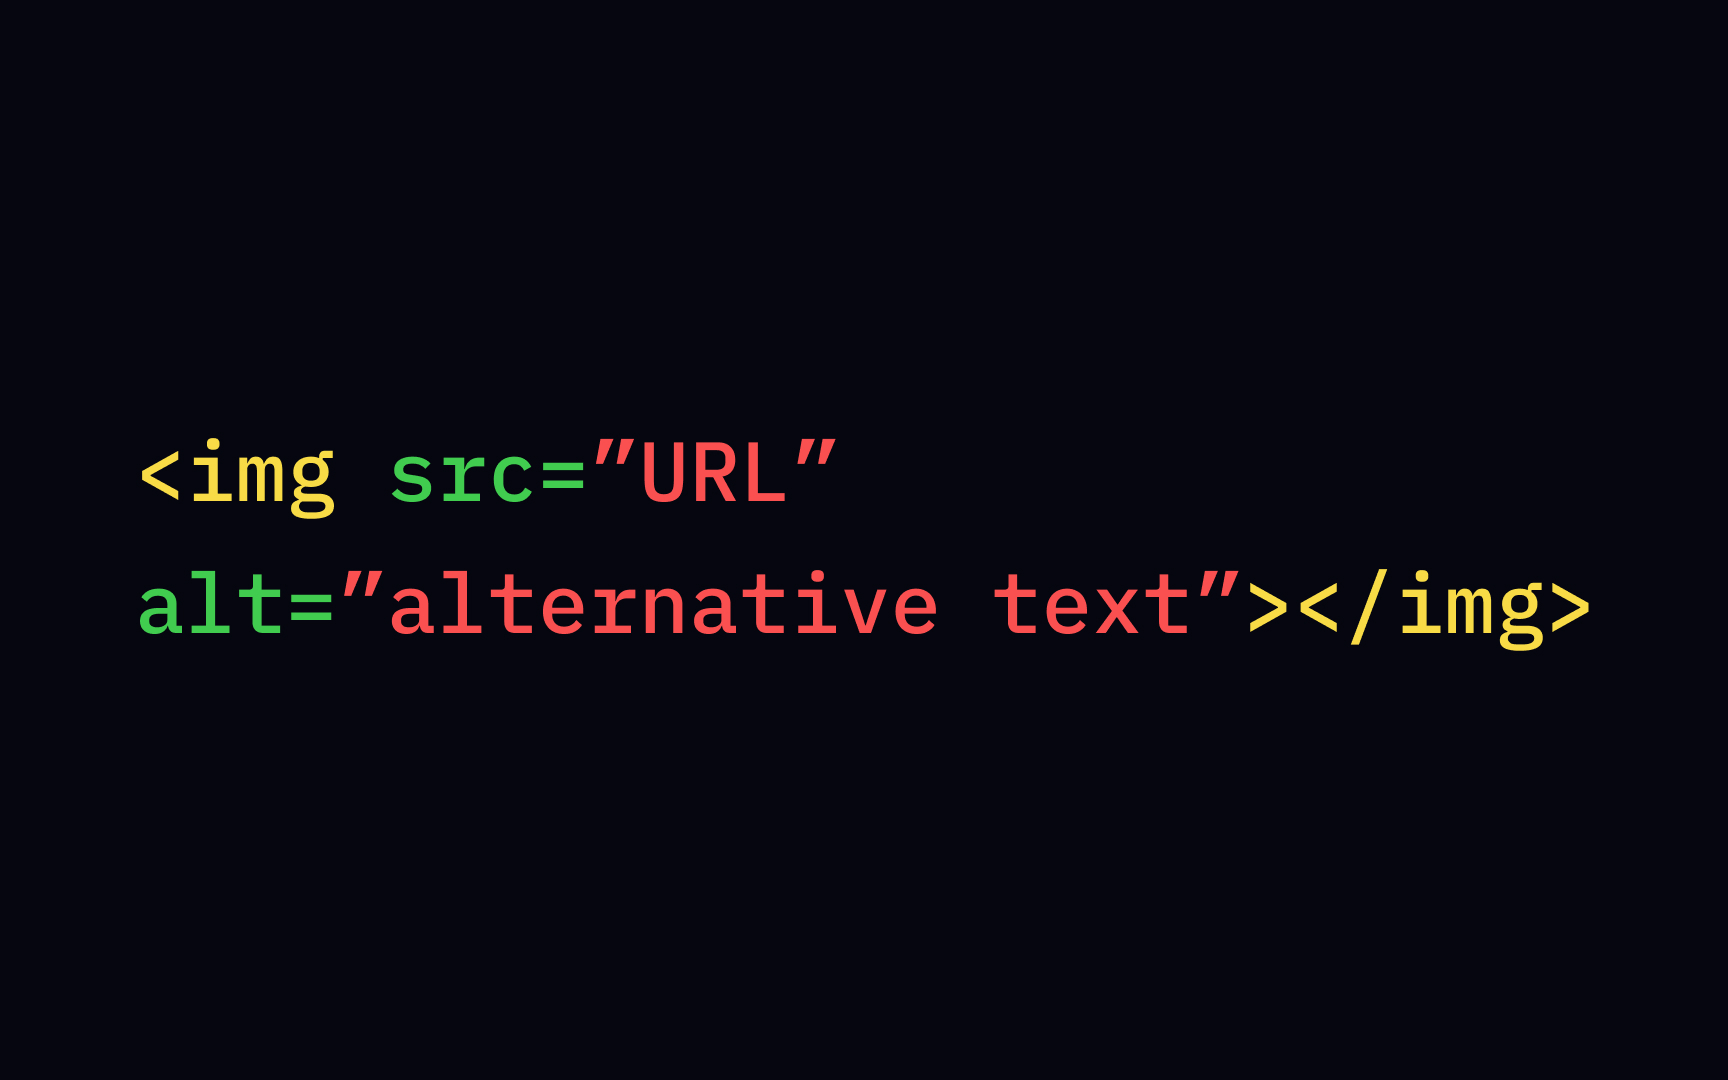
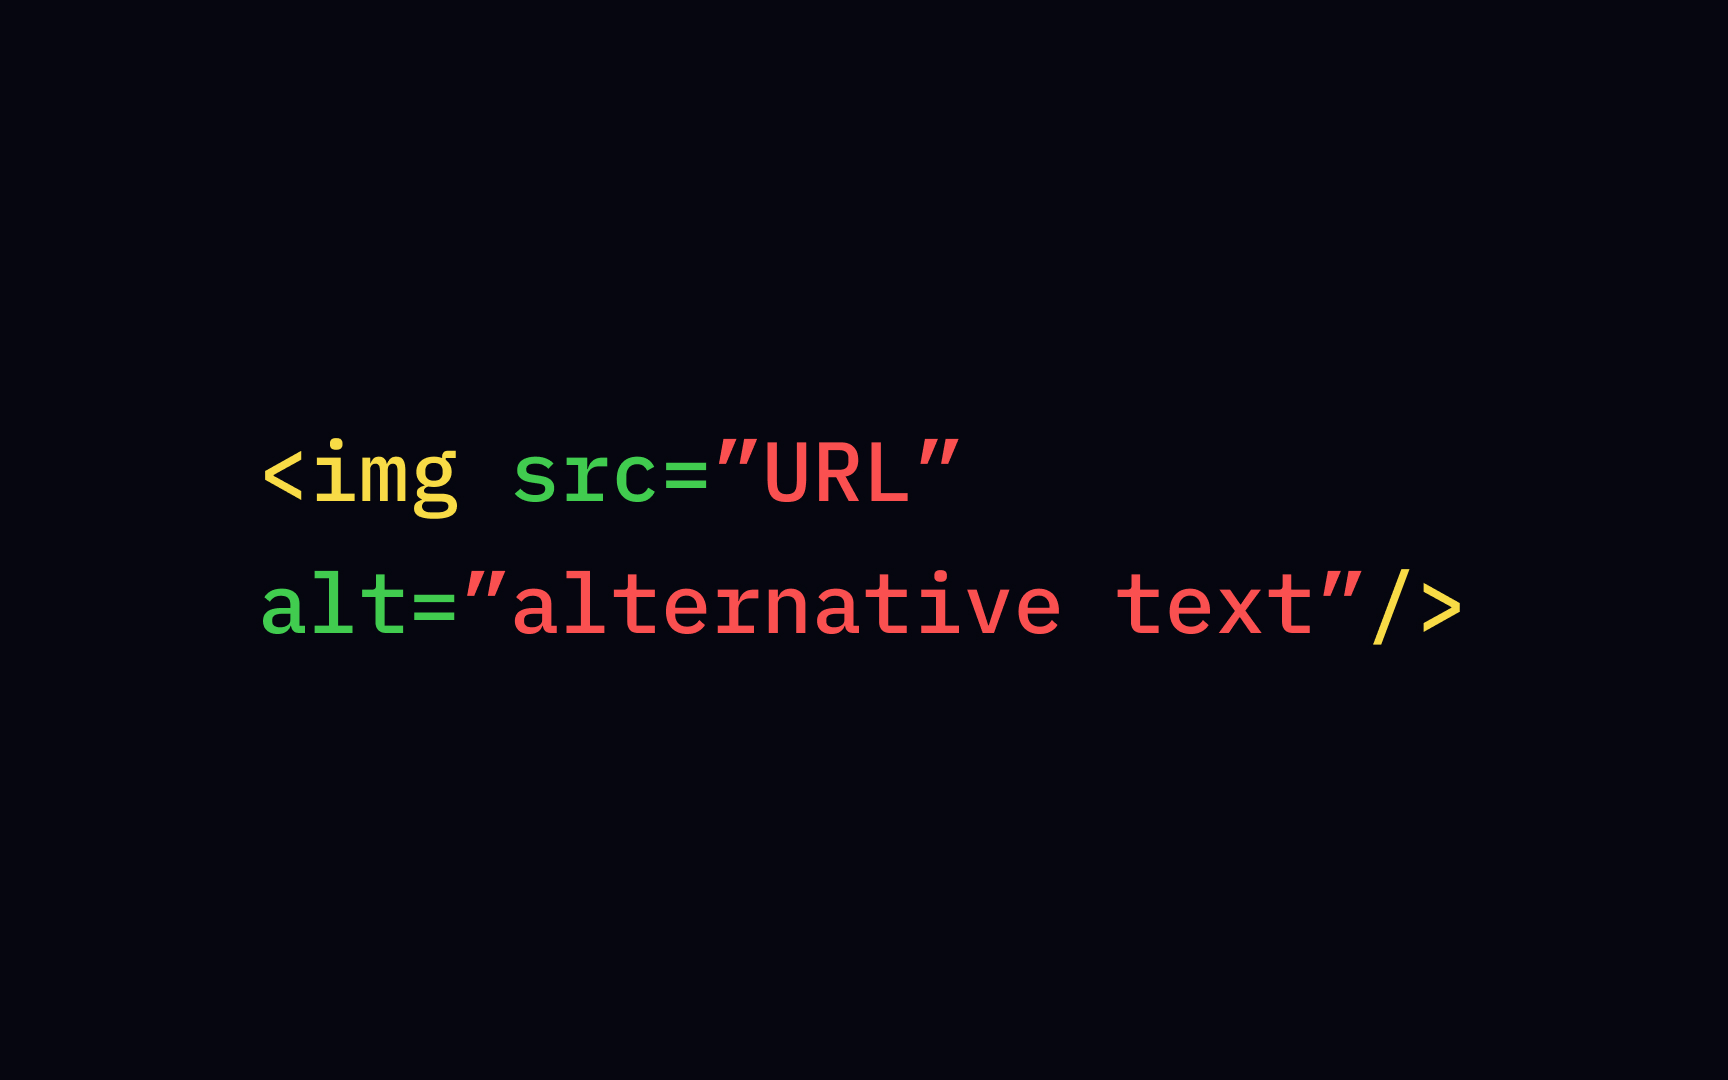
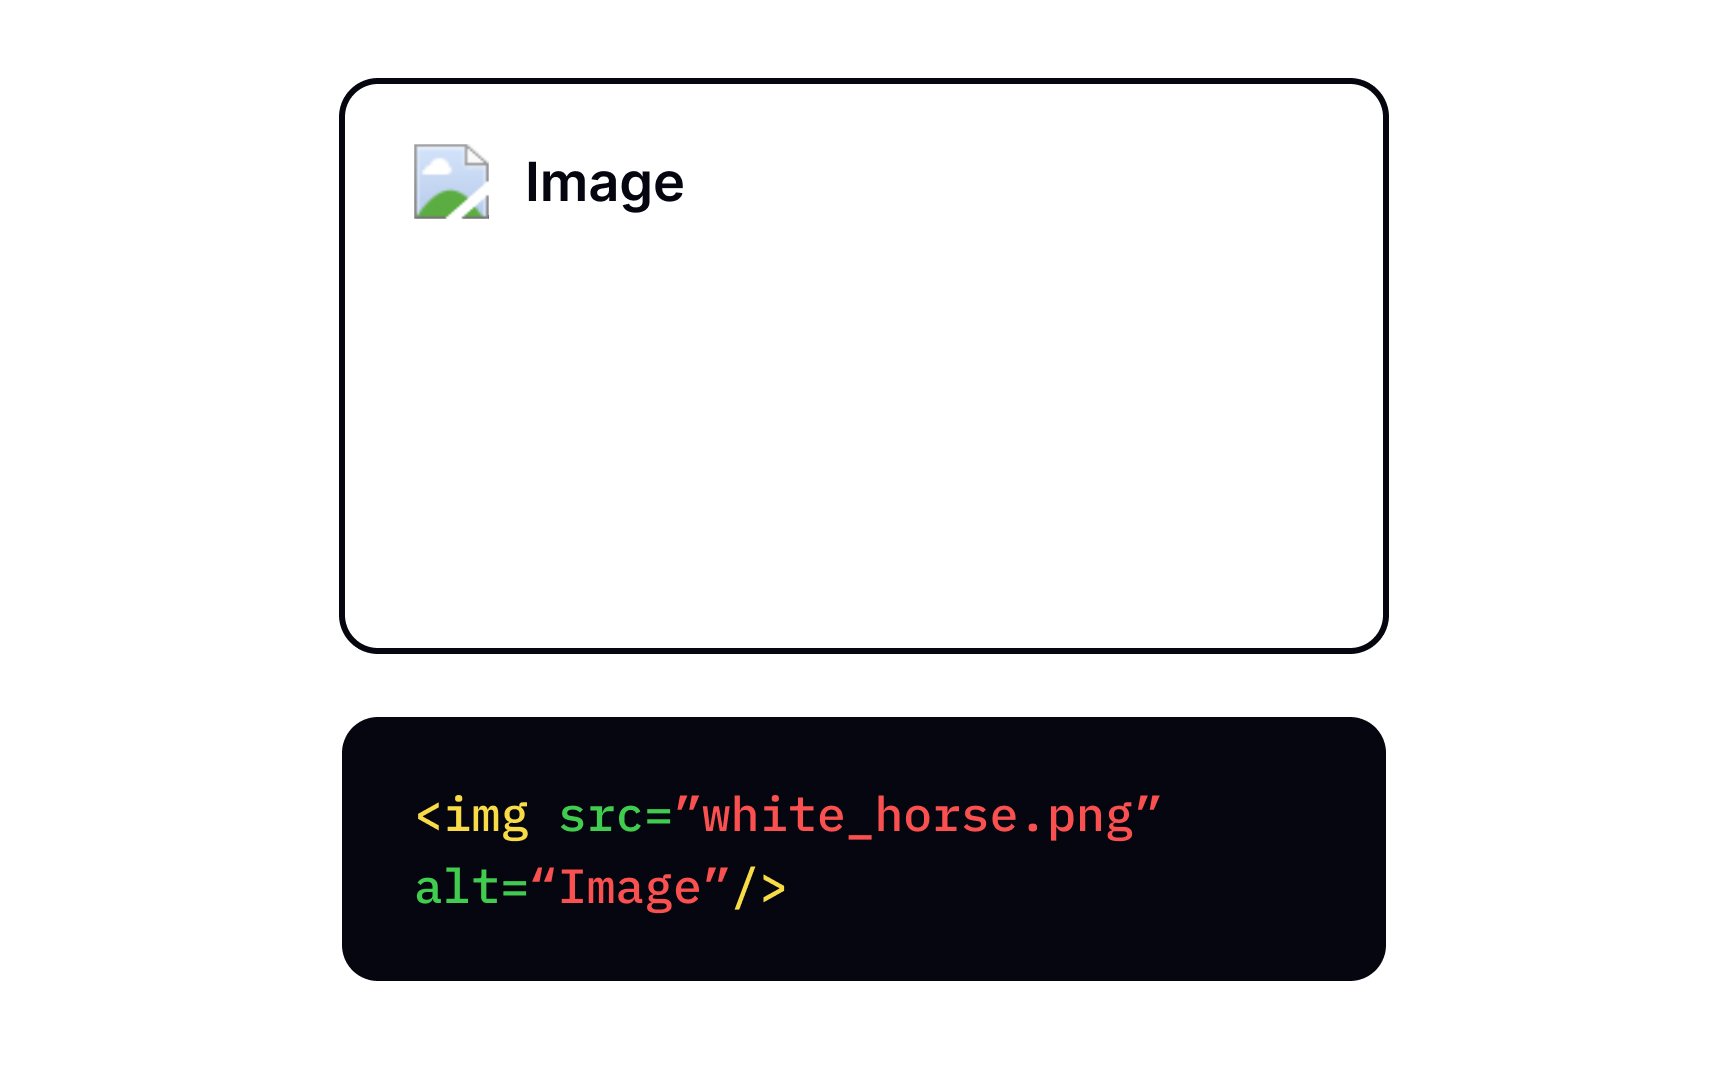
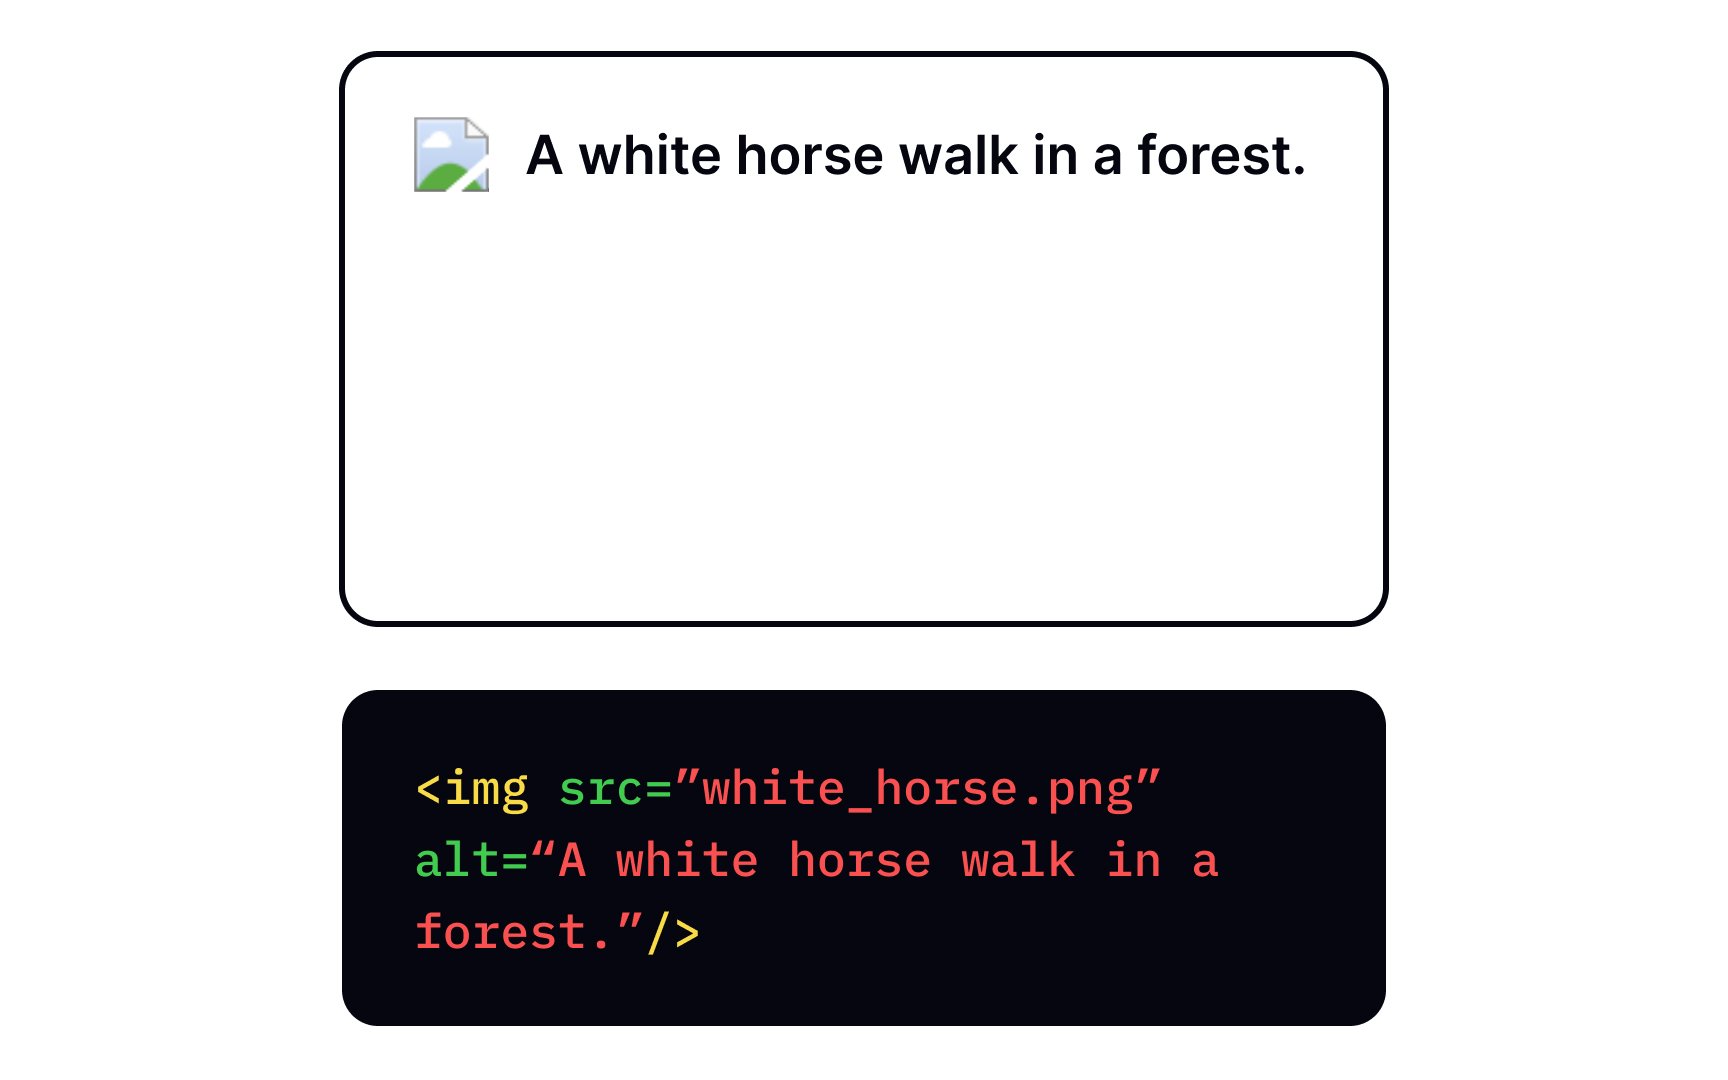
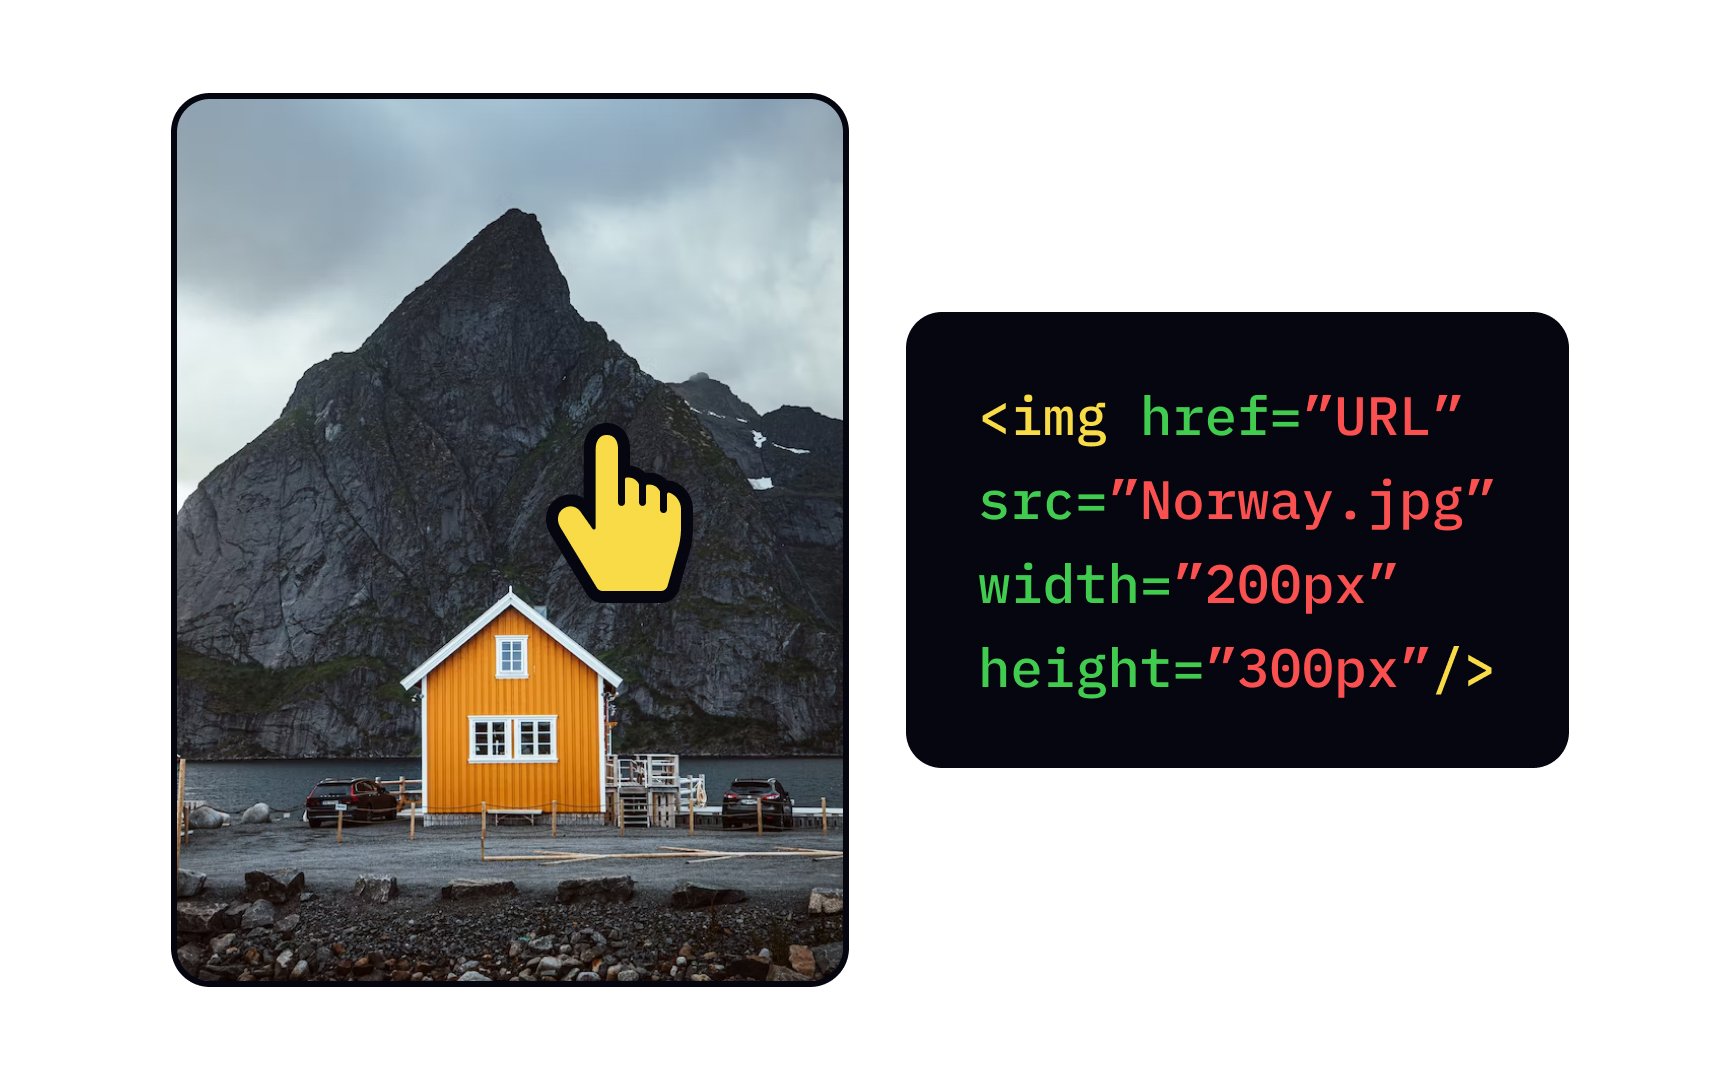
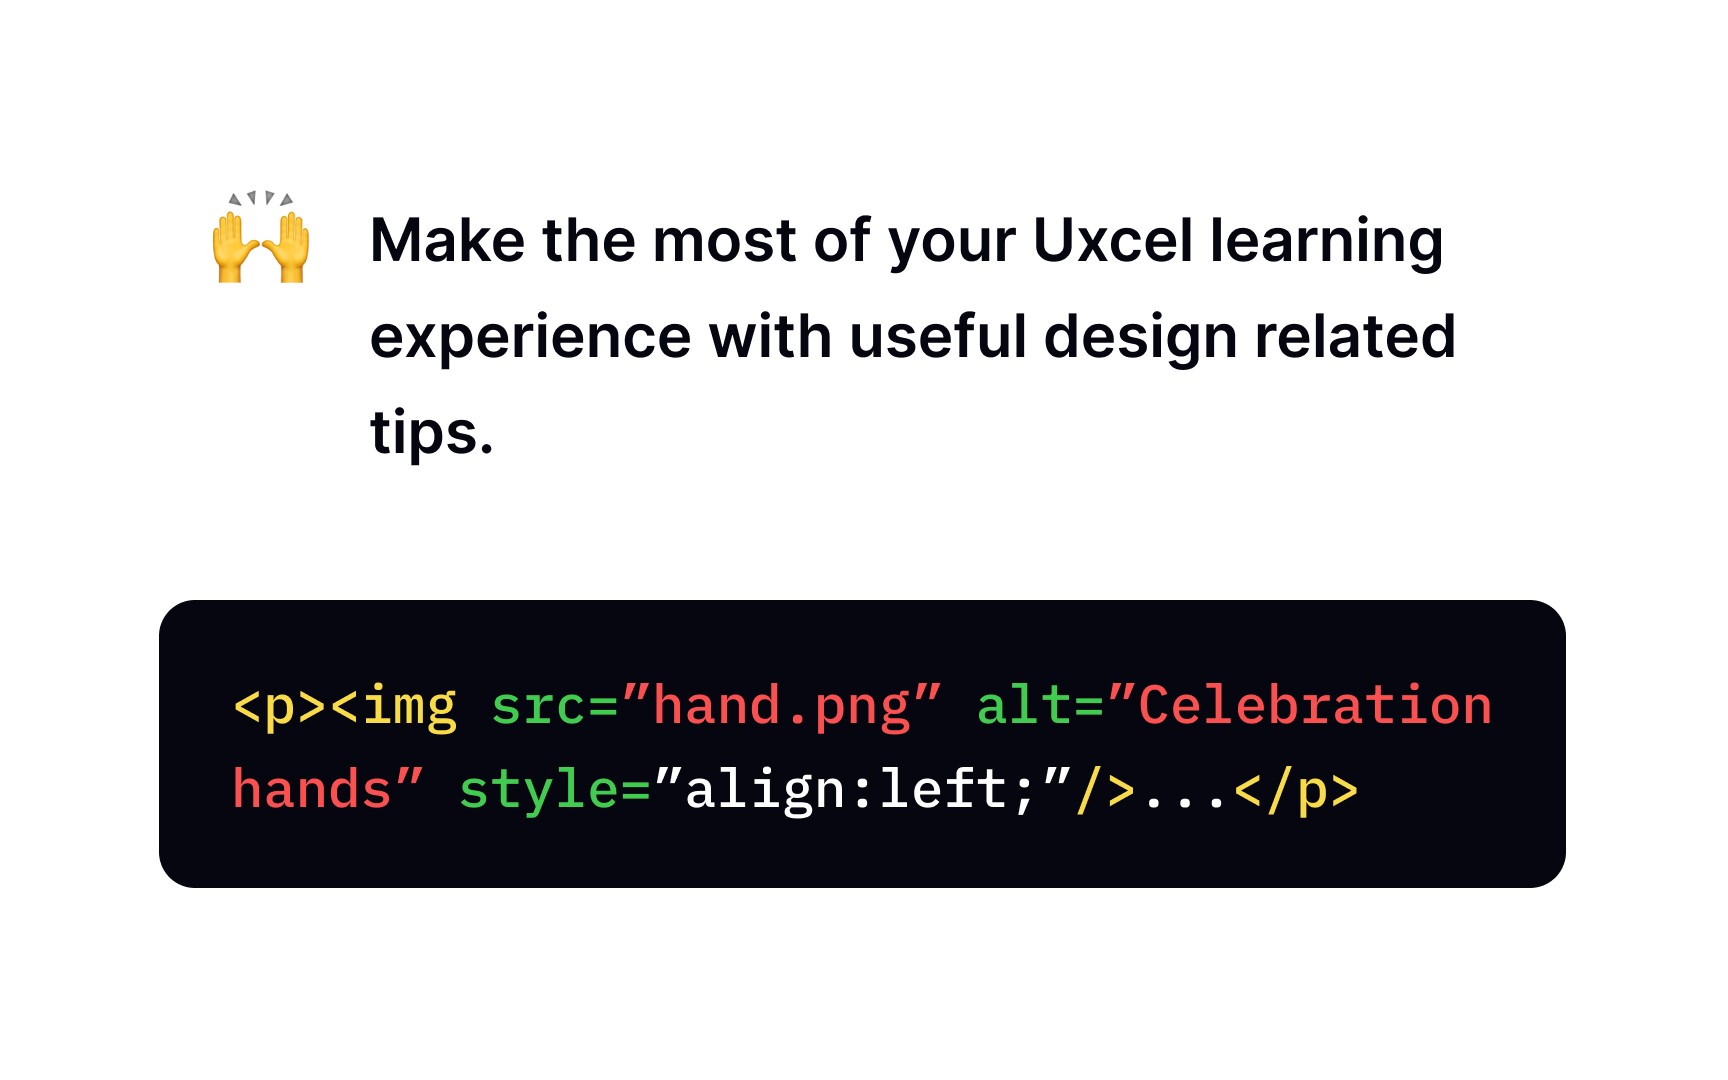
To embed an <img> tag. It's an empty one, so you don't have to worry about closing it. The src and alt attributes usually are the first thing in the <img> tag. The most common image file formats supported by all browsers are APNG, GIF, ICO, JPEG, PNG, WEBP, and SVG.[1]
The required src (an abbreviation for "source") attribute lives inside the <img>
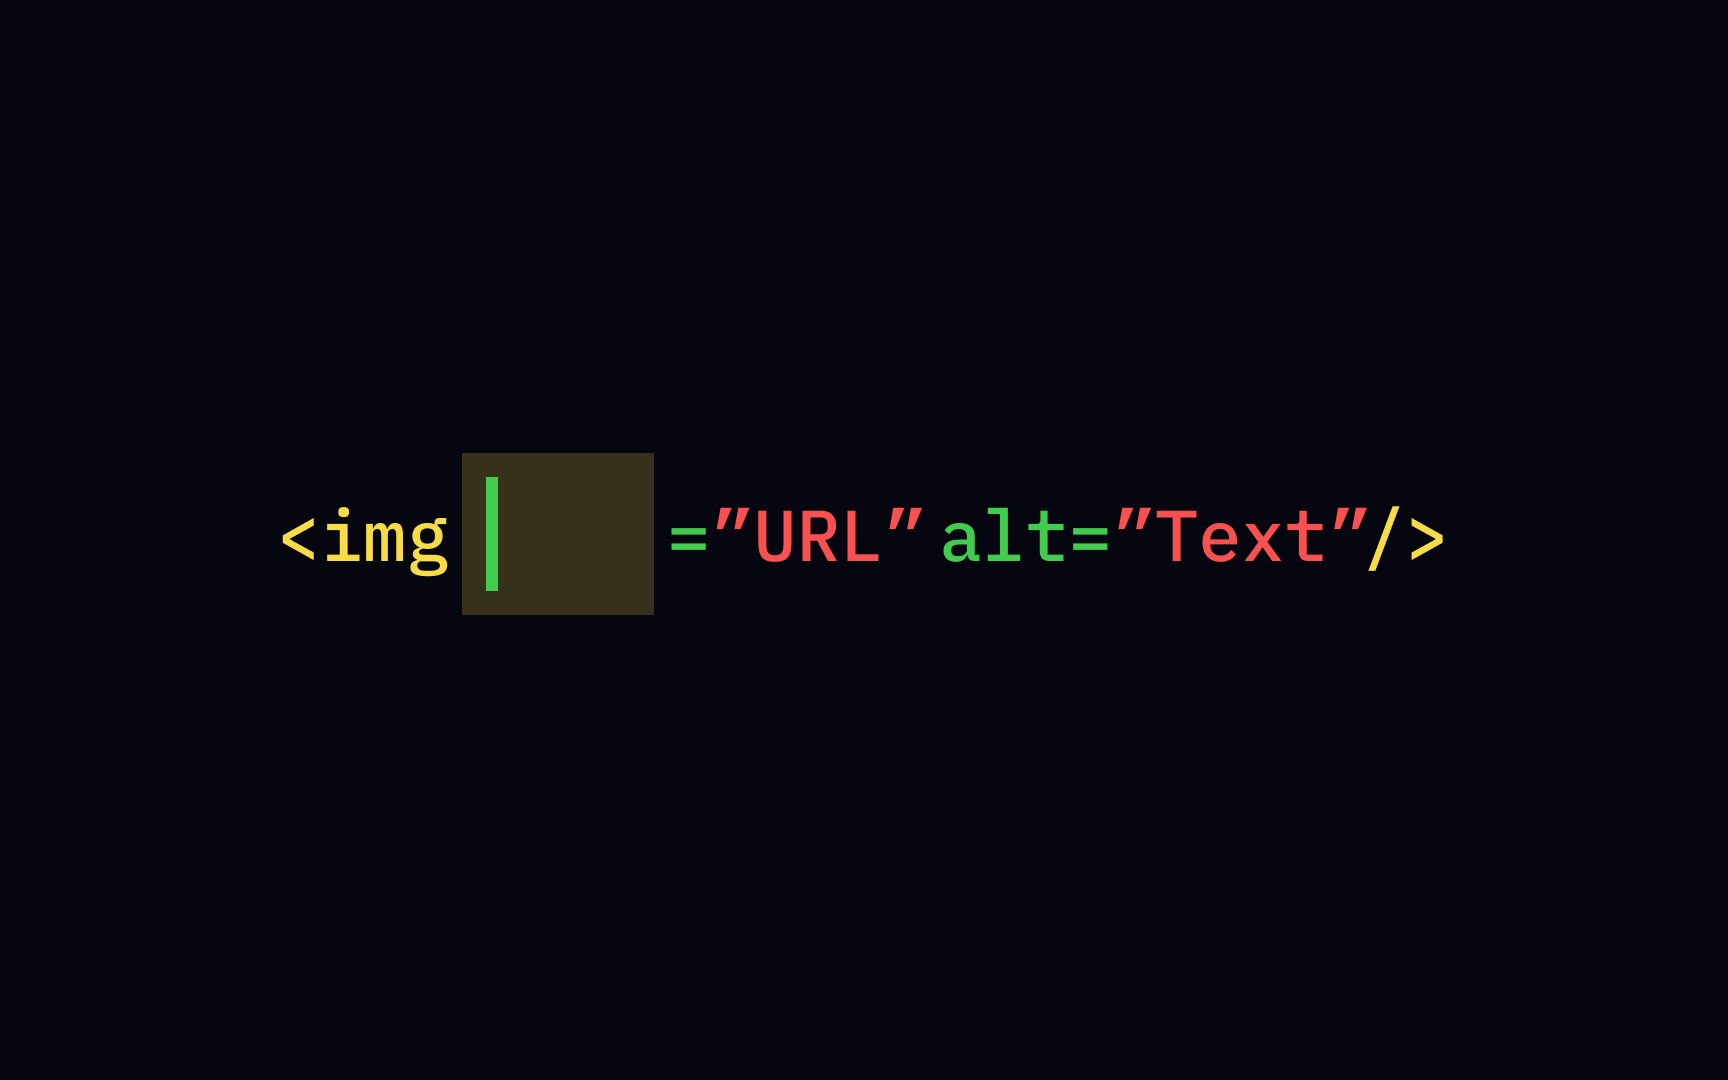
Here's a memory trick for you: "src" is short for source. It means that after <img src=" " you fill in the URL of an
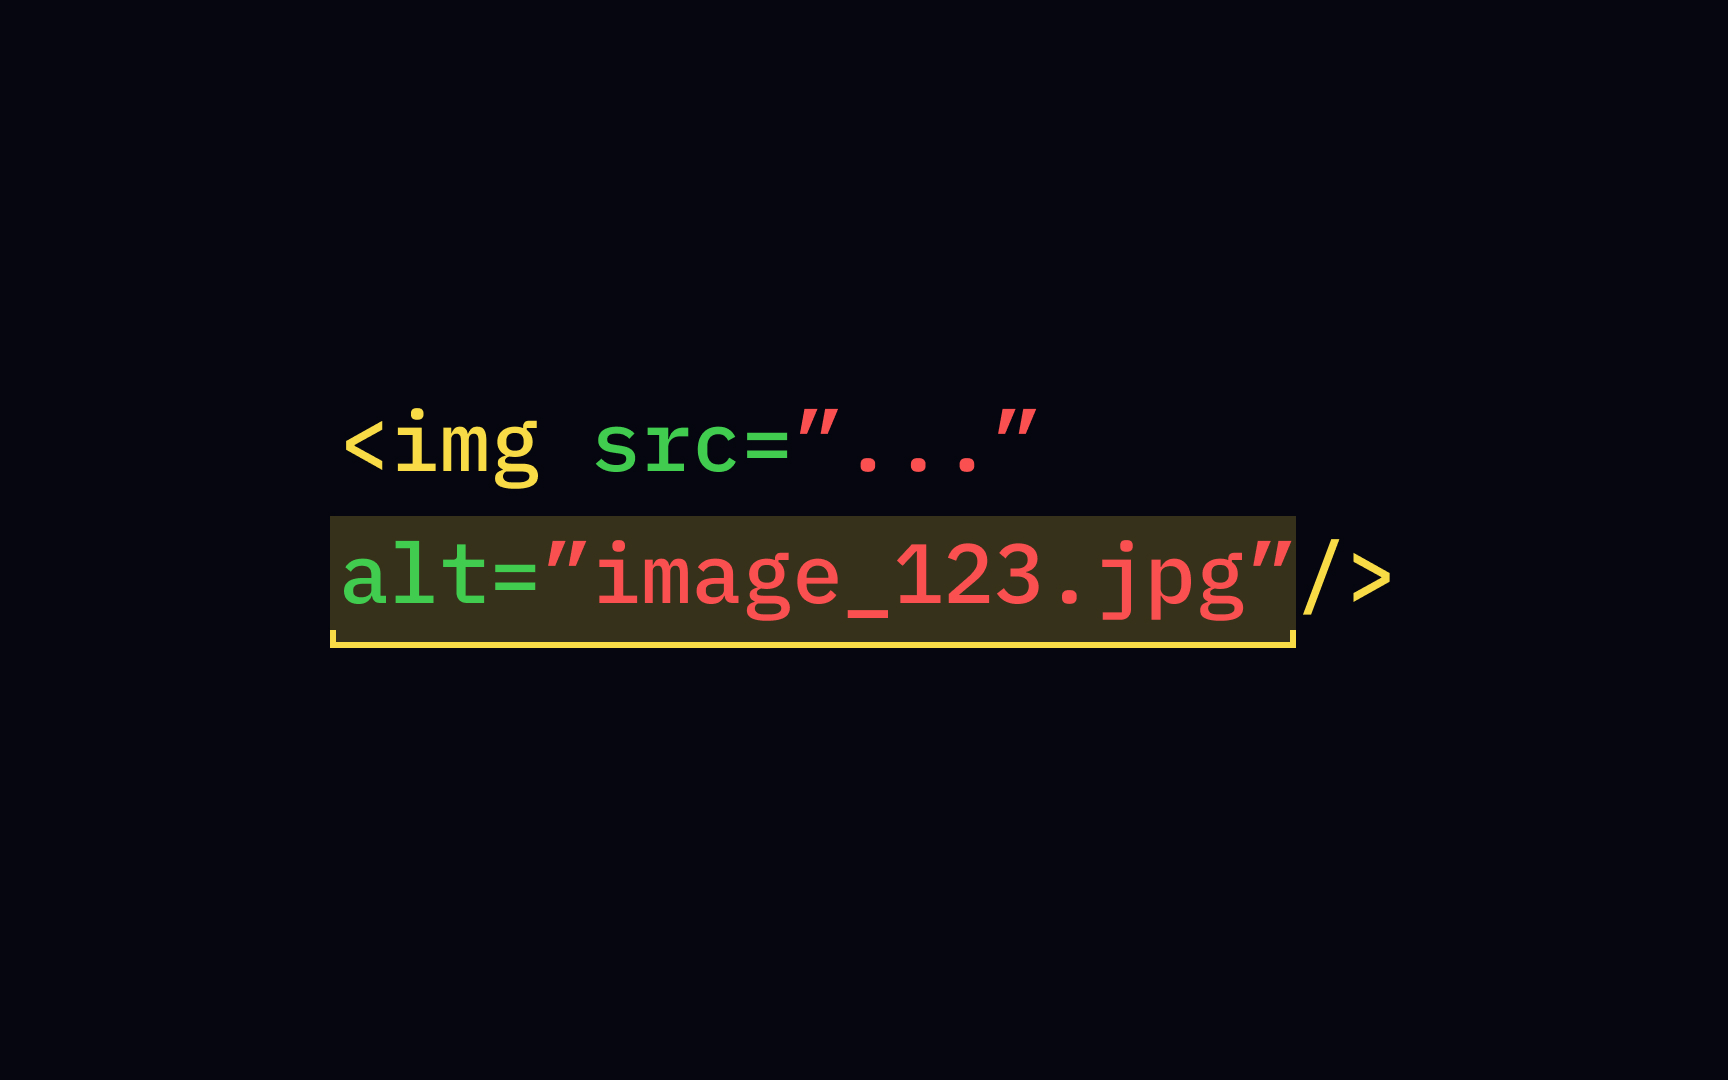
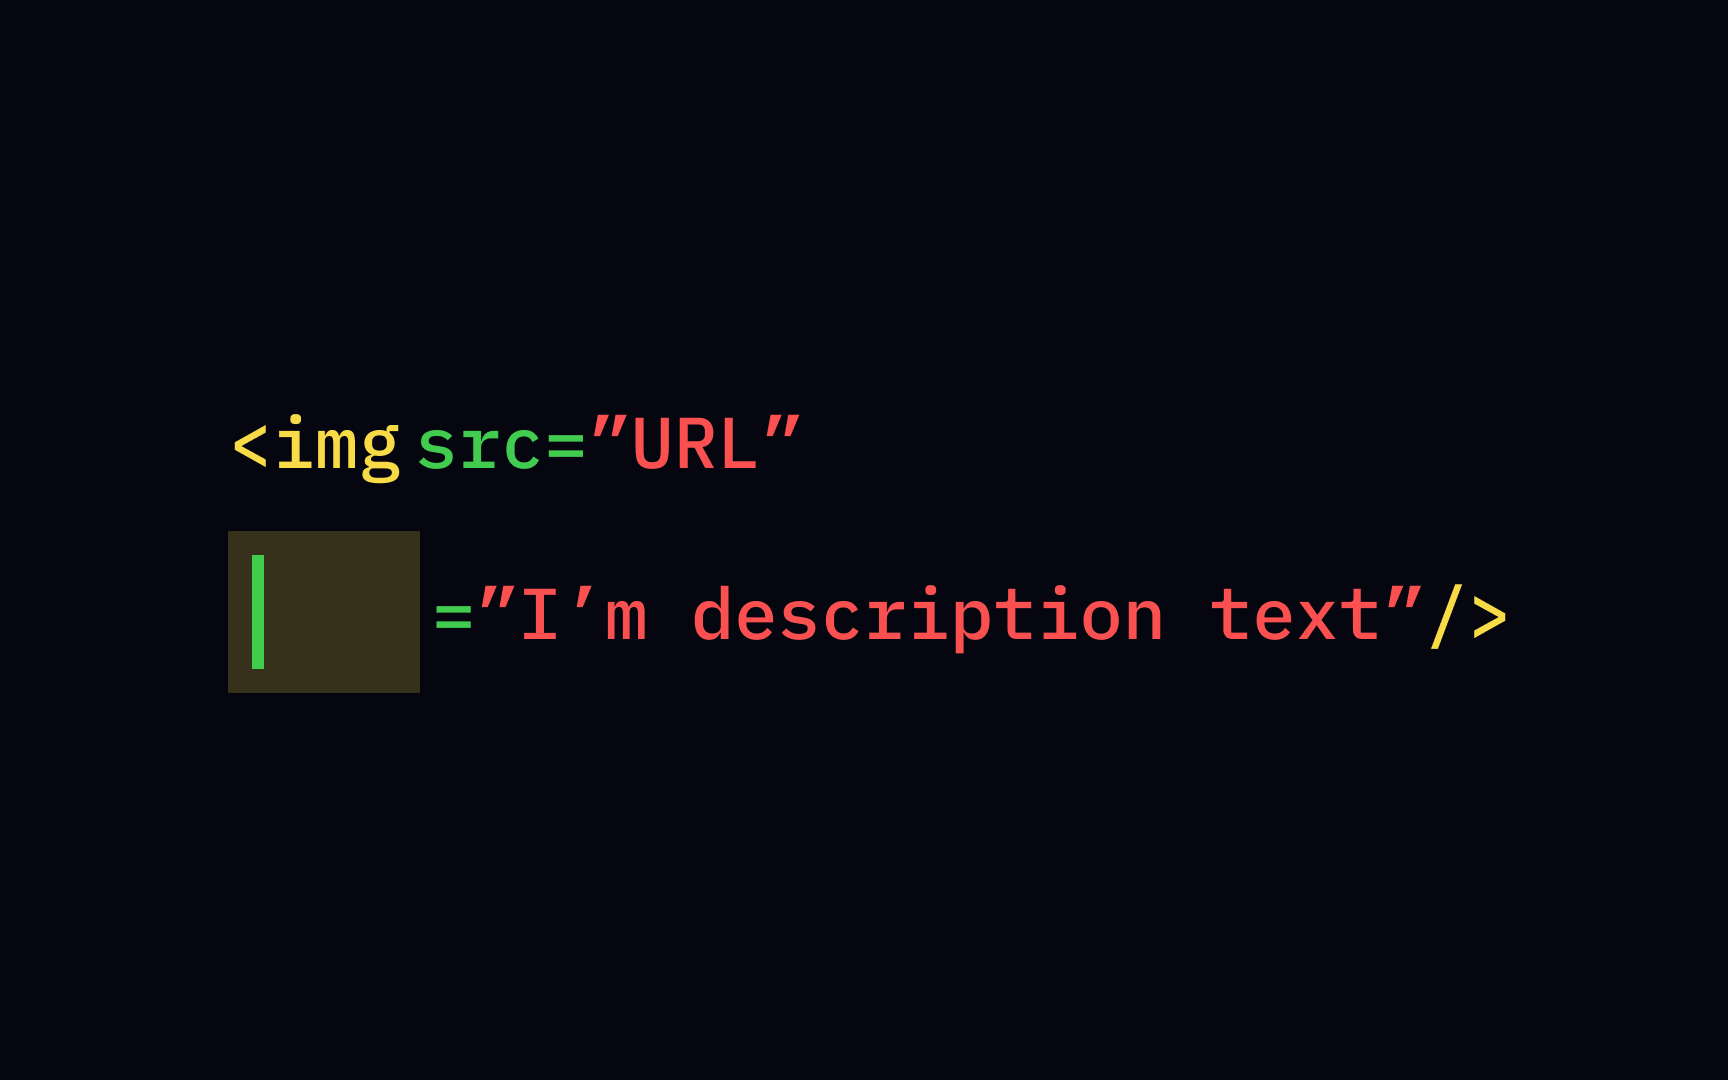
The alt attribute, aka alt description, provides a text explanation for an src attribute. Not to mention, alternative text is a lifesaver for screen reader users. In a nutshell, this device reads
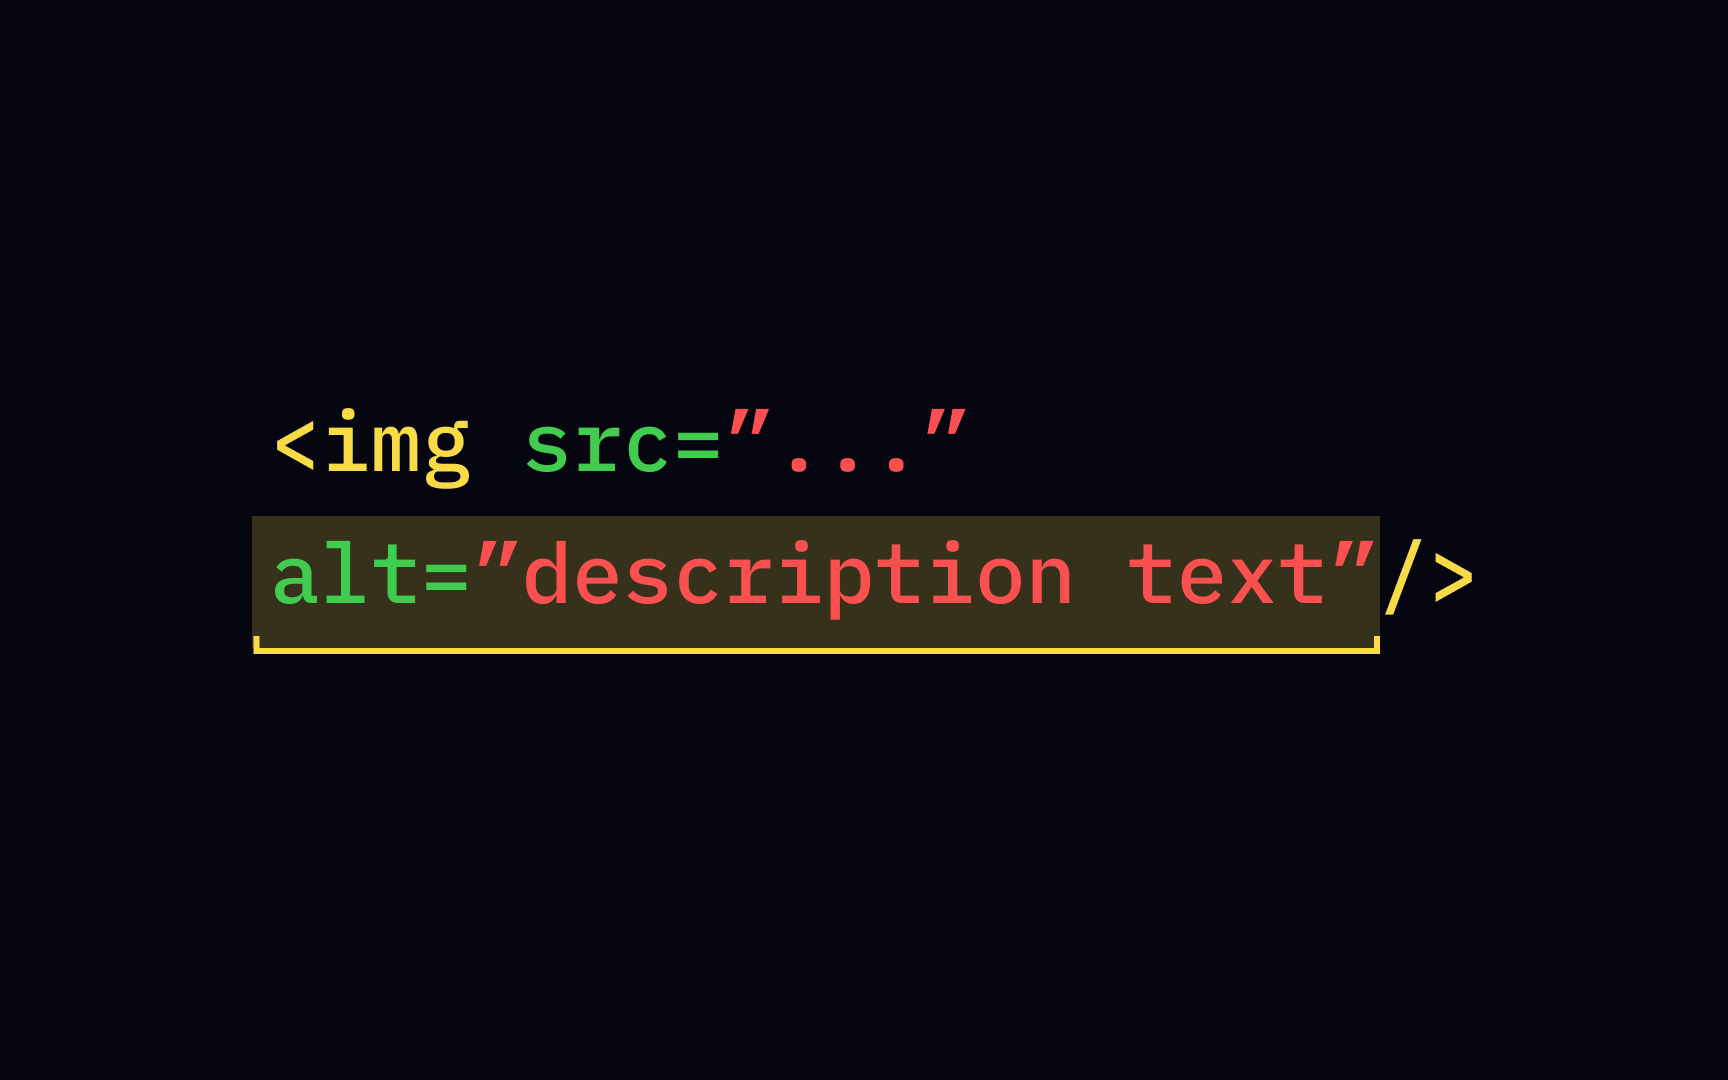
Ensure that the alt text is relevant to both the image and the entire
Next, confirm that the alternative text aligns with the website's topic and incorporates relevant keywords. Lastly, remember that screen readers and search engines already recognize
Screen-reading tools typically stop reading alt text at the point of 125 characters, so keep the alt text short but informative.[2]
The alt is short for alternative text. Don't expect it to show on mouseover — it's not a tooltip. Alt attributes exist for screen readers and
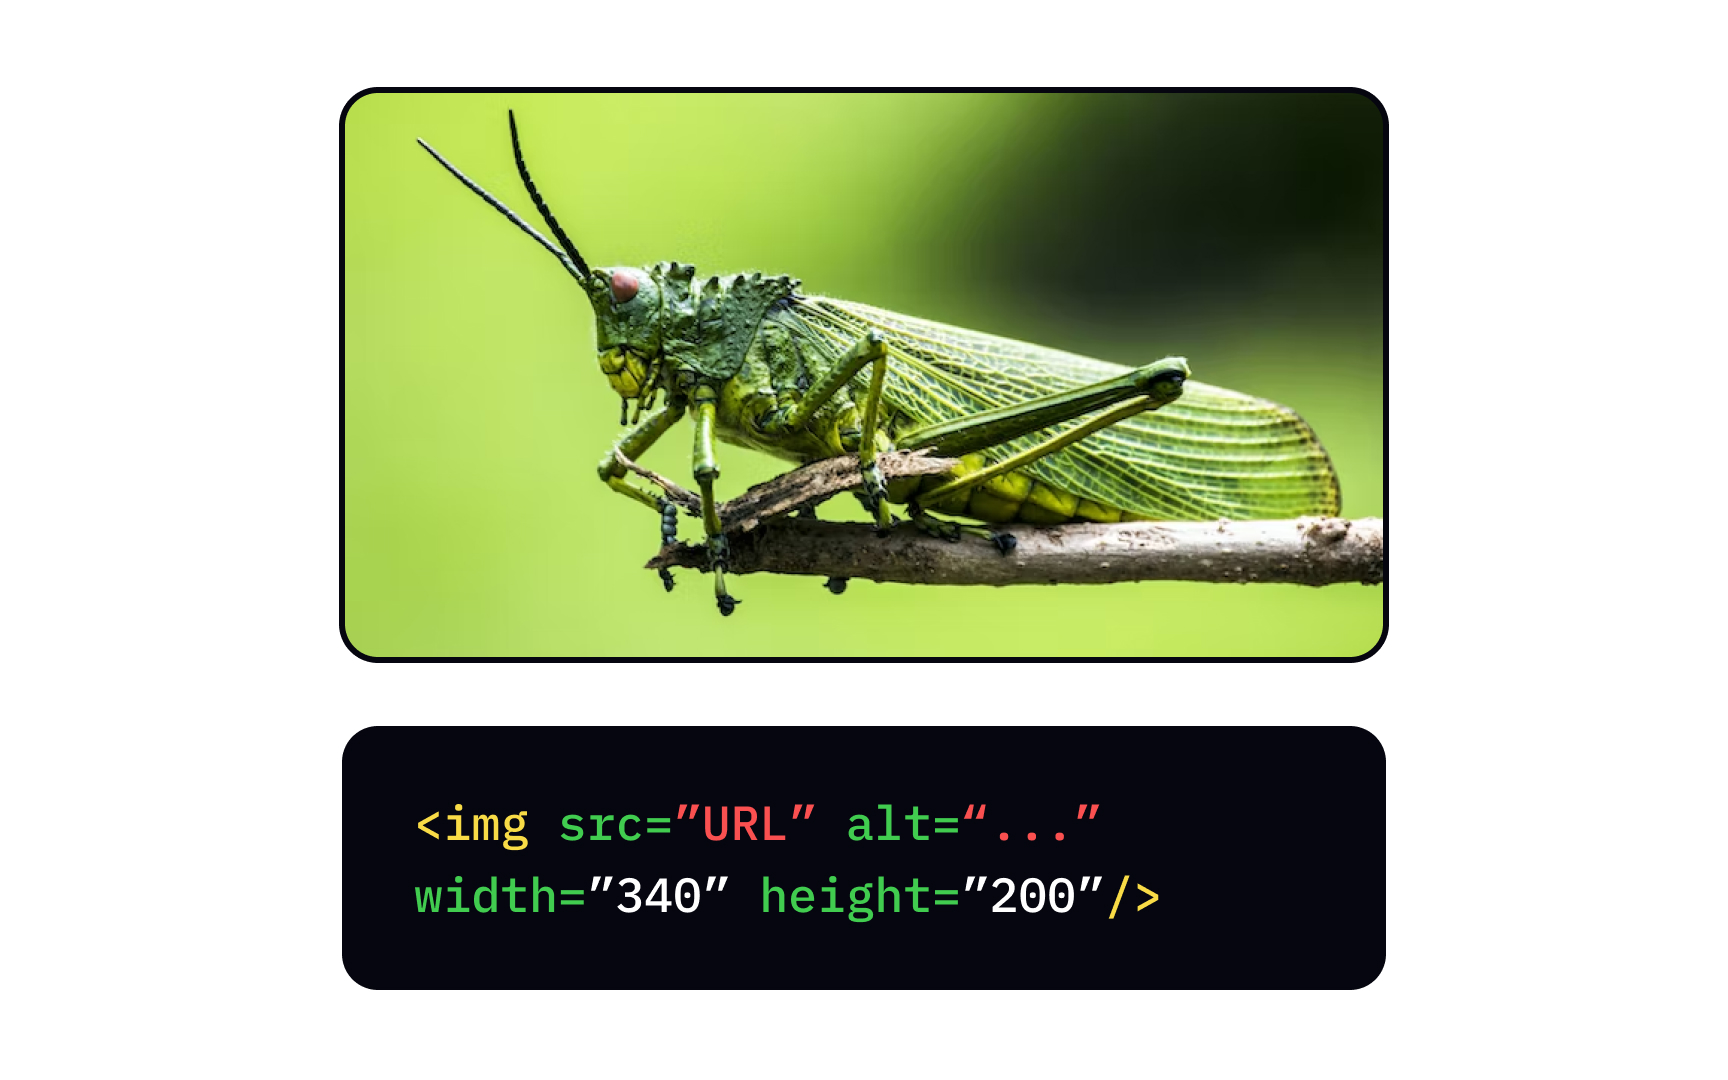
The width and height attributes define
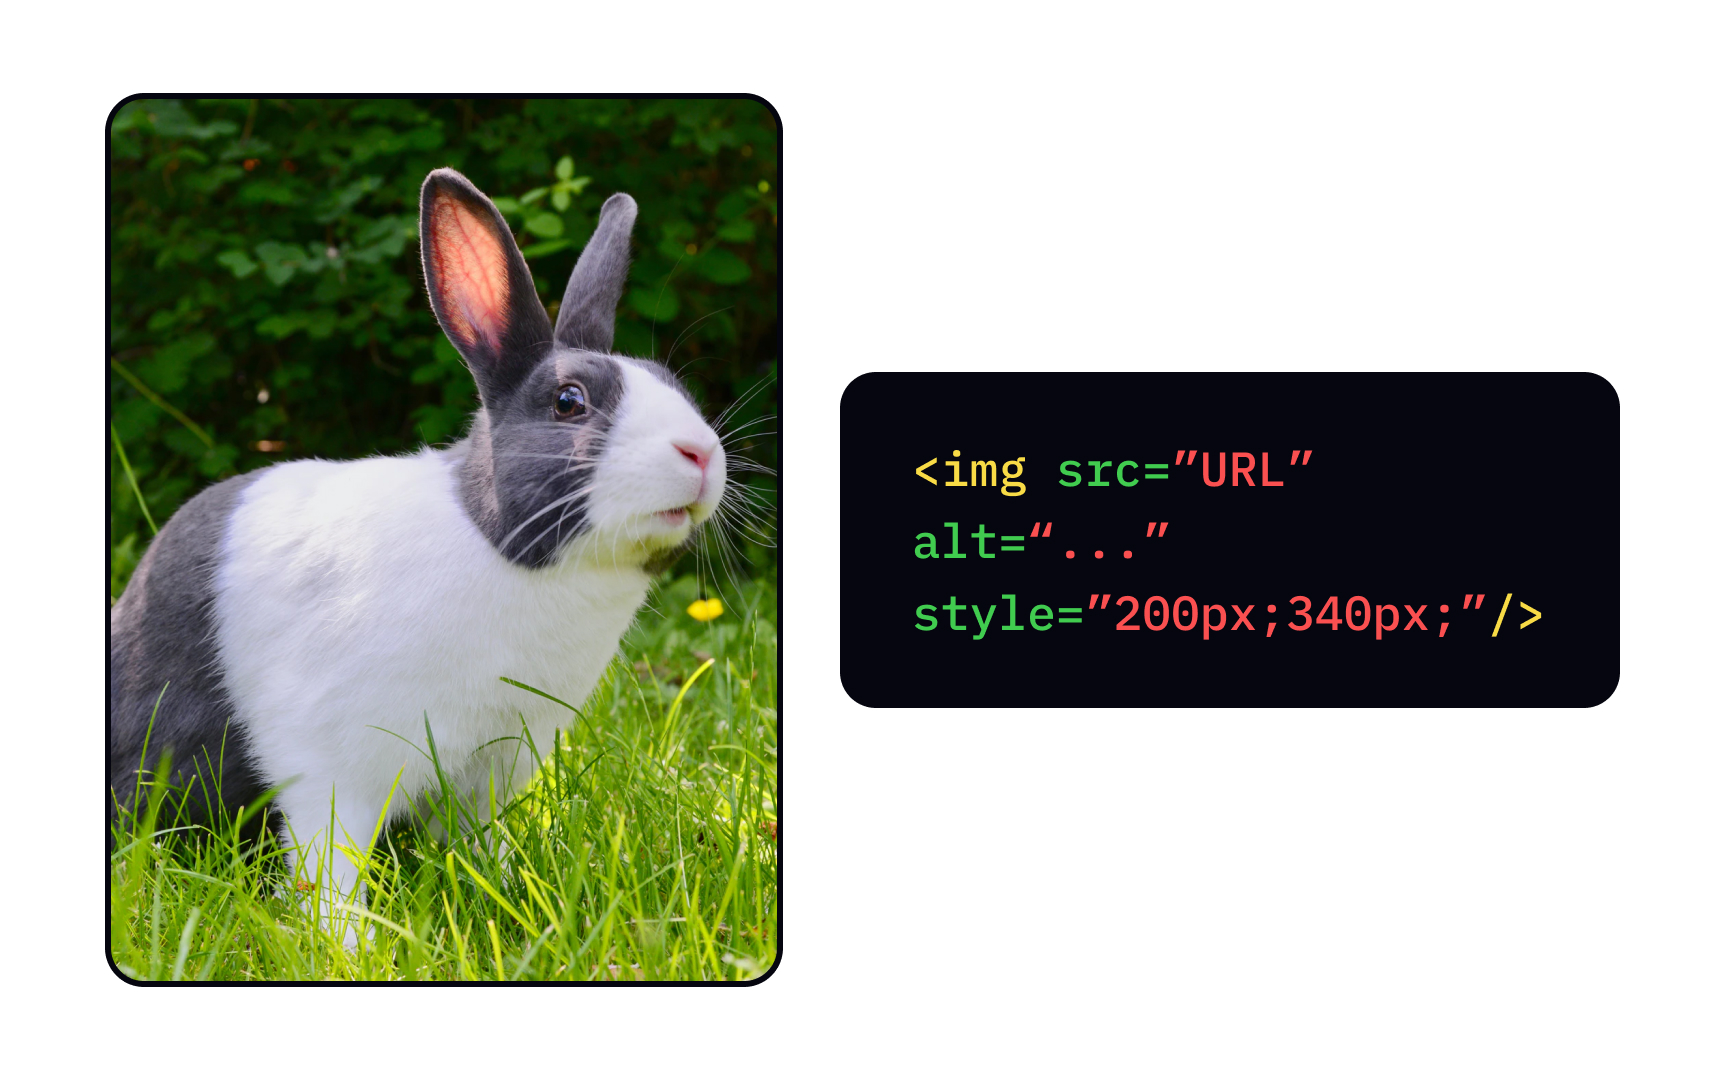
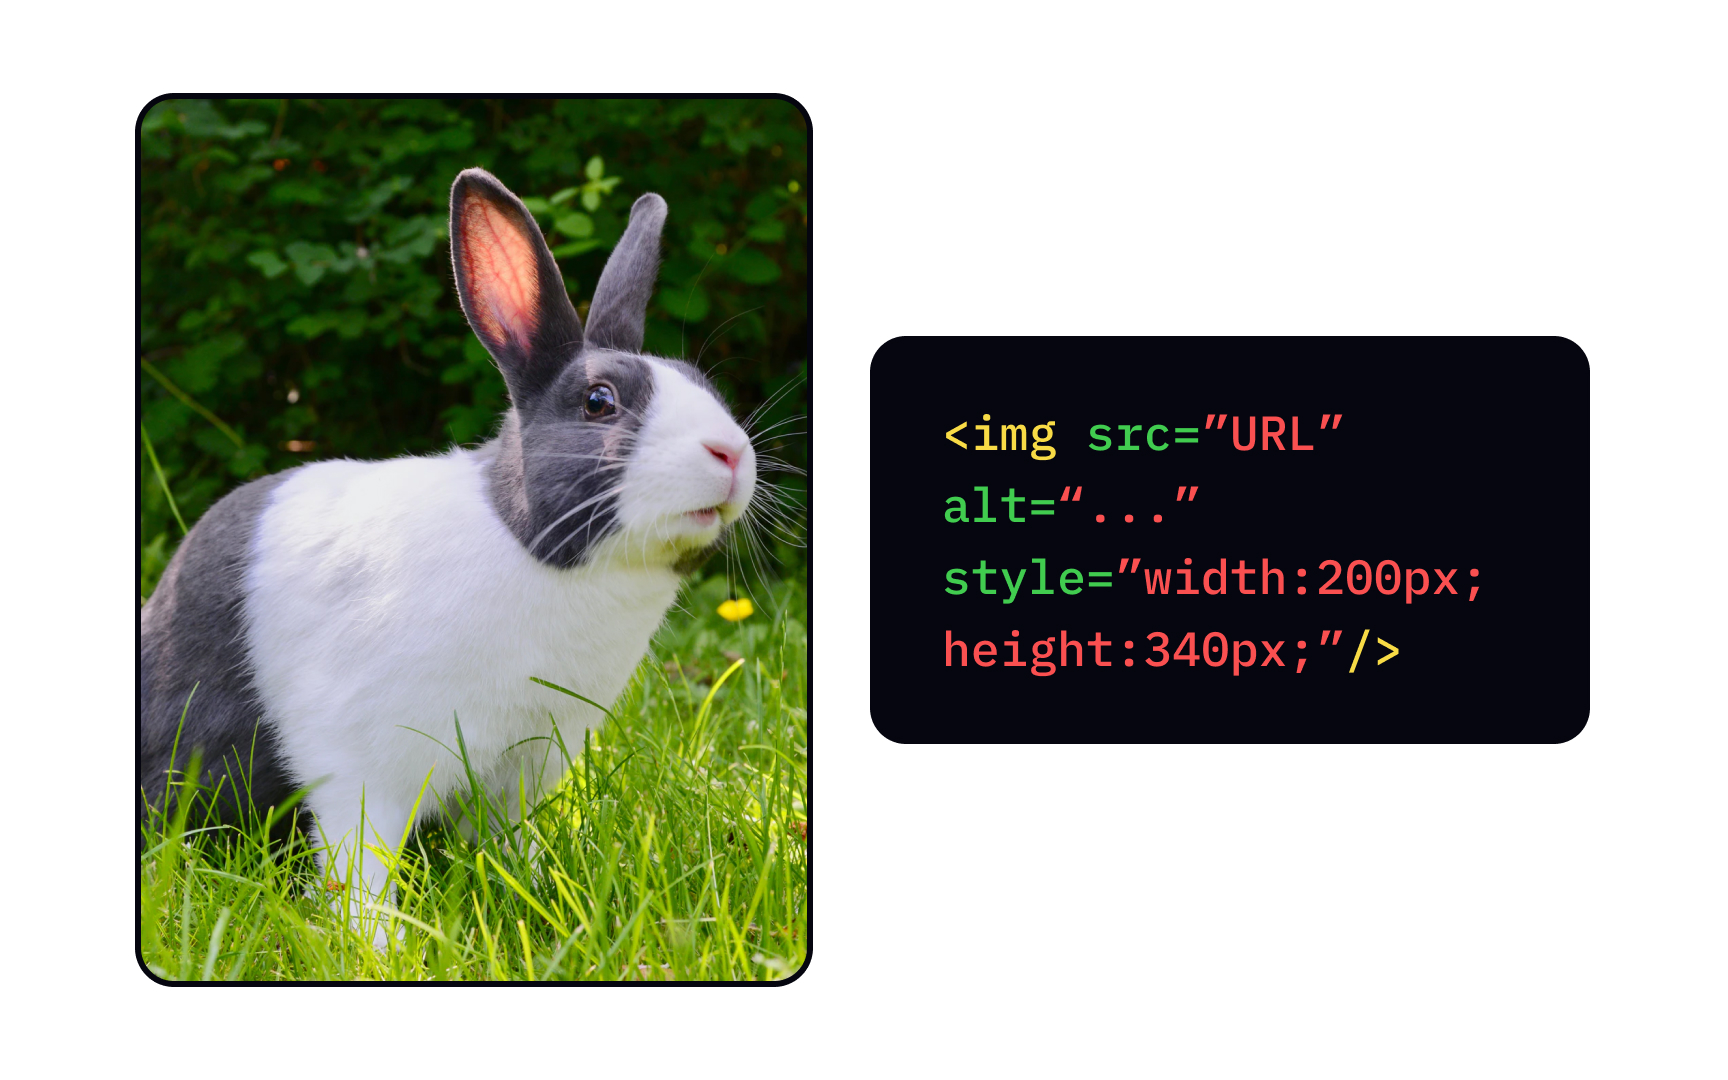
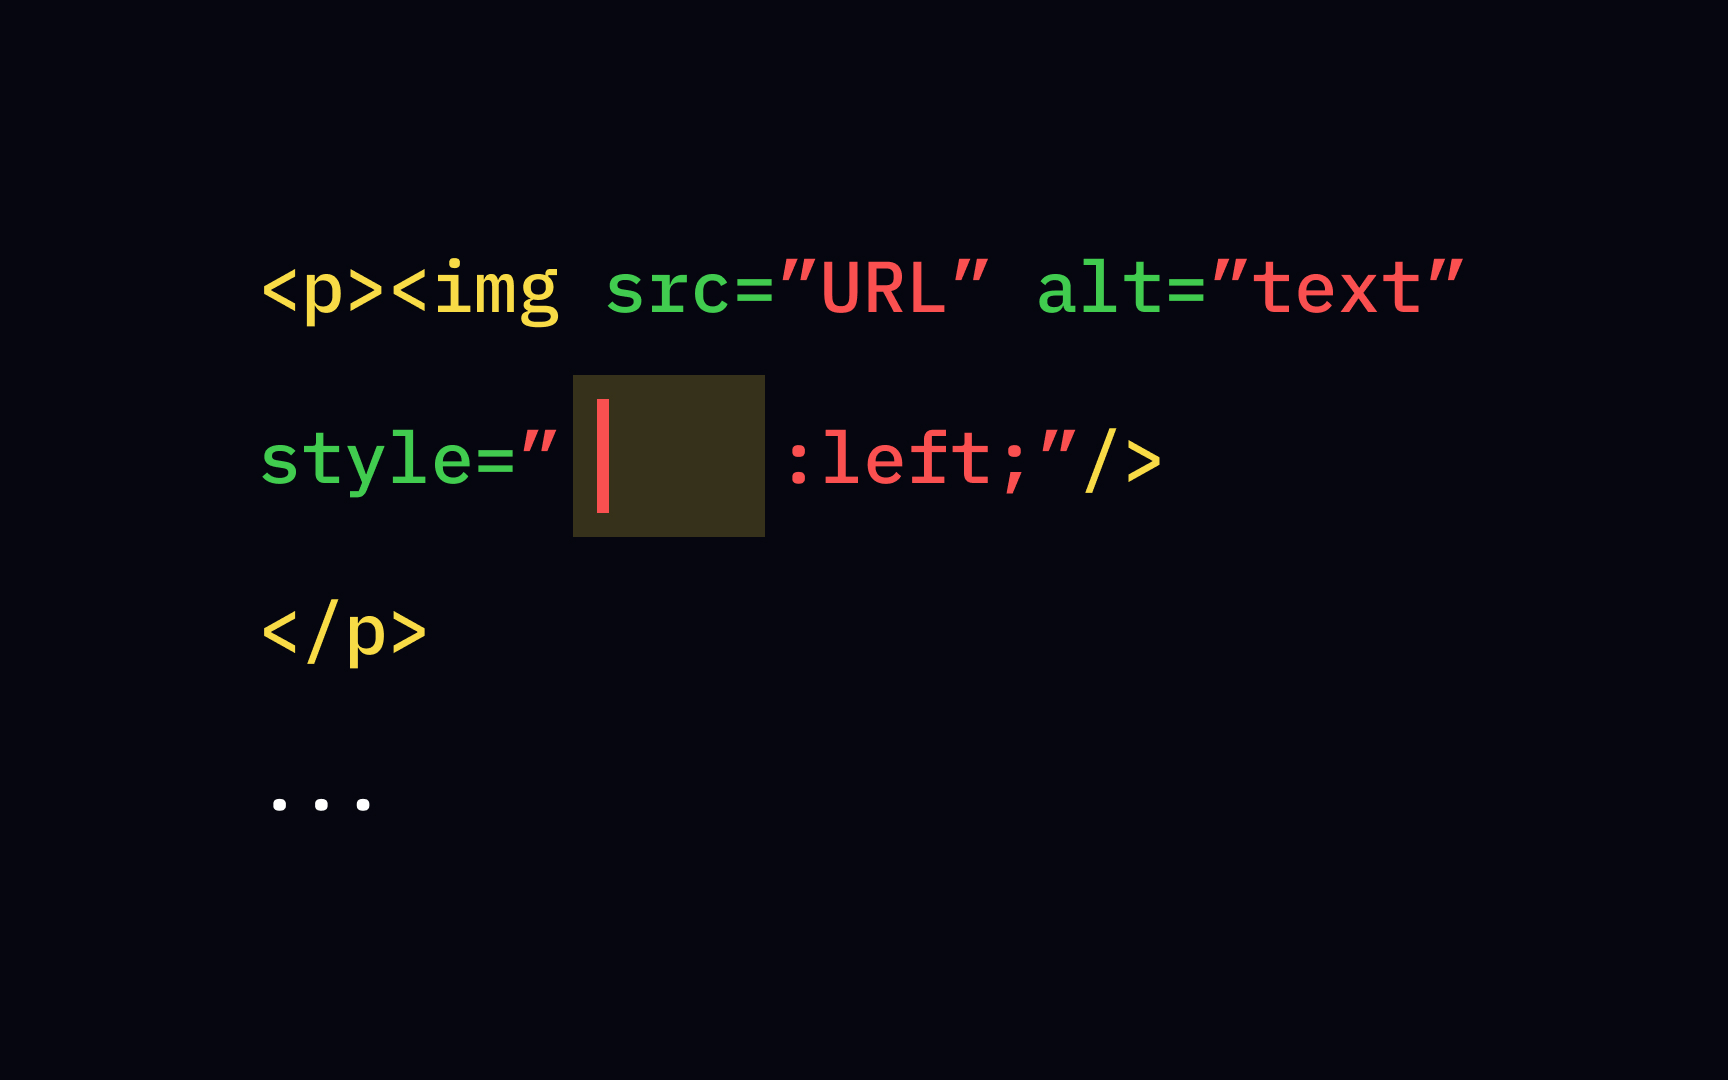
To specify image width and height, you can use the style attribute. It goes after the alt attribute and defines style attribute if we already have width and height attributes? Well, they're all relevant and valid, but the style attribute prevents CSS from altering the size of images.[3]
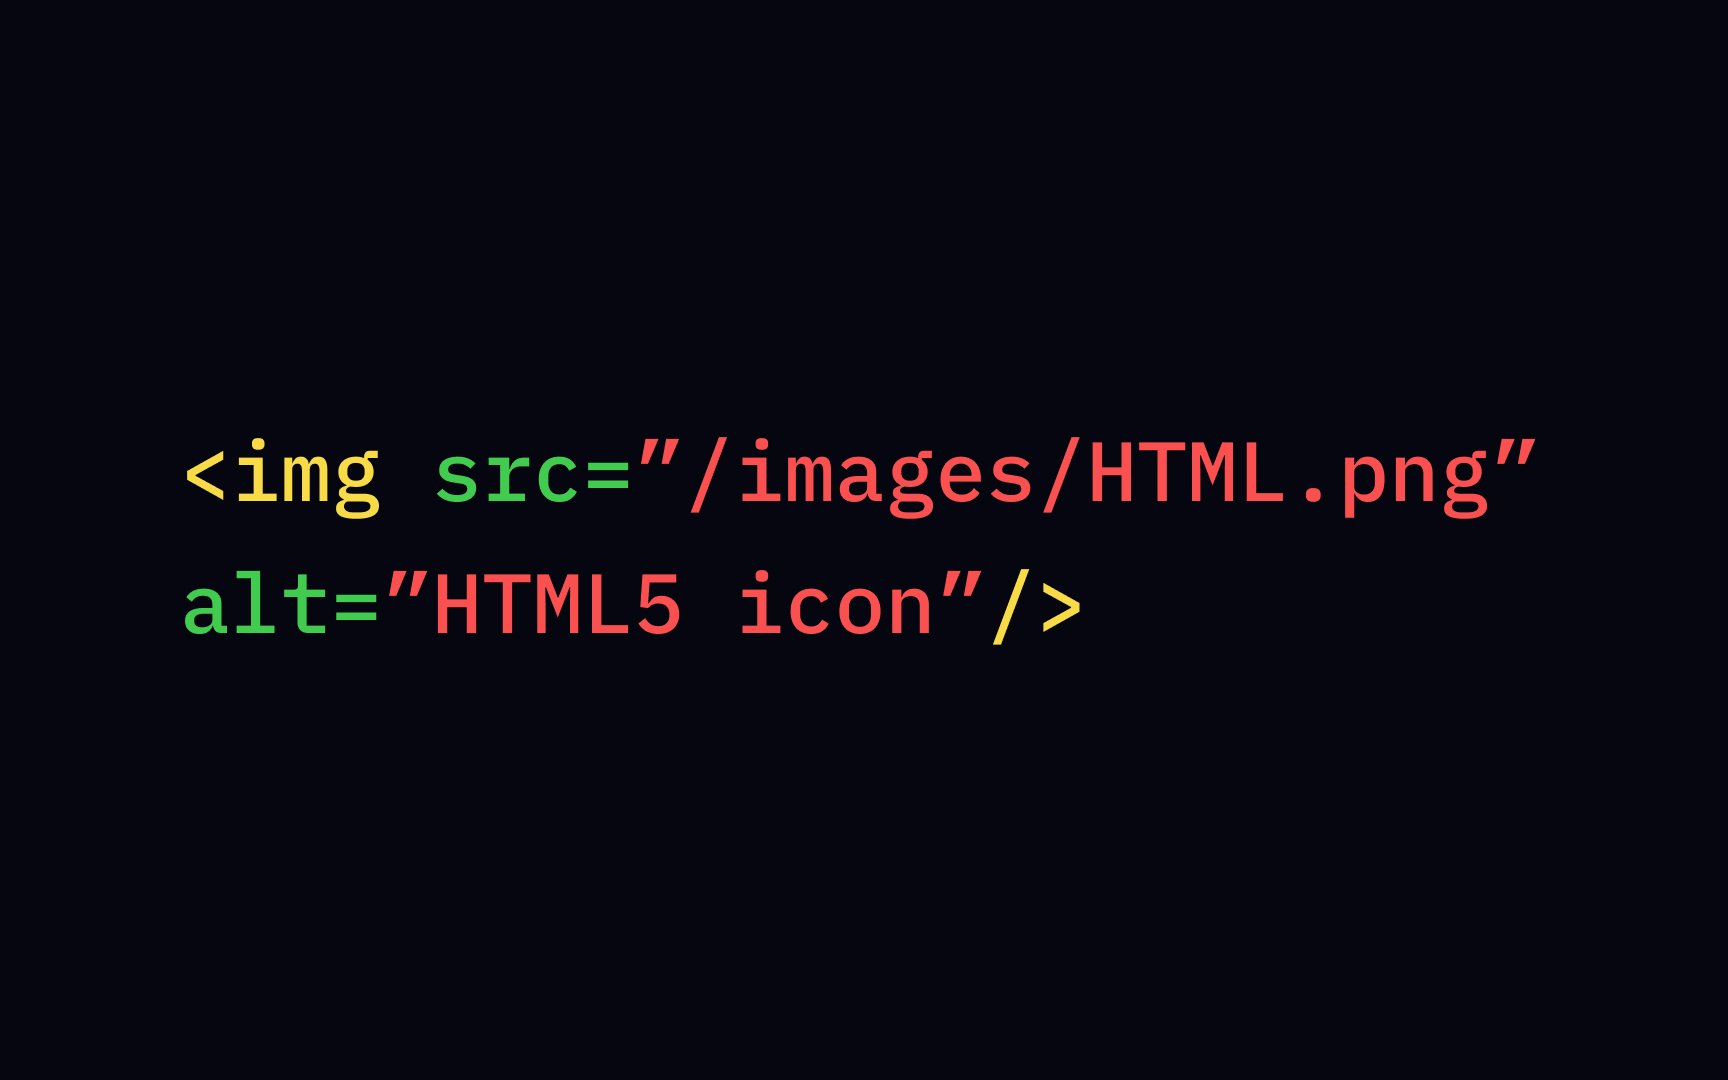
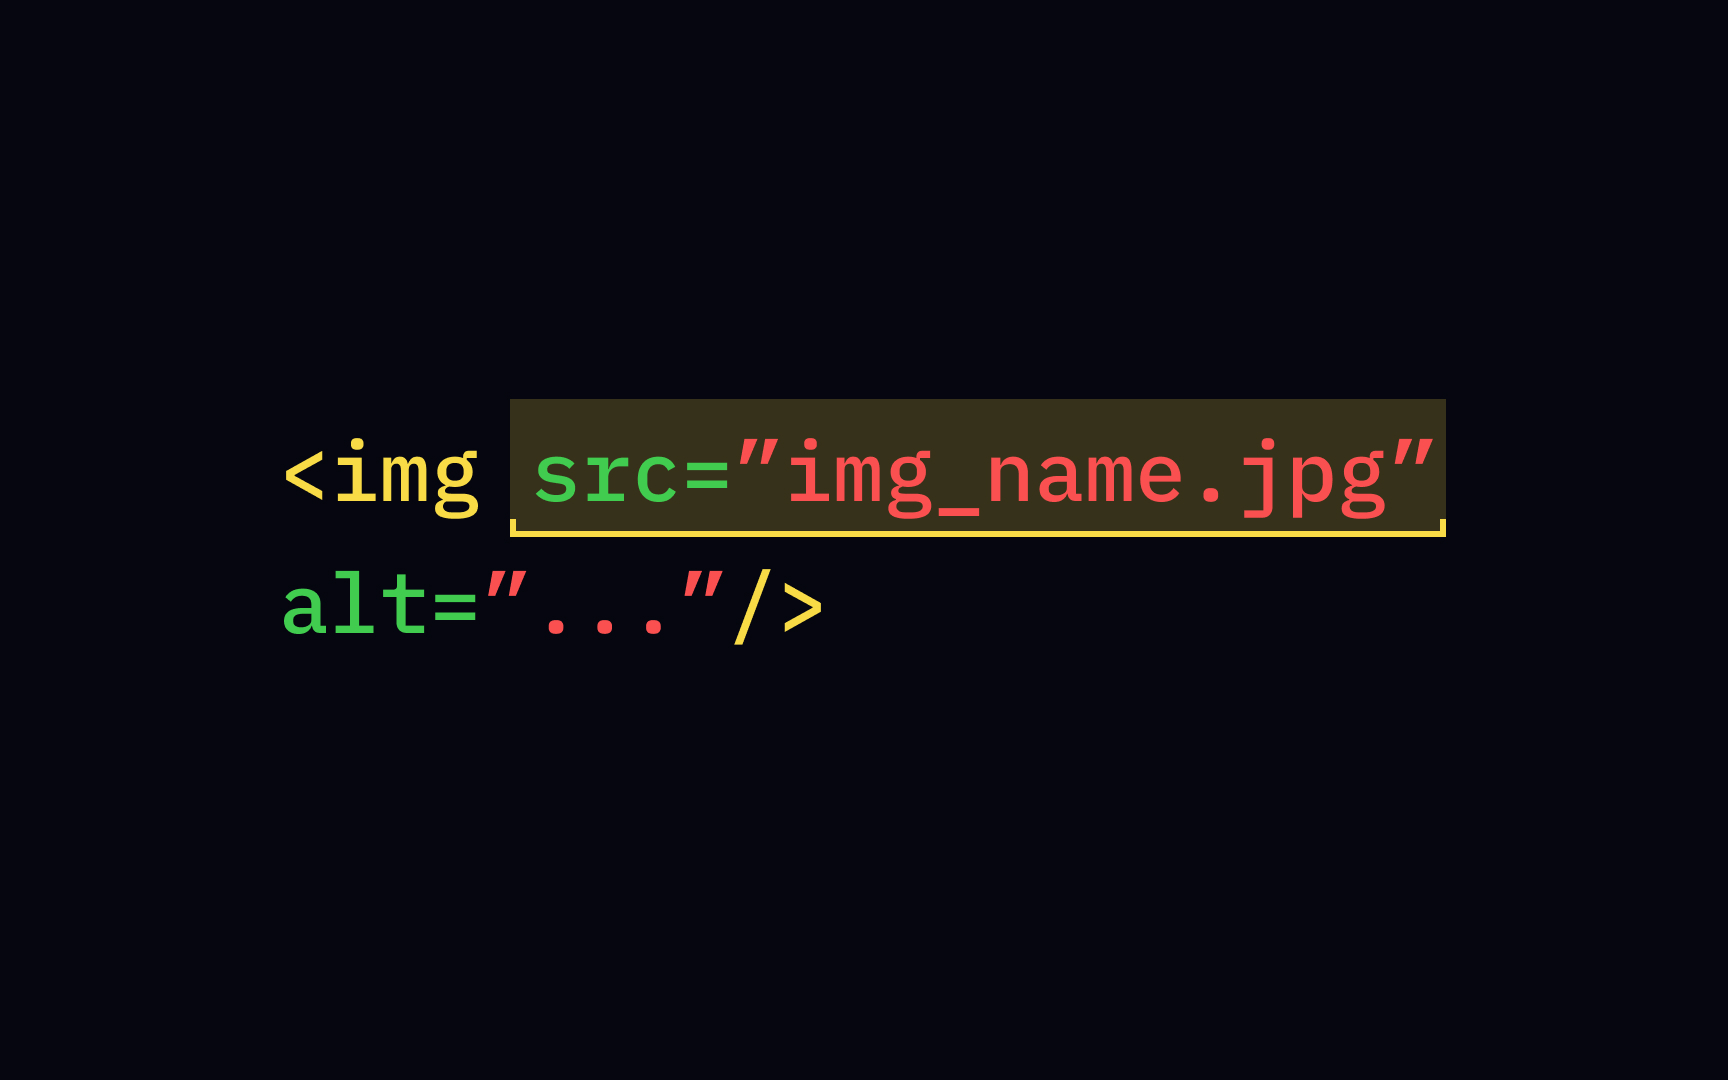
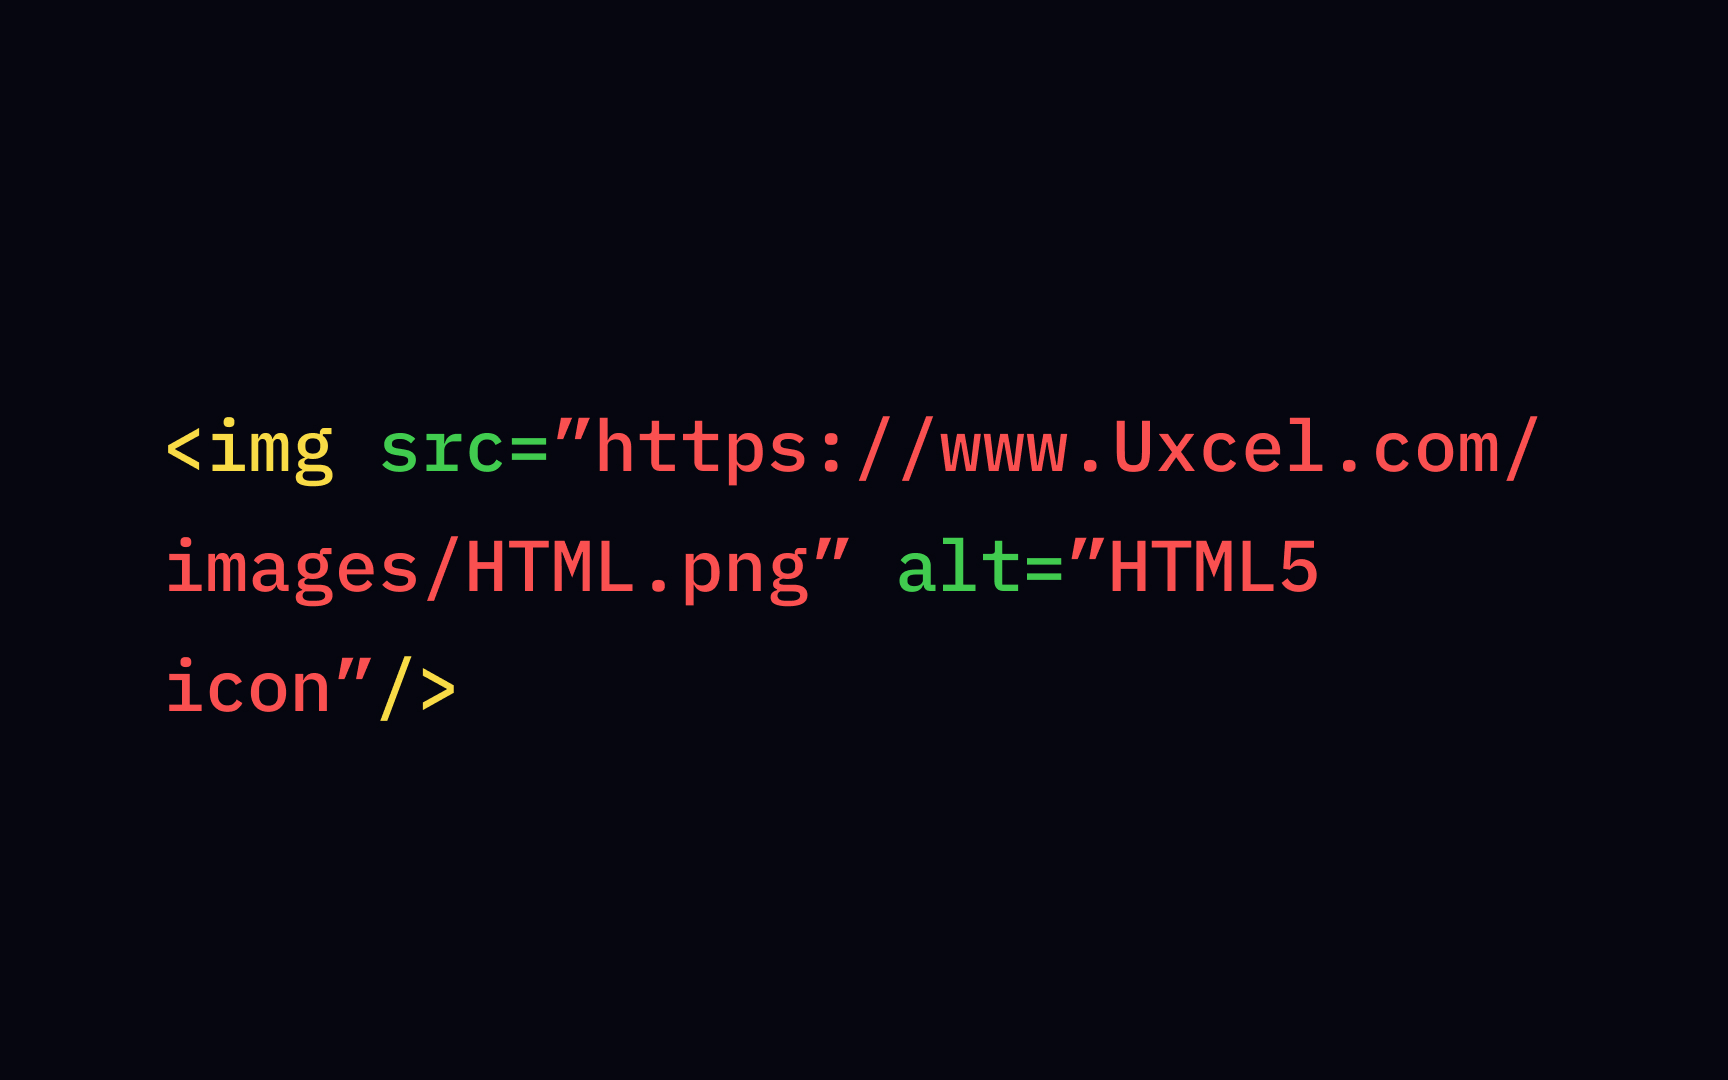
As we already mentioned, the src attribute identifies the image location. When dealing with assets like src attribute. The syntax may look like this: <img src="/folder name/filename.jpeg">.
The same logic applies if you use images from your own website. Usually, the best option is to use relative URLs in the src attribute rather than absolute URLs. It prevents the URLs from breaking if you change a domain.
If we use
Using images from other resources implies some risk of copyright violation. Either get the author's permission or use visual
Moving pictures became a reality with the arrival of GIF src attribute and set the dimensions (width and height). You can also consider WebP, AVIF, or APNG formats for animation sequences.
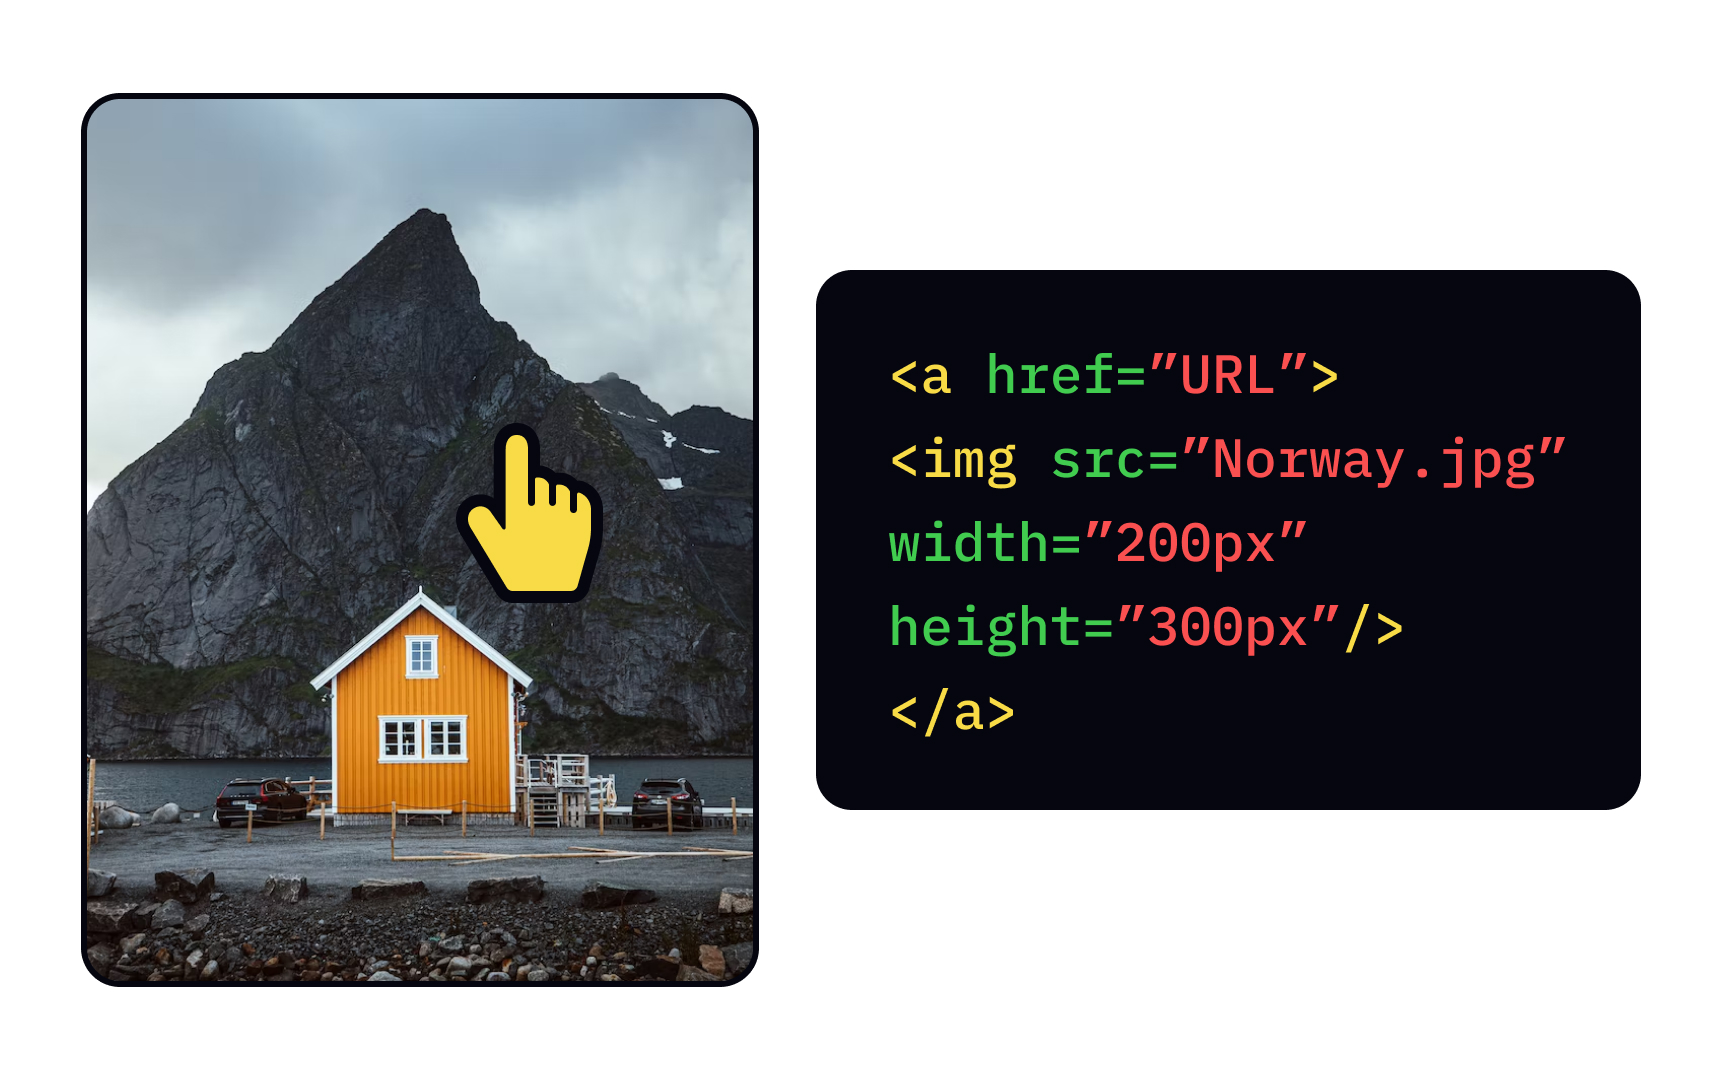
An <img> <a> element, making sure you specify the src attribute, alt text, and appropriate

With float
What's wrong with the align property? Well, there's no such thing! 🤷🏽♂️ The text-align property, as opposed to the float attribute, doesn't affect the image but rather the
The float

Any element on the <img> style attribute and the background-image style attribute to the <body> element.
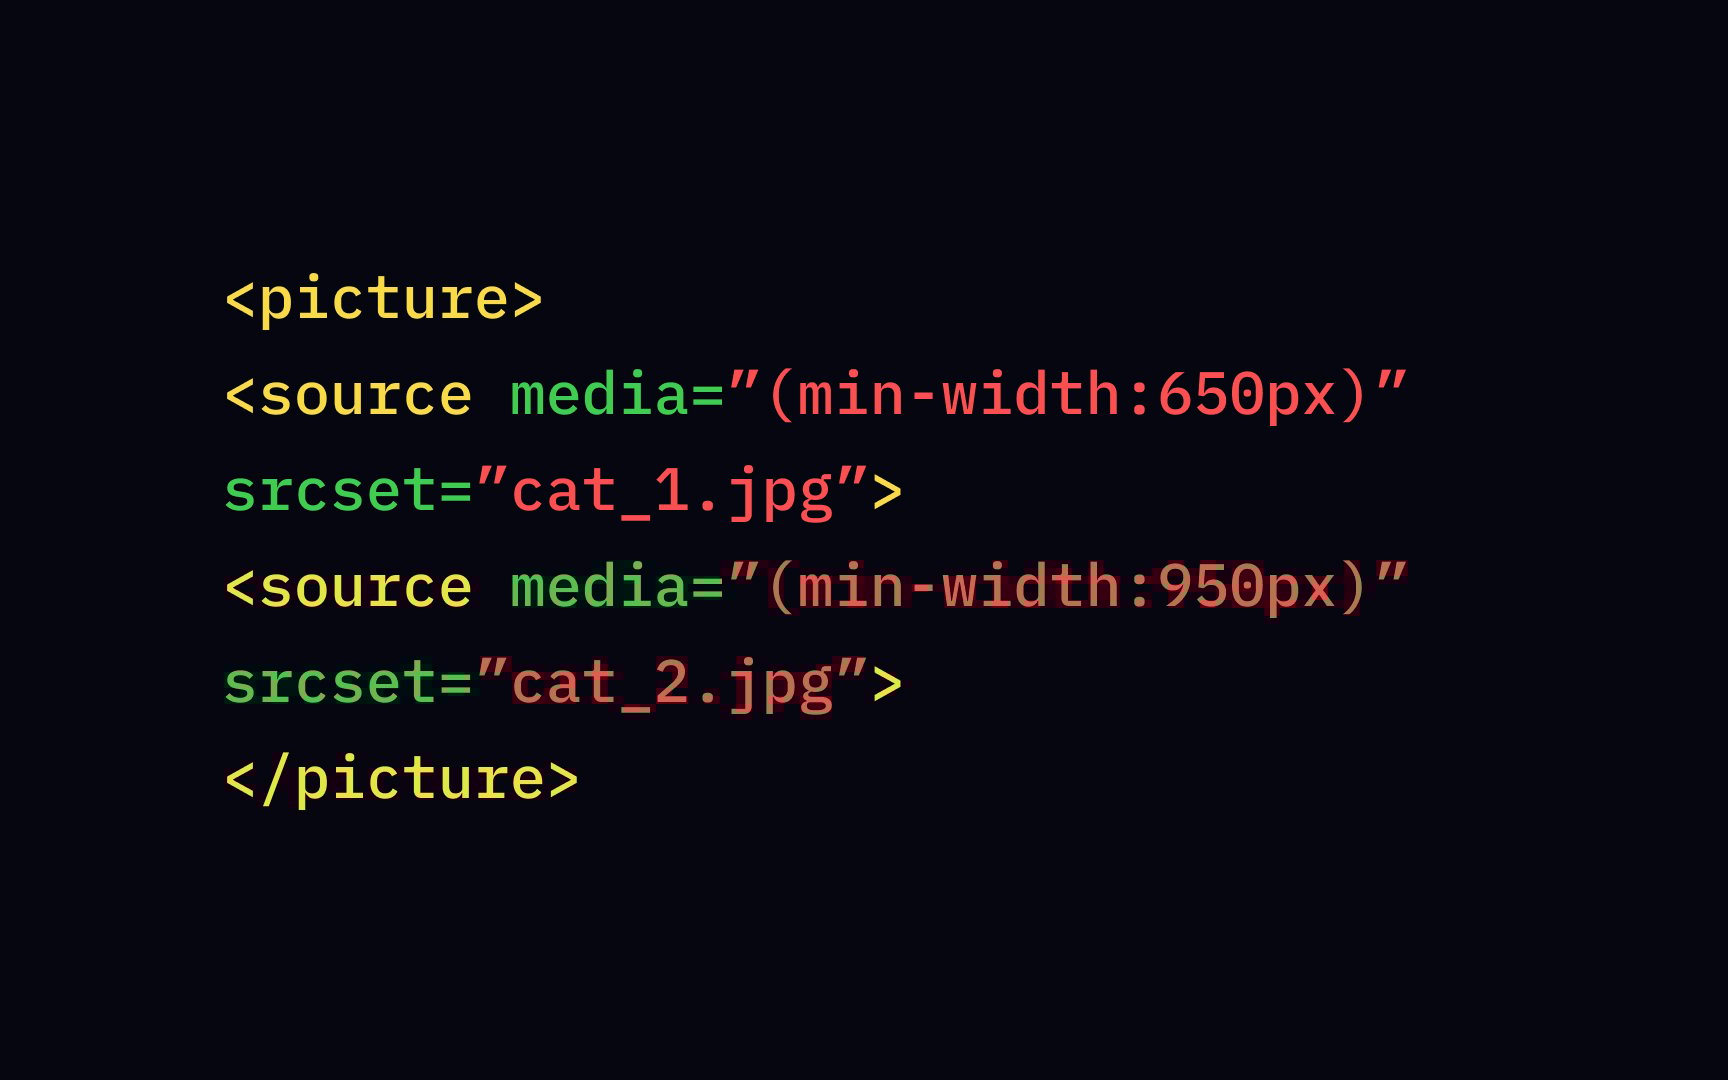
Linguistically, there's not much difference between the words "<picture> element allows developers to specify multiple image sources so that the browser can choose the one that better fits the current view or device. To define which image is the most suitable in this or that case, we use a media attribute. It sets image dimensions that are more proper for a specific screen or device.
One more difference between <img> and <picture> <picture> element requires a closing tag and is actually a "parent" for the <img> tag.
References
- Setting Height And Width On Images Is Important Again — Smashing Magazine | Smashing Magazine
Top contributors


Topics
From Course

Share


Similar lessons

Intro to HTML

Intro to HTML Elements
