<?xml version="1.0" encoding="utf-8"?>

A picker is a great tool for selecting a date range, a time slot, or both. When clicked, they expand into a modal or dialog and present users with a set of options to pick from.

Pickers come in a whole range of designs and functionalities. Being picky about them is indeed a good thing as it'll help you find and use the one that best serves your design's purpose.

Exercise #1

Modal date input

Modal date input

According to Material Design guidelines, modal date inputs refer to text inputs where users can type in the date manually.[1] This is the simplest type of date picker, and it works well if proper validation and input mask are provided. The input mask adjusts the text format while users are typing.

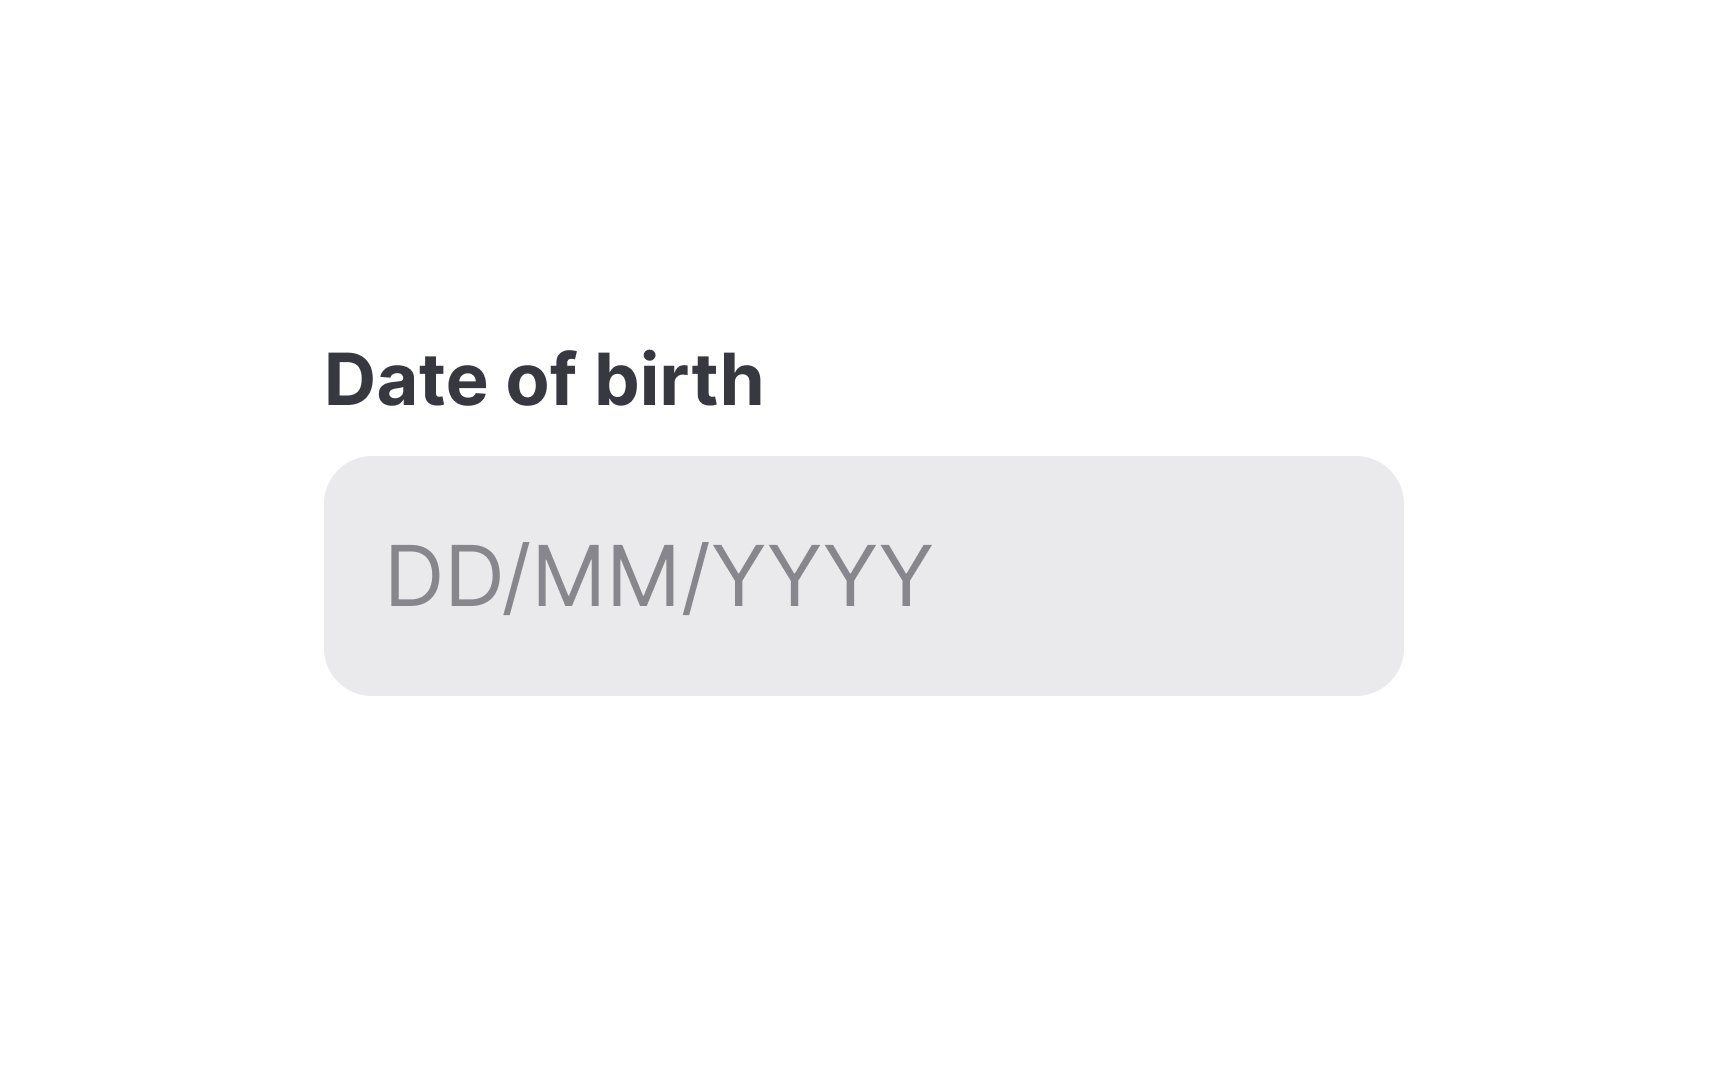
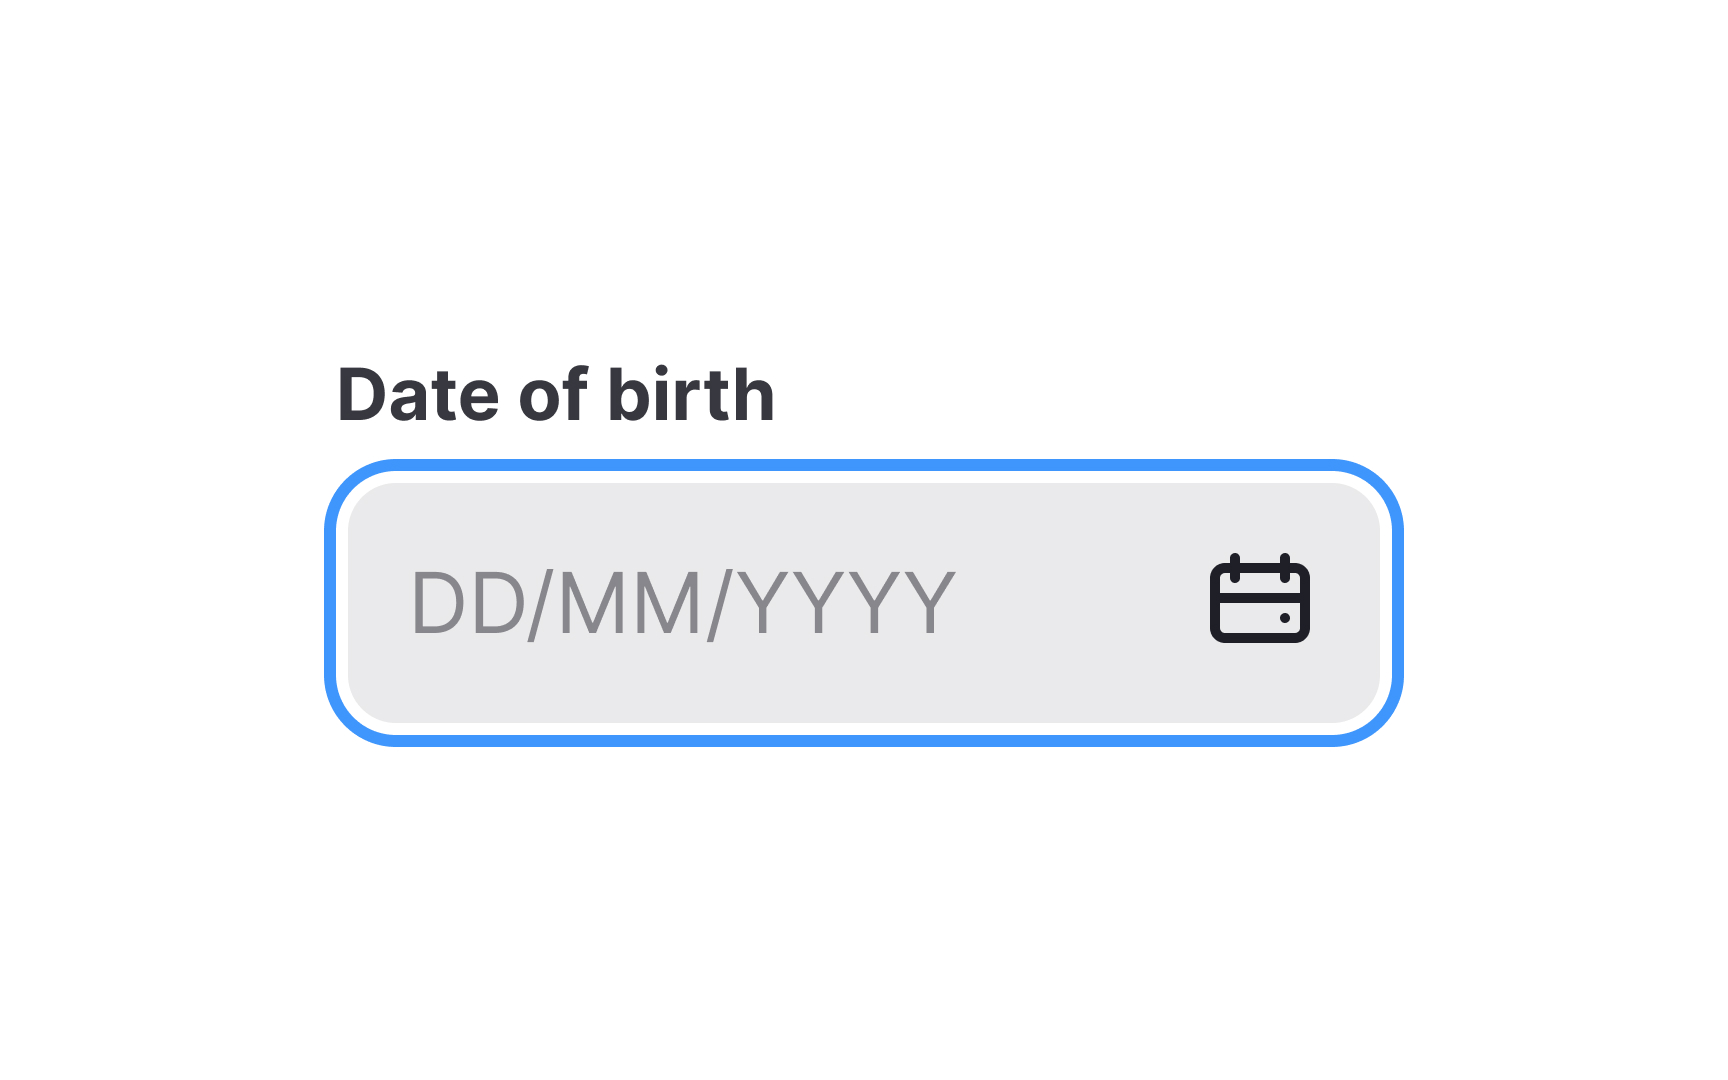
If your product caters to users internationally, make sure the date format is clear and understandable. Provide clear labels or placeholders that don't disappear once users activate the field.

Modal input pickers provide the best solution for selecting a date that is well in the past (e.g., birthdate or passport expiration date) or the future. They can be used together with the calendar date picker. However, keep in mind that scrolling dates can be tedious — so allowing users to type is a good practice even when other methods are available.[2]

Exercise #2

Scrolling date and time picker

Scrolling date and time picker

Scrolling date pickers use a touch-friendly interface to let users effortlessly pick a date or time. When activated, typically by tapping a button, a modal view opens, presenting a scrollable list of options. This allows for quick, intuitive selections, streamlining the user journey in date-sensitive tasks like booking an appointment or setting reminders. They're especially useful when the exact date isn't known off the top of your head, as they usually present a visual calendar to aid decision-making.[3]

Pro Tip: Make sure users don't have to scroll too far into the past or future to select their input date and/or time.

Exercise #3

Modal date picker

Modal date picker

A modal date picker is a commonly used control for selecting a date that is close to the current date by no more than a year. On being clicked, a calendar opens to provide a list of dates. 

When users need to choose a date that is well in the past or future, this control can require too much effort. In such cases, input date pickers are a much better solution, especially for mobile users.[4]

Pro Tip: When designing for booking, disable non-selectable date options.

Exercise #4

Current date

Current date Bad Practice
Current date Best Practice

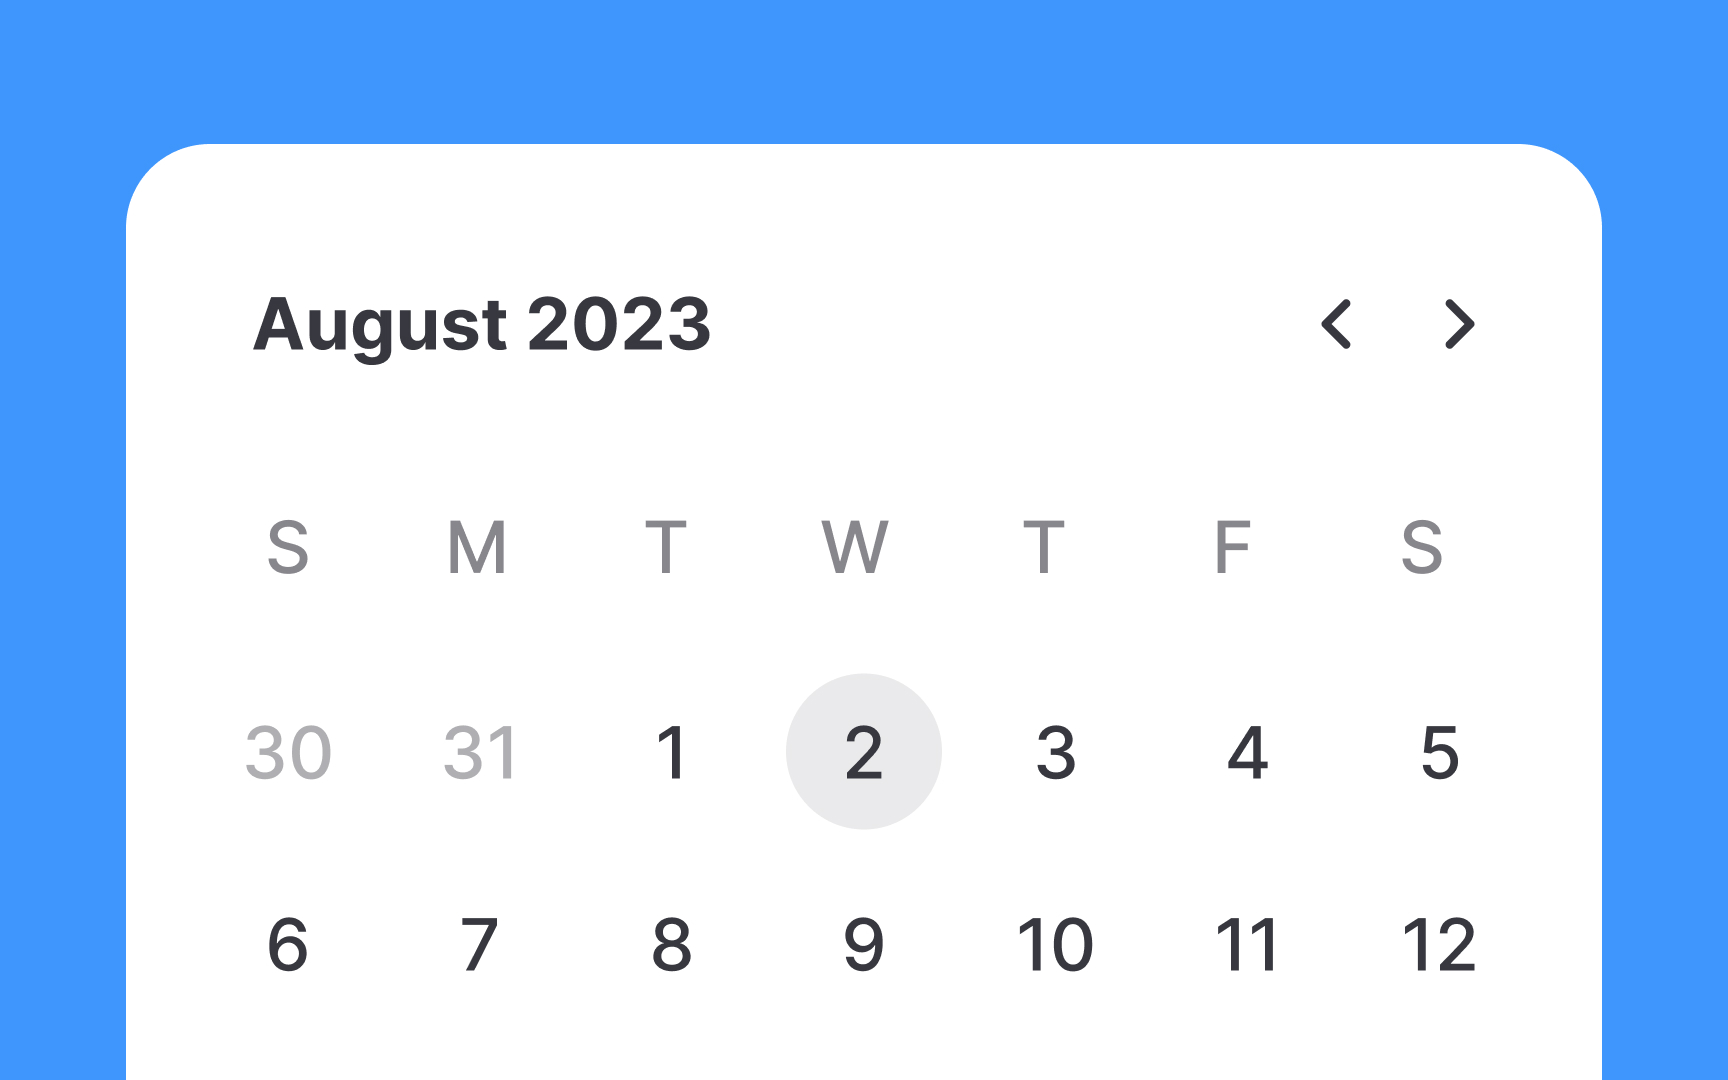
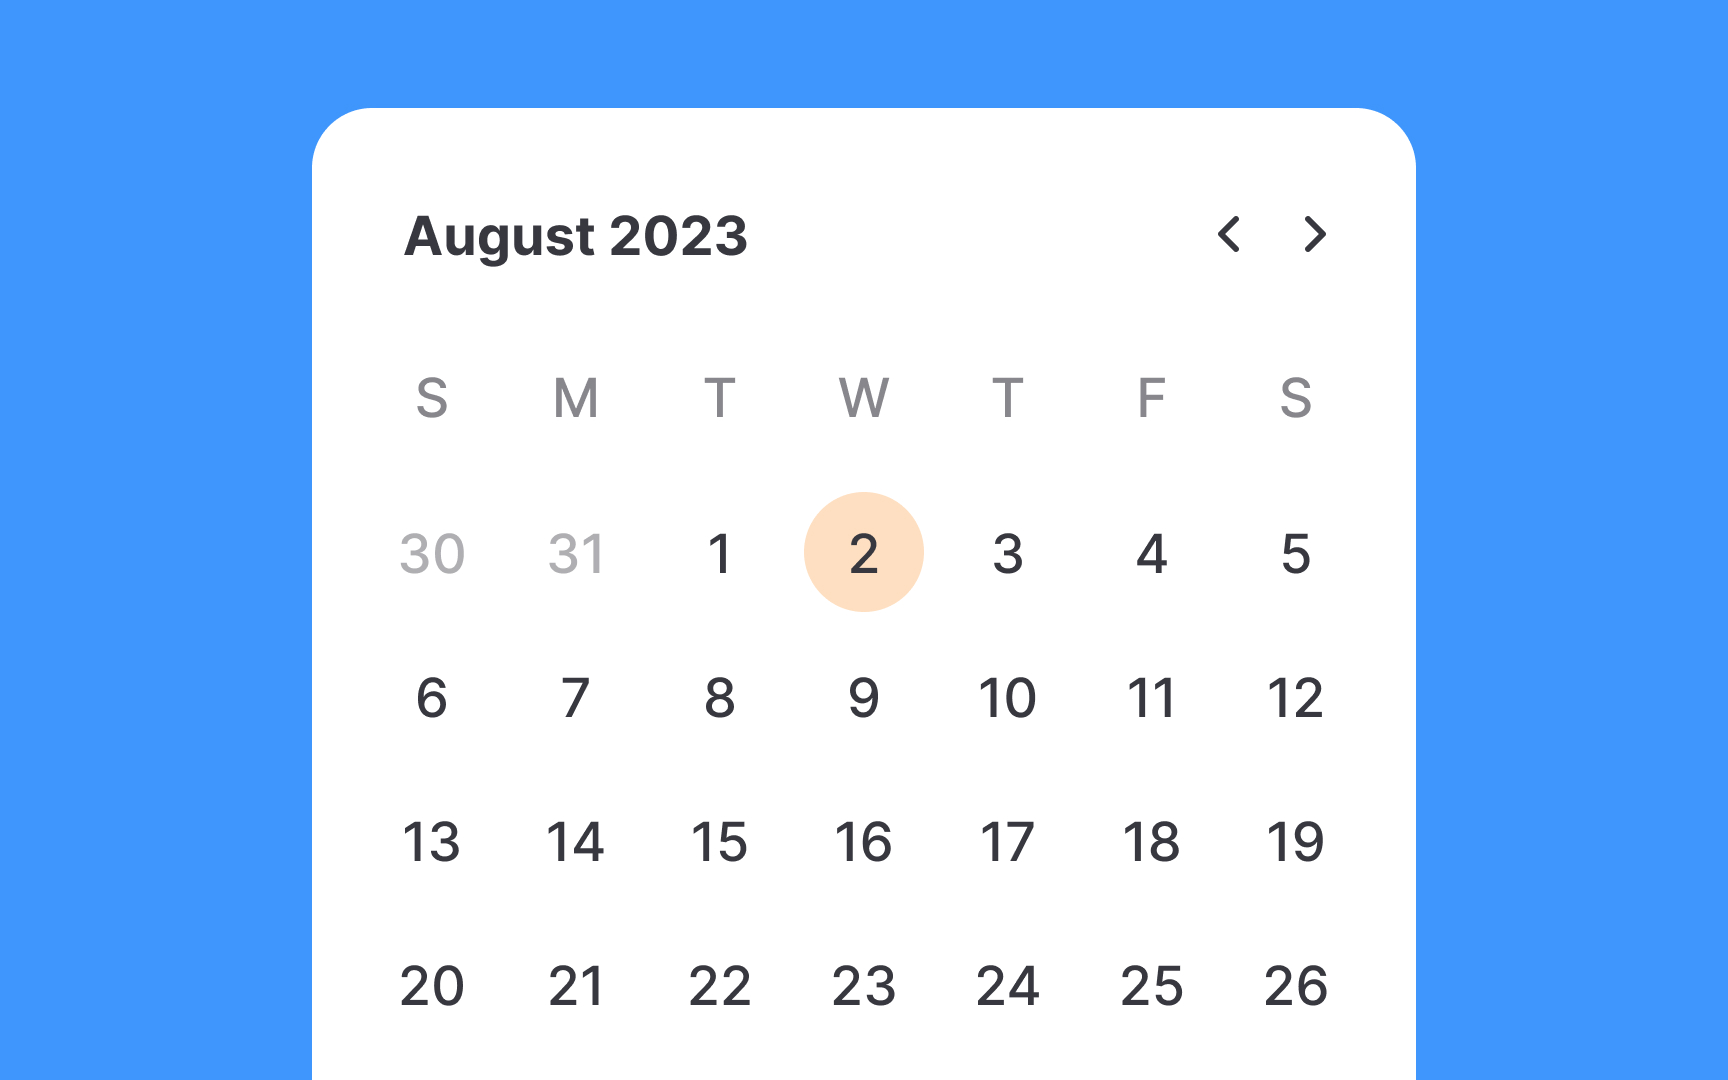
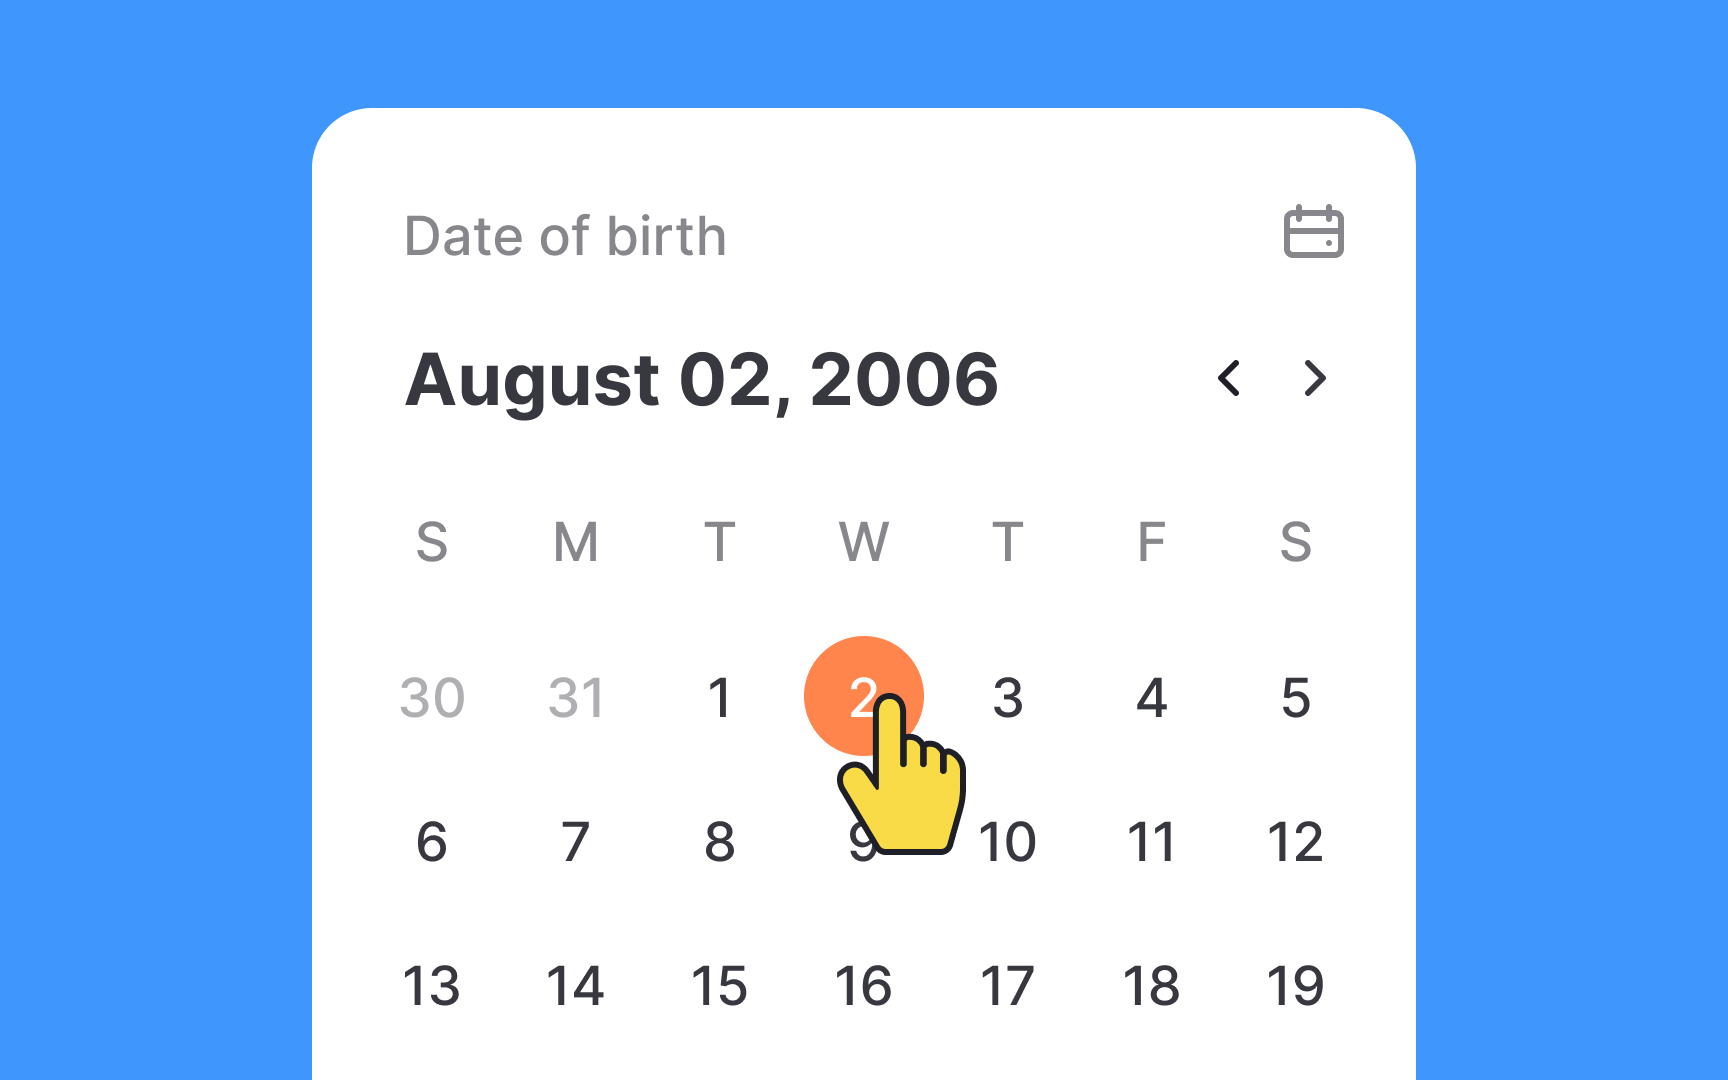
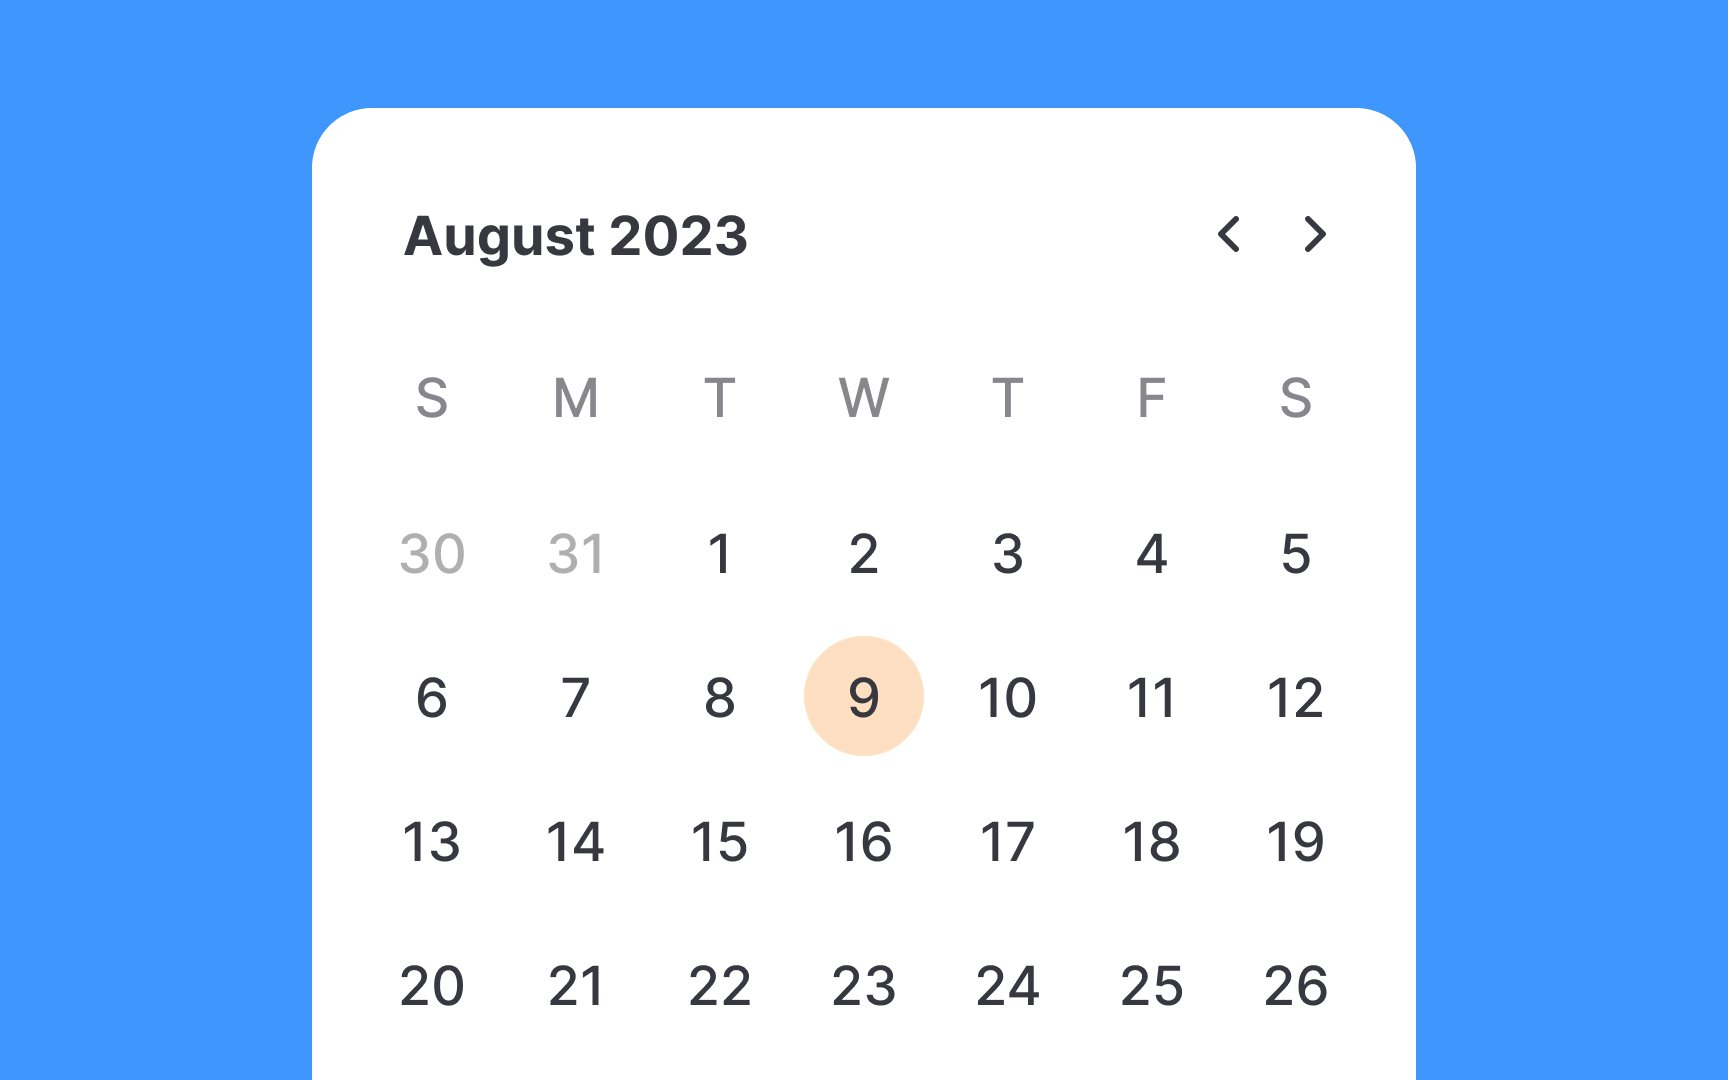
Indicating the current date in date pickers is crucial for both usability and efficiency. A subtle yet clear highlight for the current date serves as a useful anchor for users, offering a temporal reference point that aids in navigation. This minimizes the risk of date-related errors and facilitates quicker decision-making. While the indication should be obvious enough to quickly catch the eye, it shouldn't be so bold as to distract from other UI elements.

Exercise #5

Selected date

Selected date Bad Practice
Selected date Best Practice

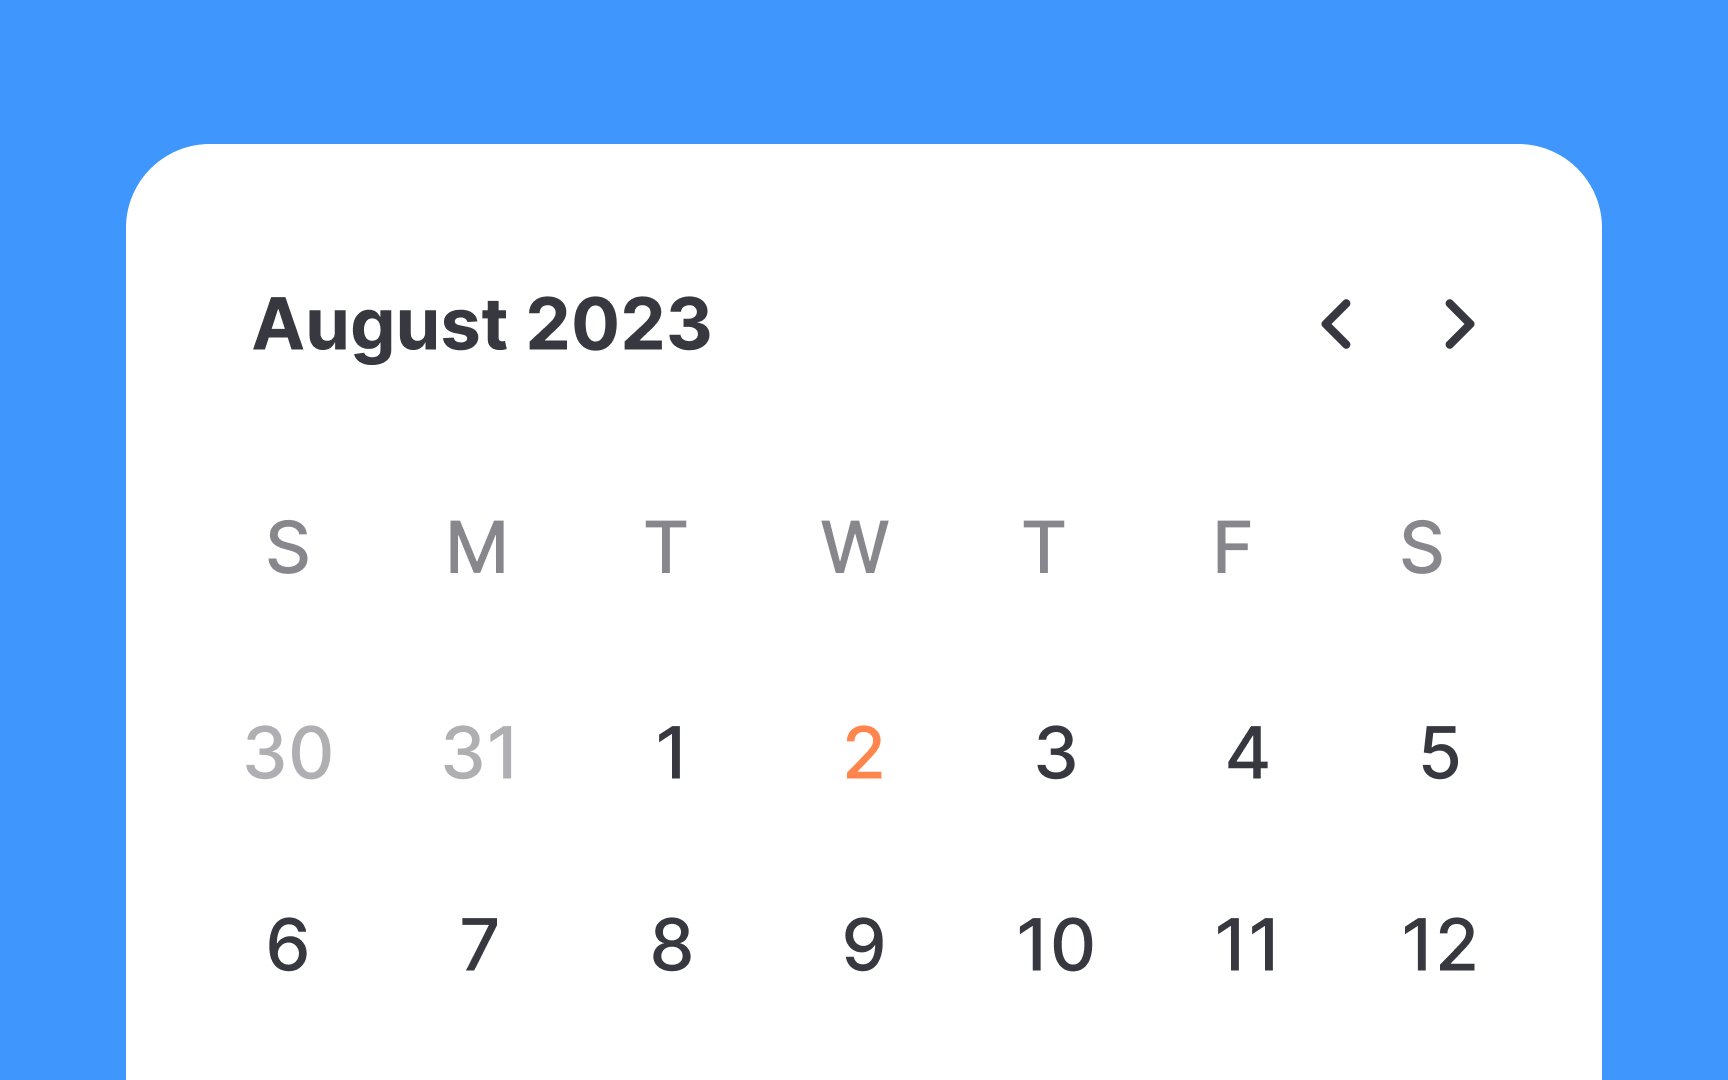
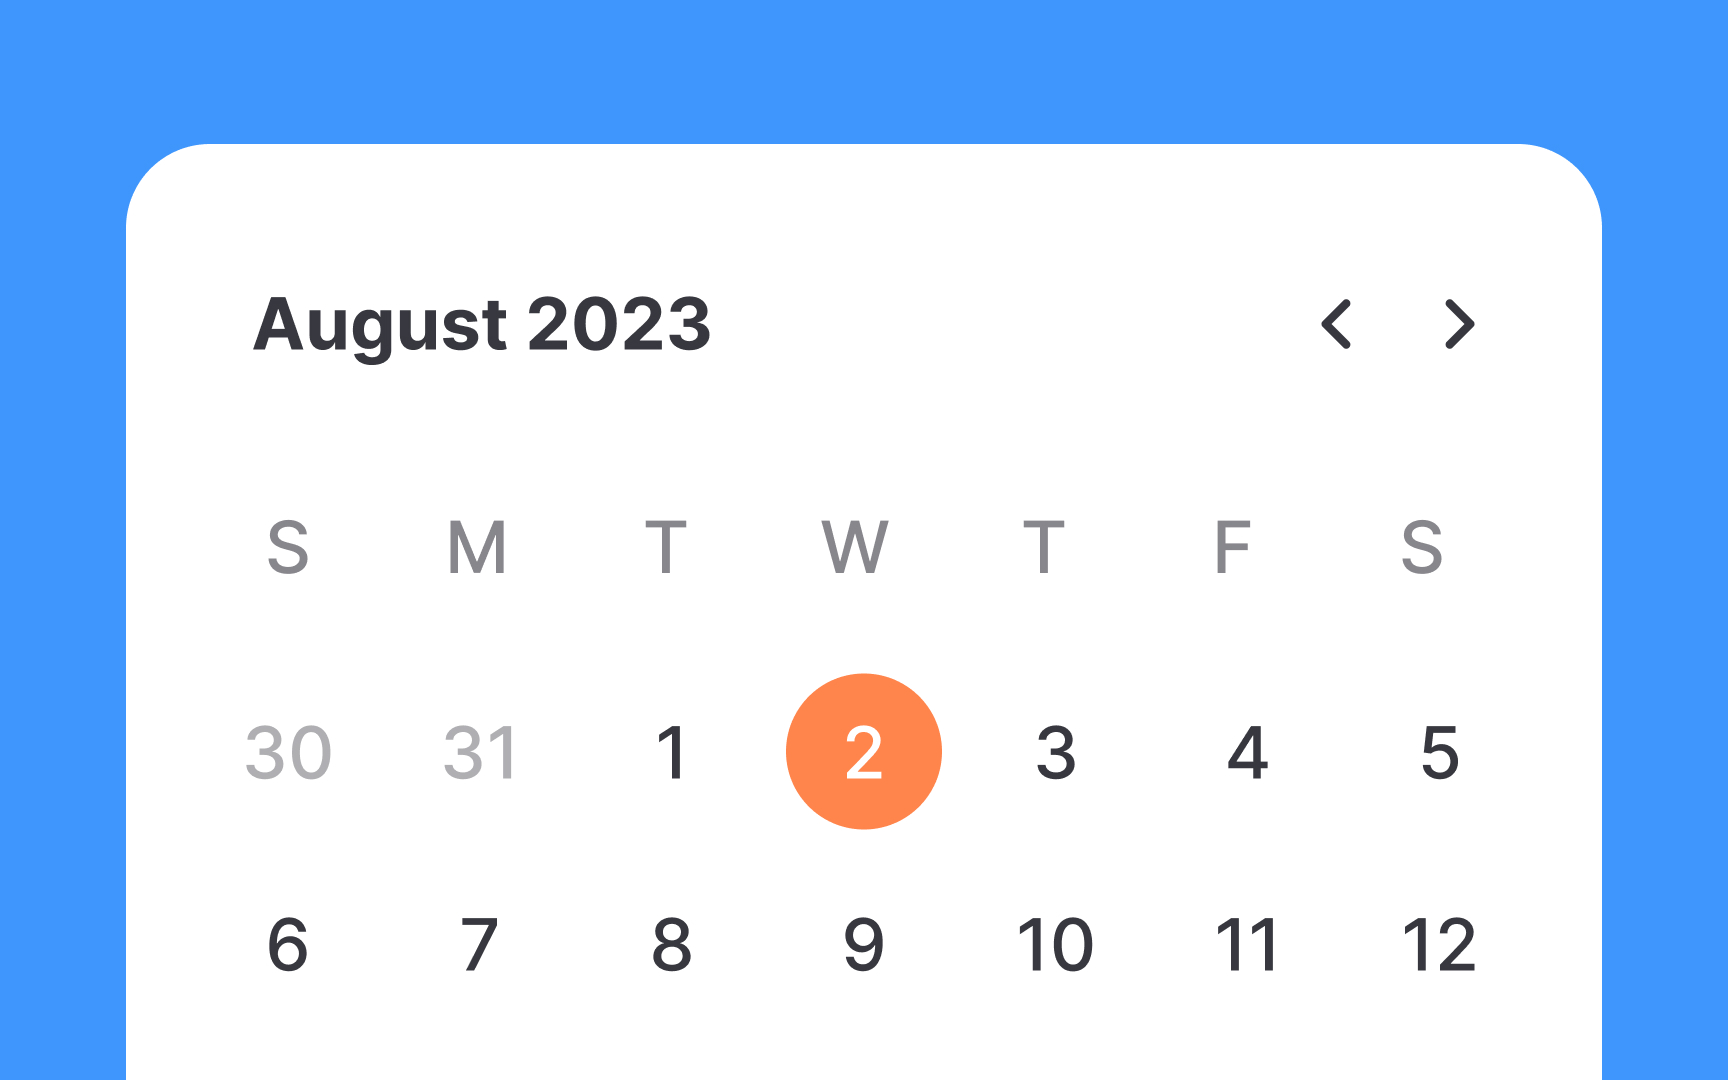
Highlighting a selected date in date pickers is key for efficient user interaction. A clearly marked selection provides immediate visual feedback, eliminating guesswork and assuring users of their successful action, like booking a flight or setting a reminder. Both the current and selected dates should be noticeable, but the selected date needs more emphasis for two main reasons:

  • Focus on user action: The selected date is the user's active choice and the interaction's focal point. It should stand out to confirm successful input.
  • Avoid confusion: Over-emphasizing today's date can confuse users, making them think it's the selected date, especially during quick navigation.
Exercise #6

Visually indicate the selected date range

Visually indicate the selected date range Bad Practice
Visually indicate the selected date range Best Practice

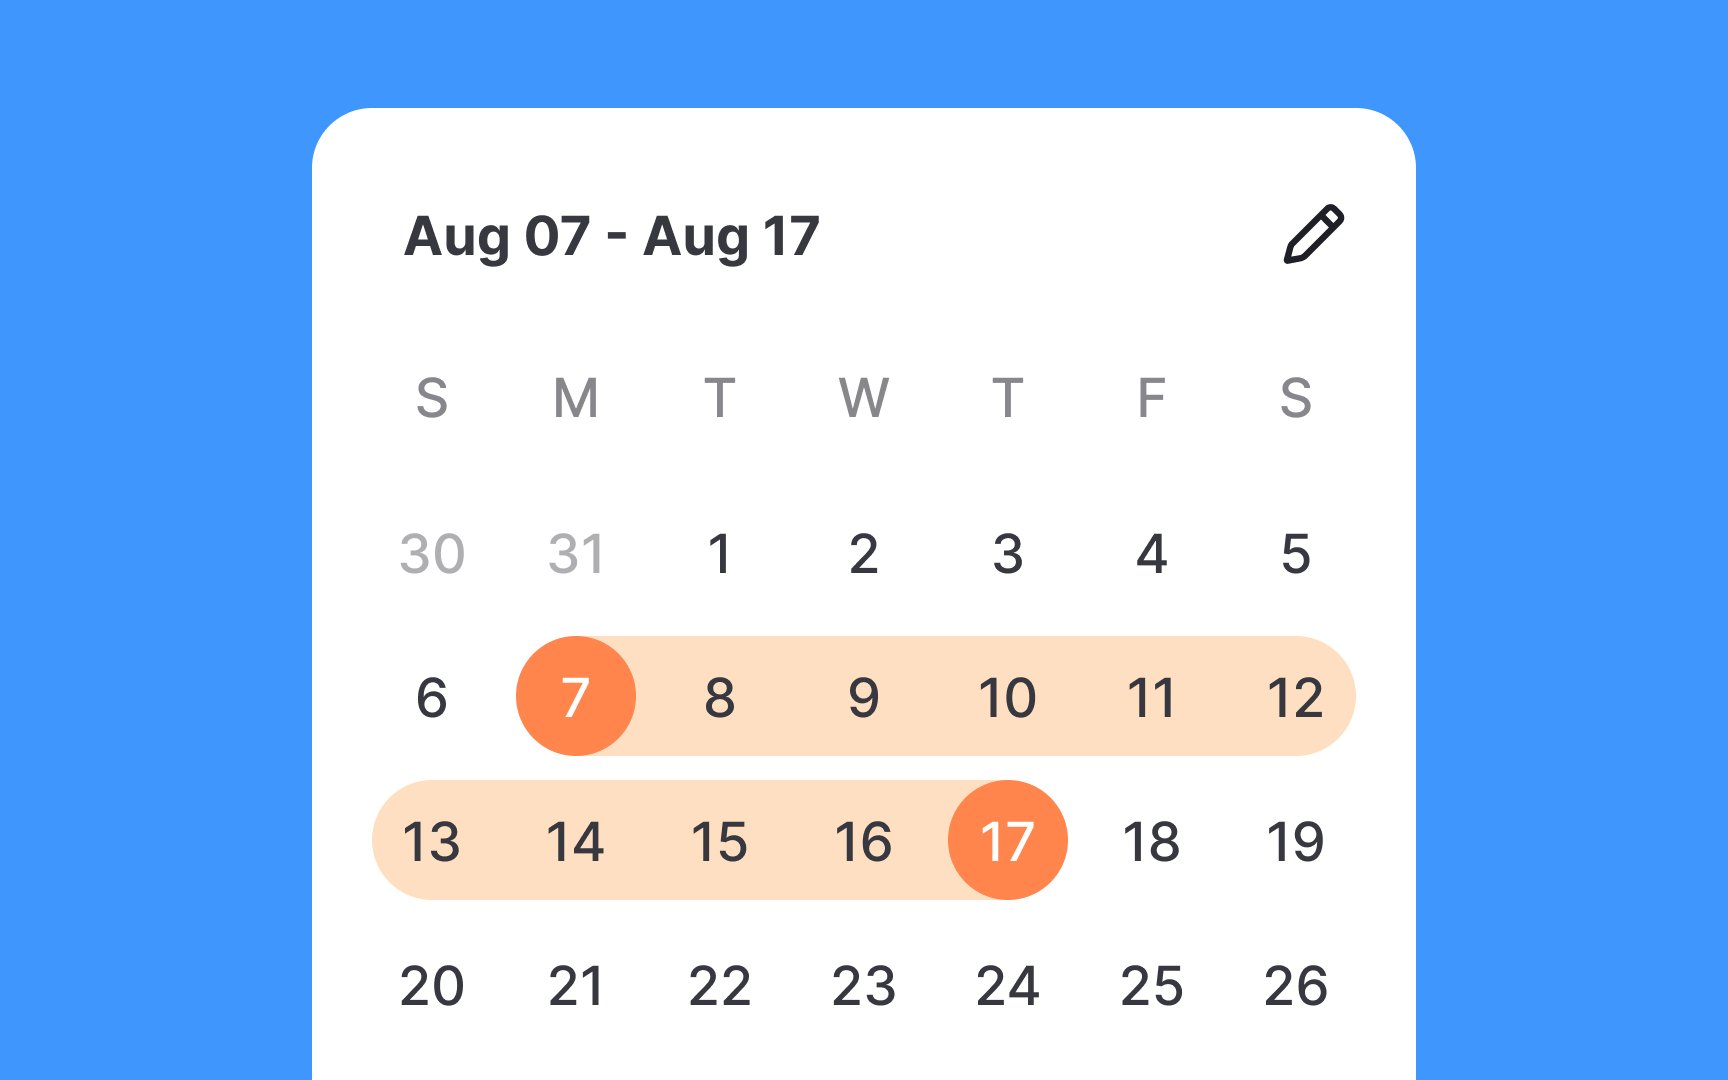
Use bright color overlays to distinctly highlight the first and last dates in the selected range. Additionally, employ a softer fill color between these dates to indicate inclusion in the range. This visual guidance is especially important for common use cases like flight bookings or hotel reservations.

If the range spans multiple months, maintain visual continuity by extending the fill color across month boundaries. This ensures users can easily follow their selected range, even when flipping through different months, thereby reducing potential for errors and enhancing user satisfaction.

Exercise #7

Show a preview of the selected date range

Show a preview of the selected date range

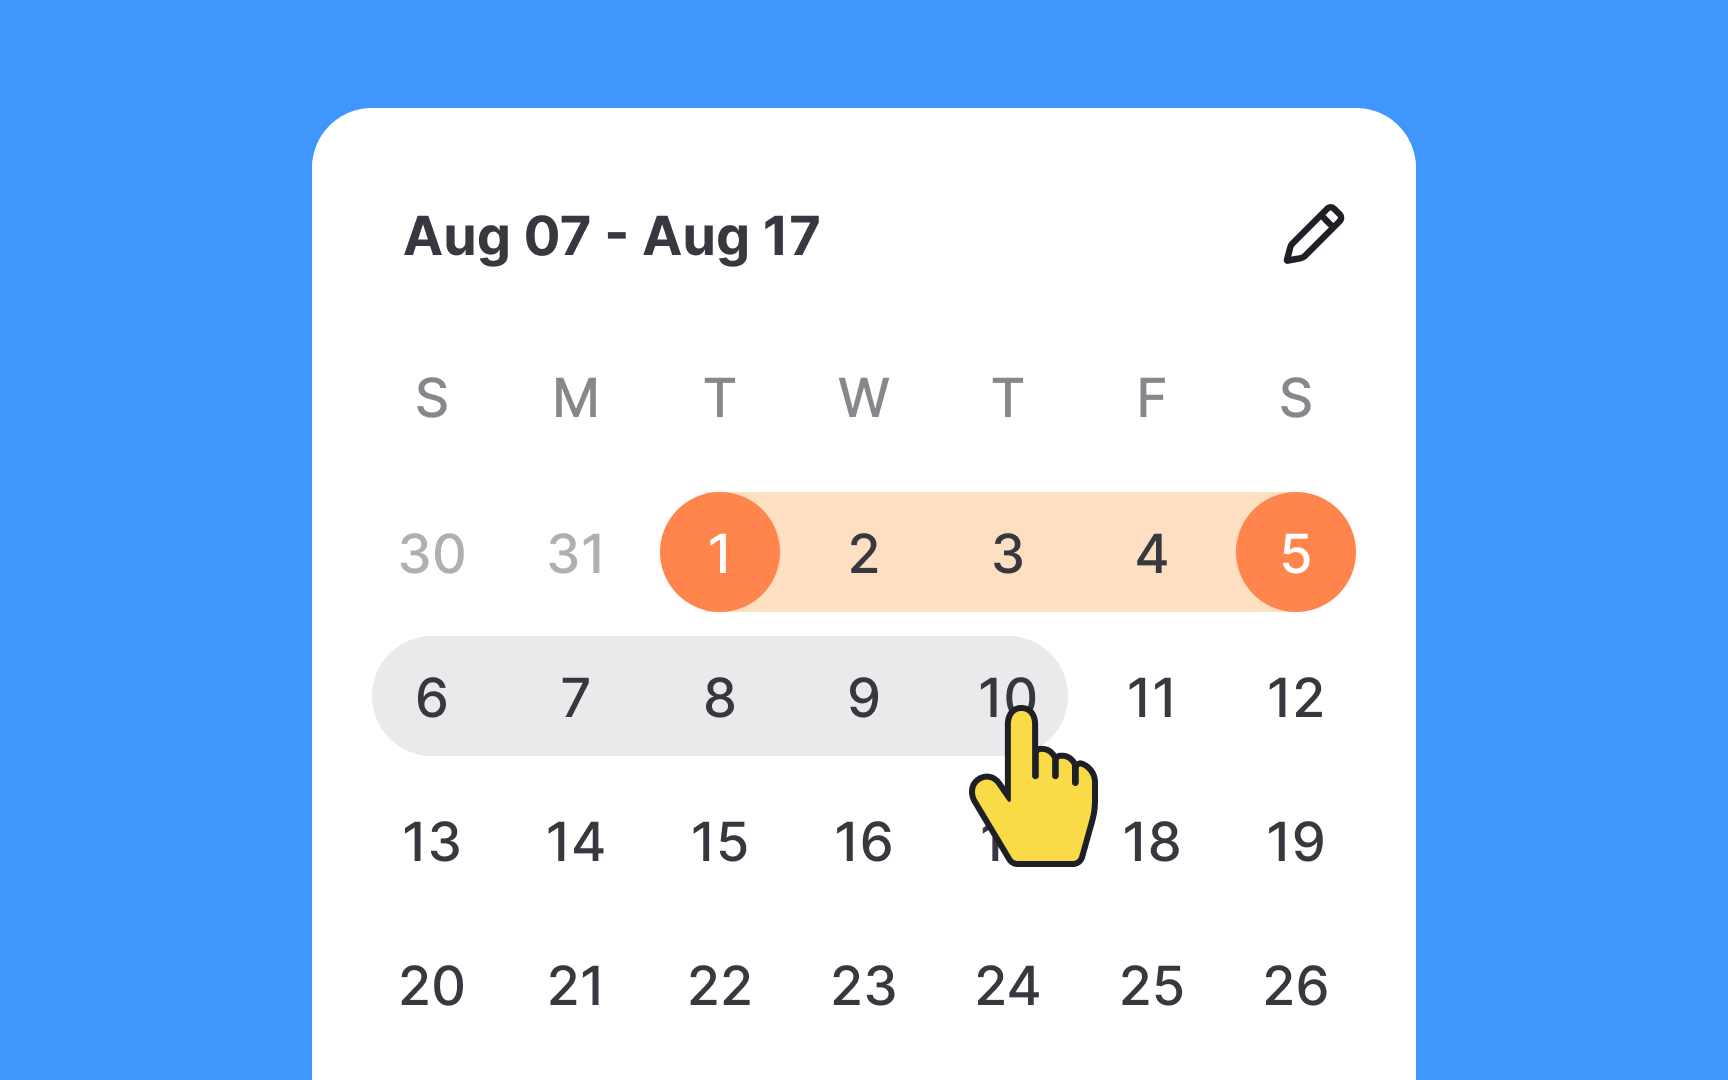
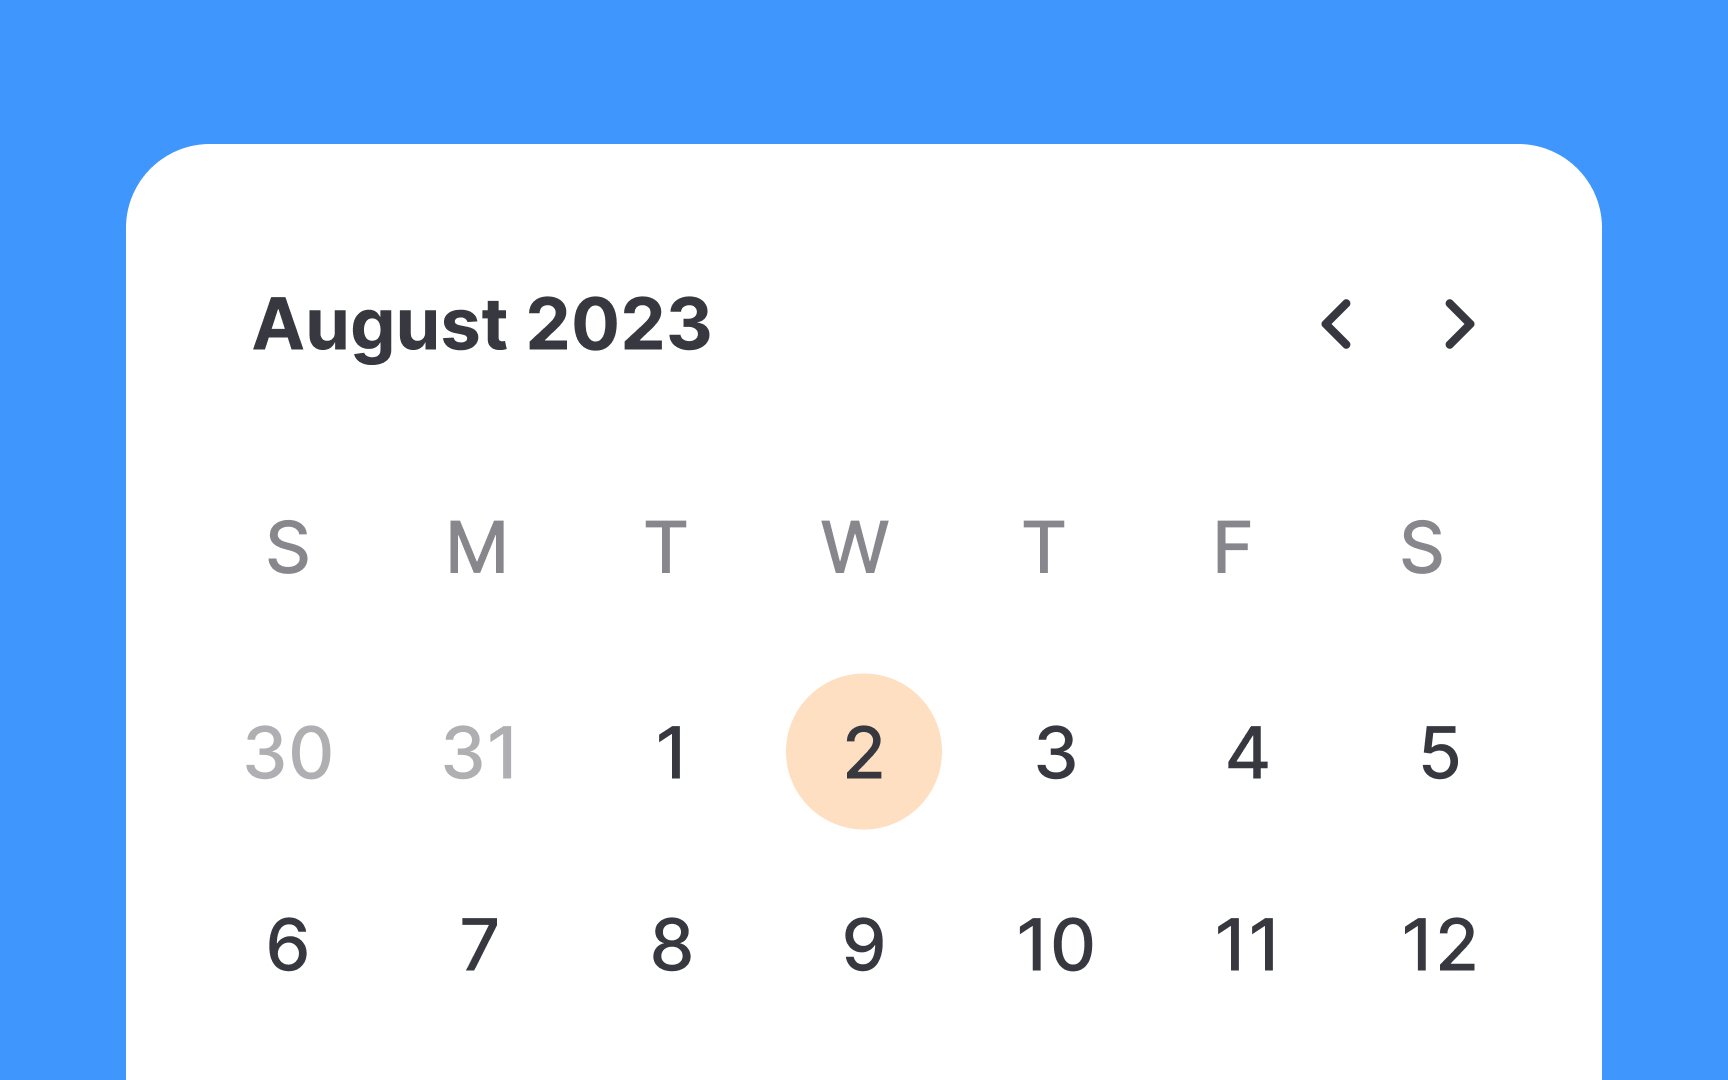
Utilizing a hover state in a calendar picker is beneficial for a seamless user experience. As users navigate through dates, the hover state shows a preview of how the selection range will change, offering valuable real-time feedback. This feature not only serves as a location guide but also enriches the interaction, making it more engaging. By visually communicating what will happen before users make a selection, you increase their confidence in the interface, ultimately enhancing overall satisfaction.

Pro Tip: The hover state should differ from the selected state.

Exercise #8

Use inputs for selecting distant dates

Use inputs for selecting distant dates Bad Practice
Use inputs for selecting distant dates Best Practice

For selecting distant dates like birthdates, it's wise to use the traditional input picker. This method is efficient and straightforward, removing the need for users to scroll through endless calendar pages. By doing so, you reduce unnecessary friction and make the user experience more streamlined and hassle-free. The input picker remains a reliable choice for capturing distant dates, making the interaction smooth and efficient.

Exercise #9

Eliminate invalid date choices

Eliminate invalid date choices Bad Practice
Eliminate invalid date choices Best Practice

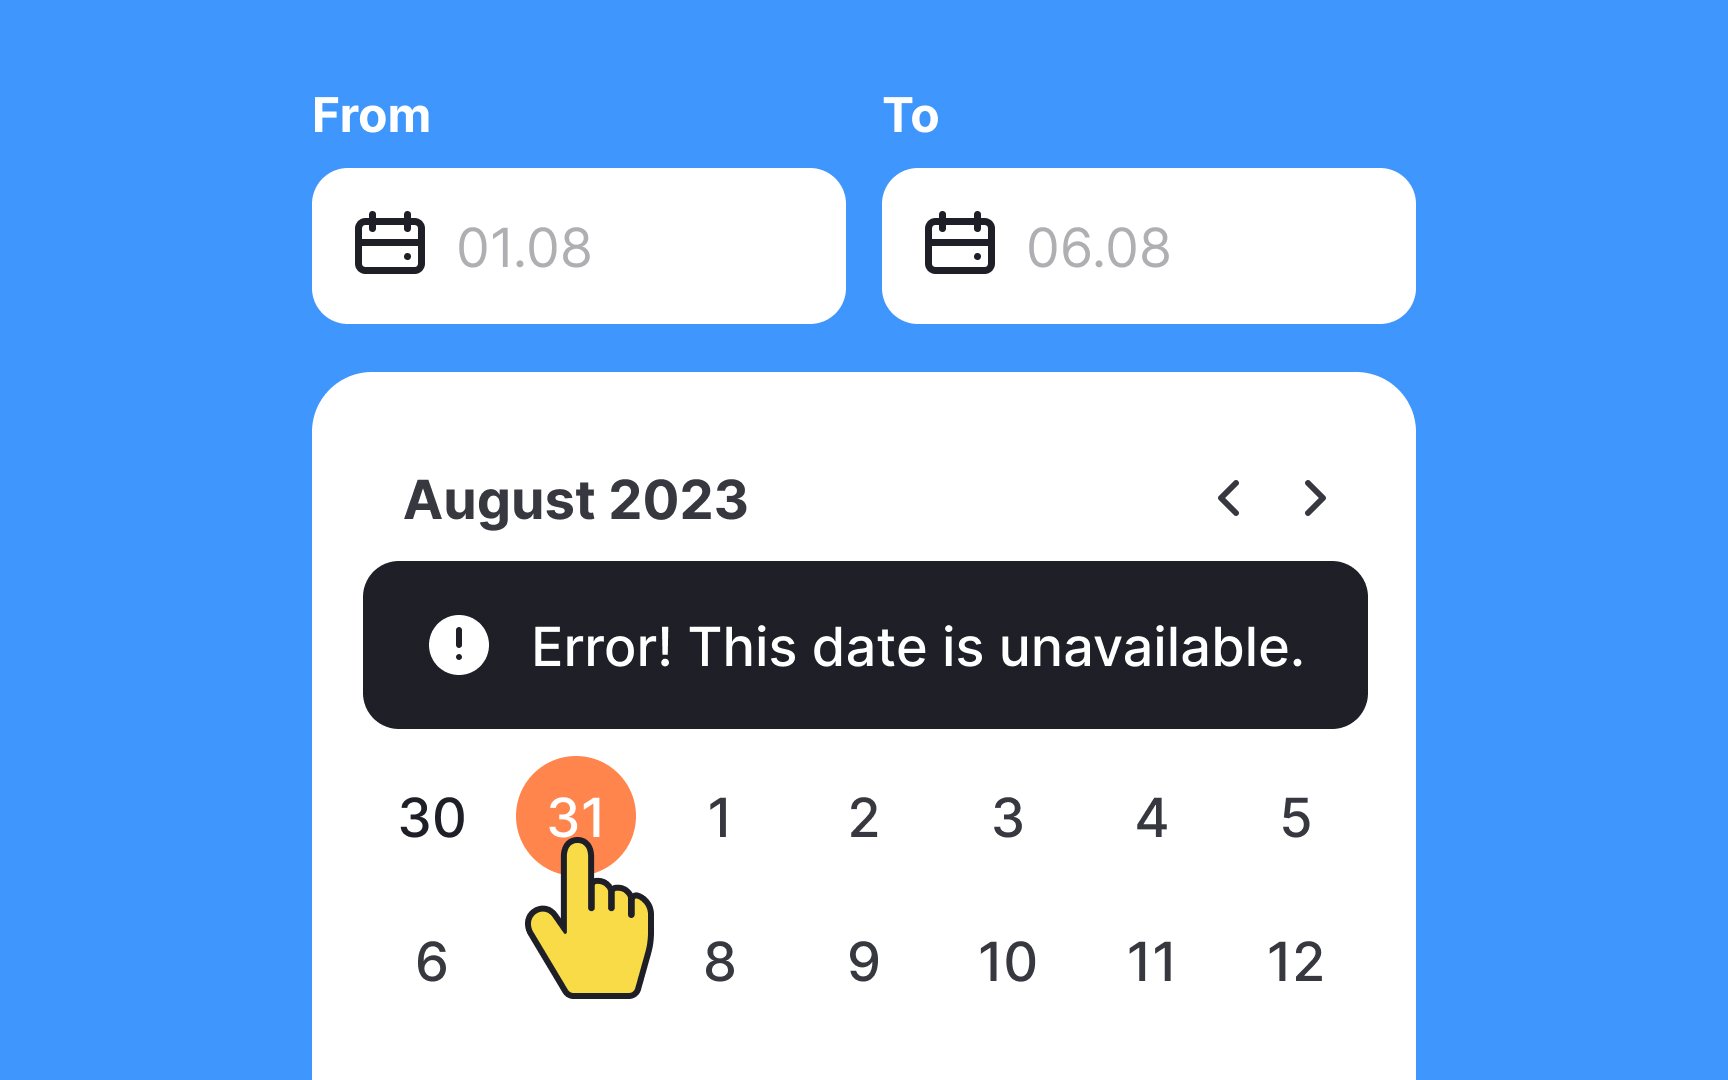
Users are never 100% focused on a task. So it's your responsibility to prevent them from accidental errors, like selecting invalid dates. For example, the system shouldn't allow users to pick the return date earlier than the departure date.

One option to handle this situation is to provide a meaningful validation message indicating an error. A more effective method is to disable invalid and illogical options. It should be visually apparent that specific dates are unavailable. The most popular technique is using subtle grey or making dates inactive when users try to click or tap them.

Exercise #10

Separate dropdowns for day, month, and year

Separate dropdowns for day, month, and year Bad Practice
Separate dropdowns for day, month, and year Best Practice

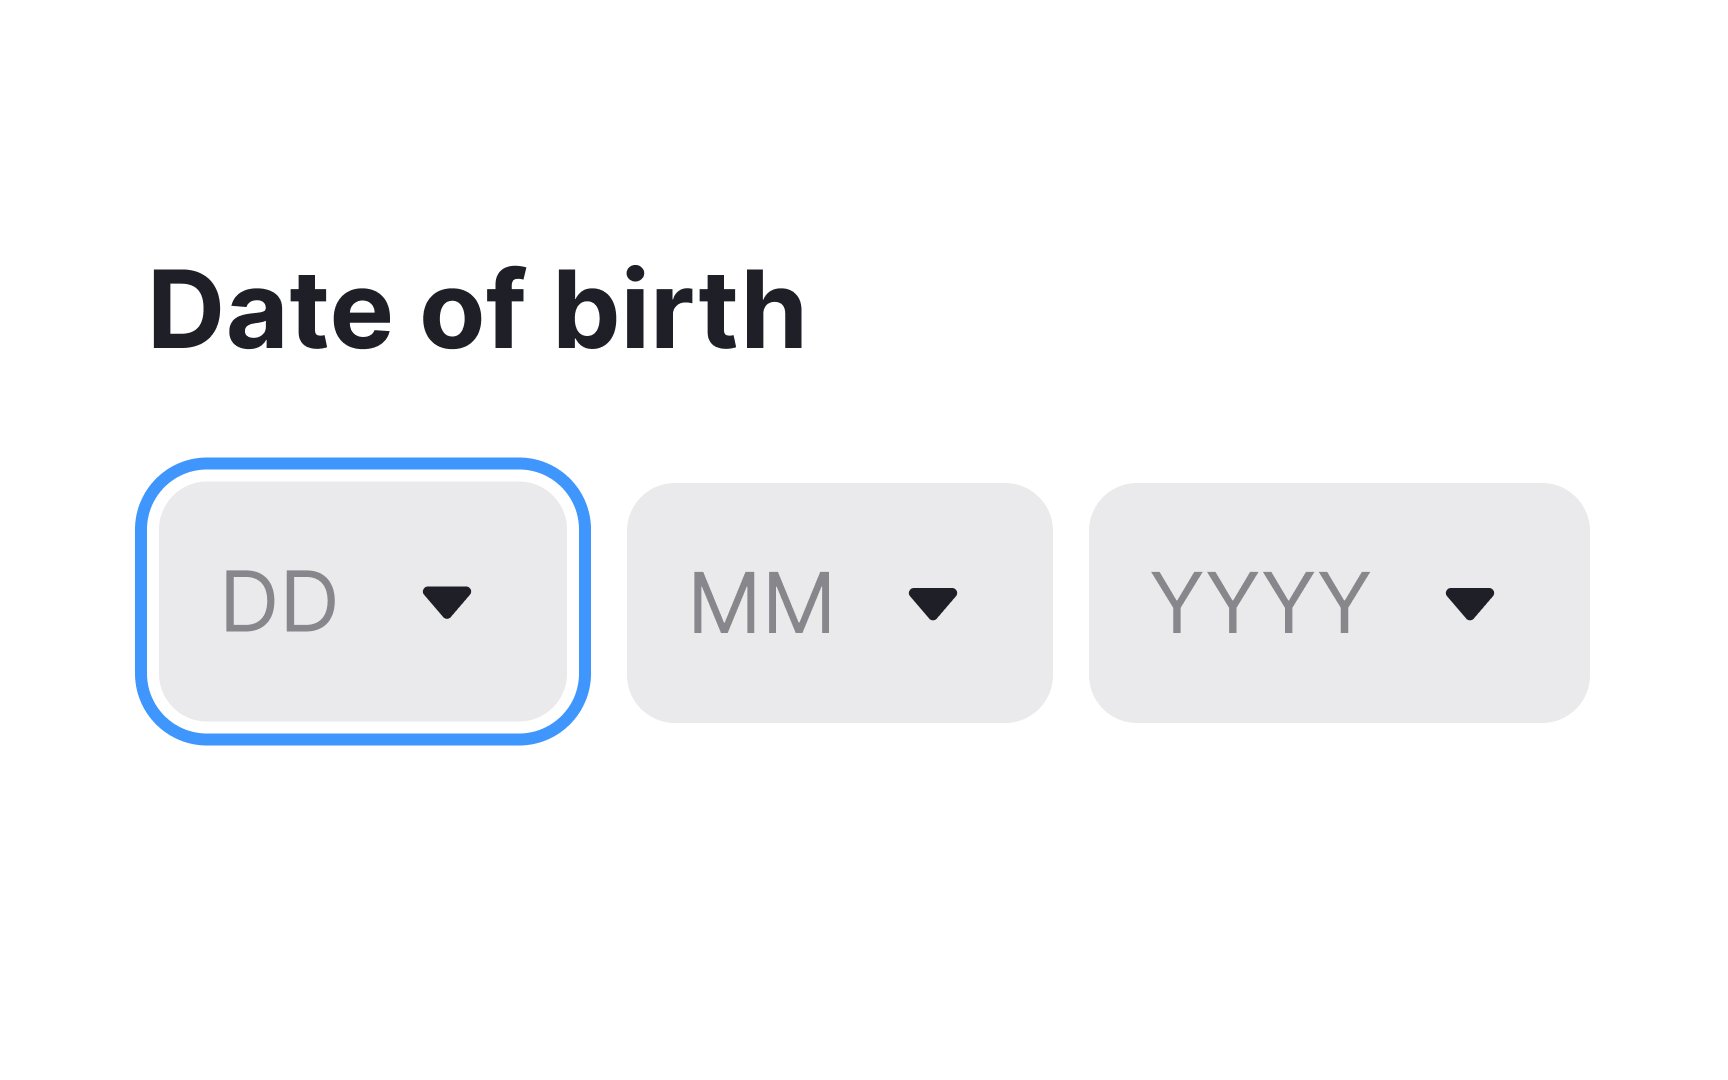
Offering multiple methods for date selection enhances usability. Whether it's manual text input, a pop-up calendar, or separate dropdowns for day, month, and year, a hybrid approach often offers the best of both worlds. It allows users greater flexibility to navigate and select dates according to their preferences.

However, designers should be cautious of potential errors. Dropdowns for day, month, and year are generally less error-prone as they reduce the likelihood of format confusion. For example, users are less likely to mistake the day for the month. On the flip side, this approach can involve extra clicks and scrolling, which may become cumbersome if users need to select a date that's far in the past or future.

Exercise #11

Provide built-in date options

Provide built-in date options Bad Practice
Provide built-in date options Best Practice

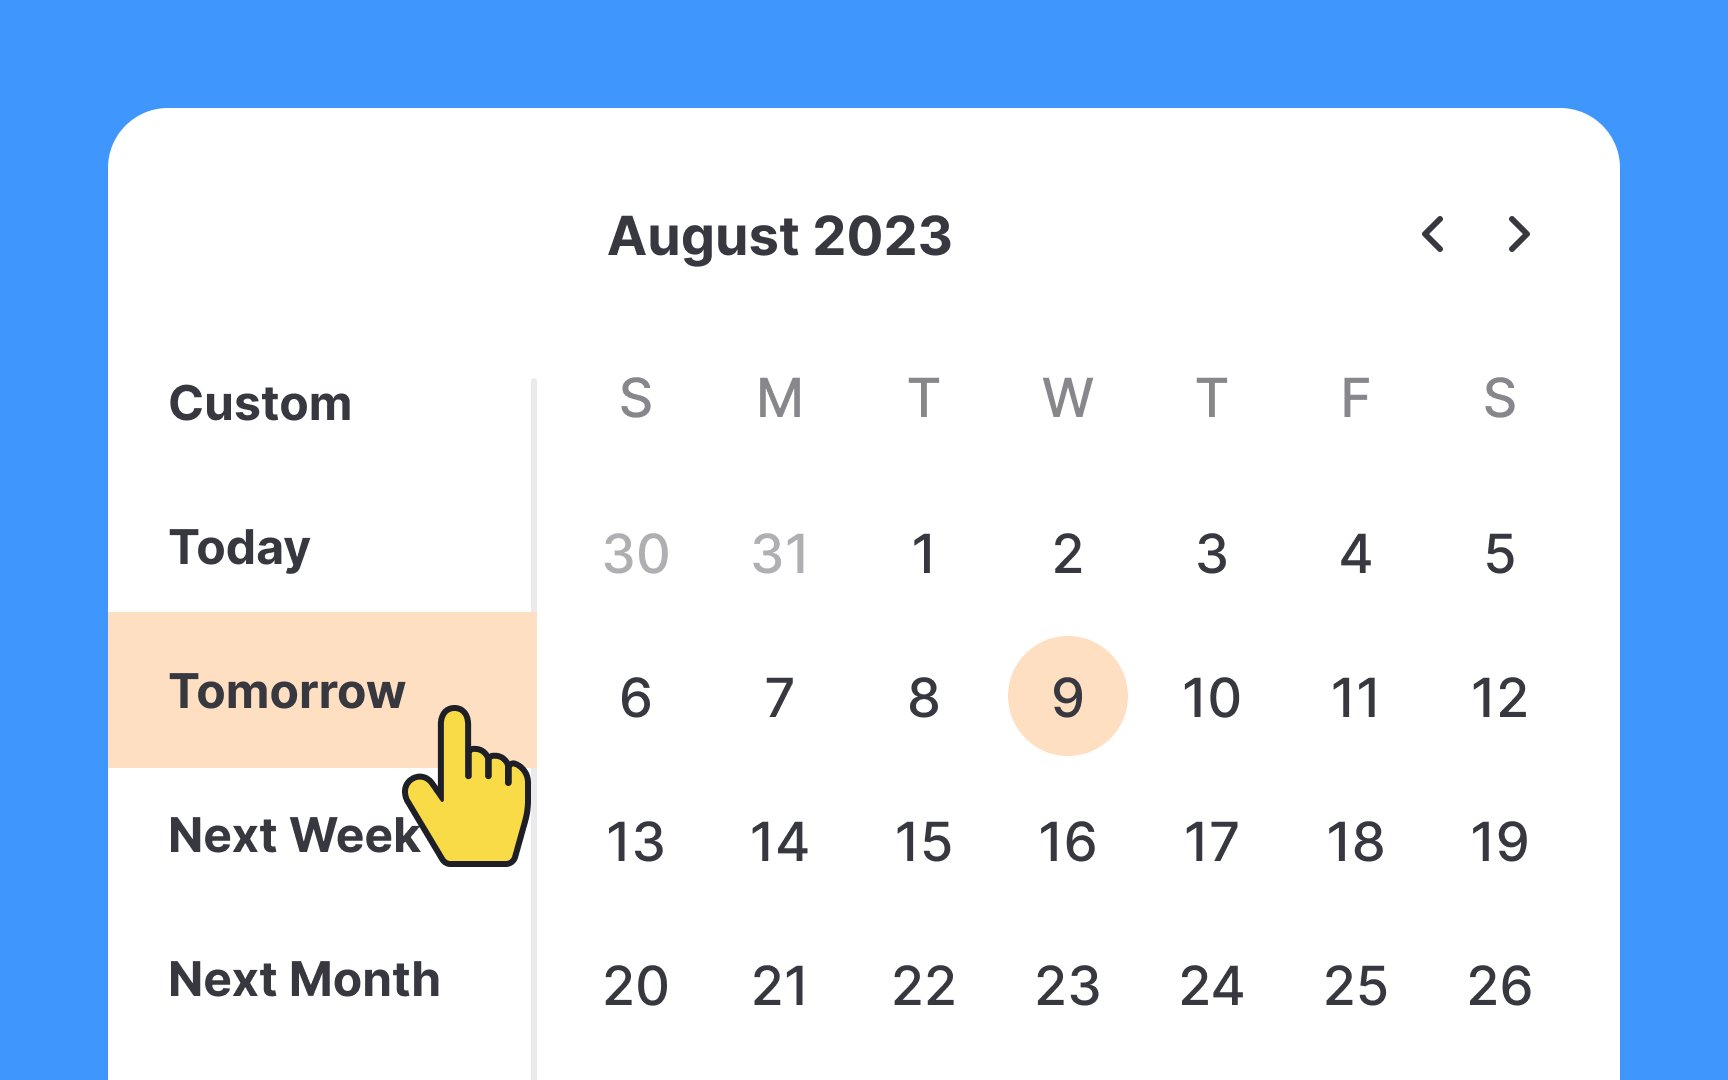
Sometimes, offering built-in date options like 'Today,' 'Tomorrow,' or '2 Weeks Ago' is more efficient than asking users to navigate a calendar. These quick options streamline the process and enhance usability. It's important to also reflect this selection in the calendar interface, ensuring users are confident they've chosen the correct date.

However, it's crucial to keep the list focused. Including only the most commonly used dates avoids overwhelming users with too many choices, making the experience more user-friendly and efficient.

Complete this lesson and move one step closer to your course certificate