<?xml version="1.0" encoding="utf-8"?>

HTML headings and paragraphs are essential elements that contribute to the organization and structure of web content. Headings serve as titles and subtitles, guiding users through the information and drawing their attention to important topics.

By utilizing appropriate heading tags, you can create a hierarchy that enhances the readability and navigability of your web page.

In addition to headings, HTML paragraphs play a pivotal role in presenting textual content in a coherent and digestible manner. By enclosing paragraphs within the appropriate HTML tags, you establish clear boundaries for blocks of text, making it easier for users to follow along and comprehend the information presented.
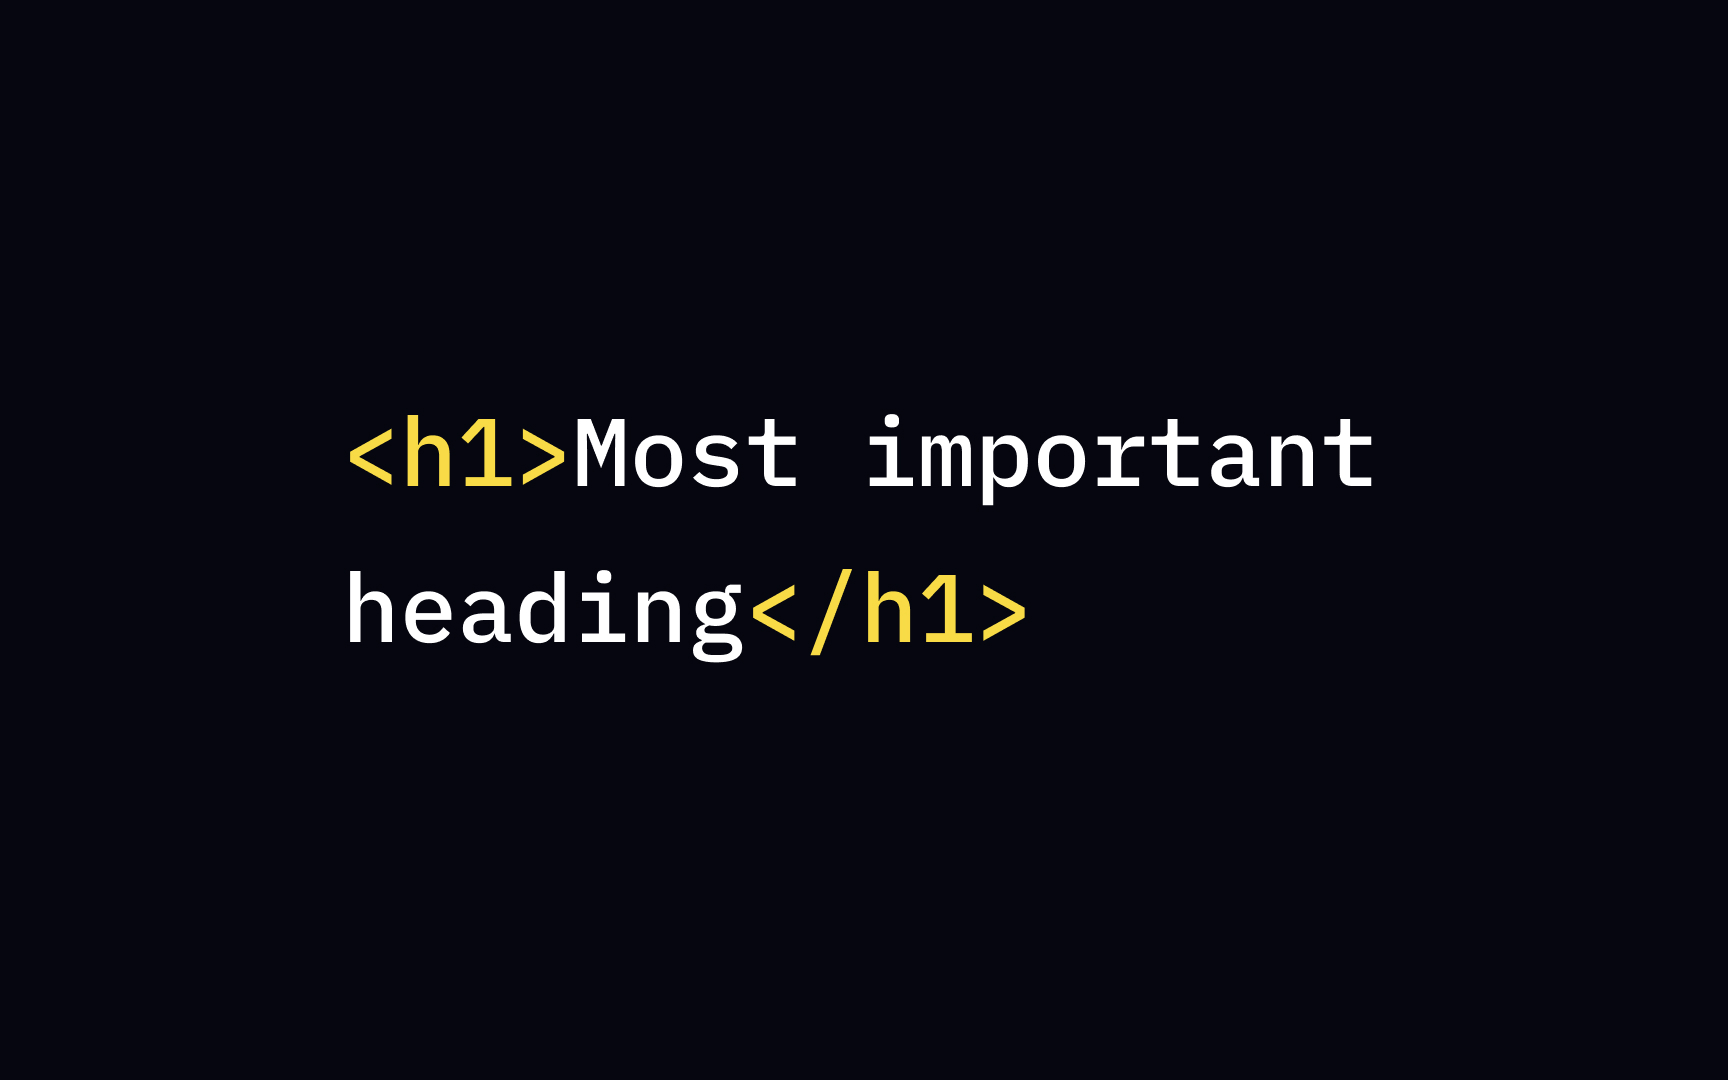
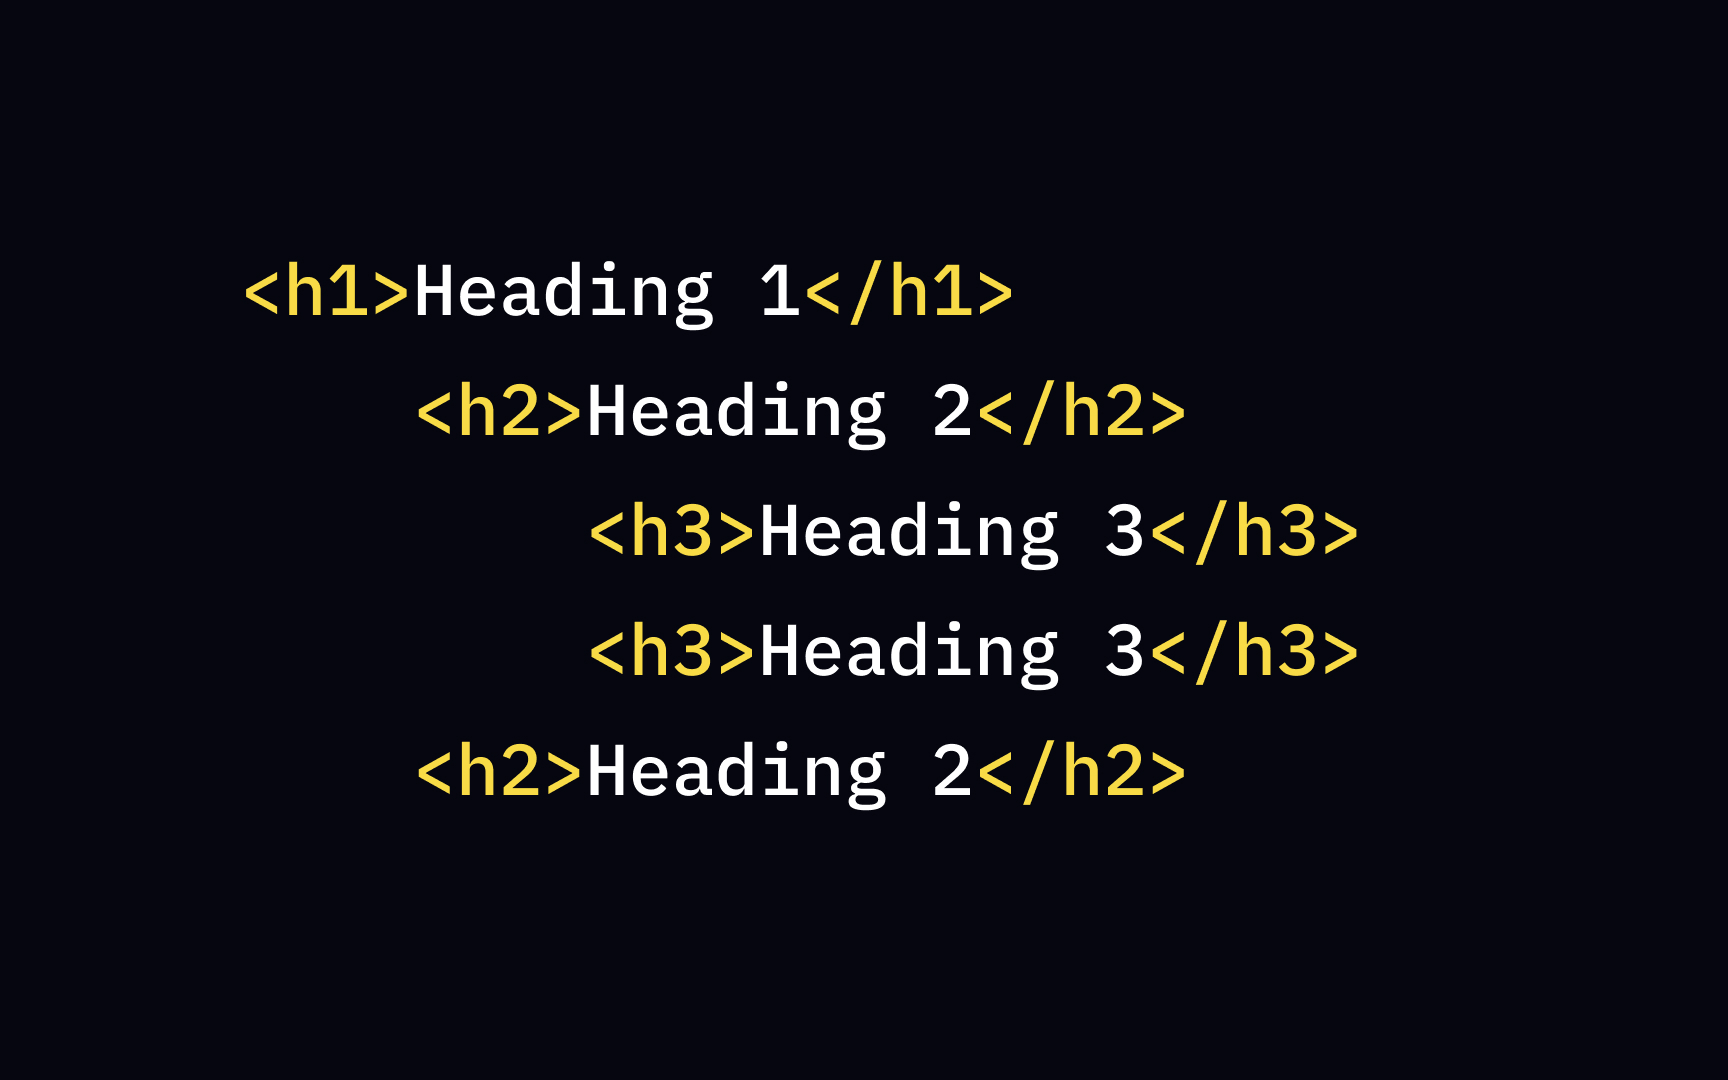
Exercise #1

The most important heading

The most important heading Bad Practice
The most important heading Best Practice

There are 6 types of HTML headings ranging from <h1> to <h6> that designers can use for titles and subtitles on a web page. As you may guess, <h1> defines the most important heading.[1]It represents the page title and usually has the largest font size and weight.

Just like having several cooks in a kitchen is never a good thing, you should avoid using <h1> more than once per page. Otherwise, it may confuse and disorient search engines and screen readers.

Exercise #2

The least important heading

The least important heading Bad Practice
The least important heading Best Practice

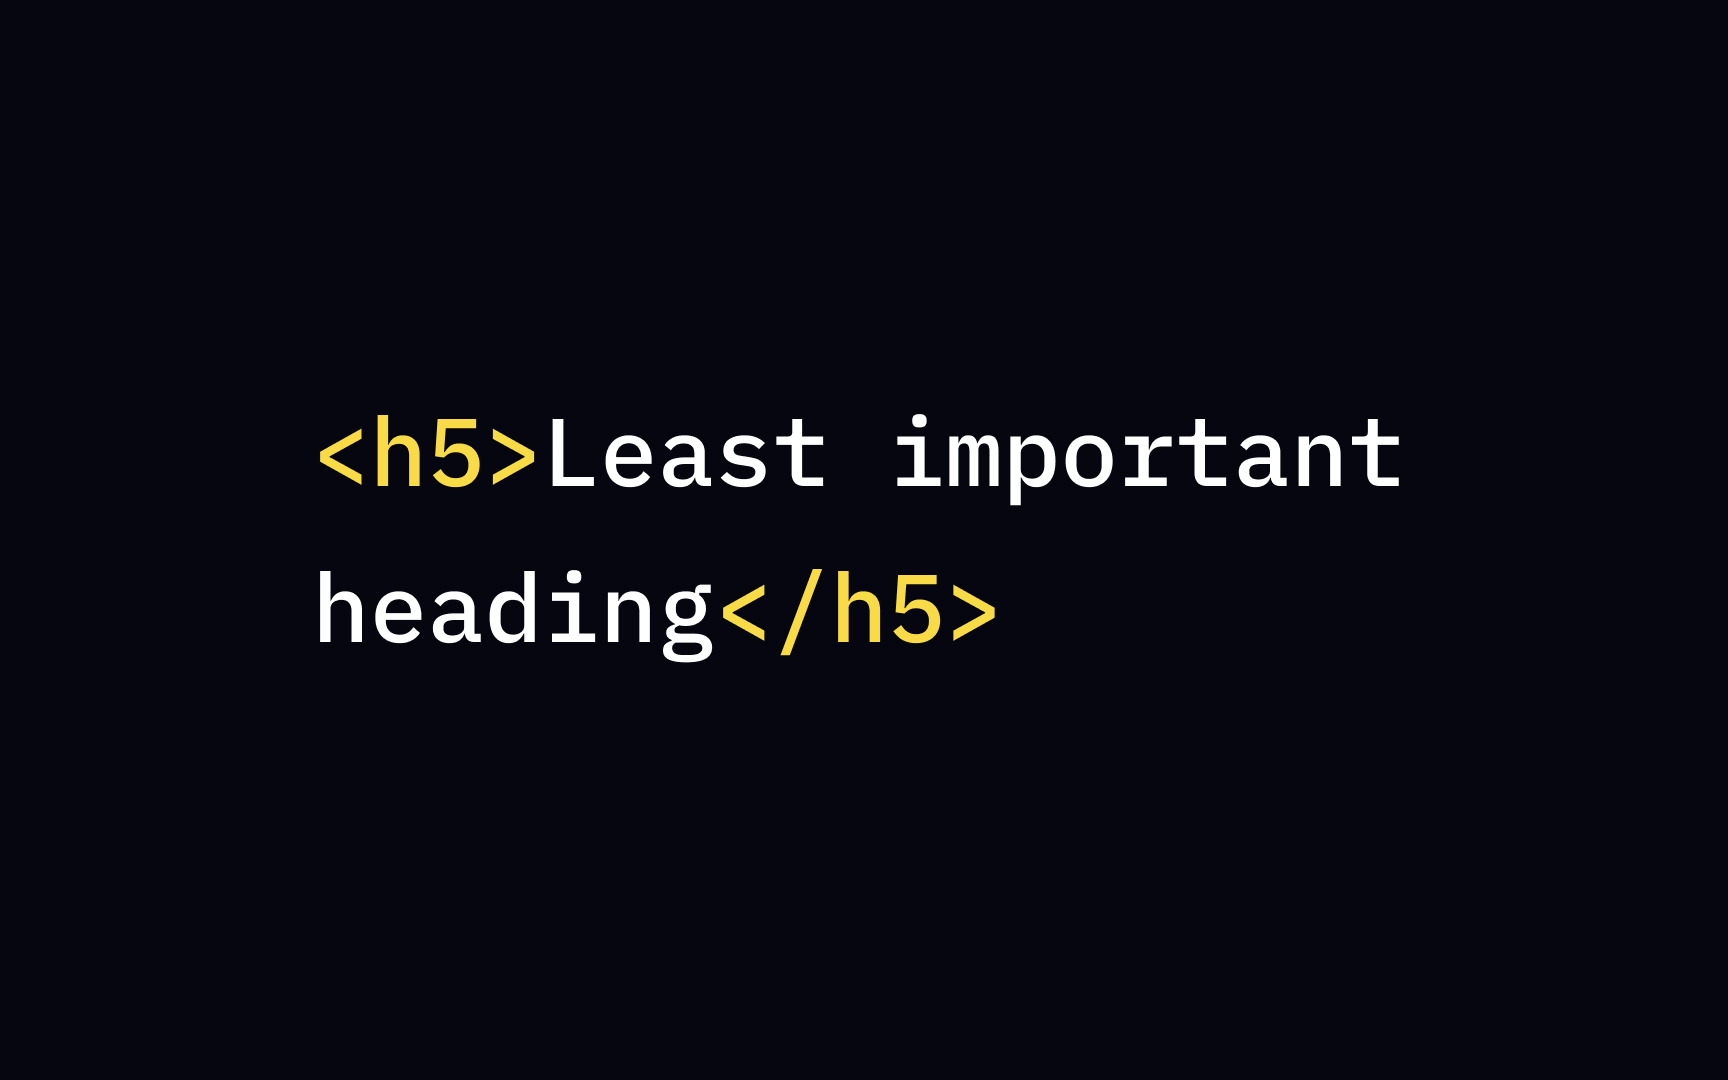
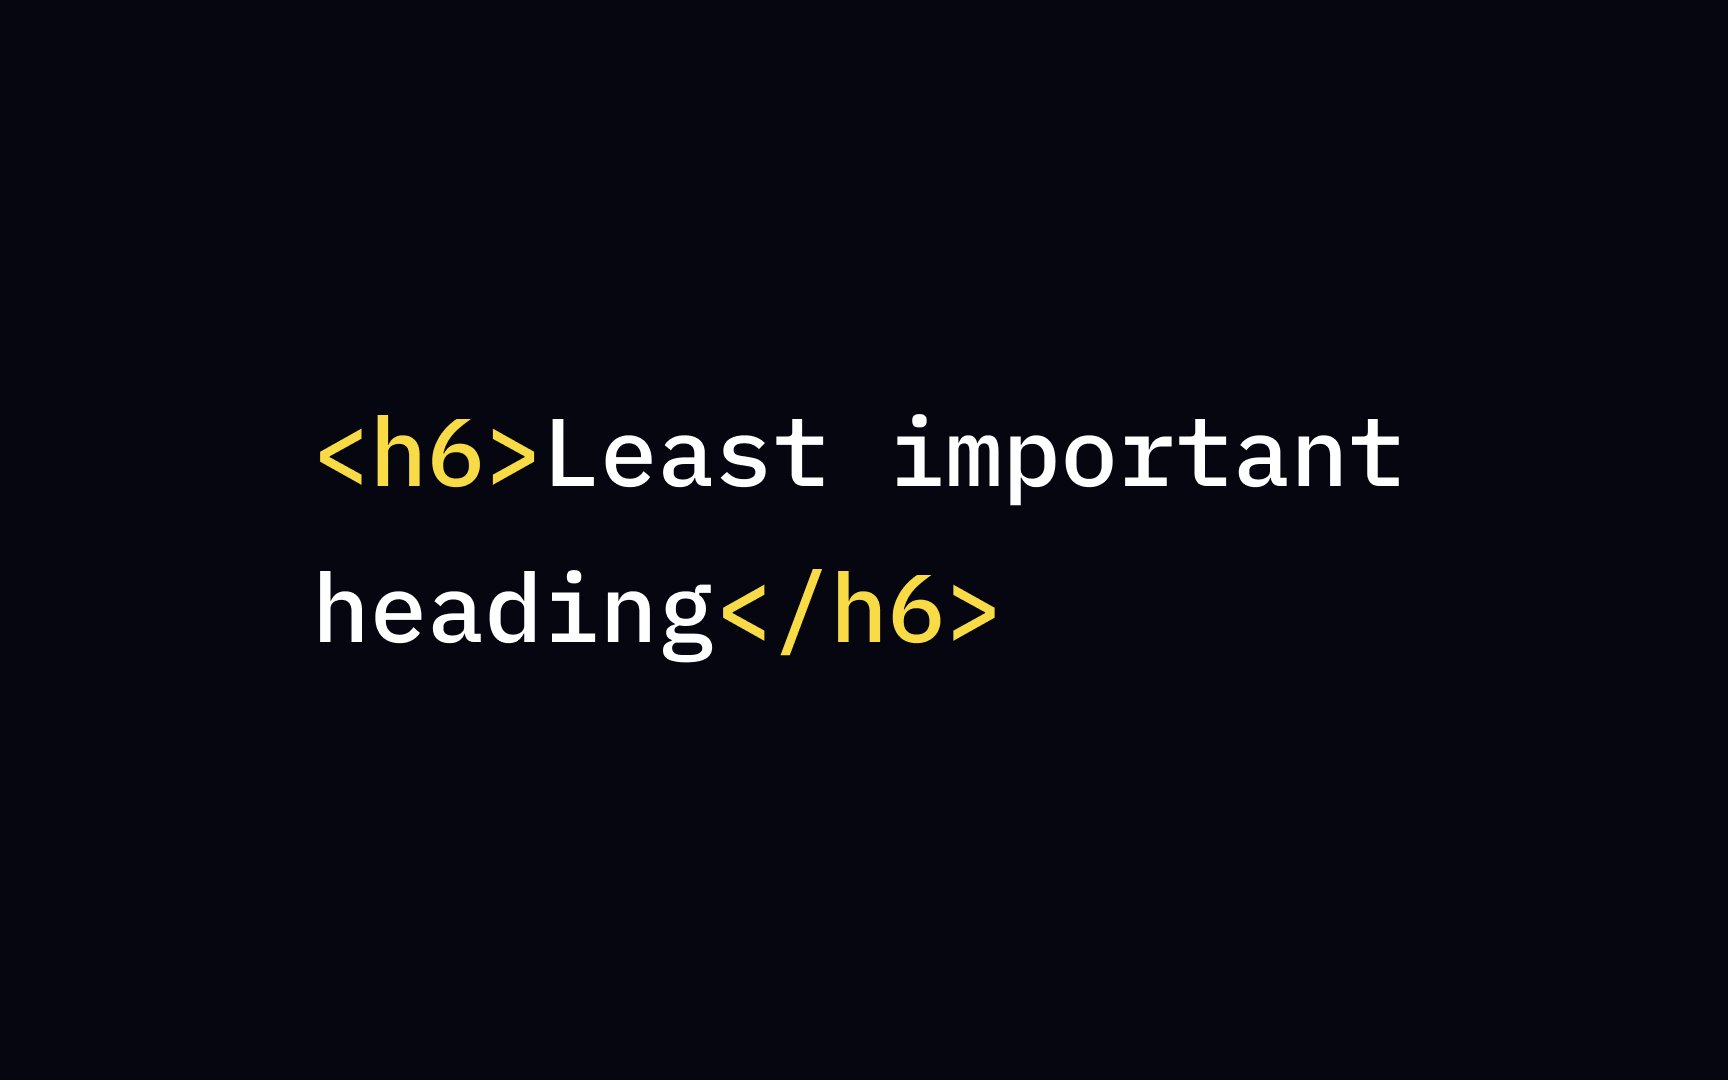
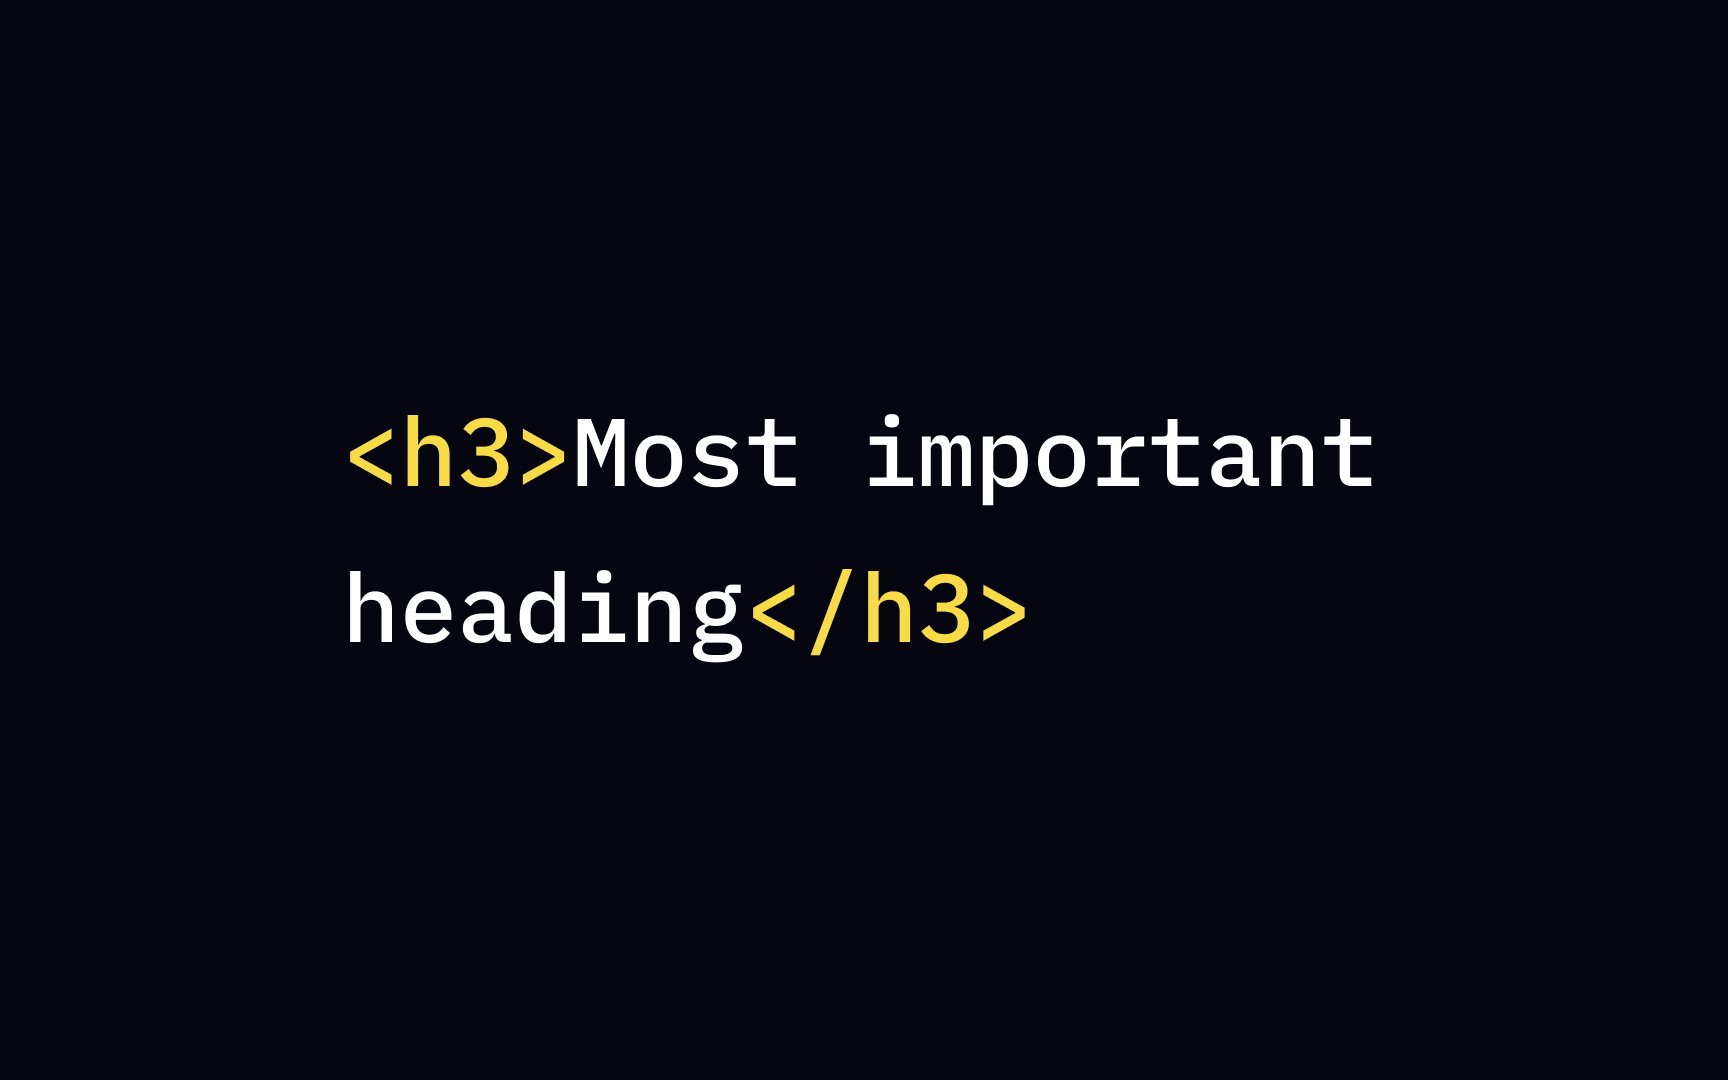
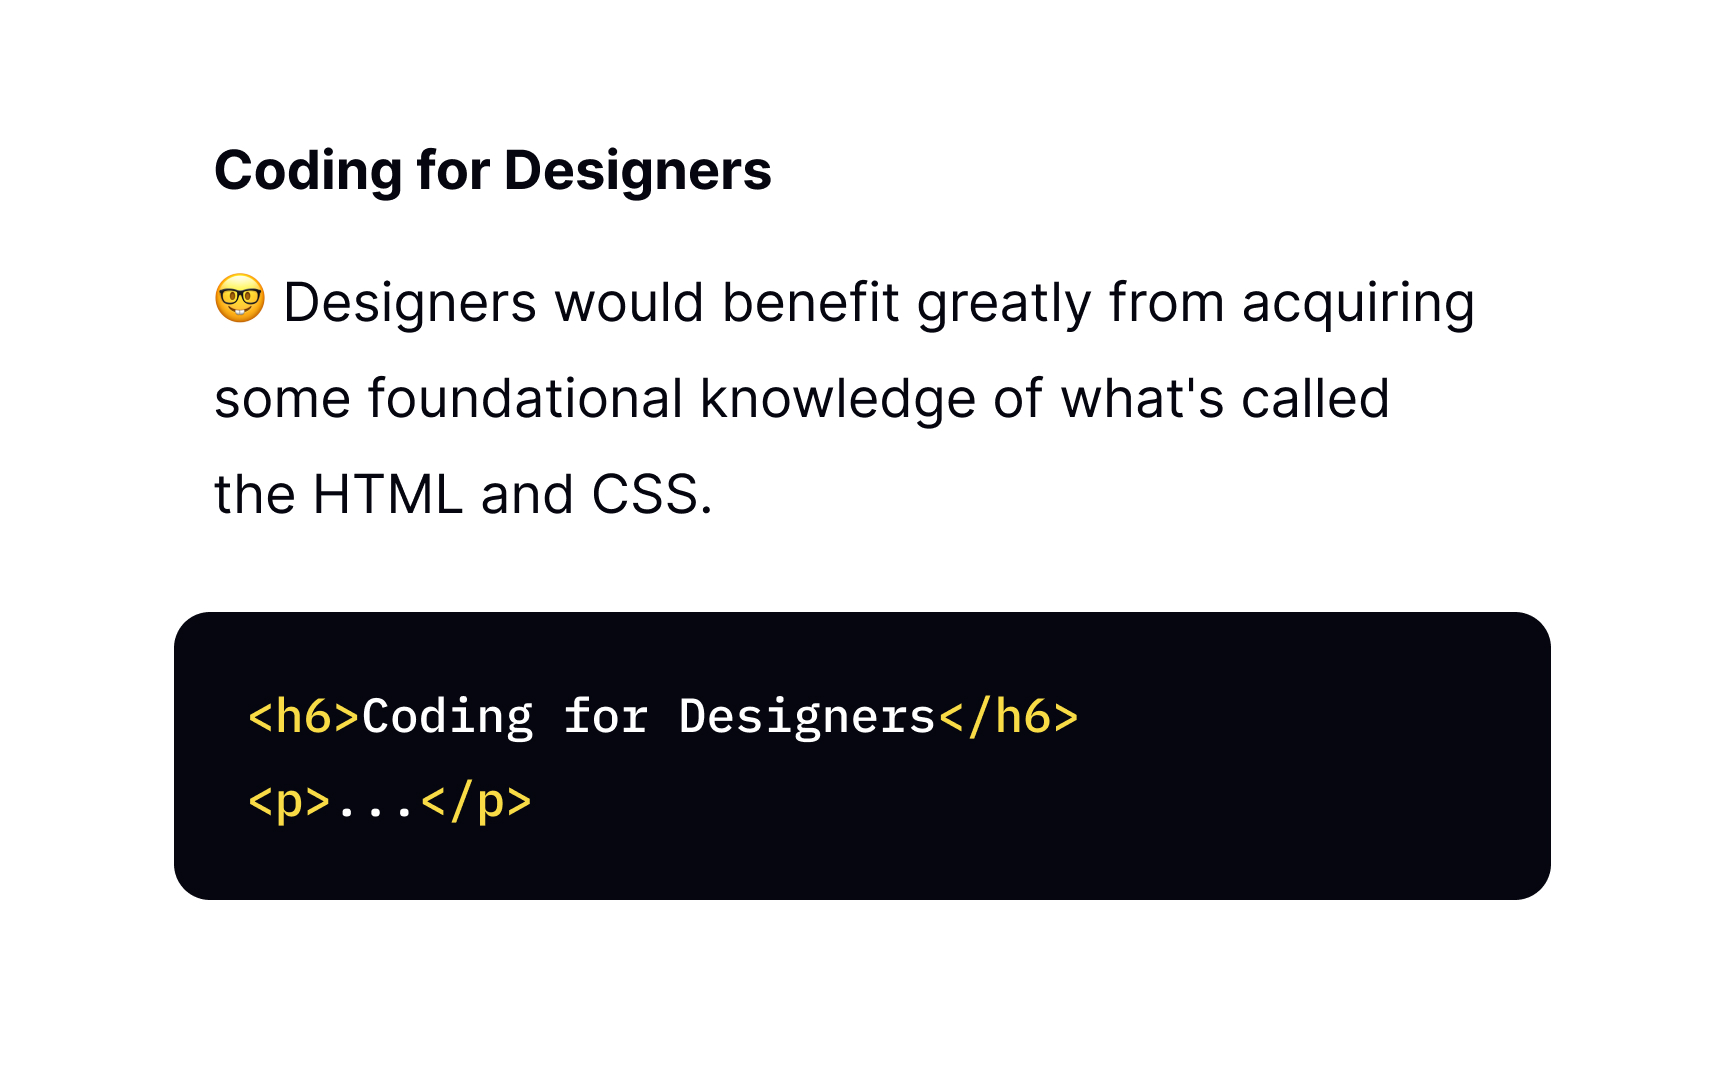
The <h6> tag has the lowest rank and represents the least important heading. Make sure to use the end tag </h6> with no spacing, or the whole formatting effort will be for nothing. The truth is that most content doesn't go deeper than <h4> tags unless you're writing technical documentation with multiple categories and subcategories.

Exercise #3

Heading order

Heading order Bad Practice
Heading order Best Practice

Headings help organize content by visually indicating the most important sections. According to WebAIM research, more than 70% of screen reader users use headings for better navigation on lengthy pages.[2]

Keeping accessibility and usability in mind, try to maintain the heading hierarchy and avoid skipping heading levels, such as going from <h2> to <h5>. Sometimes, it's okay to revert the order and use <h2> after <h5> if the page content calls for it.

Exercise #4

Correct usage

Correct usage Bad Practice
Correct usage Best Practice

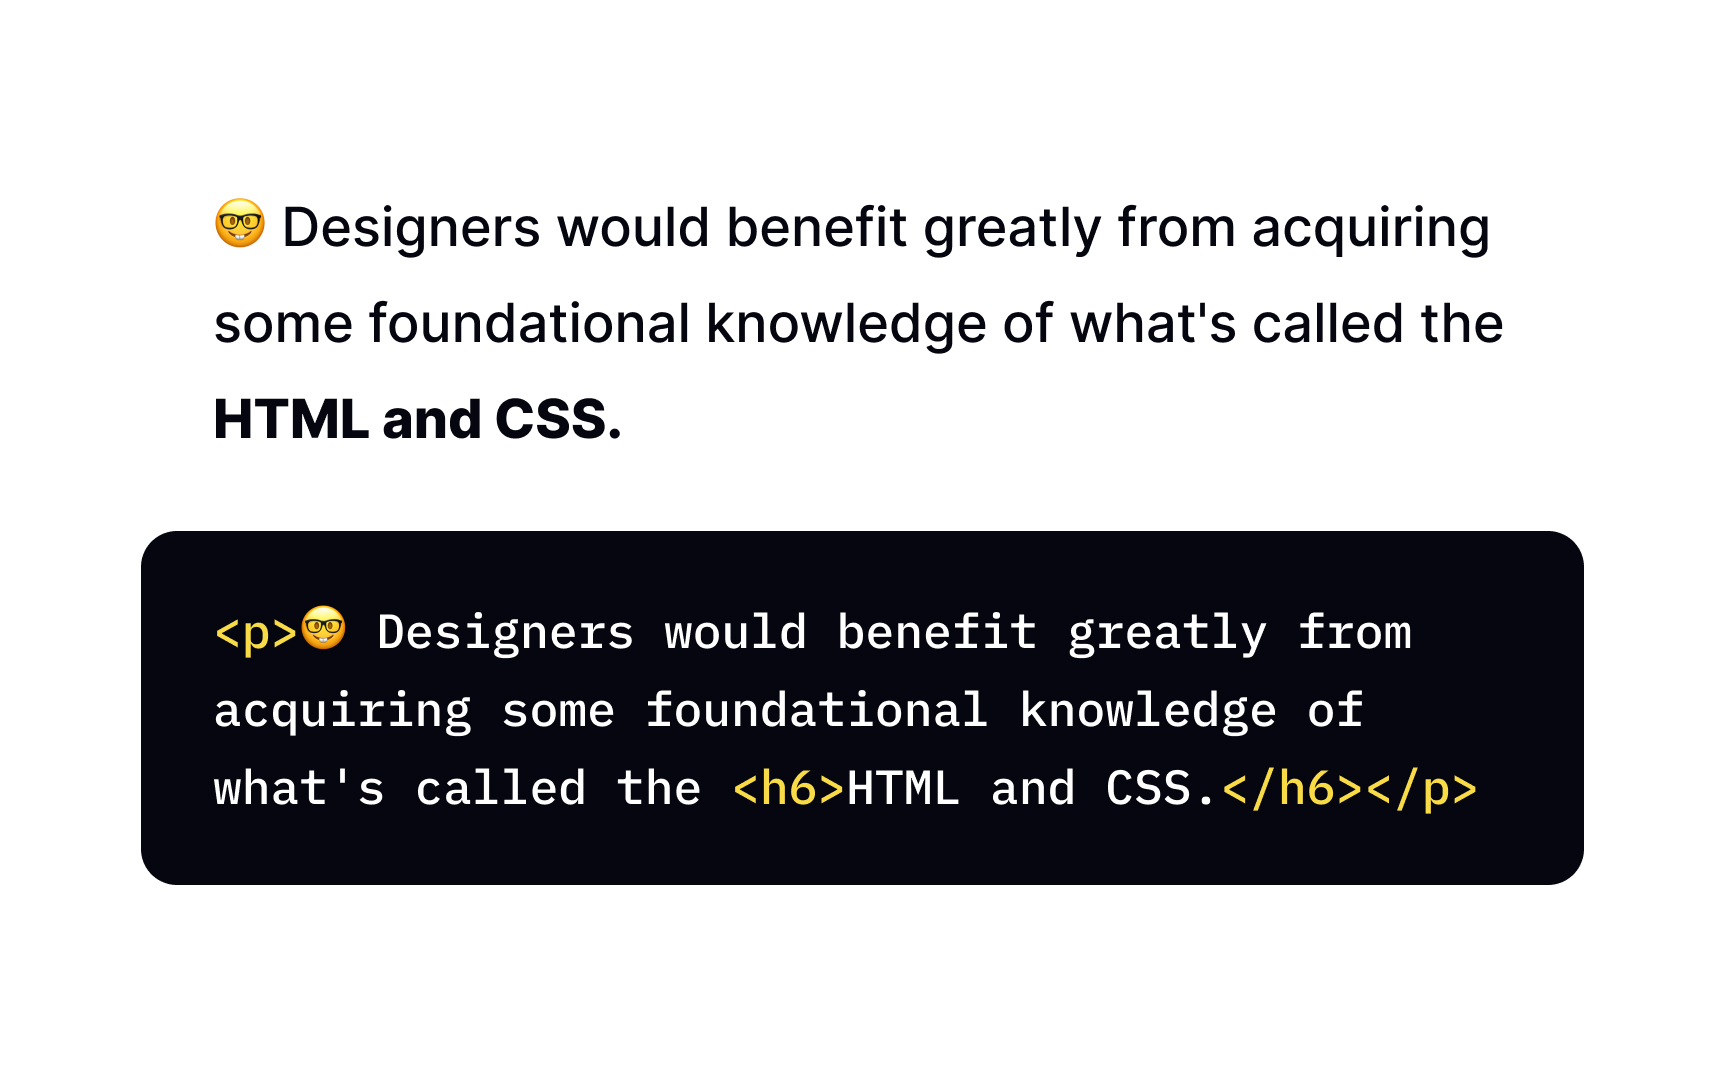
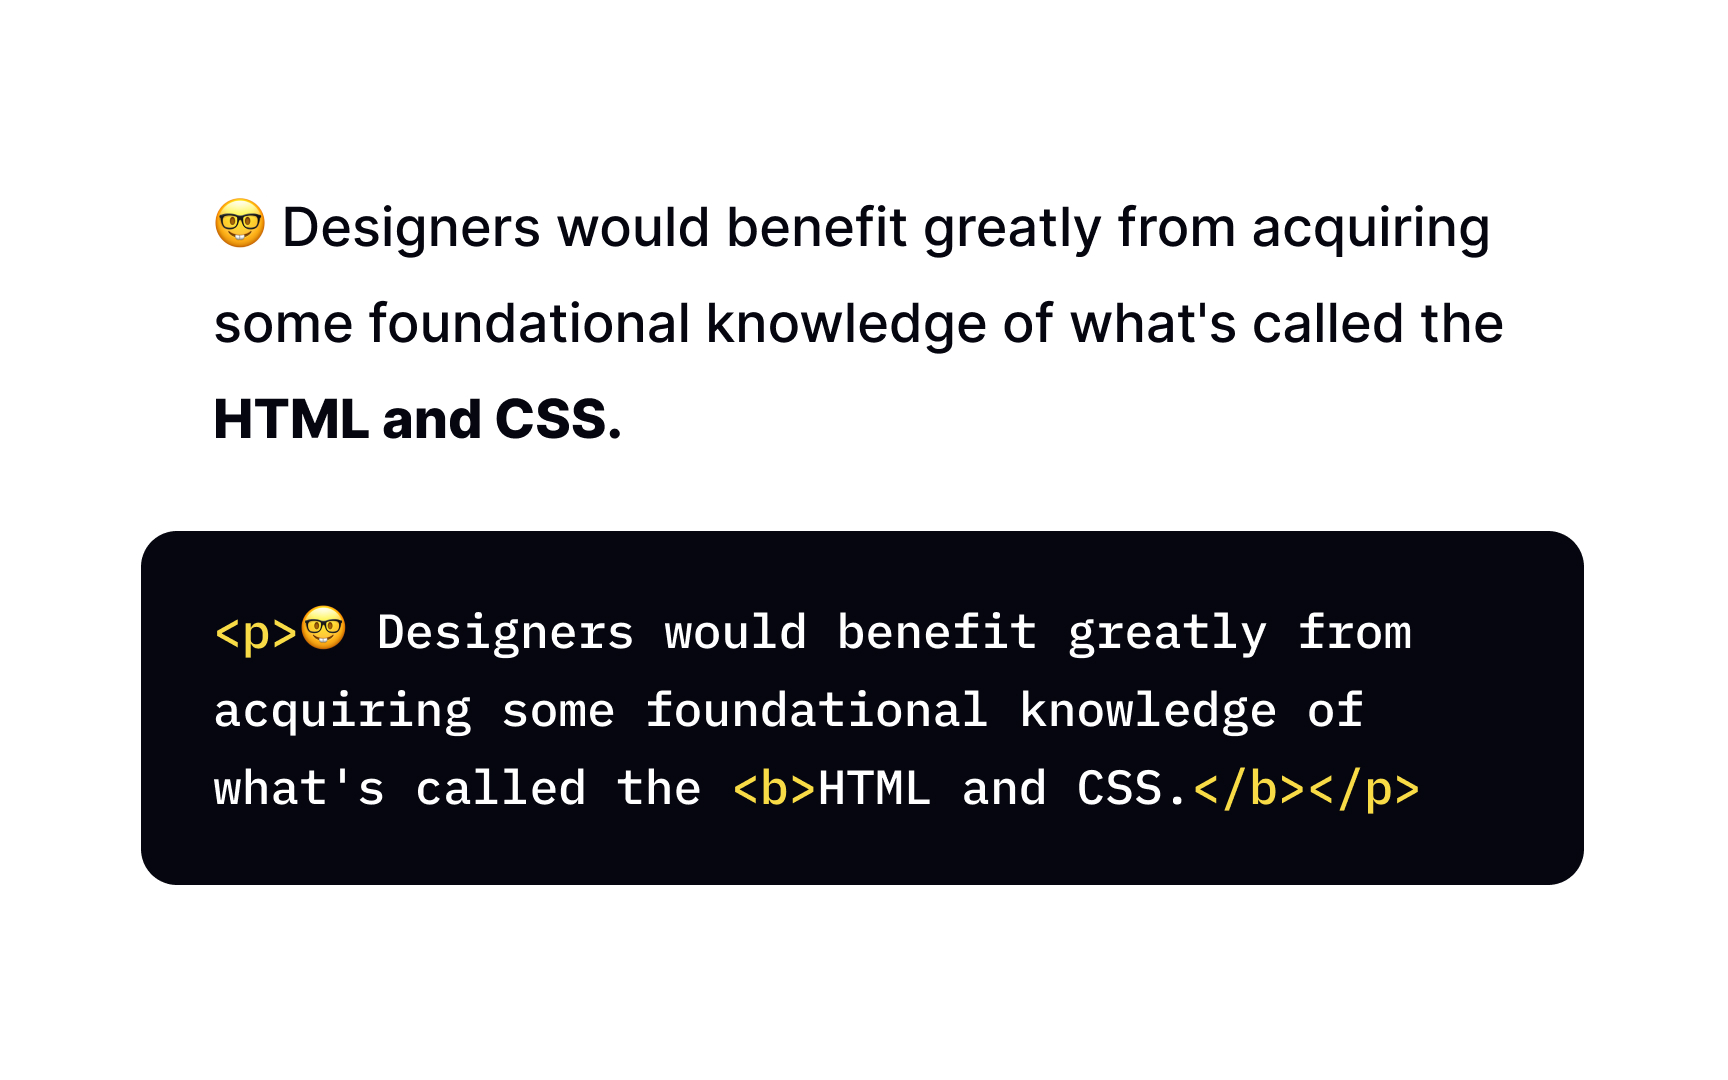
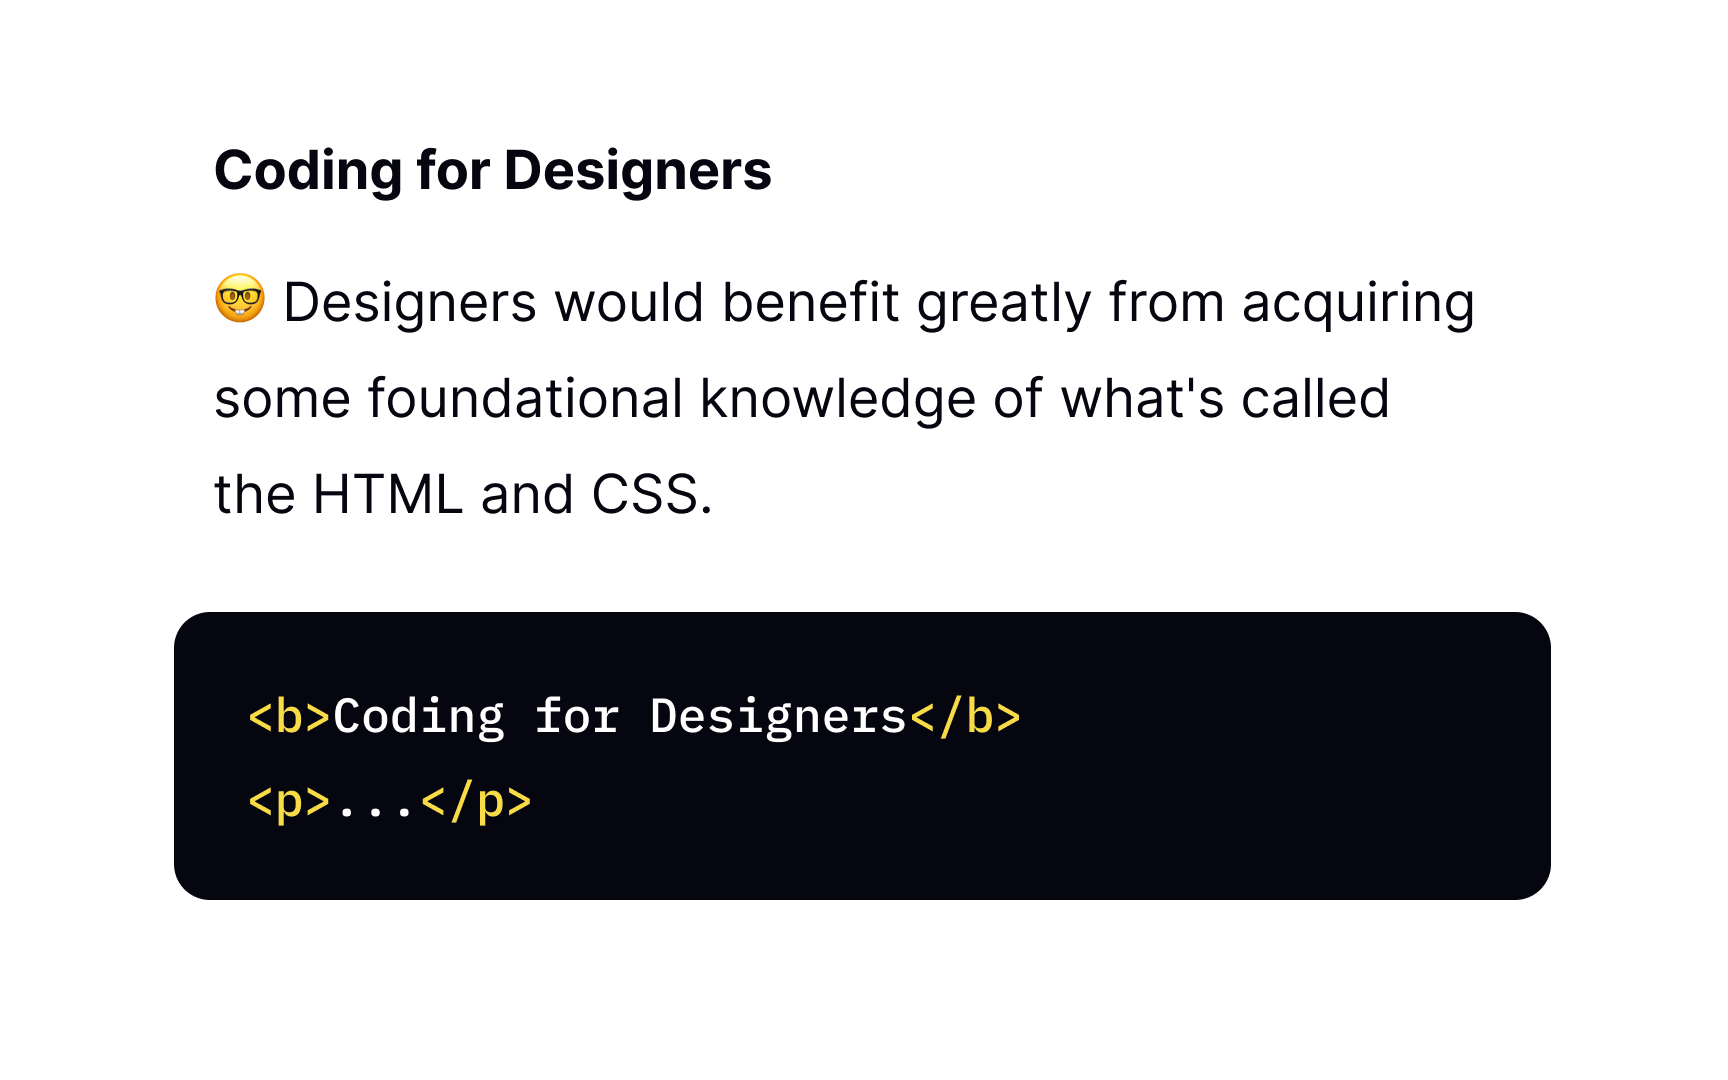
Headings are for titles and subtitles. Using <h> tags to make text bigger or bolder is pointless and creates visual noise on a web page. In turn, applying headings instead of making a text bold with the <b> </b> tags violates accessibility guidelines and makes it impossible for screen reader users to scan the content and skip to the most interesting or useful sections.[3]

Exercise #5

Adding heading

Adding heading

Just like most other HTML elements, headings consist of start and end tags. Make sure you close all brackets, add a slash in the end tag, and omit any spacing. All pages should at least contain the <h1> heading introducing the title of the page.

Exercise #6

Add headings to keep hierarchy

Add headings to keep hierarchy Bad Practice
Add headings to keep hierarchy Best Practice

Headings create a structured outline for the page, similar to the function of a table of contents in a book or term paper. From the visual design angle, headings use their size and weight to indicate important content and prioritize it. From behind the curtains, those <h> tags display the logical order of content to screen readers and provide keyword opportunities for search engines.

Visually, you can style text with HTML attributes, but screen readers will interpret it as text, not headings.

Exercise #7

Displaying multiple paragraphs

Displaying multiple paragraphs Bad Practice
Displaying multiple paragraphs Best Practice

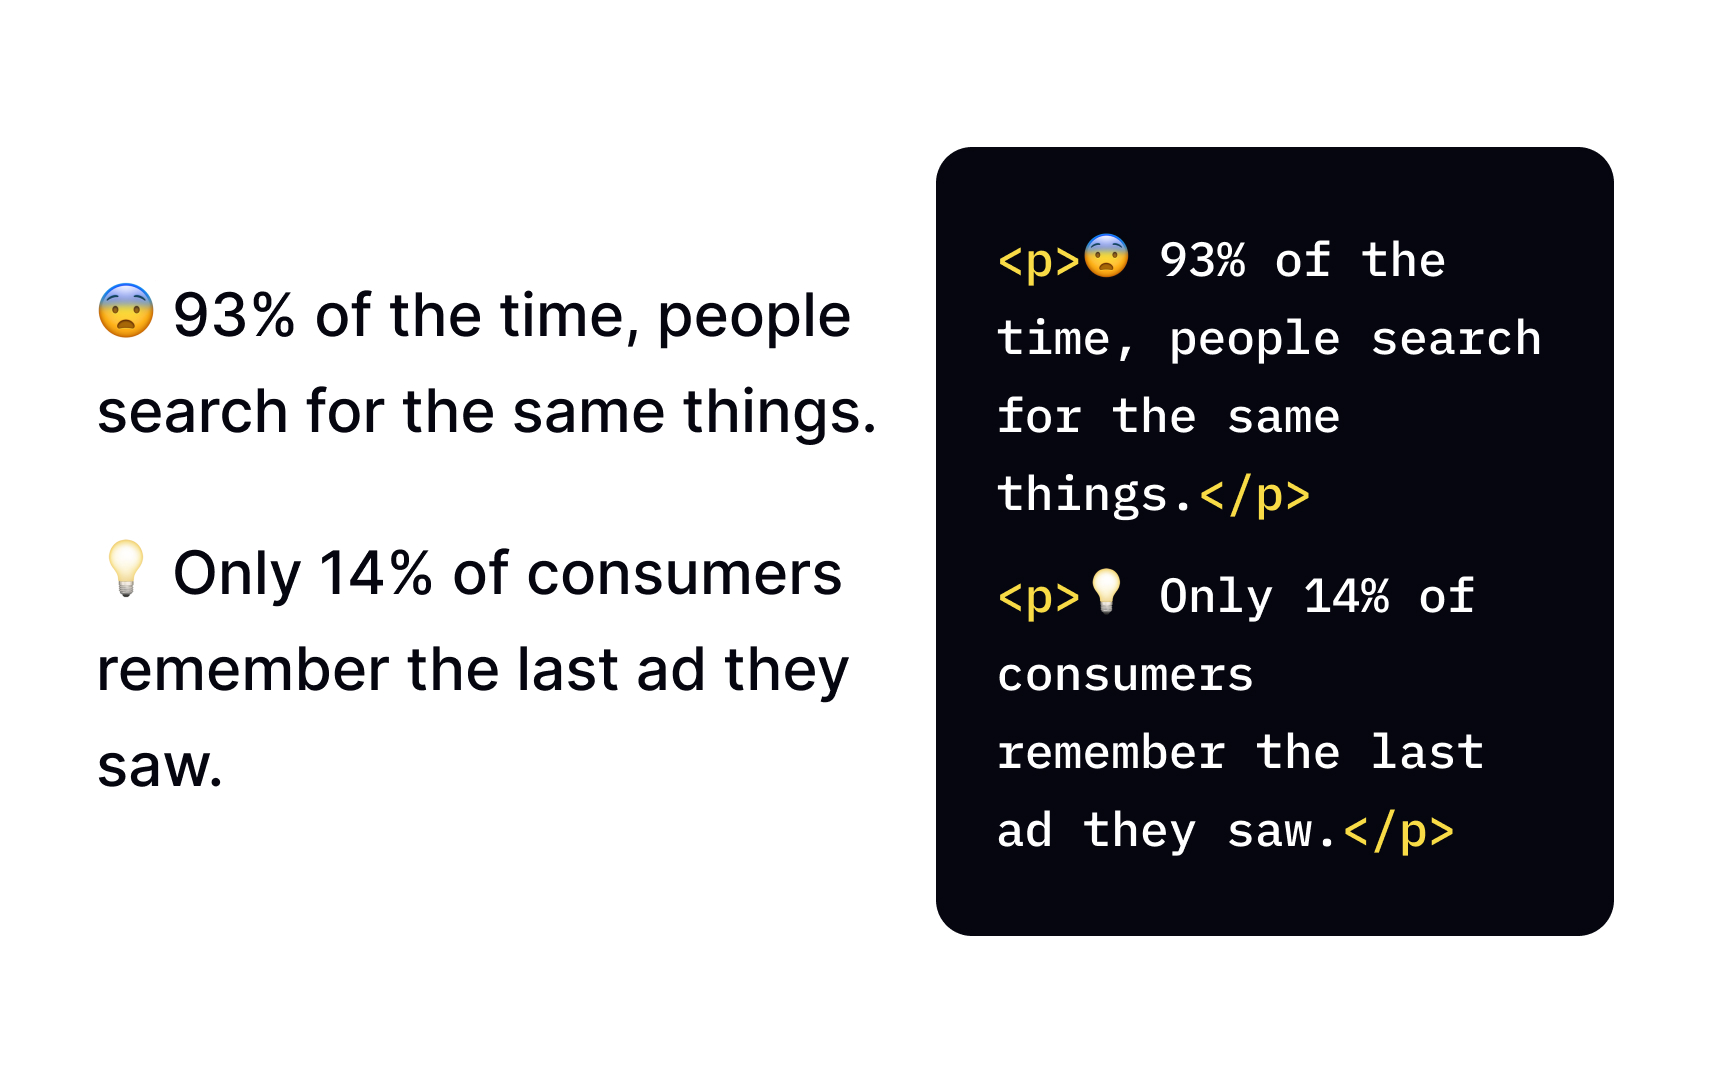
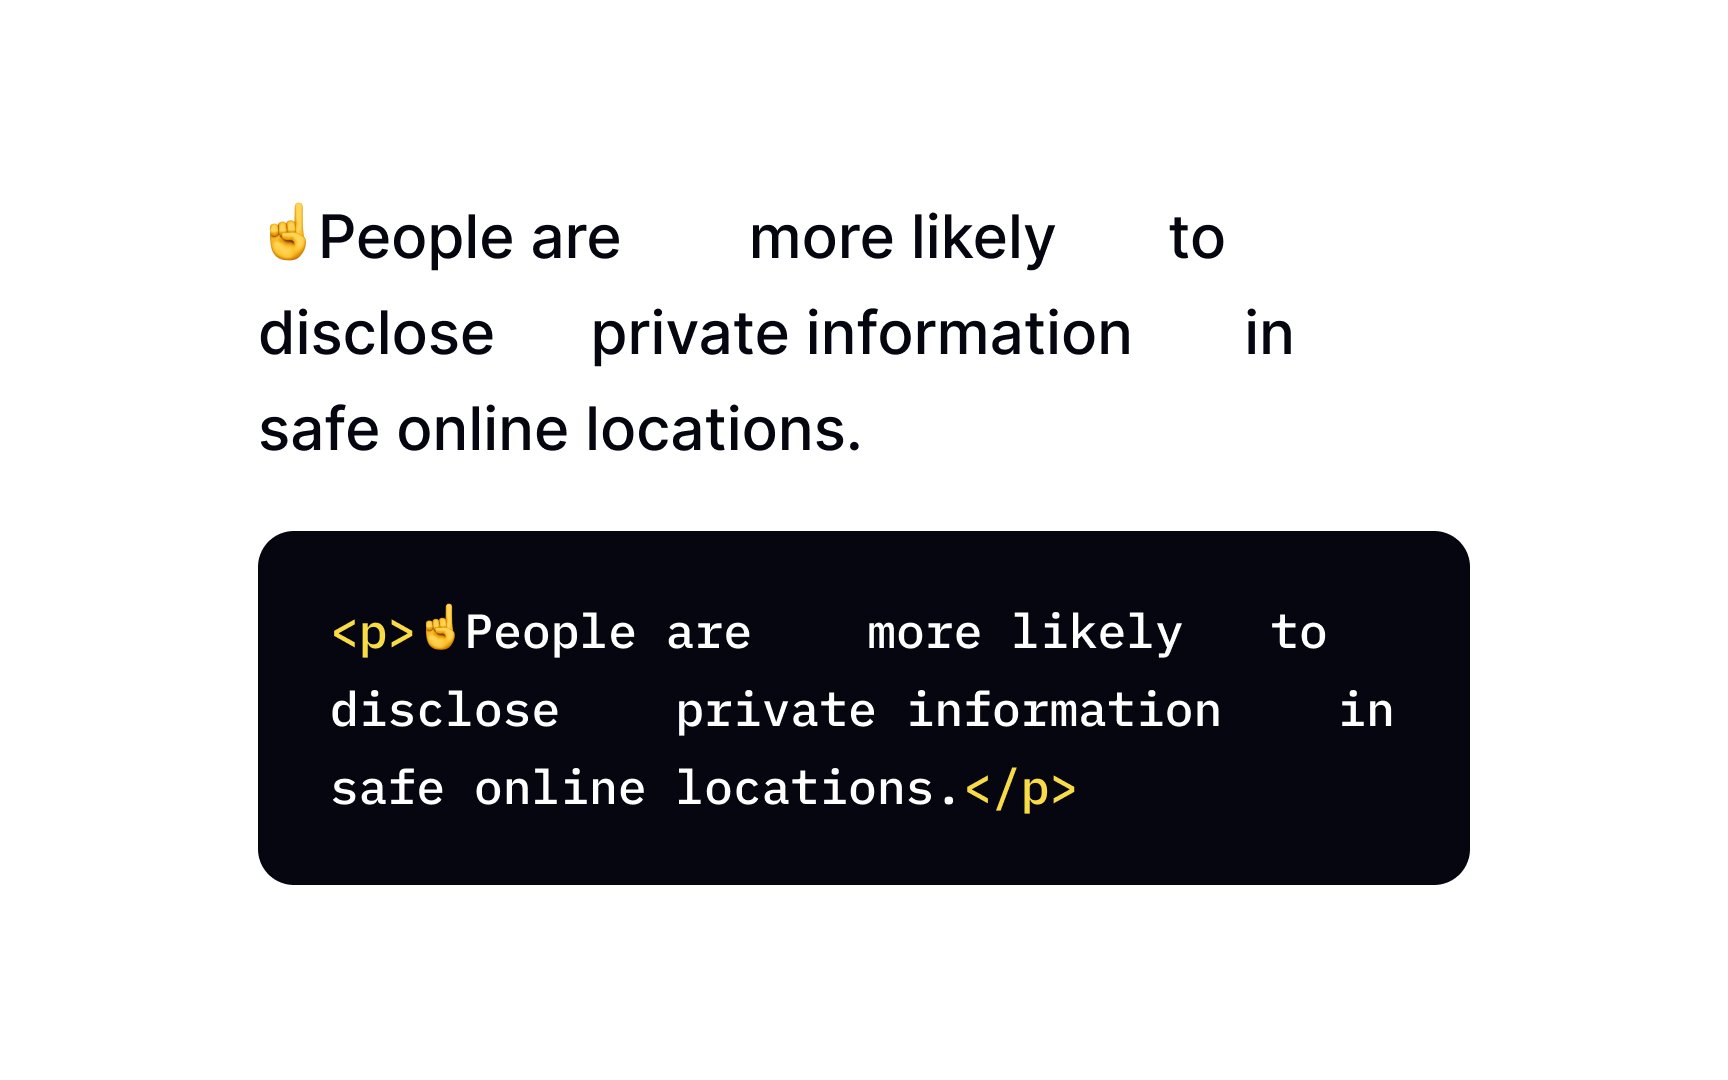
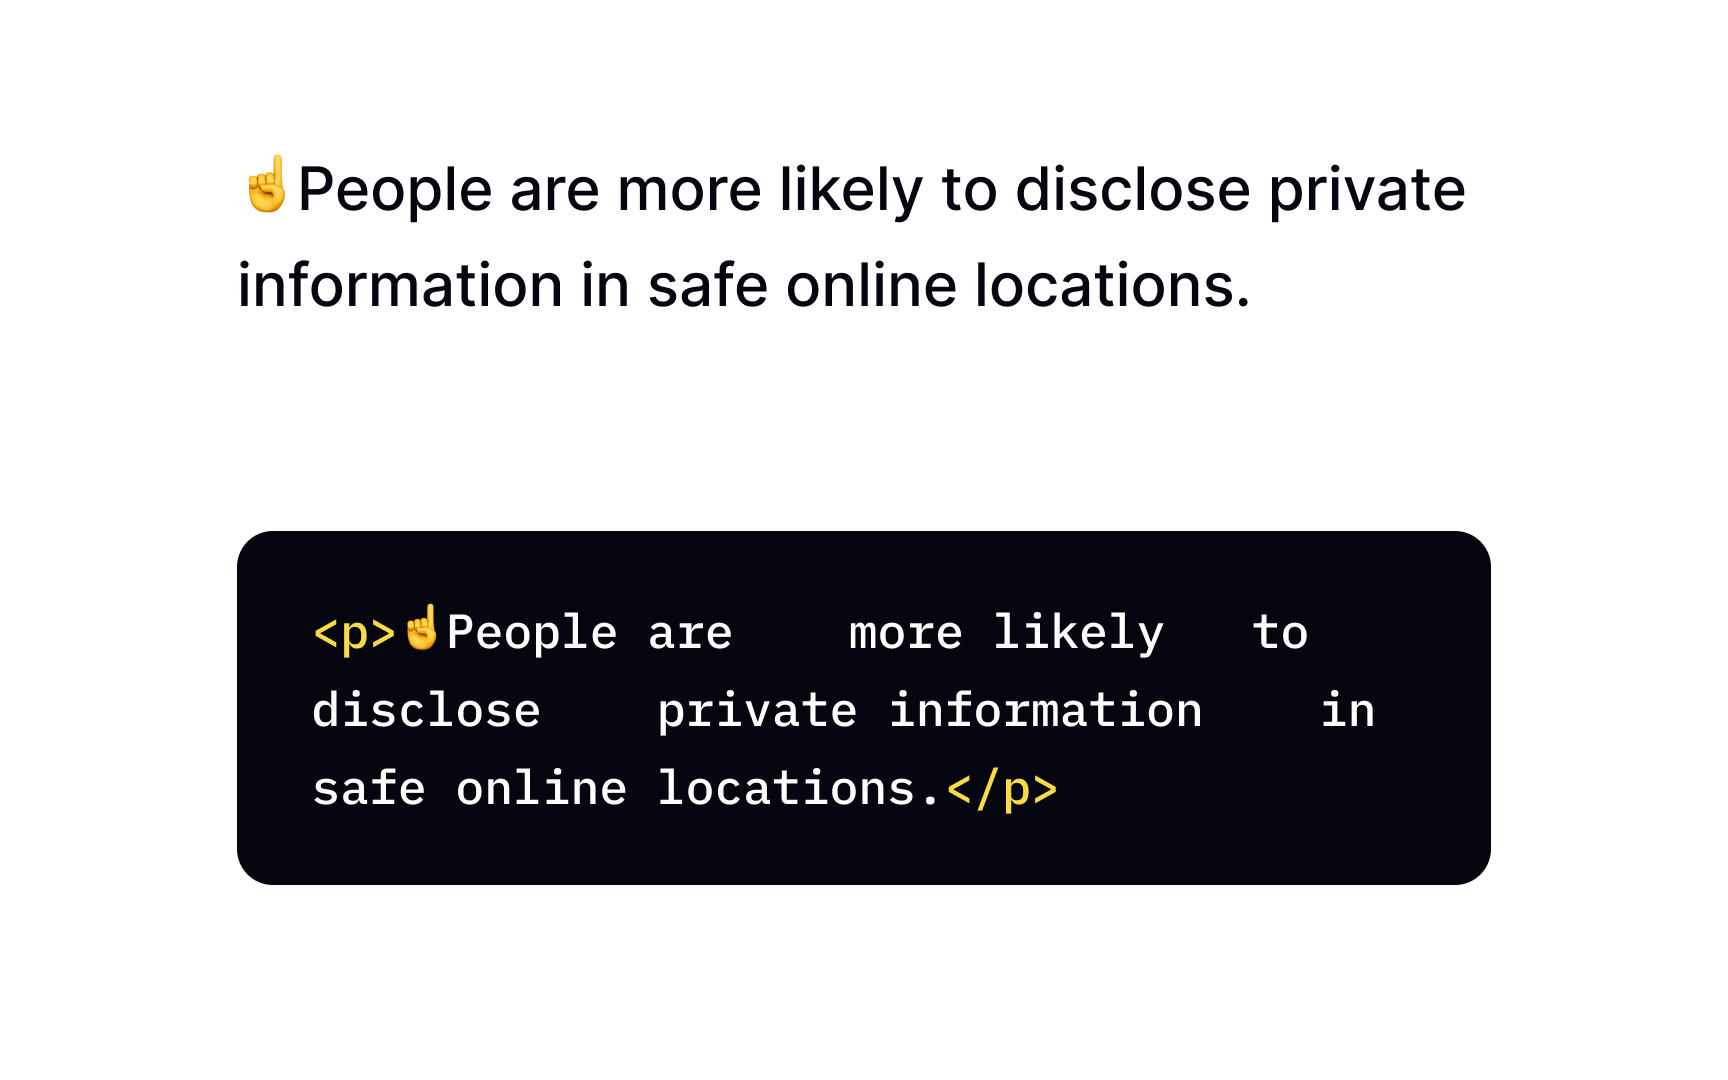
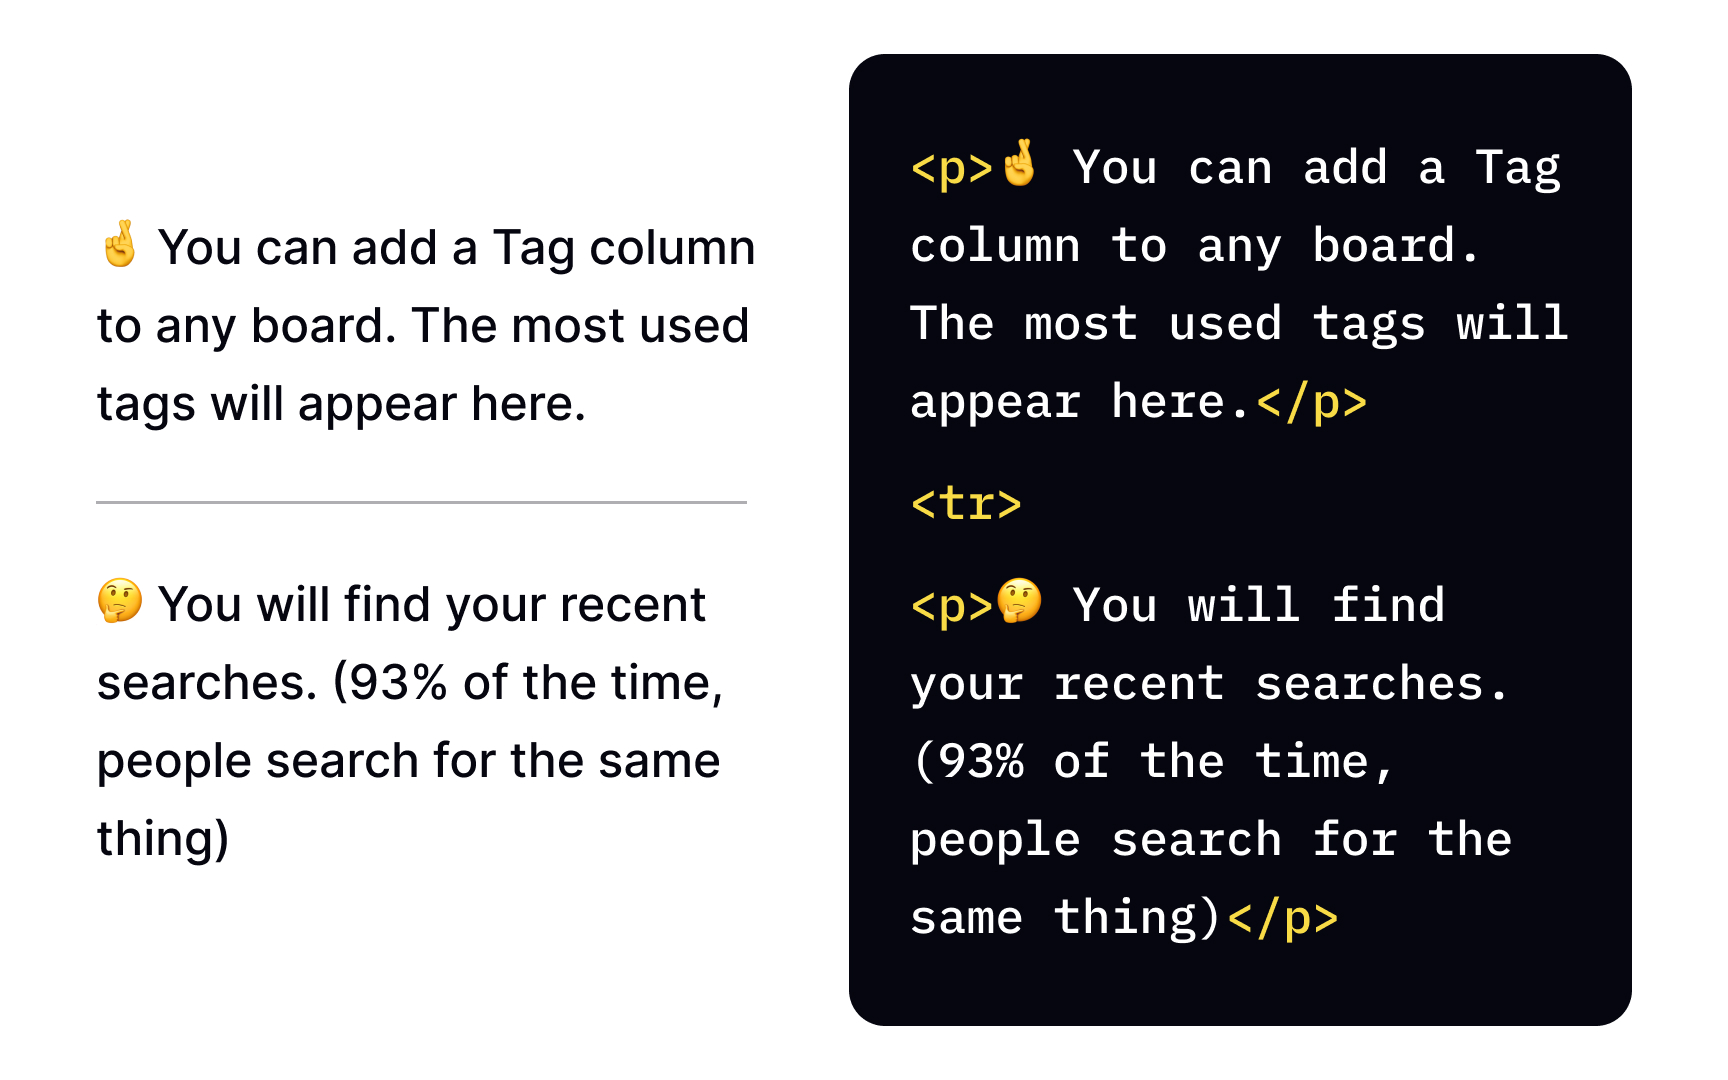
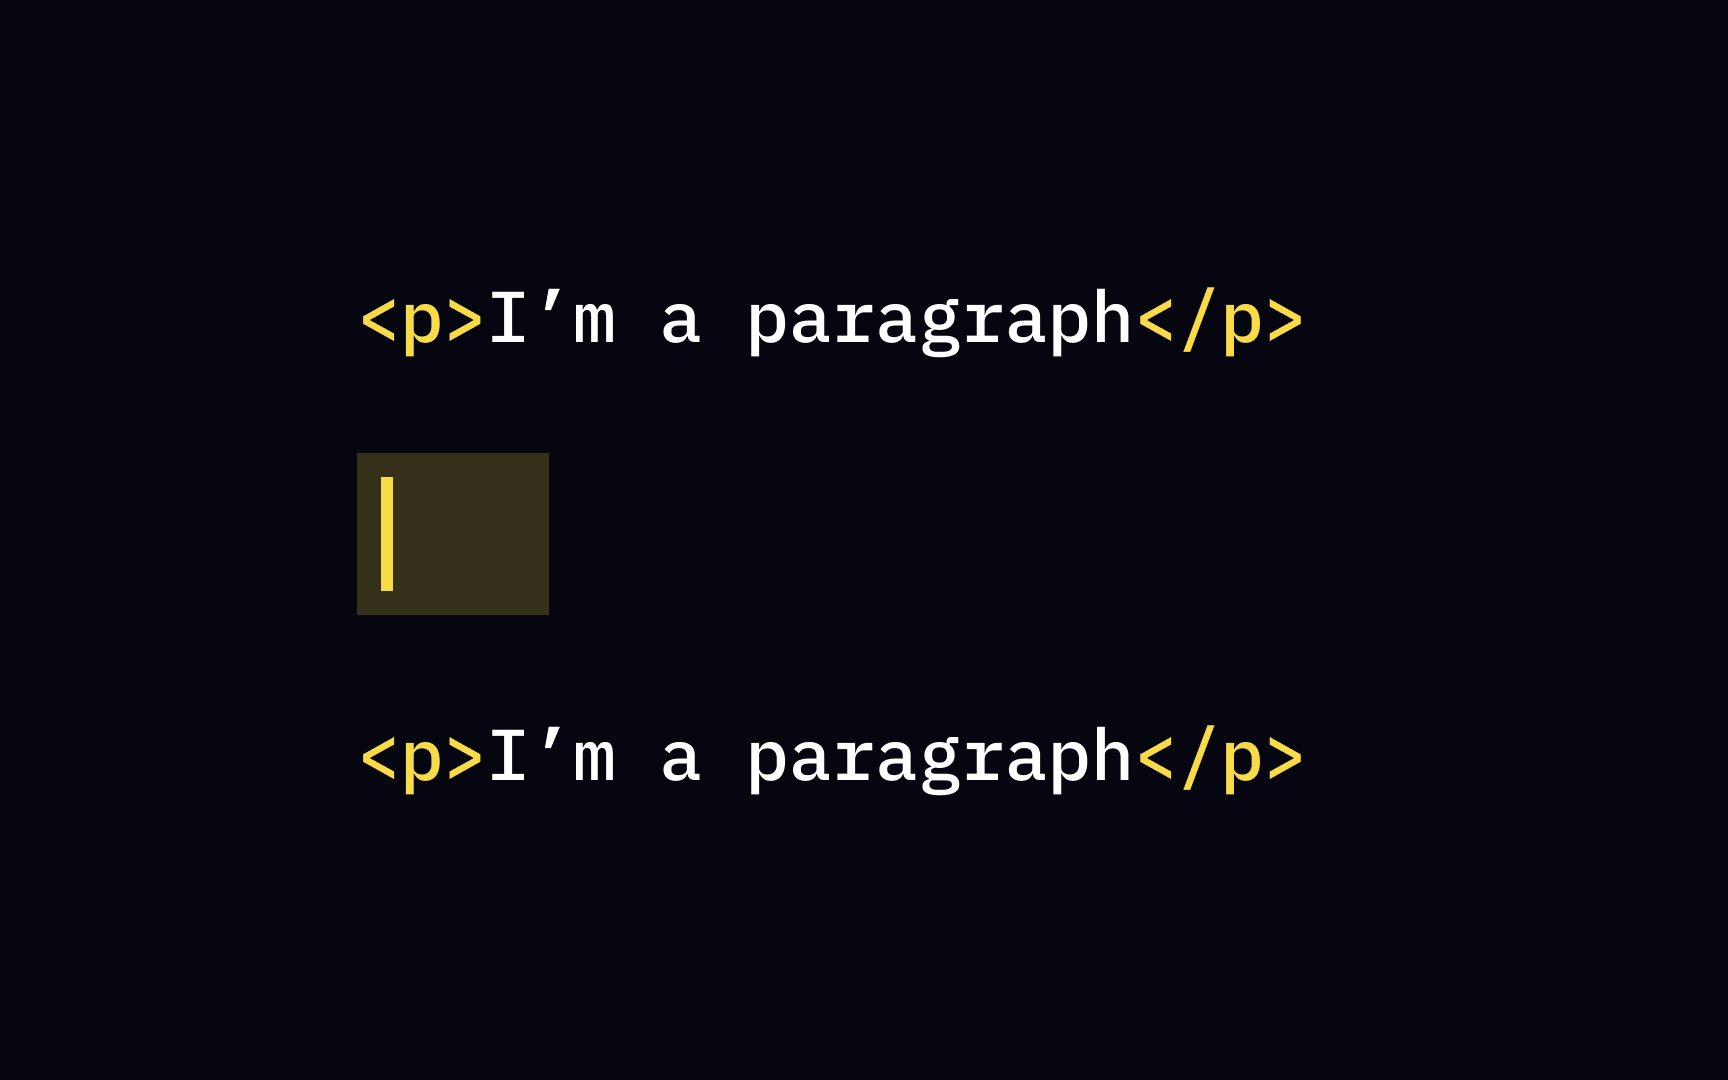
A paragraph is a block of text that starts from a new line. In the HTML world, we use the <p> element to define a paragraph, and browsers automatically add some white space before and after it. Keep in mind that the <p> element is a container, and it should have the start <p> and end </p> tags to divide text into sections.

Exercise #8

Display of extra spaces

Display of extra spaces Bad Practice
Display of extra spaces Best Practice

Let's confess — we've all added paragraphs in word documents by adding extra spaces or extra lines using a spacebar. The
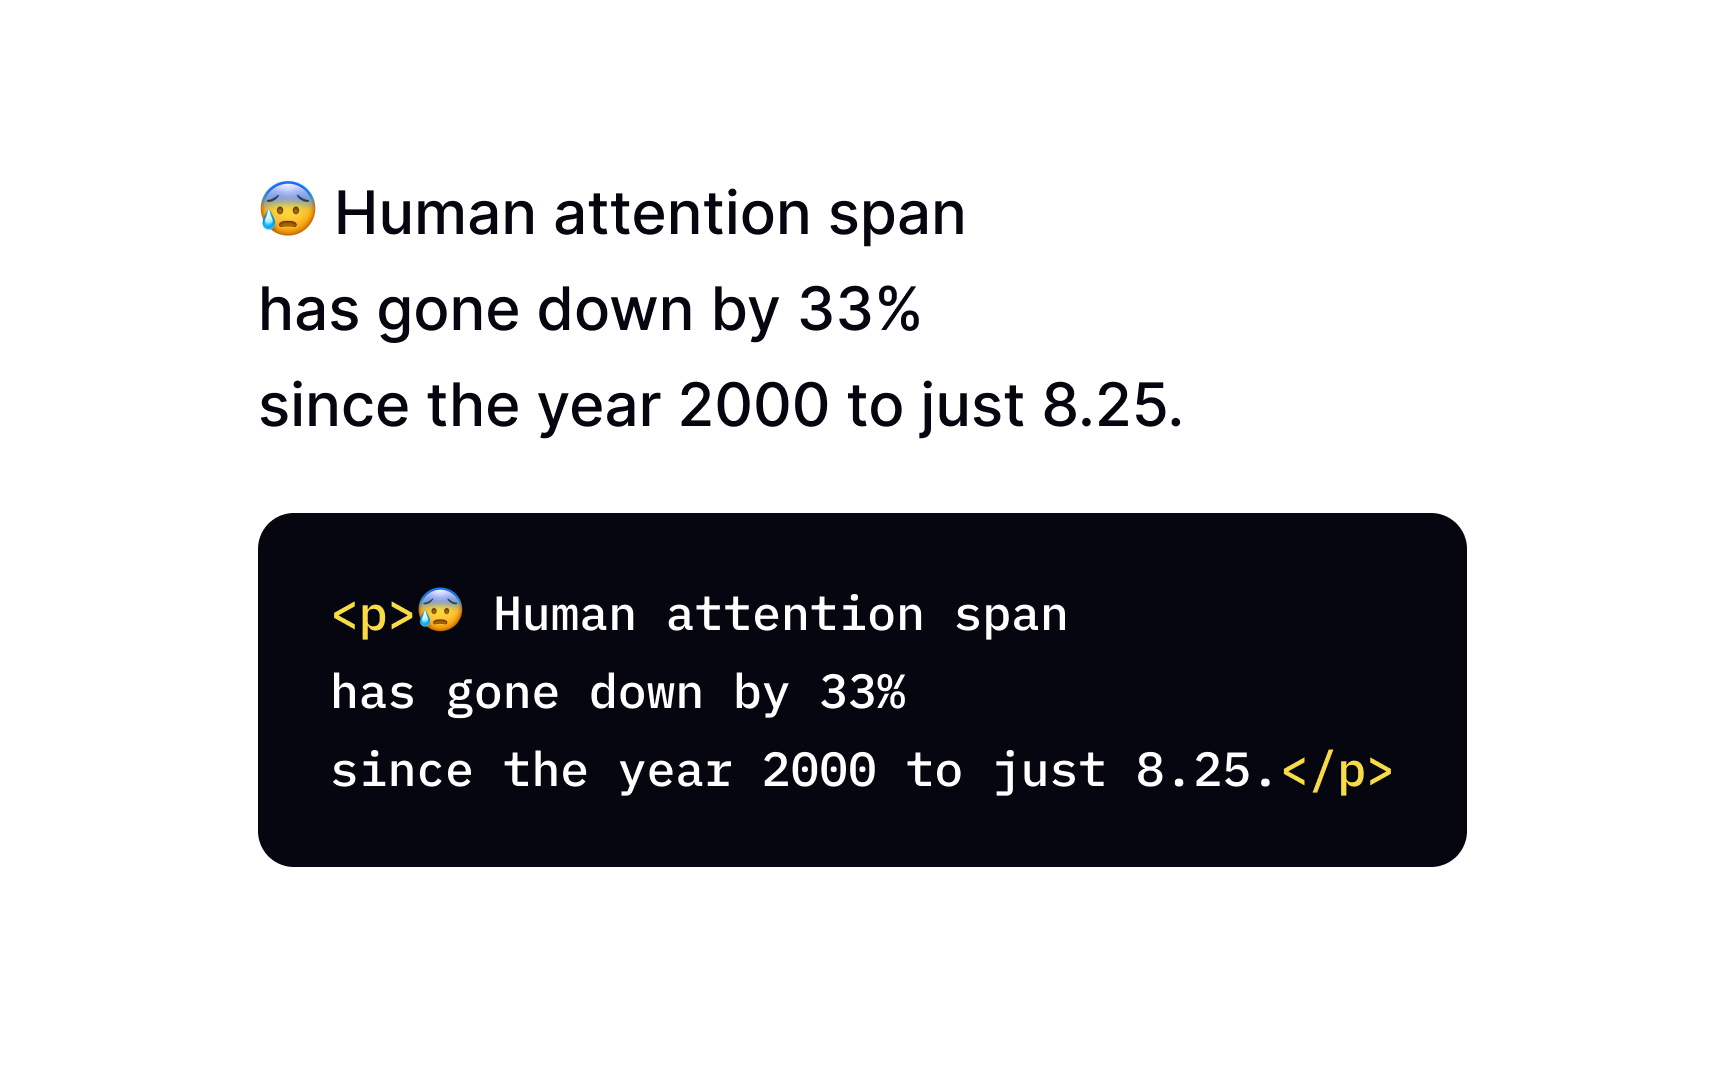
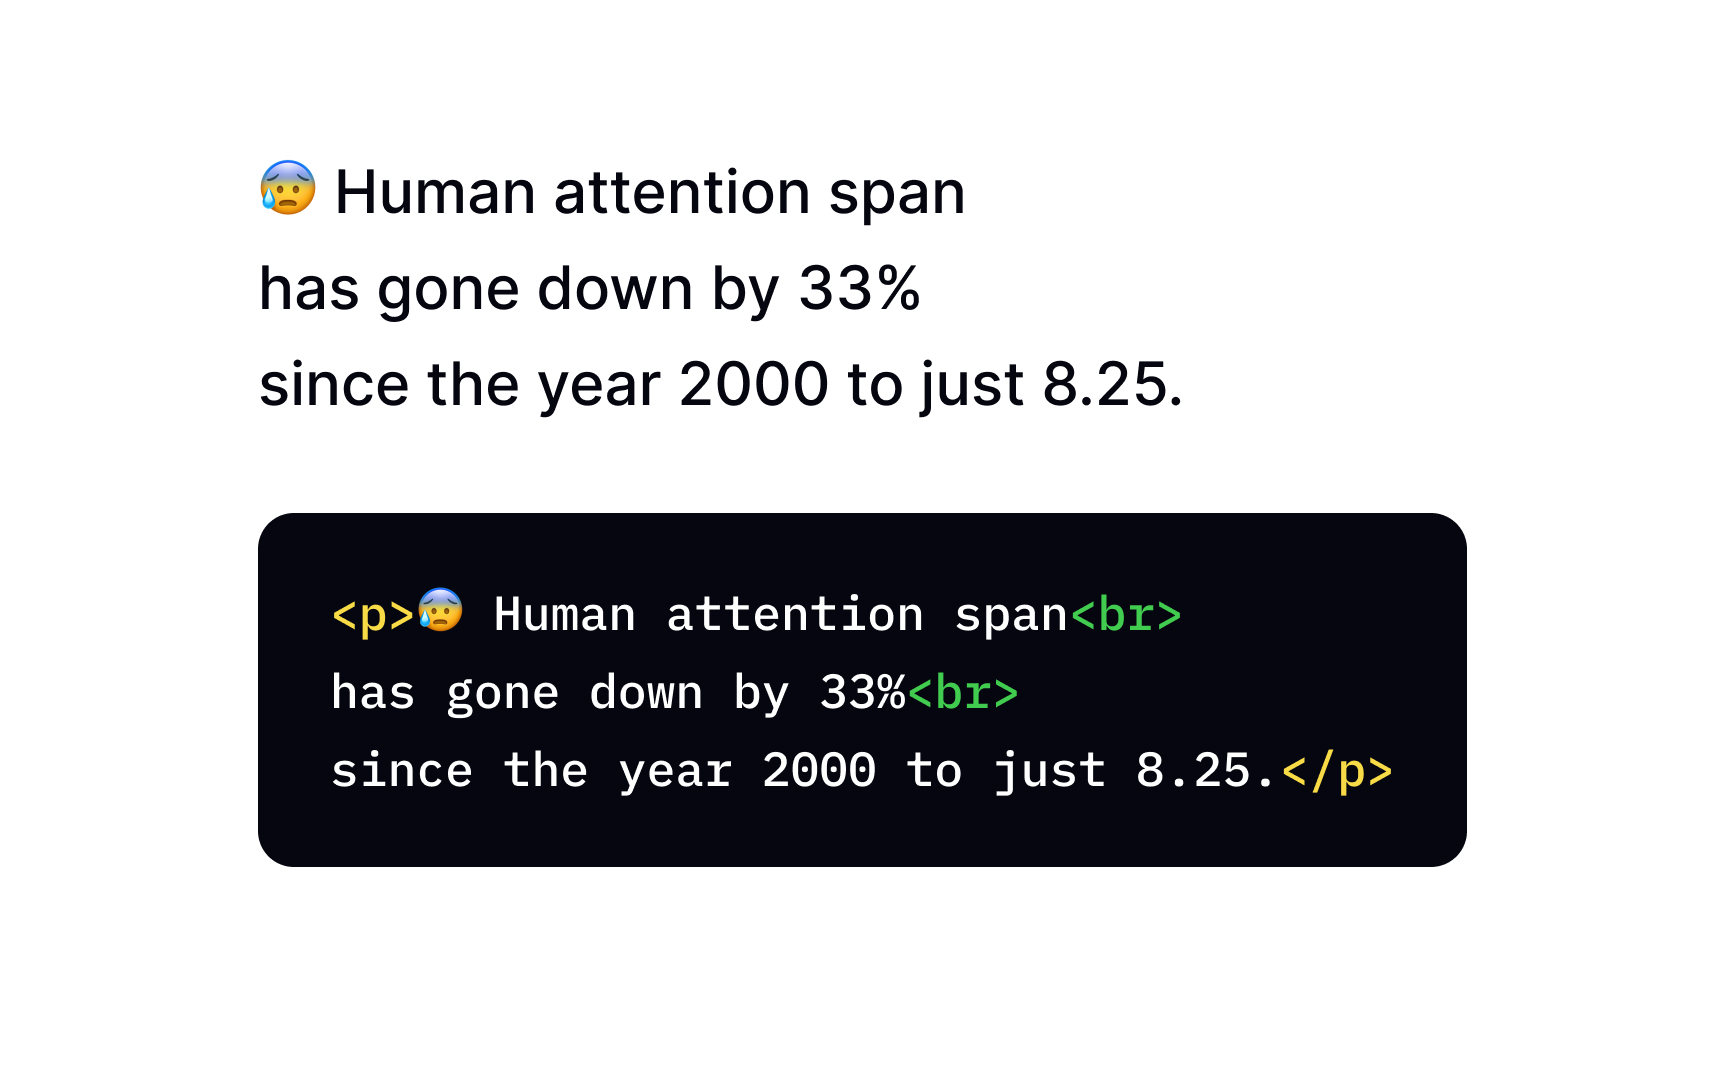
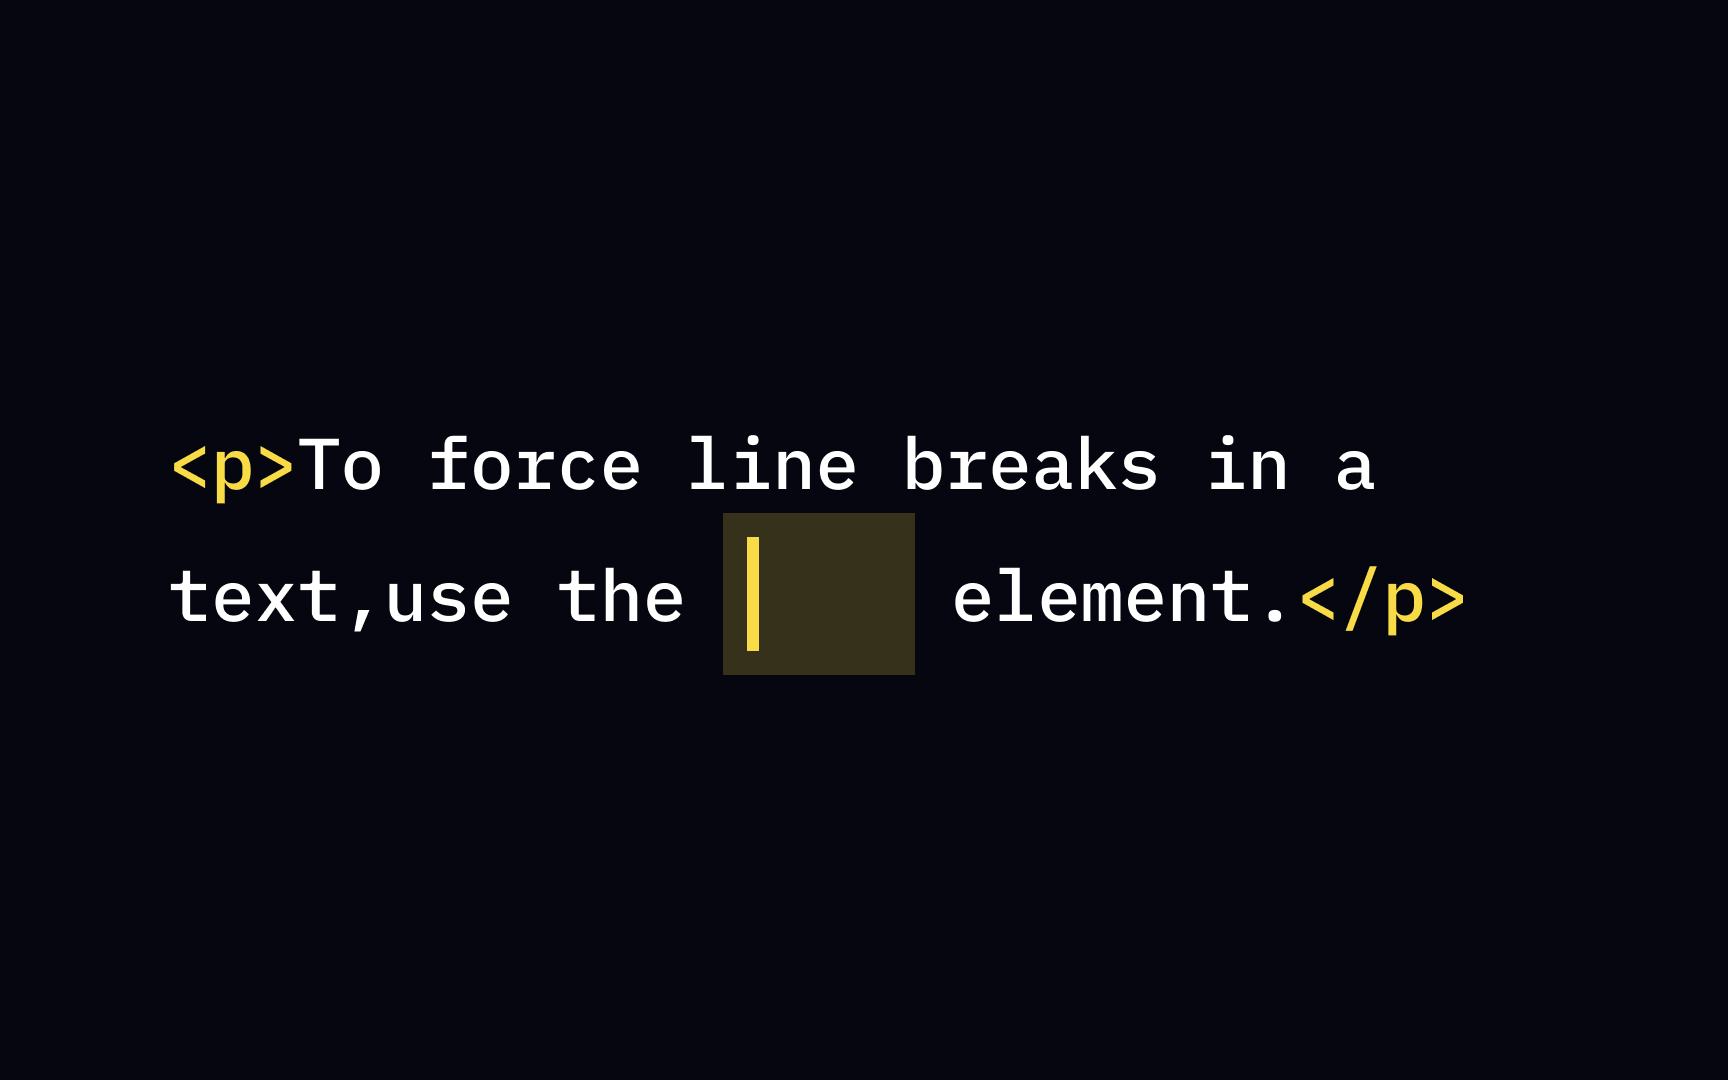
 HTML page doesn't put up with such formatting. The browser will automatically remove any extra spaces and lines, and your page will have an ordinary piece of text, instead of paragraphs or line breaks.

Exercise #9

Display of extra lines

Display of extra lines Bad Practice
Display of extra lines Best Practice

Use the <br> tag if you want to add a line break. That's the only solution! If you manually click on a spacebar or Enter inside the paragraph, you're wasting your time. Browsers remove those extra lines, and your text will cram into one paragraph.

Exercise #10

Adding a thematic break

Adding a thematic break Bad Practice
Adding a thematic break Best Practice

To start a new chapter in a book or a new topic in a term paper, you might need a break, and a paragraph is not enough. The <hr> tag represents a break with a thick line along the x-axis.[4]The good news is that you don't need to worry about closing it. <hr> is an empty tag, which means it doesn't require an end tag.

Exercise #11

Adding line breaks

Adding line breaks

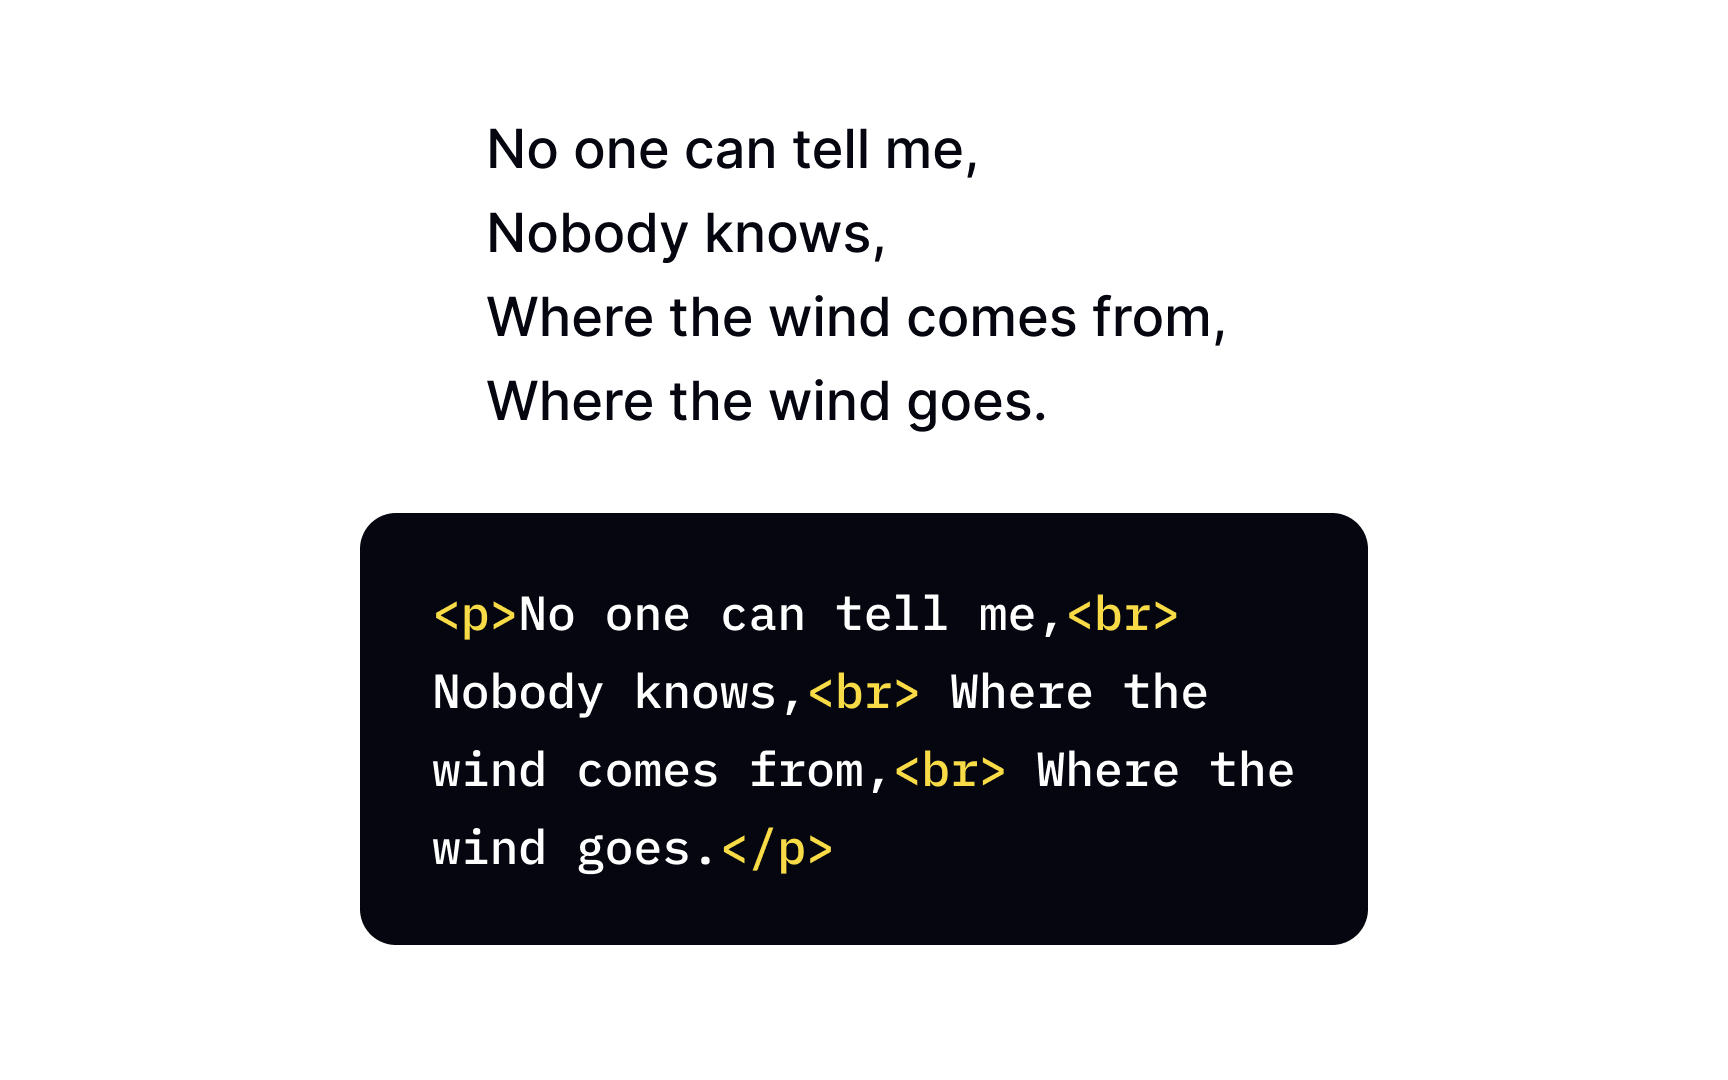
The <br> element introduces the line break. This means that without this tag, your paragraph will retain its behavior and display text on a single line. The most common uses of this tag are seen in written poems and addresses. Keep in mind that the <br> tag is an empty one, so you don't have to worry if you closed it. It's also an inline element that isn't as greedy as block-level elements, so it only takes up as much width as necessary.

Exercise #12

Defining pre-formatted text

Defining pre-formatted text

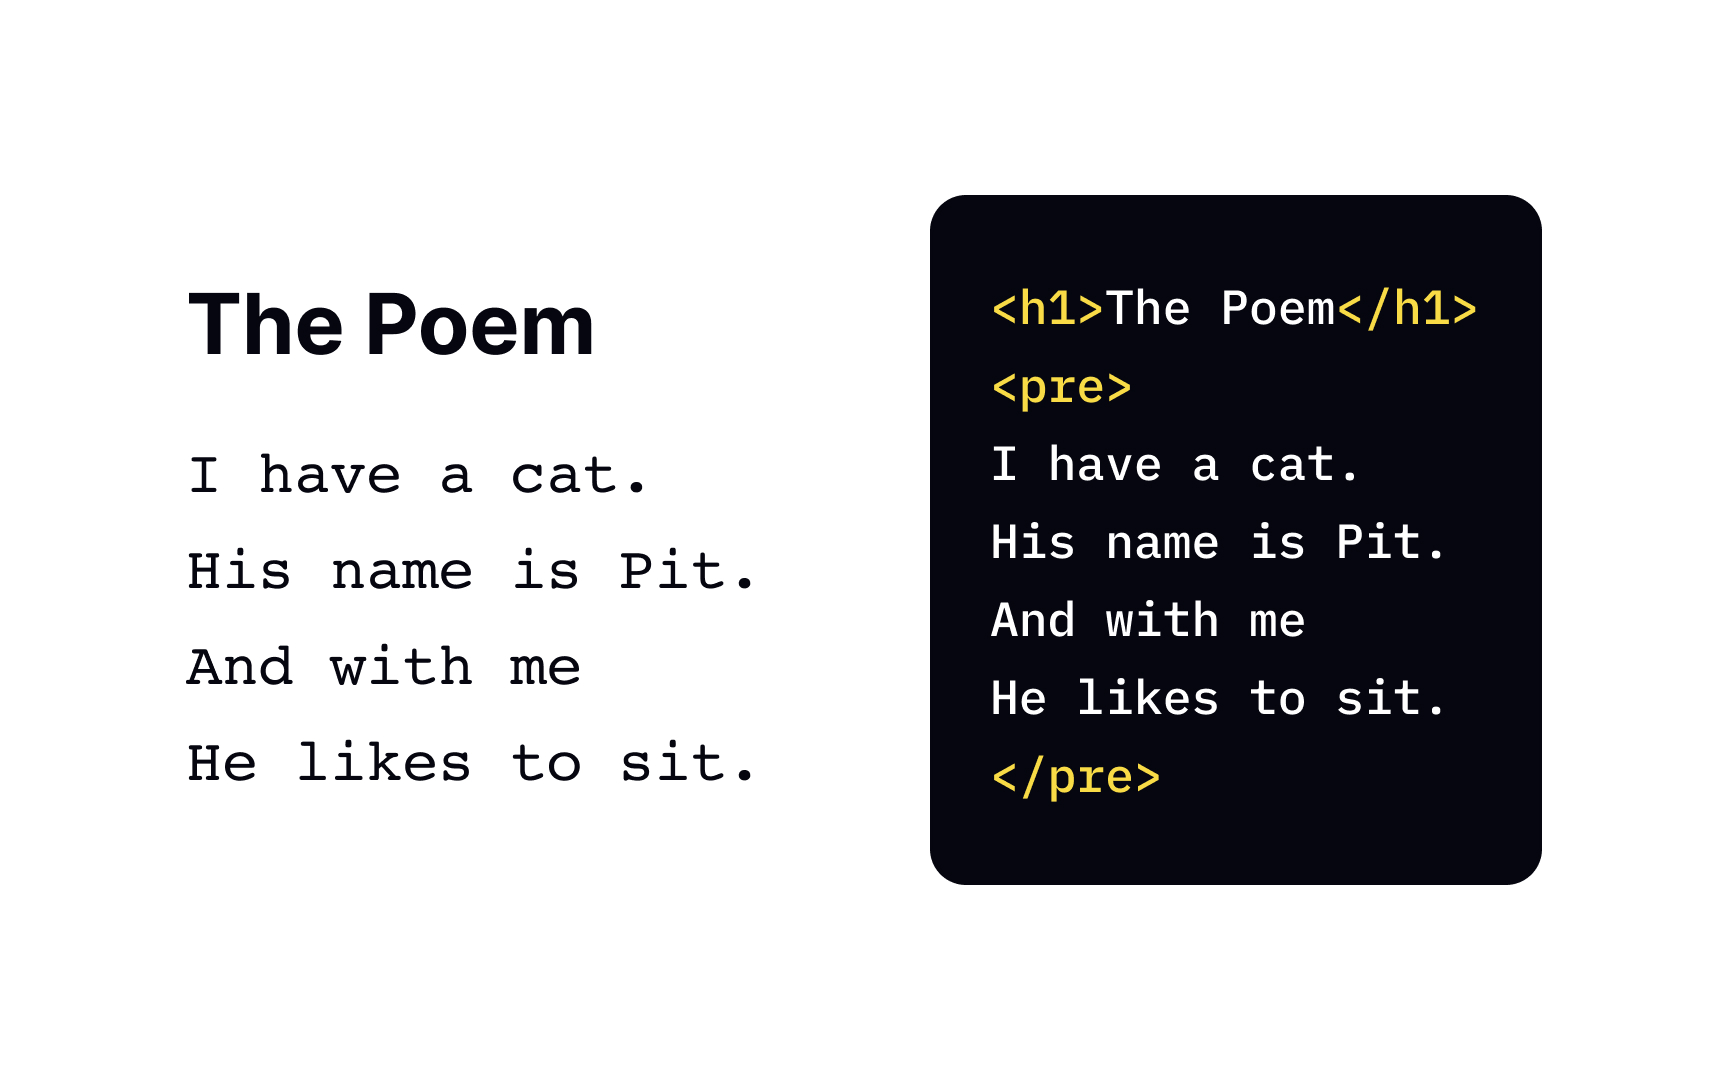
Remember, when we told you that browsers have no remorse for extra spaces and lines and display the content in a single paragraph? Well, the <pre> (pref-formatted) element finds a way around this rule and allows developers to keep preformatted text and present it exactly as written in the
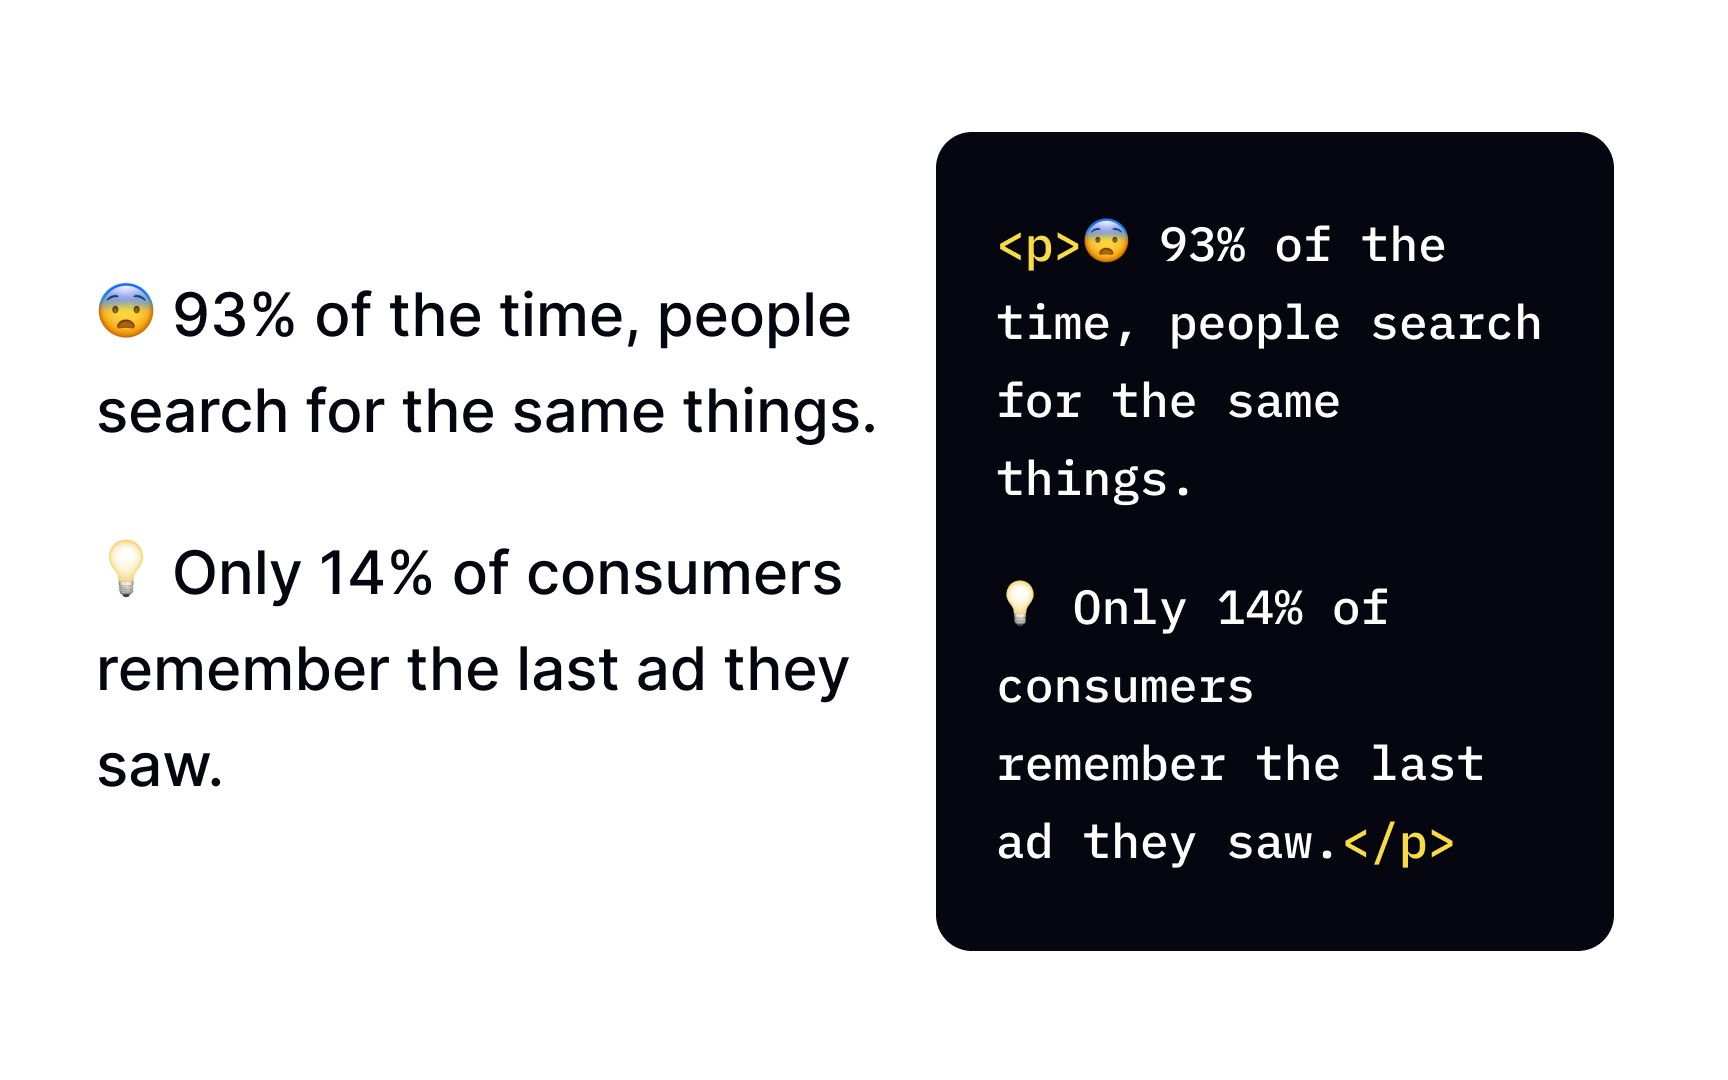
 HTML file with all white spaces. One thing to remember is that text uses a fixed-width font or monospace, like Courier. It's also a container element, so you should use both start and end tags.

Exercise #13

Adding paragraphs

Adding paragraphs

The HTML <p> element represents paragraphs that are usually adjacent blocks of text but also can be any piece of related content, like images or forms. Because it's a block-level element, browsers display the <p> tag with a new line, both before and after the element. The <p> tag usually requires closing, but paragraphs are block-level elements, and will automatically close if another block-level element follows before the closing </p> tag.

Exercise #14

Adding horizontal rules

Adding horizontal rules

Let's say you have a dramatic change of scene in a story or a topic shift within a final paper section. Which HTML element can help you add a visual break? Applying white space may not be enough, and the <hr> tag comes in handy here. It adds a horizontal line that is left-aligned by default. This tag is empty and doesn't require closing.

Exercise #15

Adding line breaks

Adding line breaks

The <br> tag is useful where the division of lines is significant, like in poems or addresses. You have to ensure that you place it at each point where you want the text to break. The text after the <br> starts from a new line, and you don't have to worry about closing the tag — it's an empty one.[5]

Exercise #16

Preserve all spaces and line breaks

Preserve all spaces and line breaks

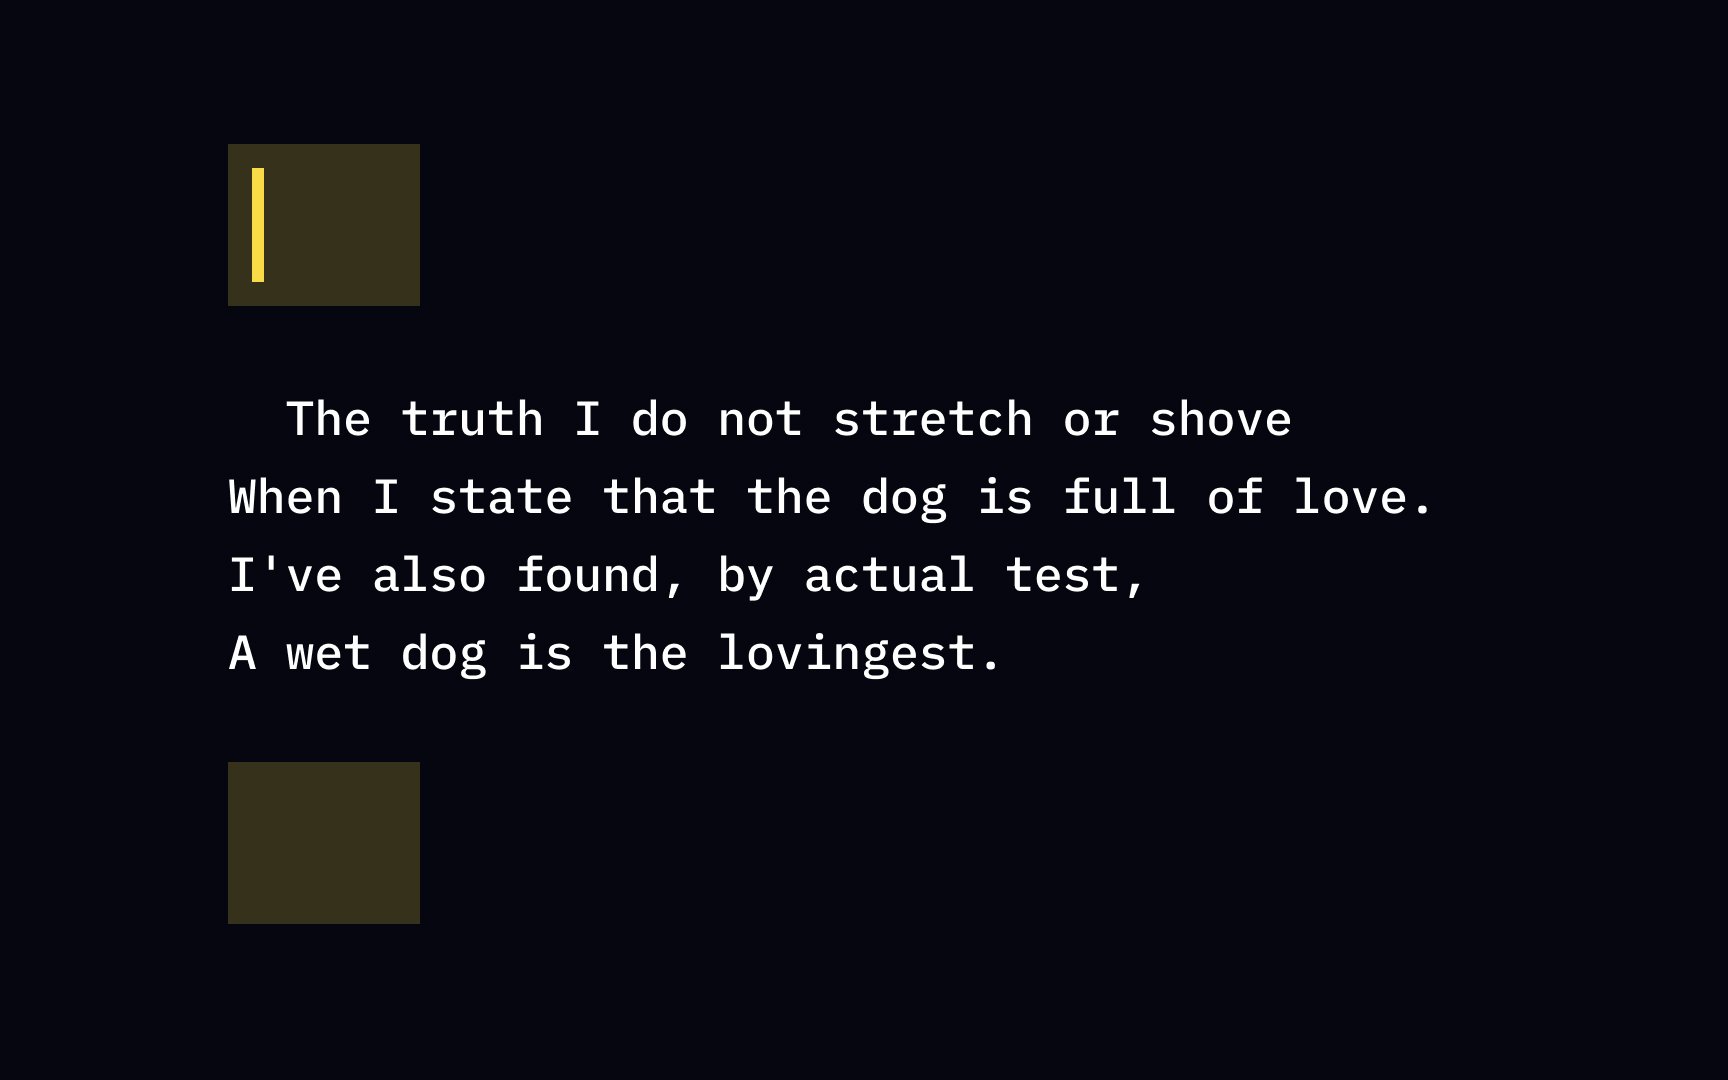
The <pre> element defines preformatted text and allows you to present text with a typewriter effect. As you can see from the example, it keeps all extra spaces and lines and uses monospaced font. This element allows you to use the<pre> tag to present poetry, create ASCII art, or show code structure. Keep in mind that both start <pre> and end </pre> tags are mandatory.

Complete this lesson and move one step closer to your course certificate