Basics of HTML Attributes
Uncover the basics of HTML attributes, the additional properties that can be applied to HTML elements to enhance their functionality and appearance
HTML attributes play a crucial role in shaping the behavior and appearance of elements on a web page. They are like special instructions added inside the start tag of an HTML element, enabling you to configure and customize your design.
By using attributes, you gain the power to fine-tune the visual aspects of your elements, adjusting their behavior to align with your desired outcome. Whether it's defining the color, size, or positioning of an element, attributes allow you to exert precise control over the presentation of your web page.
Understanding and utilizing attributes effectively will enable you to craft web pages that not only meet your aesthetic preferences but also provide an intuitive and engaging experience for your users.

All
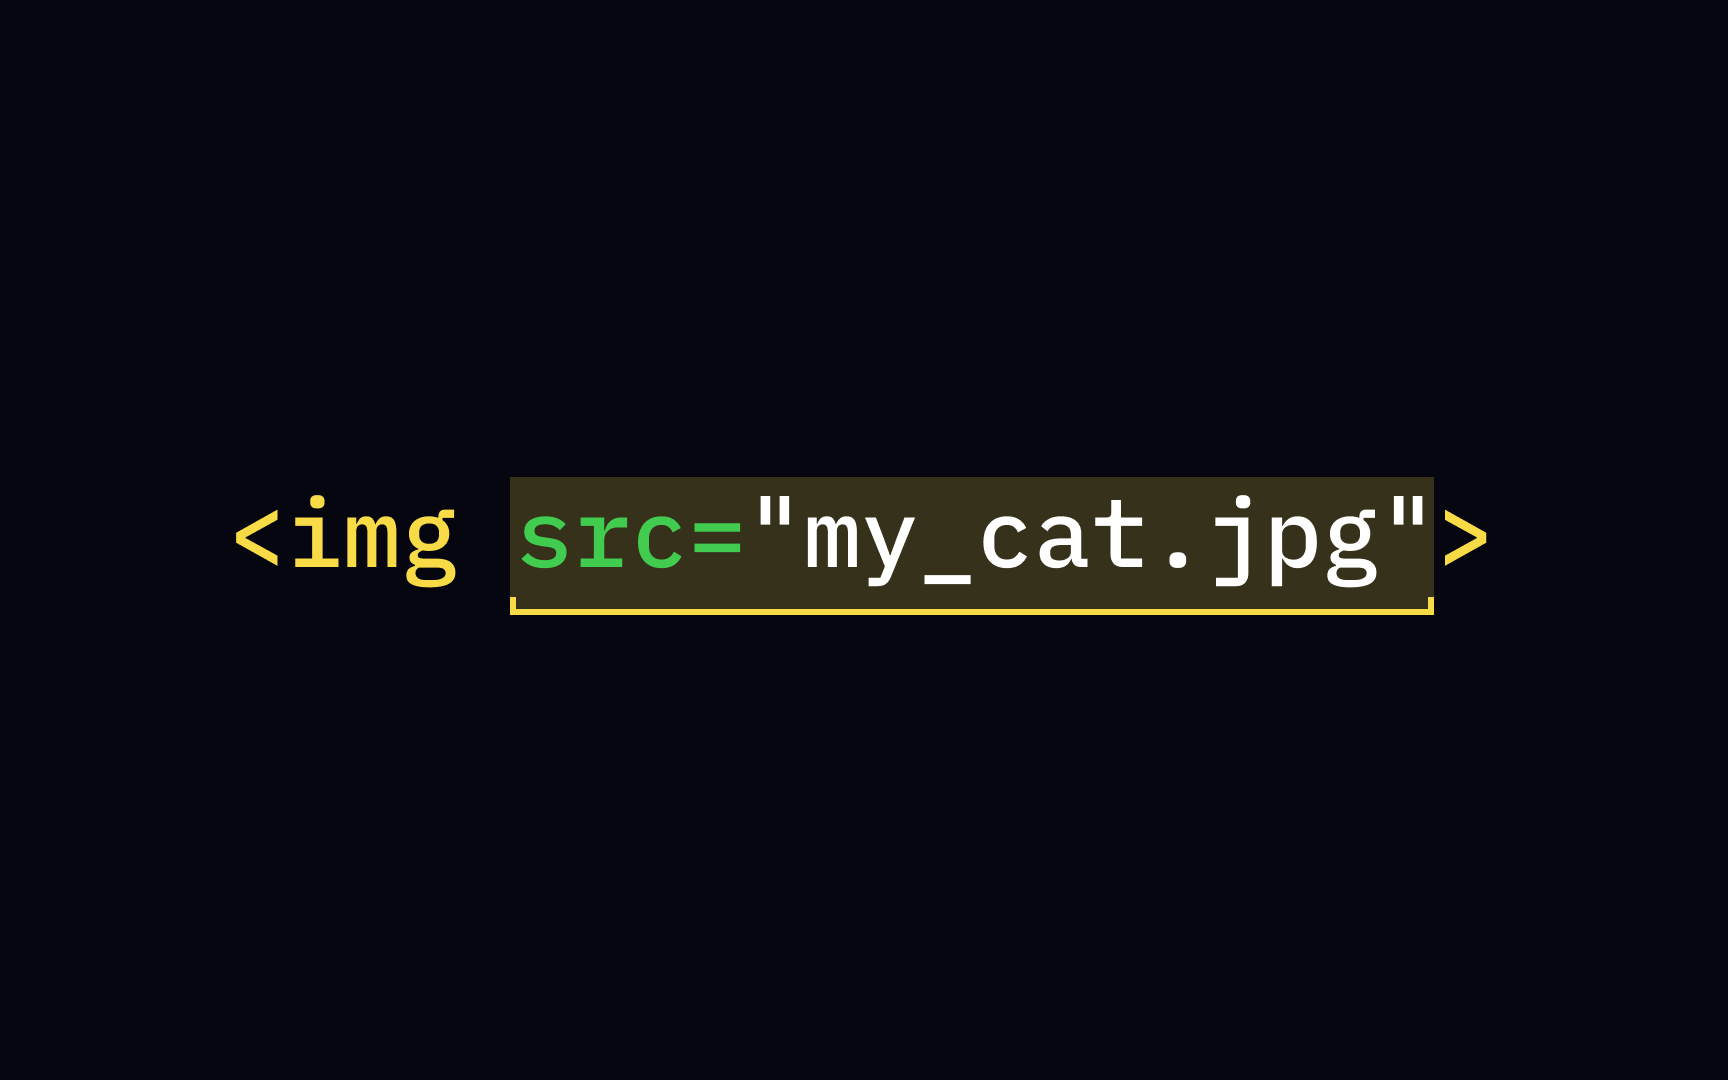
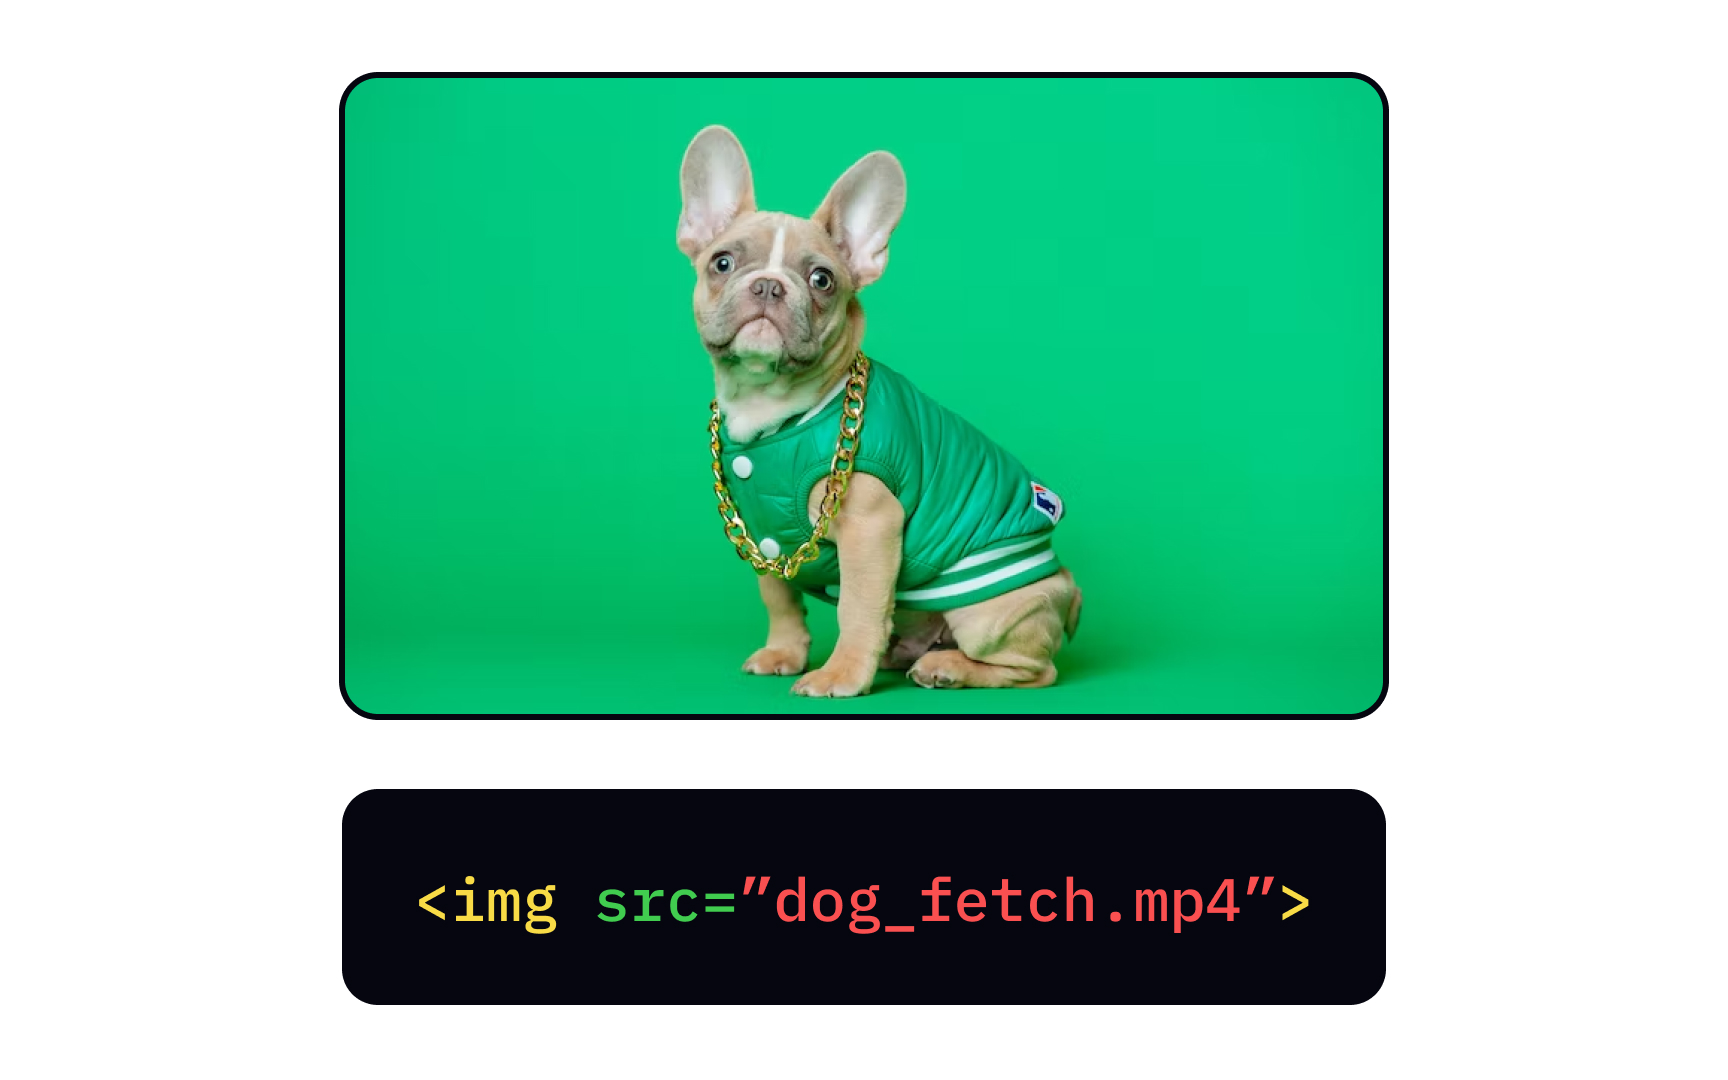
The <img> tag is one of the examples of HTML src attribute that specifies the picture's path. It's a required attribute because, without it, the browser won't be able to display the image.
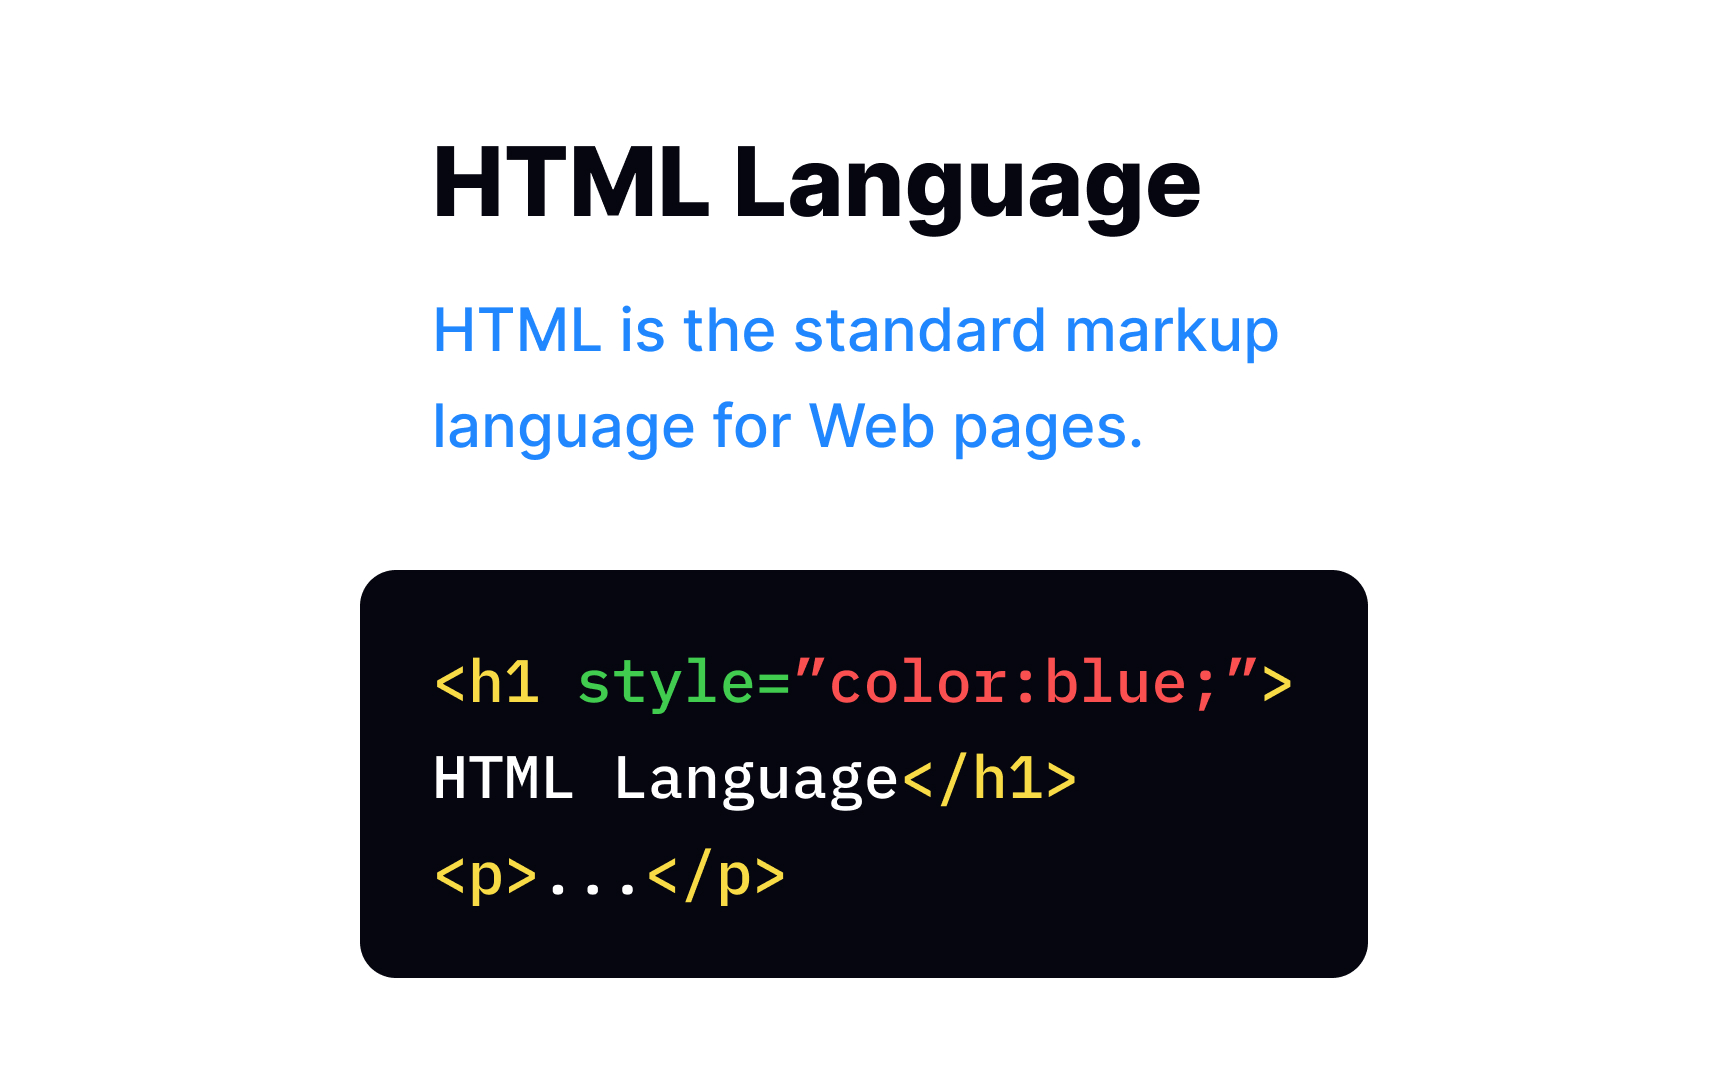
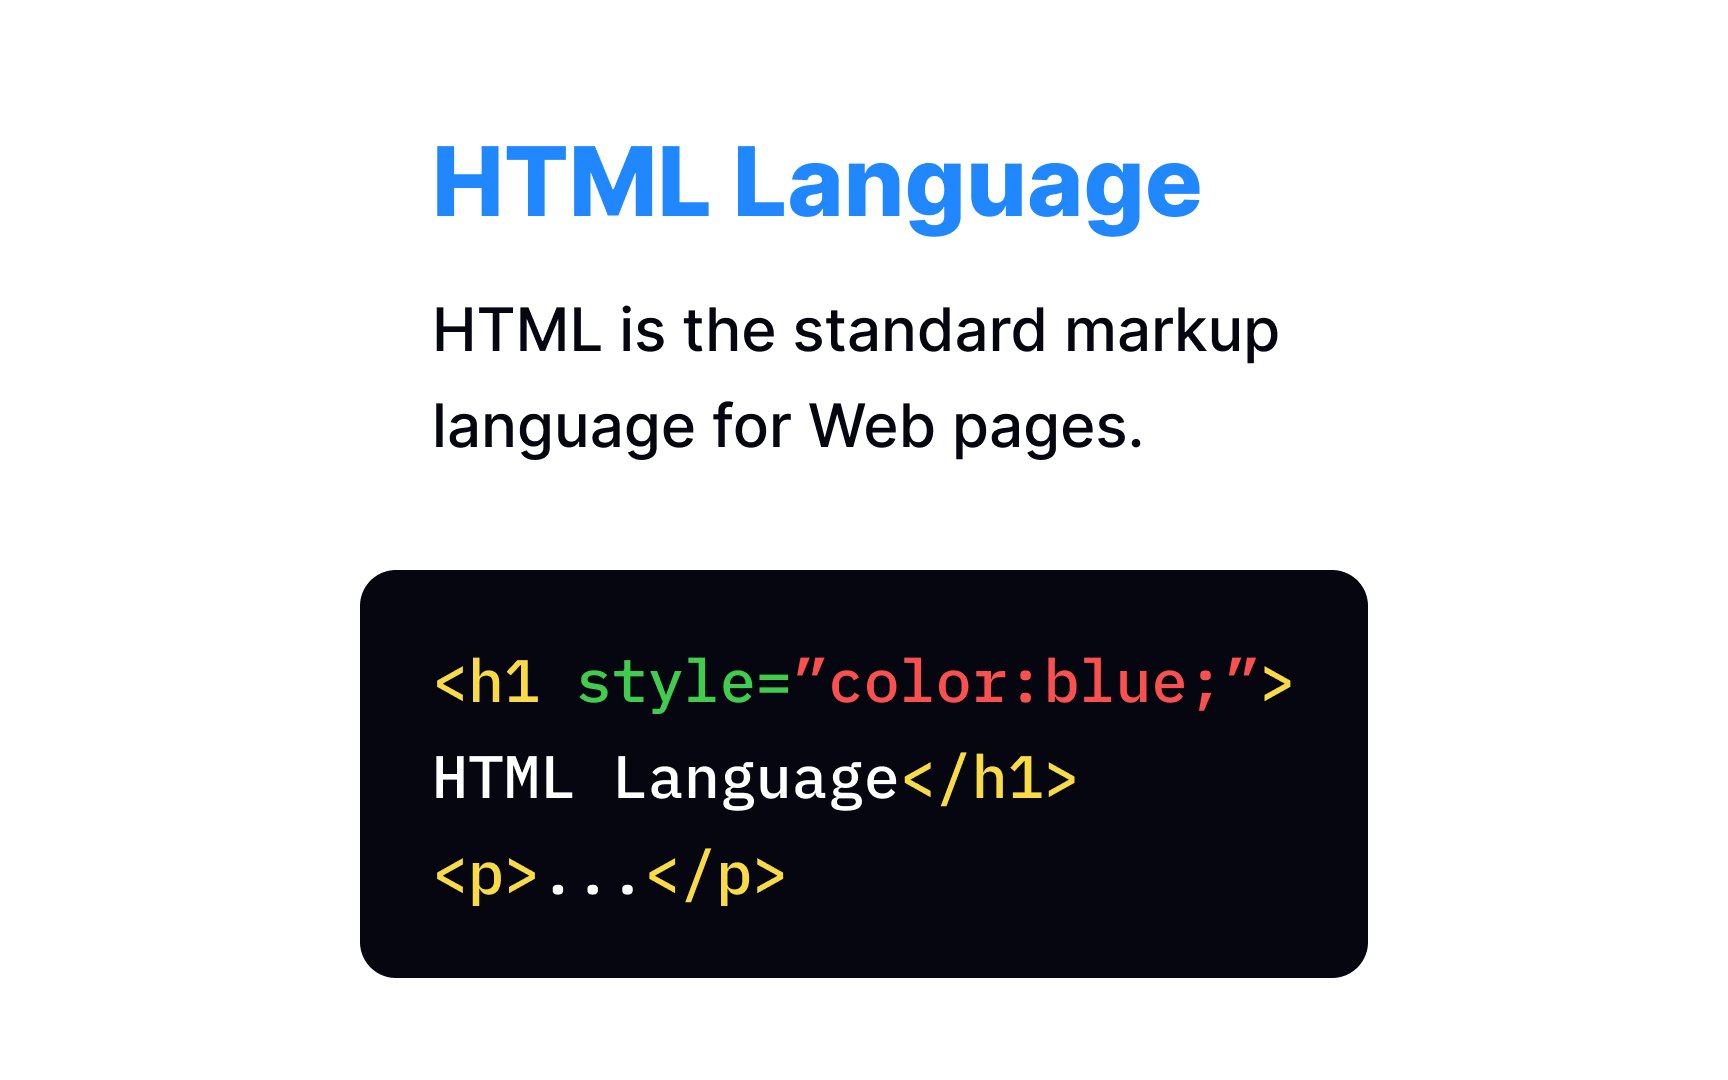
On the other hand, style is an optional attribute. For example, by default, the body text is black. But if you add a style="color:red;" to the paragraph tag <p>, the text
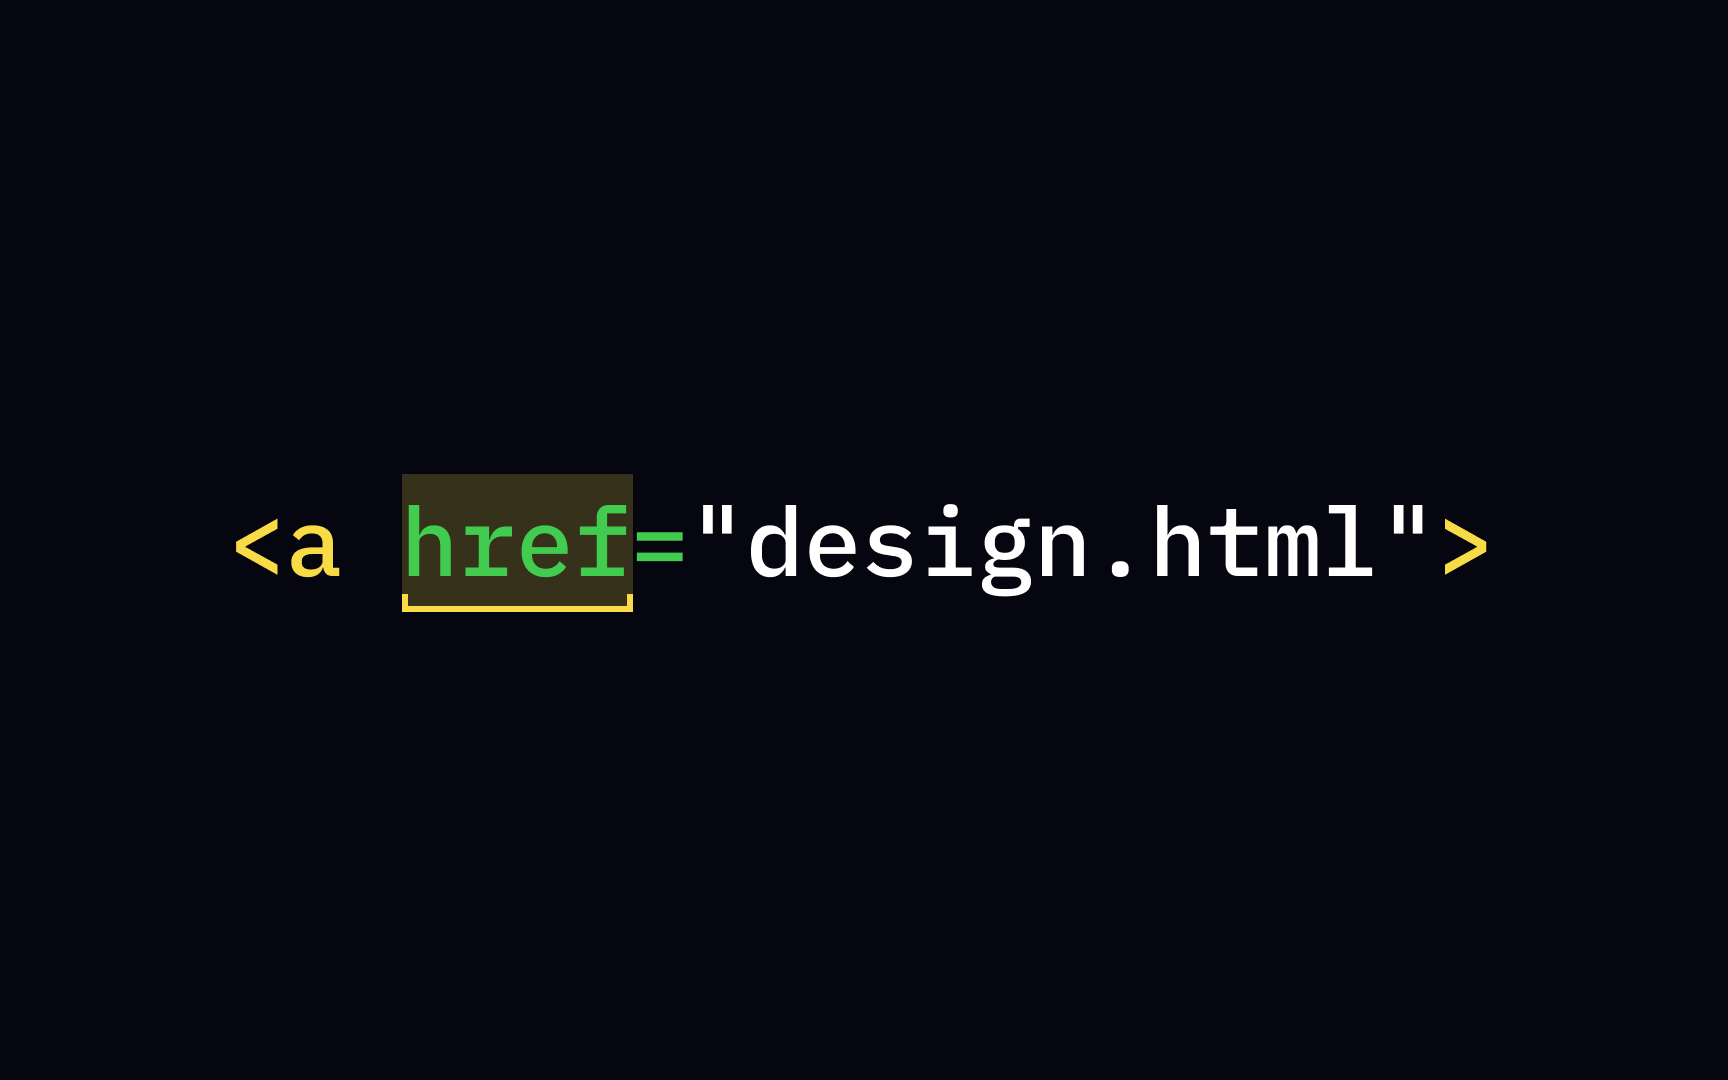
An attribute consists of two parts: a name and a value, separated by the equals sign (=).
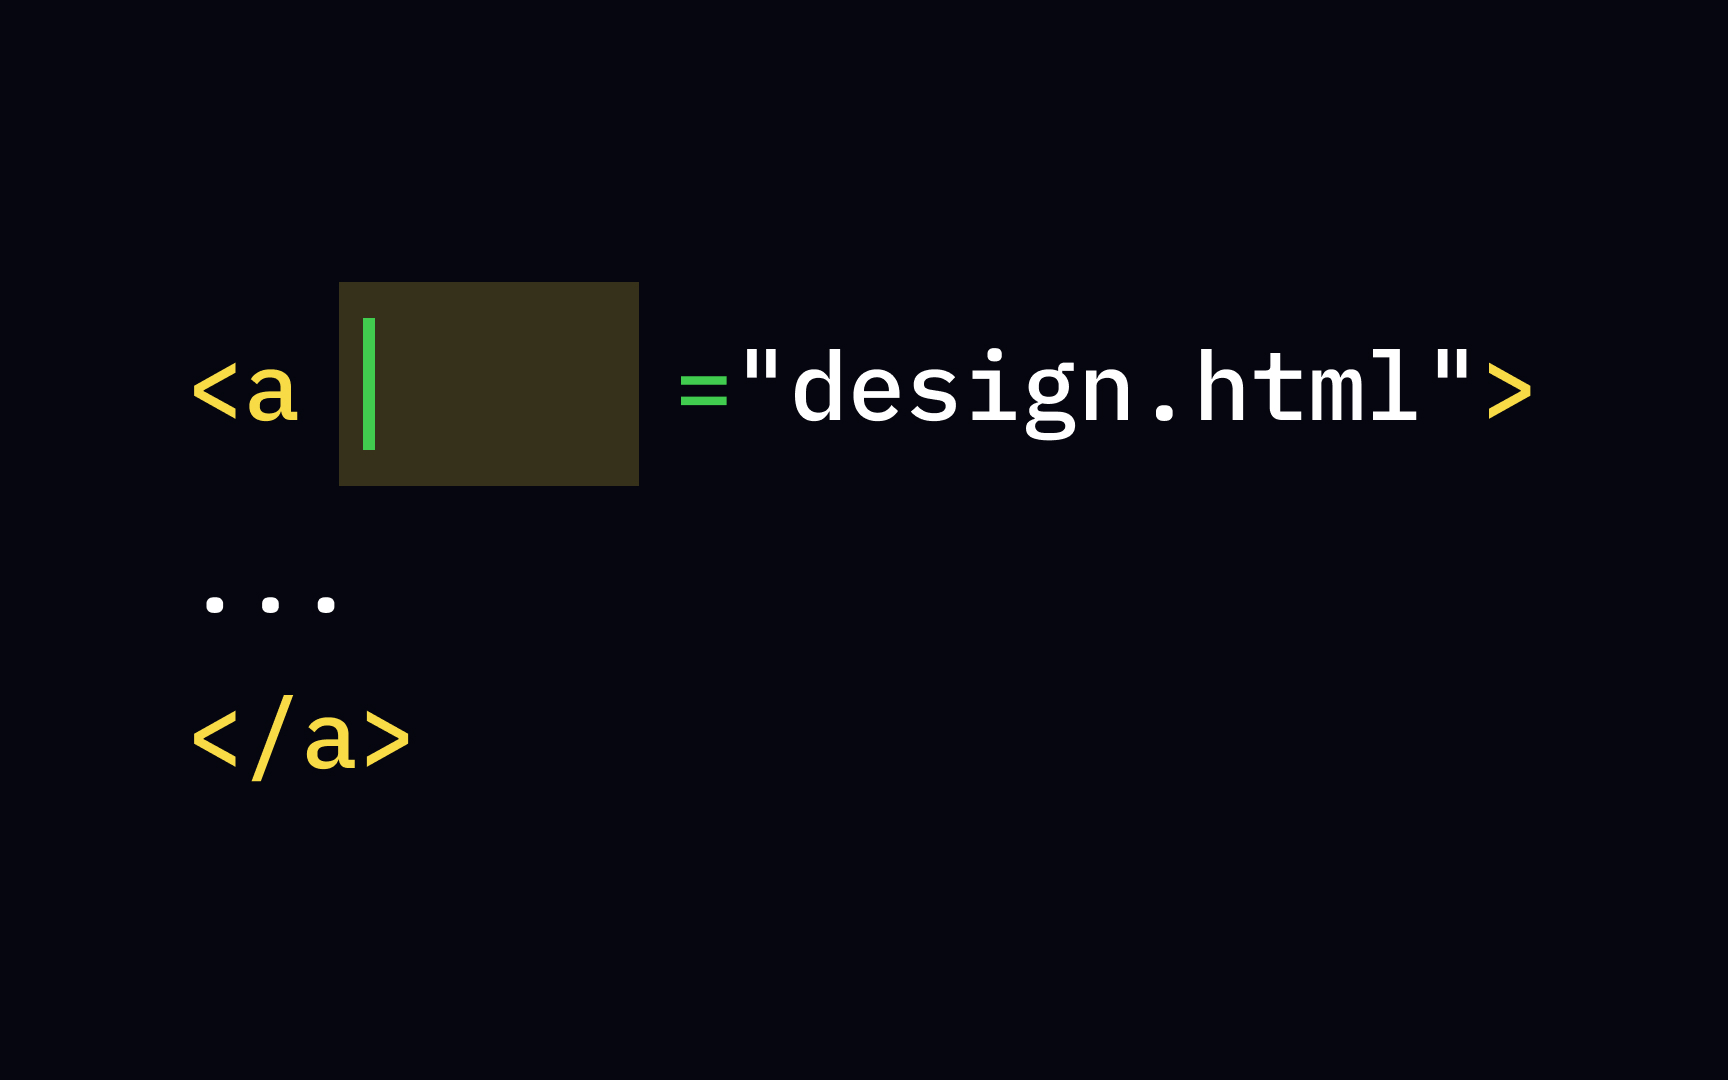
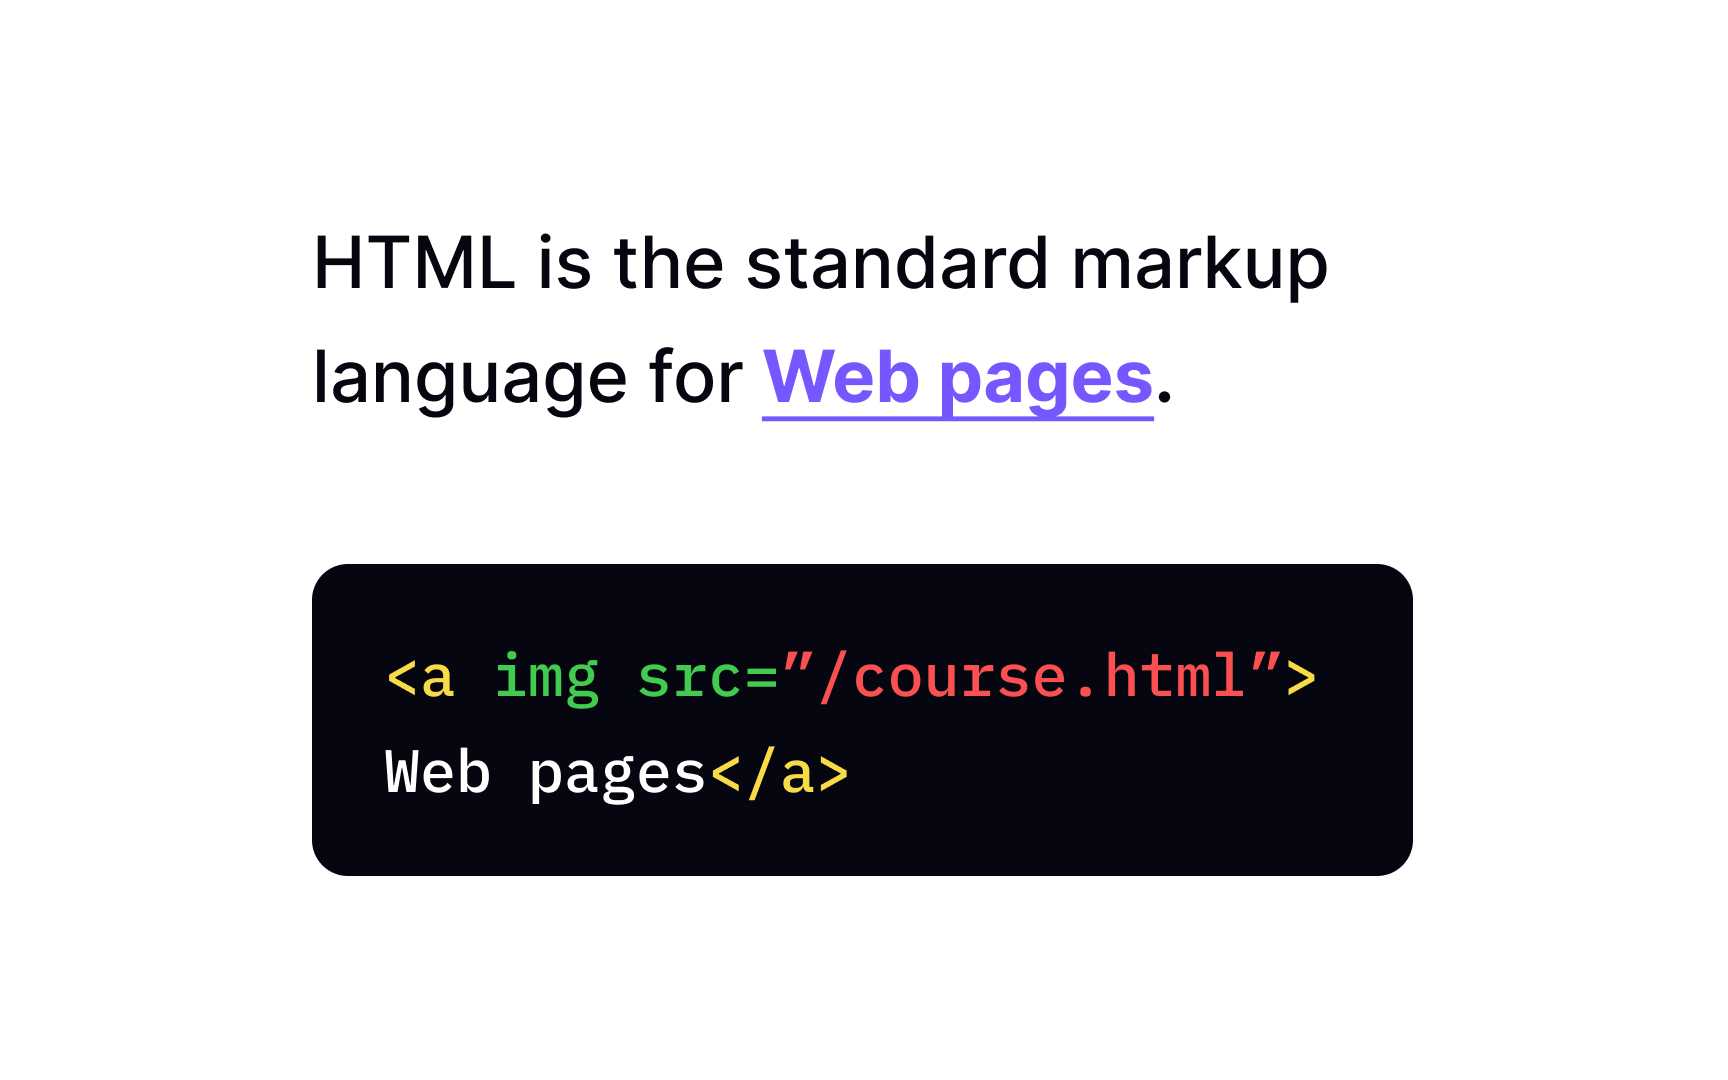
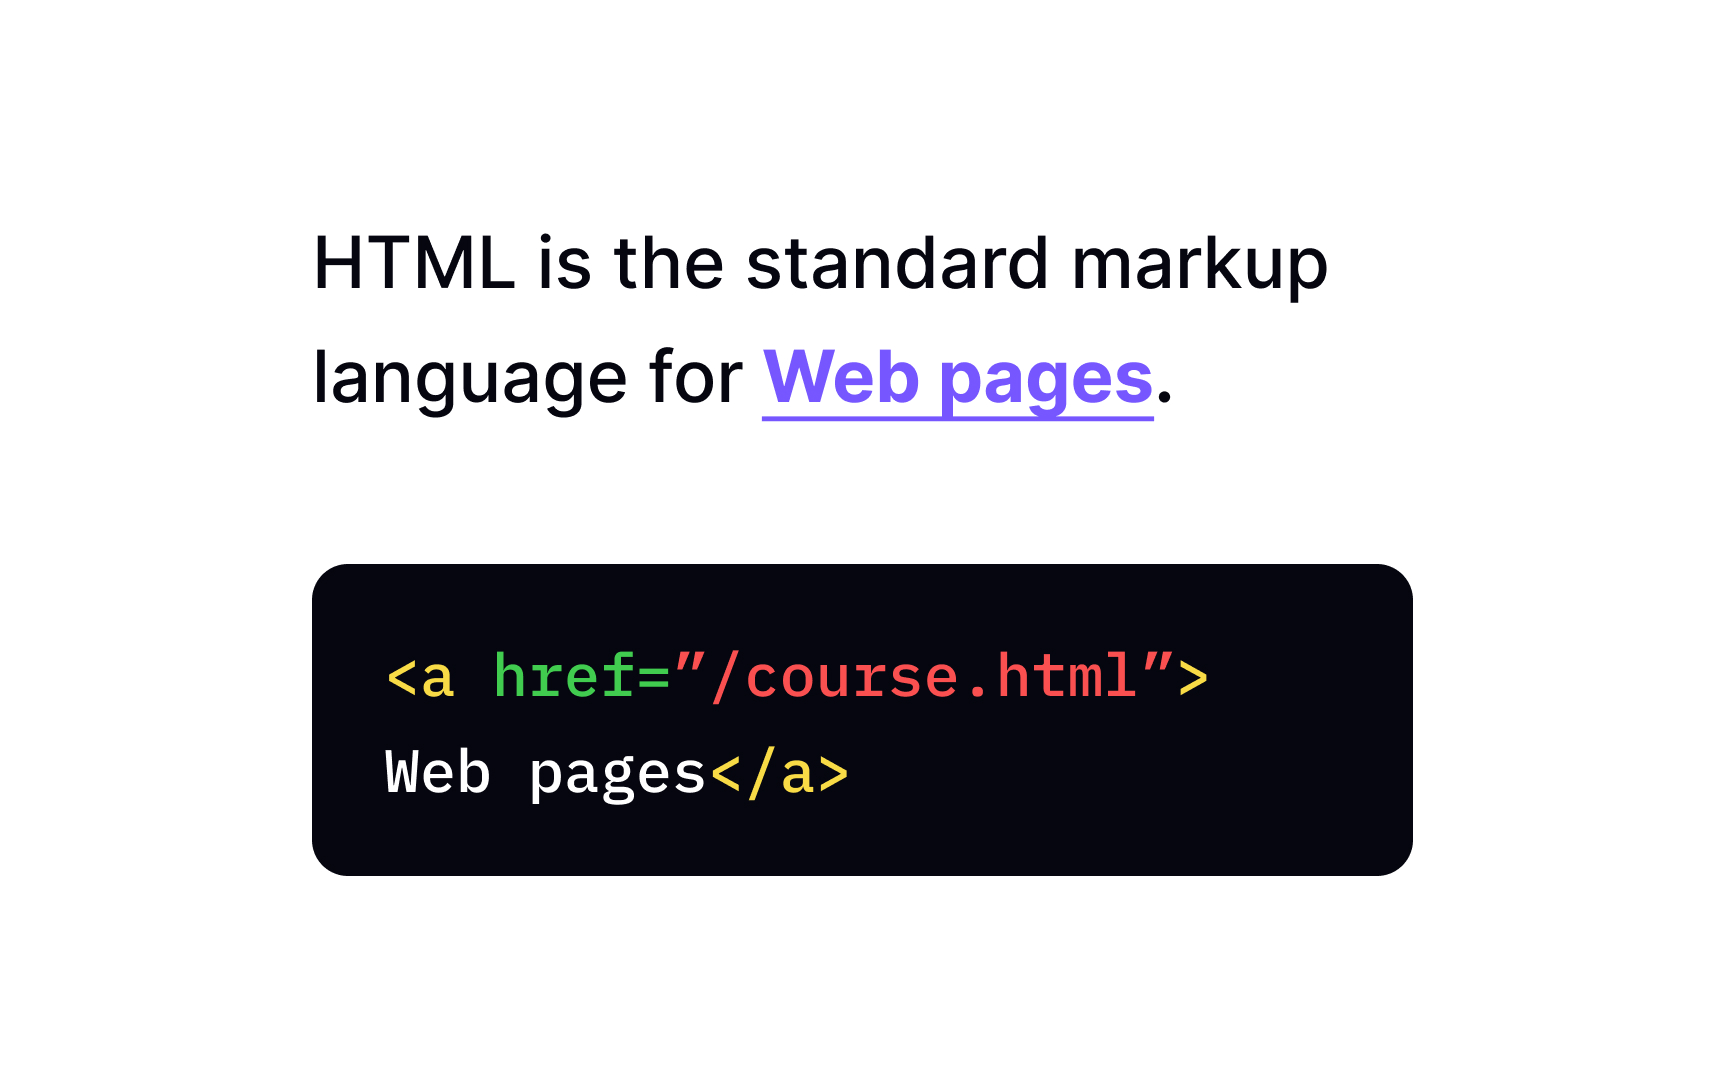
The name is the first part that tells us what kind of modifier it is. For example, the link <a> has an attribute href that indicates the URL of a href stands for hypertext reference, and it tells the browser that there is a hypertext link coming.
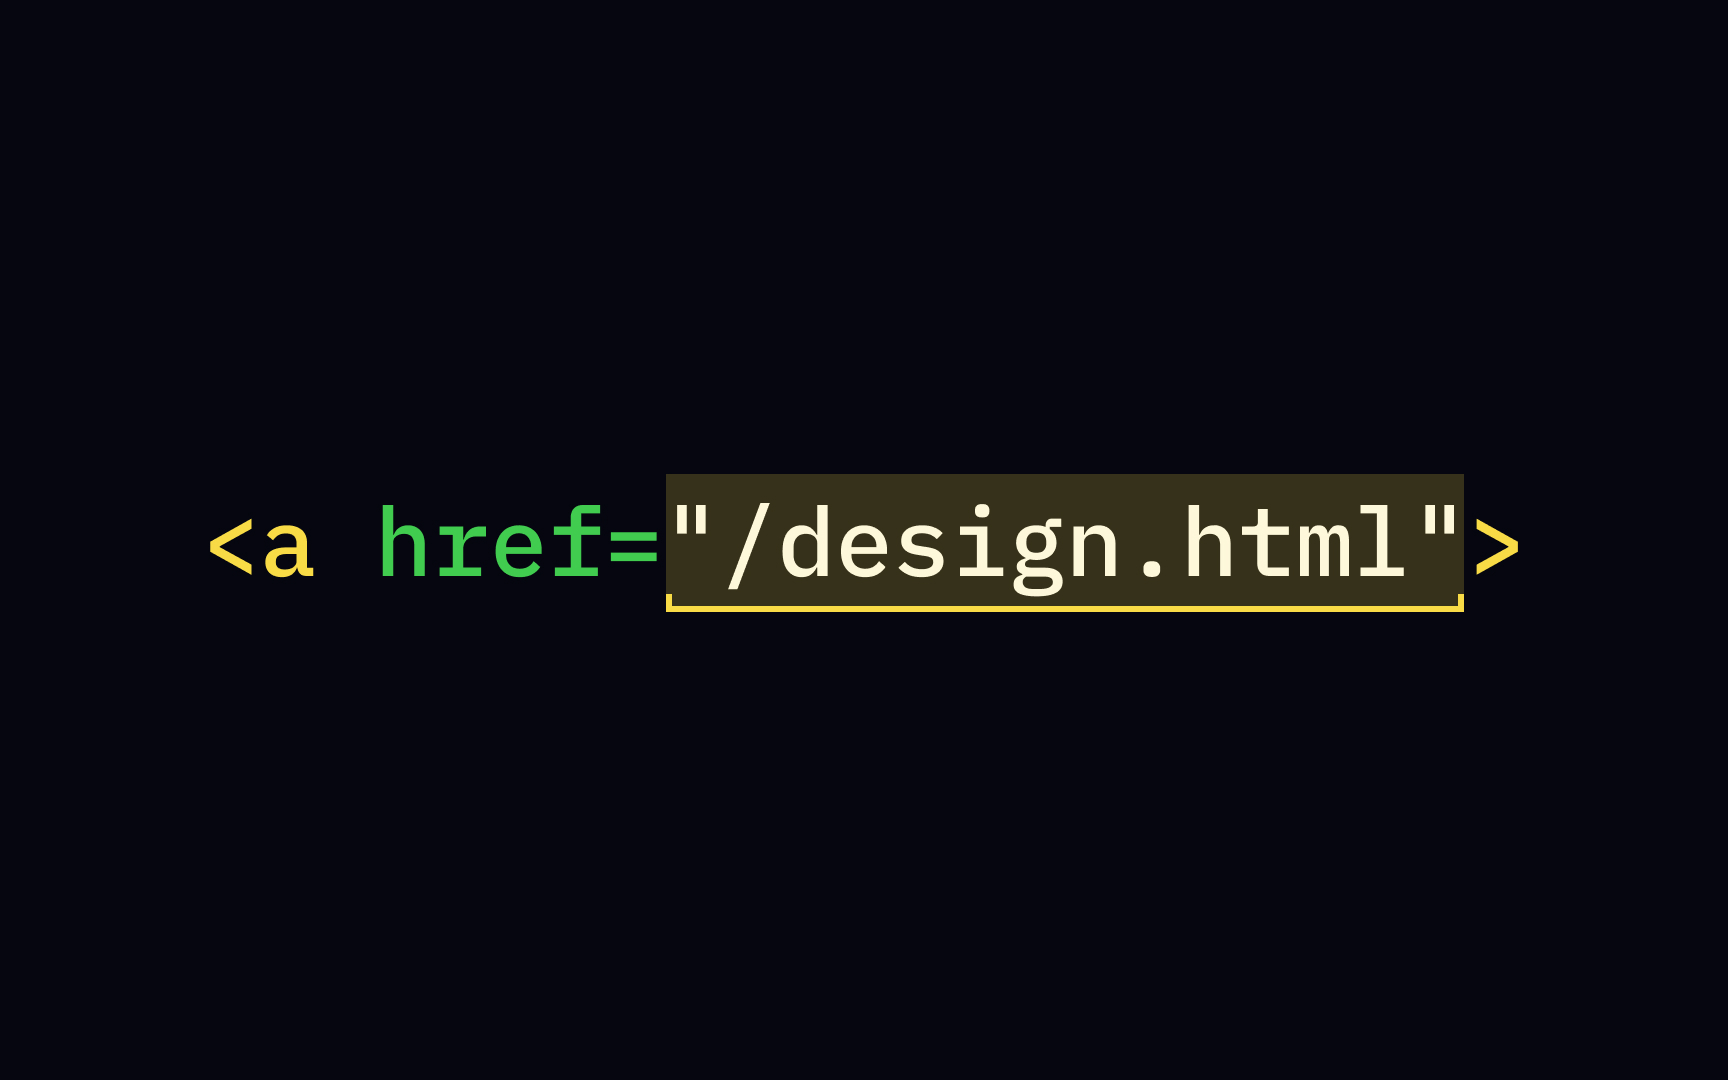
The attribute value is the second part of the attribute that comes after the equals symbol and is enclosed within quotation marks. The value tells you what exactly the attribute is going to do — in the example href="design.html", the value of the attribute href is "design.html", and this is also the URL of the
You might notice that the
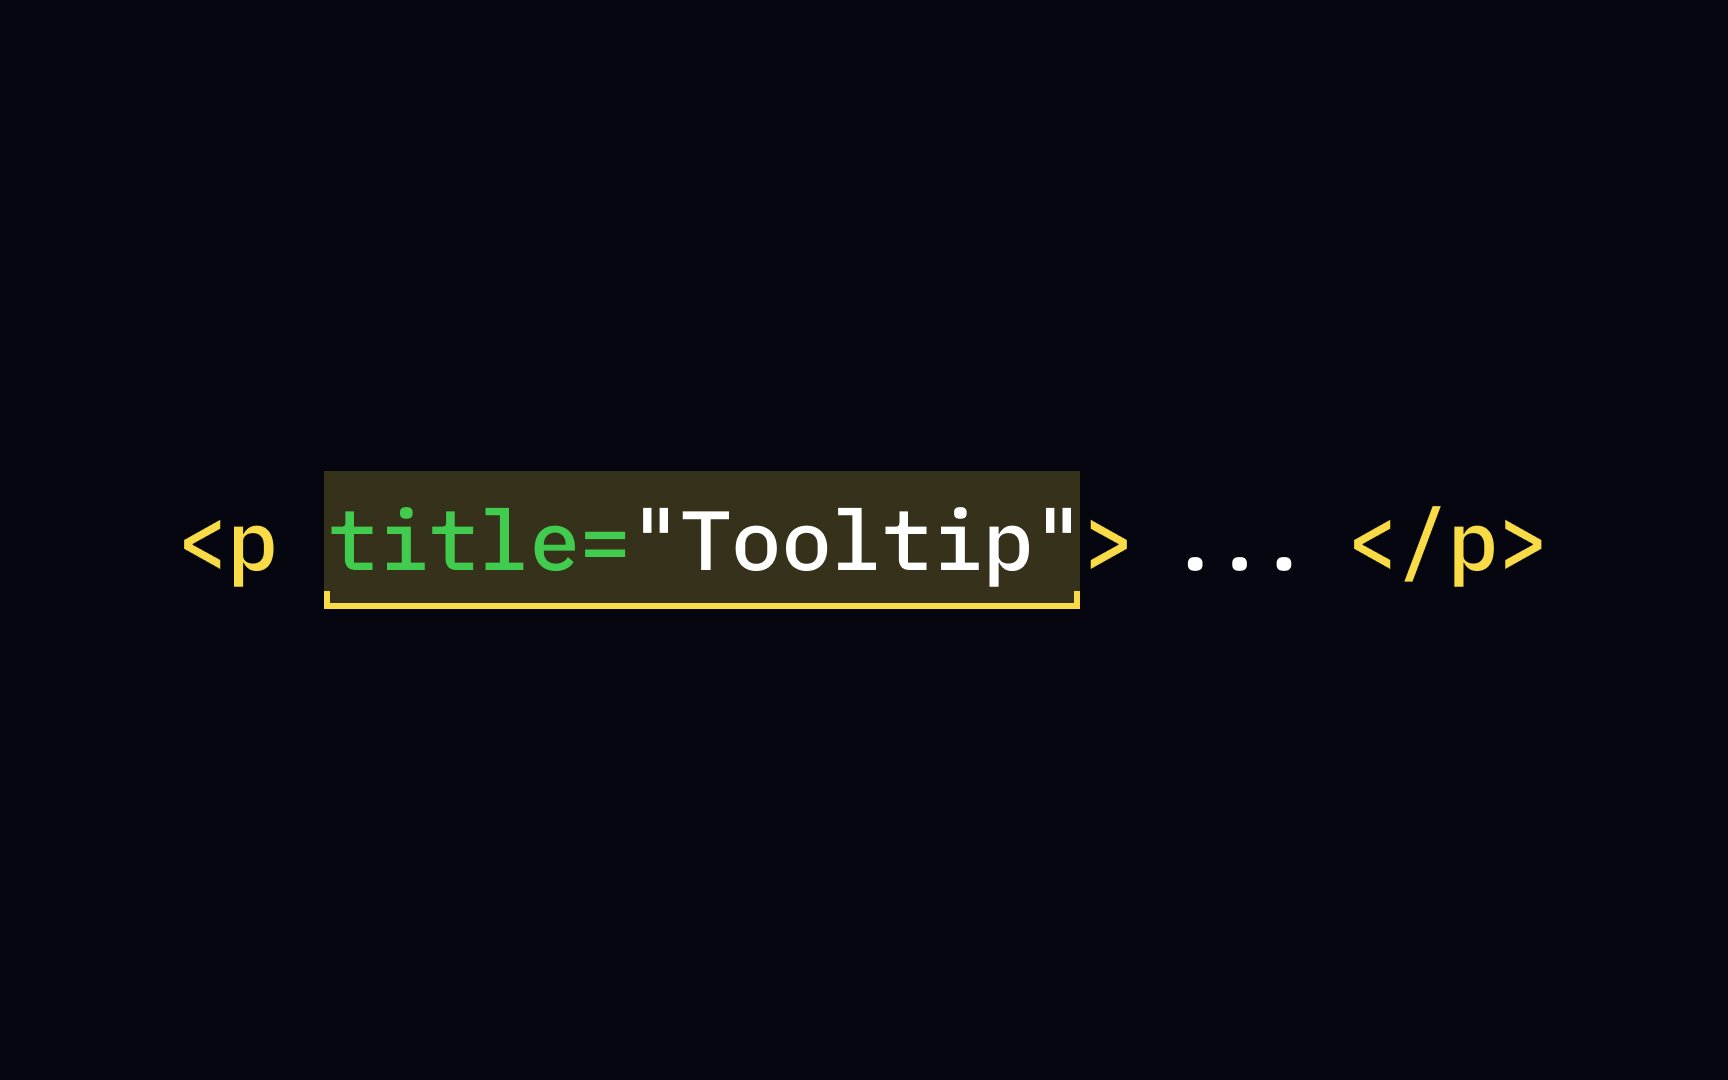
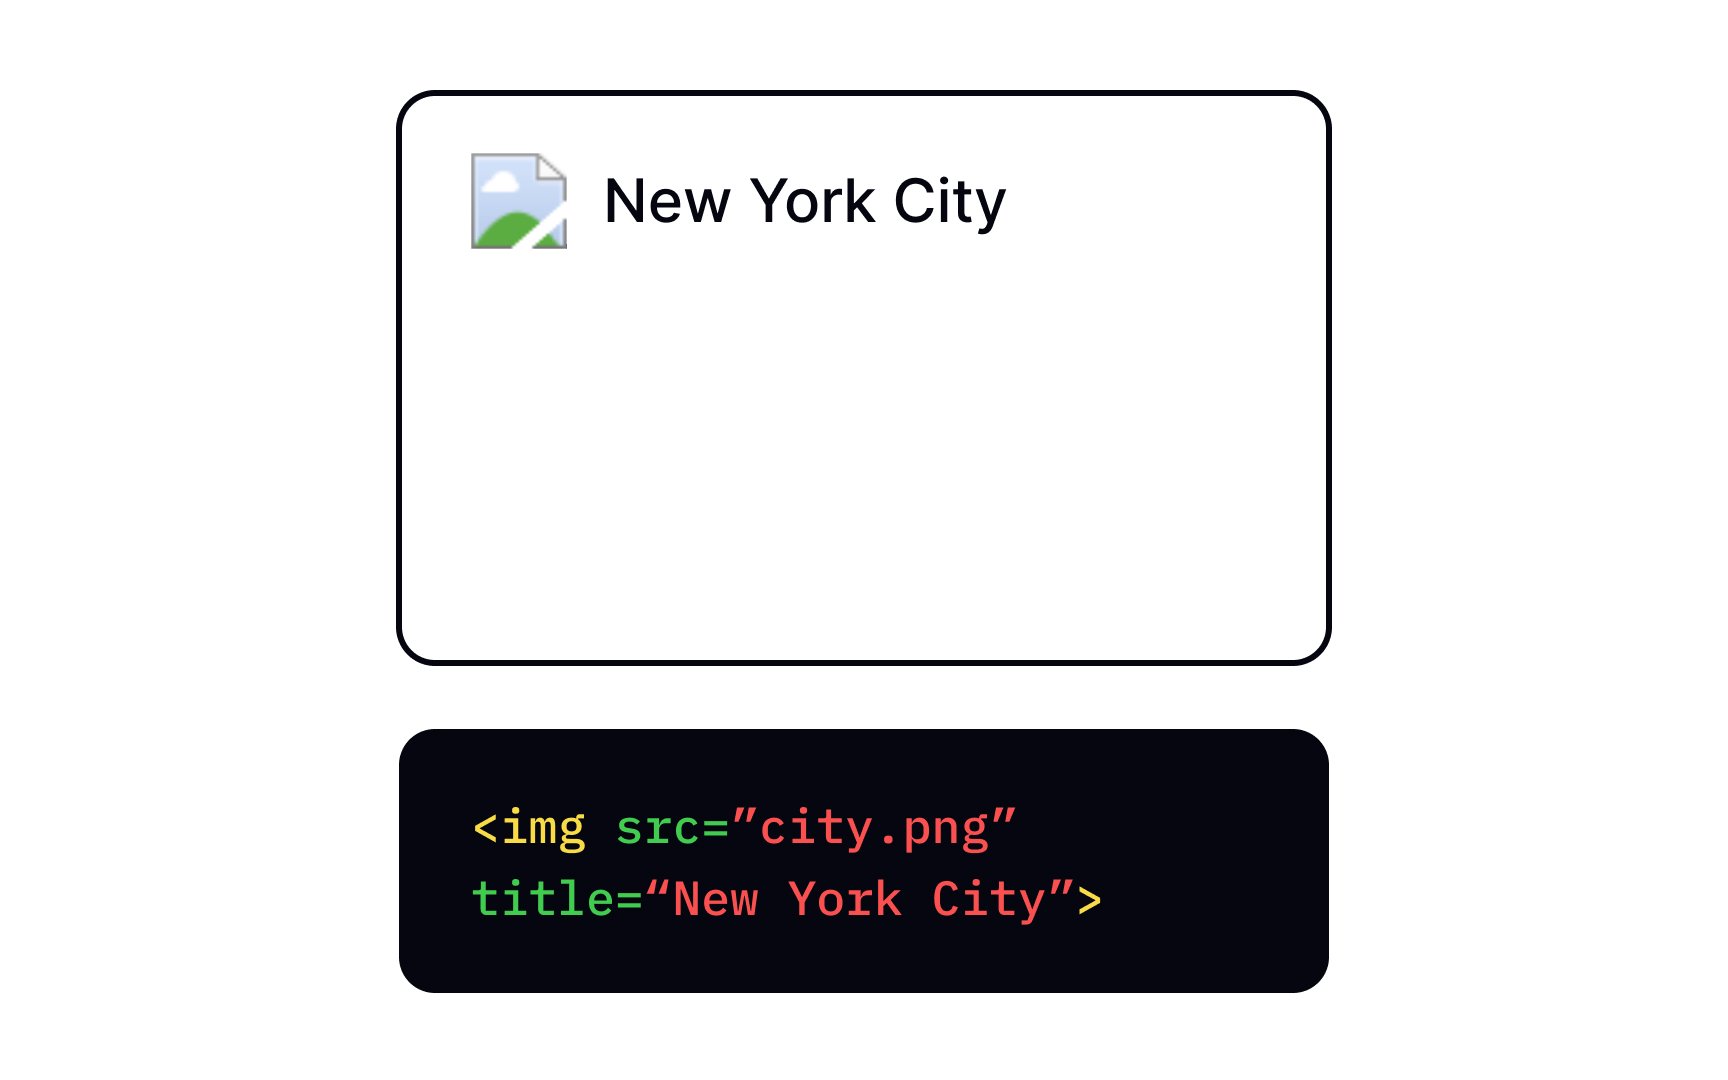
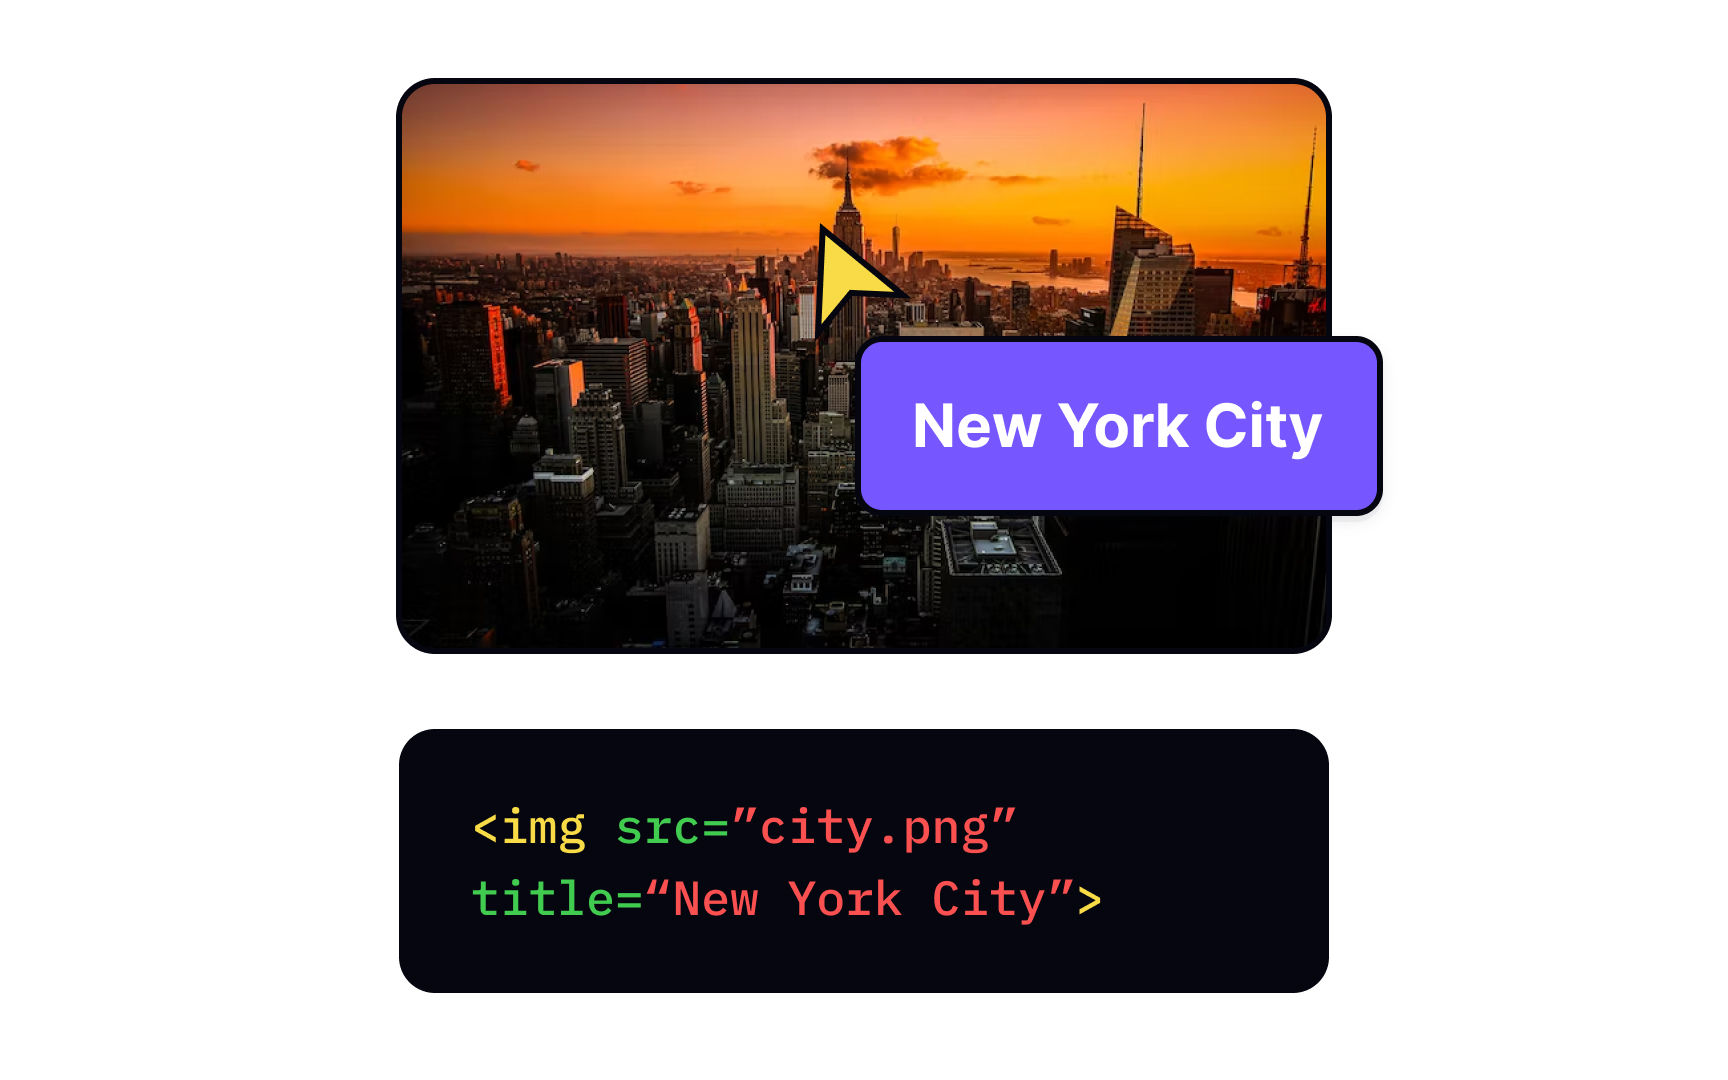
The title attribute adds tooltips.[1] You can add this attribute to many different elements: text, headings,
When you hover a mouse over an element with a title attribute, you'll see the text pop up as a tooltip. Although not necessary, this allows adding some extra information if needed.

As you probably know, <a> defines a href (hypertext reference) attribute to specify where it leads.
There are two types of links you can use: local and external. Local links lead to
External links lead to external websites like google.com, and they require what we call absolute URLs — full web addresses with https://www.
Can the Internet exist without cat pictures? That's how it was in its early dark textual days, but now it's challenging to imagine a webpage without
The <img> that allows us to insert — usually referred to as "embed" — images within a src (an abbreviation for "source"). It specifies the path to the image displayed. Like
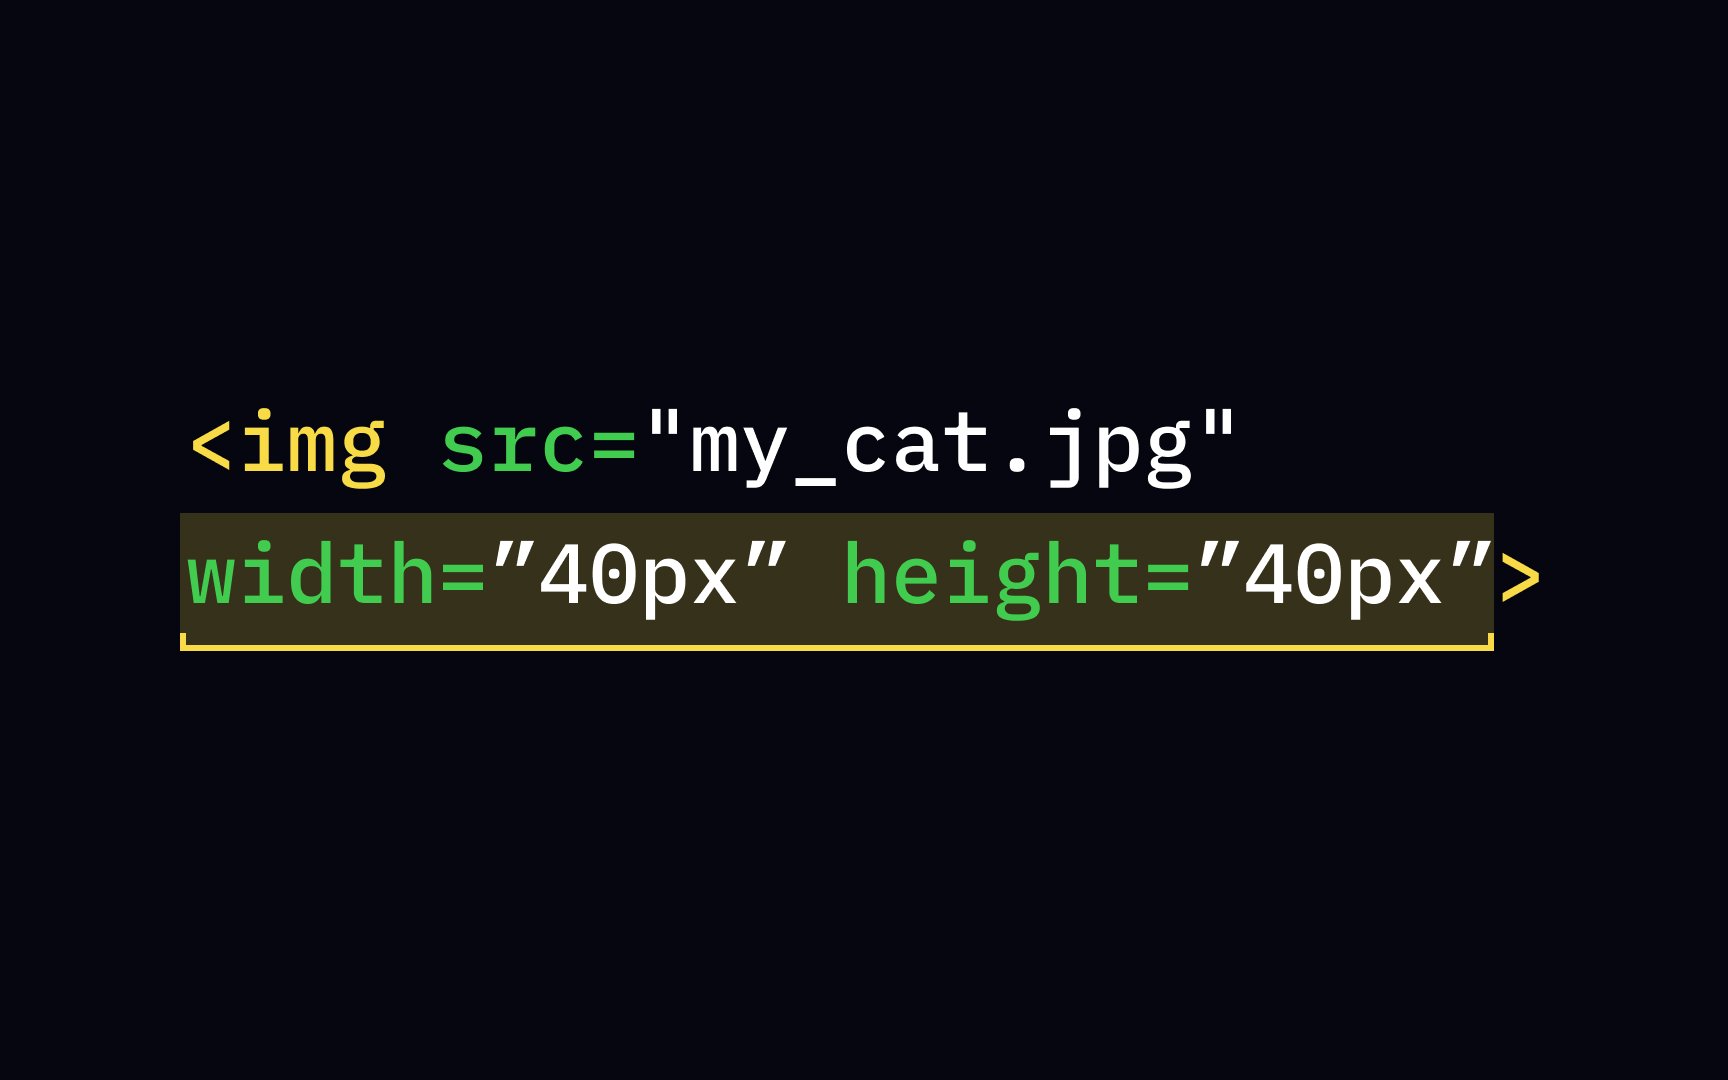
The height and width attributes tell the browser the exact size of the
The browser first loads the text and then the image files. If the browser knows the dimensions of the image, it can set the space size aside while laying out the
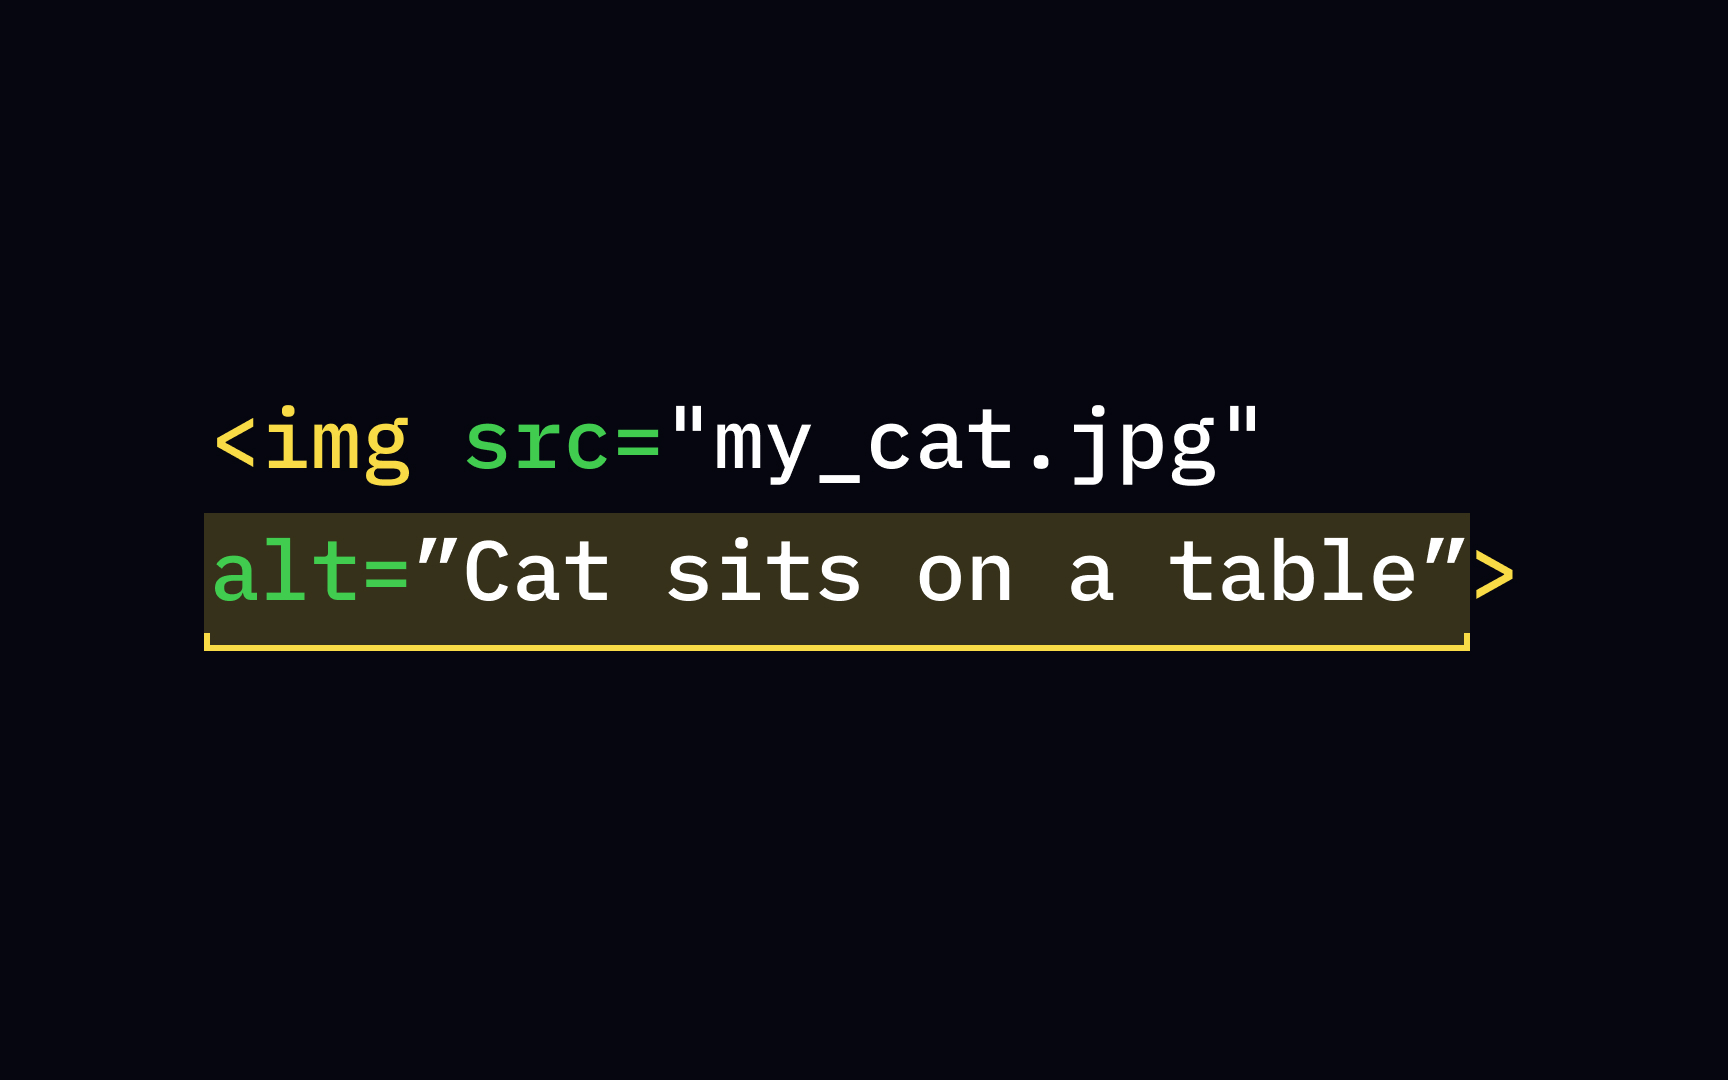
The alt attribute is not required for the <img> alt attribute matters for two key reasons. First, it supports SEO, and leaving it out can cause a W3C validation failure. Second, it is the only way screen reader users can understand what an image shows.
Always include the alt attribute when using
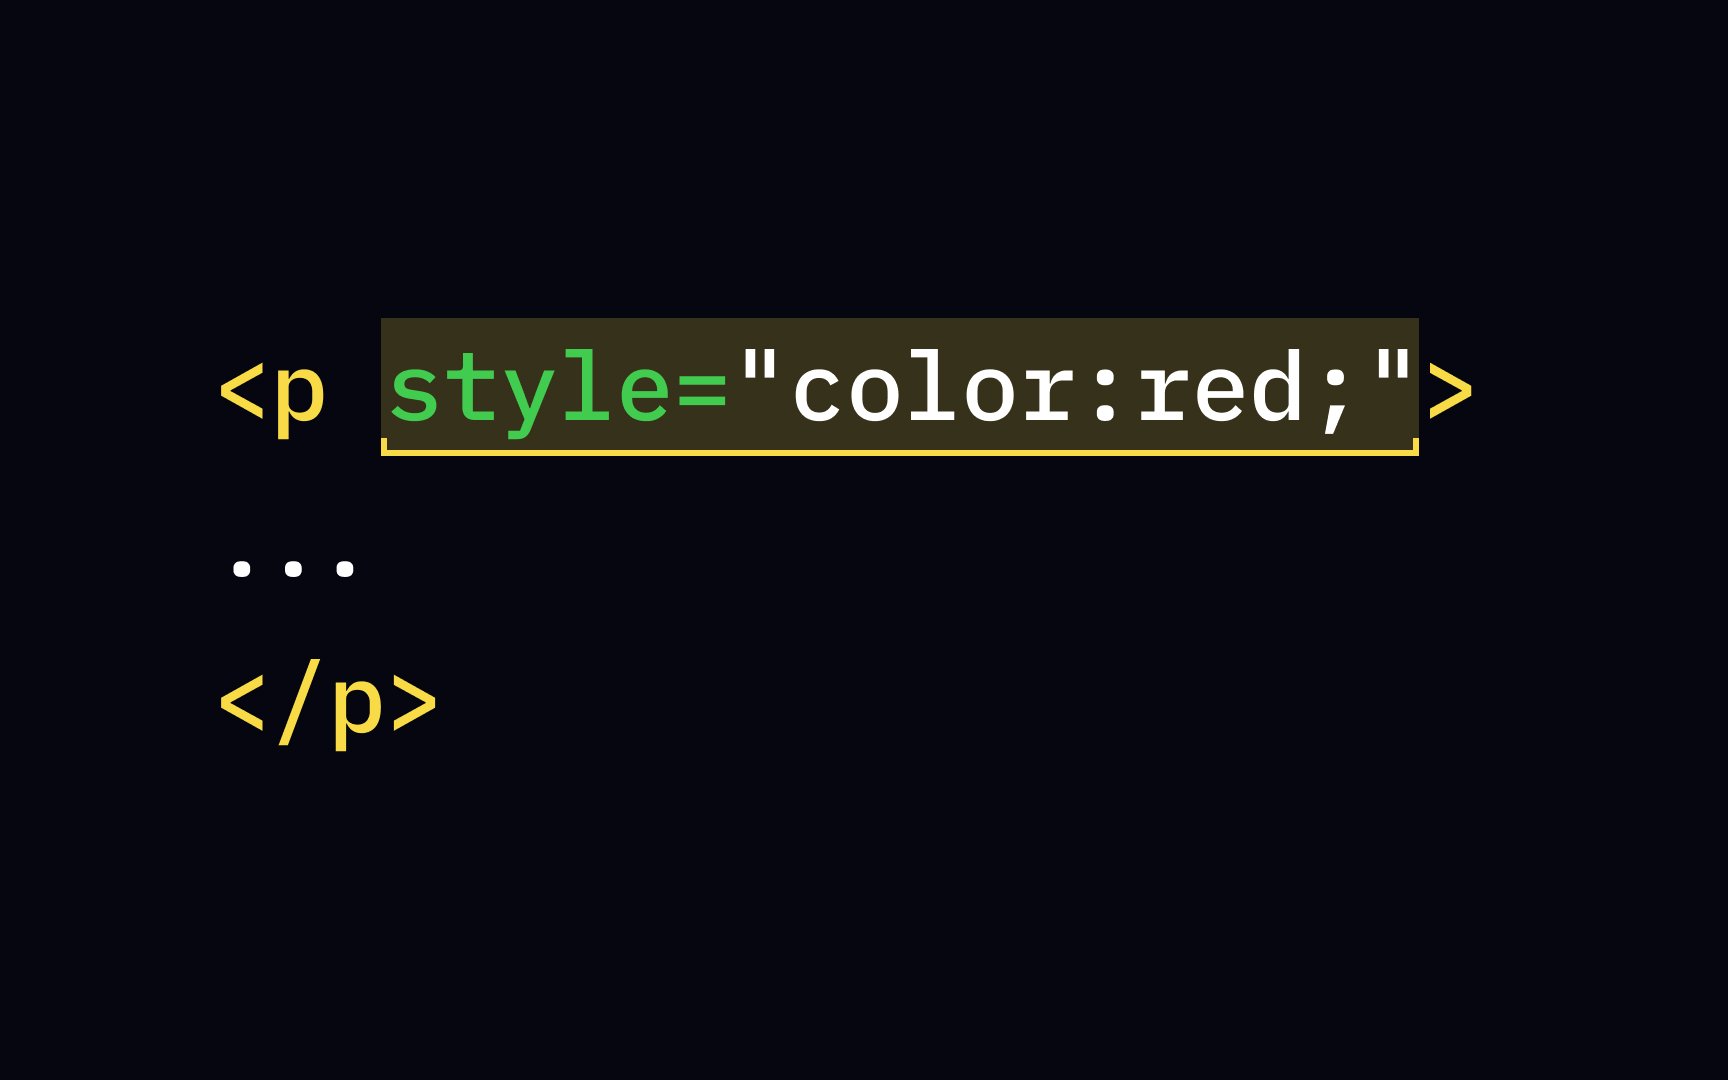
The style attribute helps — you guessed it — style
The style attribute introduces elements in a different type of language called CSS. While HTML gives content its structure, CSS's job is to describe your web pages' style, design, style attribute — the part that follows the equals sign and is enclosed with quotation marks — has its own structure.
For example, the attribute style="color:red;" will make the text of that paragraph red. Color here is a CSS property, while red is its value. You must use a colon to separate the two parts and a semicolon after the CSS value.
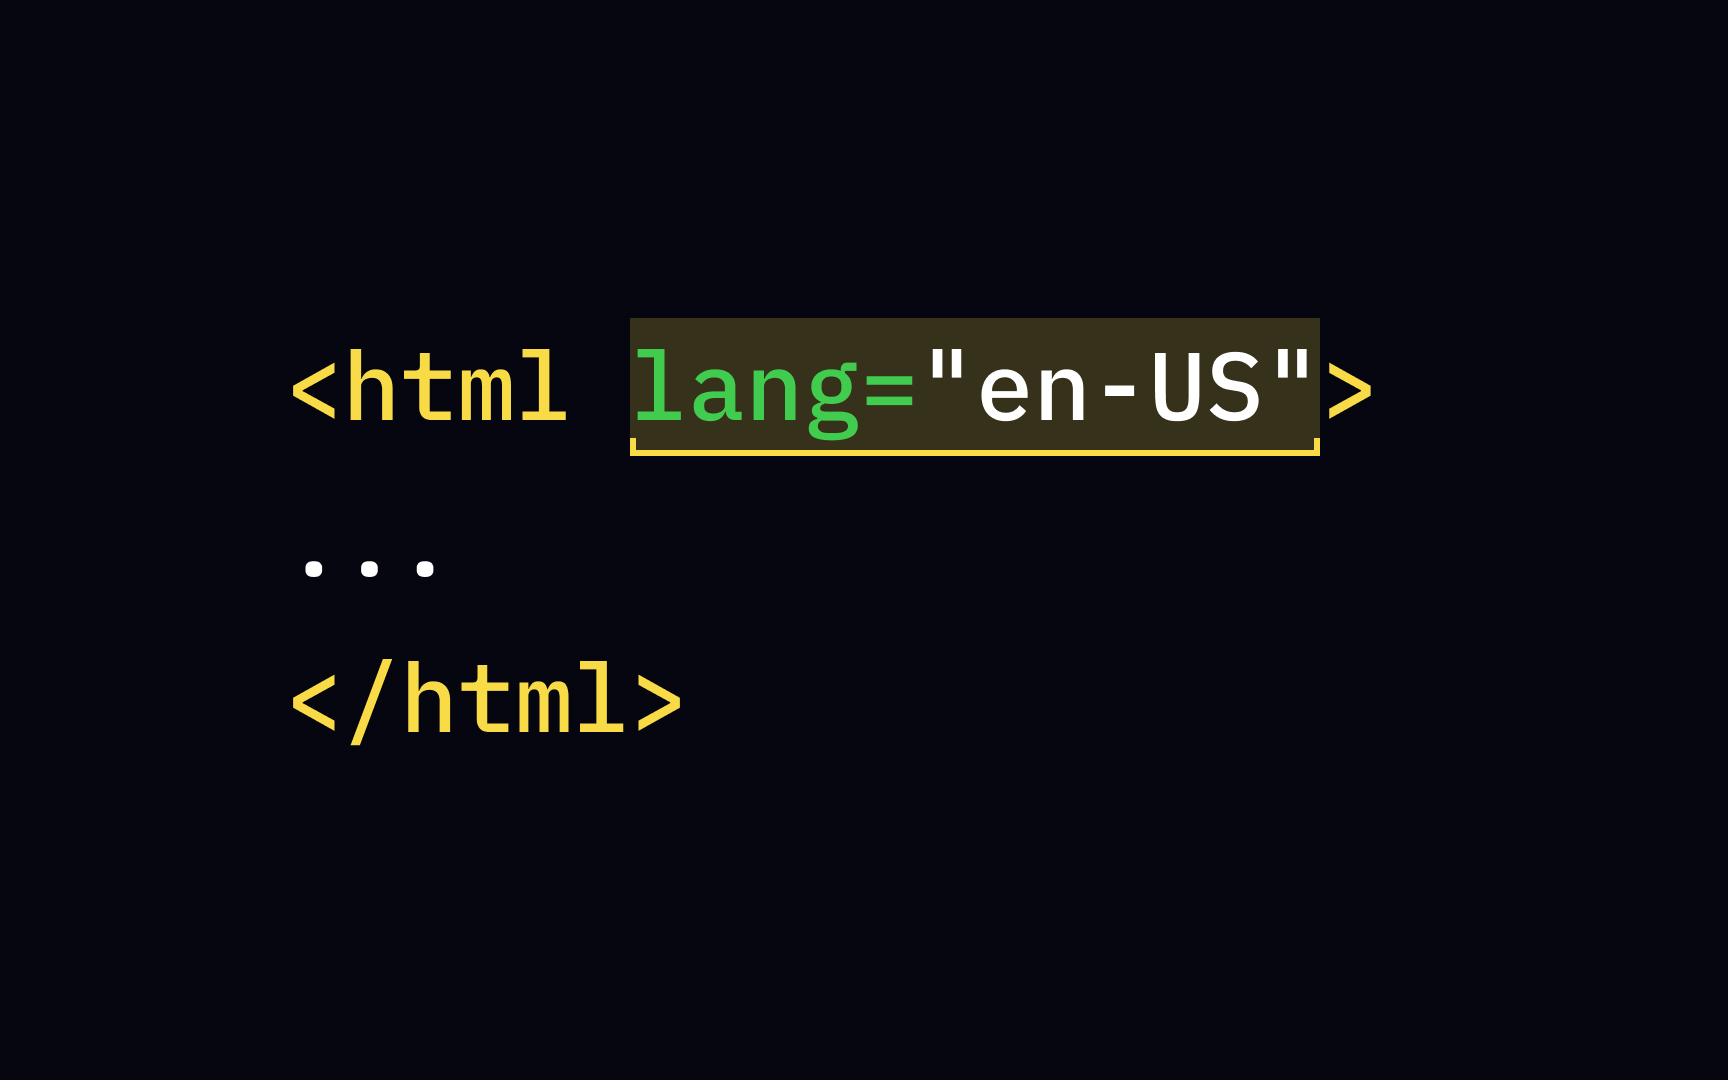
While not using it won't break your lang attribute inside the <html>
Here, you can also specify the country of the language if the language in question has more than one variation. For American English, the attribute will look like this — lang="en-US", where the first two letters stand for the language and the two letters after the hyphen for the country.
You can find the complete list of languages and countries codes on W3Schools website.[2]
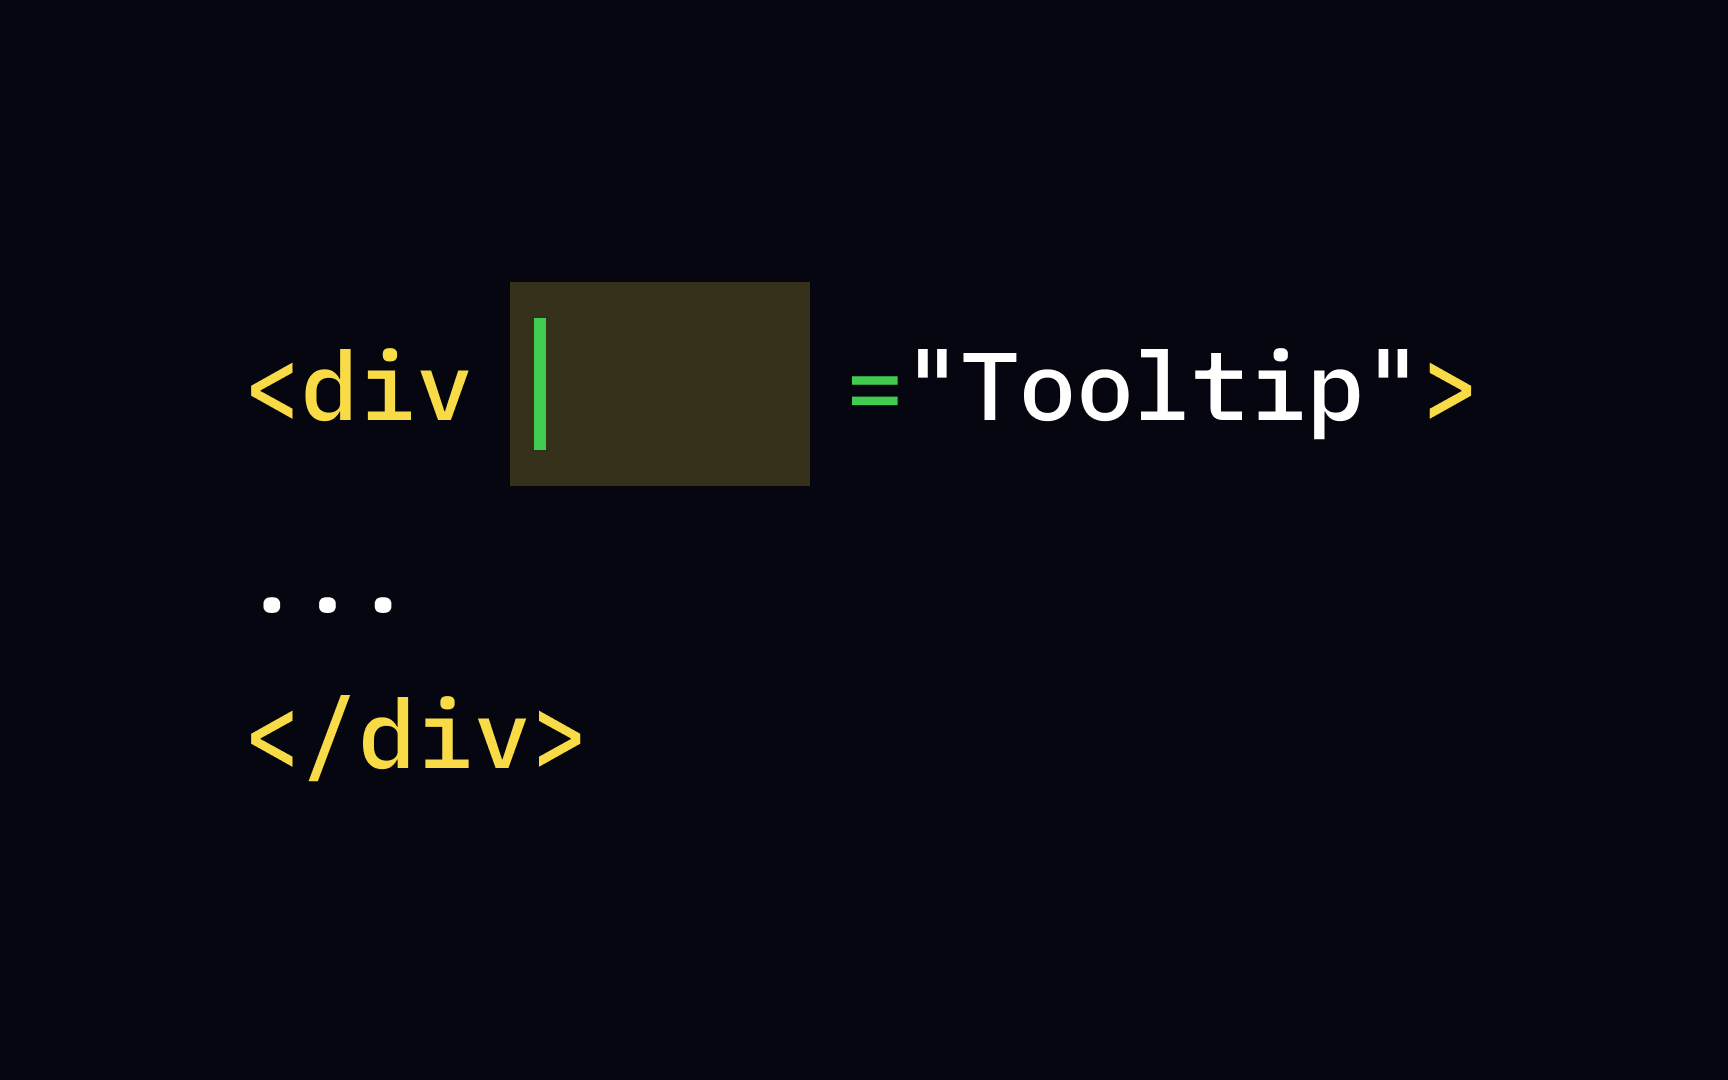
The title is a global attribute with a downright misleading name. Instead of adding a title, it provides extra information about an element. It takes the form of a tooltip that appears when the mouse hovers over an element.
All href attribute — otherwise, they can't fulfill their function. Having an <a> element without a href attribute is like building a house without doors or windows — it can be done, but there's no reason to.
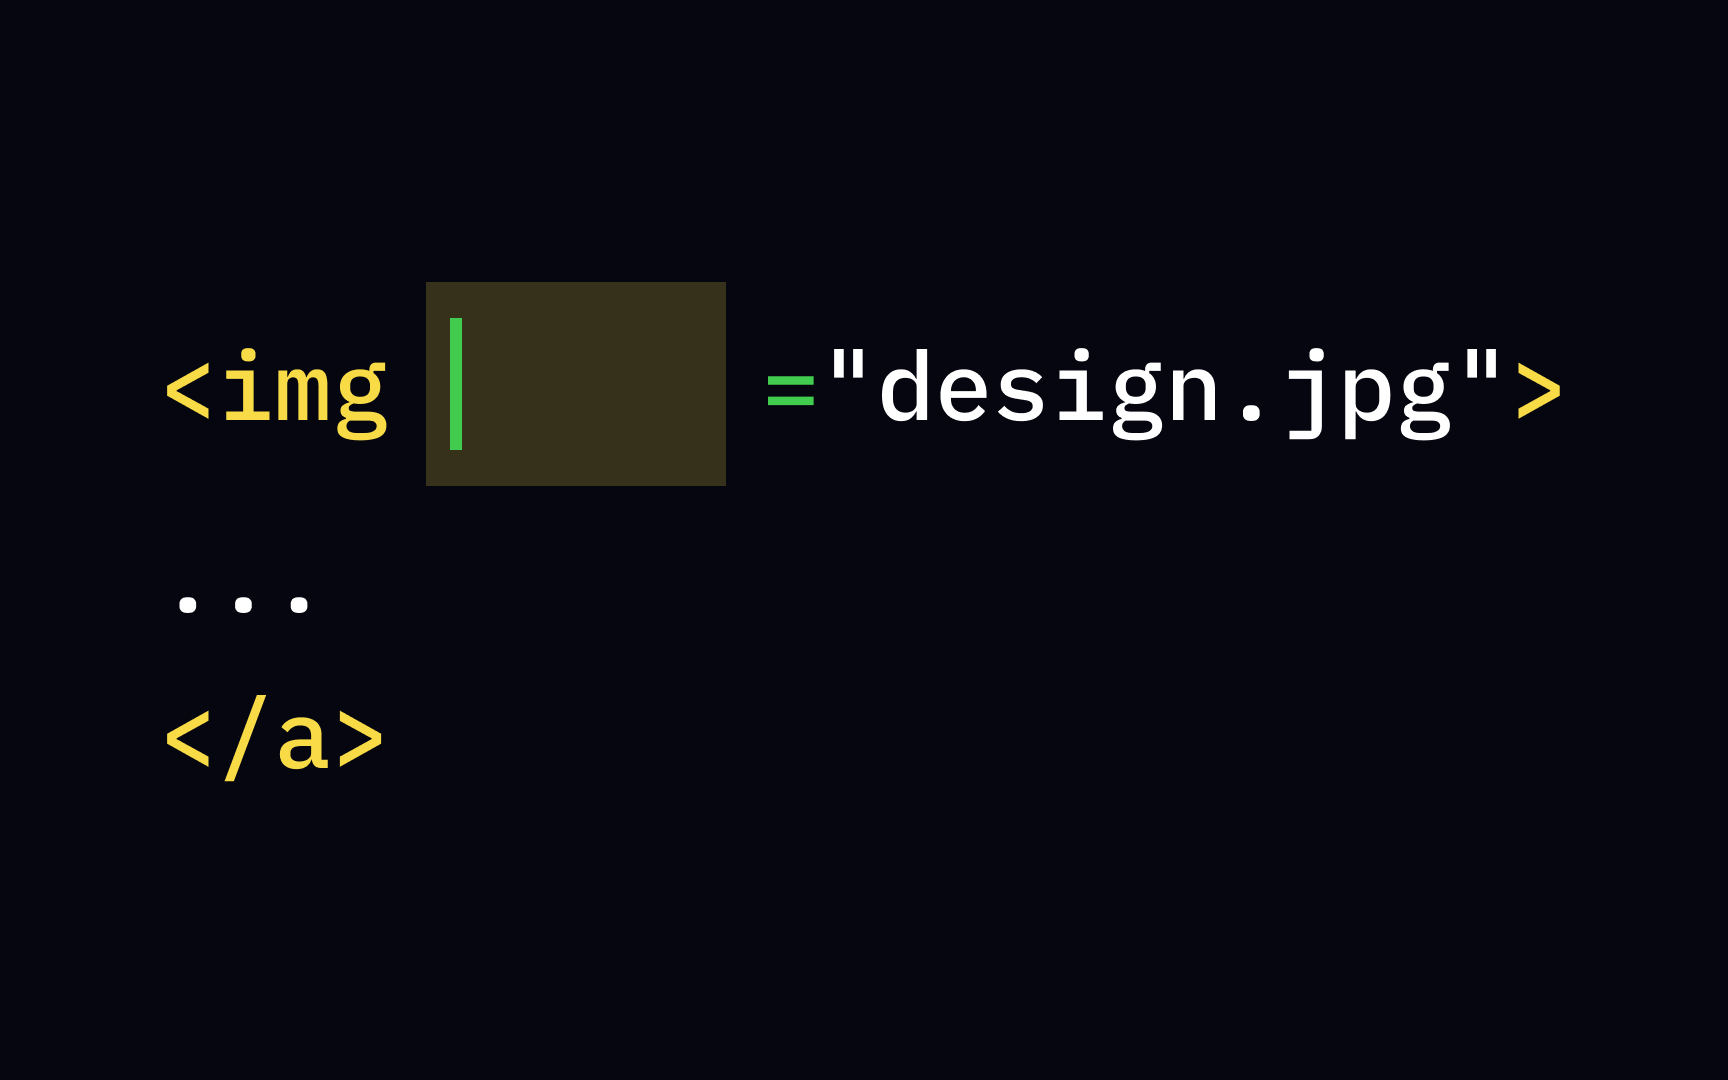
The <img> alt for alternative text and width & height to specify the src attribute is an absolute must — without it, the browser won't have the path to your picture, and the image will not be shown.

To set the page's default language, use the lang attribute inside the <html> <body> tag, it won't cover the head element's
It is also possible to set languages for different parts of the content. For example, if you have a paragraph in Japanese, use the attribute lang in that paragraph's tag, so the browser displays it correctly.
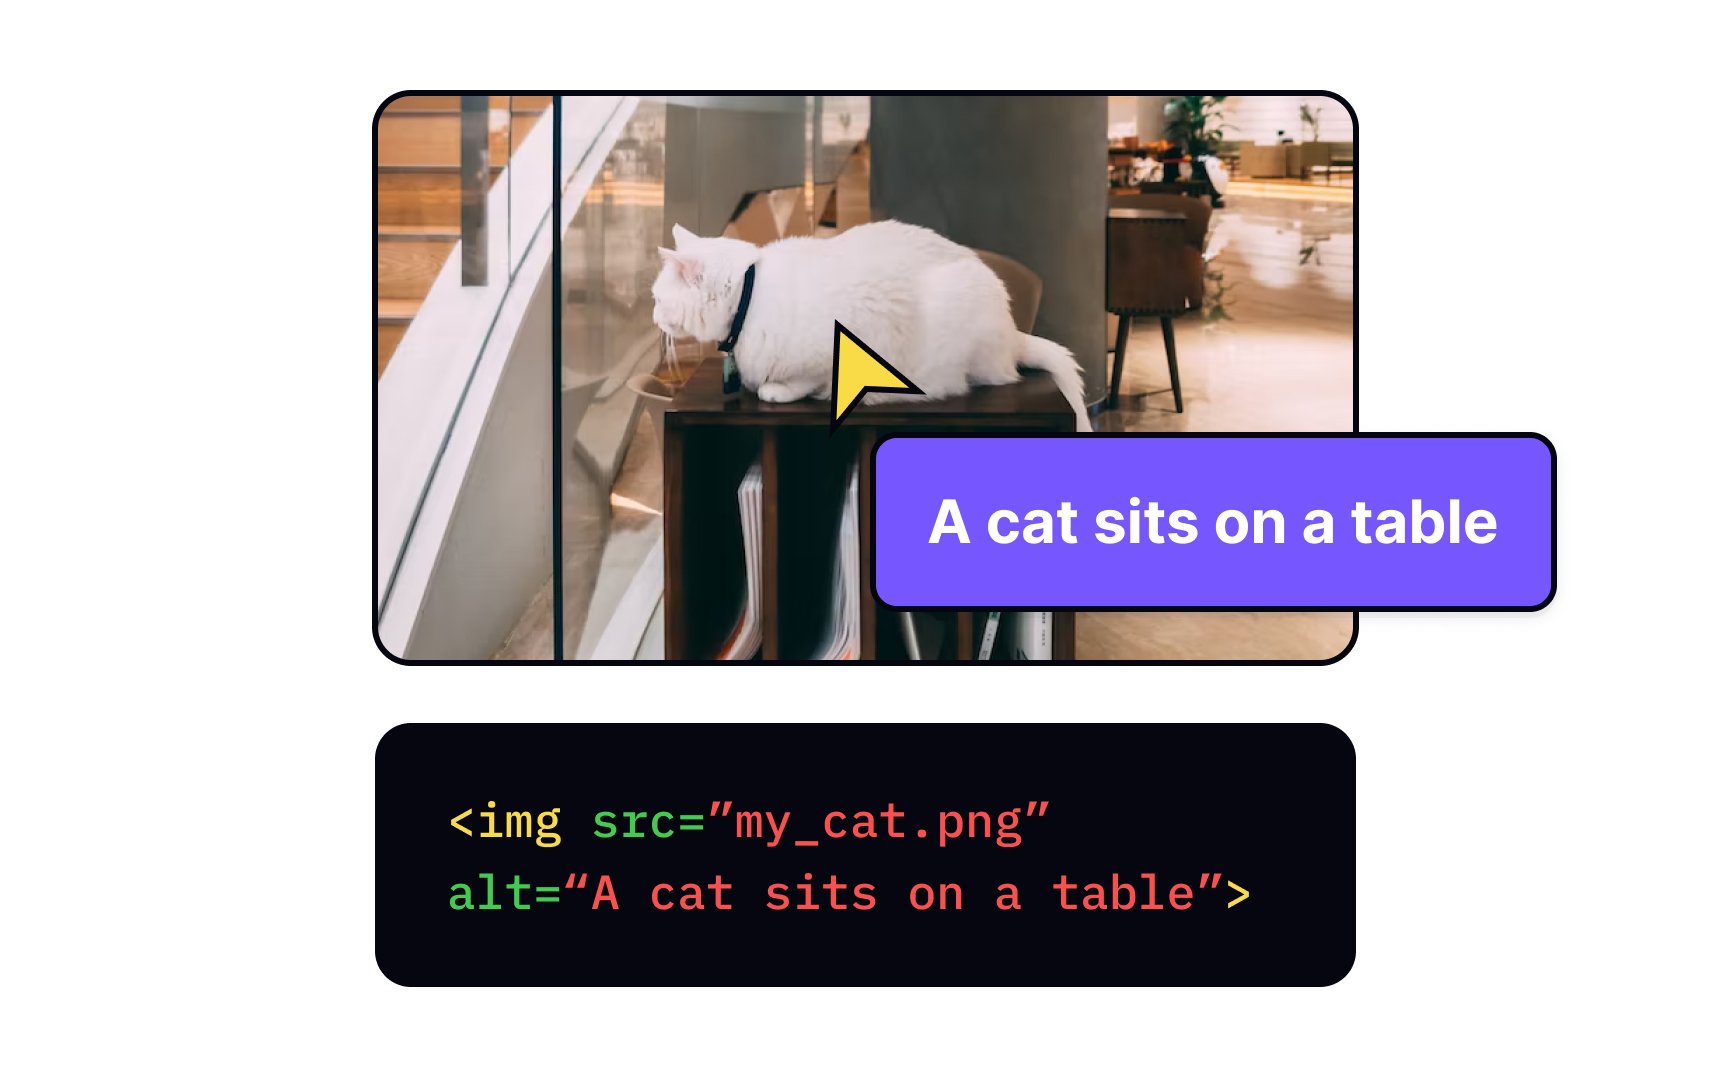
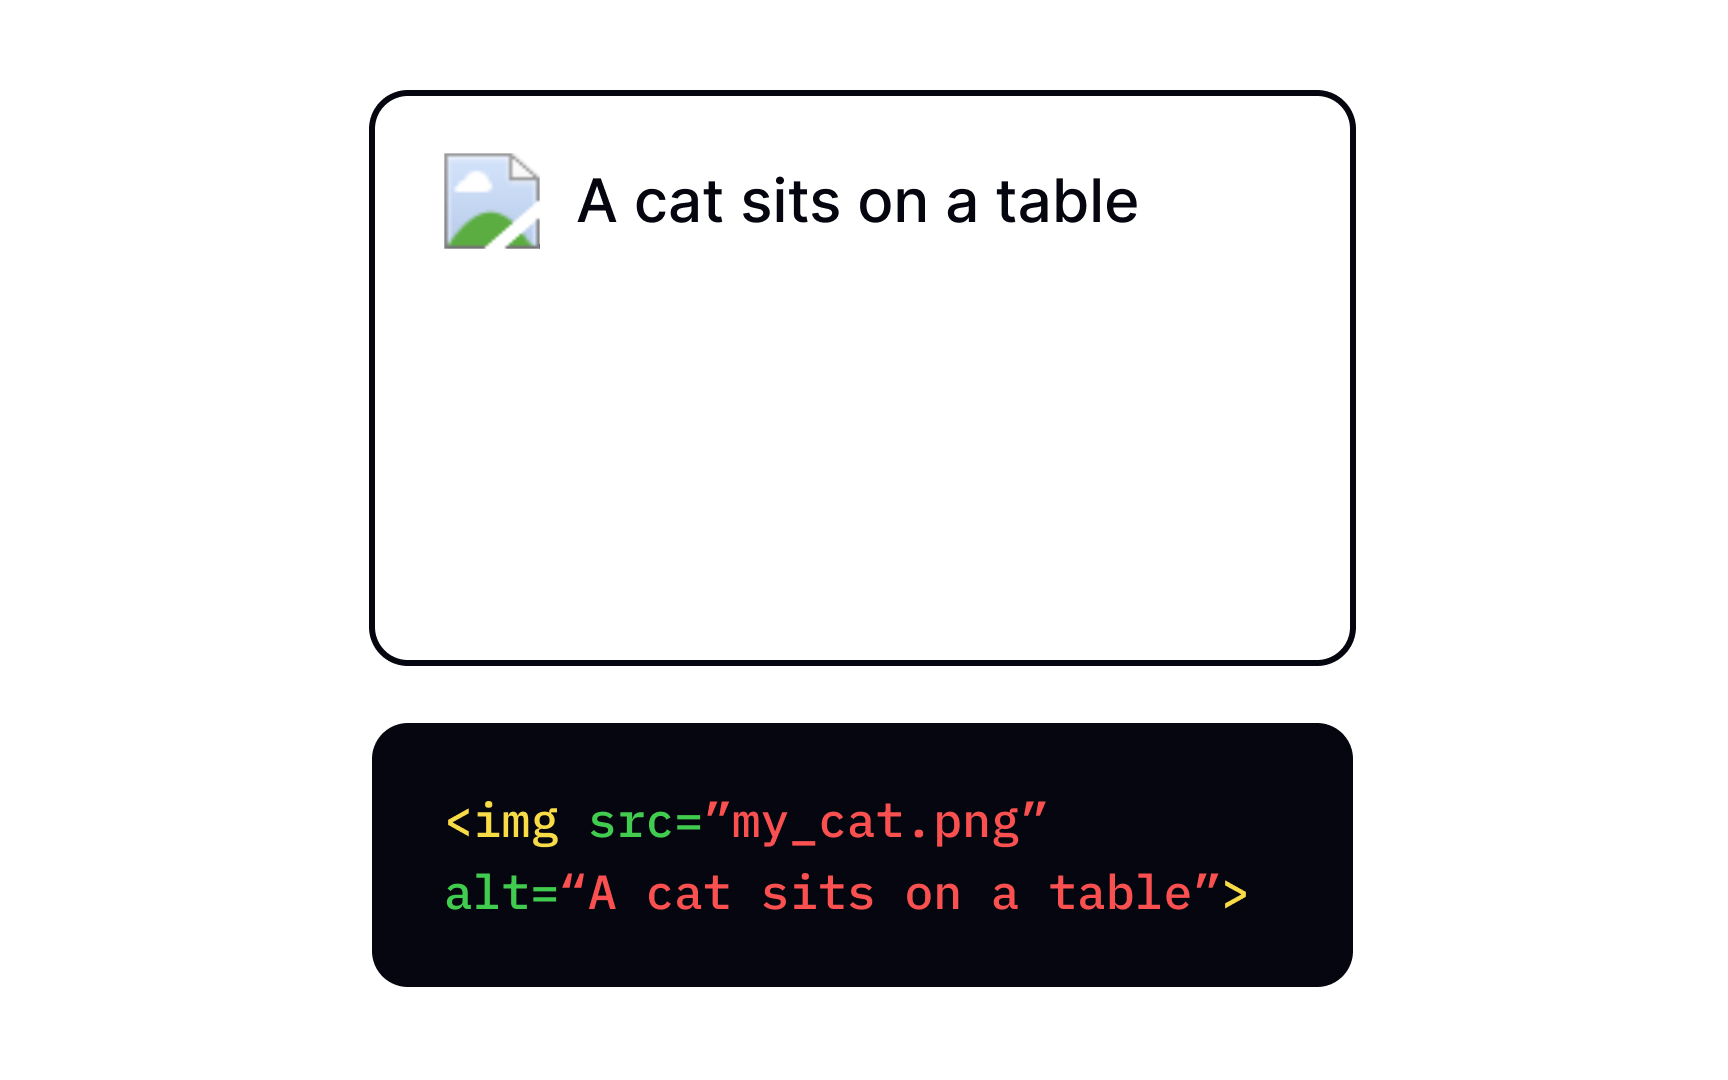
The alt attribute provides an alternative text in case the browser can't load the image. It also allows
Keep your alt text less than 125 characters as many screen readers stop reading after that.[3]There's no need to say "picture of..." or "image of..." as assistive technologies will announce it anyway — jump right into the description and try to be specific.

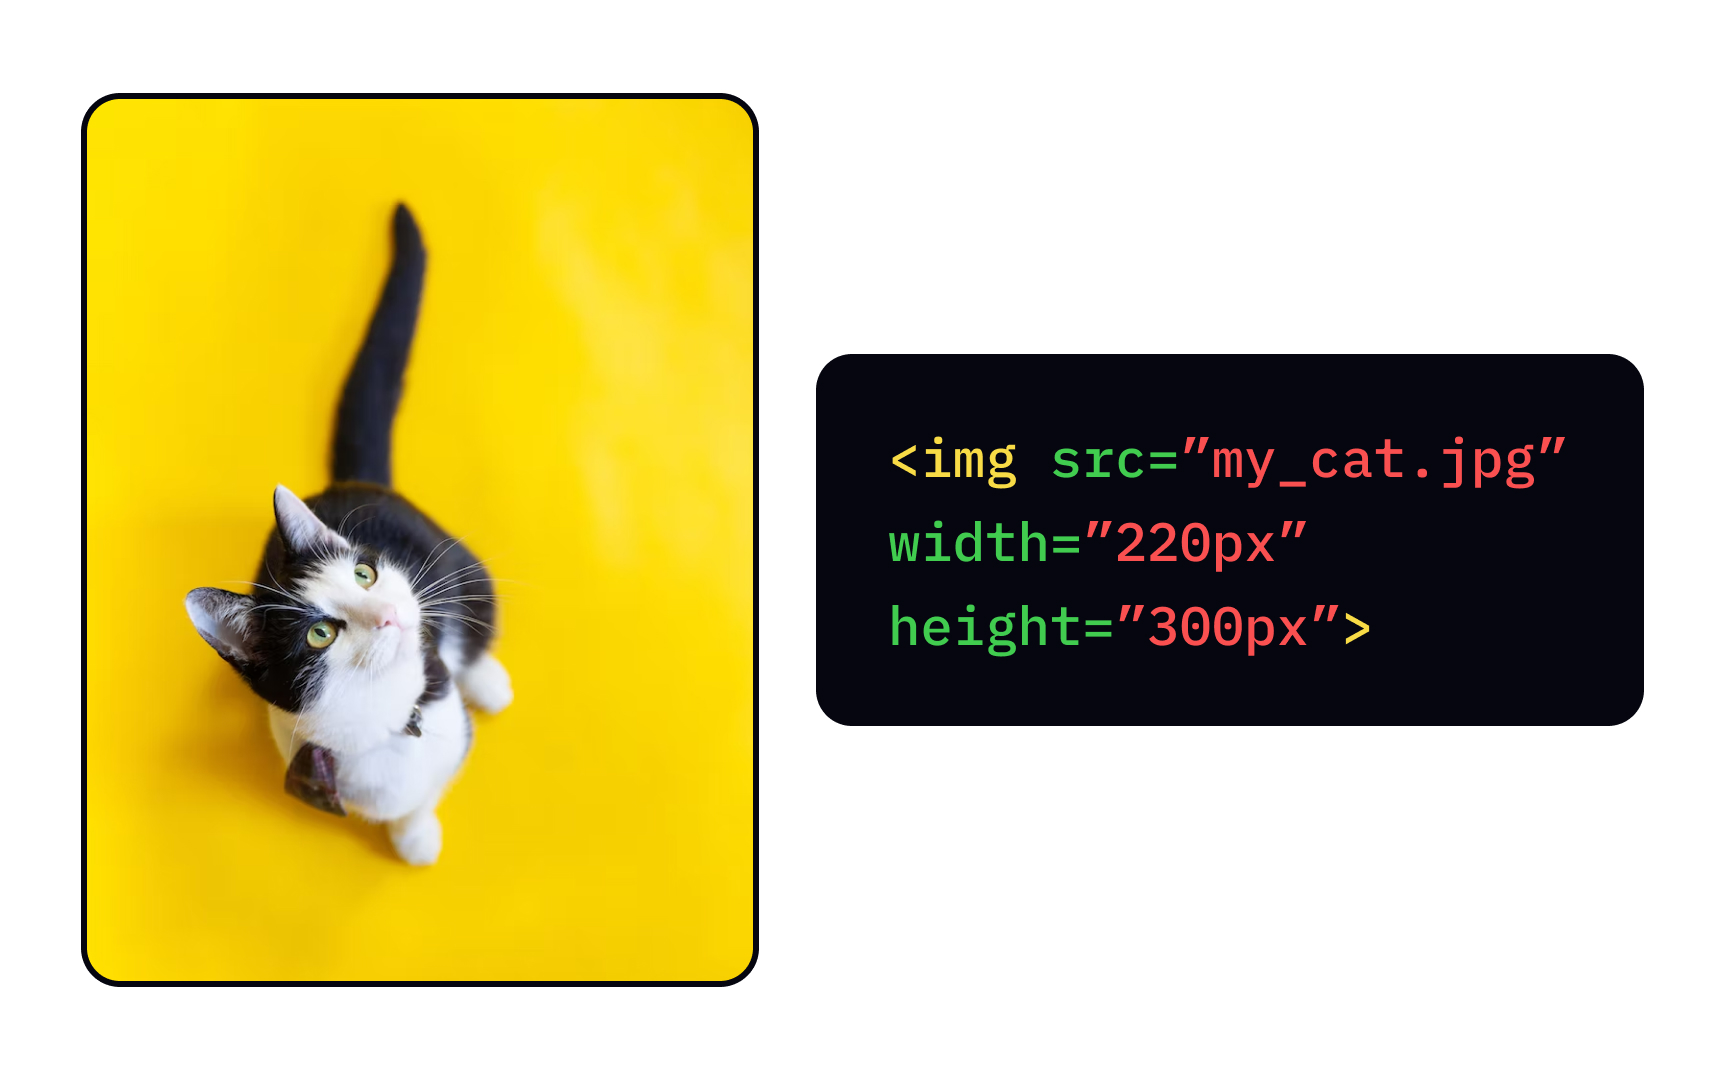
If you want to downsize or change your picture's dimensions, using height and width attributes is not the way to do it. In this case, the browser will still load the original picture and either display its smaller version, or stretch and distort it. Instead, rescale and cut

When embedding a picture, make sure that your
The title attribute adds
By default, browsers underline href attribute isn't present in the <a>
Plus, you can use links to redirect users to email addresses instead of web <a href=”mailto:[email protected]”> Send email </a> will send users to an email.
References
Top contributors


Topics
From Course

Share


Similar lessons

Guide to CSS Selectors

Breaking down CSS Methods
