HTML Styles
Discover how to enhance the visual presentation of your web pages
Web design is a realm of boundless creativity, and the power to bring unique styles to life is at your fingertips. With HTML, you have the ability to transform the appearance of web elements, from the colors and fonts to the overall layout and visual effects. By mastering the art of applying styles in HTML, you'll unlock the potential to create visually captivating and personalized web designs.
Delve into the fundamentals of applying styles to HTML elements. You'll learn how to customize text and background colors, adjust font properties, and even explore techniques for crafting responsive layouts that adapt gracefully to different screen sizes. By understanding the principles behind styling in HTML, you'll gain the skills needed to create aesthetically pleasing and cohesive web experiences that resonate with your audience.
Nowadays, we use both HTML and CSS to create webpages — to structure and style content, respectively. CSS allows us to control text
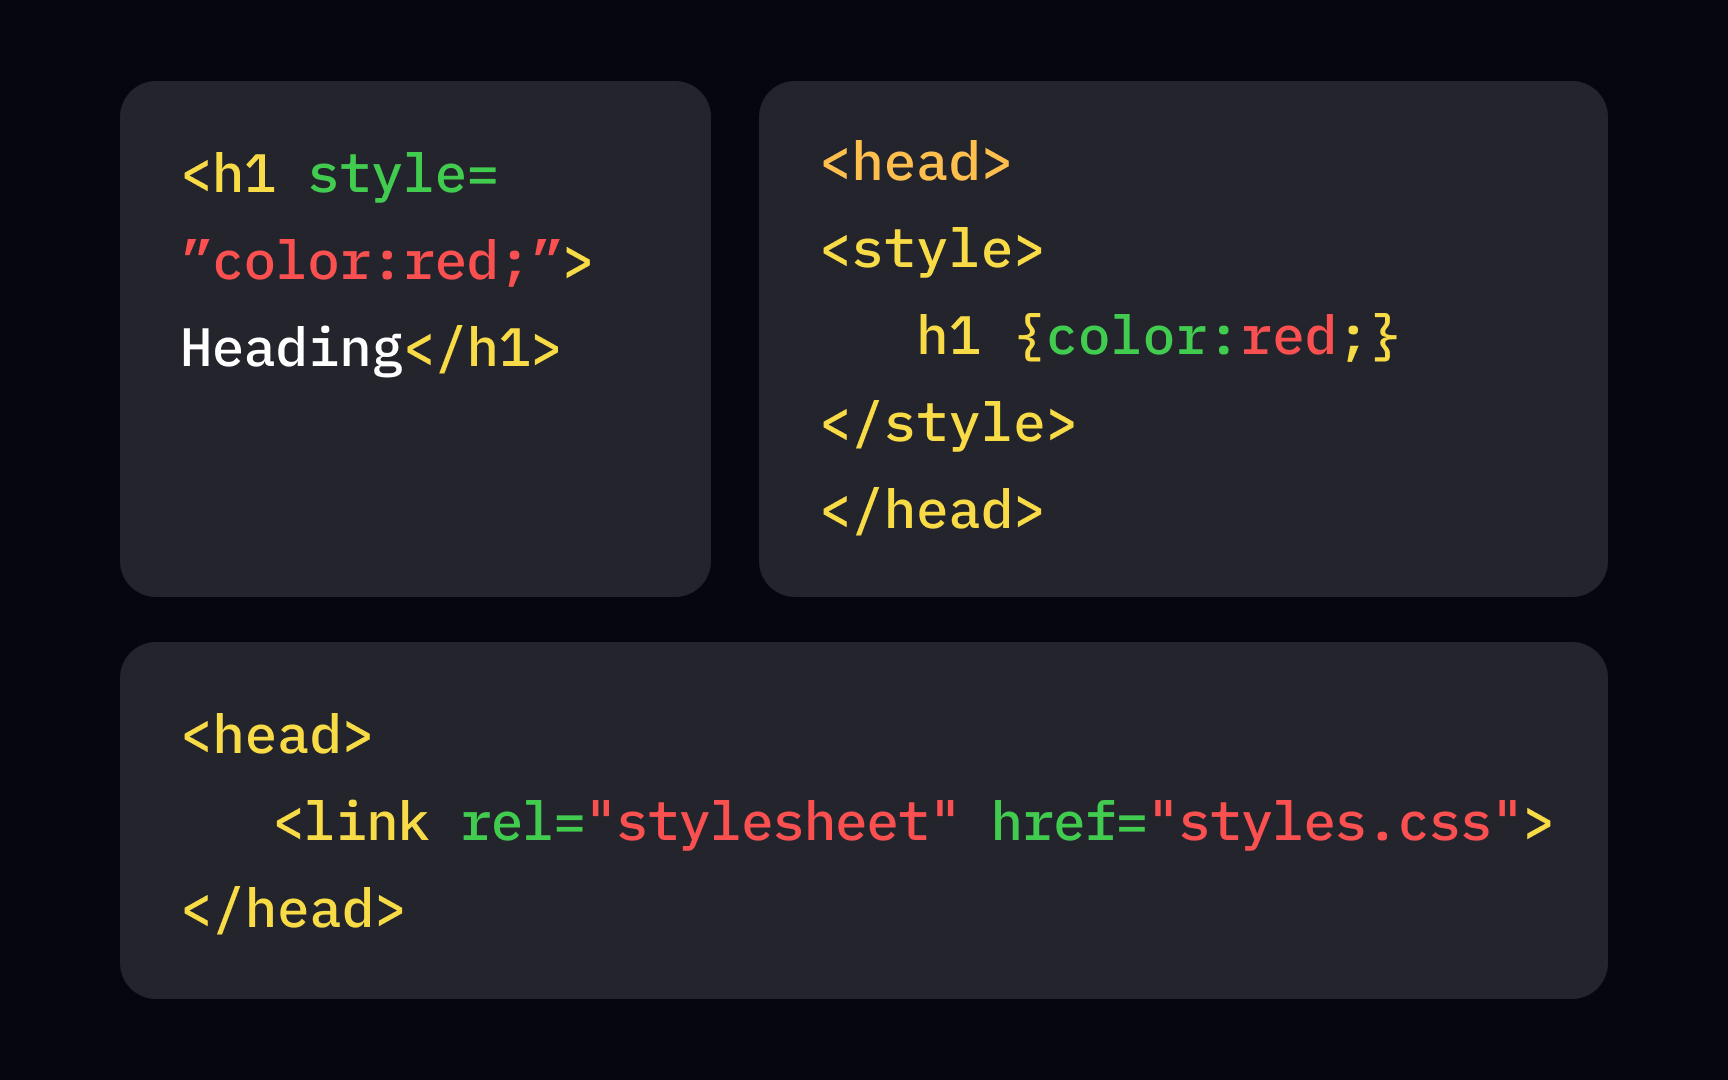
There are 3 different ways to add CSS to an HTML document:
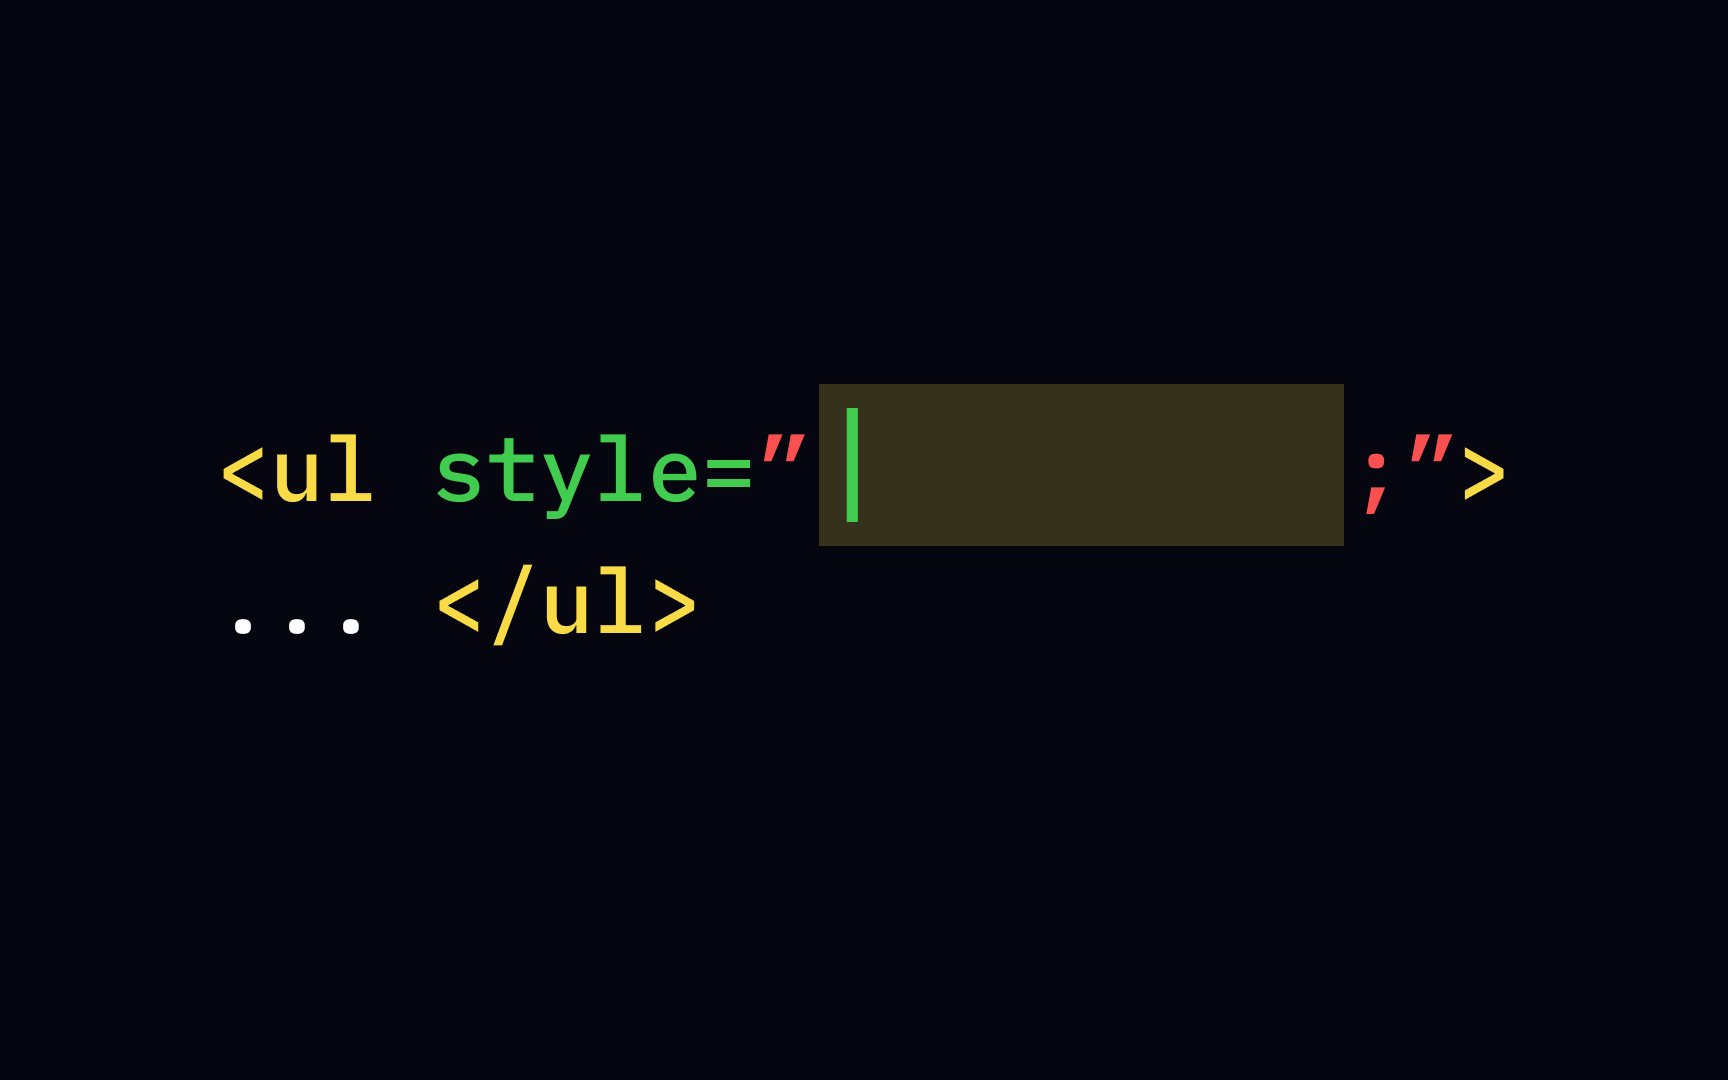
• Inline style uses the style attribute inside
• Internal style uses a <style> element in the <head> section
• External style uses a <link> element to link to an external
The most common way is to use external styles, which we'll cover in a separate course. In this lesson, we'll cover inline styles as they're easier to demonstrate and can give you a good taste of CSS.
Now that you understand a bit about inline
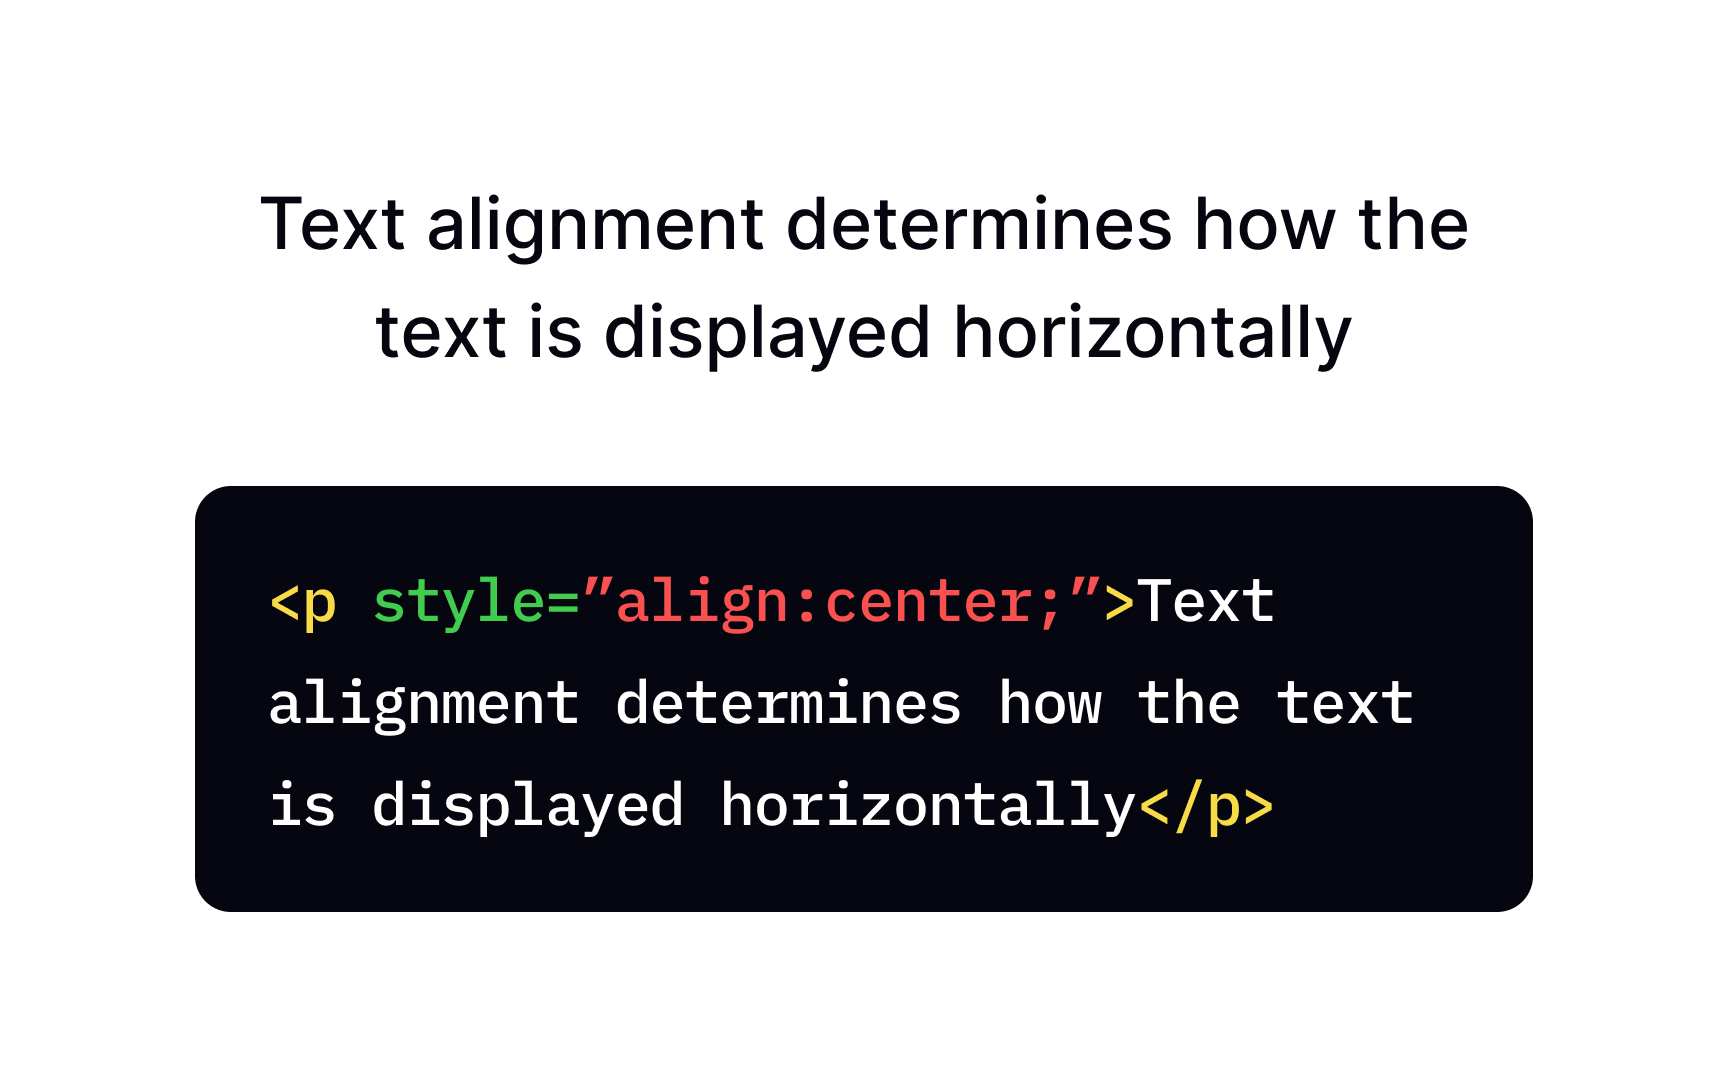
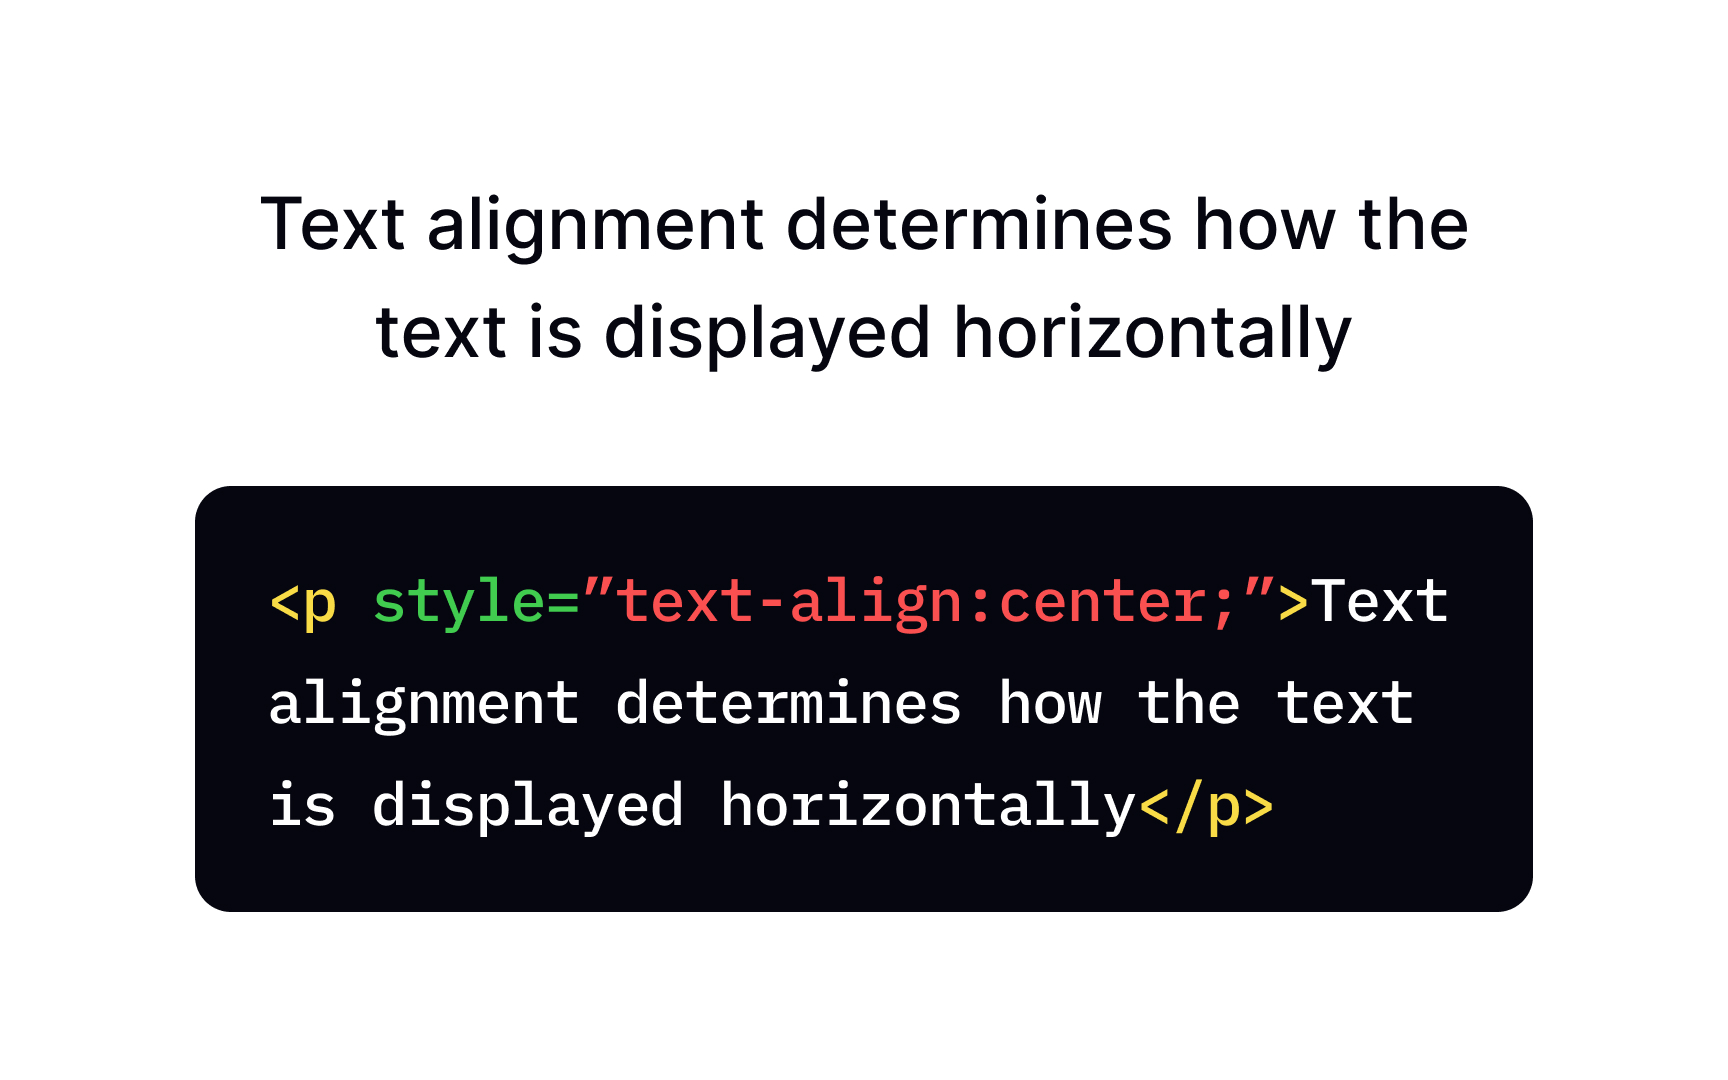
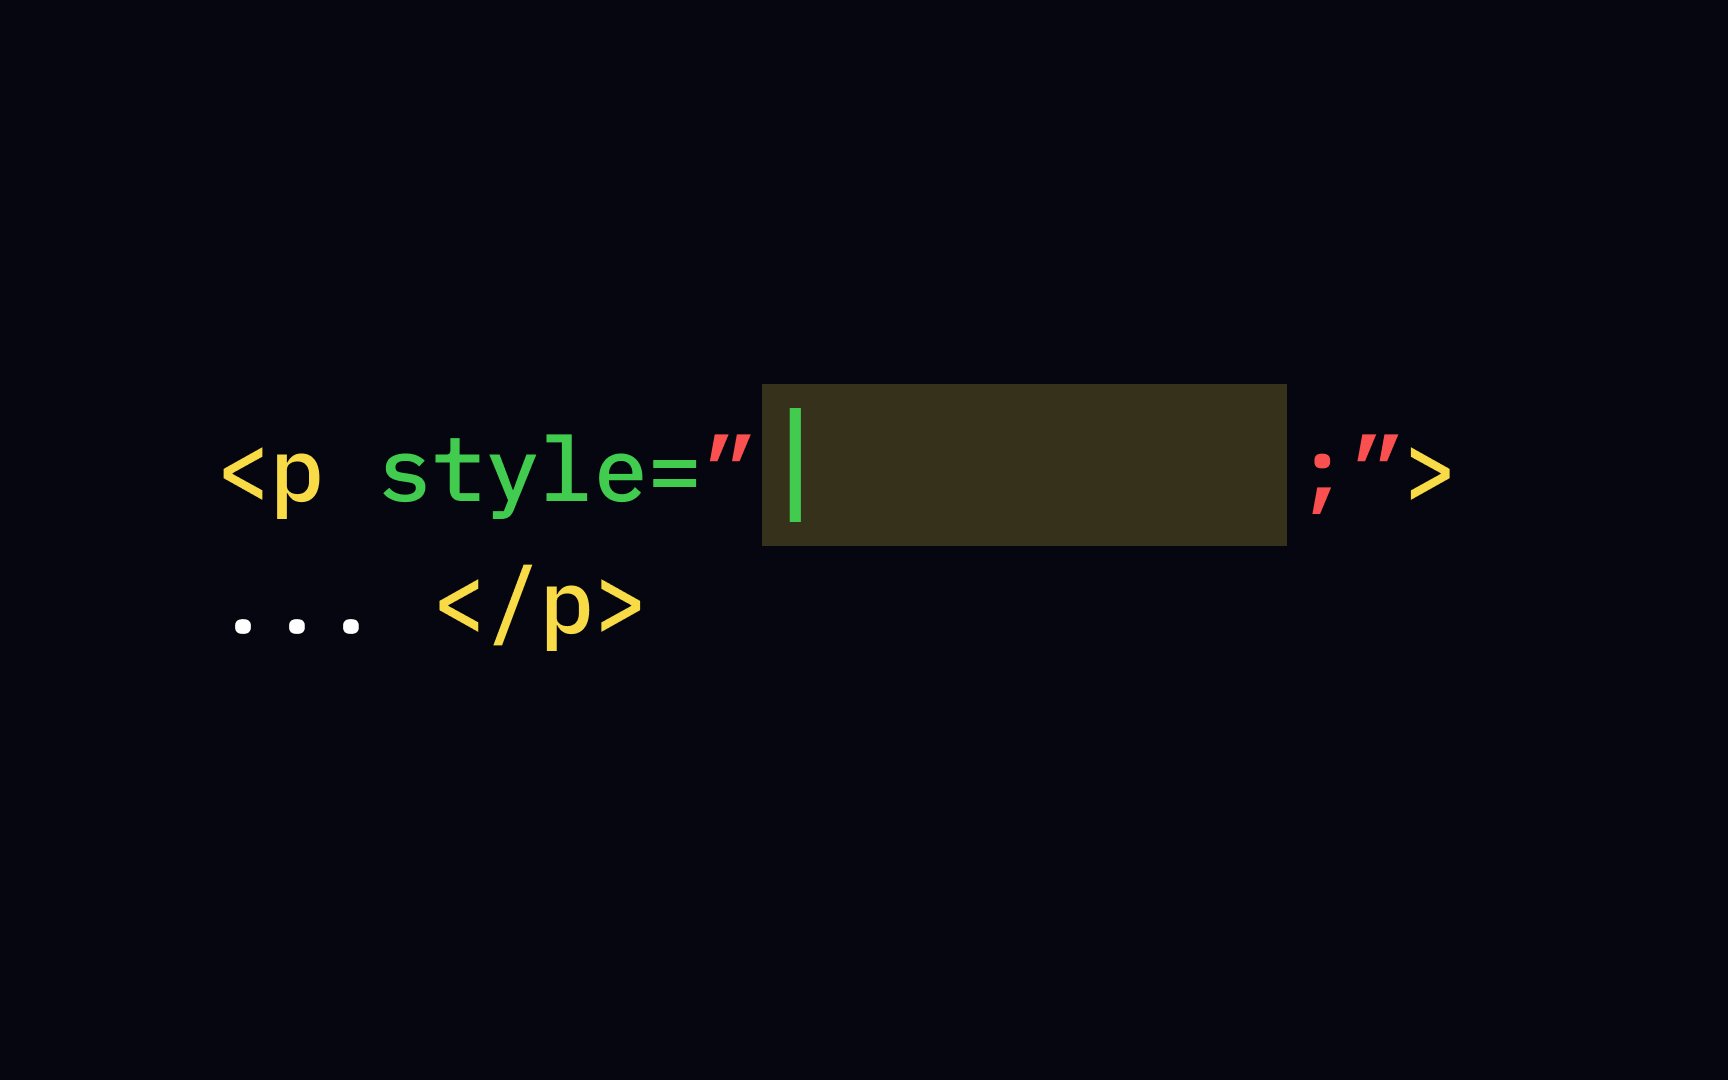
Let's say you want to set a paragraph's alignment to be centered by default. The text is usually aligned either to the left or the right depending on the language's default script direction. Use the text-align and choose the value center. left and right are the other possible values of this property.
Writing code gives the browser commands about how to display your
• The fact that you wish to change the element's style
• What style
• What value of the property you wish to set
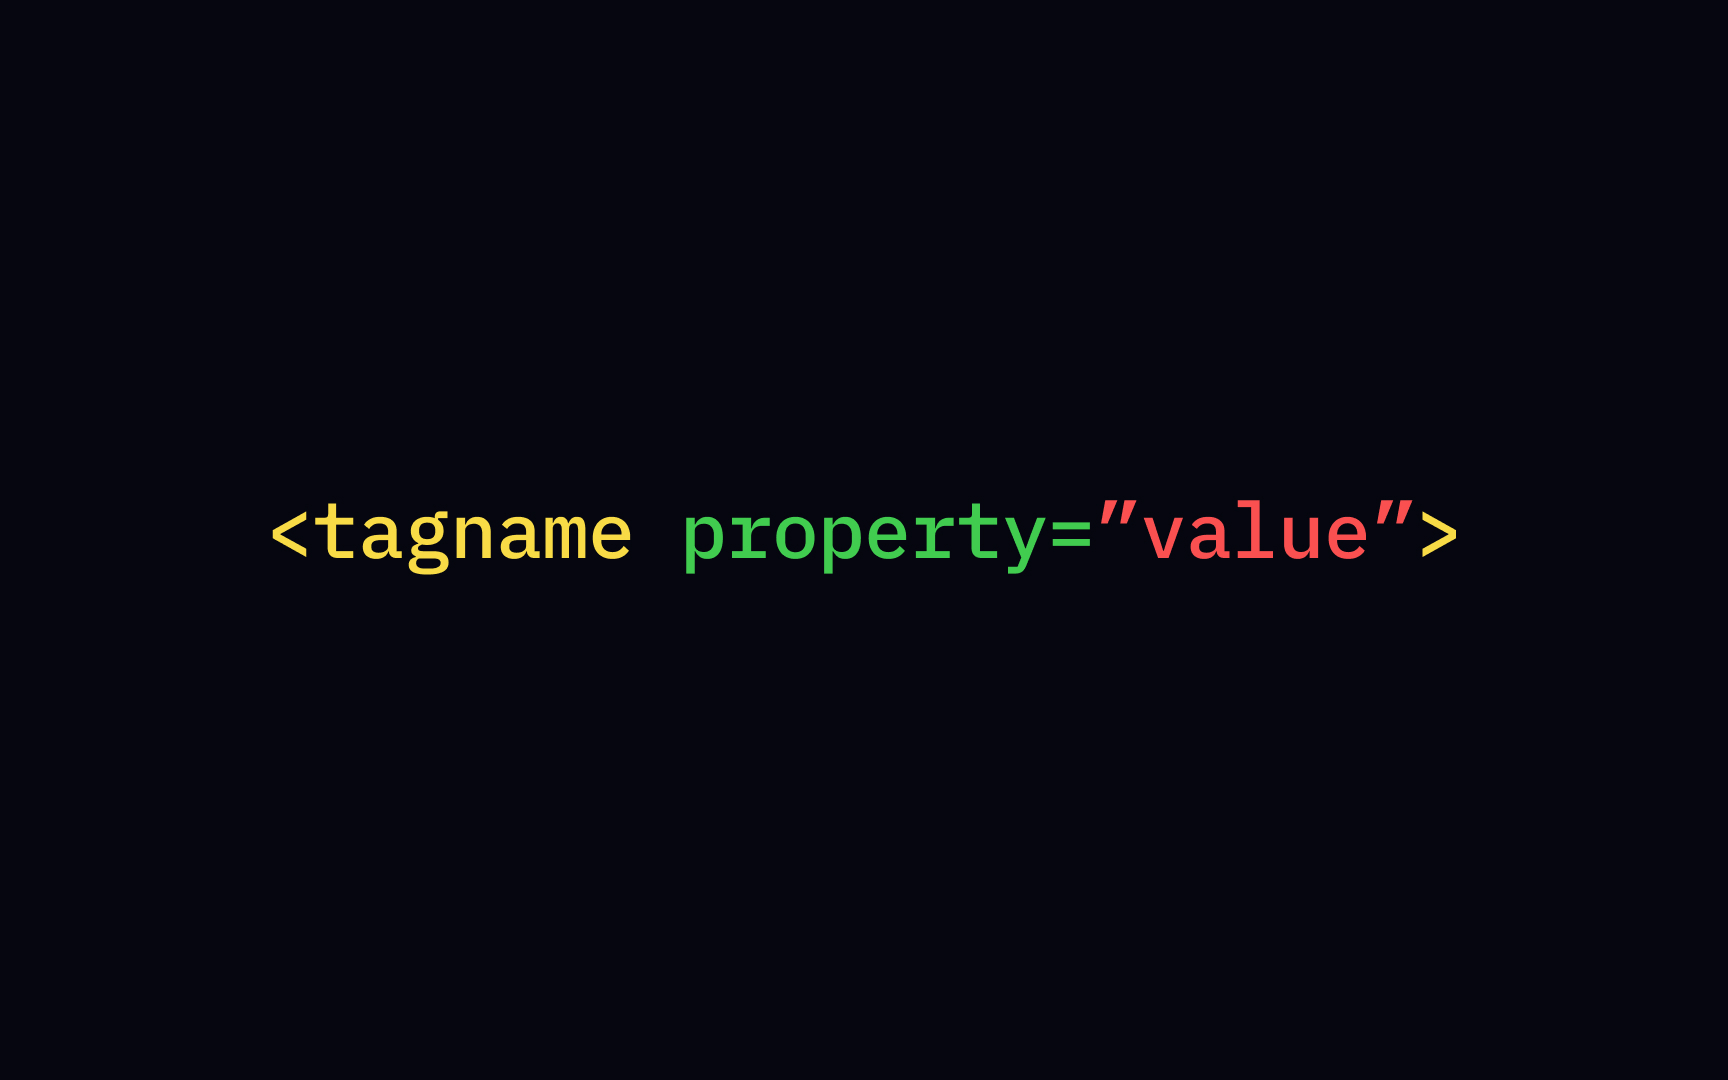
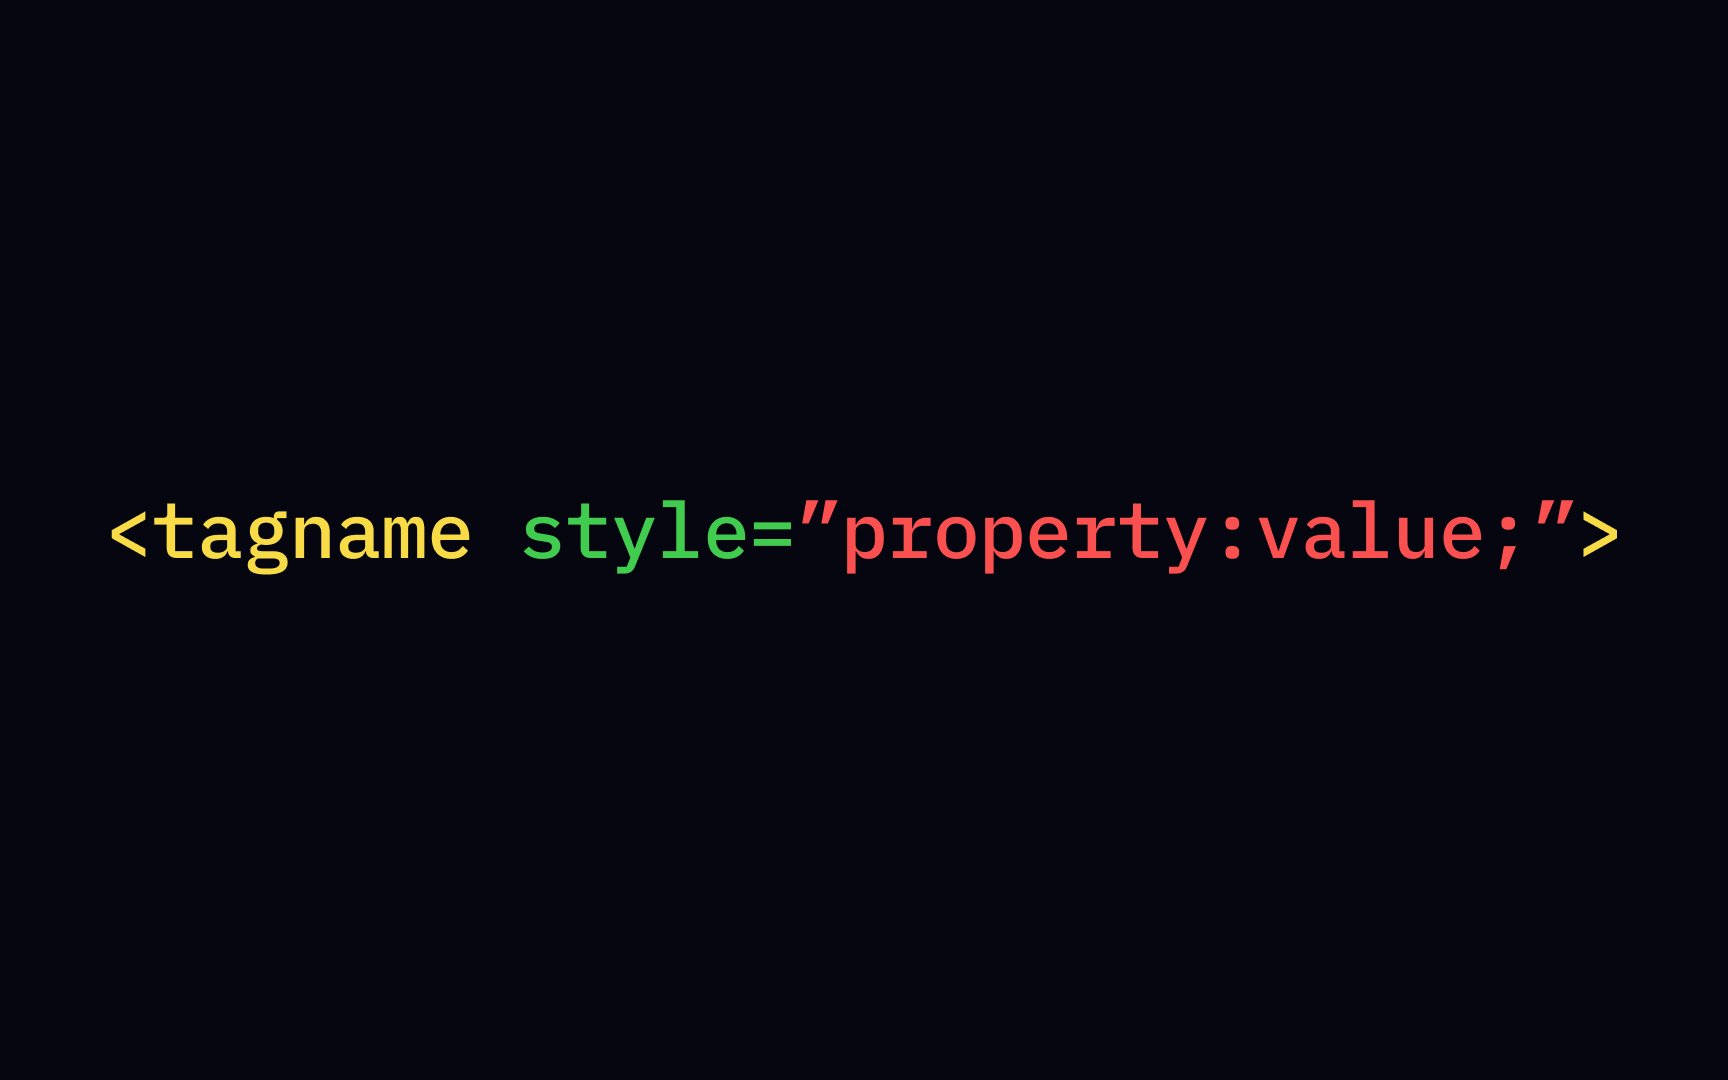
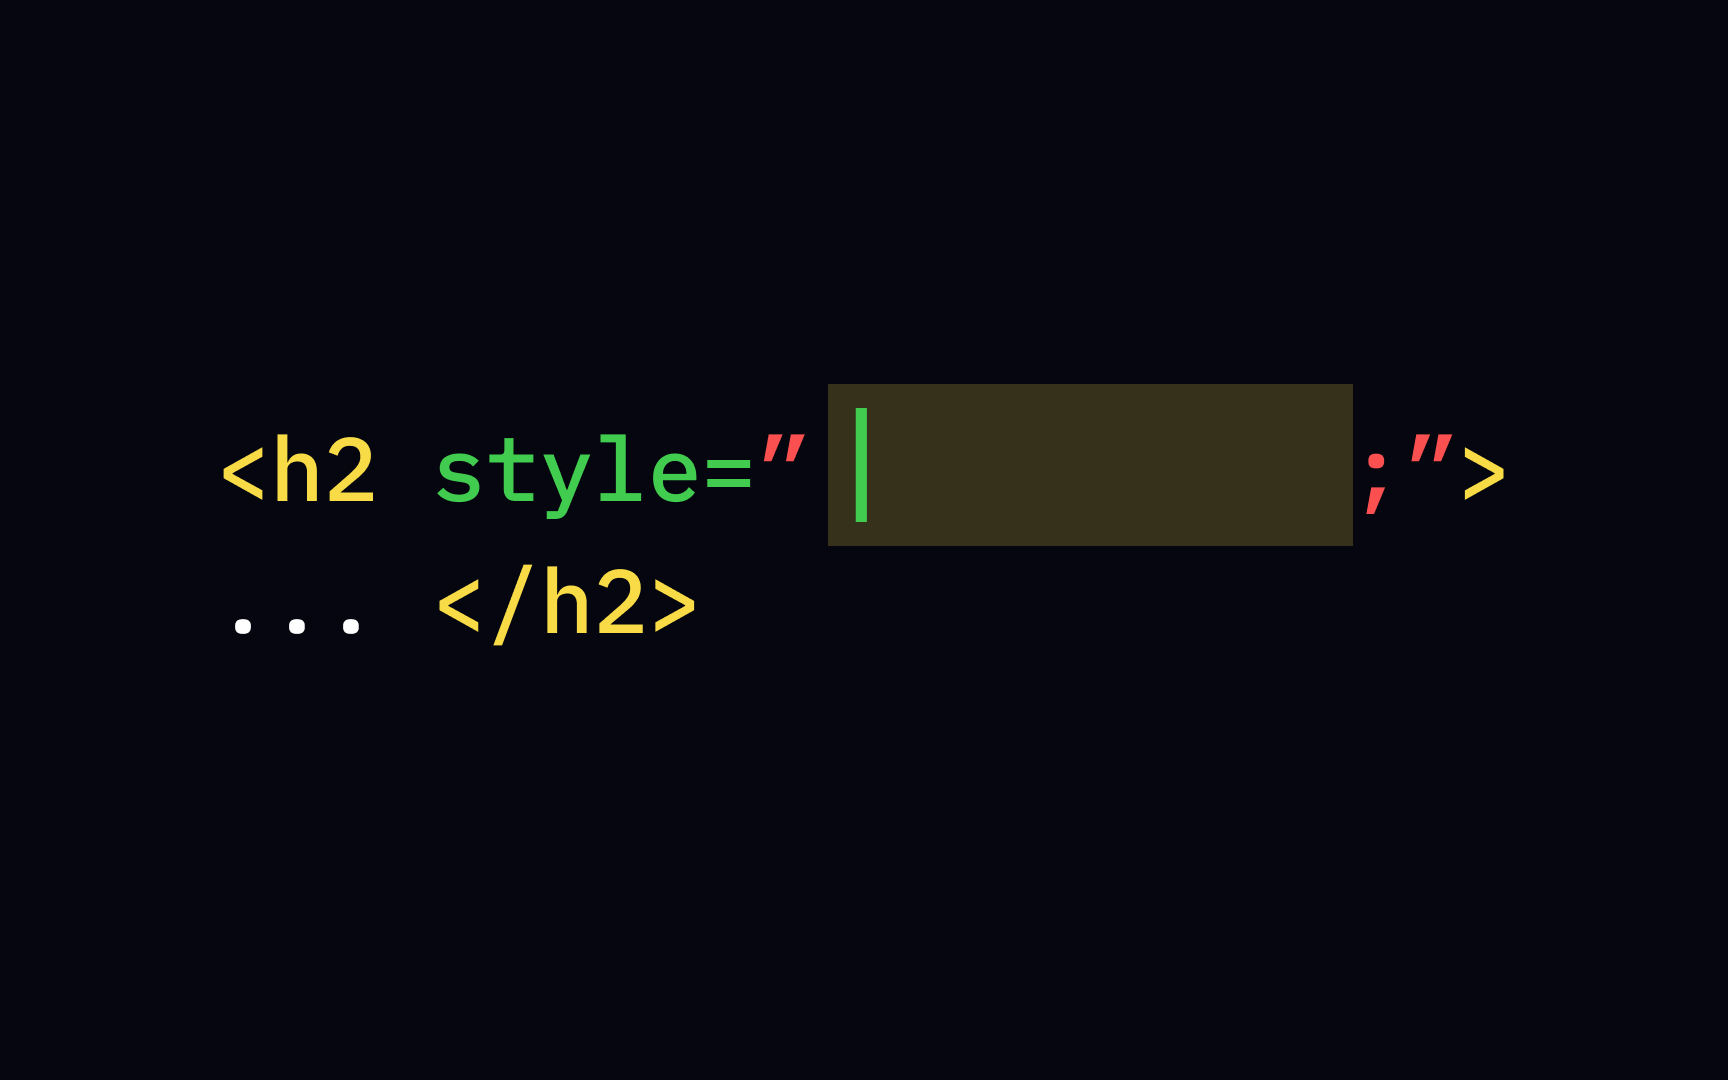
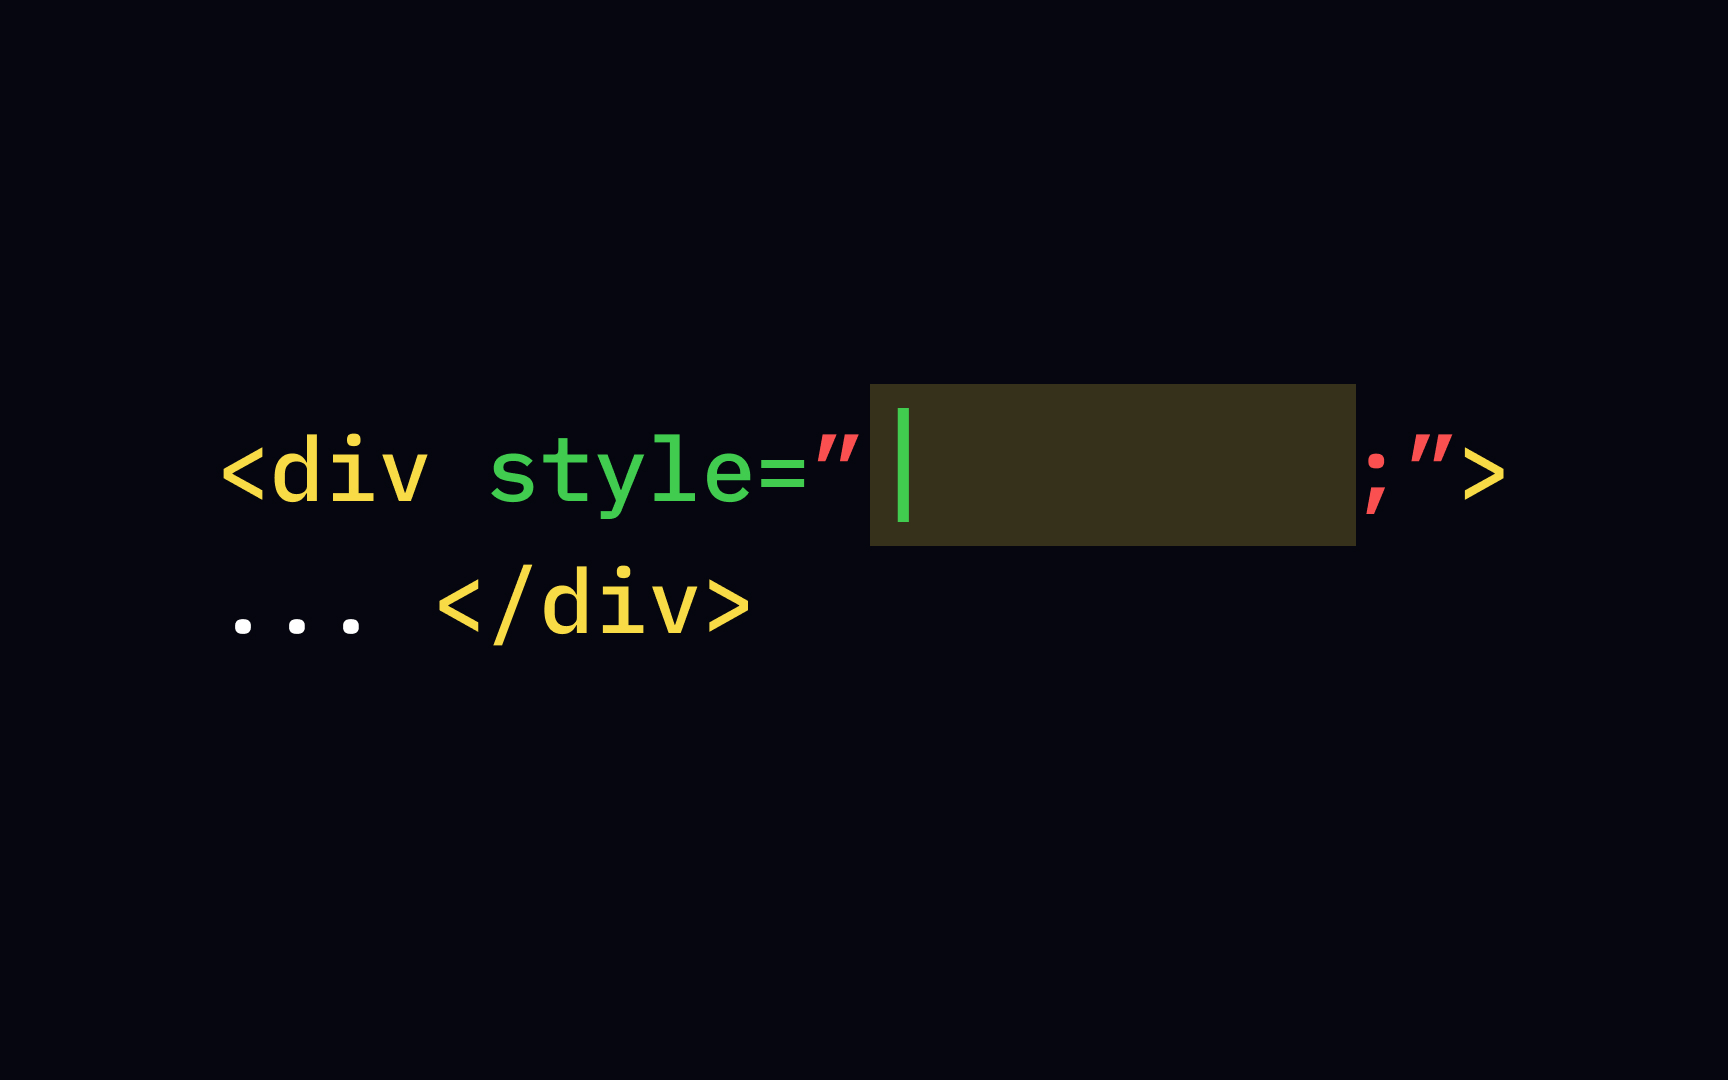
Technically, you can write it out in the following way. In the start tag, add an attribute style followed by an equals sign (=). Next, describe the property you want to set in the following order:
1. Open quotation marks
2. Indicate the property (for example, color)
3. Put a colon
4. State the property's value (for example, blue)
5. Put a semicolon
6. Close the quotation marks
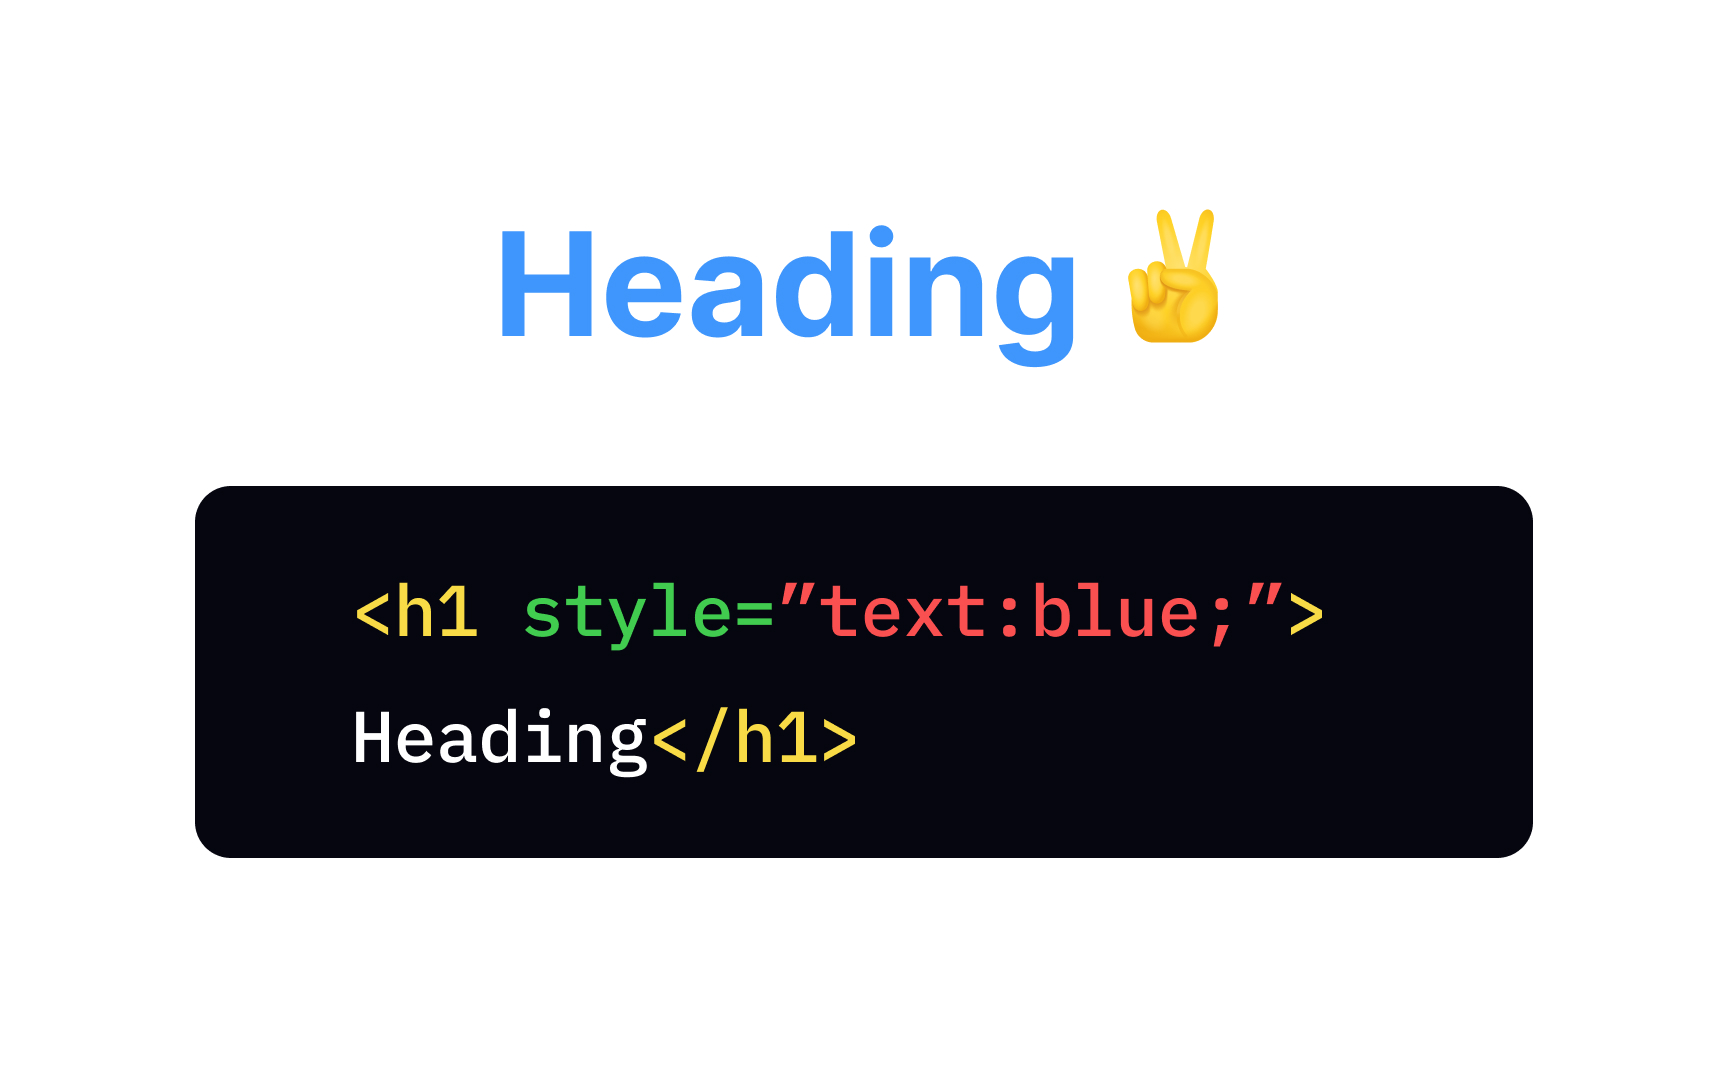
Pro Tip: Make sure not to miss any of the punctuation signs — without them, browsers won't be able to display your page correctly!
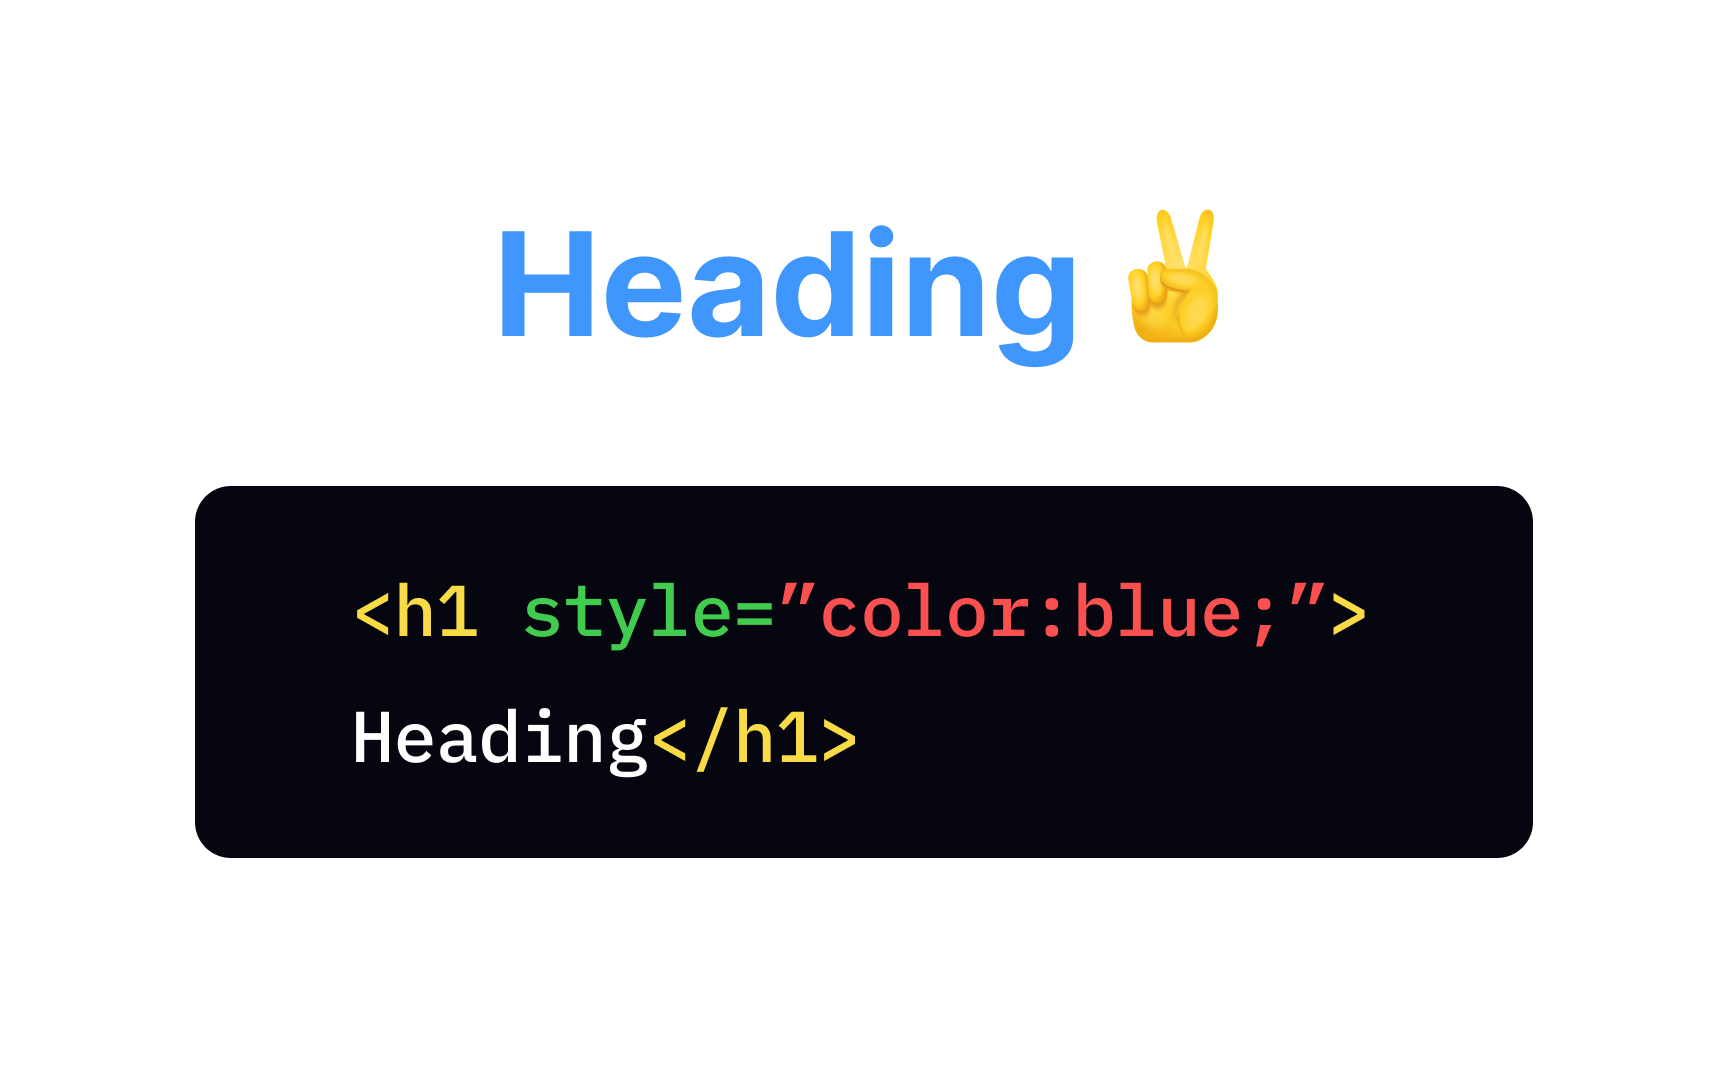
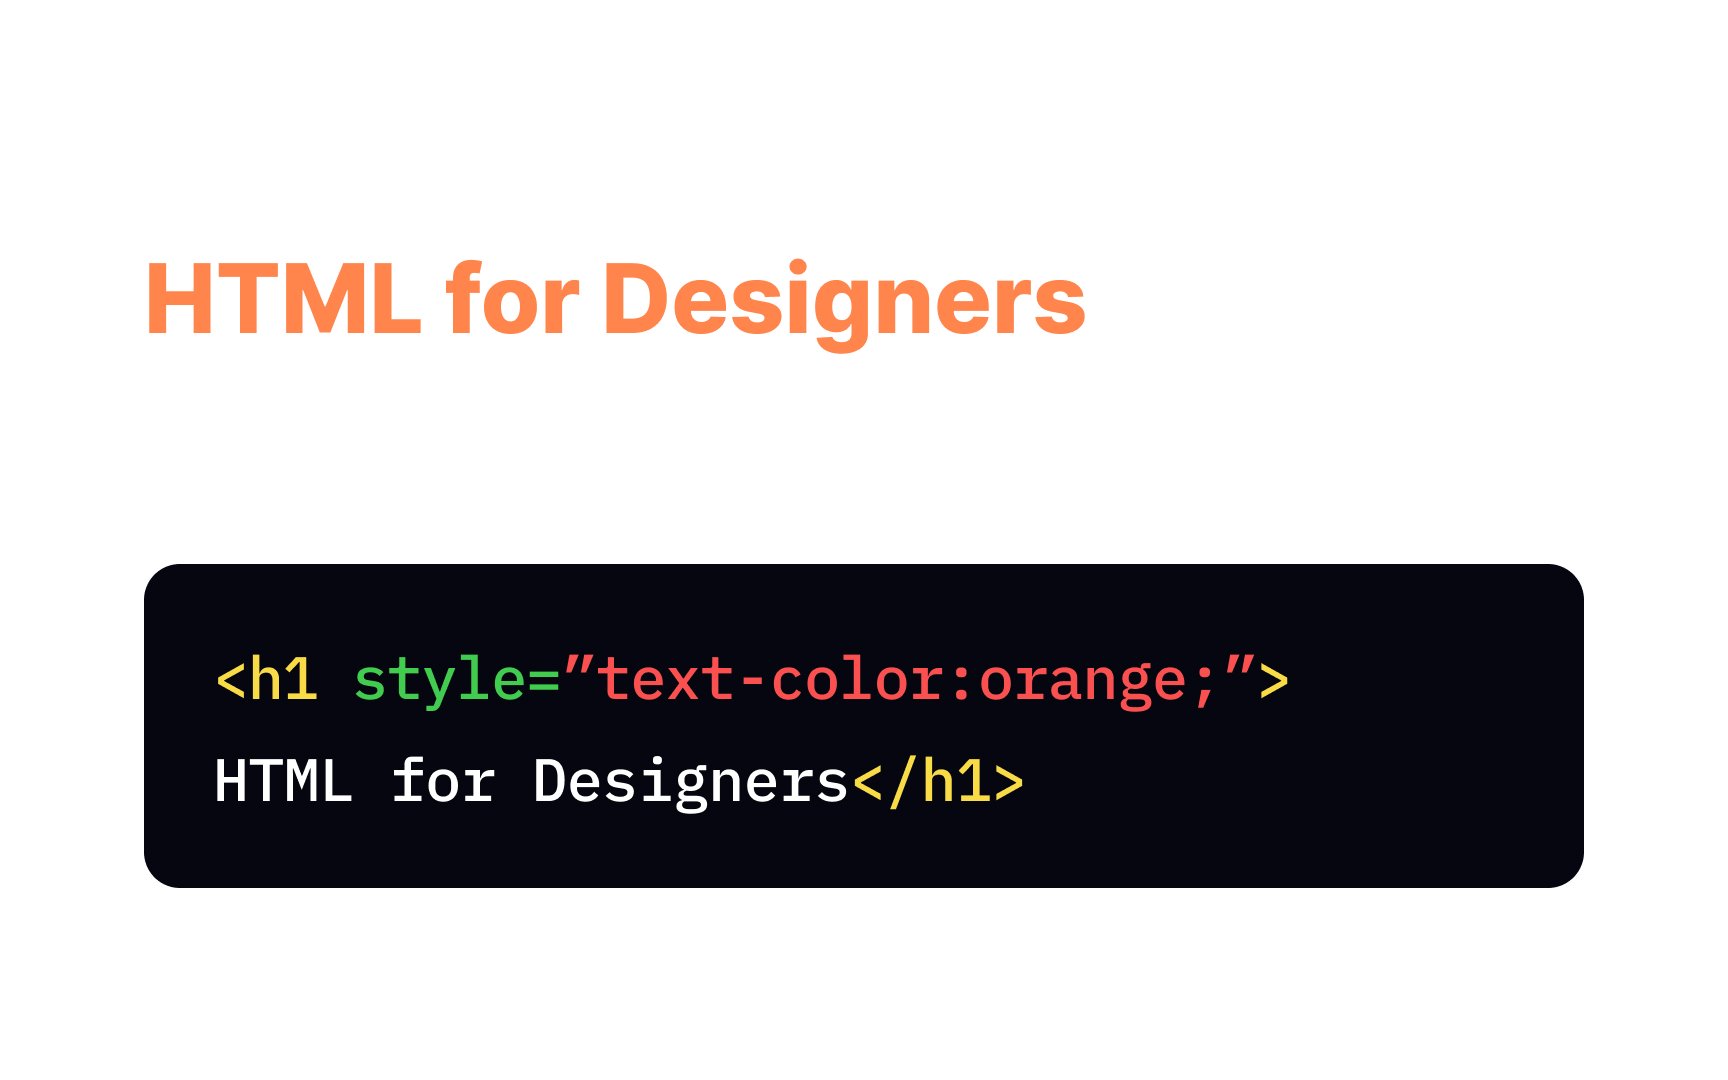
By default, browsers display the entire text as black unless stated otherwise. To change your text style to the text element color.
There are 3 different ways you can set a color:
• By name — for example, "blue" or "crimson"
• By hex value — for example, #0000FF
• By RGB value — for example, rgb(0, 0, 255)
While there are over 140 color names that all browsers support,[3] a more professional approach is to use the hex or RGB values.
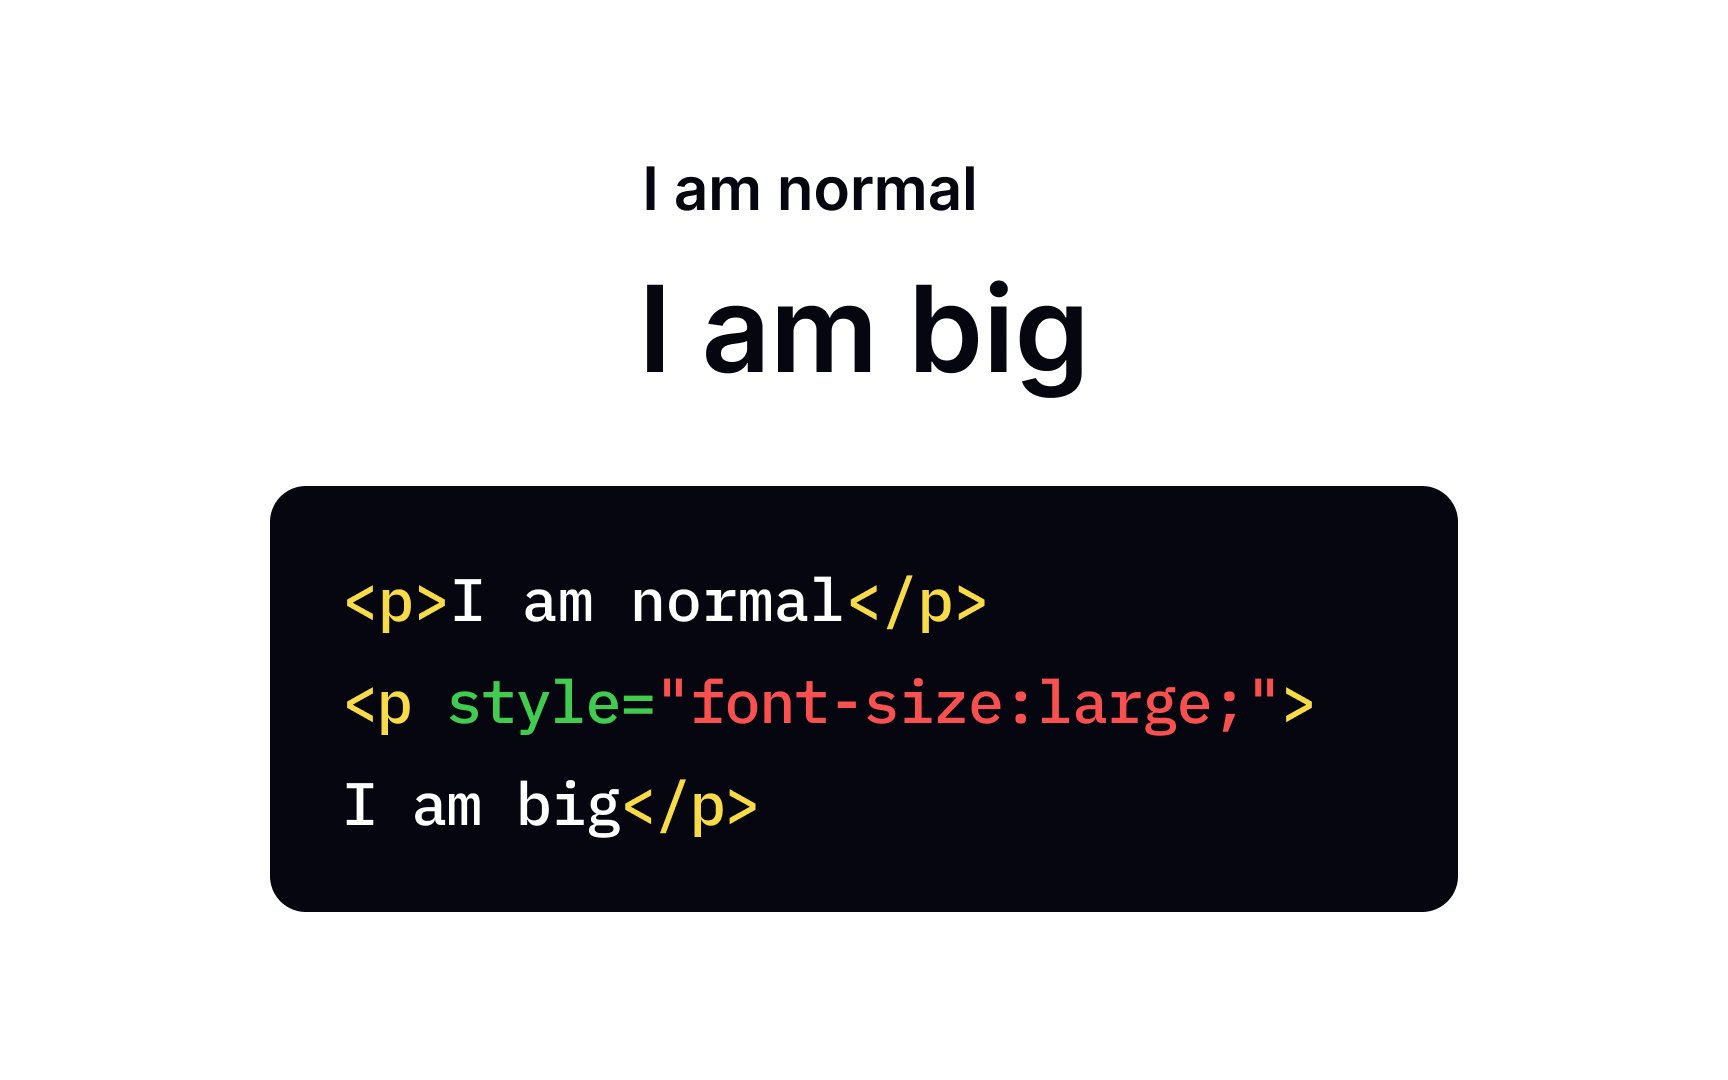
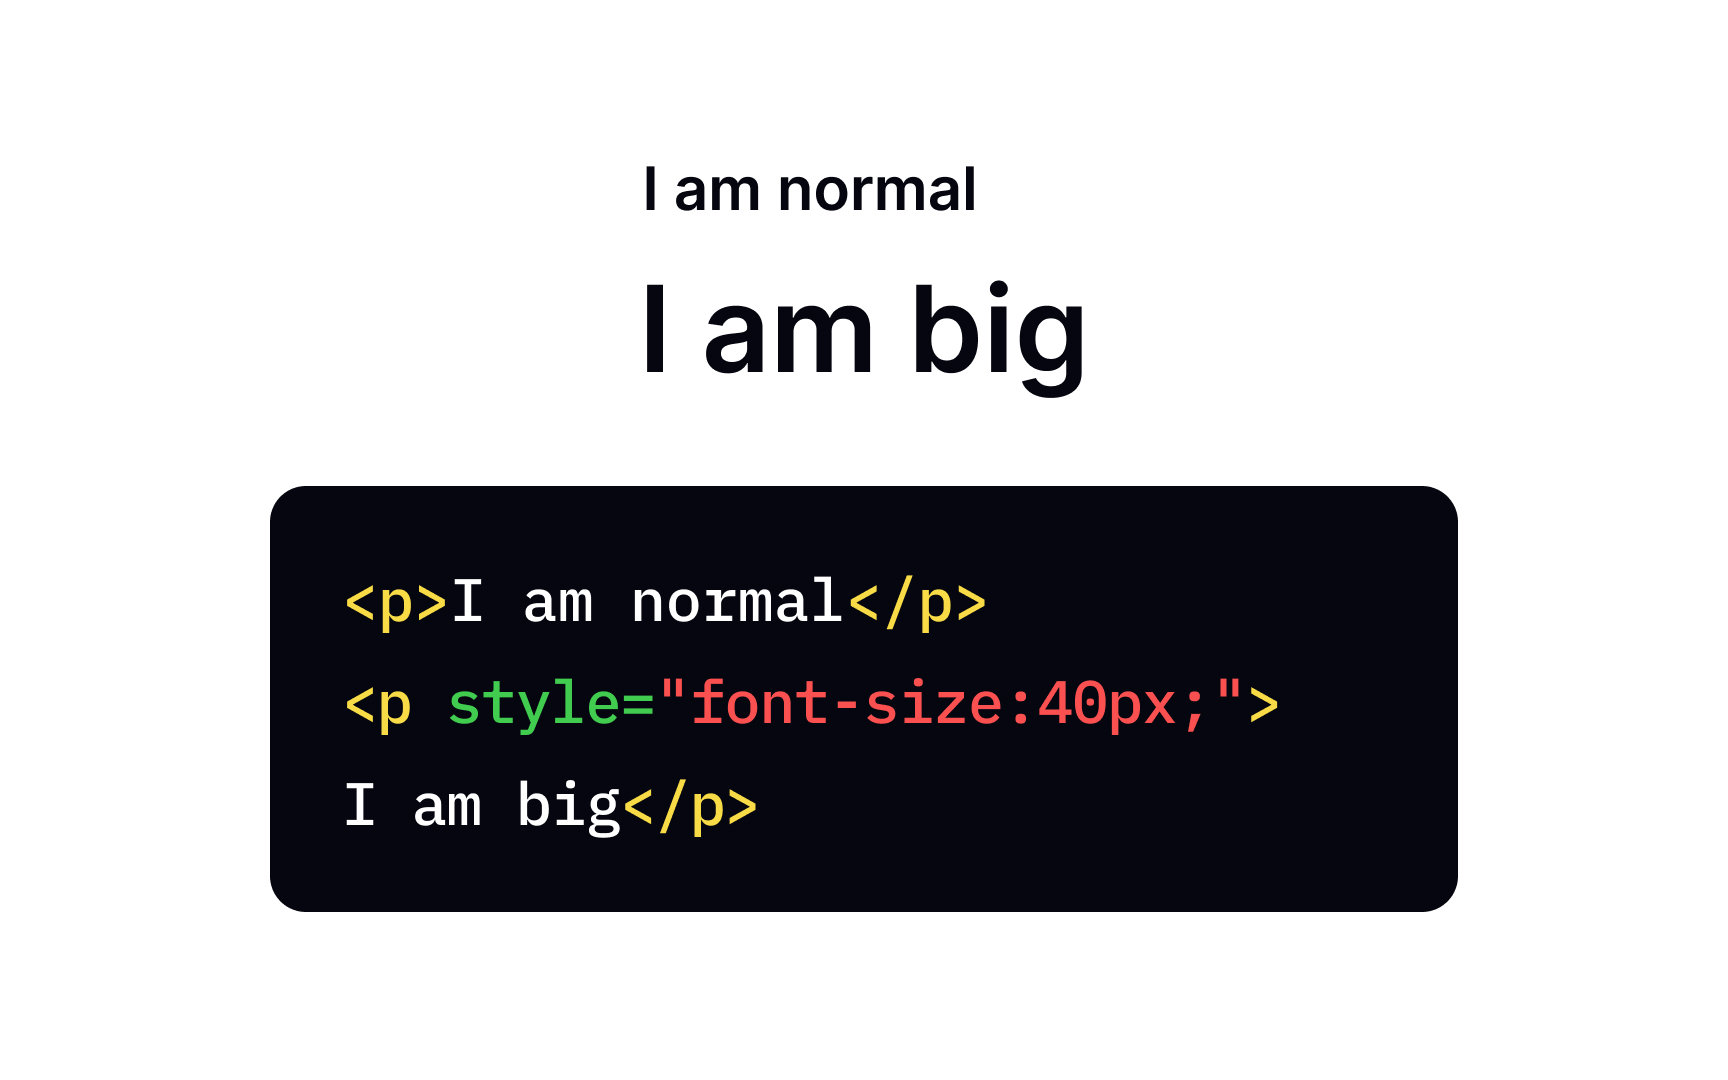
The standard font size across all browsers is 16px — that will be the size of your body text unless you indicate otherwise.
There are several types of units you can use to set the font size. The easiest is pixels, or px. To change the font size, add a style attribute to the text font-size, and enter the size you want your text to be in pixels — for example, 40px.
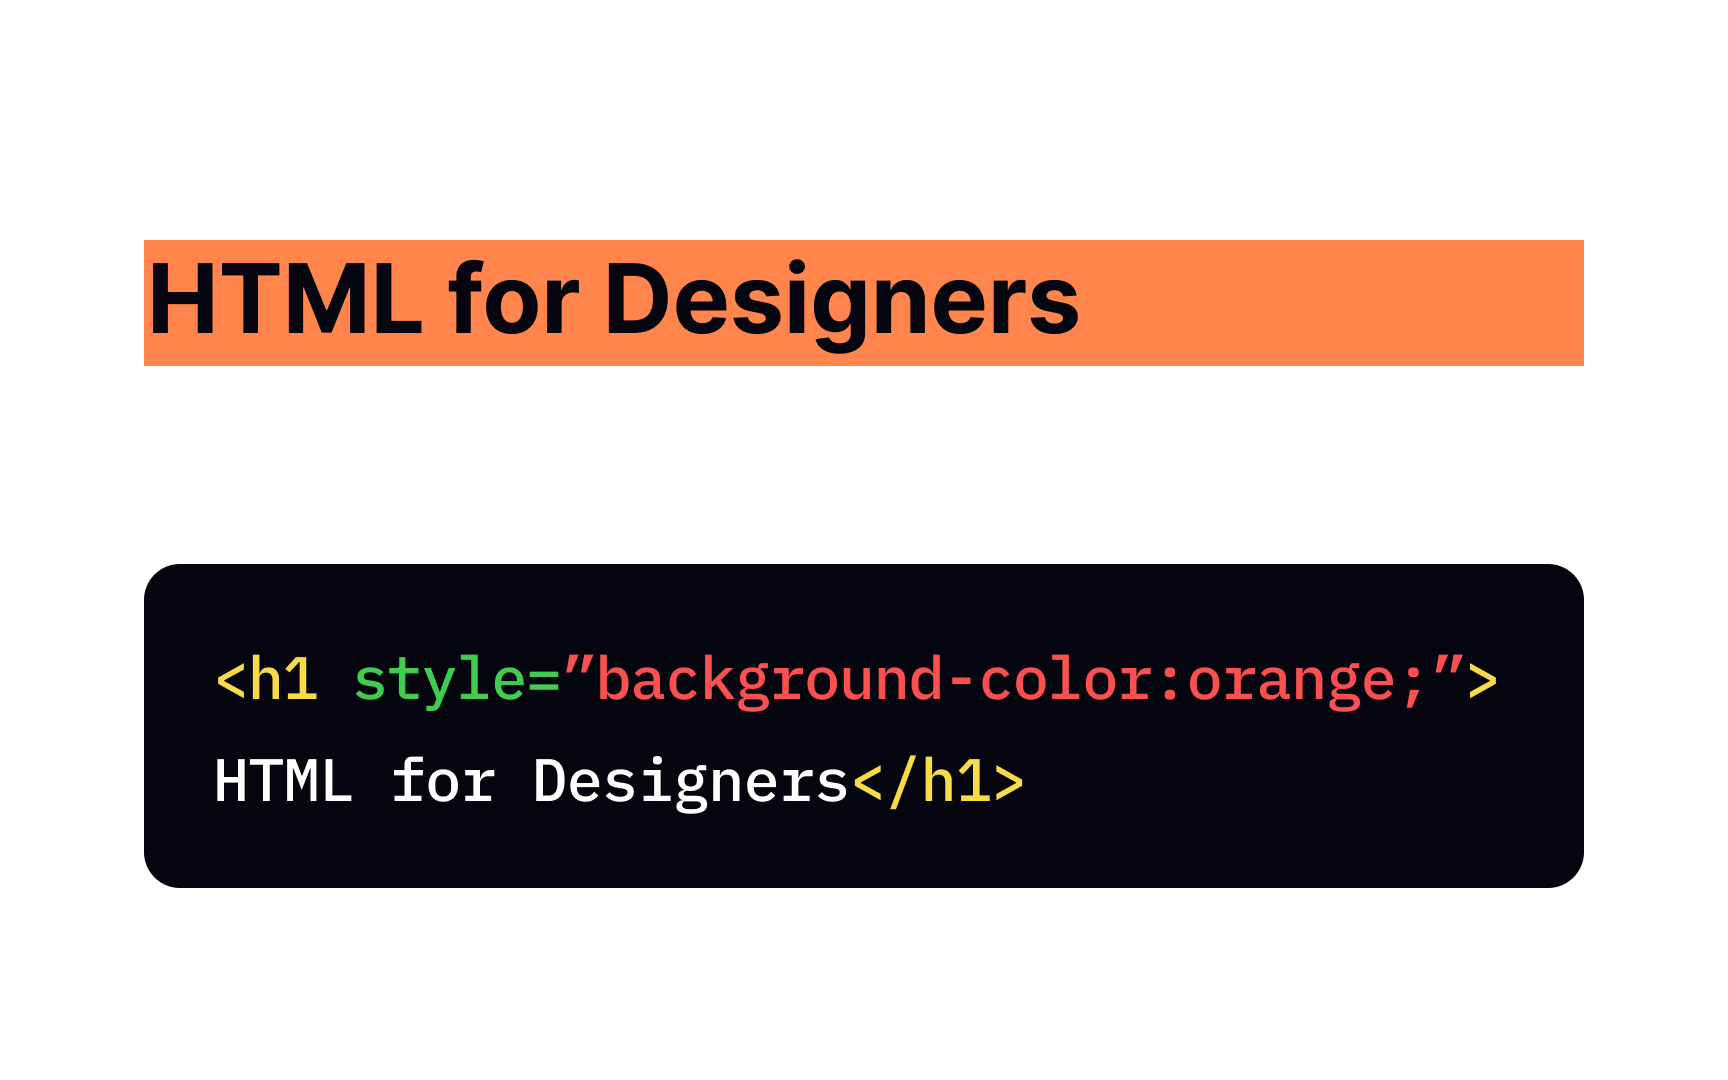
The default background
You can apply the background-color <body> element, or set the text background in text elements like <h1>. Similar to adjusting text color, you can use different types of values to set the background color: color name (orange), #FFA500) or RGB value (rgb(255, 165, 0)).
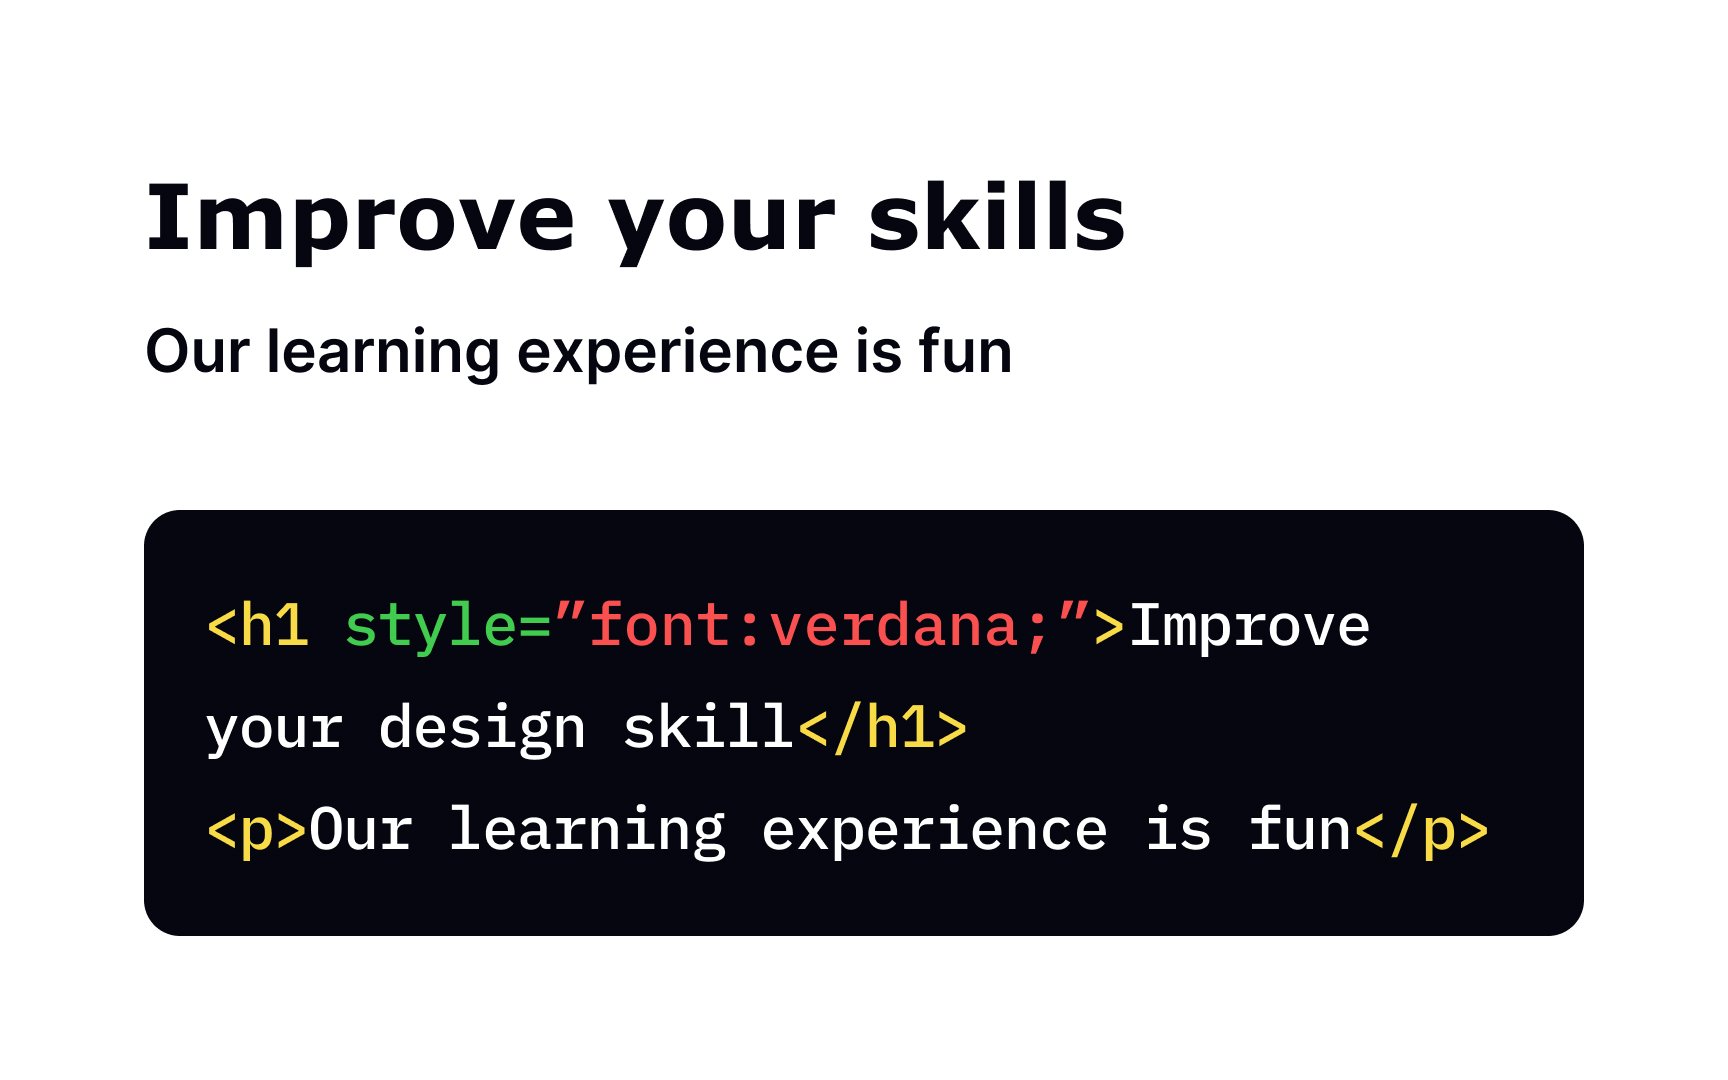
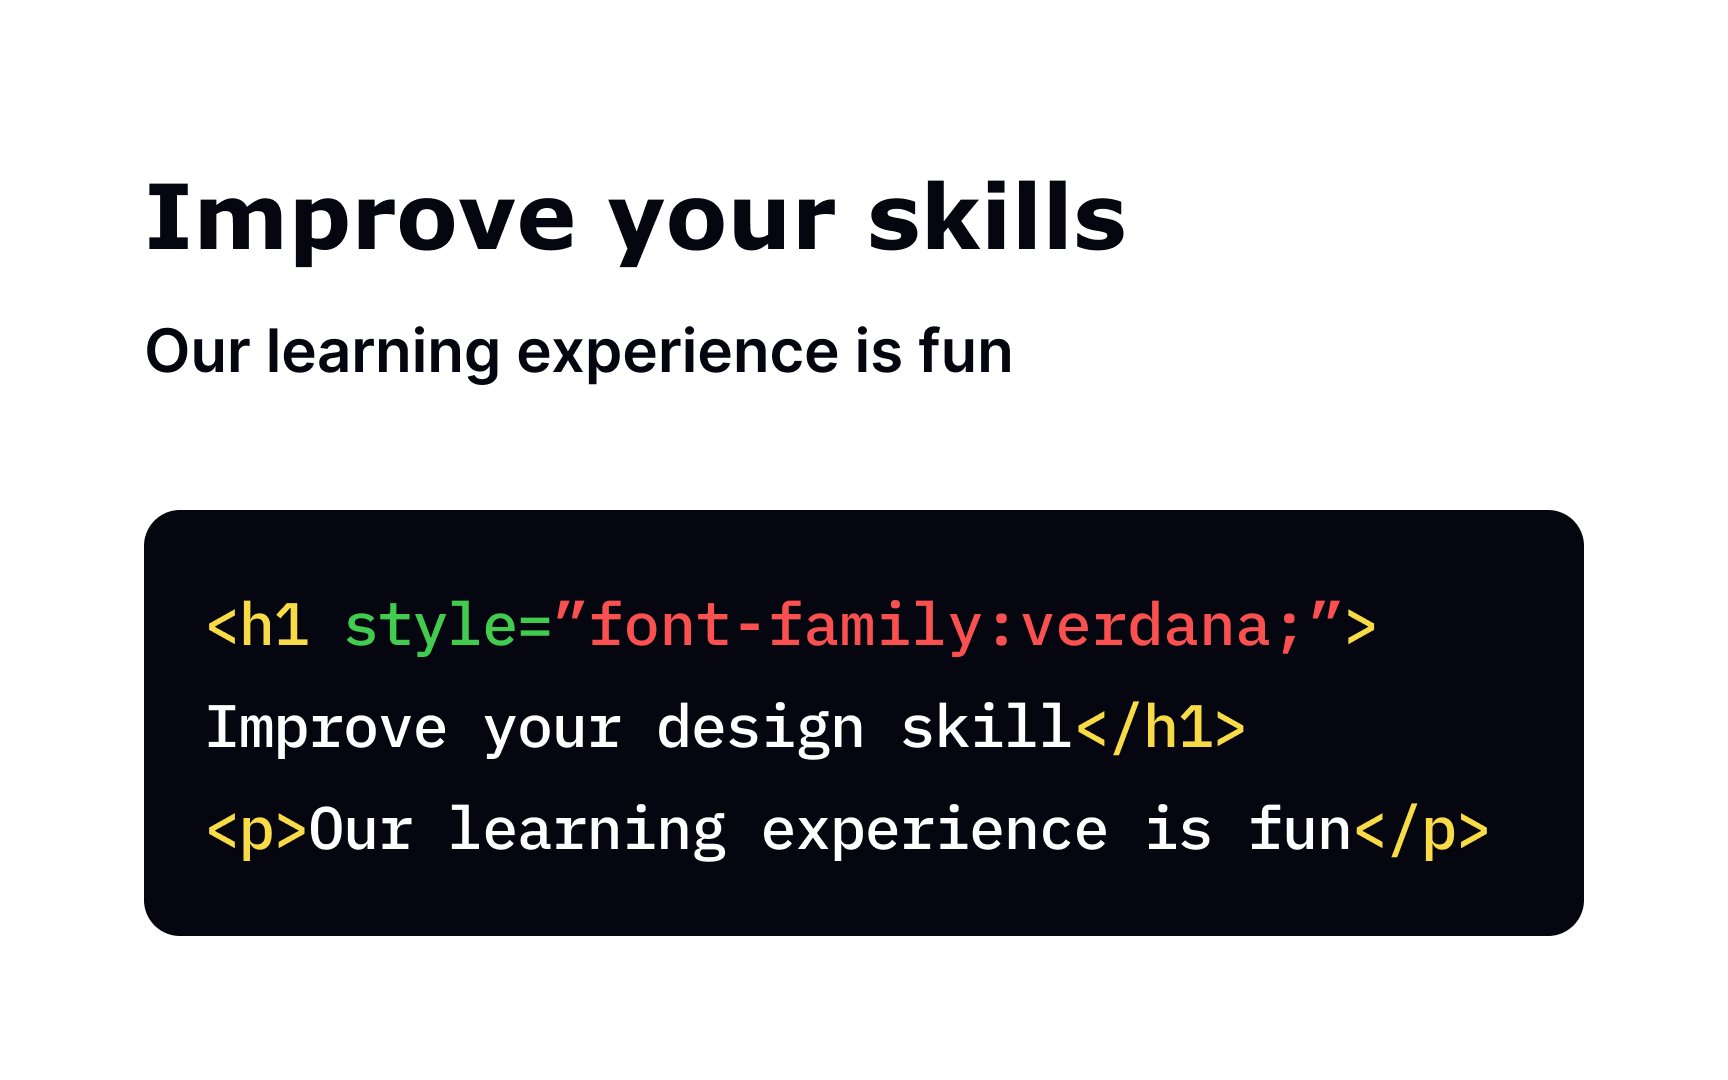
If you don't specify the typeface, aka style attribute to the text font-family.
One way to set a typeface value is to use a specific font family name, like Arial, Verdana, and Tahoma. Another way is using one of the 5 generic serif, sans-serif, monospace, cursive, and fantasy. In that case, the browser will provide one font of the chosen category it supports.
If we imagine that all
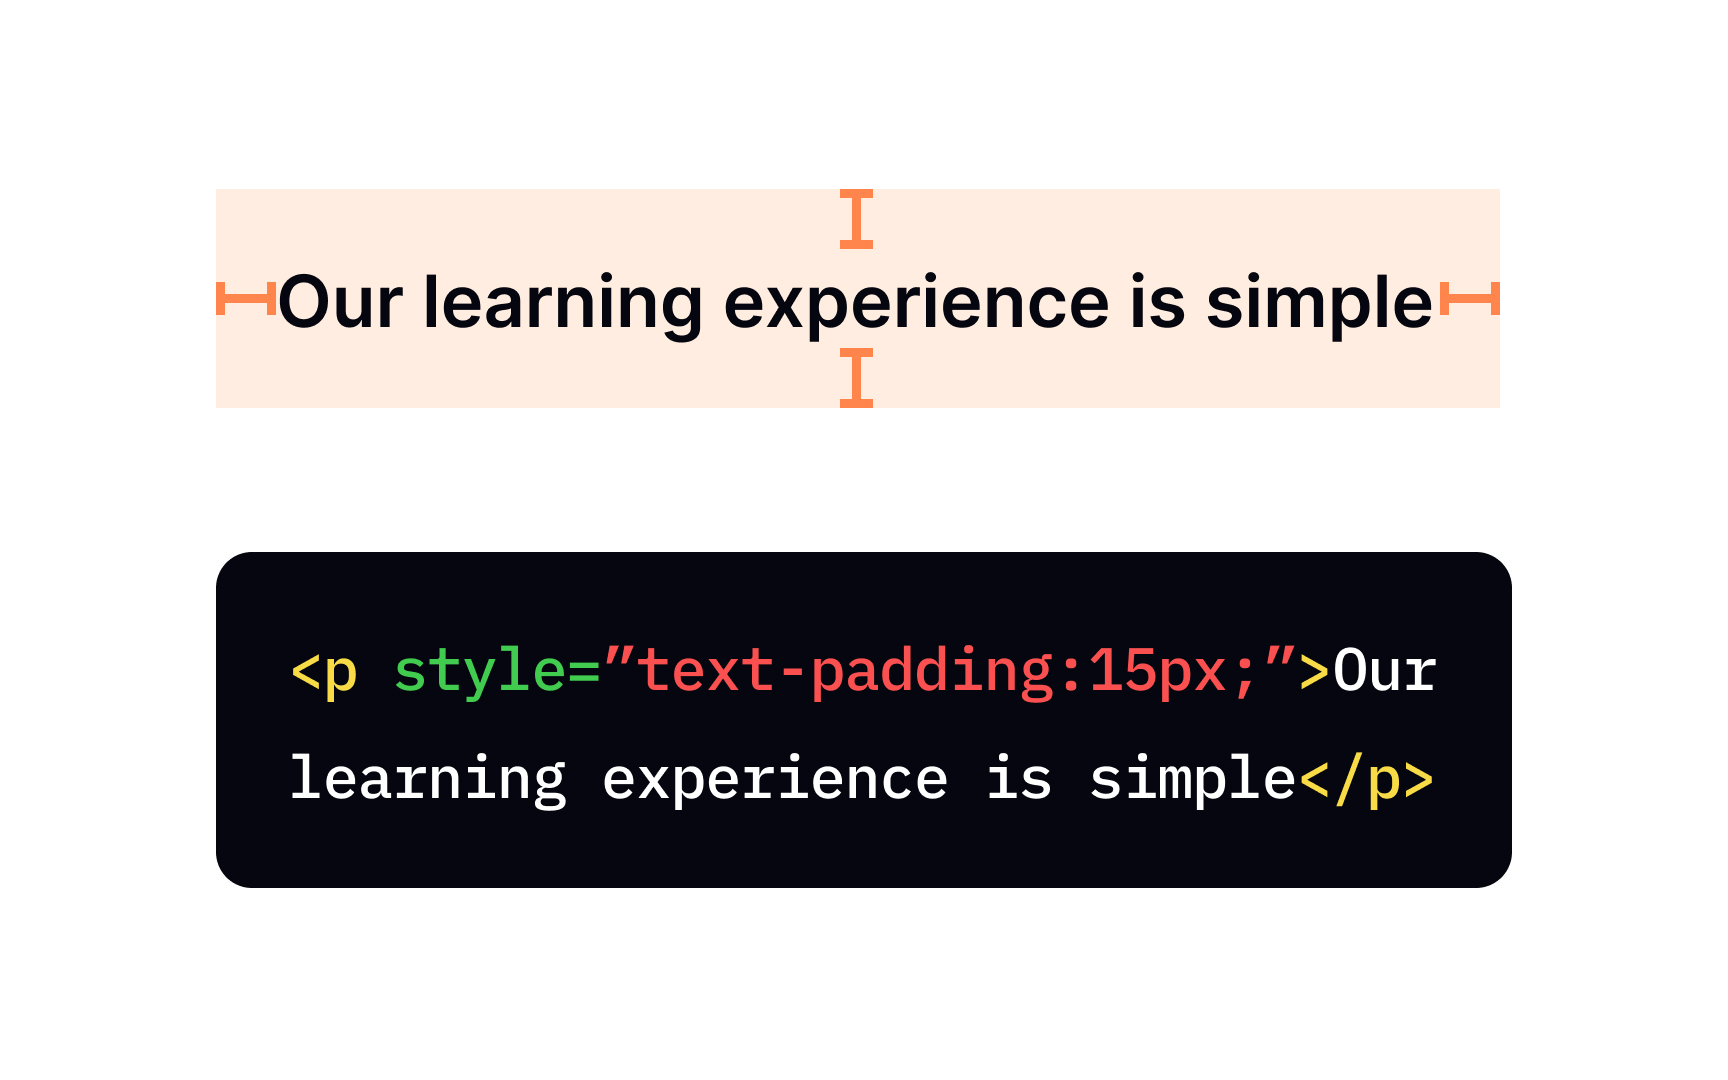
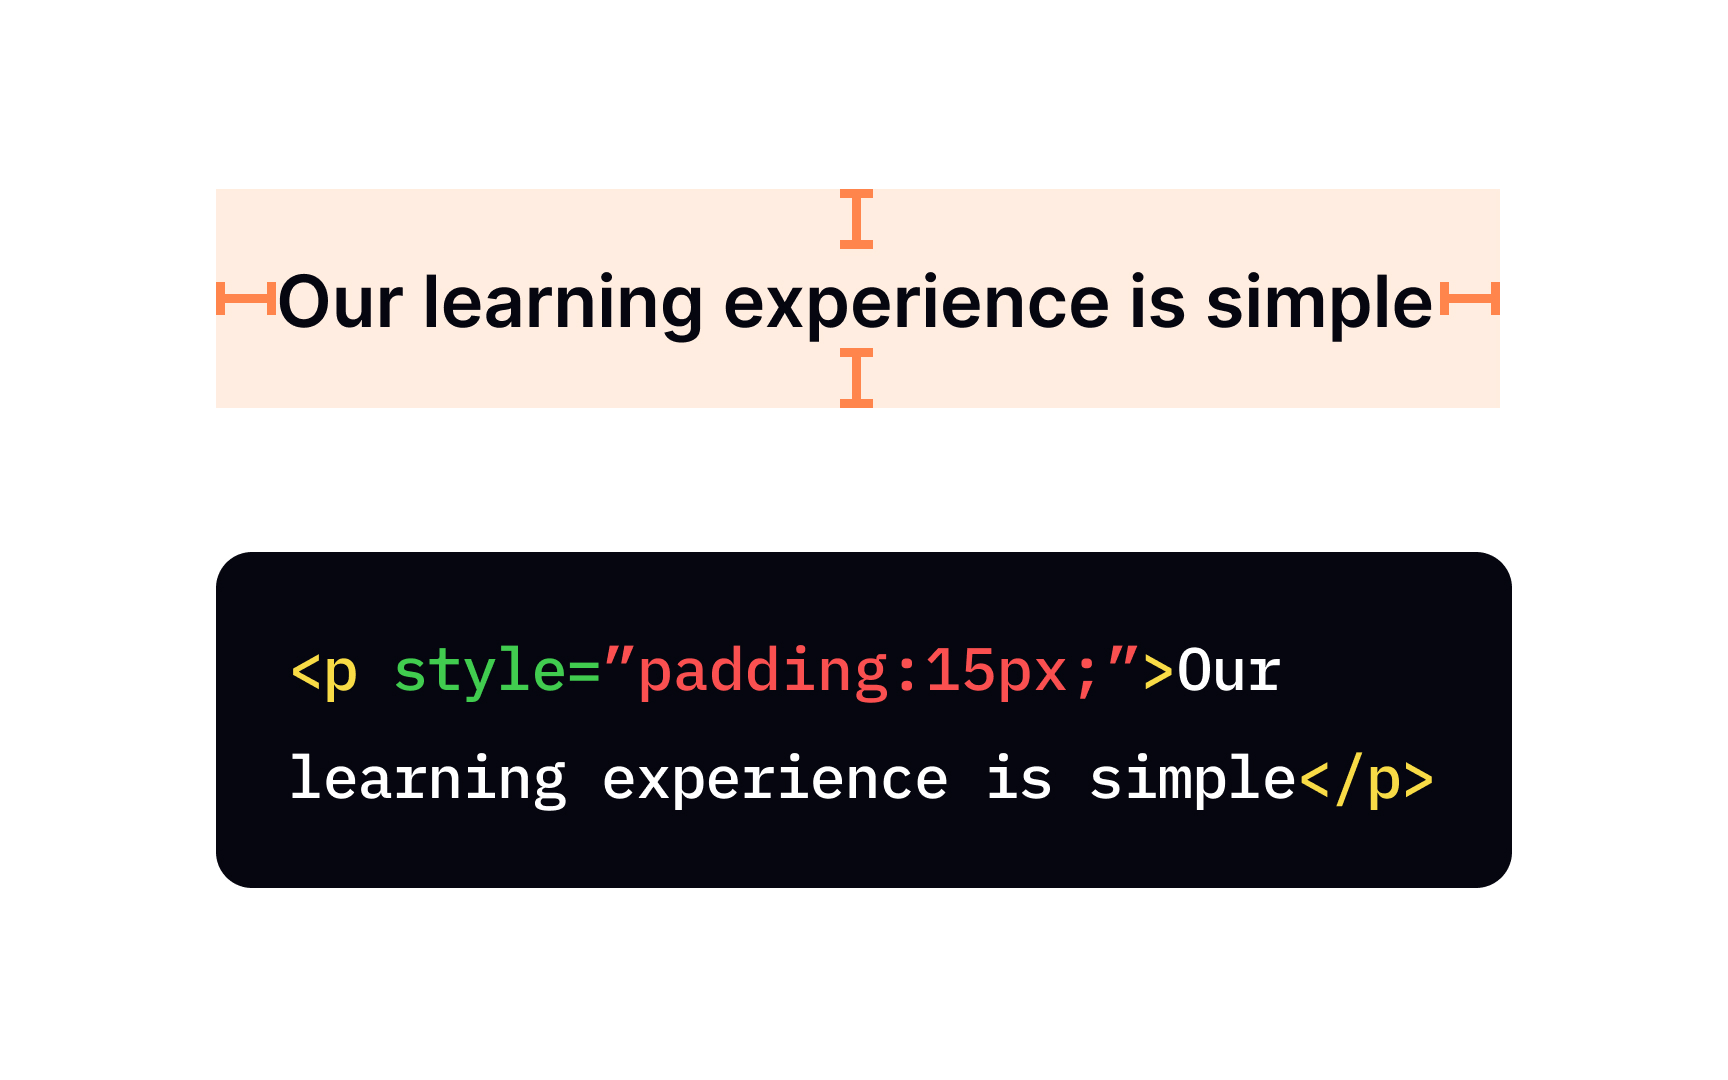
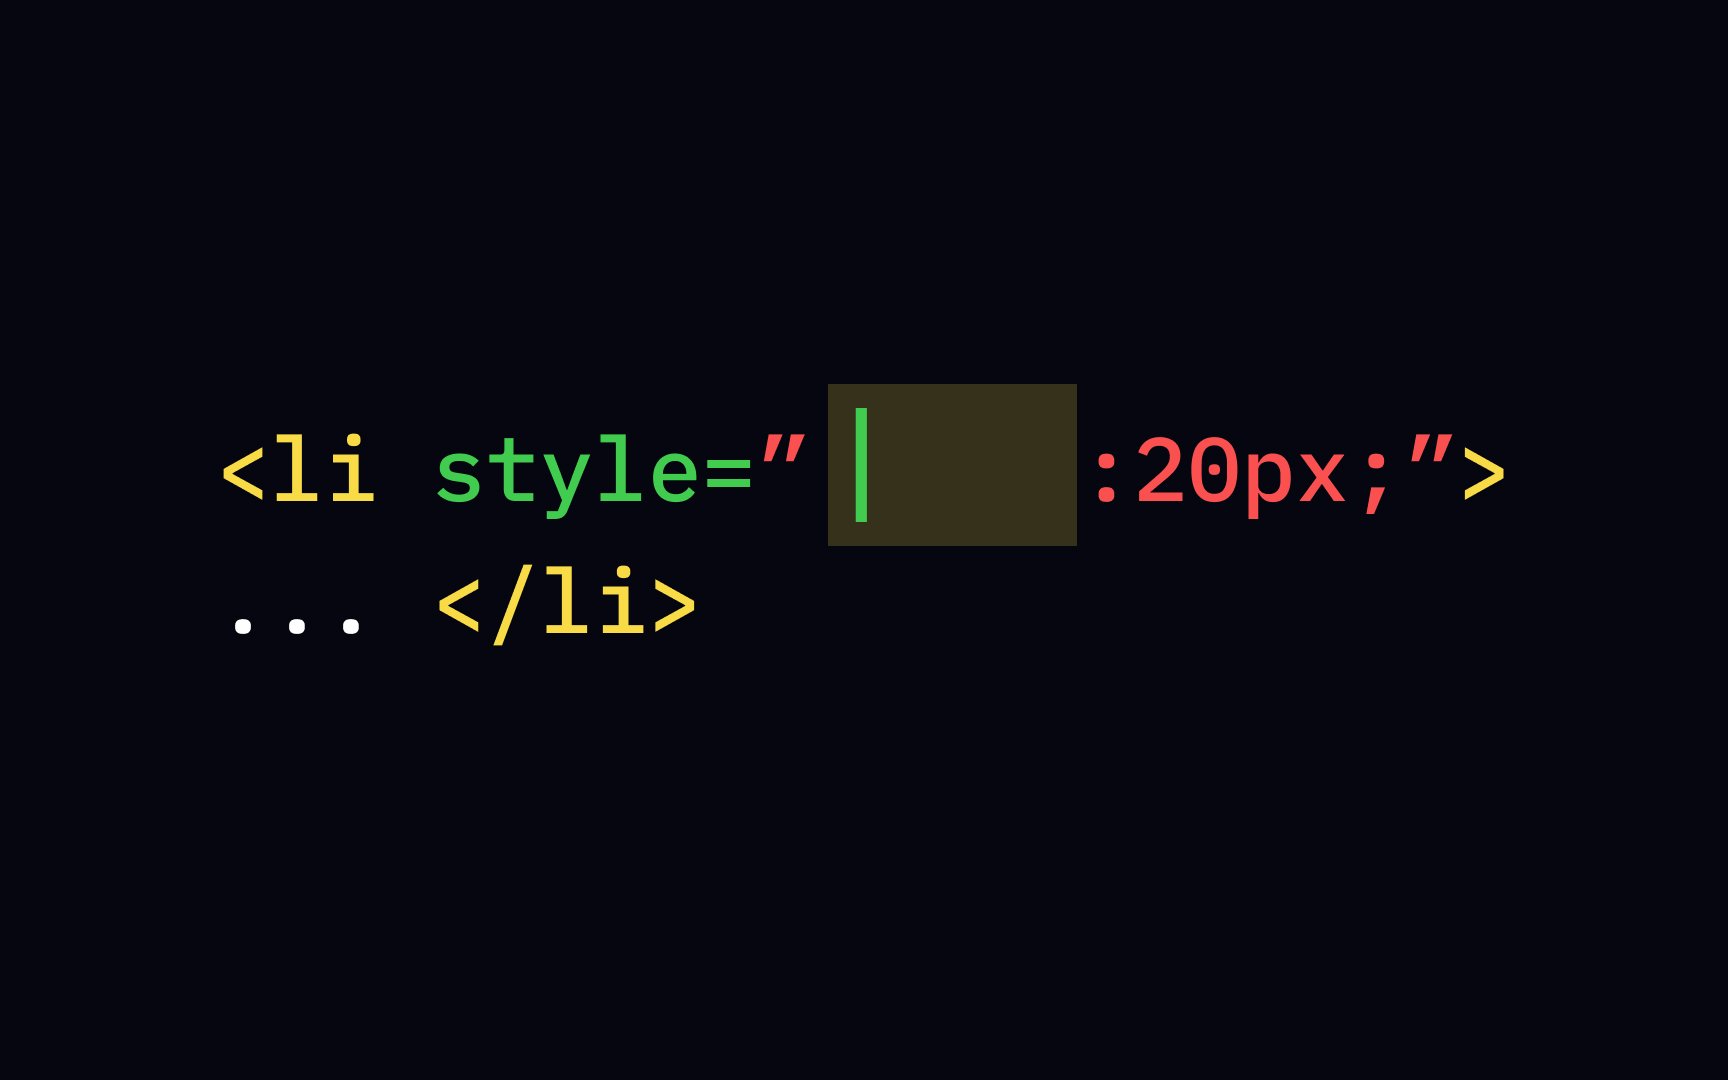
But what if you wanted to set custom space between the content and its border? You can totally do this by using the padding inside the style attribute. Set the value of the padding you desire in
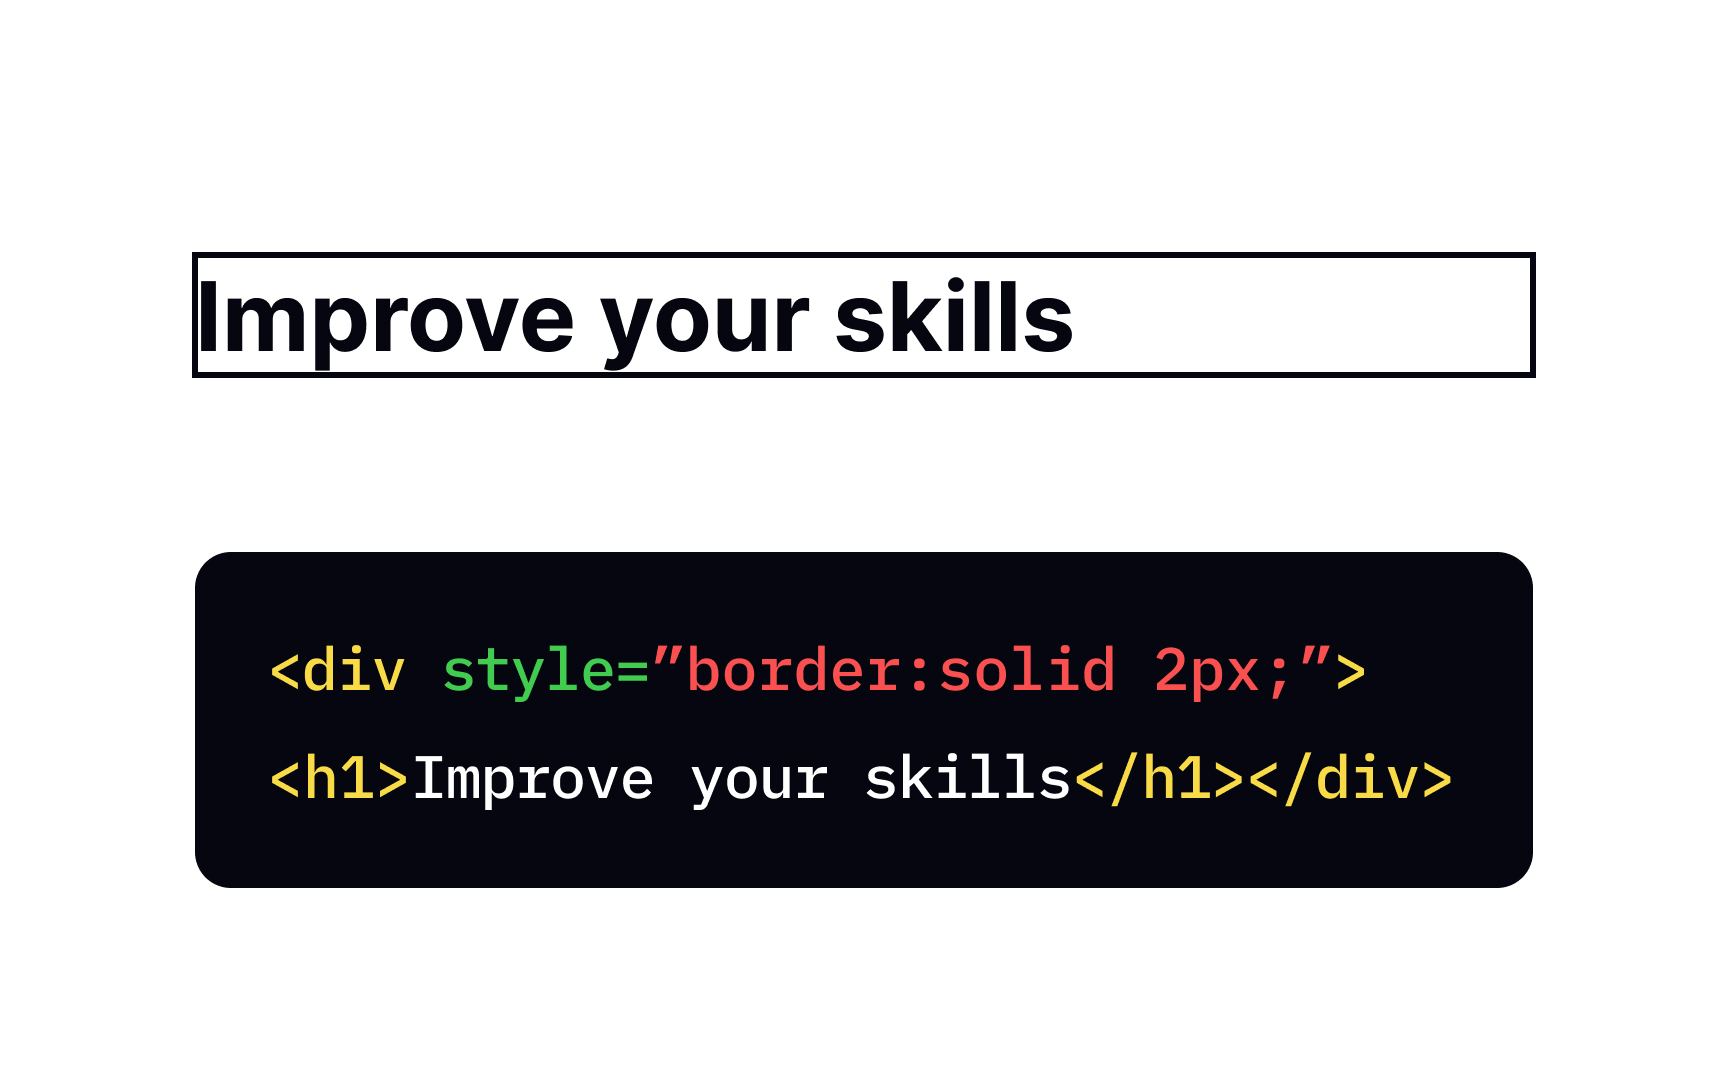
By default, elements' borders are invisible. However, border style is by using the border
You can set all 3 values inside the border property: width, style, and color. It doesn't matter if one of the values is missing. For example, to set a solid 1-pixel border around a section of a style attribute in the <div> tag with the value "border:1px solid;". If you don't specify the color, the border color will match the text color.
The easiest way to set a
Many font-size value is no different. The easiest way is to define your text's size is to use px — an absolute unit that always remains the same no matter what.
But if you will be changing the document's default em and rem come into play, being equal to the font size of the parent and root element (<HTML>), respectively. For example, if you set a <h1 style=" font-size: 2rem;">, your headings will always be twice as big as the
If your default language uses a left-to-right script, the default alignment will be left. To change this, set the text-align value to the right.
Other values this center, which centers the text, and justify, which stretches the lines so that they all have equal width, like in a newspaper.
You can apply the background-color <body>
Remember how
"padding: 25px;" will make padding on all sides 25
However, there are ways to set different padding values for every side. You can write 4 values for the padding property that will respectively define the top, right, bottom, and left padding. For example, "padding: 25px 50px 75px 100px;". However, this method can get really confusing, so another option is to use individual padding properties "padding-top:25px;", "padding-right:50px;", "padding-bottom:75px;", and "padding-left:100px;".
References
Top contributors


Topics
From Course

Share


Similar lessons

Intro to HTML

Intro to HTML Elements
