HTML Media
Learn how to incorporate various media elements into your web pages with HTML
Since we know the ins and outs of adding images to the HTML page, it's time to learn how to work with other HTML media types. This lesson covers basic knowledge of how to embed video and audio content into a webpage, add captions/subtitles to video, prevent autoplay, and more using HTML attributes and tags.

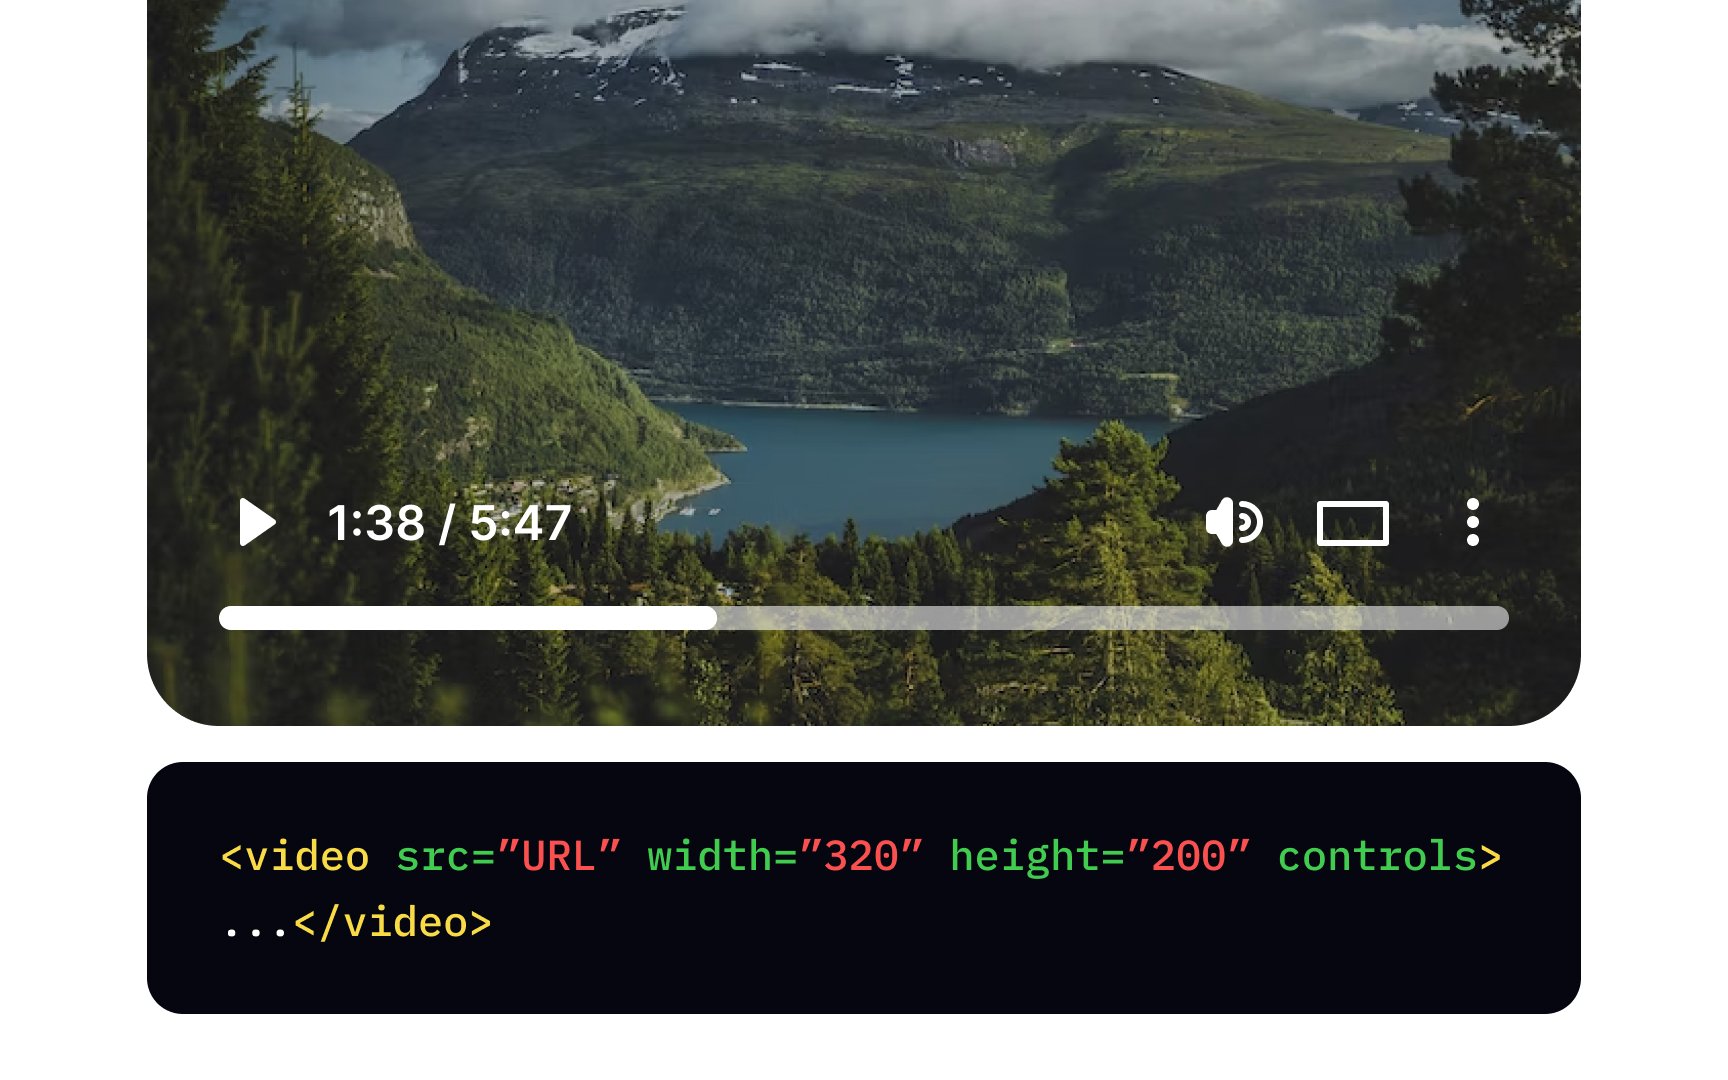
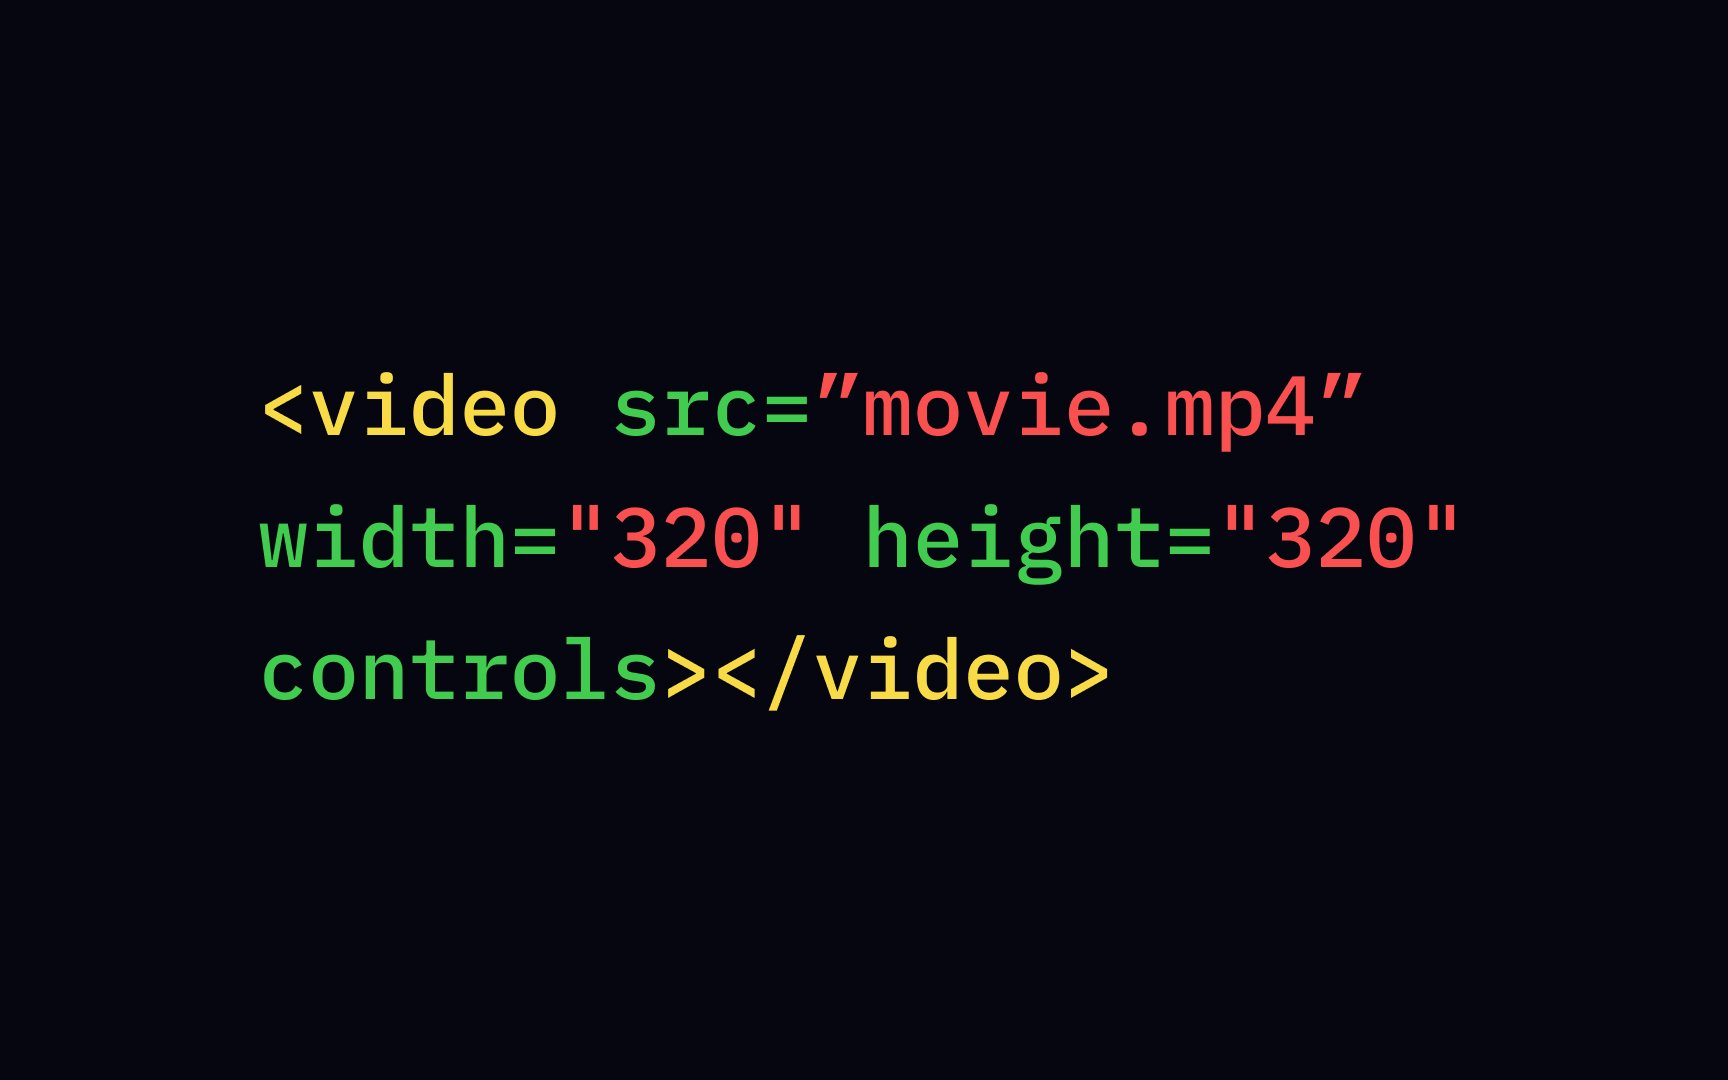
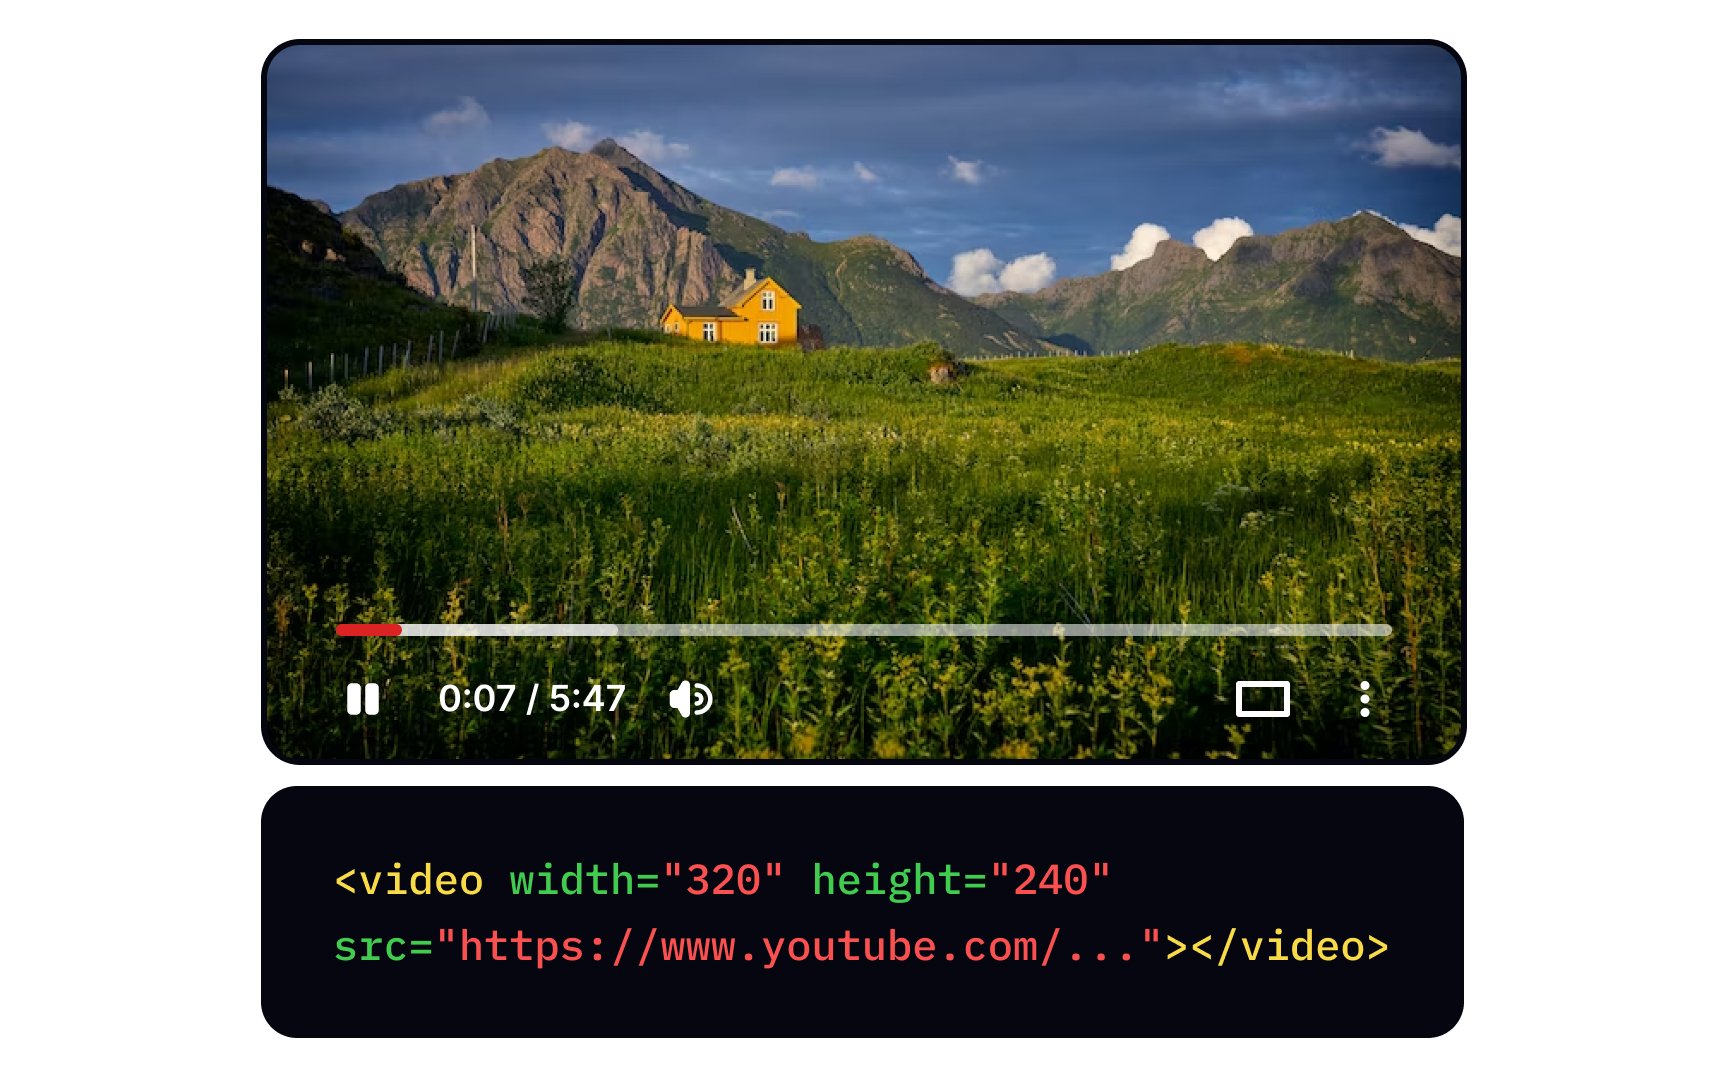
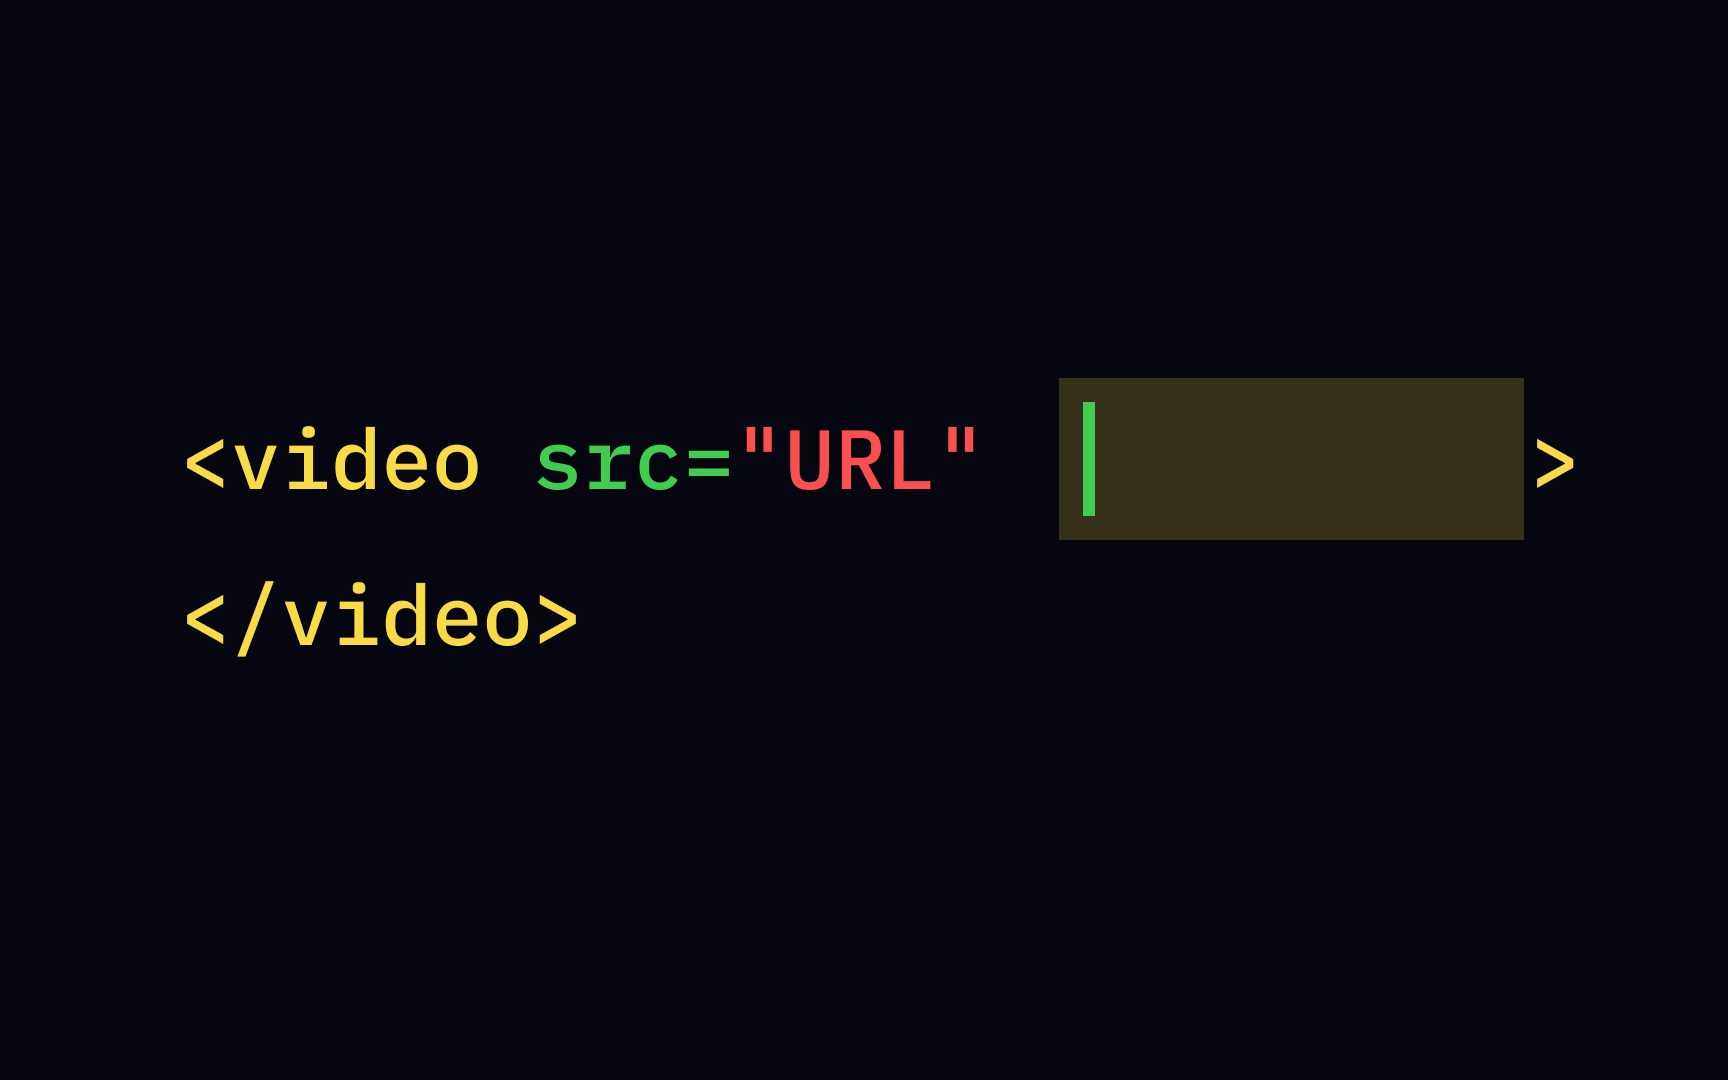
We use the <video> element for showing a video on a web <img> tag, the <video> tag requires the src attribute to contain a link to the video source. It also includes properties that set the width and height of the video box. Unlike the <img> tag, the <video> element requires both start and end
Pro Tip: Insert the text "Video not supported" between the start and end video tags. This text will only show up if your browser cannot load the video.
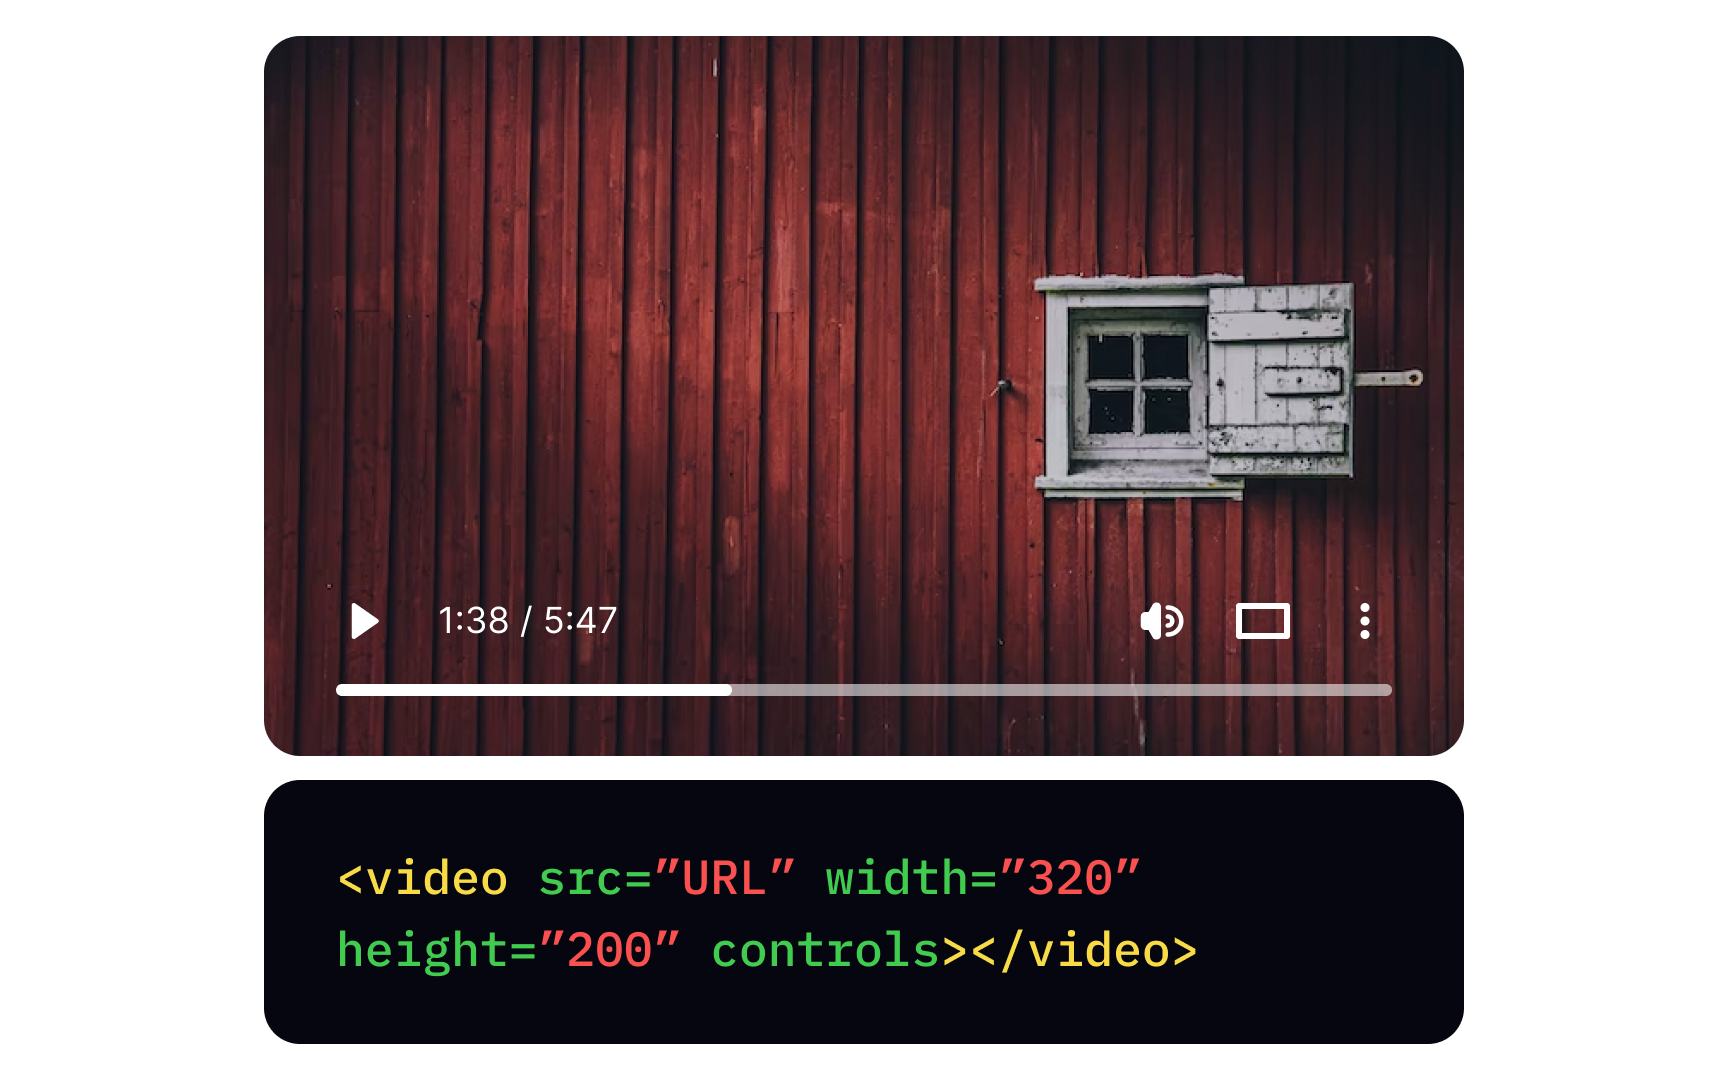
A video that plays by itself without any options to pause or quit is a nightmare. Worse, it can trigger epileptic seizures, panic attacks, or migraines. To avoid these worst case scenarios, developers use the controls attribute inside the <video>
The width and height attributes define the horizontal and vertical dimensions of the video, respectively. Without them, the
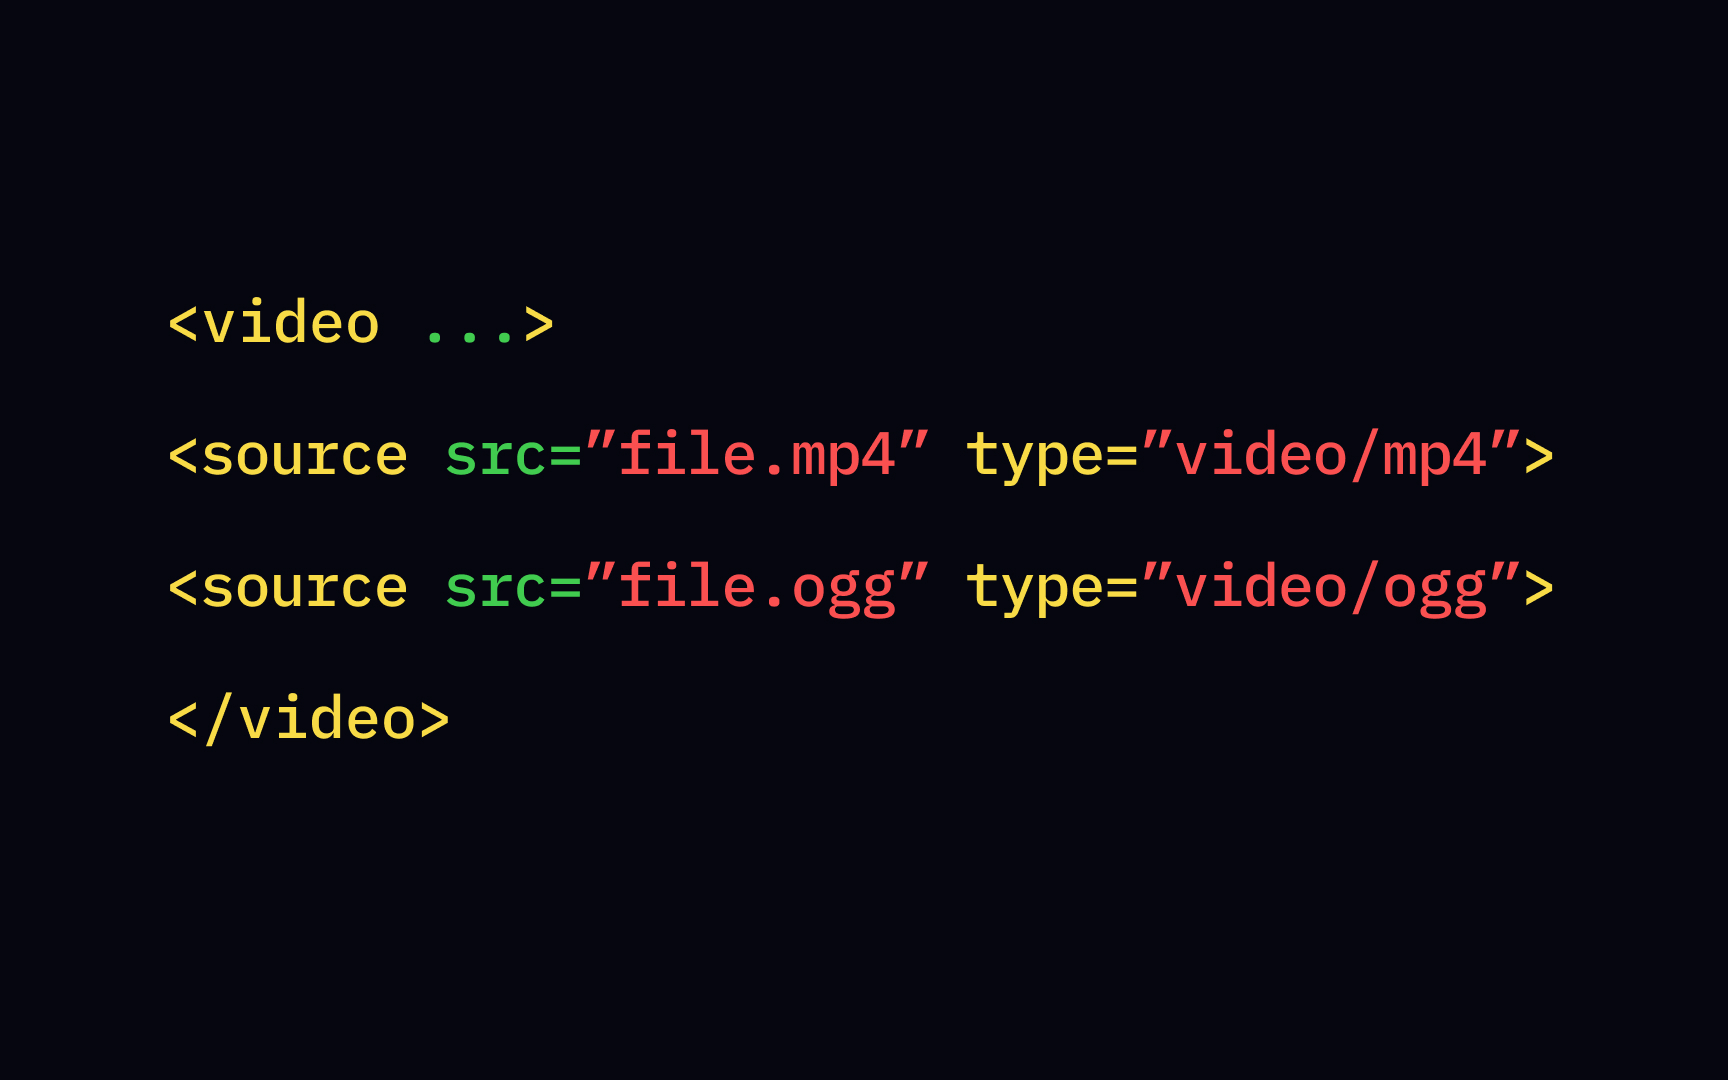
There are 2 ways to specify the path to the media you want to embed. The easiest is to use the src attribute inside the <video> <source> element for each format inside the <video> tag. For each source, you need to specify the URL with the required src attribute.
You also want to add the type attribute to let the browsers know the embedded media type (aka MIME type).
For video content, the syntax could be:
video/ogg
video/mp4
video/webm
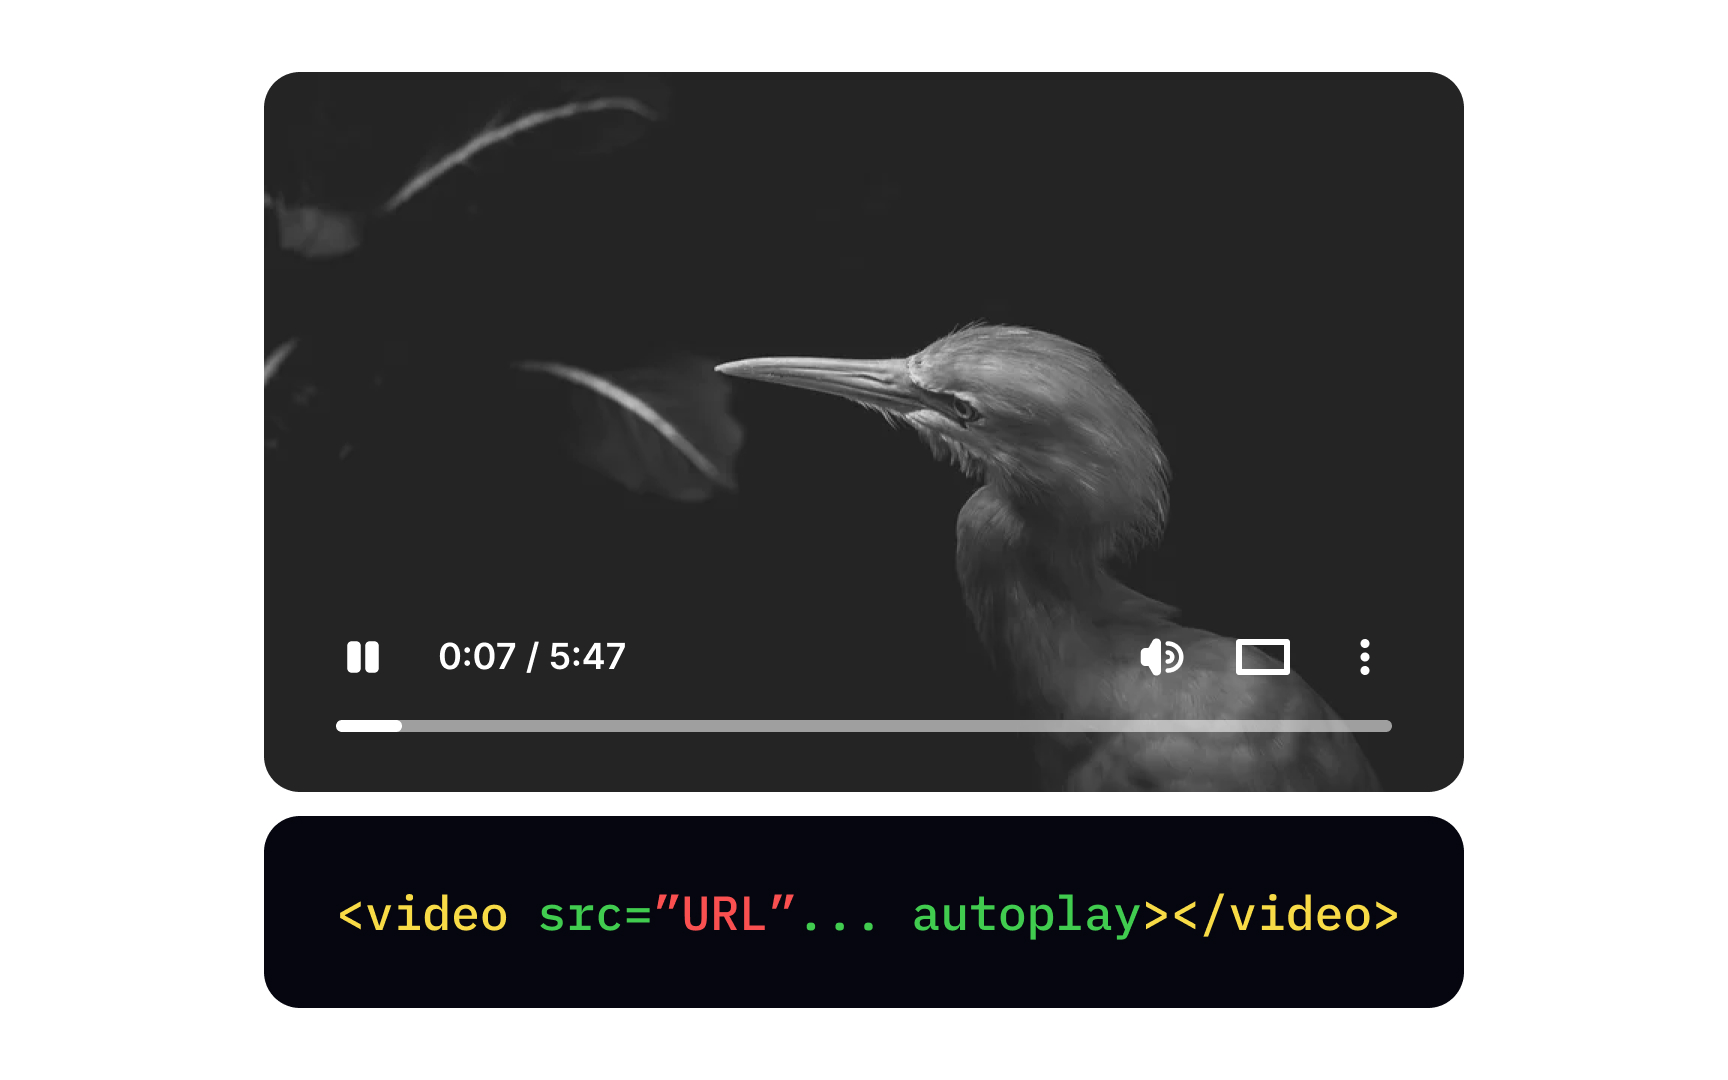
The autoplay attribute plays the video automatically once you enter the <video> width and height attributes.
While autoplay videos can boost conversions, they're profoundly annoying for average users and dangerous for individuals with disabilities. Think twice before adding the autoplay attribute. Such media can trigger seizures and other physical reactions, making the website downright off-putting.
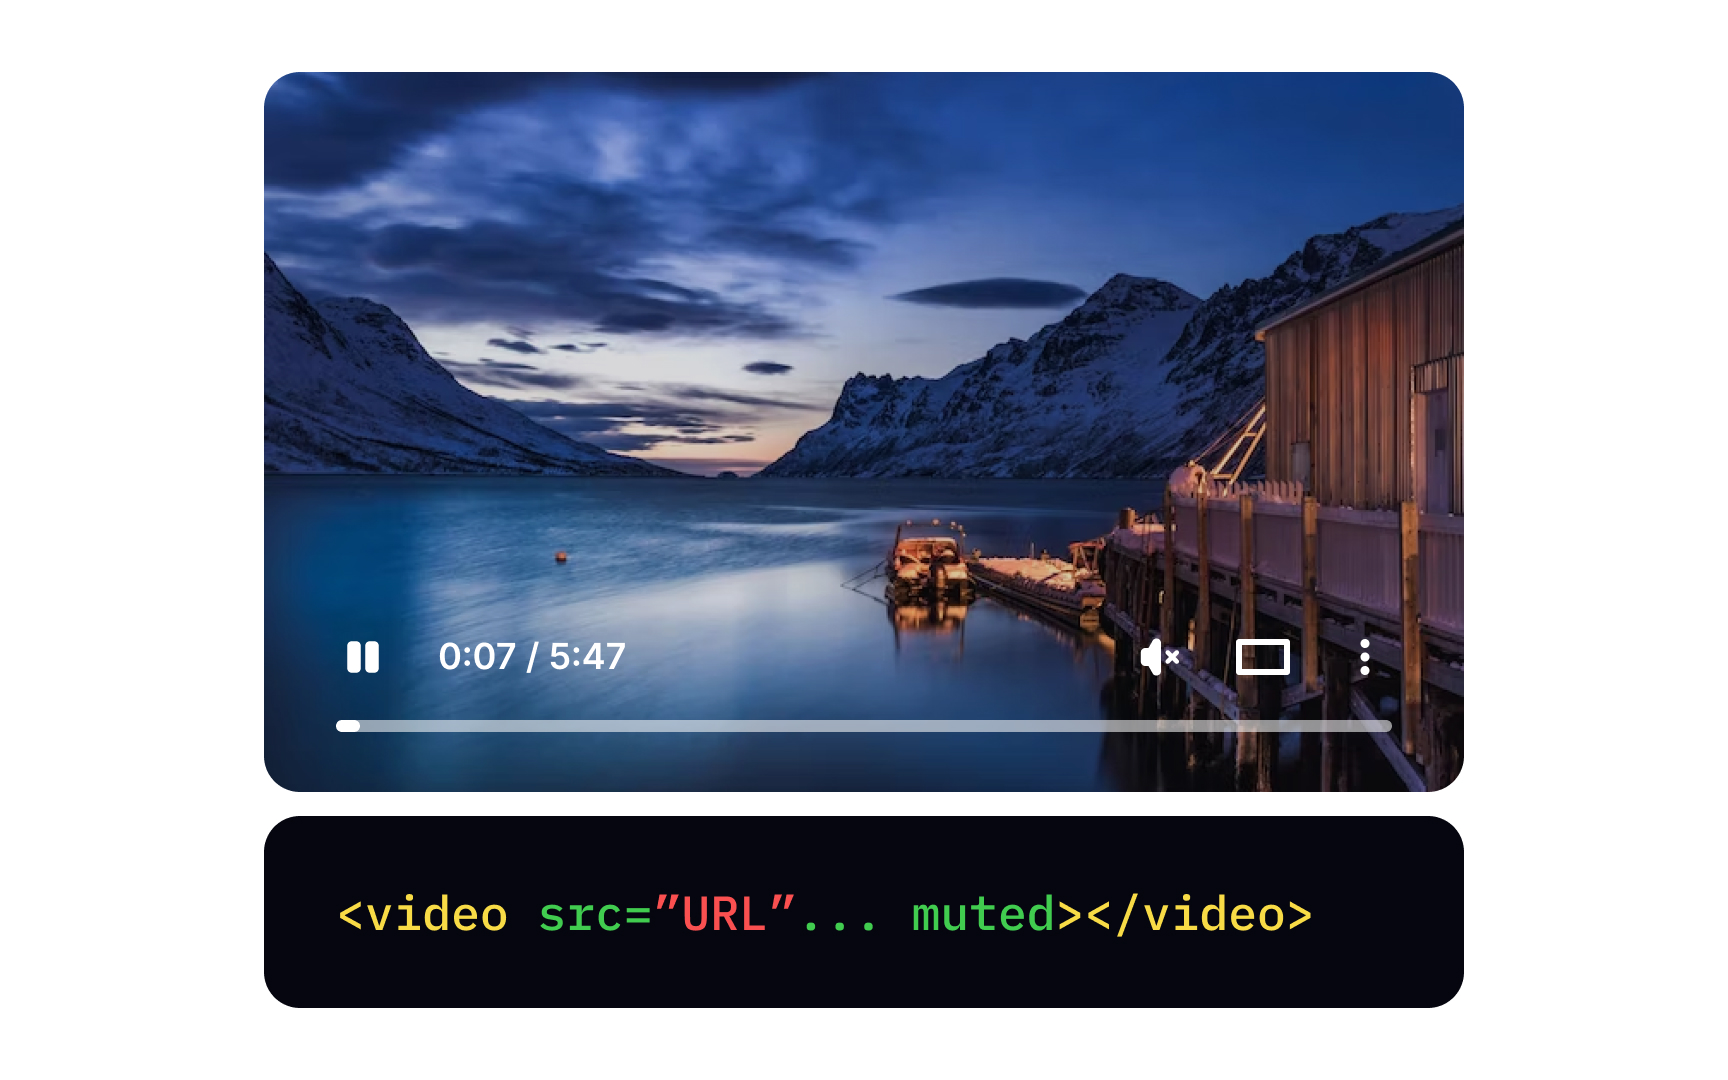
If having autoplaying ads on your web muted attribute. In tandem with the autoplay attribute, the video will start playing, but its lack of sound will make it less obtrusive. Place the muted attribute right after the autoplay attribute.
The latest HTML5 version supports video display in 3 formats (MP4, WebM, and Ogg) that work natively in modern browsers.[2] Unfortunately, none of them work perfectly in all browsers, so you have to find a combination of at least two for meaningful HTML5 video support.
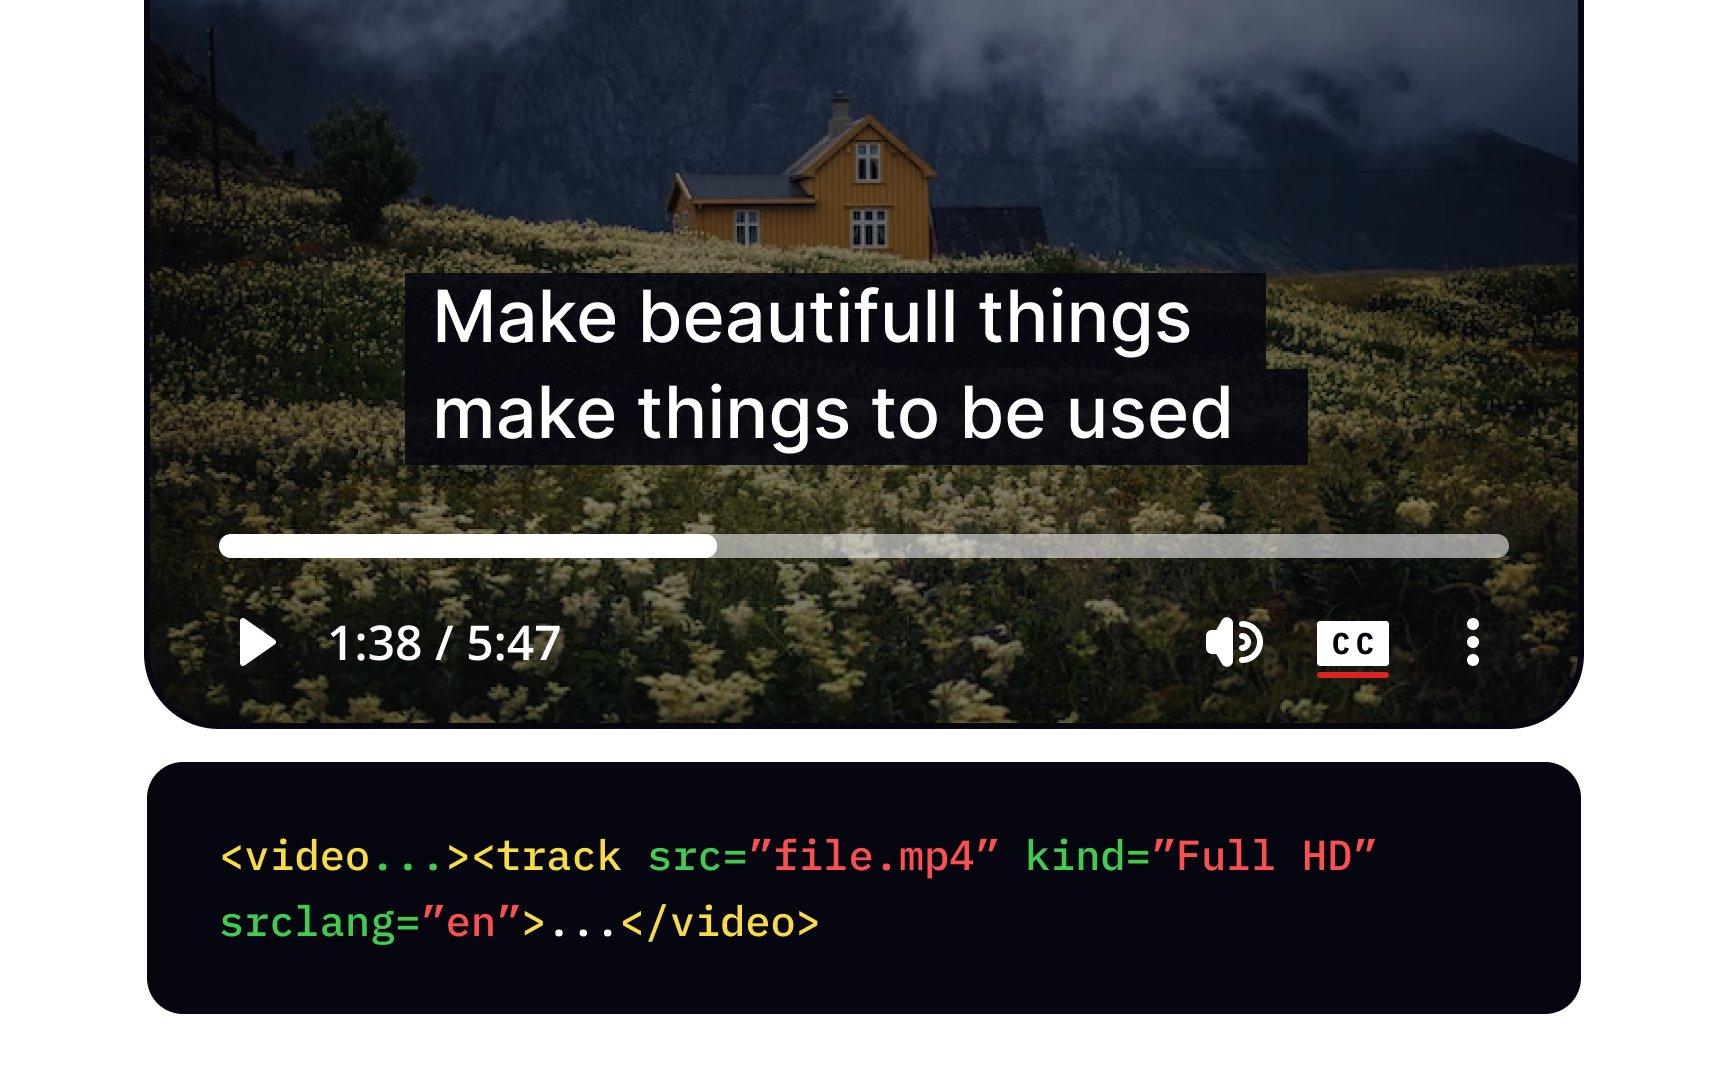
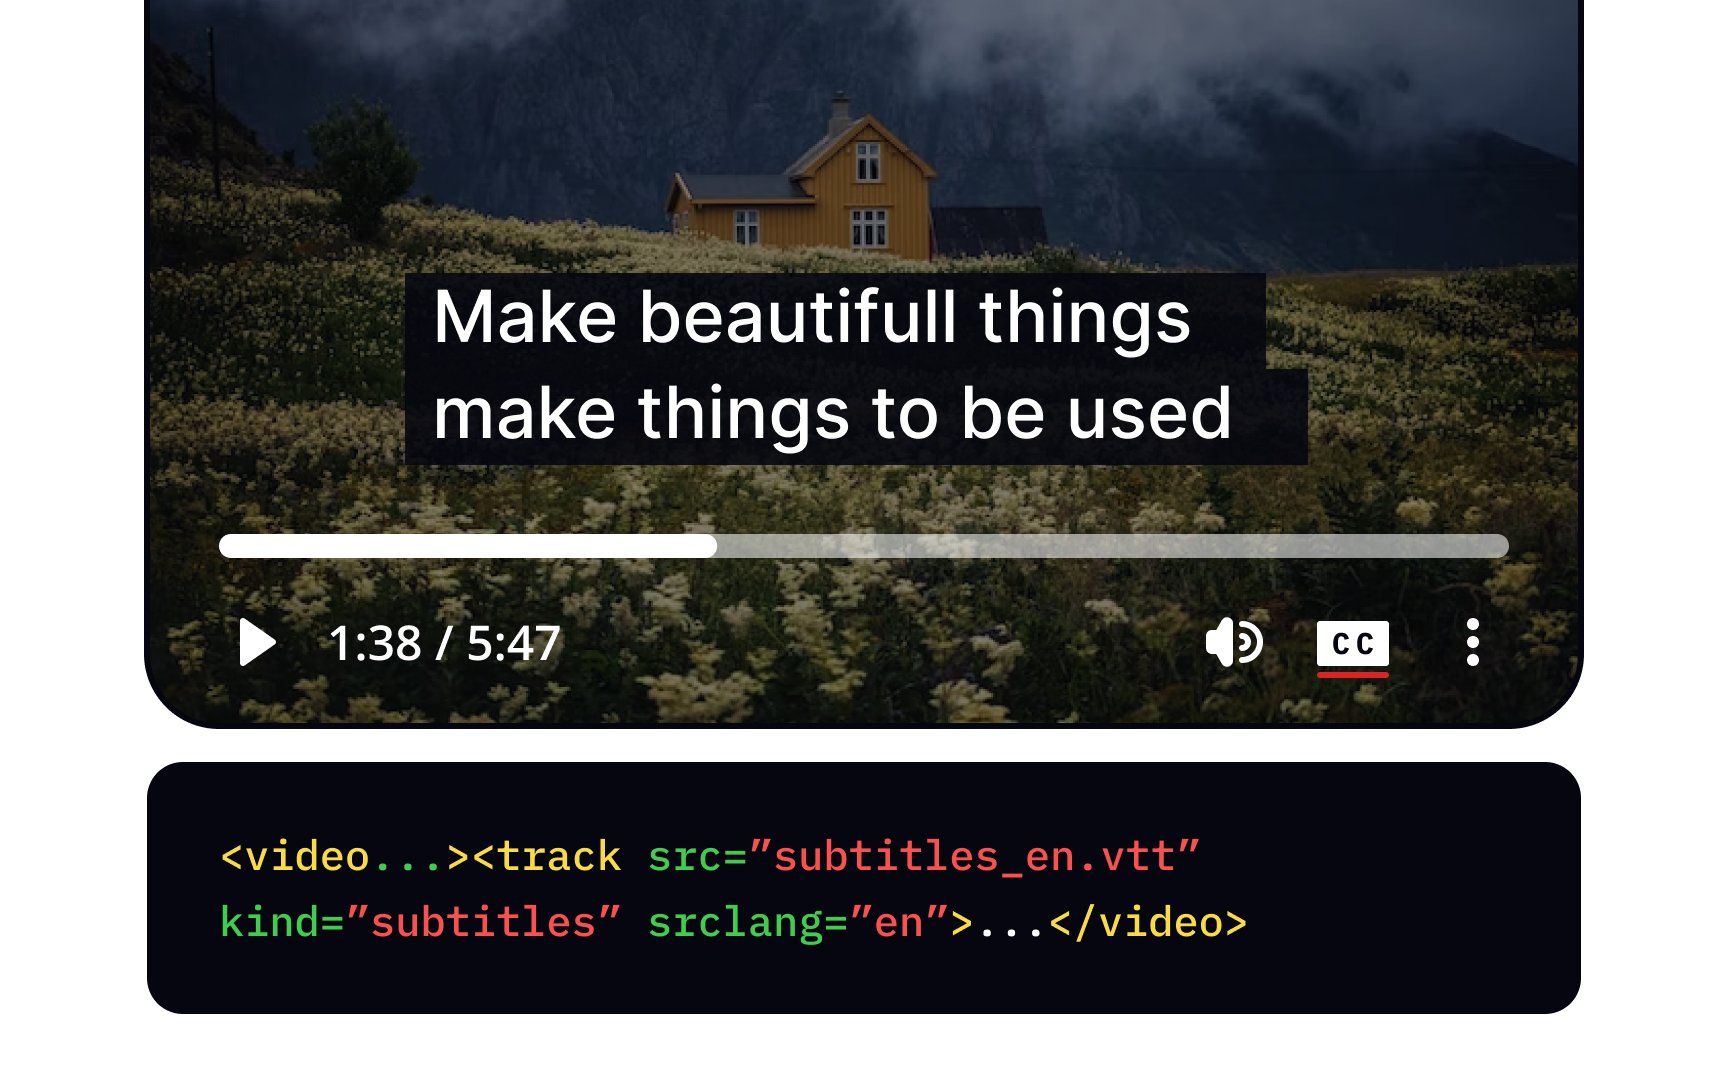
Subtitles or closed captions bring nothing but benefits. They allow users to watch videos in sound-sensitive environments like offices and libraries or on public transport. Plus, they increase accessibility, making video
So how can we add subtitles to videos? The self-closing <track> tag specifies subtitles, caption files, or other files containing text that should accompany the playing media. For this
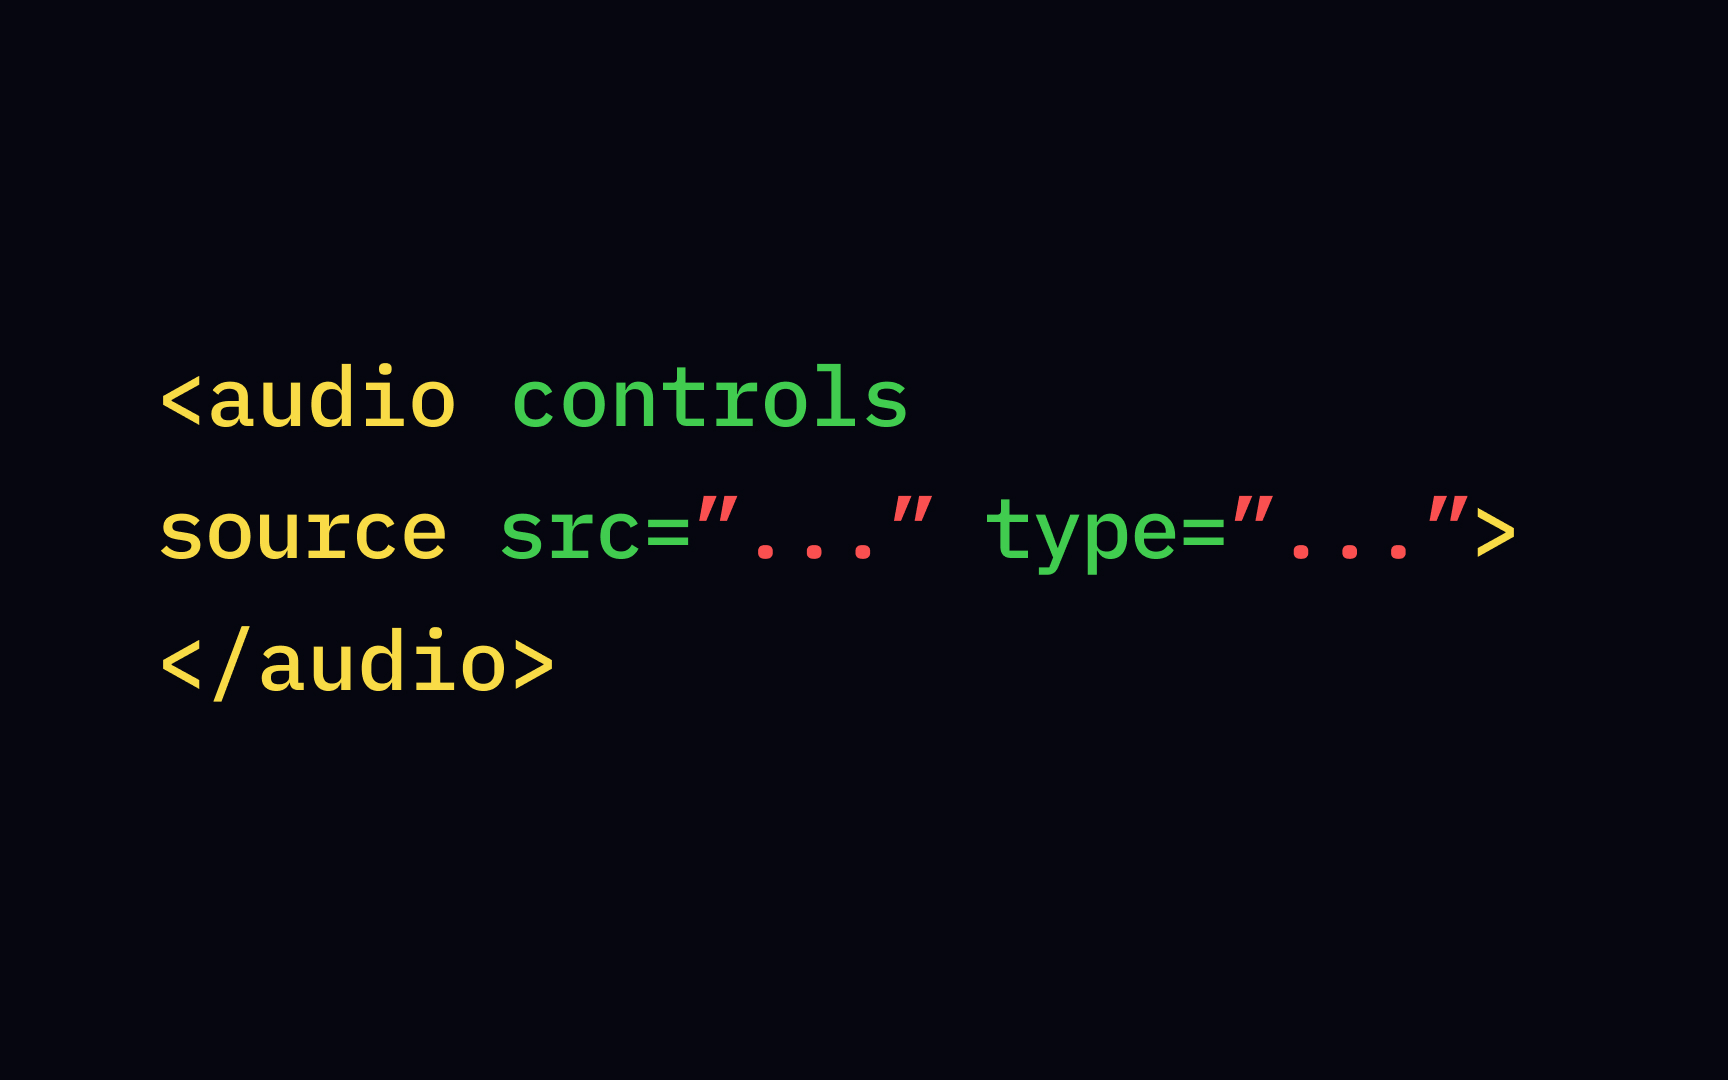
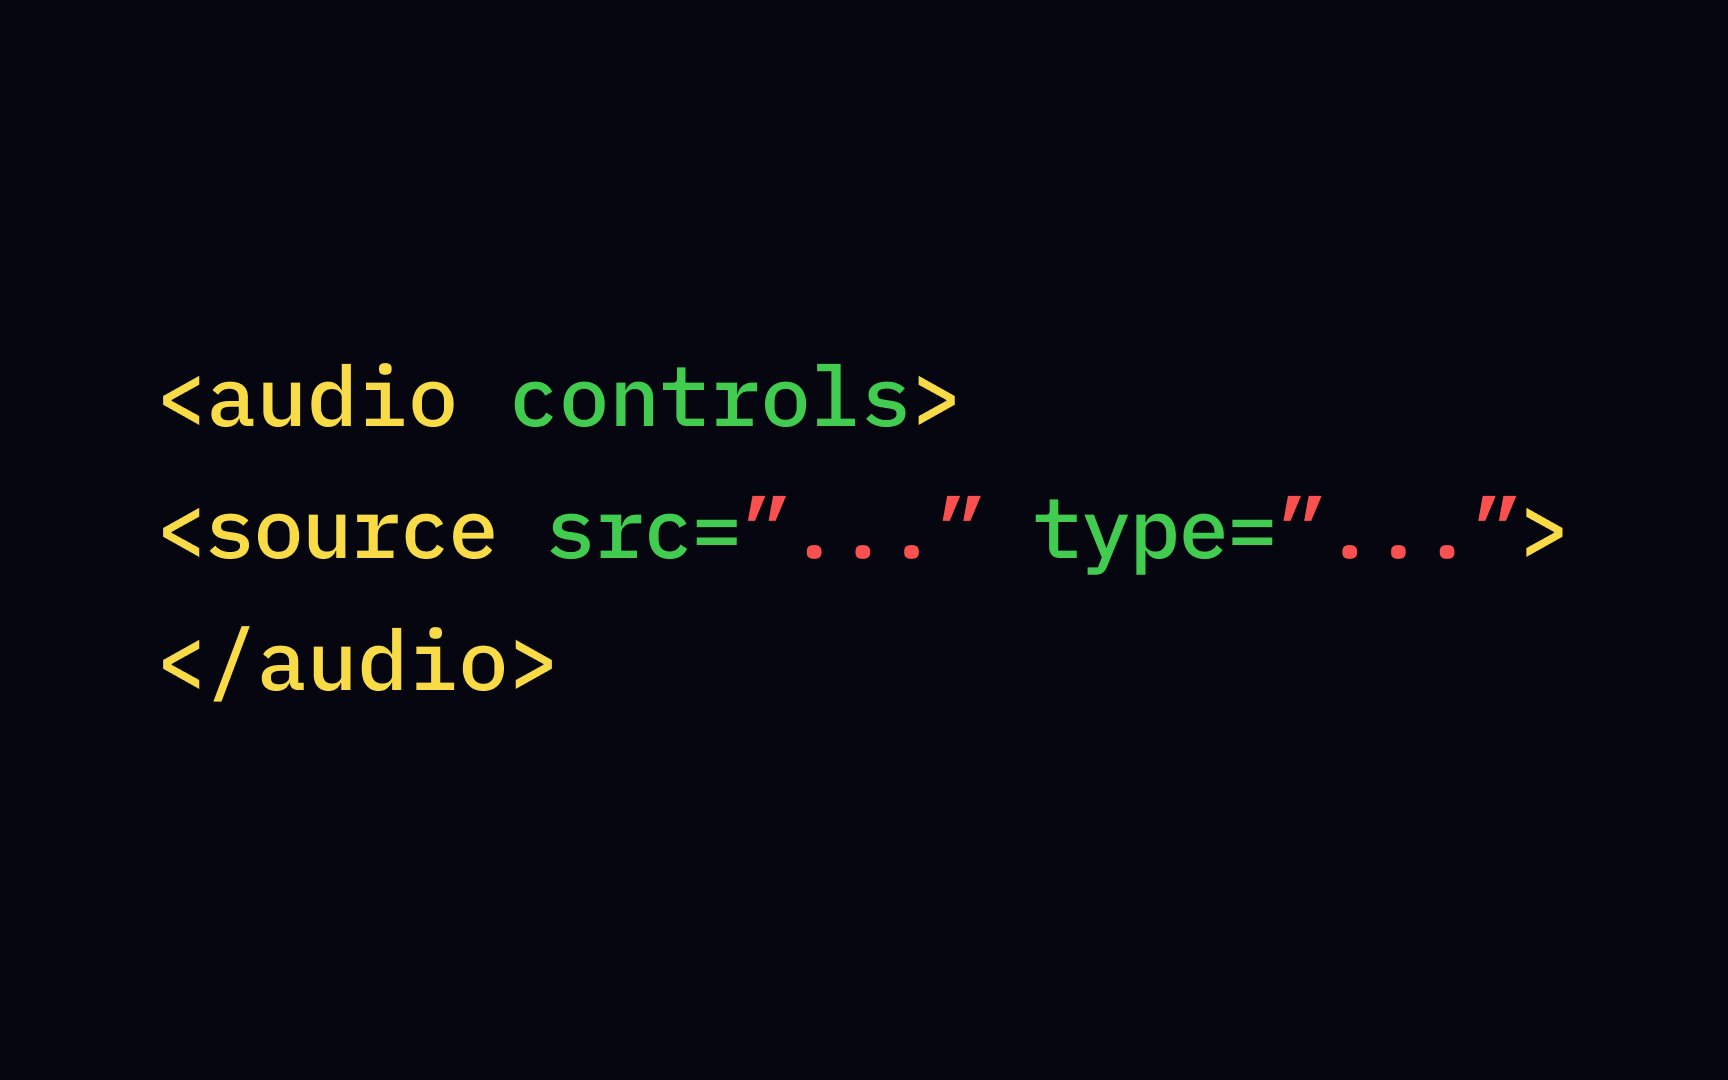
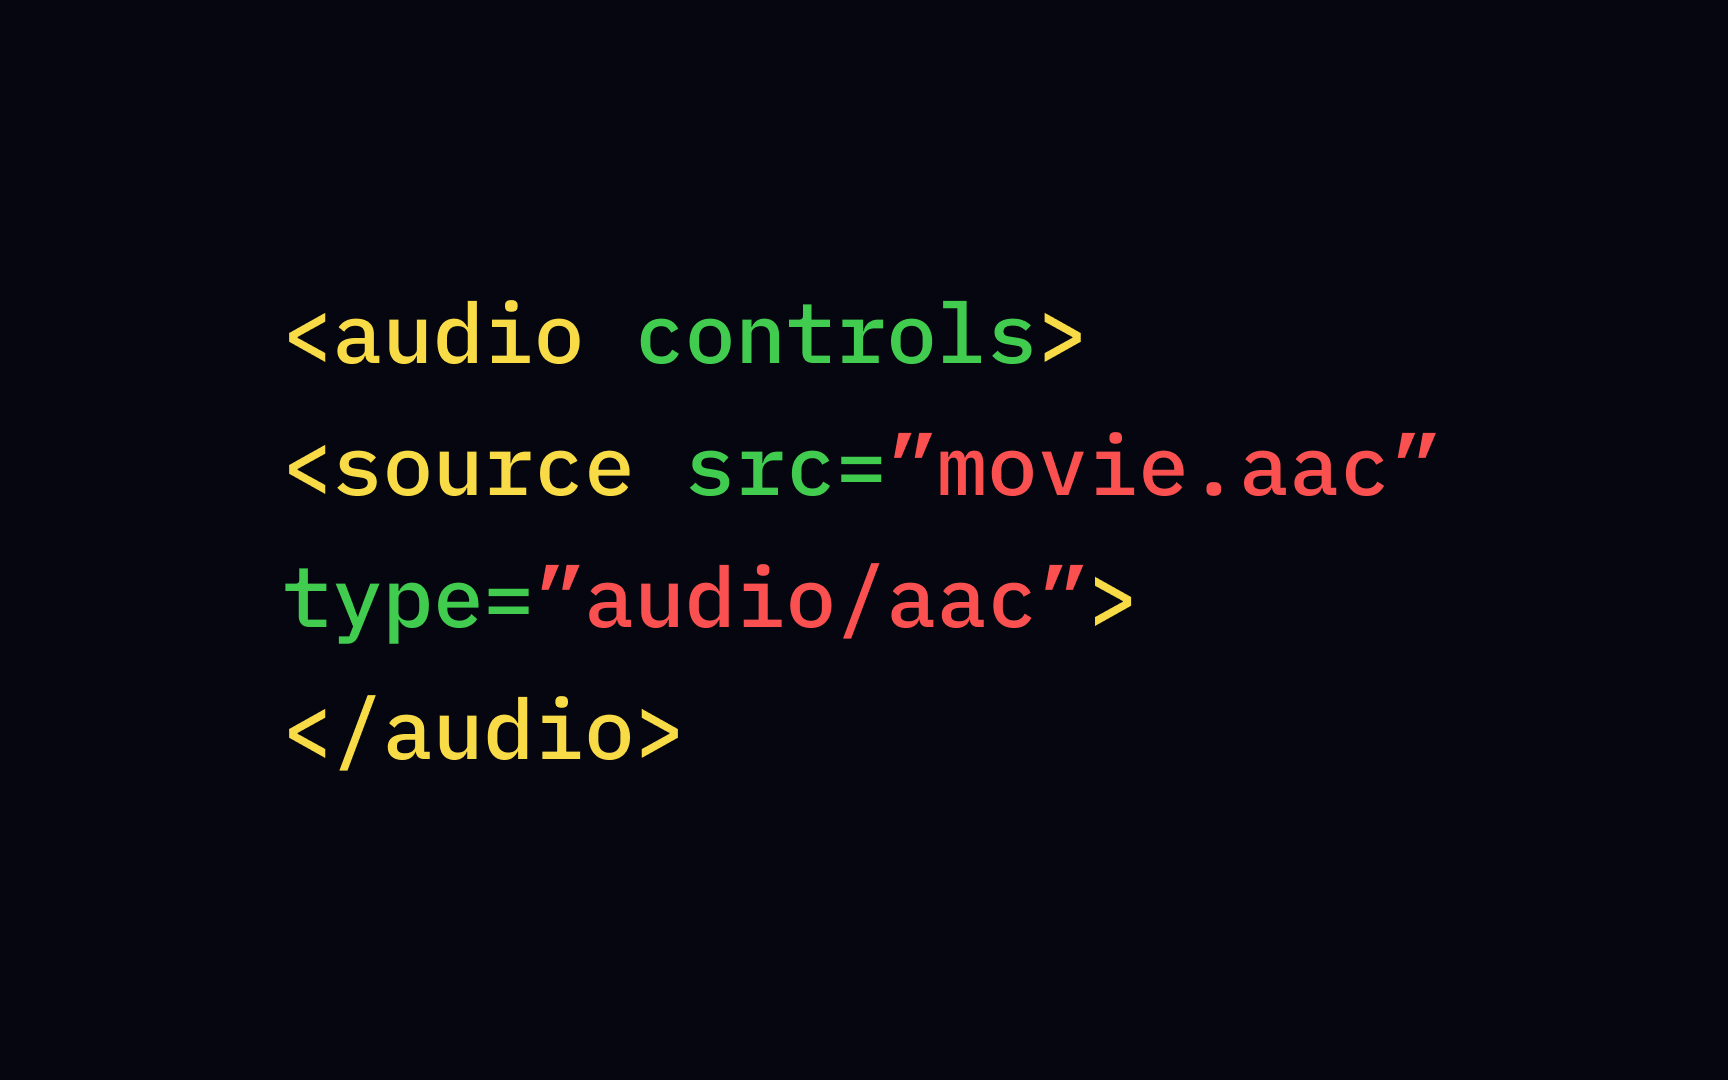
Only a few years ago, adding an audio file wasn't that easy. Until the HTML5 release, there was no standard for defining embedded media such as audio in web browsers. Today, all you have to do is to insert the <audio> element and specify the file source with the src attribute or multiple file sources with the <source> element. Make sure to close the <audio> </audio> at the end once you've specified the file location and audio
The phrase "Audio not supported" between <audio></audio> will show up only when the browser has problems loading the file.
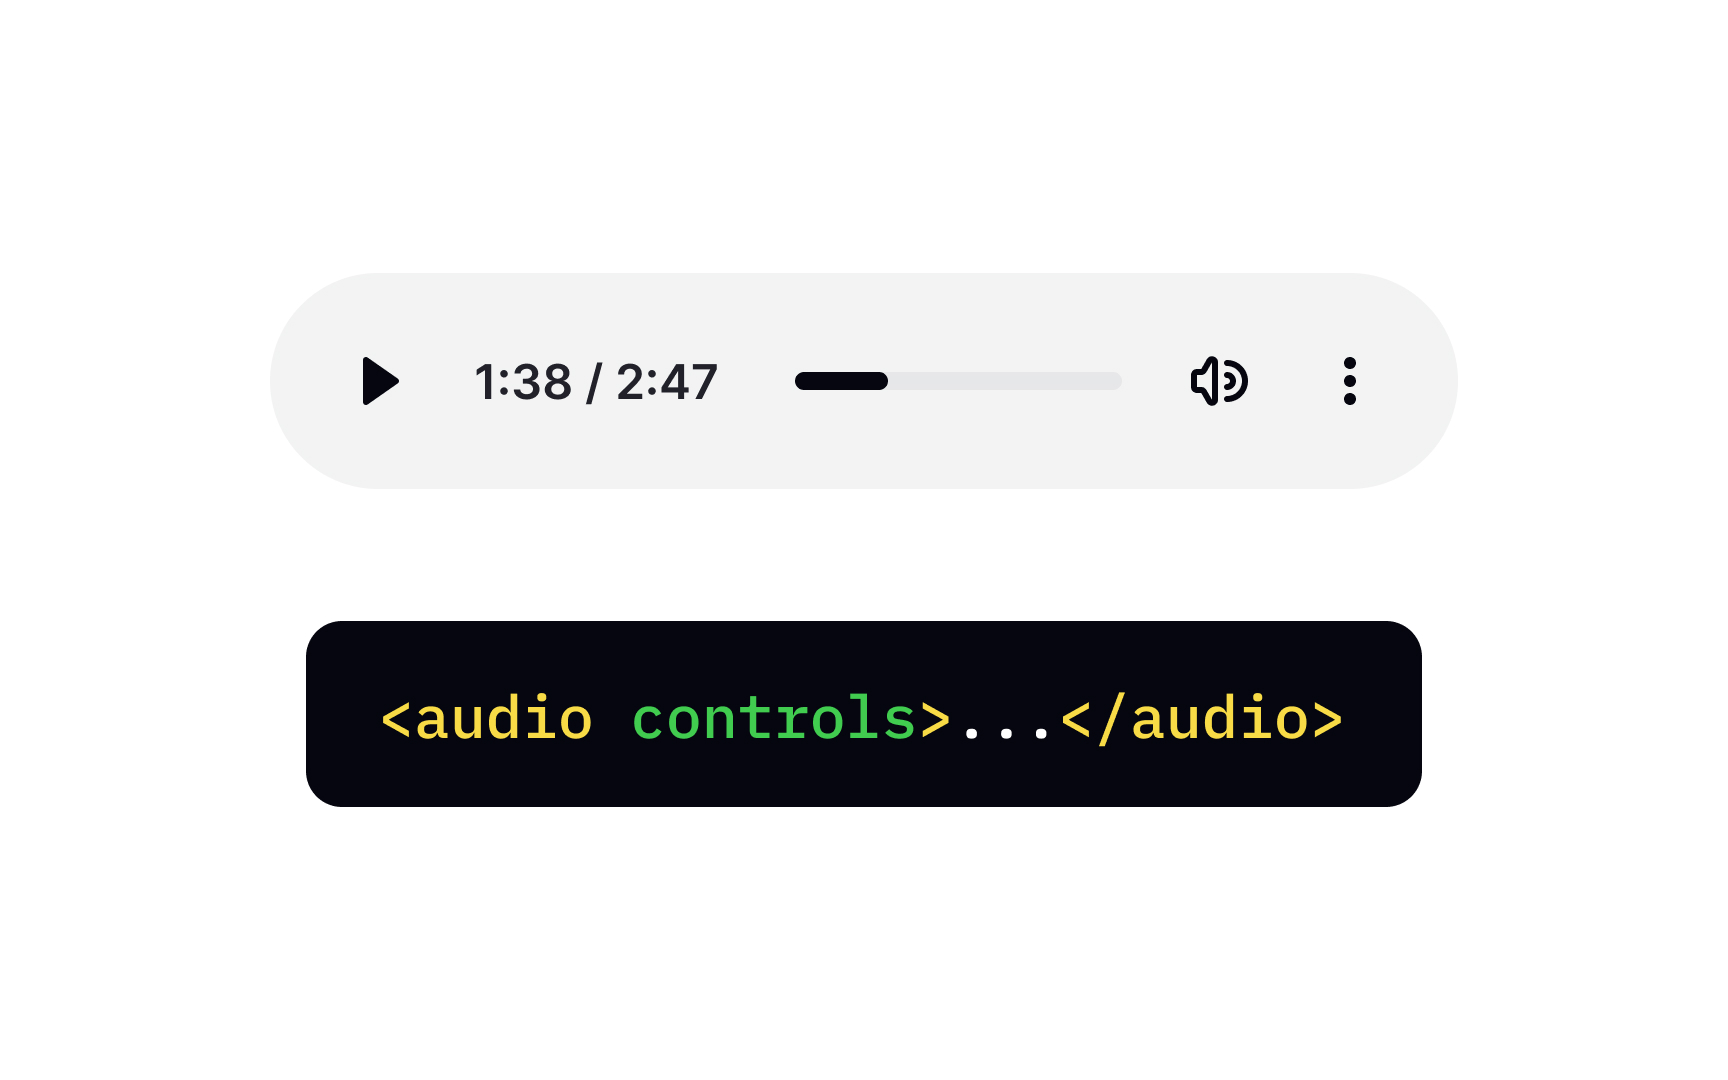
Users may use your website or product in different circumstances, and autoplaying audio can drastically impact their impression and general experience. The choice to play audio, as well as video, should always be user-driven. Make sure to include the controls attribute to allow users to manage volume, pause, and resume playback whenever they want.
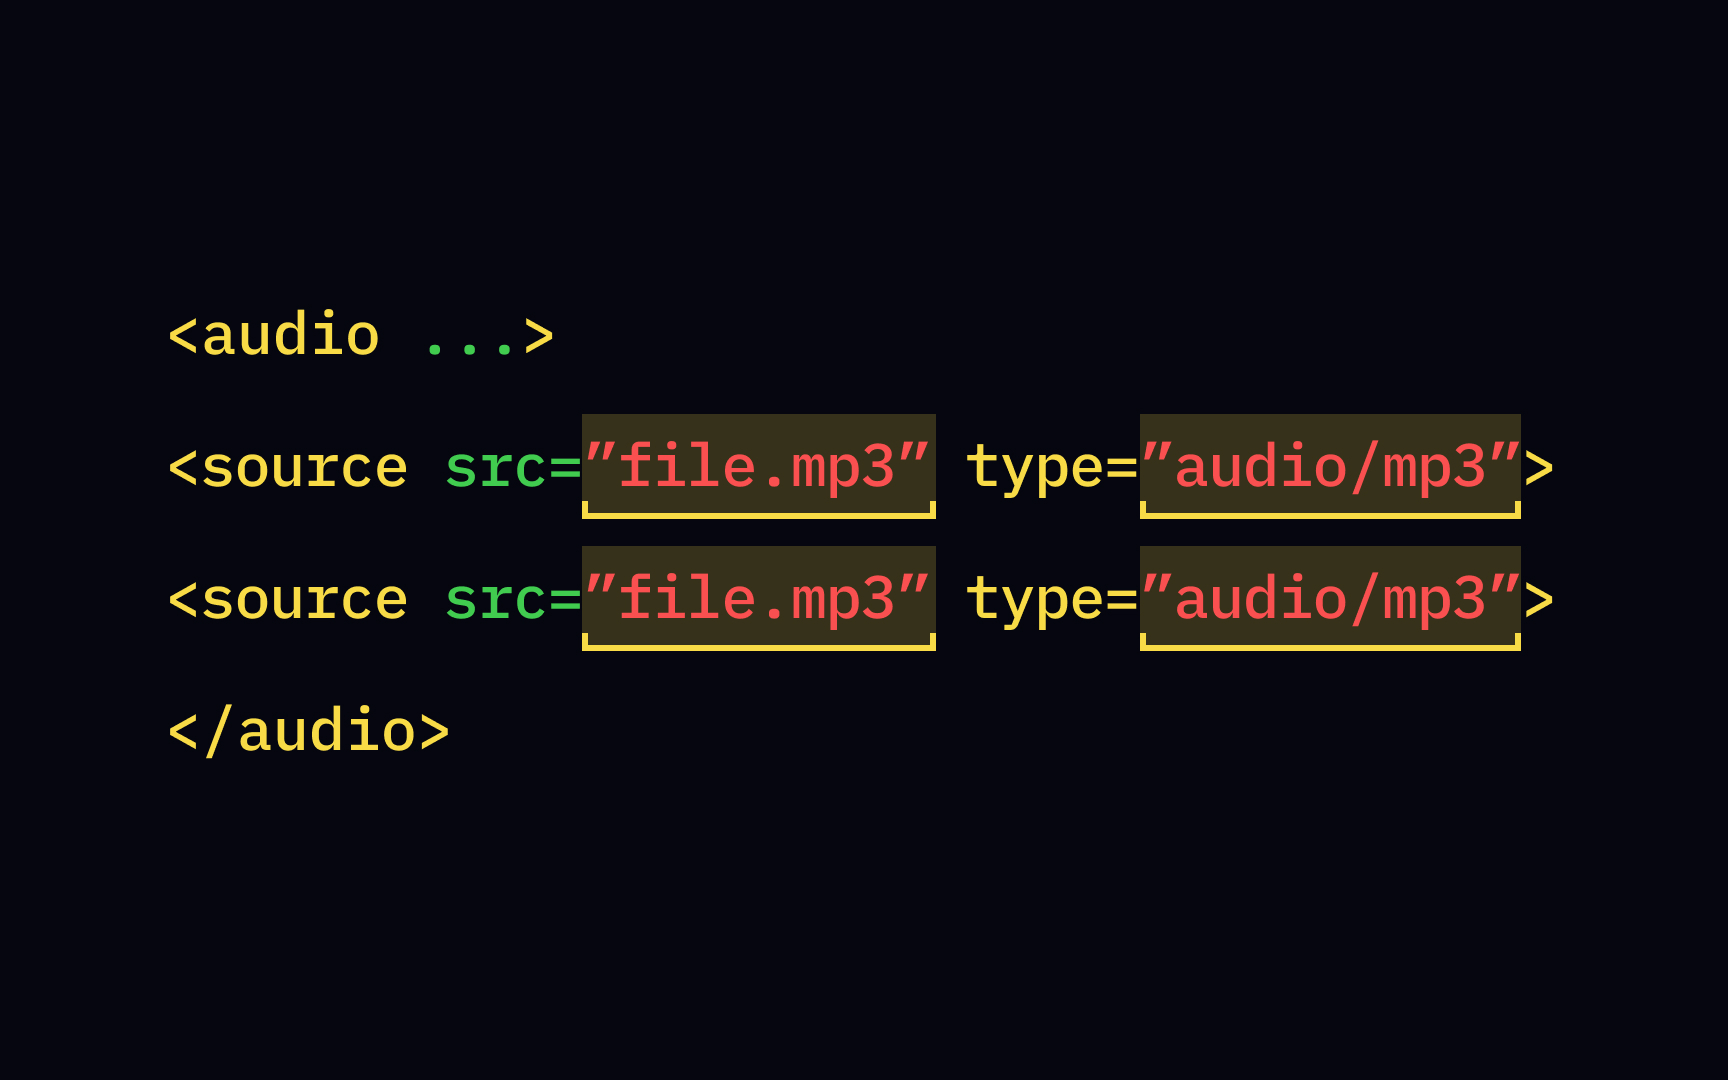
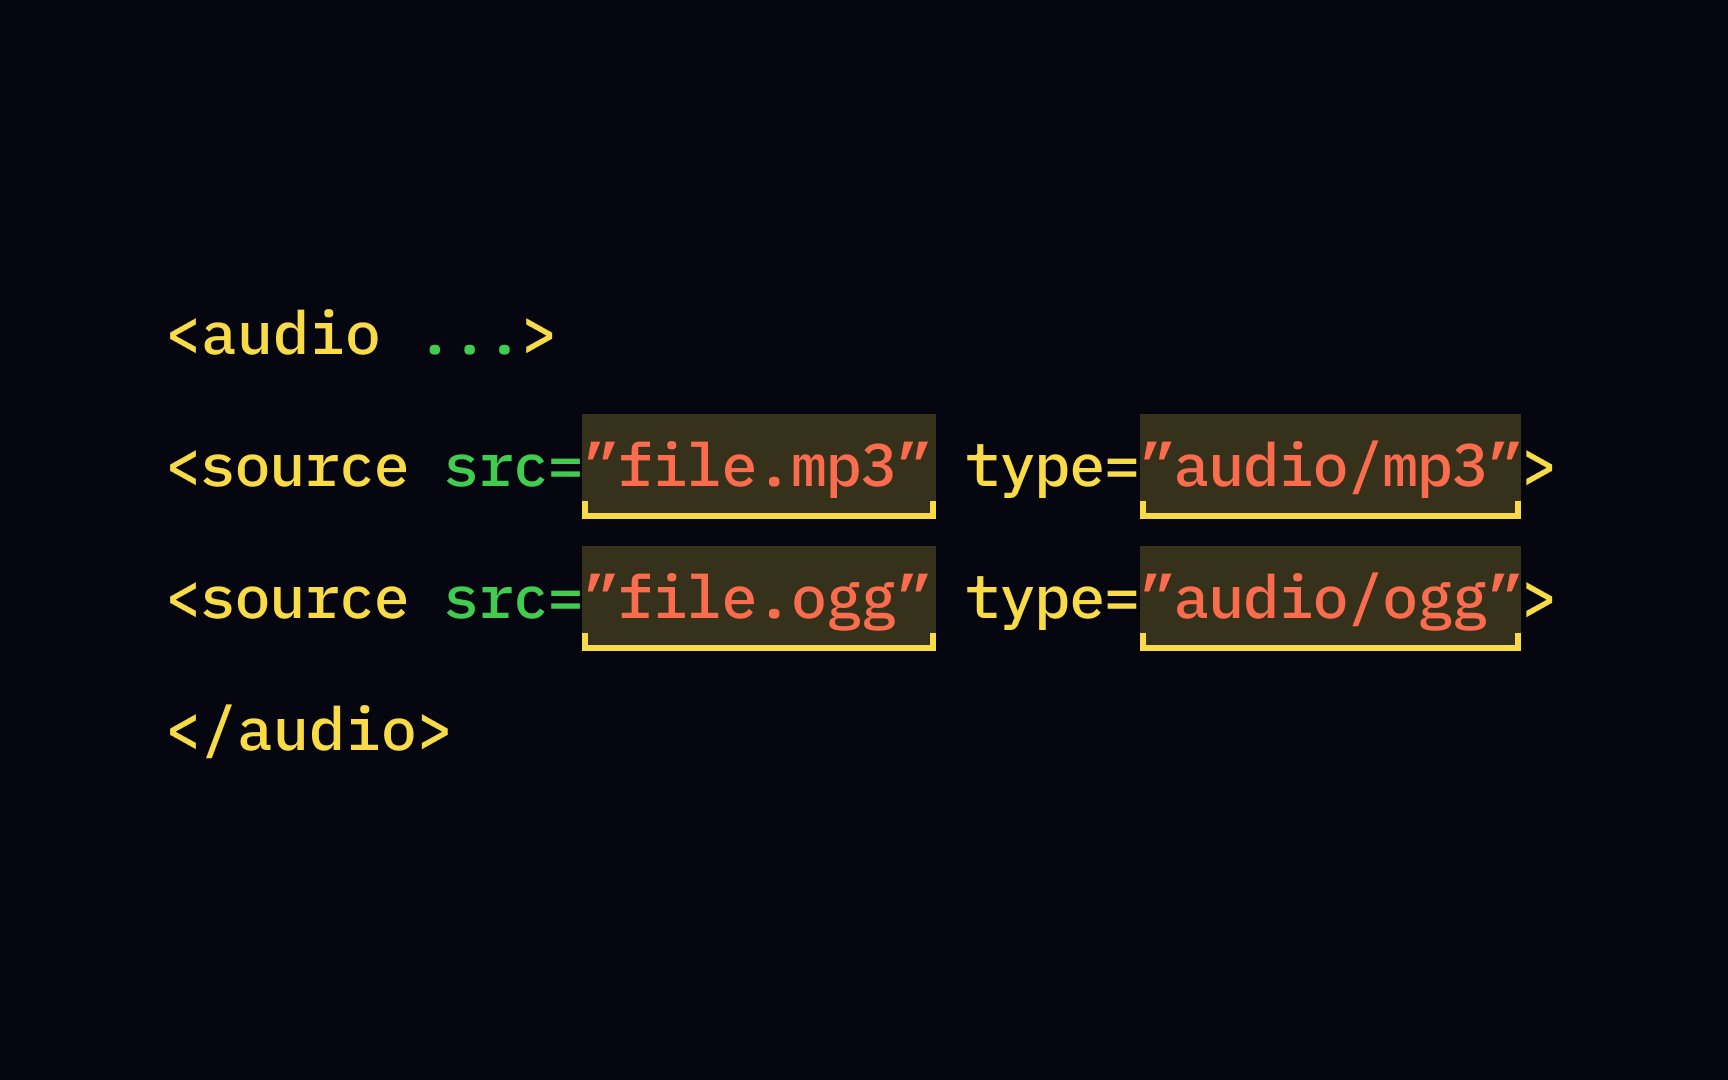
The <source> tag doesn't exist on its own and is always a child of <audio> or <video> media <source> it supports. The tag itself doesn't define all file locations. Instead, it contains the src attribute, which specifies the URL address of the audio or video.
Like the <video> element, the type attribute defines common media types that browsers support.
For embedding audio files, you should use the following syntax:
• audio/ogg
• audio/mpeg

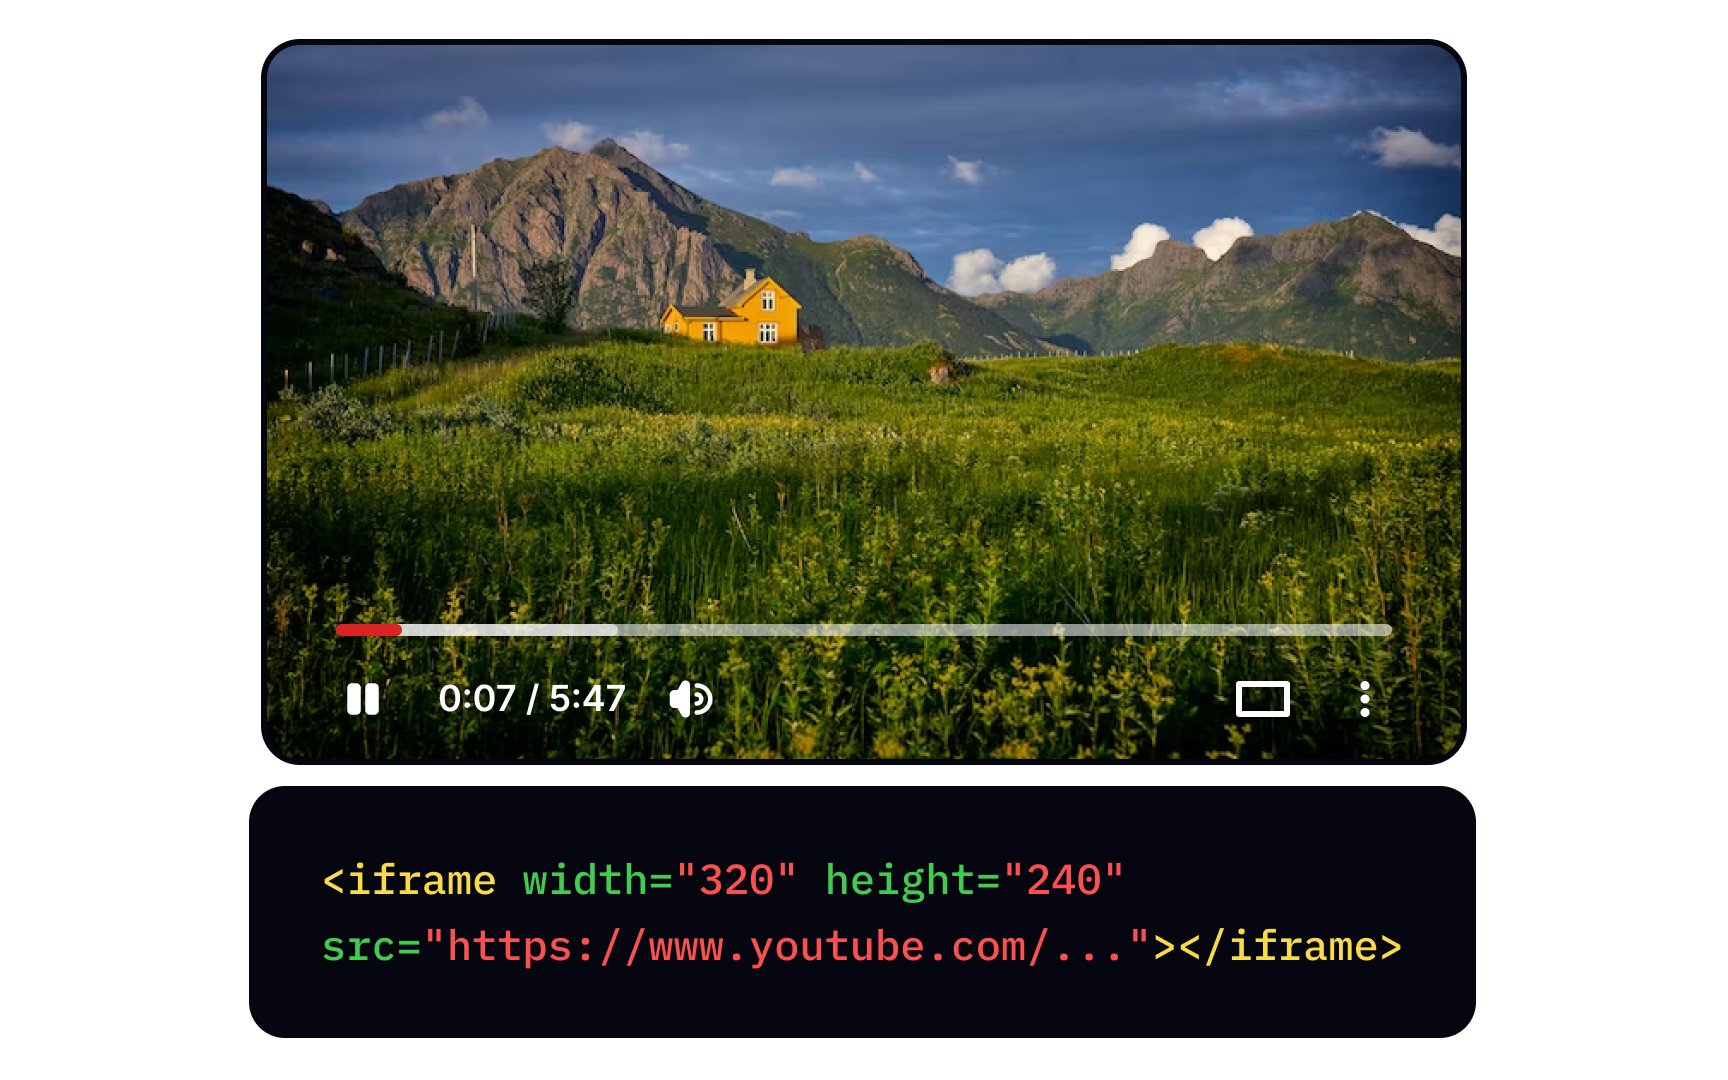
Here's one of the easiest and most popular ways to embed a video on your website:
1. Upload the video on Youtube
2. Copy the
3. Define an <iframe> element in your web
4. Insert the code in the src attribute in the HTML document
You're all set! Like with any other video file, you can customize the Youtube video and set its width and height. In addition, you can add autoplay=1 and mute=1 to the Youtube URL to let your video start playing automatically.
The autoplay attribute starts the audio or video file once the browser has loaded the src attribute and can go in tandem with the muted attribute. If you decide to use autoplay, it's crucial to include controls to prevent an unpleasant surprise for users.
Keep in mind that many browsers block autoplay media if:
• Its volume isn't on mute or silenced to 0
• Users haven't interacted with the site in any way yet (by clicking, tapping, or pressing keys)
• Your website isn't on a white list
Sometimes, users manually define the white list, or browsers automatically add your website if users engage with media frequently.
References
Top contributors


Topics
From Course

Share


Similar lessons

Intro to HTML

Intro to HTML Elements
