HTML Links
Learn how to connect web pages and provide seamless navigation for your users through HTML
Imagine a web without links—it would be a fragmented maze with isolated pockets of information, devoid of the interconnectedness that defines the online experience.
With the ability to effortlessly navigate users to different pages, external resources, or specific sections within a document, links are the backbone of user-friendly and interactive web design.
Learn how to implement links effectively to create a dynamic and engaging website and explore the realm of link attributes, empowering you to customize link behavior, optimize accessibility, and enhance the overall user experience.
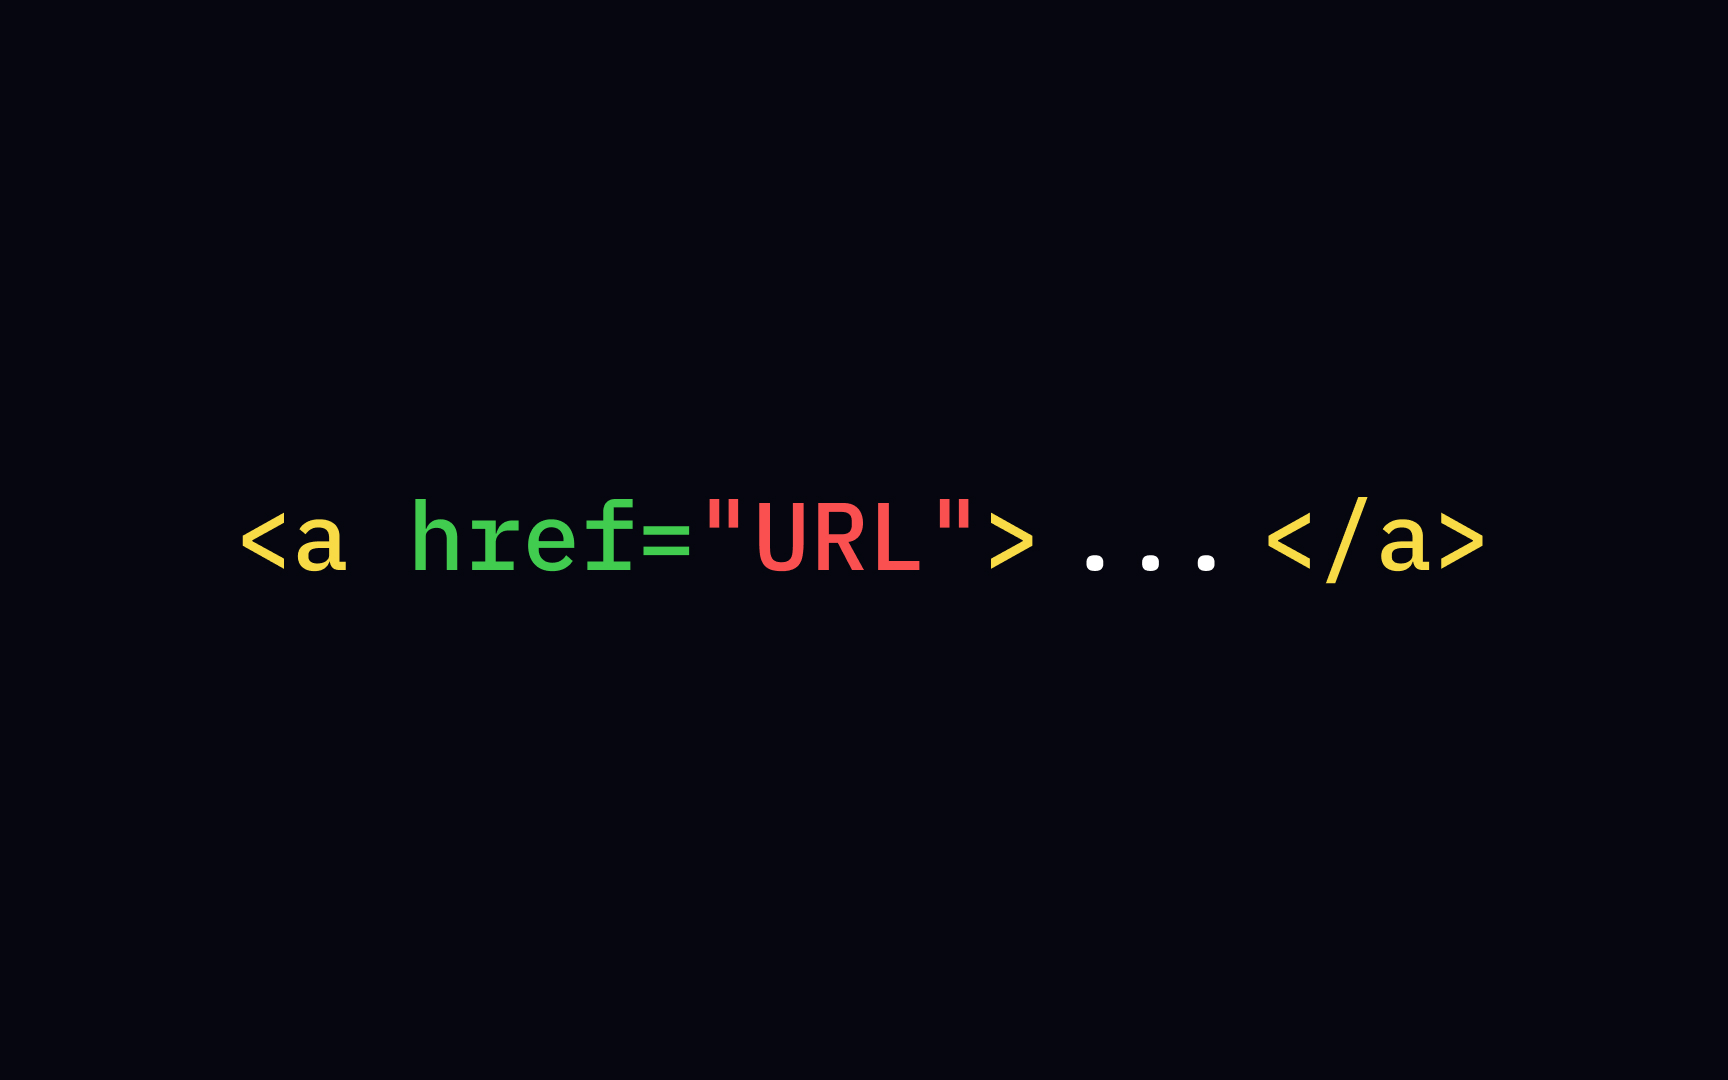
You know that feeling when you come to a website, read one article, then see an intriguing headline highlighting some hot news, then another, and eventually, come to your senses an hour later? <a>
element and href
attribute, also known as a Hypertext Reference, or target, which indicates the link's destination. The final result should look like this: <a href="url">link text</a>
.
The
The most familiar
Be particularly careful when you write link text because:
• Screenreader users tend to jump around from link to link, using them as headlines of valuable content.
• Search engines use link text to crawl through websites looking for relevant keywords.
• Visual readers don't usually read and scan
Pro Tip: Avoid using link text such as "link," "links to," "click here," or worst of all, a bare URL. They communicate nothing to users and search engines.
A
To insert the image as a link, you'll need the <img>
tag that contains several attributes:
• src
identifies the image location and tells the browser the file address
• height
and width
refer to image measurements
• alt
provides alternative text that helps users of assistive technologies receive information about the
All you need is to place the <img>
tag inside the <a>
element. Don't bother to close it — the <img>
tag is an empty one.
While the href
attribute defines the target
attribute tells the browser where to open the linked document. For example, the _blank
value and keep in mind that the target name should start with an underscore (_) character: <a href="URL" target="_blank">Link text</a>
.
Most browsers open target
attribute has a value of _self
, and the notation looks like this: <a href="URL" target=”_self”>link text</a>
.
Remember, the URL tells the browser where it can find a file — an HTML <a href="https://www.example.com/form.php">
.
Absolute URLs are more tedious to create as they require you to describe the entire route. However, their main advantage is preventing
Simply put, relative URLs are condensed versions of absolute URLs. Instead of showing the full web address, they only contain the location following the domain.[2] An example of a relative URL is: <a href="/file.html">
. To make it easier for you, remember that relative URLs never contain the https://www part. Also, they are the preferred choice of web developers as relative URLs are less time-consuming to compose.
One usability rule says that products should attempt to anticipate users' wants and needs. When scanning a mailto:
inside the href
attribute. It'll create a
By default, all browsers display unvisited style
and a:link
value, for example:
style
a:link {
color: green;
}
Keep in mind that interactive elements like links should remain recognizable and look clickable. While blue is still a safe bet, other colors also work well, as long as the links stand out clearly from the body text.
Pro Tip: Avoid using blue or underlined text for anything other than links.
Once users click a a:visited
value:
style
a:visited {
color: pink;
}
Keep these 3 things in mind:
• The visited state should differ from an unvisited state
• It should contrast enough against the background
• It should look clickable[4]
When a user clicks on a
If you want your a:active
selector within your
a:active {
color: LightSeaGreen;
}
This approach helps maintain visual consistency with your brand and enhances the
When a
As the first step, assign the id
attribute to the element, like a section or chapter, where your users might need to jump to: <h2 id="Chapter5">Chapter 5</h2>
. Then, use that id attribute value preceded by the hash sign (#) inside the familiar link syntax using the <a>
href
attribute. Don't forget to come up with relevant link text so that users know where the link leads them: <a href="#Chapter5">Jump to Chapter 5</a>
If we dissect the "body" of the <a>
element, the href
attribute, and href
attribute contains the URL — a final destination for users once they click the link. You have to make sure to use both start <a>
and end </a>
References
- mailto HTML Tag - javatpoint | www.javatpoint.com
- Guidelines for Visualizing Links | Nielsen Norman Group