Organizing and editing text styles in Figma
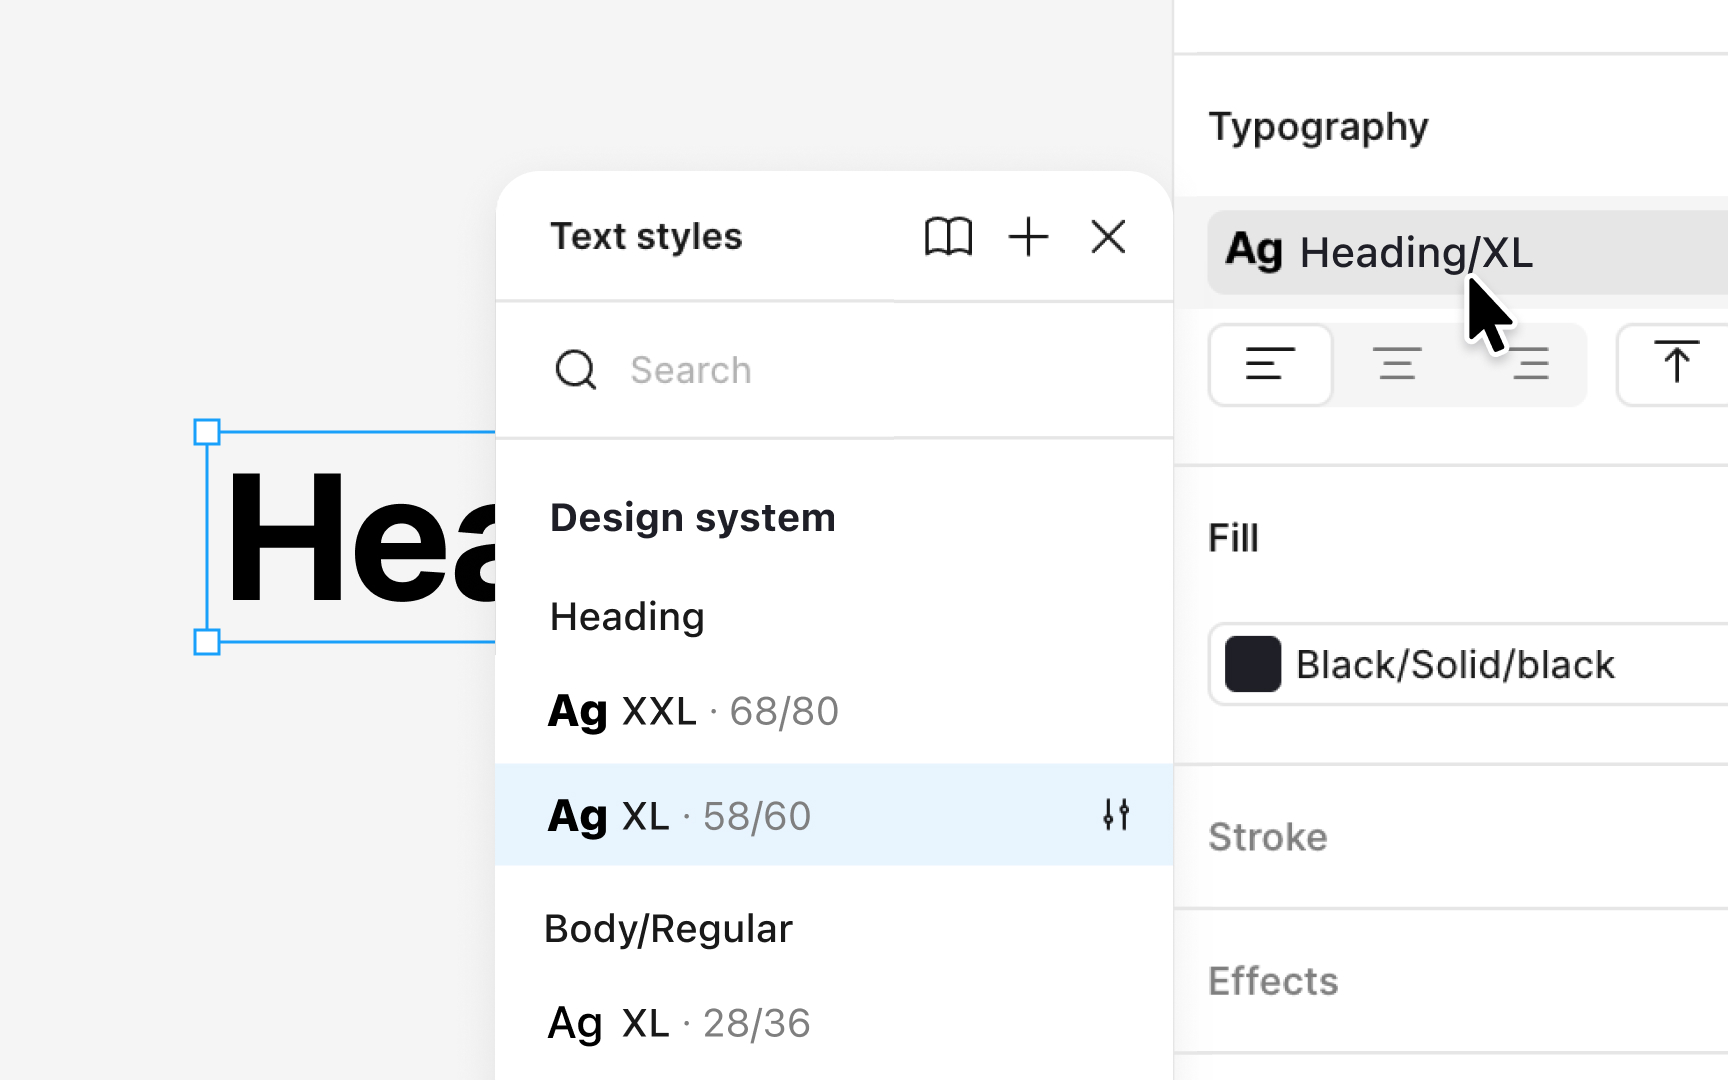
Figma groups text styles automatically when slashes appear in their names. A slash tells Figma to treat the name before it as a folder and the name after it as the item inside that folder. For example, a style named “Heading/XL” creates a group called “Heading,” and inside it appears the “XL” level. Adding more slashes creates deeper structure, such as “Body/Regular/M” for a nested group. This keeps long style lists compact and makes scanning easier because related styles sit together in the panel instead of appearing as separate, scattered items.
To edit any style, select the layer, open the style picker, right-click the style, and choose Go to style definition to edit. This takes you to the Local styles panel where the original style lives. From there, open the Edit modal to update the name, description, or properties. This workflow ensures that changes apply globally and stay in sync across files that use the style.[1]
