Animation Theory & Motion
Dive into the basics of animation and its uses in UX design
Animation is an umbrella term for the whole field of moving elements (like images or text). Motion graphics are a type of animation that describes moving or animated graphic design. Animations consist of sets of frames that create an illusion of motion when put together.
Animations can add character to your designs and improve usability by giving users feedback on their actions. Understanding the basics of animation theory is the first step in efficiently adding motion to your designs.
An
In general, there are 2 possible triggers for animations:
- When users do something. For example, when users press a button, a loader appears to indicate that the action has been registered.
- When the system state changes. For example, once an app is launched, a welcome animation appears.
Overall, animation in design enhances the presentation and interactivity of a product. However, moderation is key. Some users may find extra motion annoying and intrusive, and it may negatively influence their experience and impression of the product.[1]
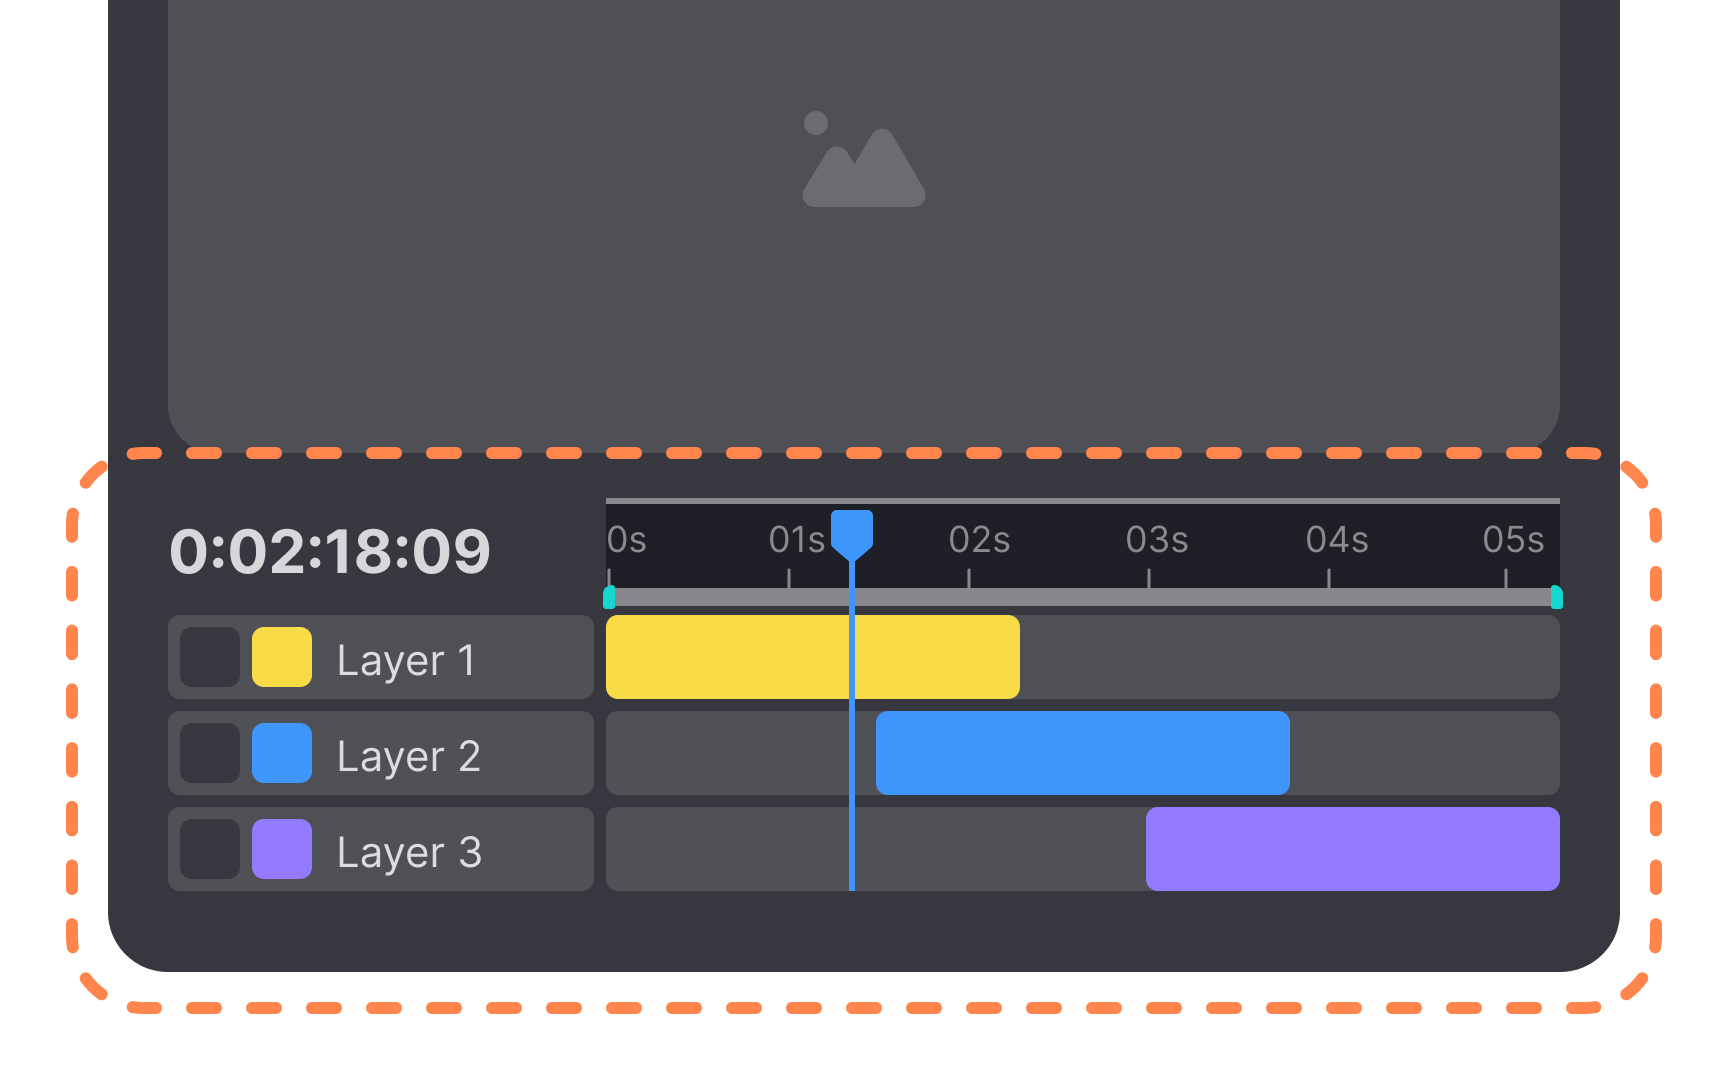
A timeline is a fundamental component of
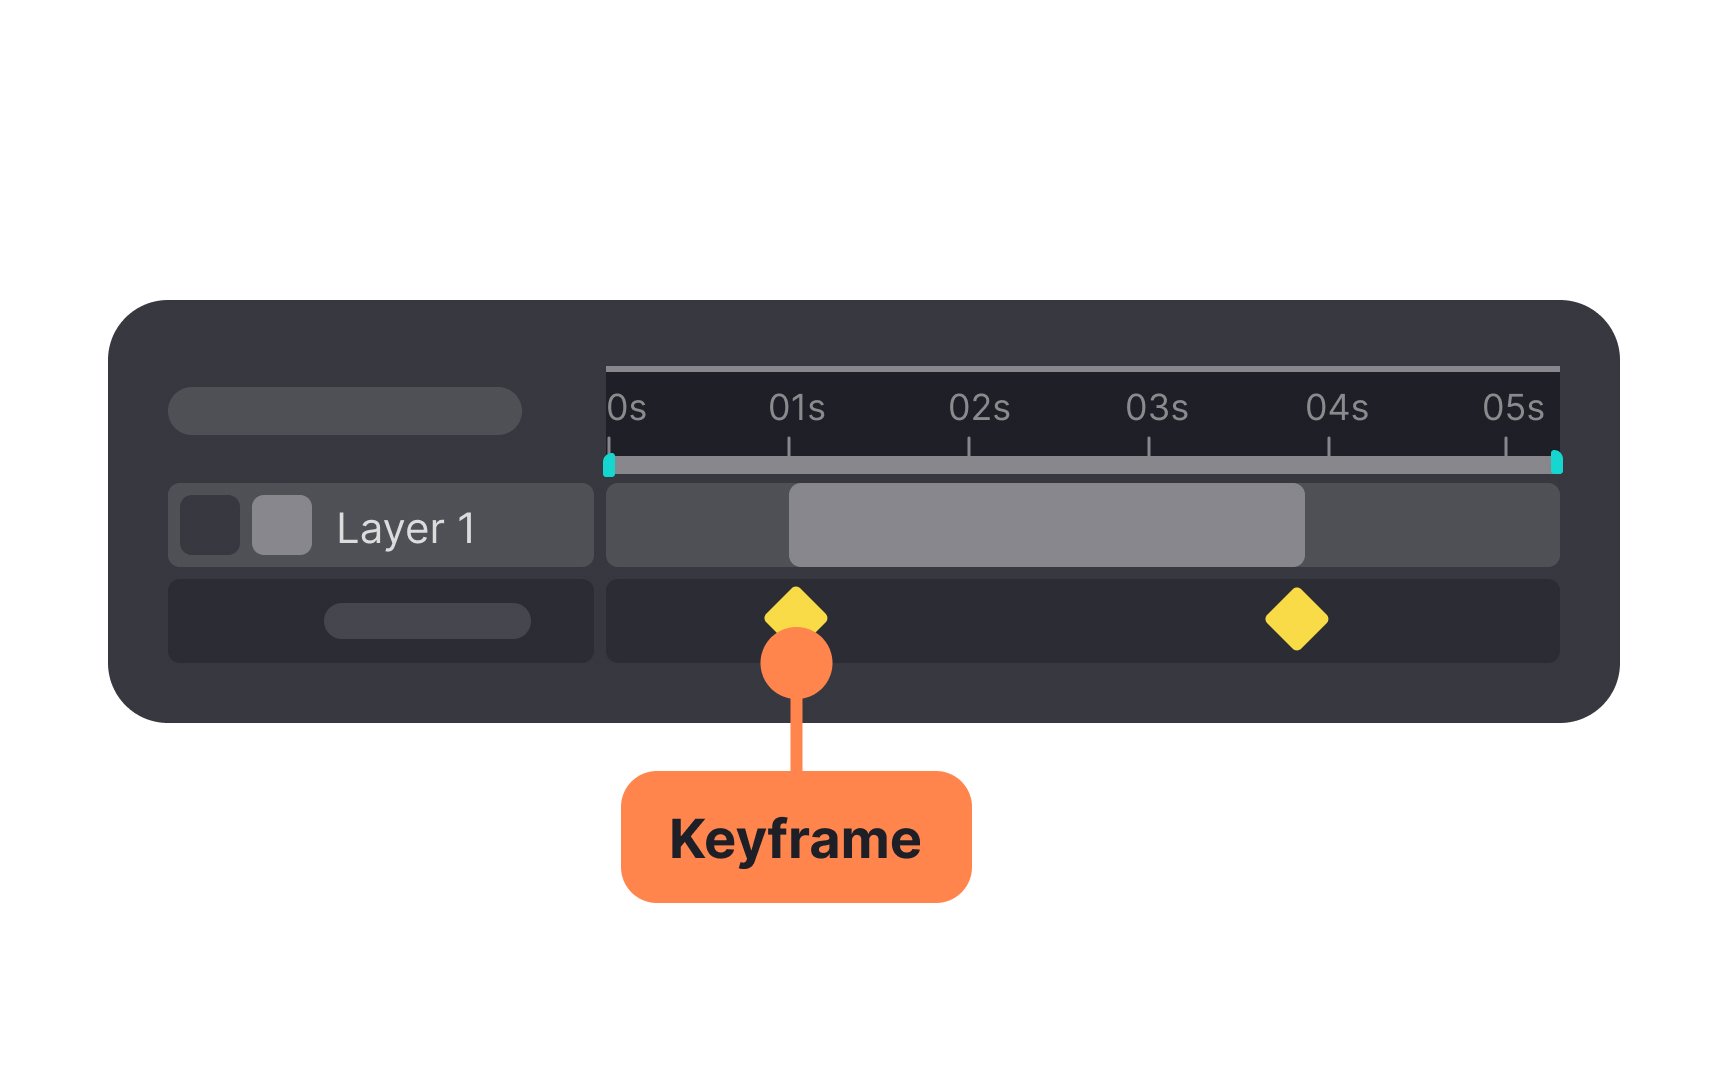
A timeline typically consists of several layers, each representing a different aspect of the animation, such as character movement, background changes, special effects, and sound. Each layer contains keyframes, which are specific points in time where a change occurs. These keyframes define the state or position of the elements at that particular moment.
In
These keyframes act like bookmarks that outline how your app screen should appear at those specific points. The animation software then fills in the rest, ensuring a smooth transition between the two states. You could use keyframes to demonstrate how a
Essentially, keyframes guide the animation tool on what transformations should happen and when they should occur. In animation software, you'll see keyframes represented as small diamonds or circles on the timeline.
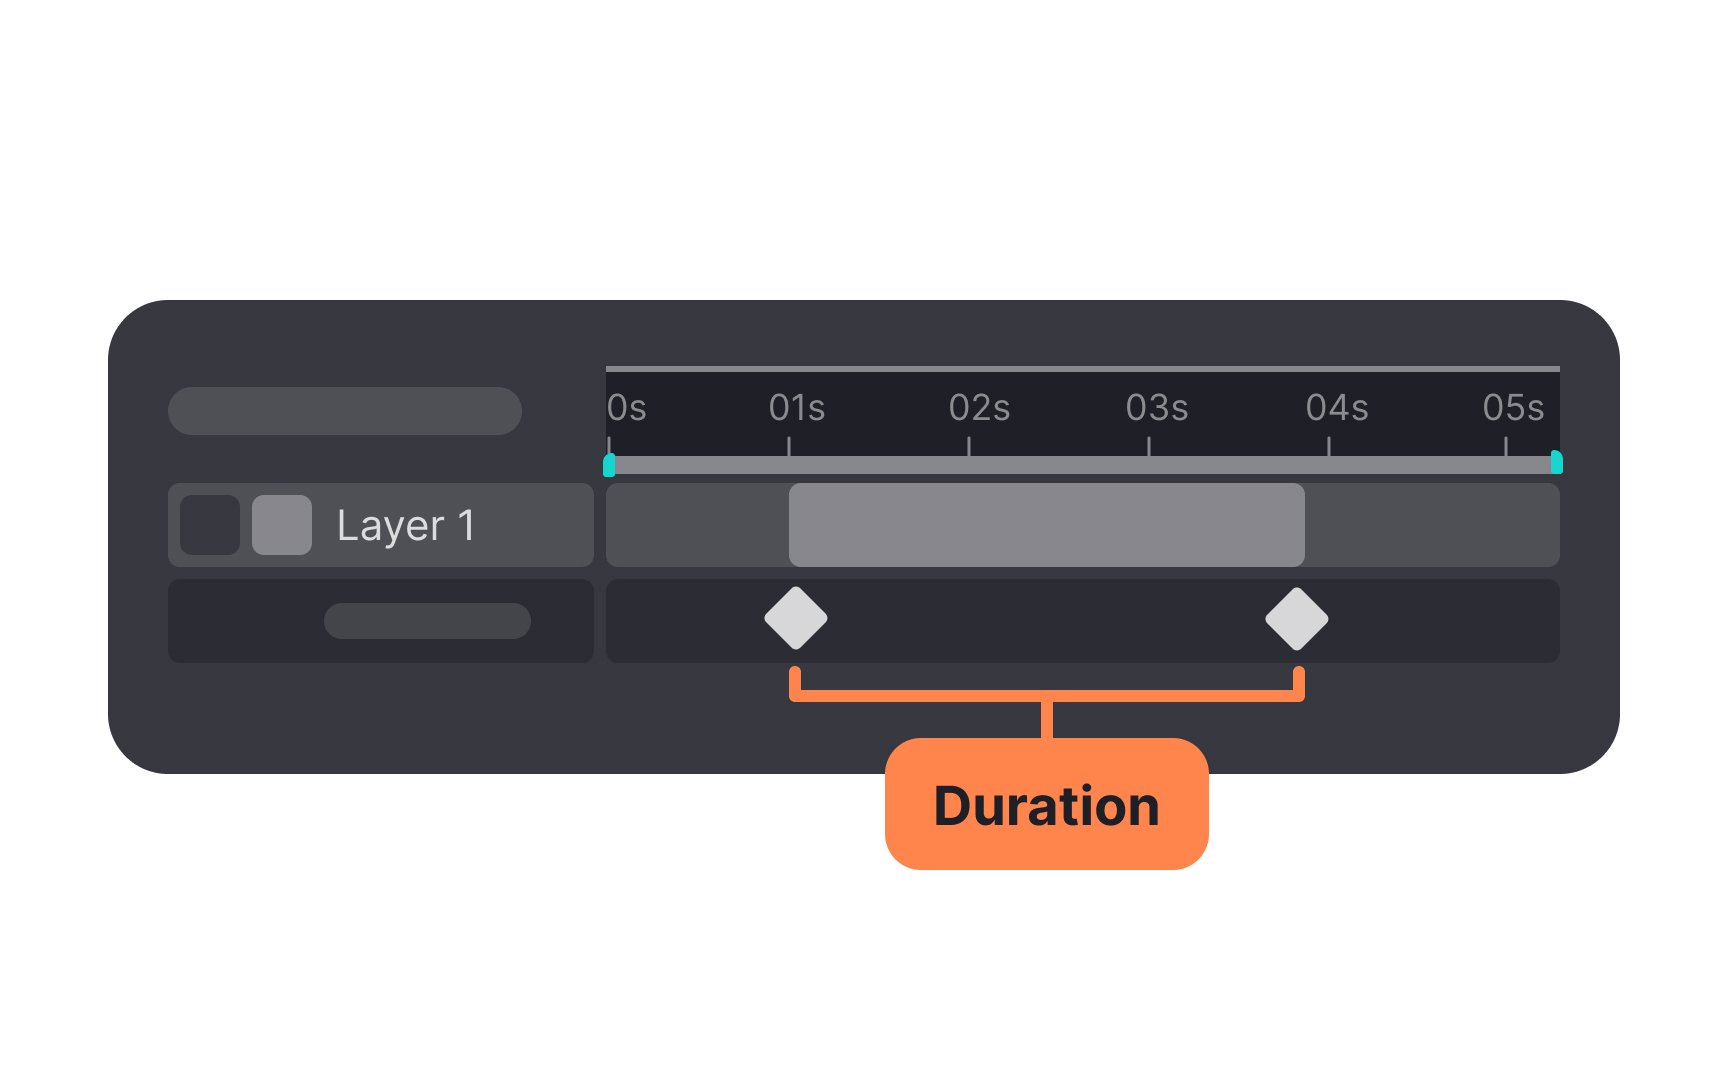
The duration of an
The complexity of the animation should also be considered. Simpler animations may work well at the lower end of the range, while more intricate ones might benefit from slightly longer durations. By carefully adjusting animation durations, you can enhance
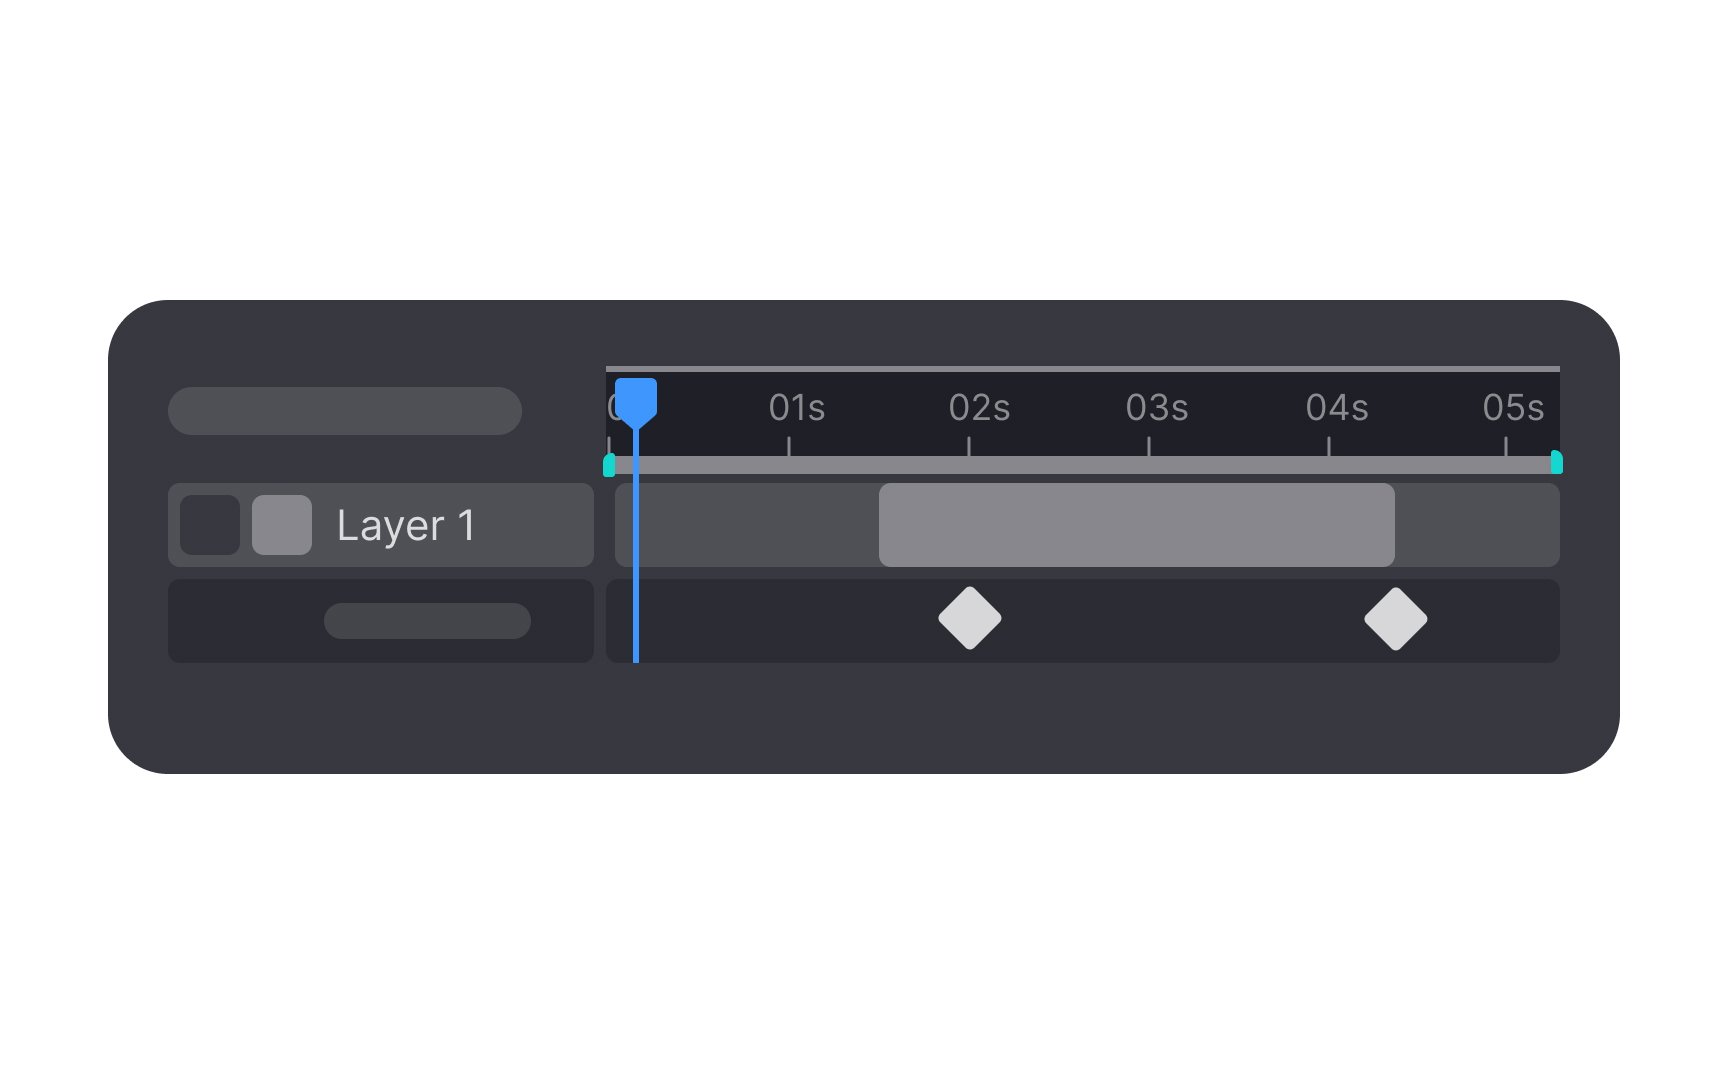
The
When the delay is assigned a positive value, the animation initiates after a specific interval from the moment it's triggered. Consider an
Alternatively, if a negative delay is employed, the animated element appears to already be in
Linear
Animations that progress following a linear curve appear mechanical at best and unnatural at worst. In the real world, objects follow the laws of physics when it comes to things like momentum; they start slow, then speed up, then slow down or stop. However, linear curves can be useful in things like
Animations with easing functions change speed over time, similar to a car accelerating and decelerating. The graph of this
There are 3 basic types of easing curves: ease-in, ease-out, and ease-in-out. Each offers a different way to control how the speed changes, thereby enhancing the overall feel and effectiveness of the animation.
Ease-in curves start slowly and gradually speed up. They are similar to a roller coaster that slowly picks up speed before the top and then zooms down.
While ease-in curves are more natural than linear curves, the way they abruptly end isn’t the most natural
Pro Tip: Ease-in timing function works great for things like system notifications.
An ease-out curve is the opposite of an ease-in curve. They start out fast, then slow down and end gradually. They’re more realistic, as they remind us of real-world actions like throwing a ball. If your
Ease-in-out animations start slow, gain momentum toward the middle, then slow down again before stopping. Ease-in-out curves don’t have to be symmetrical, though.
Google’s Material Design recommends using an asymmetrical curve with faster easing in than easing out.[3] Doing so accentuates
Not all objects in the real world move smoothly like easing curves do. So, there are two other types of motions you’ll want to master: the spring and the bounce.
In a spring
One thing to keep in mind with spring animations is that the object can move past its start and end points, much like a spring oscillates in real life.
Bounce
References
- The Role of Animation and Motion in UX | Nielsen Norman Group
- Duration & easing - Motion - Material Design | Material Design
Top contributors


Topics
From Course

Share


