CSS Margins & Paddings
Learn how to manipulate CSS margins and paddings to fine-tune spacing and create visually balanced and appealing layouts for your web pages
Padding and margin are integral parts of negative space. They indicate the focus of attention, enhance readability, maintain a hierarchy, and provide a general understanding of the content. Without padding and margin, good design wouldn't be possible at all.
Knowing the differences between those properties will help you determine when to apply padding or margin and how to do it effectively.
The margin is responsible for space outside of the element's defined borders. It works like a safety bag and prevents elements from bumping into each other. Without
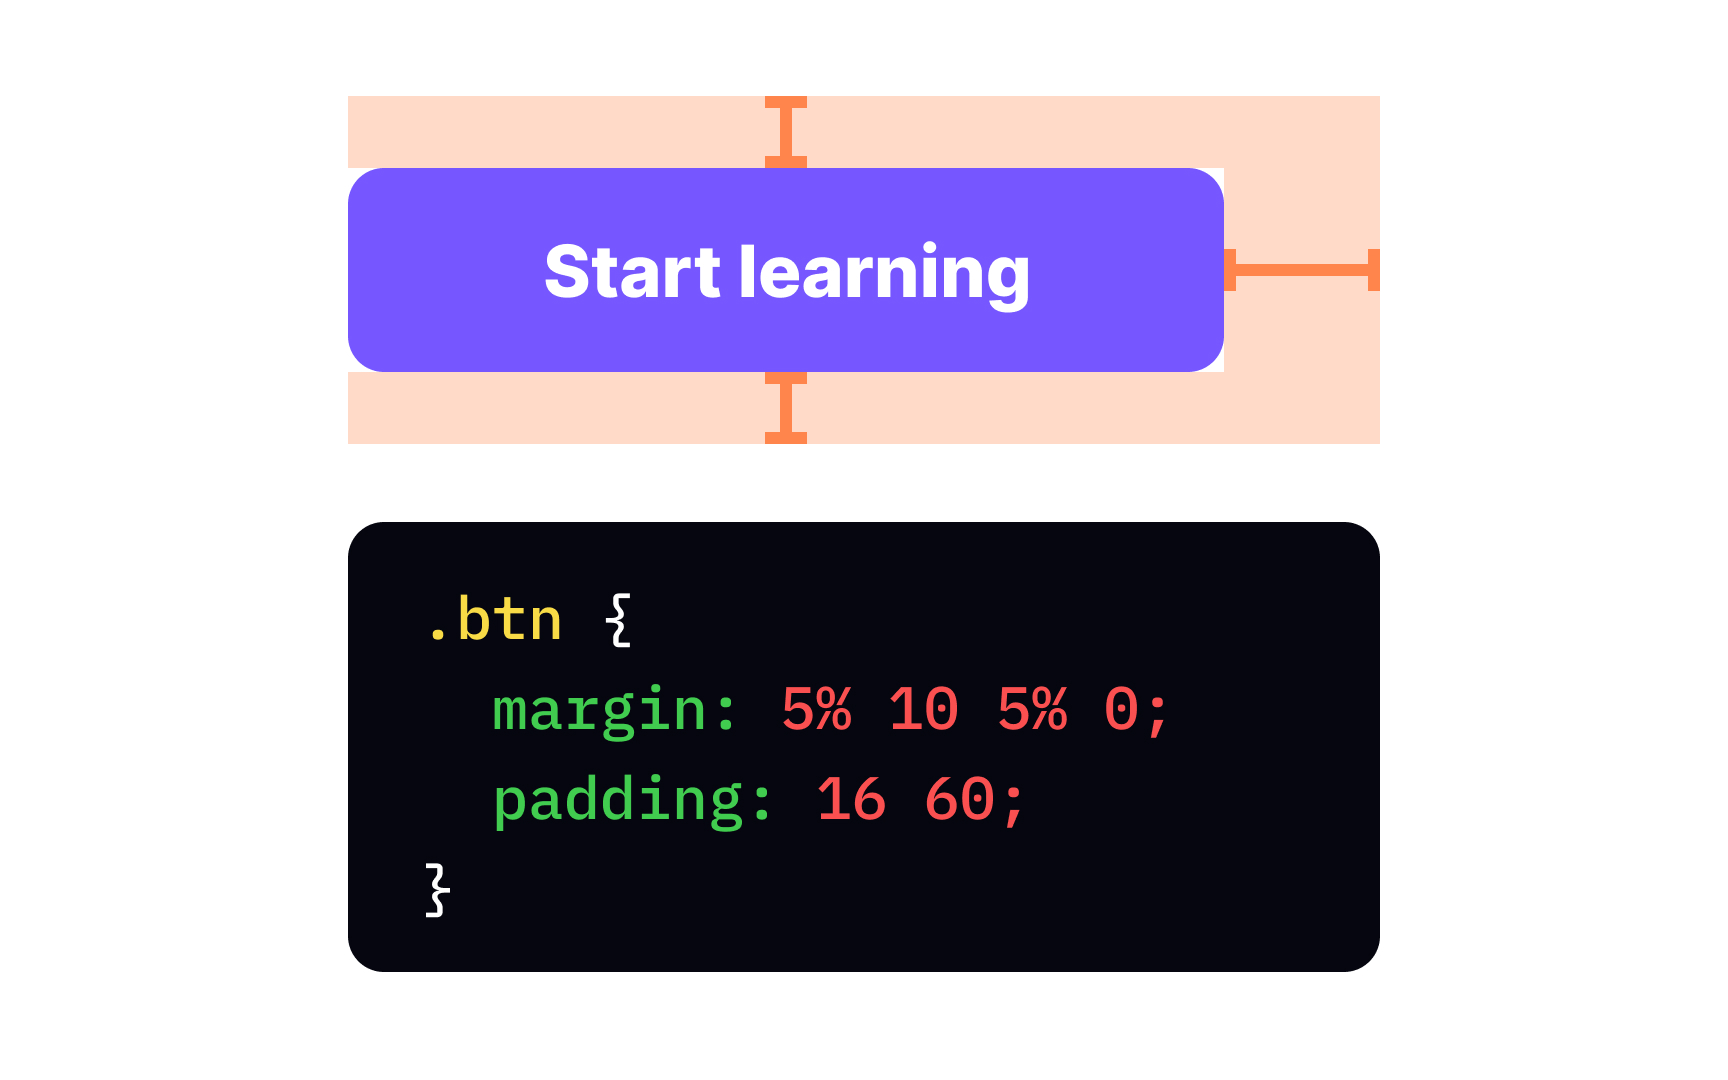
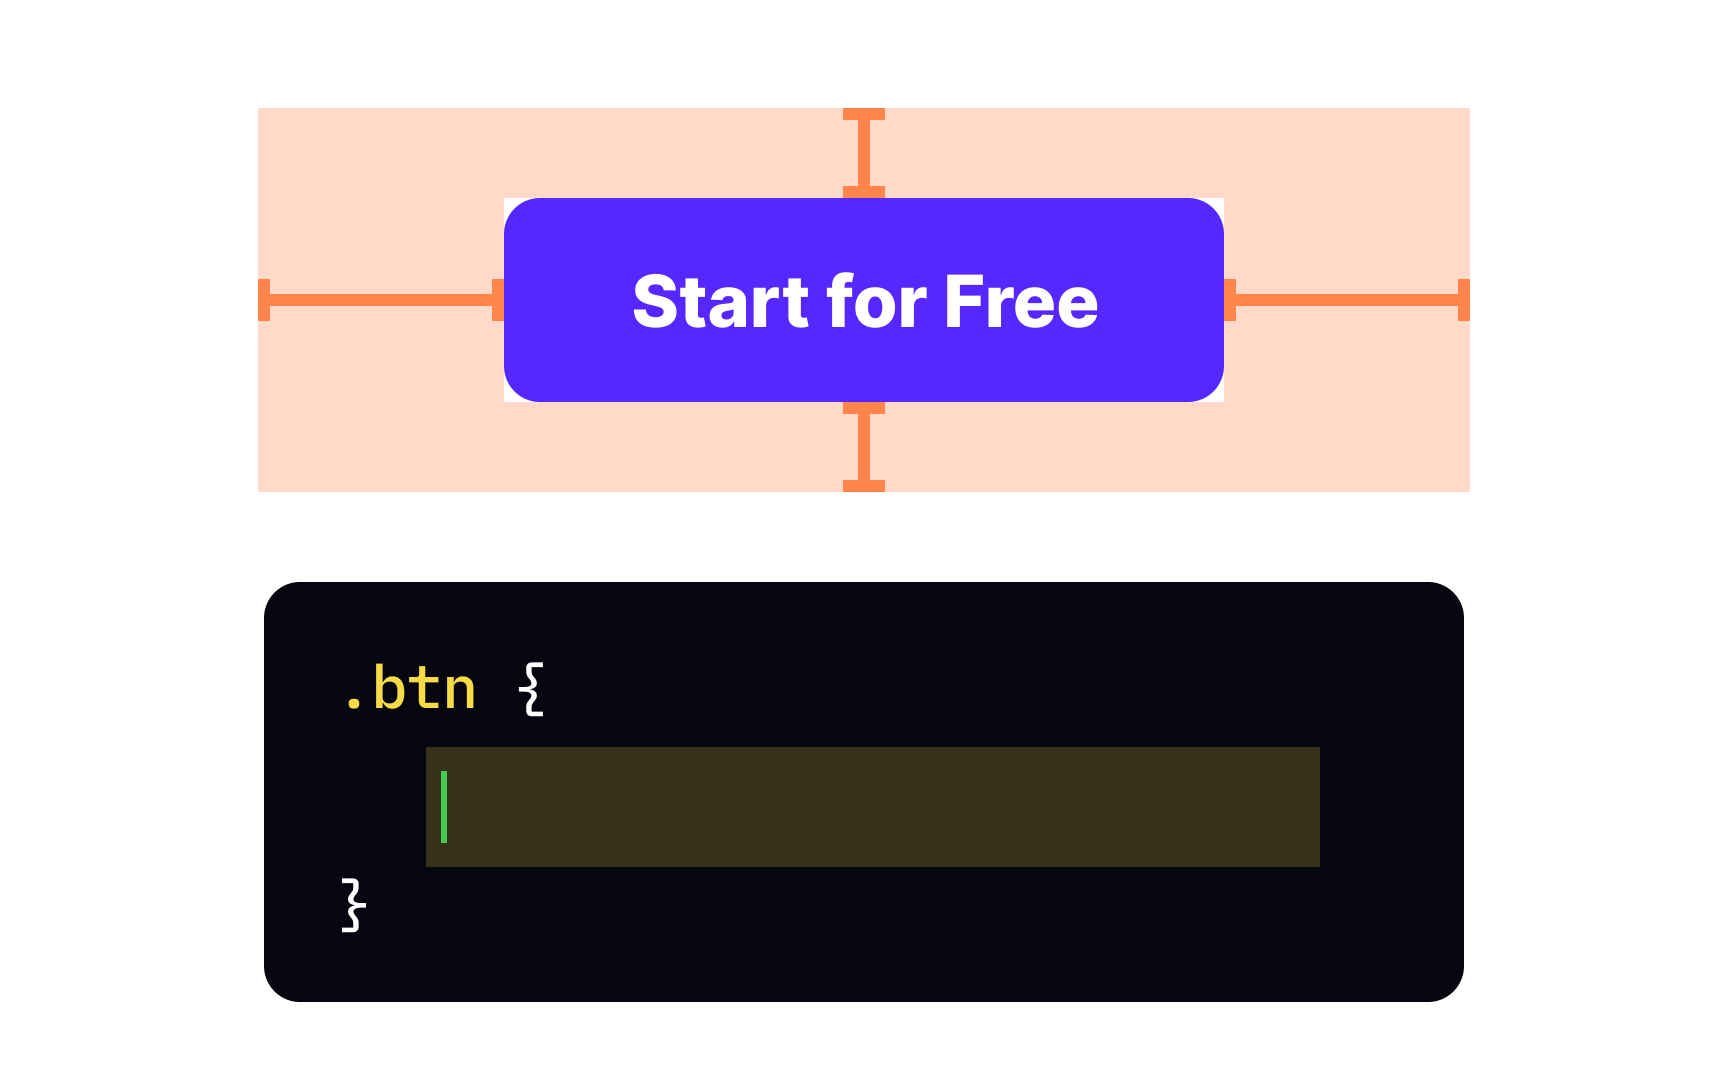
For setting an element's margin, you can select a shorthand margin
Remember to always define margin values. Usually, web developers use pixels.


Like people, elements on a
For setting padding, you can use a common padding
Like many other things in the HTML/CSS universe, you can define padding with


Instead of using a common padding padding-top, padding-right, padding-bottom, and padding-left properties. Likewise, you can define margin-top, margin-right, margin-bottom, and margin-left properties individually. All values should be specified in px, em, pt, cm, or percentage.
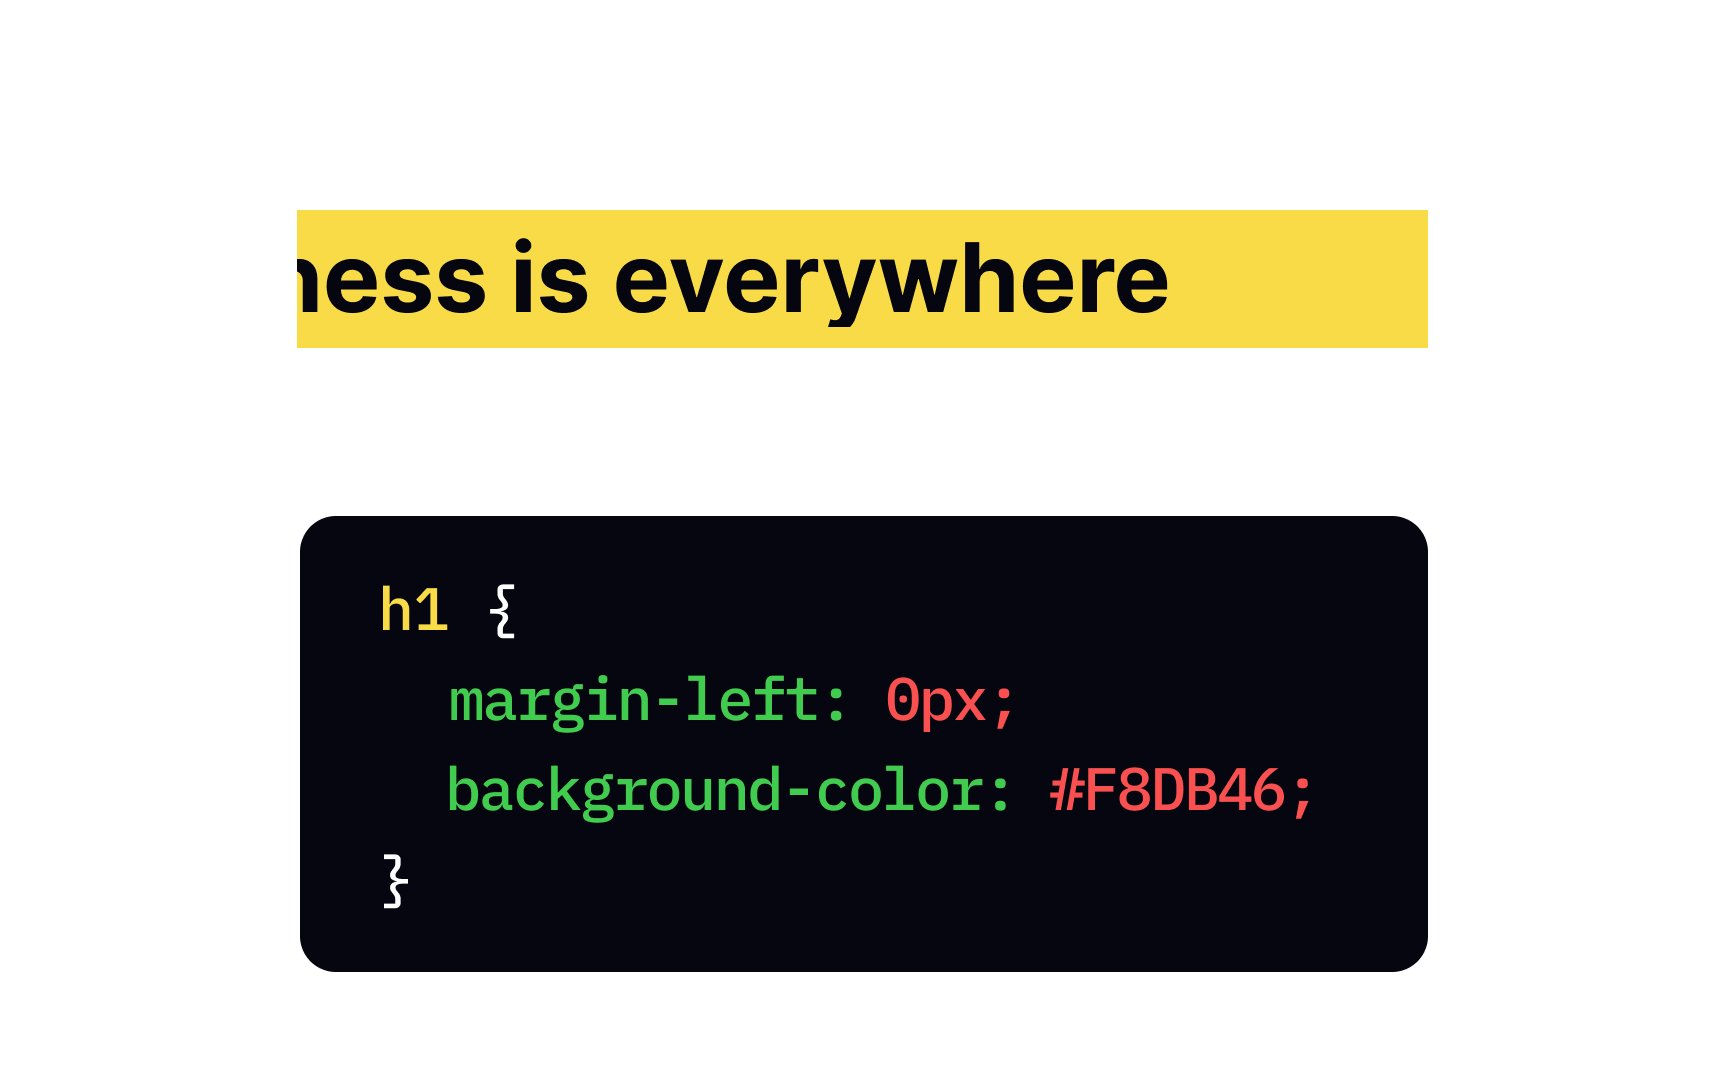
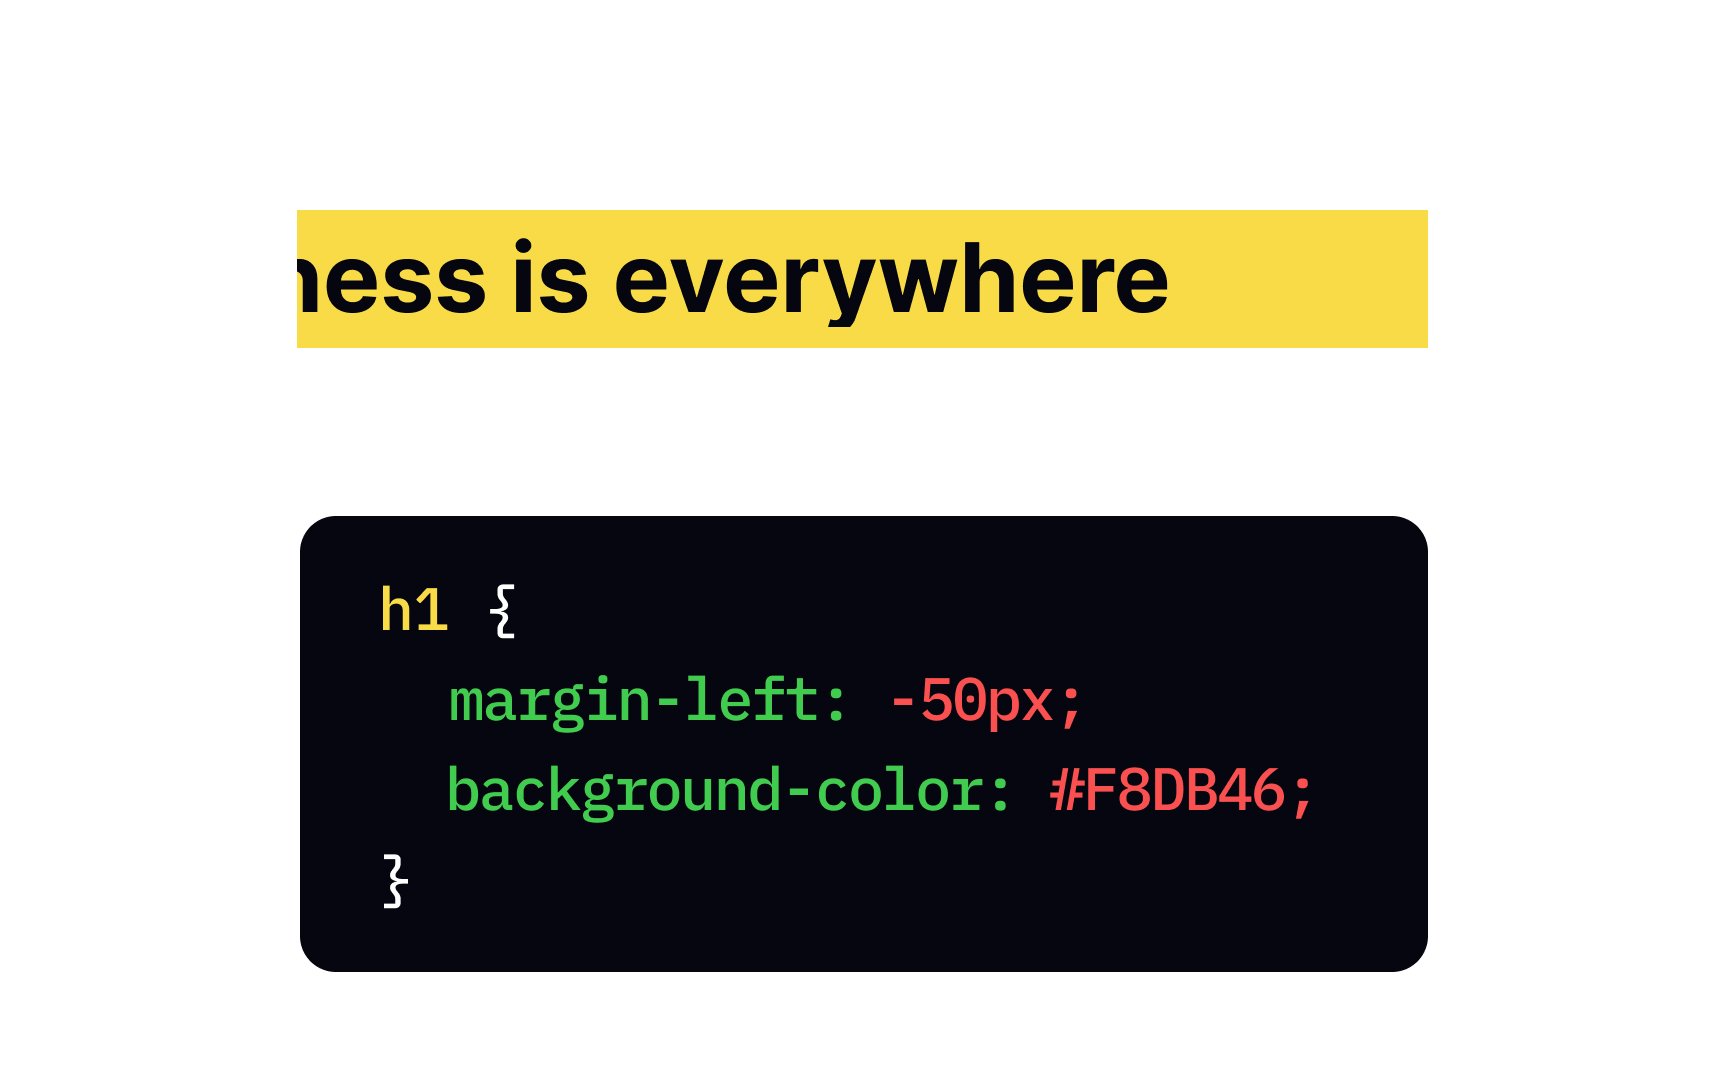
Pro Tip: Unlike padding, margin can have a negative value. A top/left negative value pulls the element in the specified direction, while a bottom/right clashes a succeeding element with the main one.

A pixel isn't the only measurement unit that we can use for defining elements' values. All
- Length: You can use familiar
pixels or points (pt), centimeters (cm), and other measurement units. - Percentage (%): You specify a
property in the percentage of the container's width. - Global values: These values (
inherit,initial, orunset) indicate how the padding and margin properties inherit values from the parent element or reset to their browser defaults.
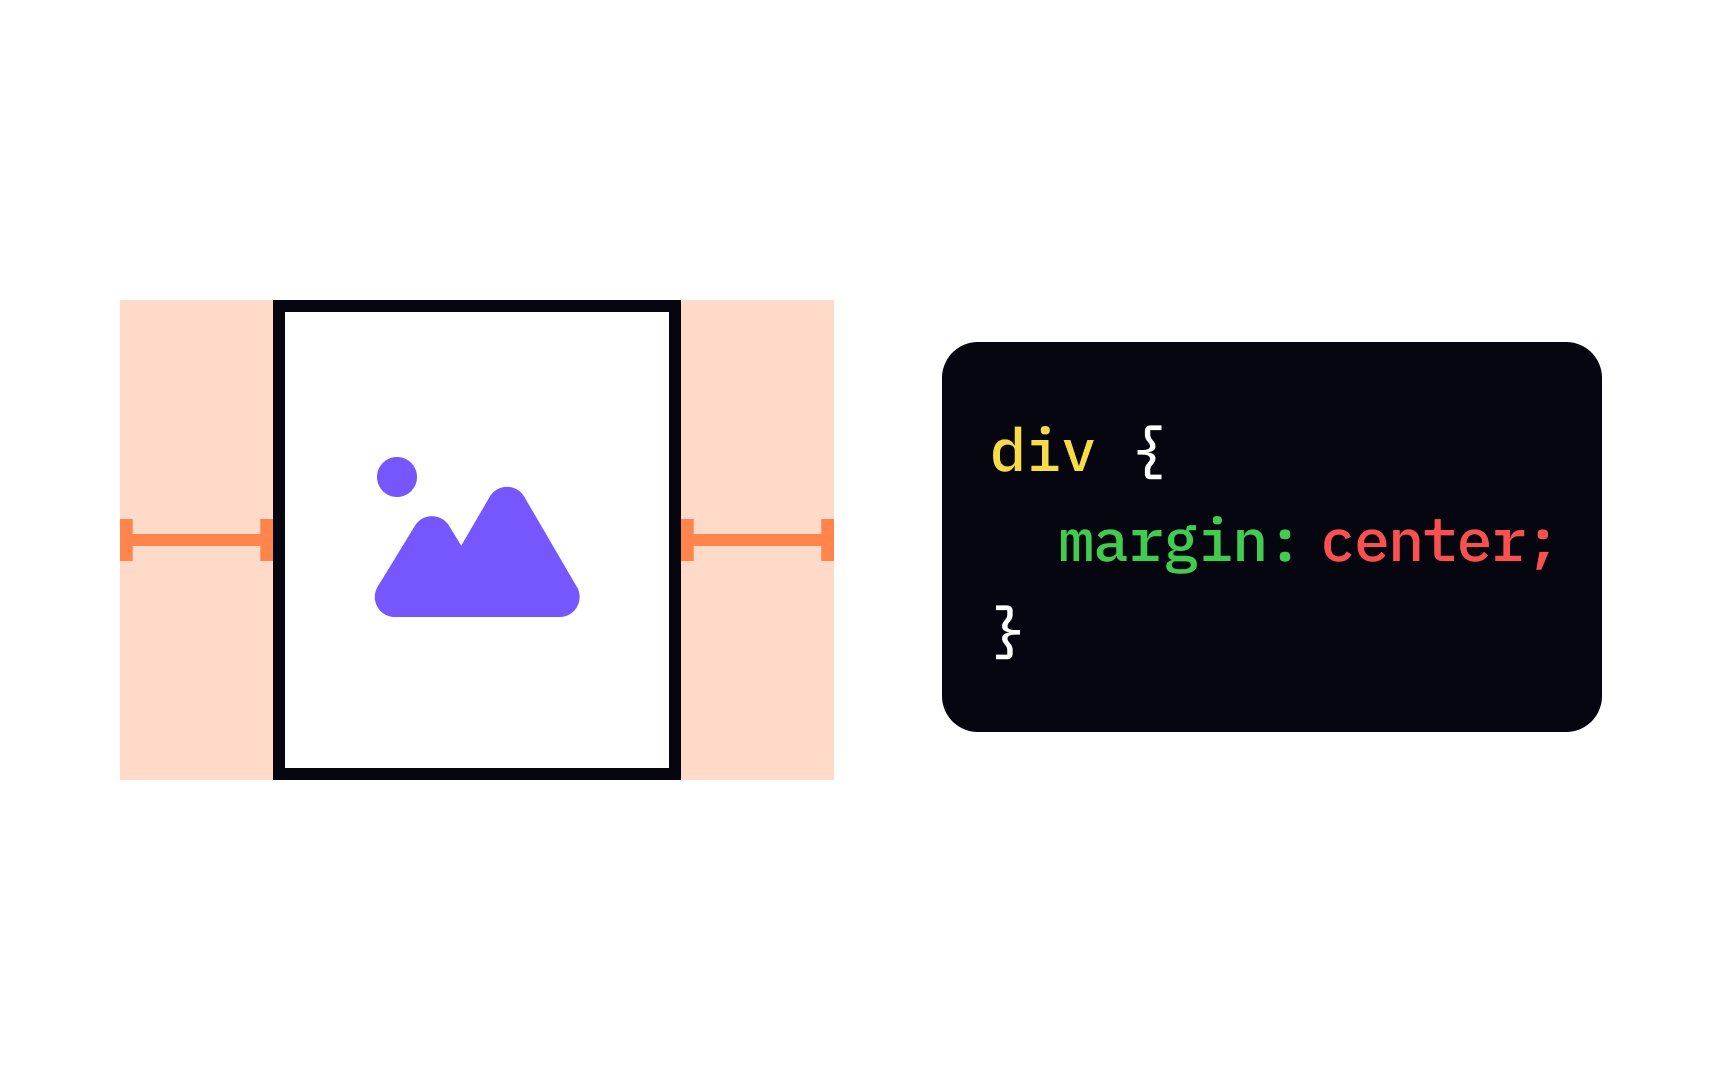
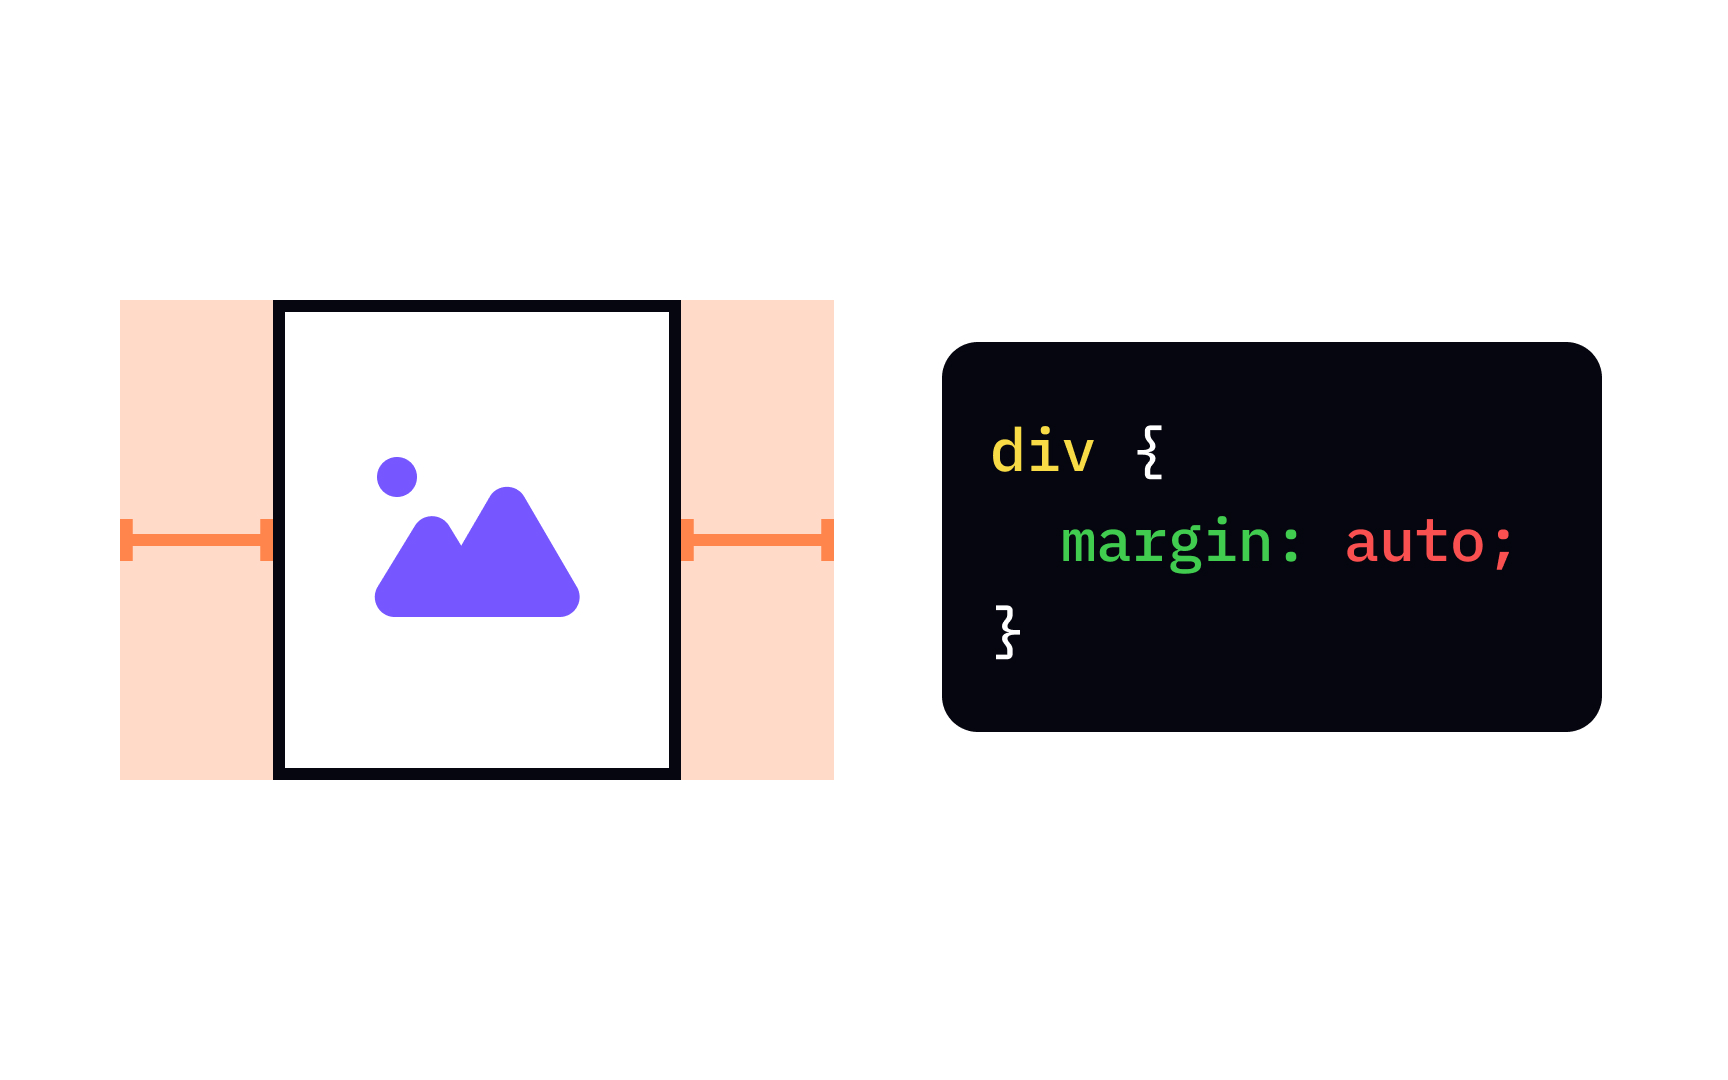
Unlike margin
Setting auto values for vertical margin (top and bottom) doesn't make much sense. The element will be pulled to the edge with a margin value equal to 0.
Unlike top/left negative value pulls the element in the specified direction, while a bottom/right clashes a succeeding element with the main one.
In general, negative values don't influence the page's flow even if you apply them to static elements. In other words, if you use a negative margin to nudge an element upwards, all succeeding elements will be pulled as well.

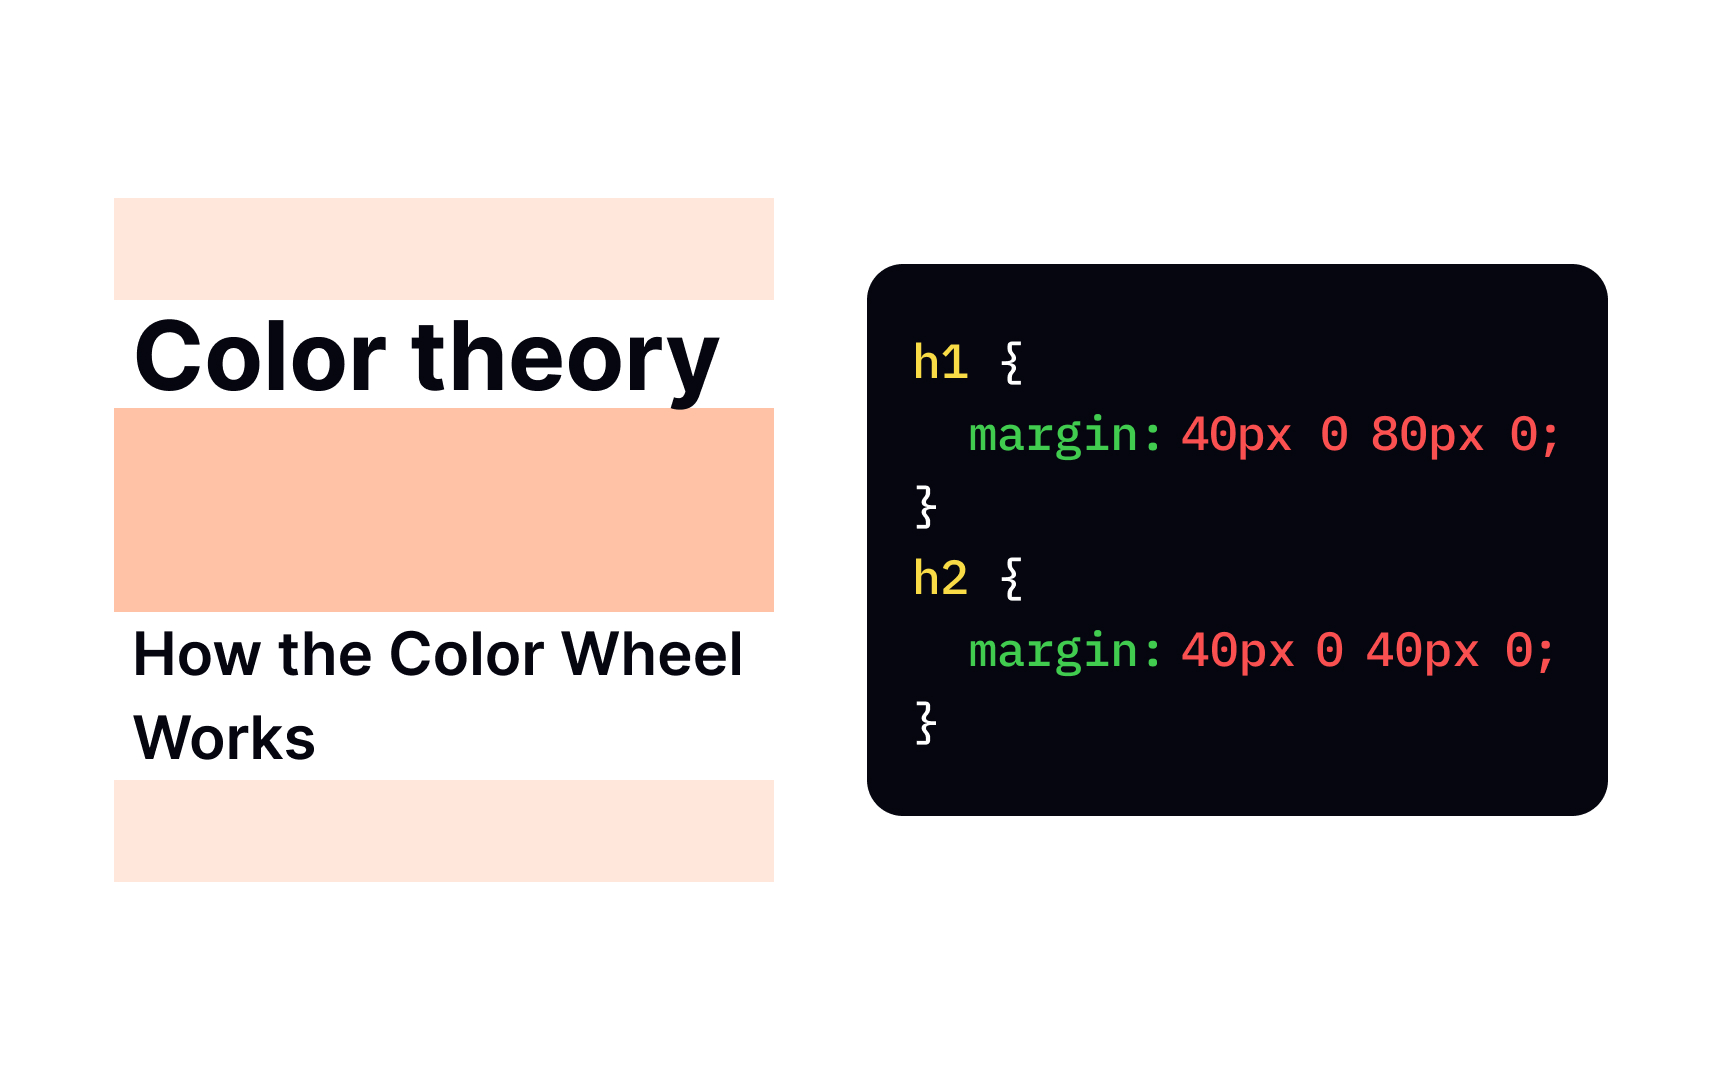
The margin collapse happens when the top and bottom values collide, like in the example, where the <h1> element has a bottom margin of 80px and the <h2> element has a top margin of 40px. Due to the margin collapse, the final value is equal to the largest of the two
Pro Tip: Margin collapse never happens to left and right values.
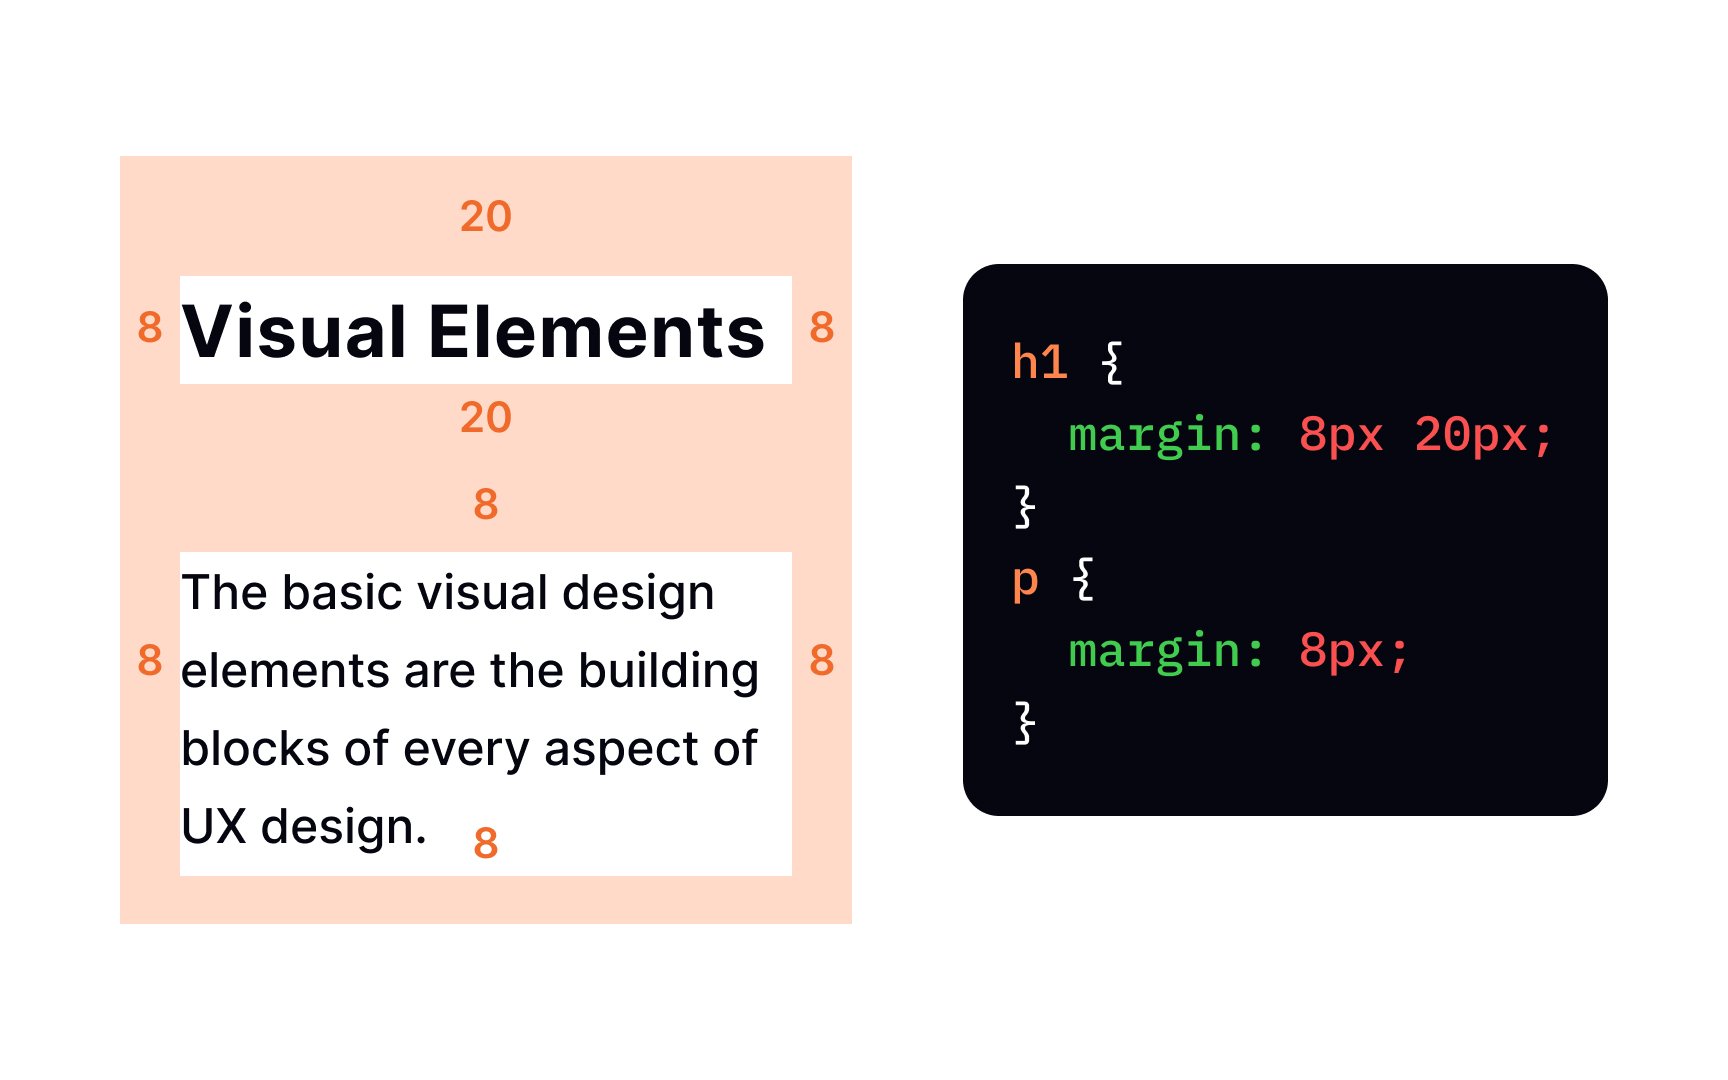

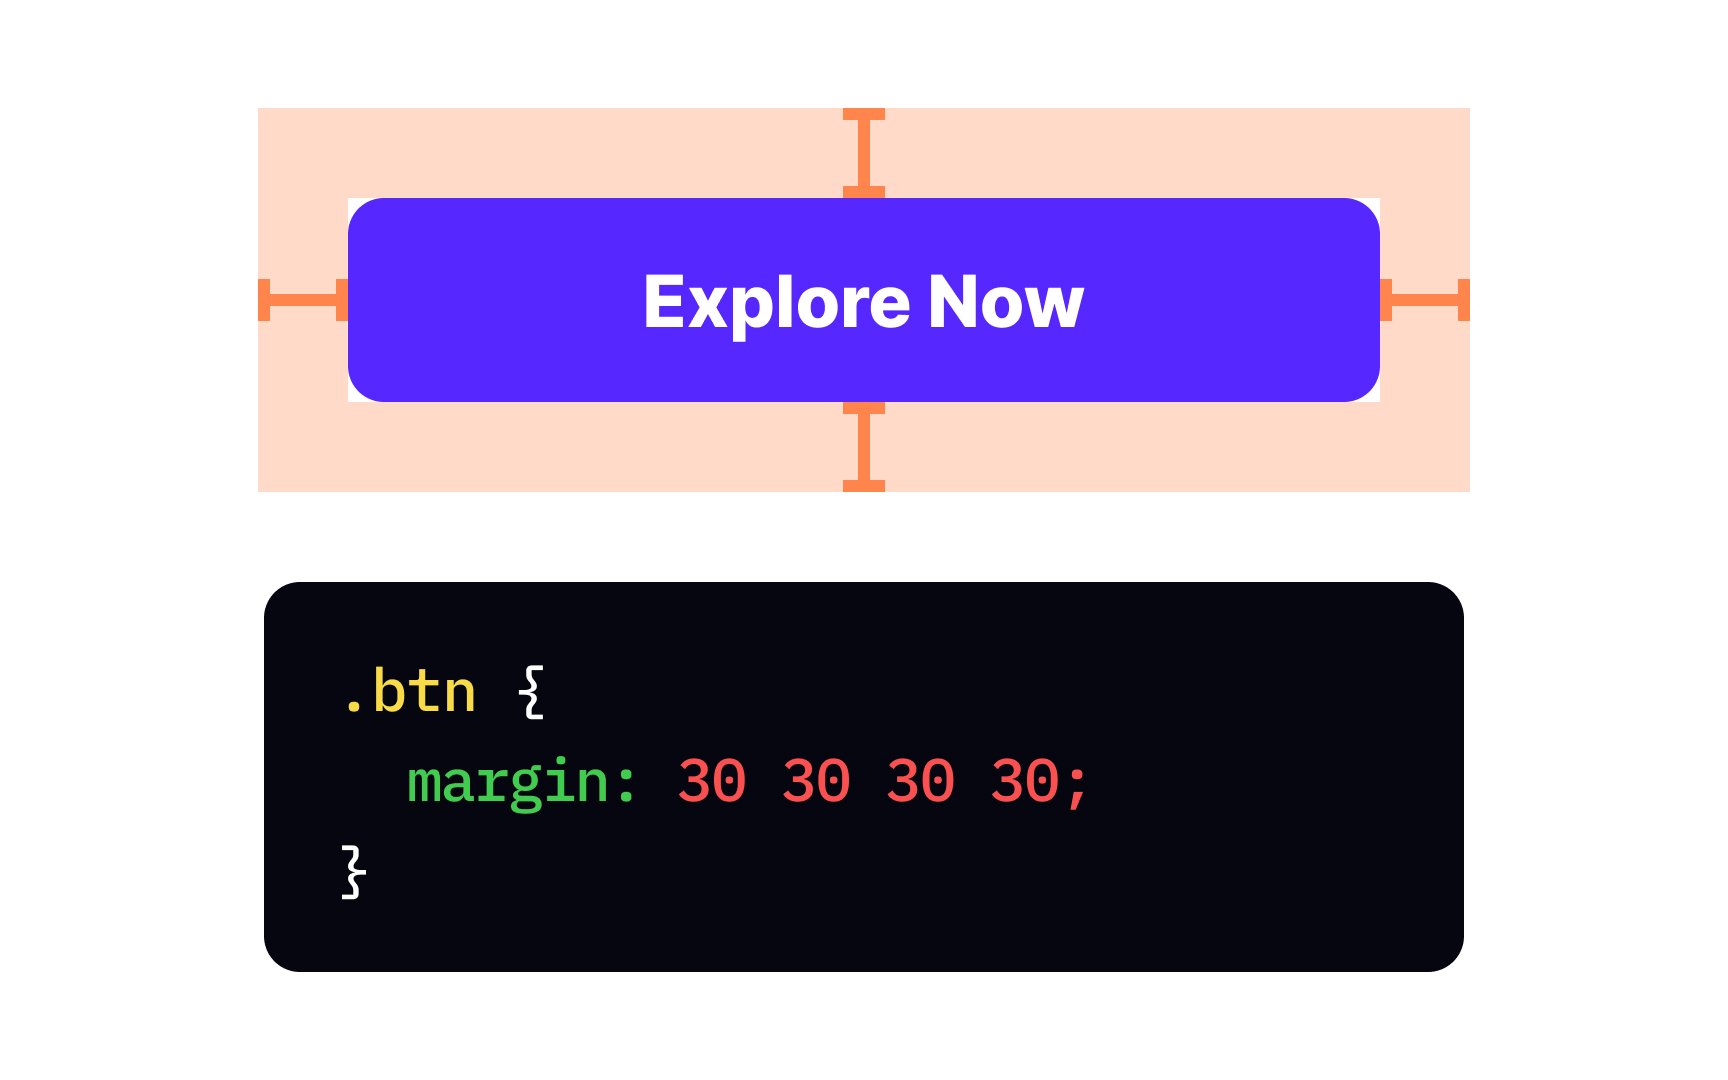
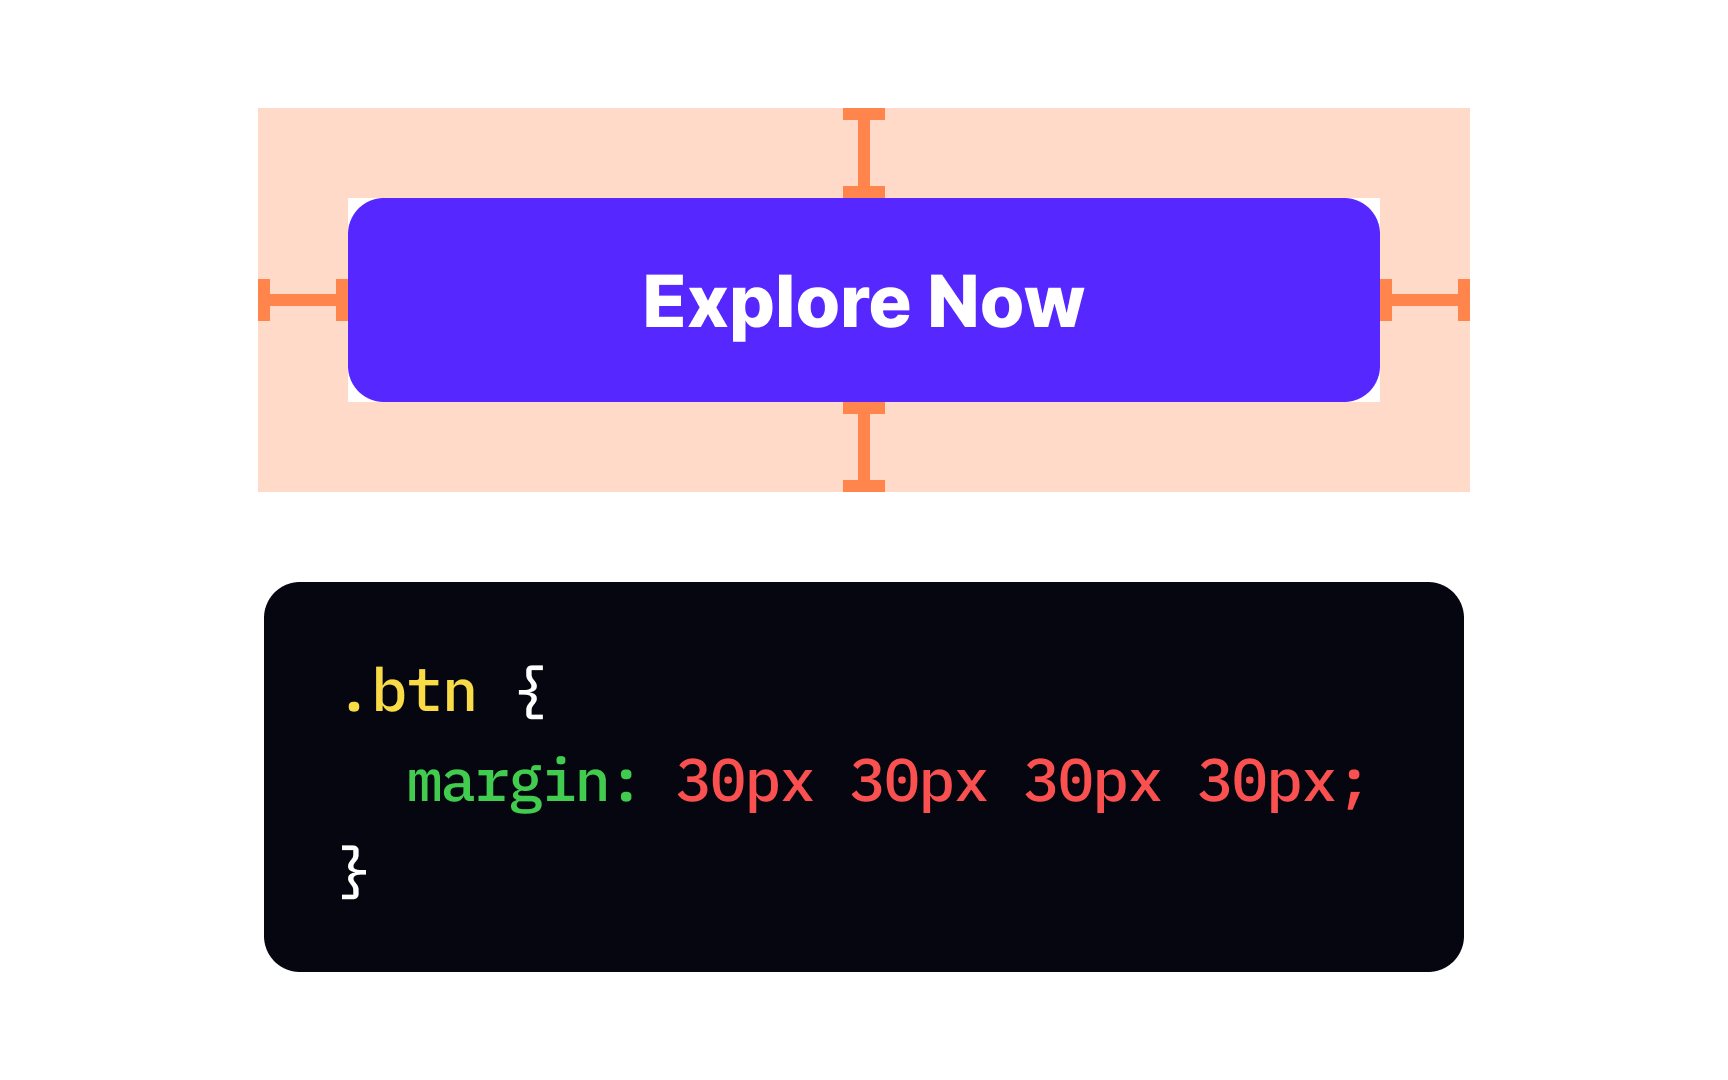
- When you set only one value, it applies to all four sides
- When you set two values, the first one defines the
topandbottommargin, while the second defines theleftandrightmargin - When you set 3 values, the first one defines the
top margin, the second defines theleftandright, and the third defines thebottom

Like
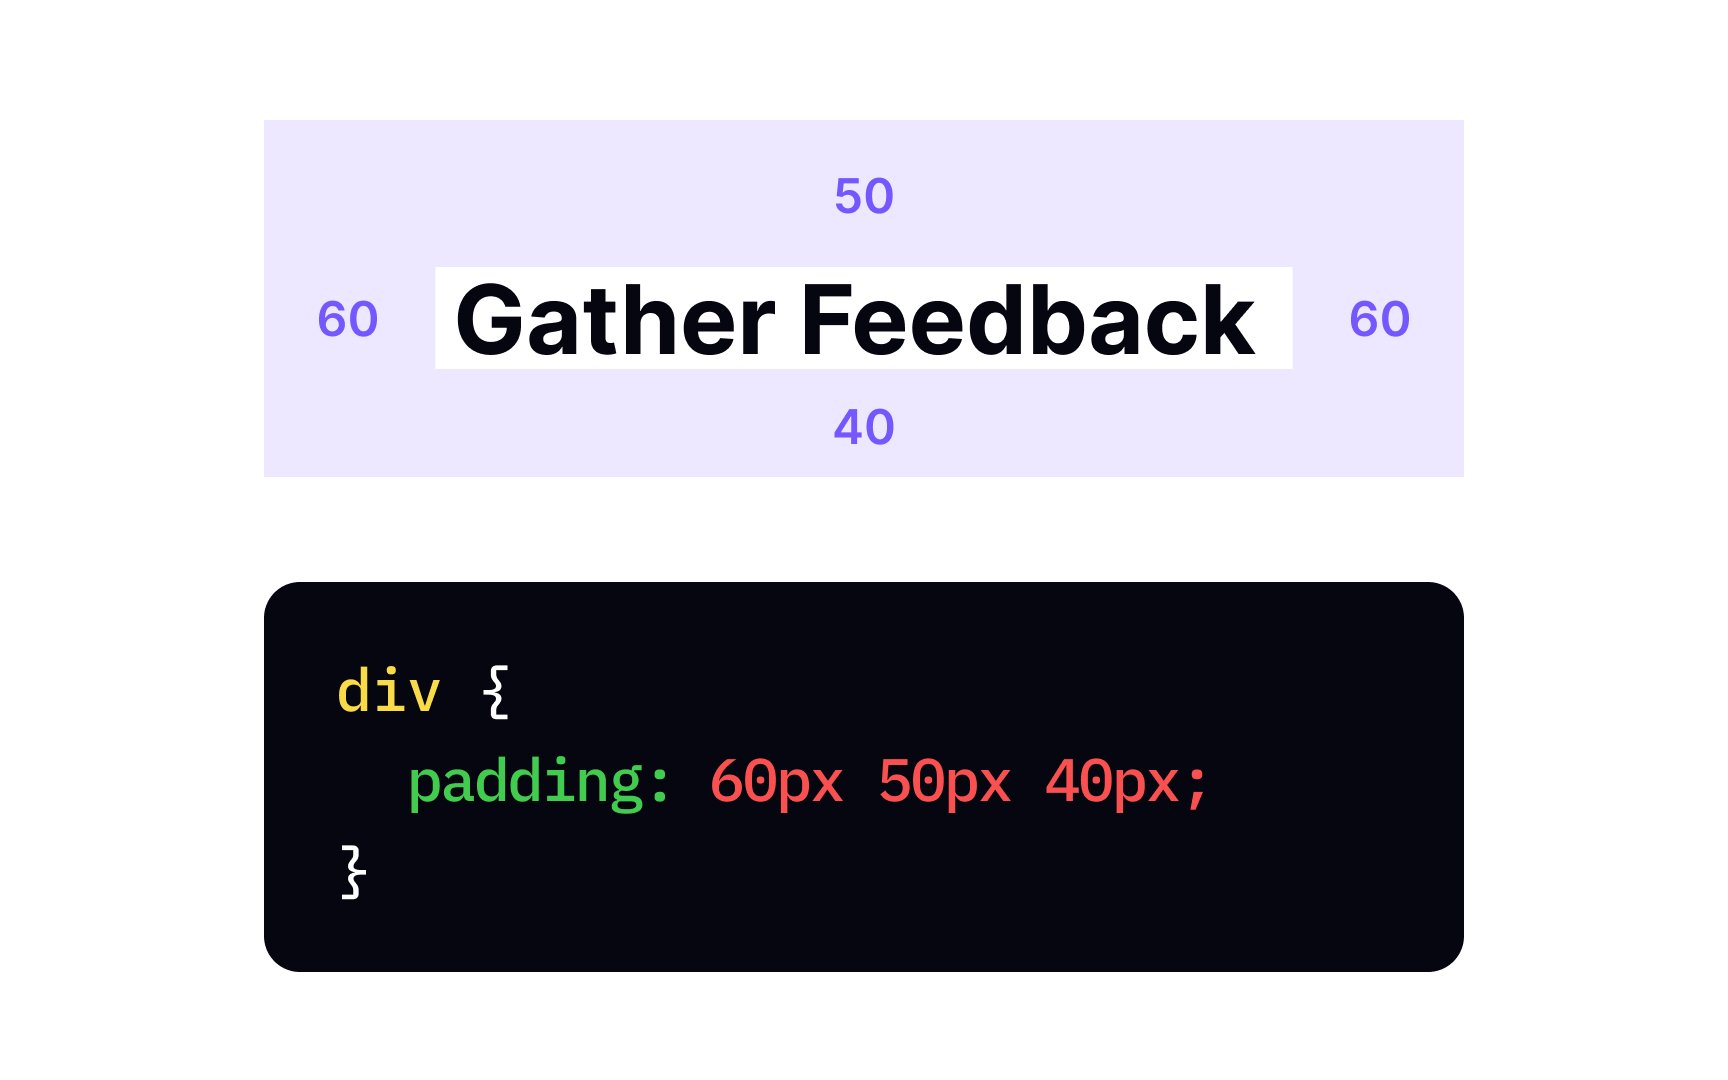
- If you specify one value, it applies to all four sides
- If you specify two values, they apply to the
topandbottomandleftandright, respectively. - If you specify three values, the first one applies to the
top, the second to therightandleft, the third to thebottom
The correct name for a padding-top. You can either use an individual property or a shorthand padding property and define one, two, three, or four values separated by gaps. The first value will always be meant for the top padding.
If
padding: the value in px, cm, pt, etc.
Of course, if you plan on adjusting padding later, you can write down all 4 values separated by gaps.
If the top/bottom and right/left
Top contributors


Topics
From Course

Share


Similar lessons

CSS Basics

Introduction to CSS for Designers
