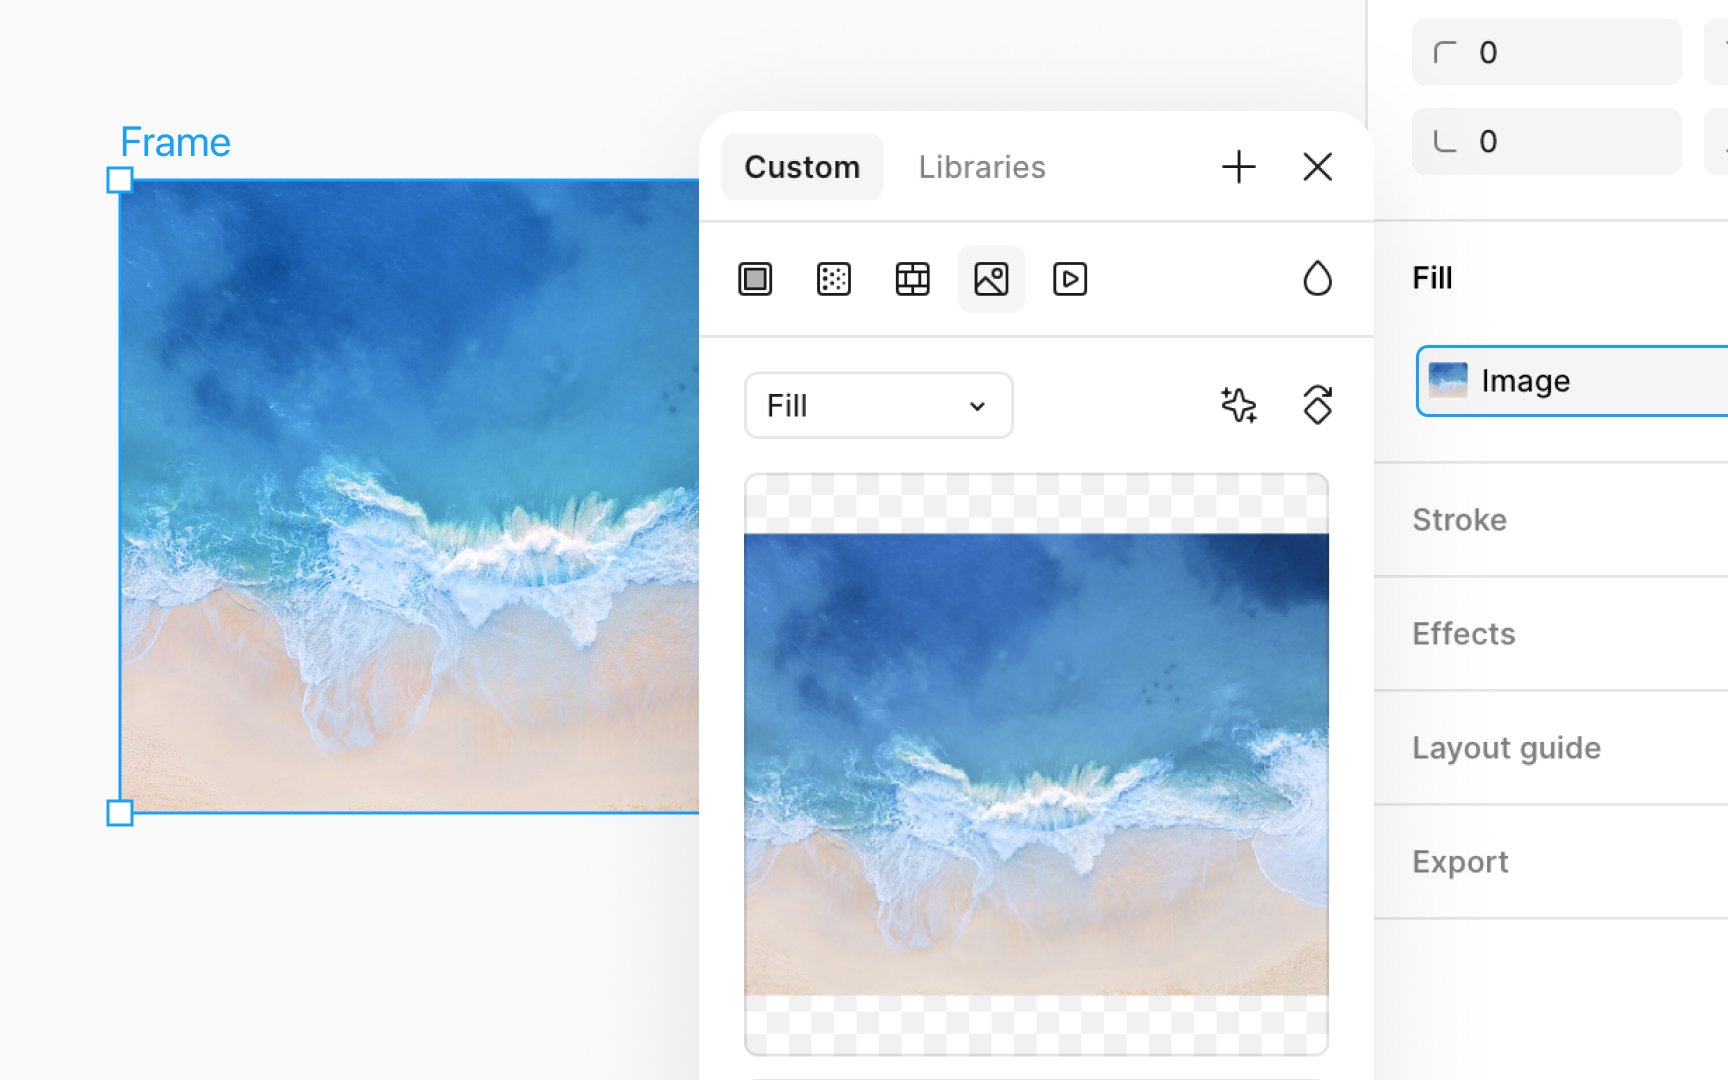
Placing an image as a fill
To start adding images as fills to objects in Figma, you can use either a local image or generate one with AI.
Here’s what you do:
- Select the shape you want to customize.
- In the Design panel, click the Fill swatch to open the color picker. By default, you’ll see a black and white checker placeholder.
- Click Choose image in the preview, select your image file from your computer, and hit Open. Your selected shape will now display the image as a fill.
You can also use AI-generated images without leaving Figma. In the Fill settings, choose the AI tab and describe what you want, like “a big red fluffy cat photo,” to generate a custom image fill instantly.
Top contributors