HTML Formatting
Learn to enhance the readability and aesthetics of your web pages with HTML formatting
In the vast landscape of web design, it's important to distinguish between two essential concepts: formatting and style. While style primarily focuses on the visual aesthetics of text, which is governed by CSS, formatting serves a distinct purpose. It allows us to emphasize specific portions of content that differ from the surrounding text, be it in meaning or structure.
Delve into the realm of HTML formatting and explore the myriad ways in which you can highlight and structure different types of content. Whether it's denoting important headings, quoting relevant passages, or indicating lists and code snippets, mastering the art of HTML formatting will empower you to convey meaning and enhance the clarity of your web content.
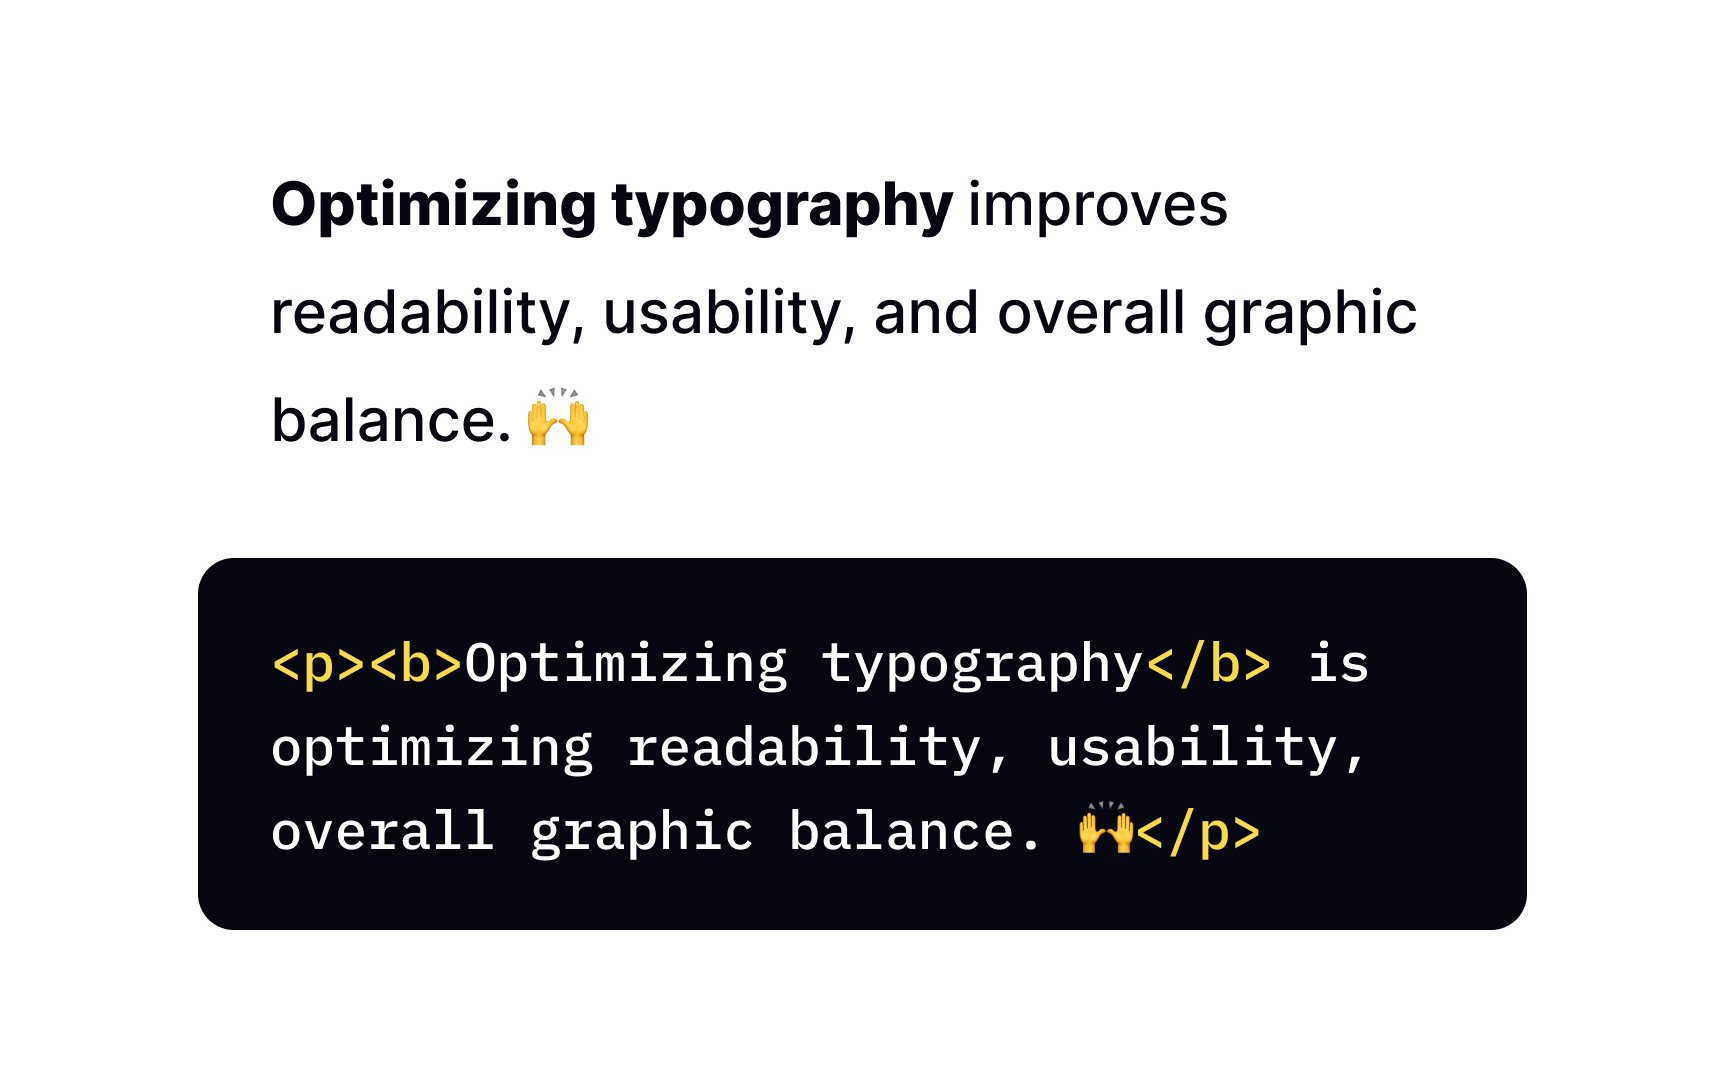
The <b> element makes the text bold without adding any particular importance. Typical use cases include keywords in a summary or product names in a review — whenever you need to make certain words noticeable.
At the dawn of <b> tag was the only way to make text bold. Nowadays, when bold text is a style choice, the best practice is to use the font-weight. As a rule of thumb, if you need to make a block of text bold, you will most likely need CSS; if it's about making a keyword look prominent, the <b> tag is the right choice.[1]
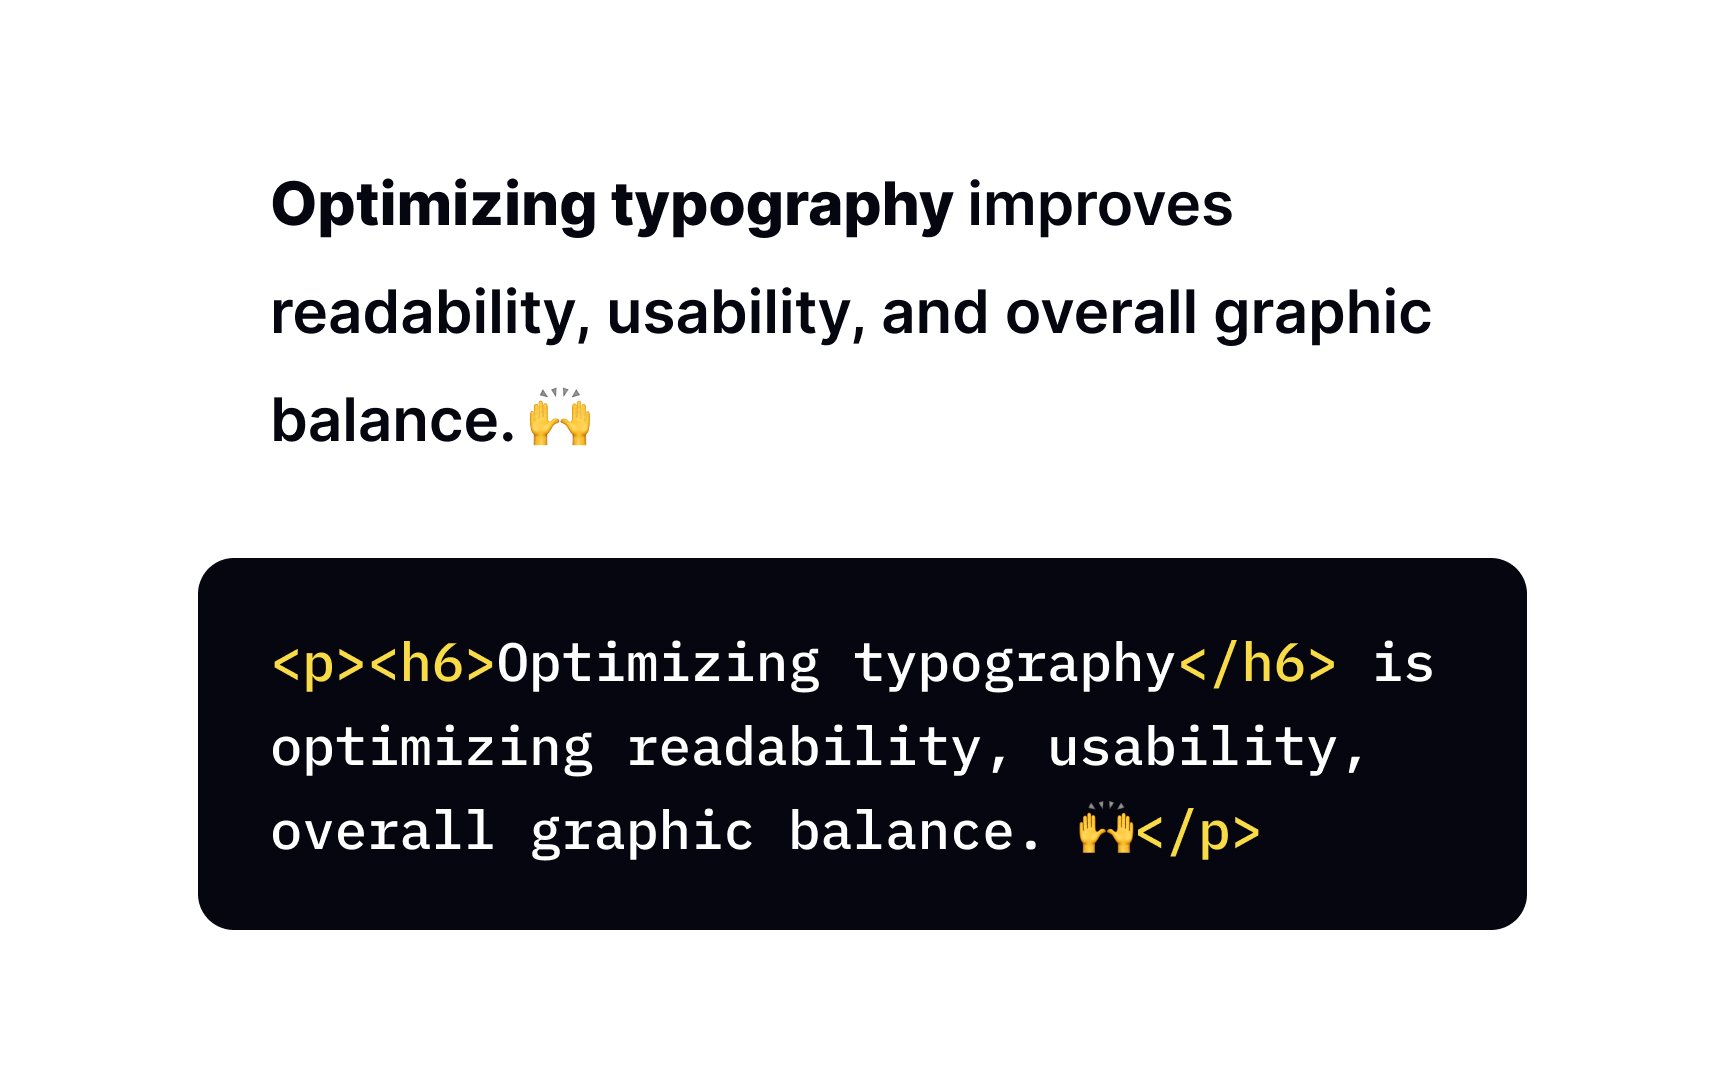
In <strong> <strong> tag identically to the content inside the <b> tag — bold. If they look the same, in which cases should you use the <strong> tag? This is one of the most common reasons for confusion among new developers, so let us walk you through a metaphor.
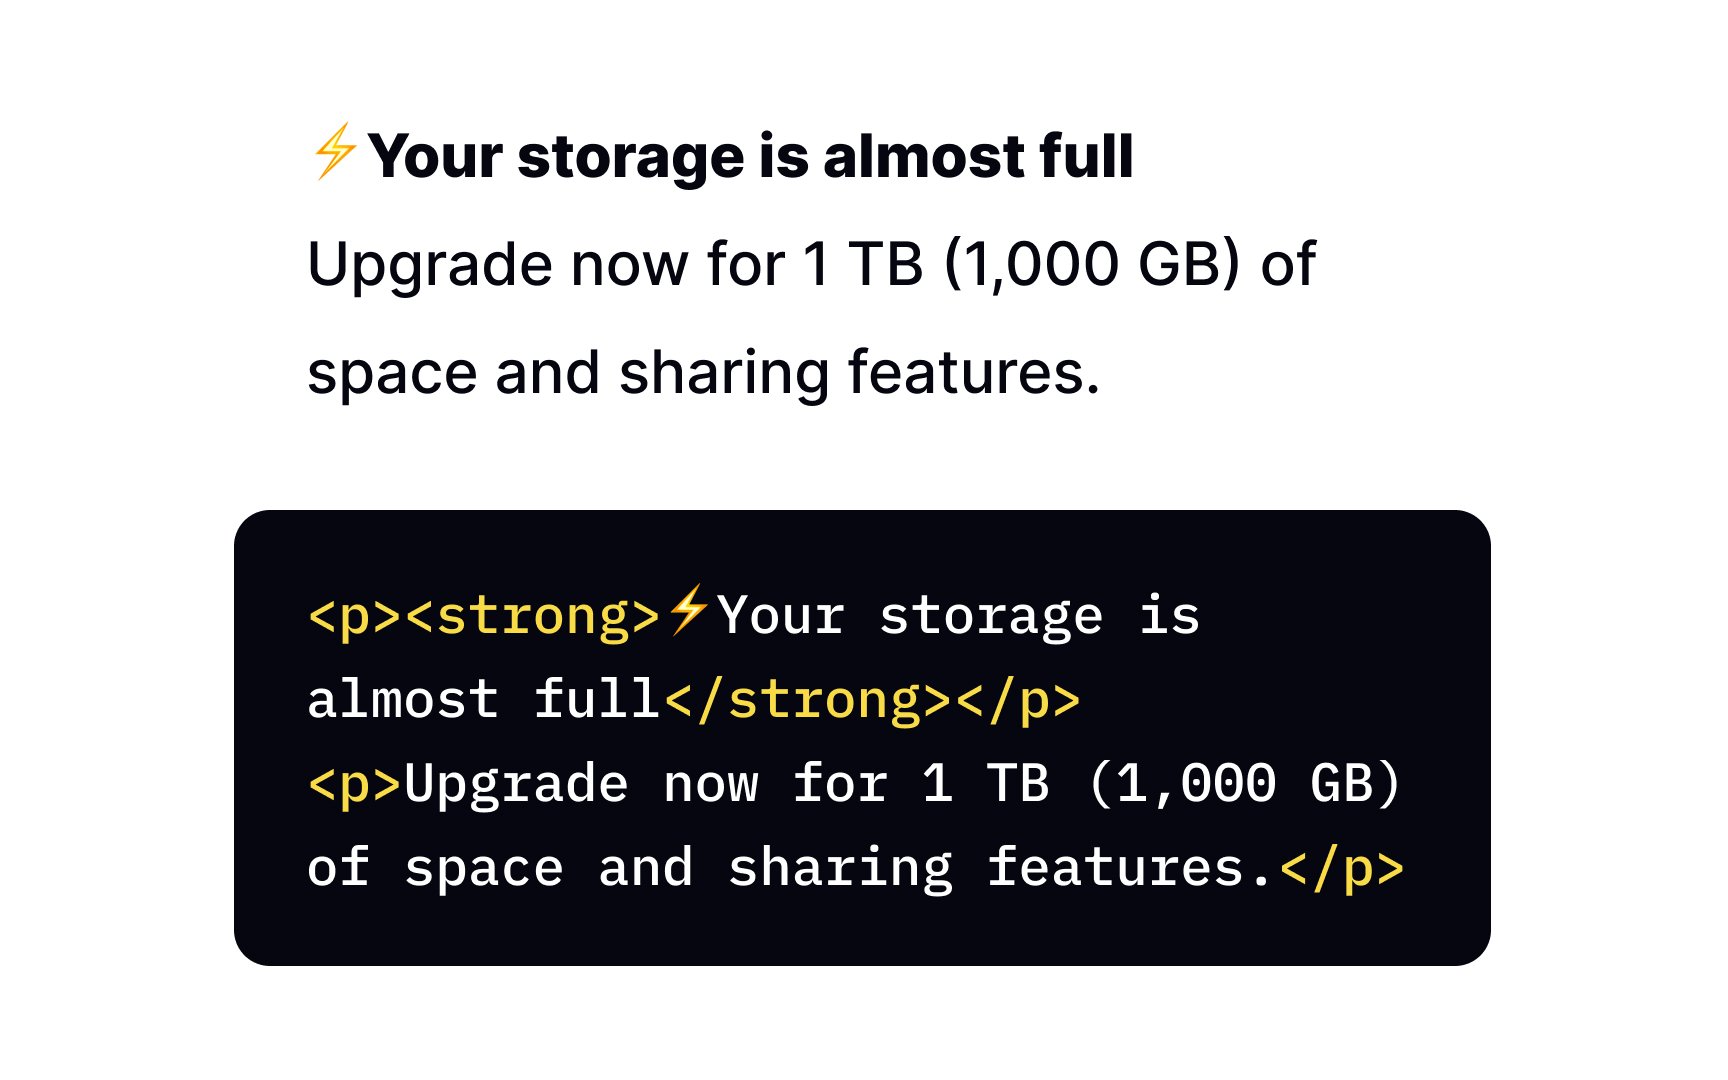
The <b> tag makes the marked text stand out in a way that a cowboy in a white hat would stand out from a group of cowboys in black hats — by being more noticeable without the different color adding more importance. Adding the <strong> tag is like giving a cowboy a sheriff's badge, thus denoting their higher rank. Use the <strong> element to mark content that is more important than the surrounding text — for example, warnings.
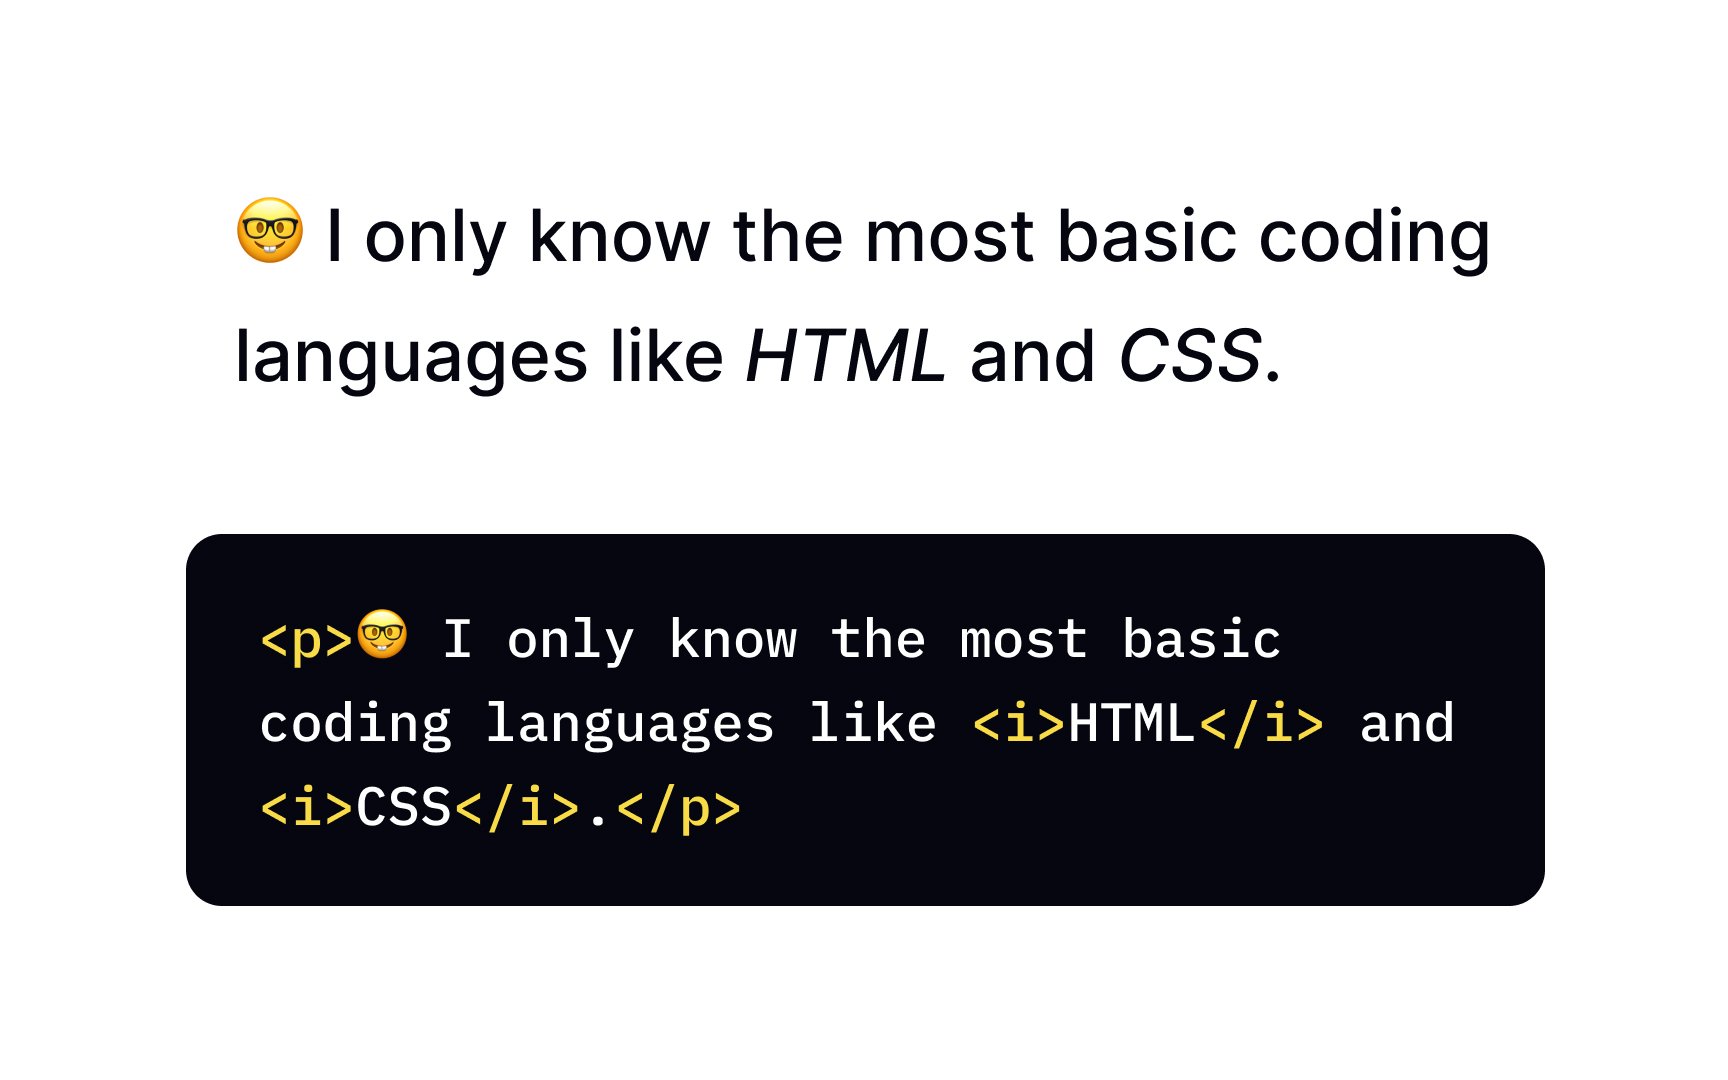
The <i> tag makes the text inside it look italic. In the early days of
Similarly to the <b> tag, the <i> tag is not for styling text. Use the font-style
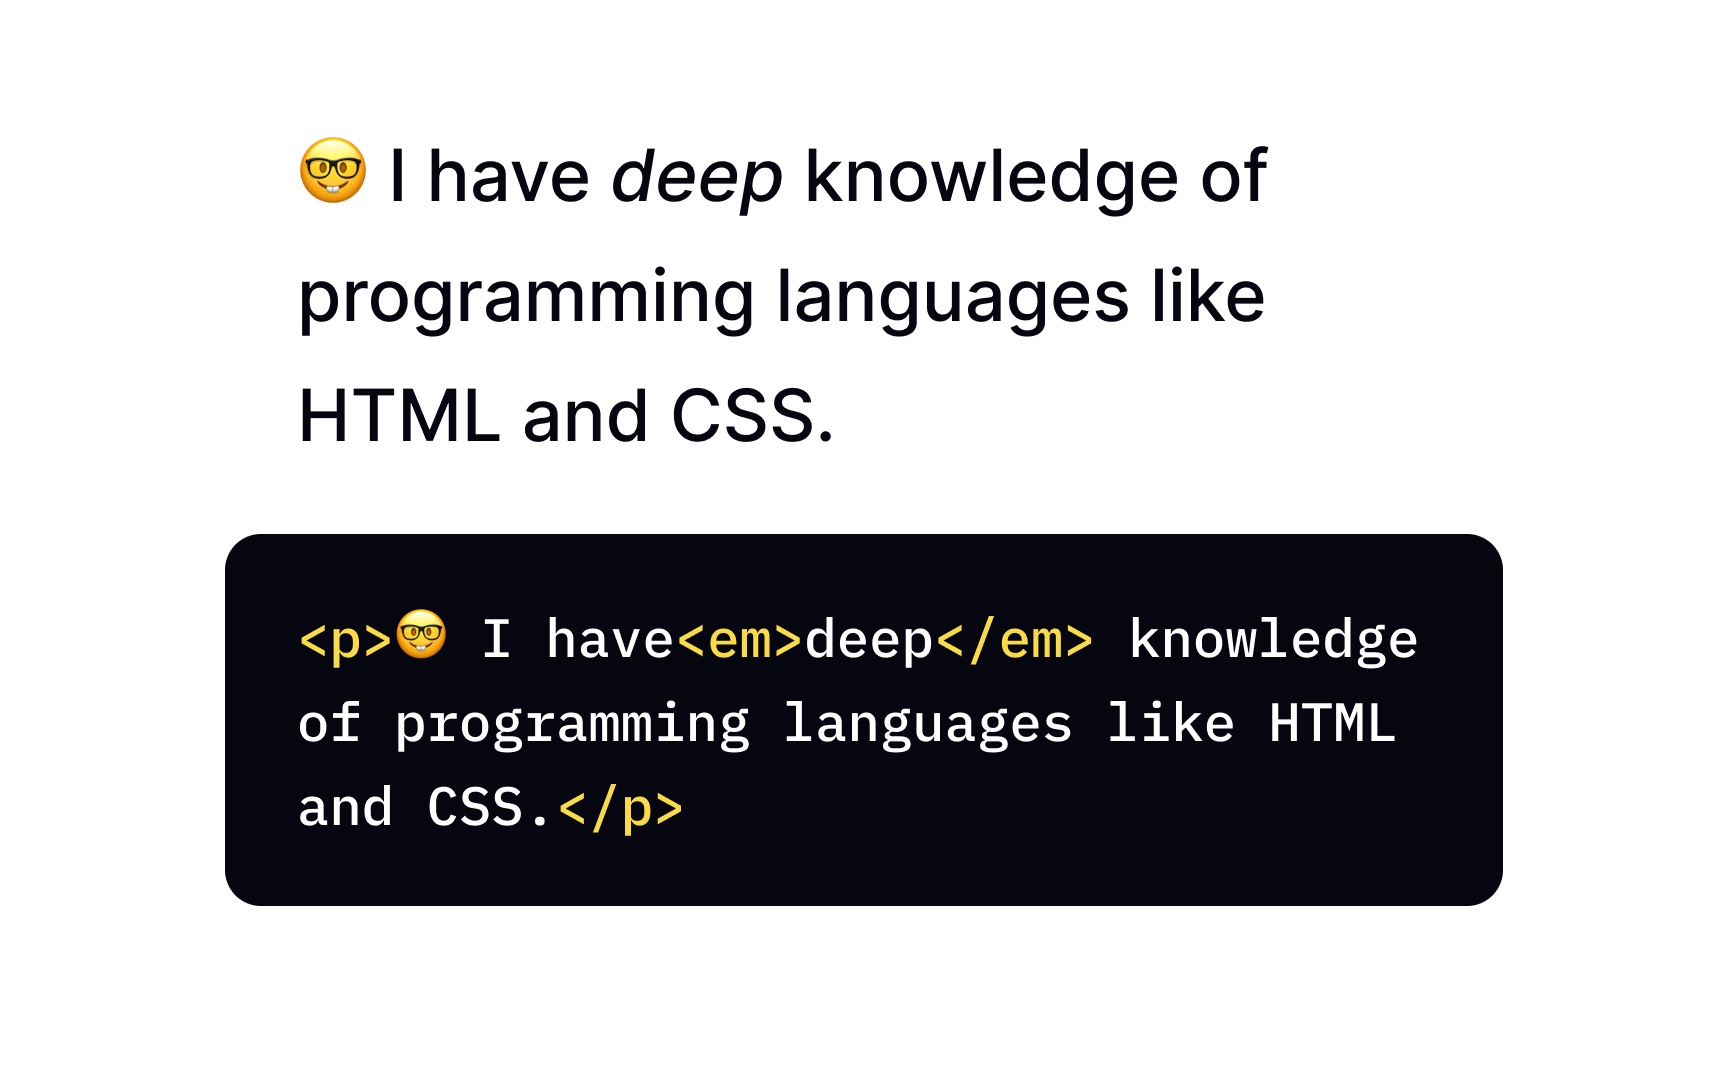
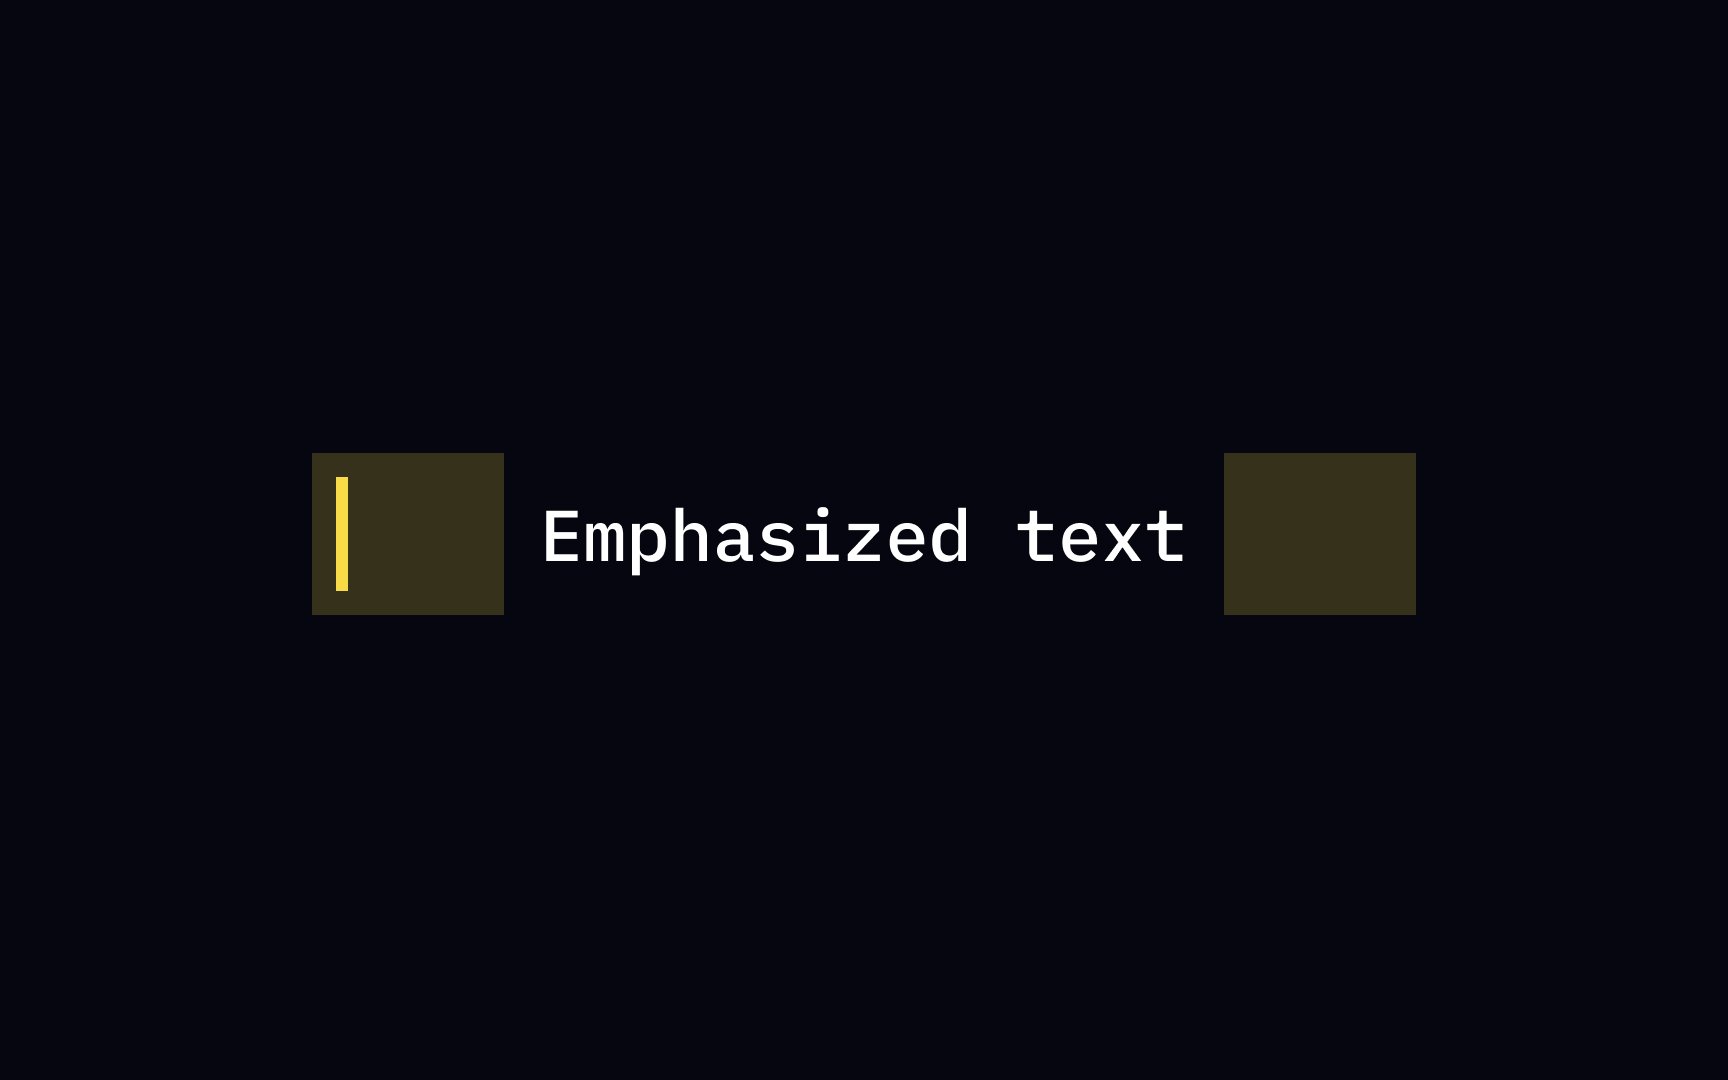
The <em> element marks words with a stressed emphasis compared to the surrounding text. The <em> element makes the text inside it look italic — visually identical to any text inside the <i> element. So what's the difference?
The difference is in the semantics — it's not about how the text looks, but what it means. See? We use the <em> element to mark the words that we would put more emphasis on while speaking to slightly change the meaning of the sentence. The <i> element's use is for text that differs from "normal" — terms, titles, foreign words, etc.
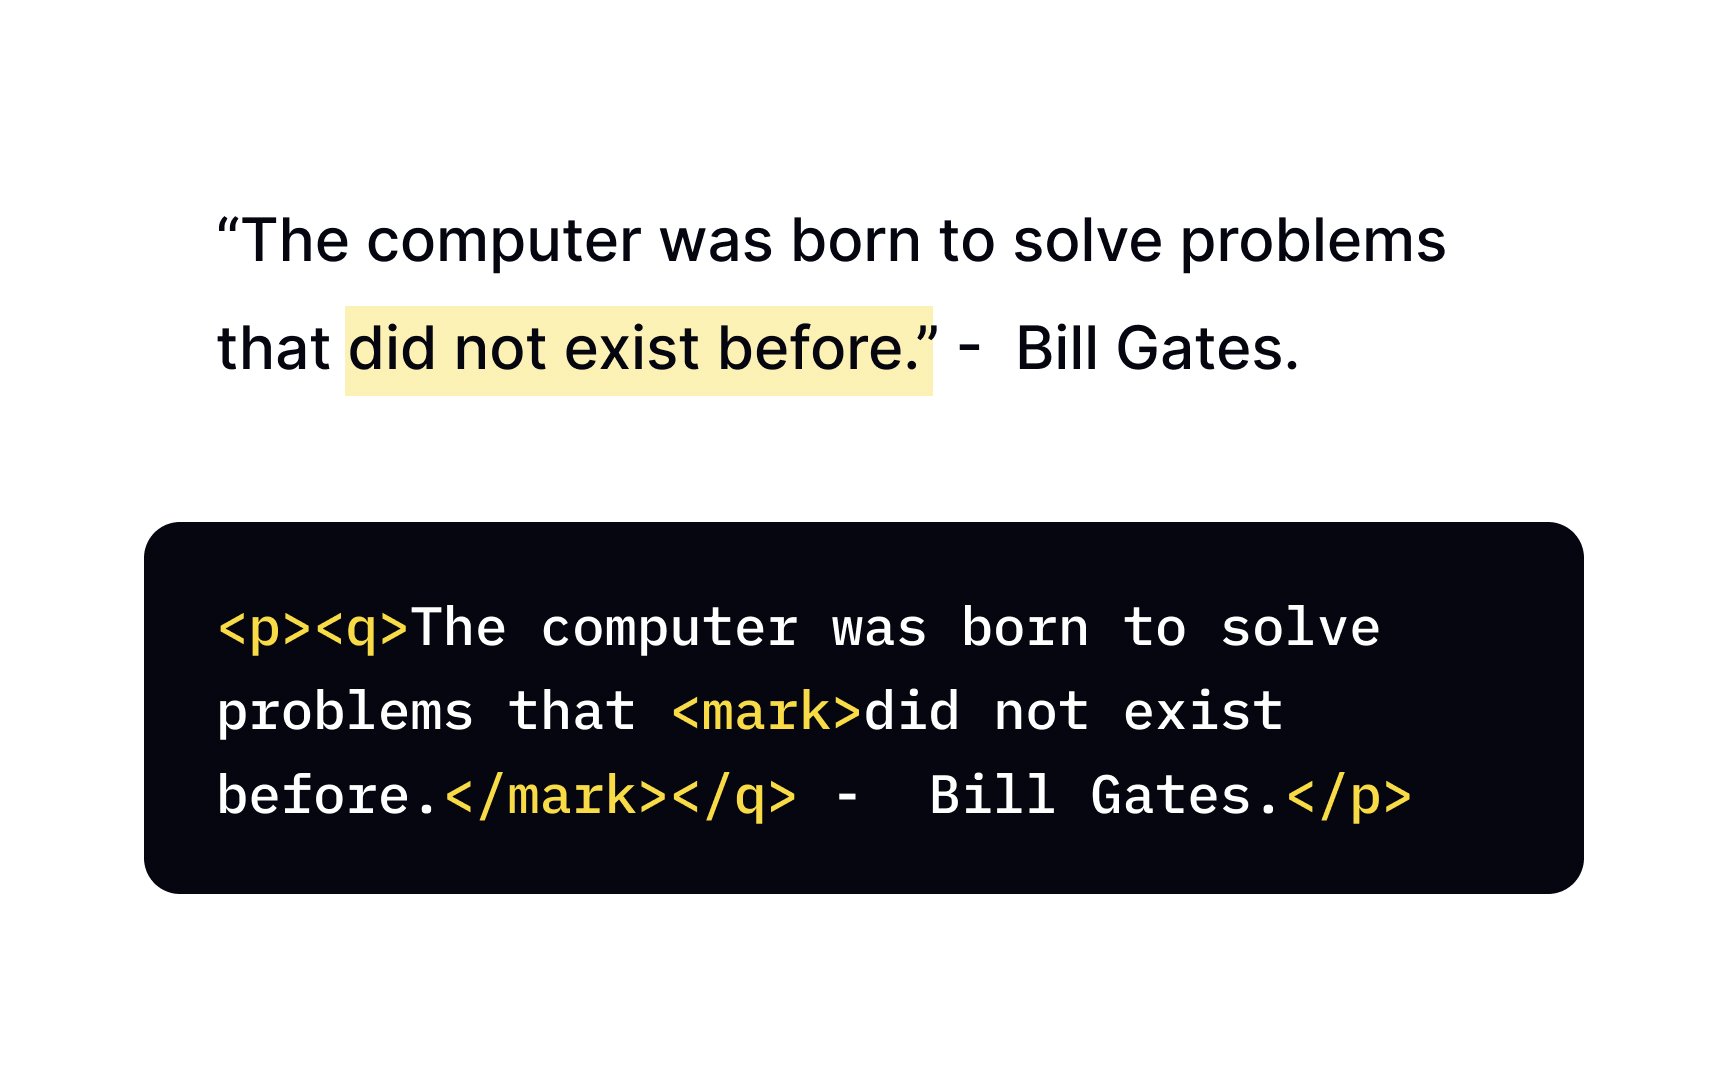
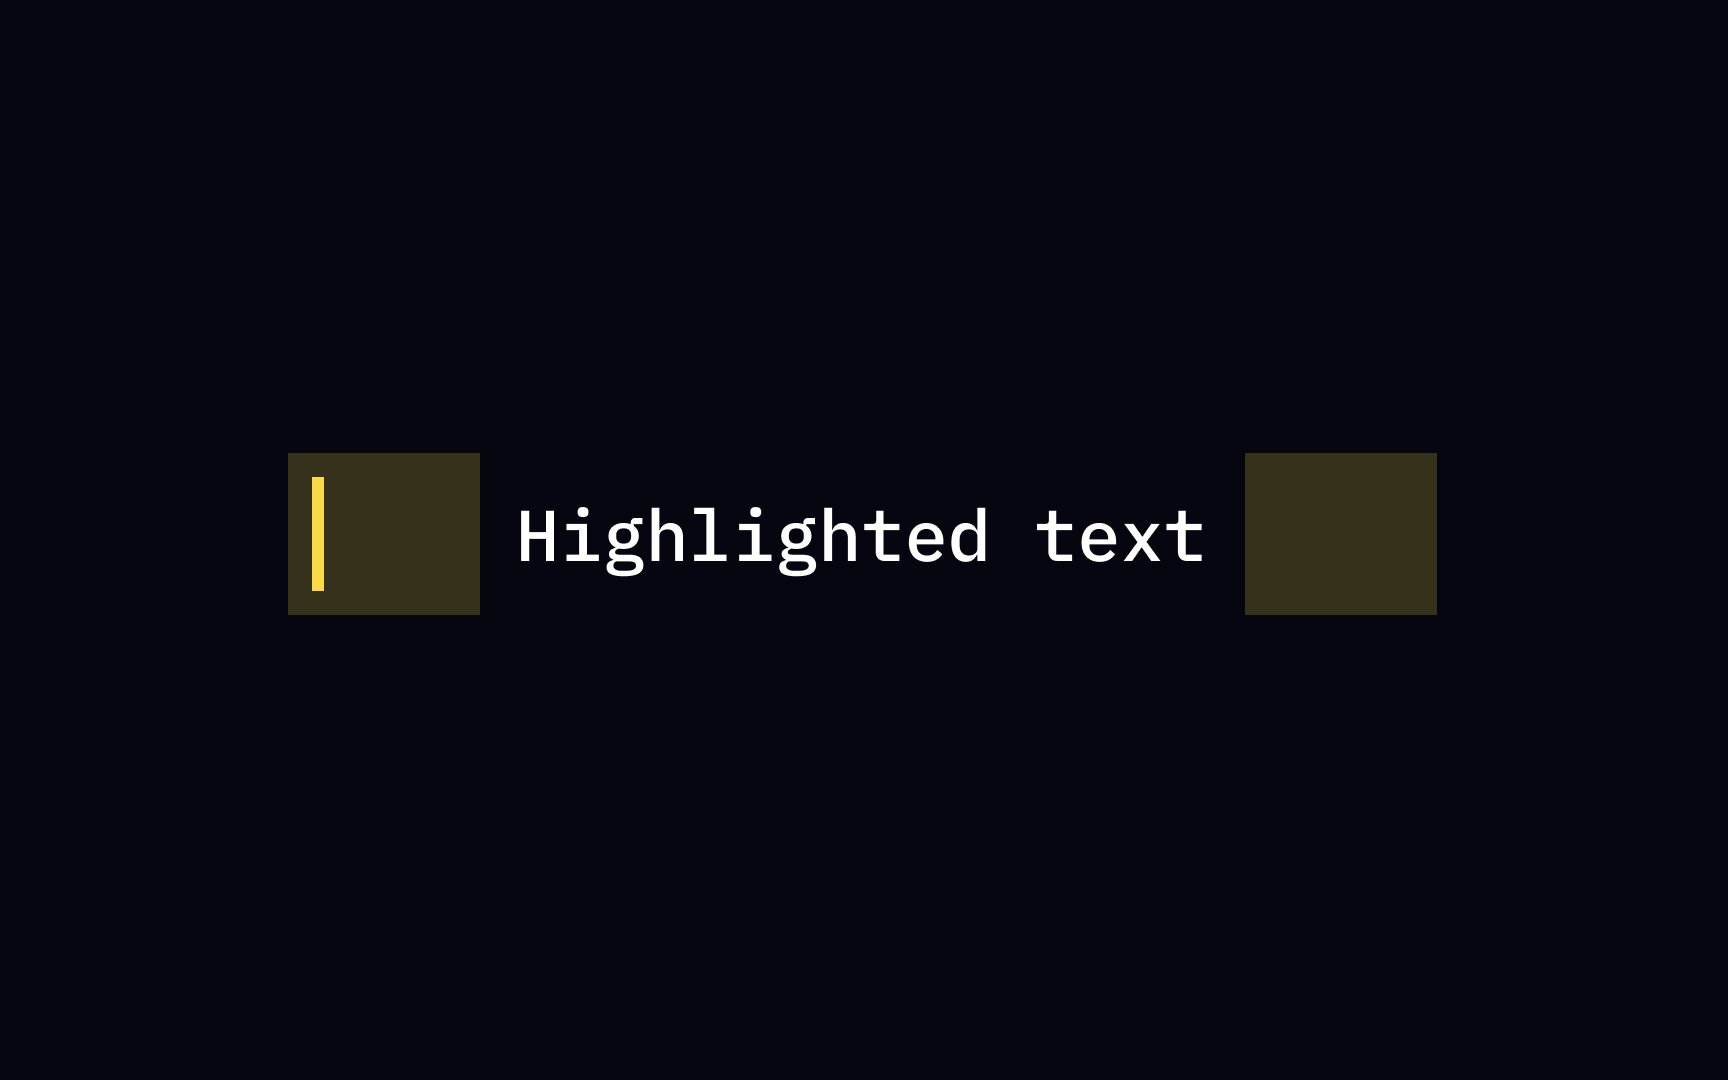
To make the text look highlighted, use the <mark> <mark> element is to indicate a portion of the document's
A more meta example of when to use the <mark> tag would be inside a quotation. Let's say there's a piece of information inside the quote that you found interesting, but the author of the source material didn't emphasize it. Go ahead and highlight it with the <mark> tag to draw users' attention to it!
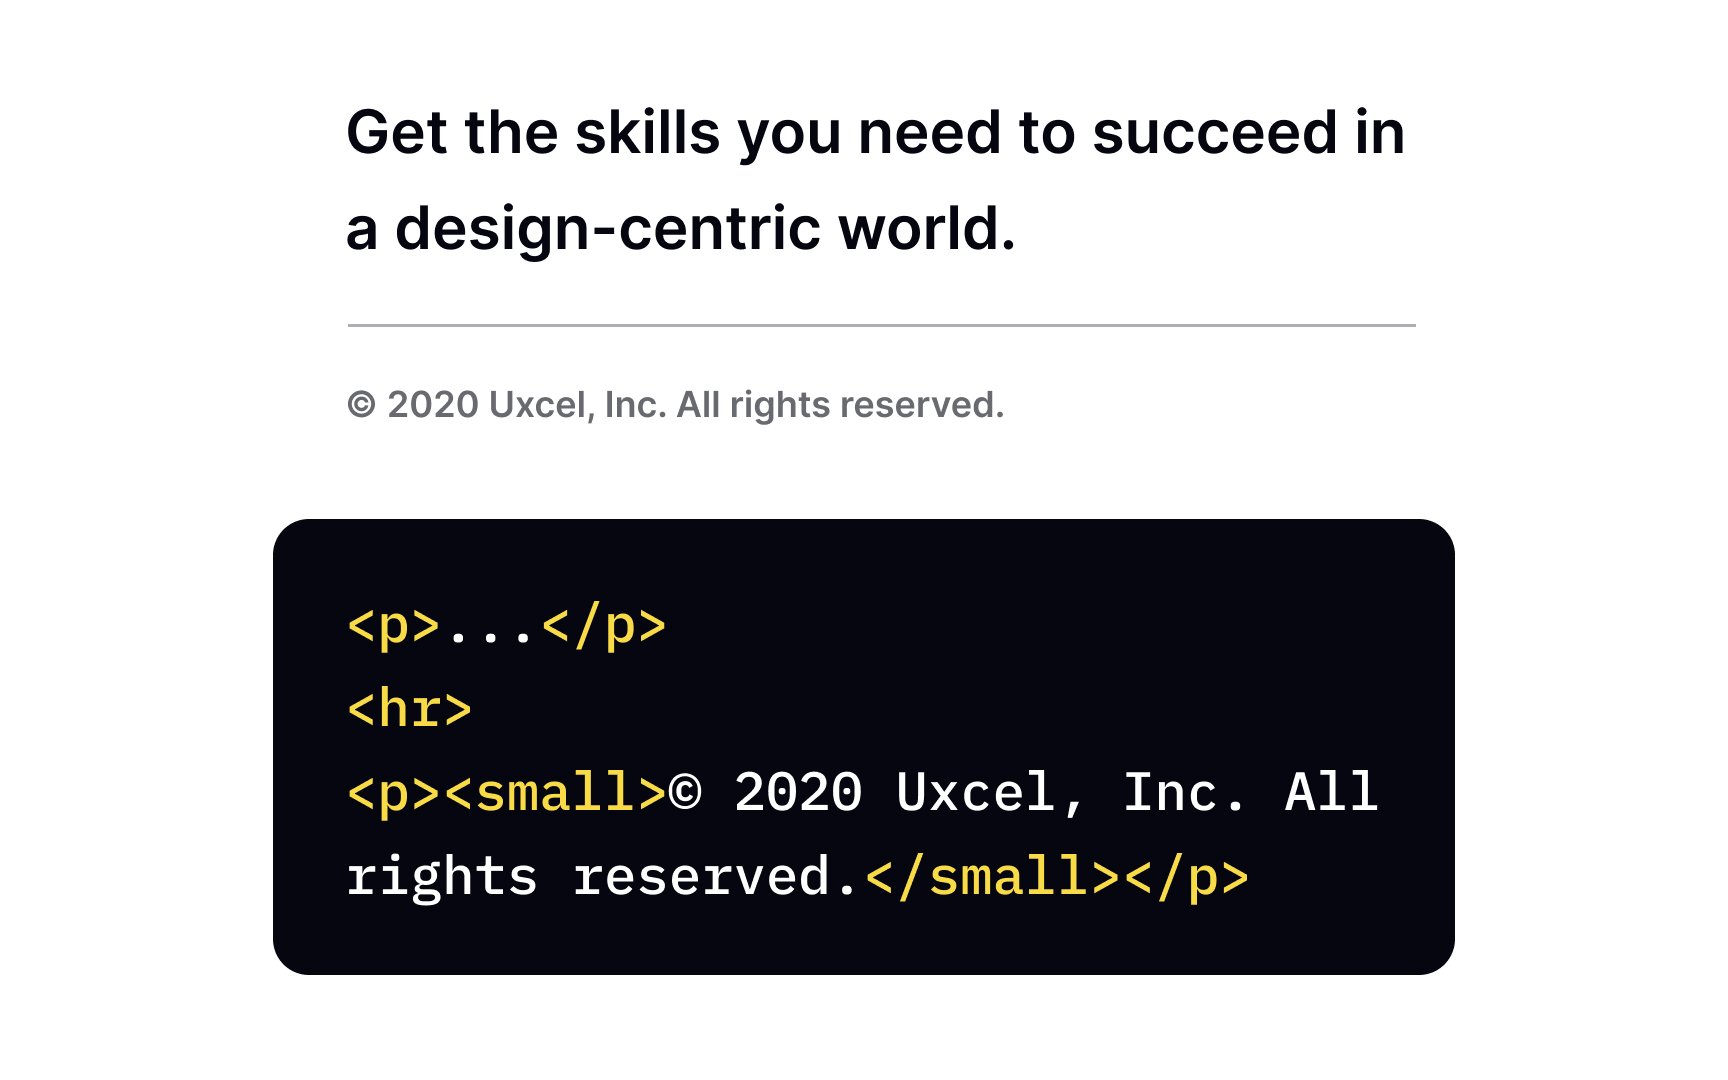
The <small> <small> tag is being used less and less frequently because
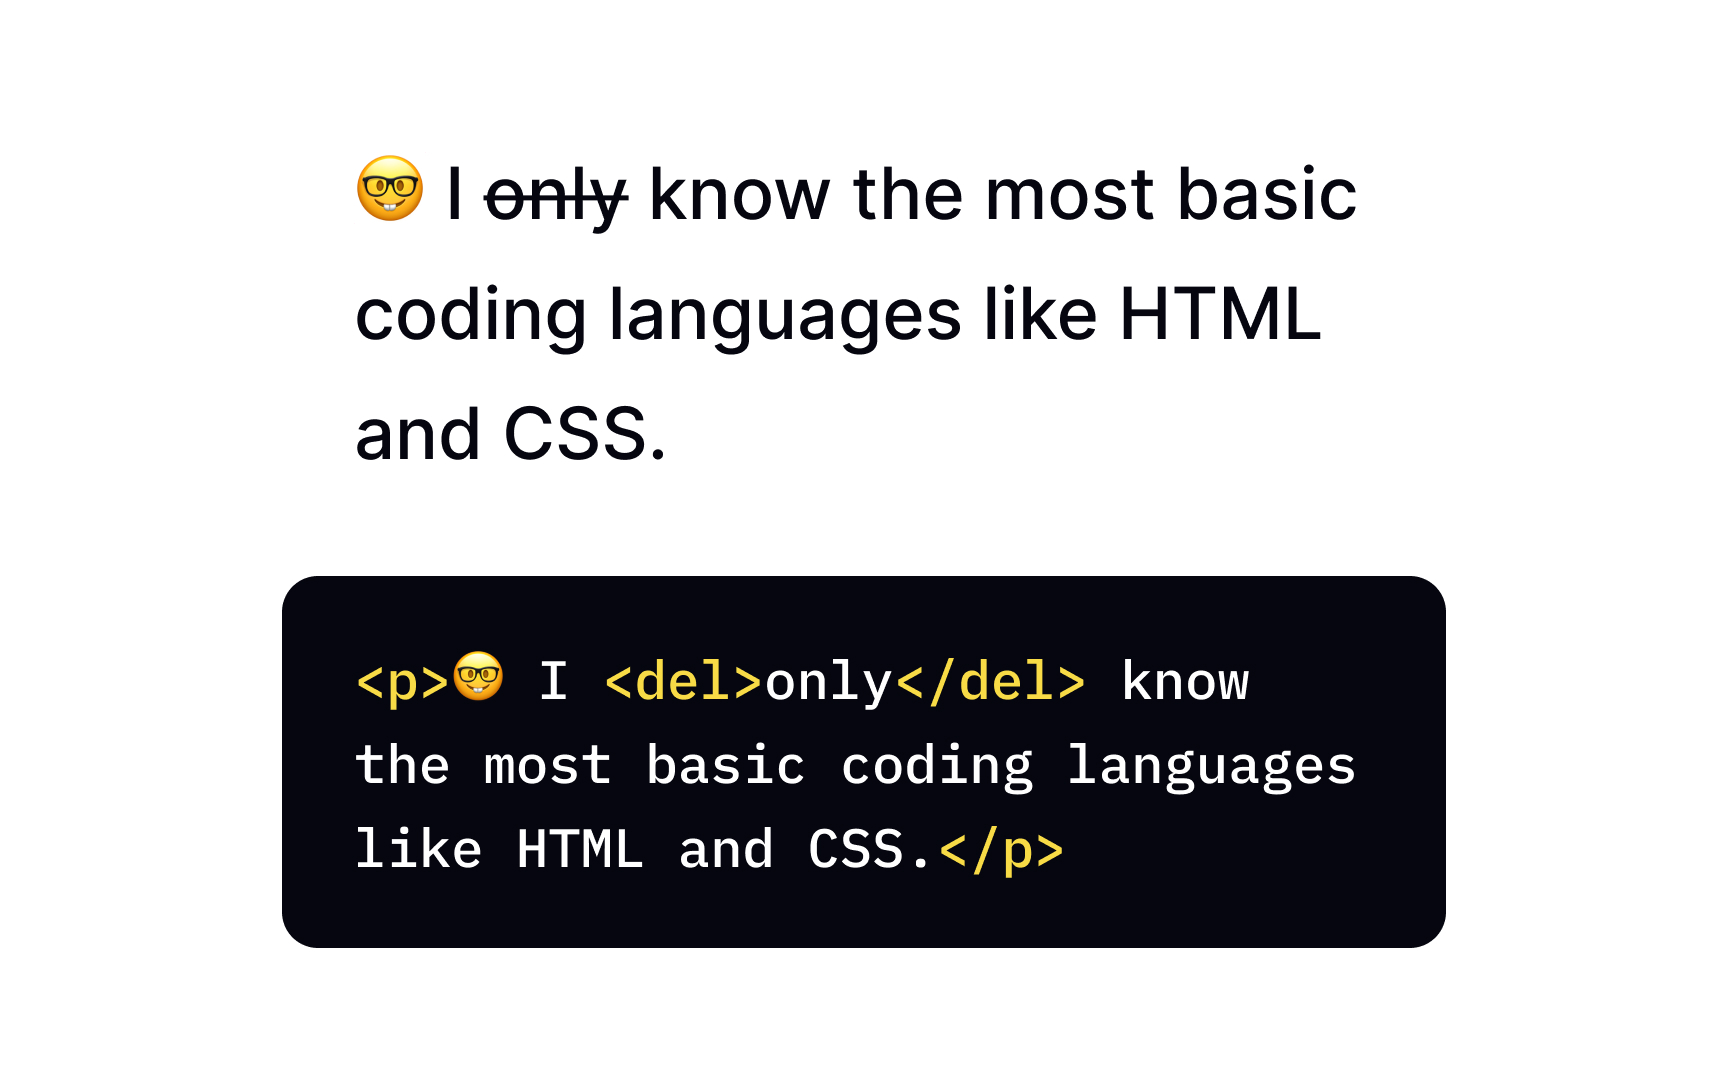
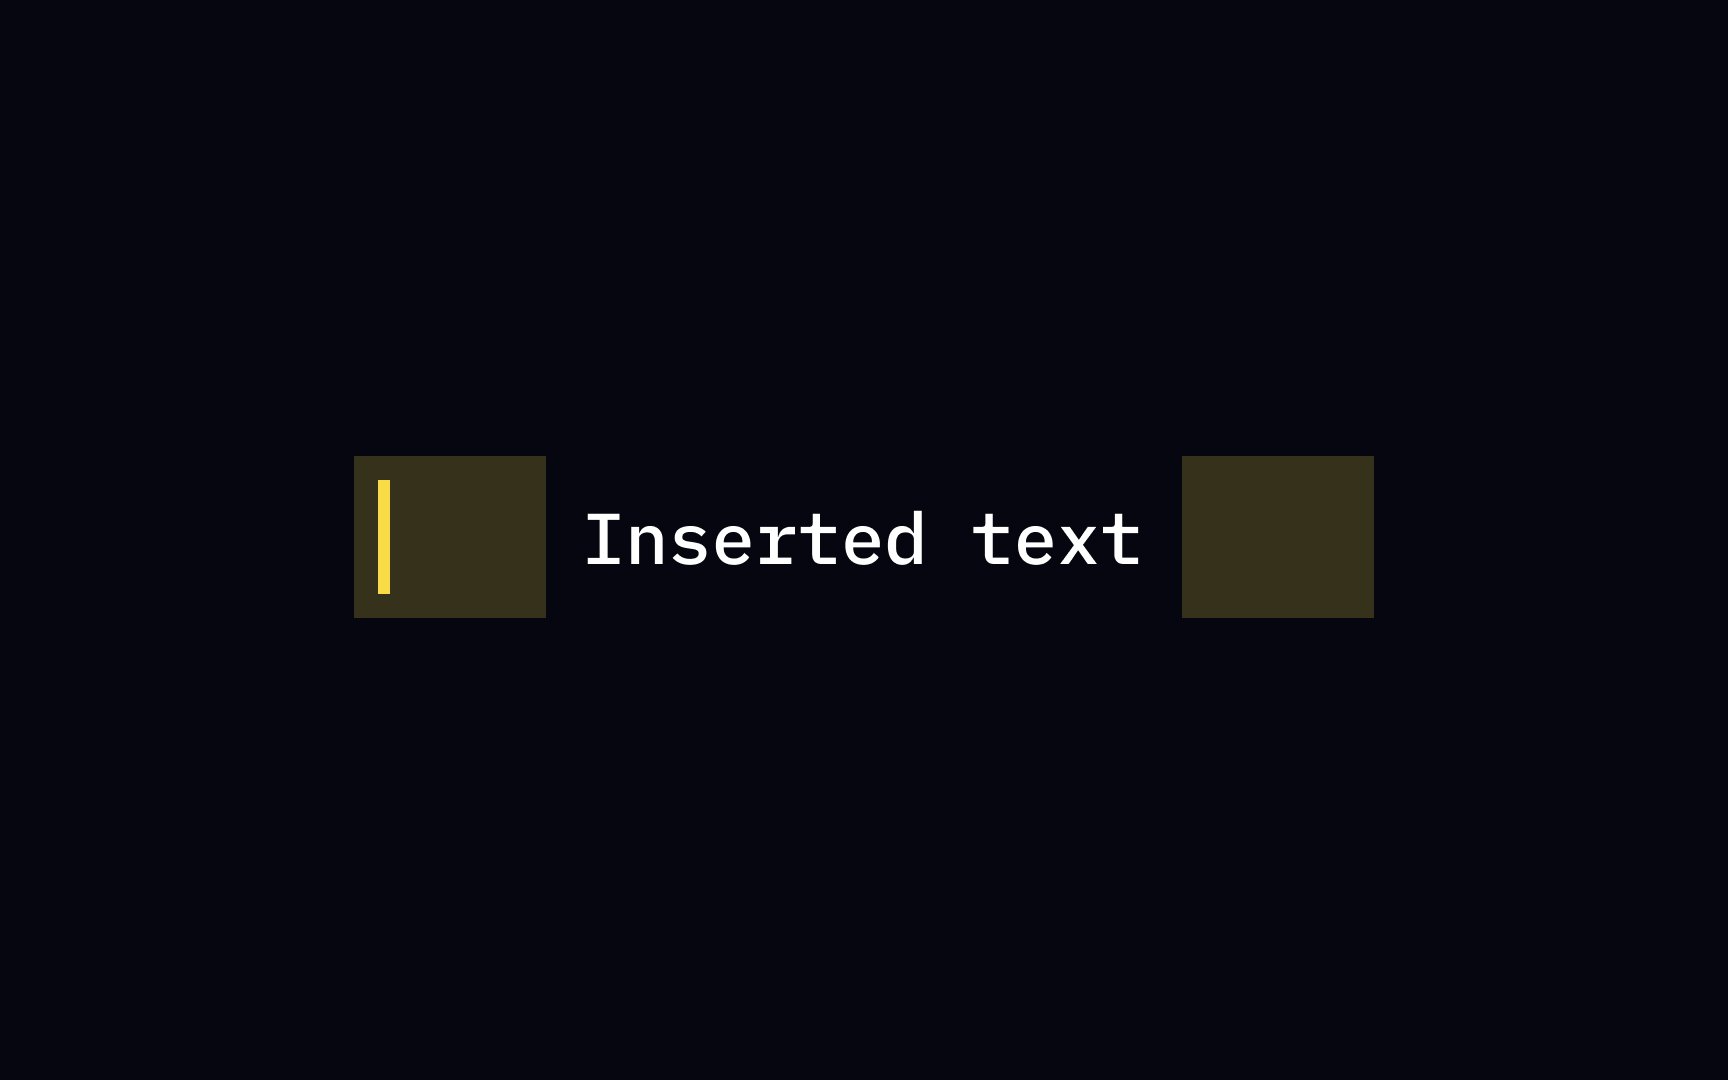
<del> element marks deleted text and the <ins> element does the same for added text. Browsers apply a strike-through style to the <del>
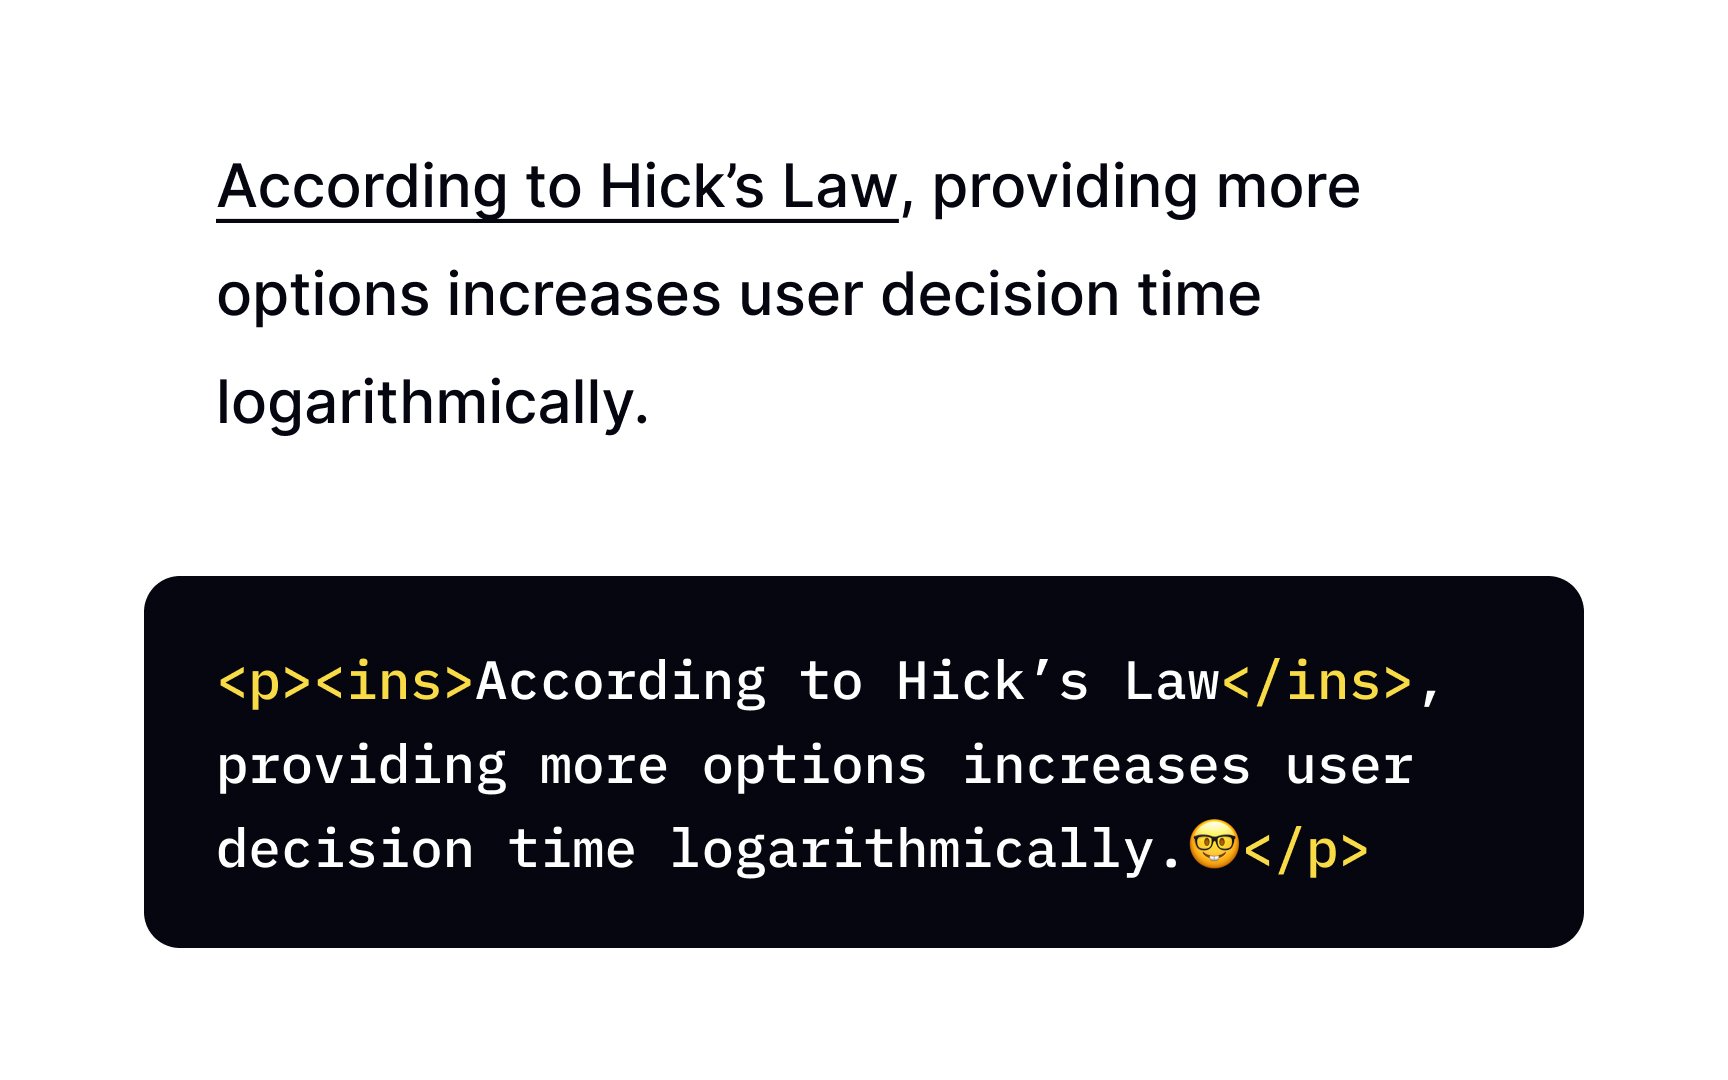
The <ins> <del> tag, is one of the two elements that show a particular part of the text has been altered. Use it in situations when it's important to track changes in the document — for example, when editing copy of source code. Browsers will usually underline the inserted text.
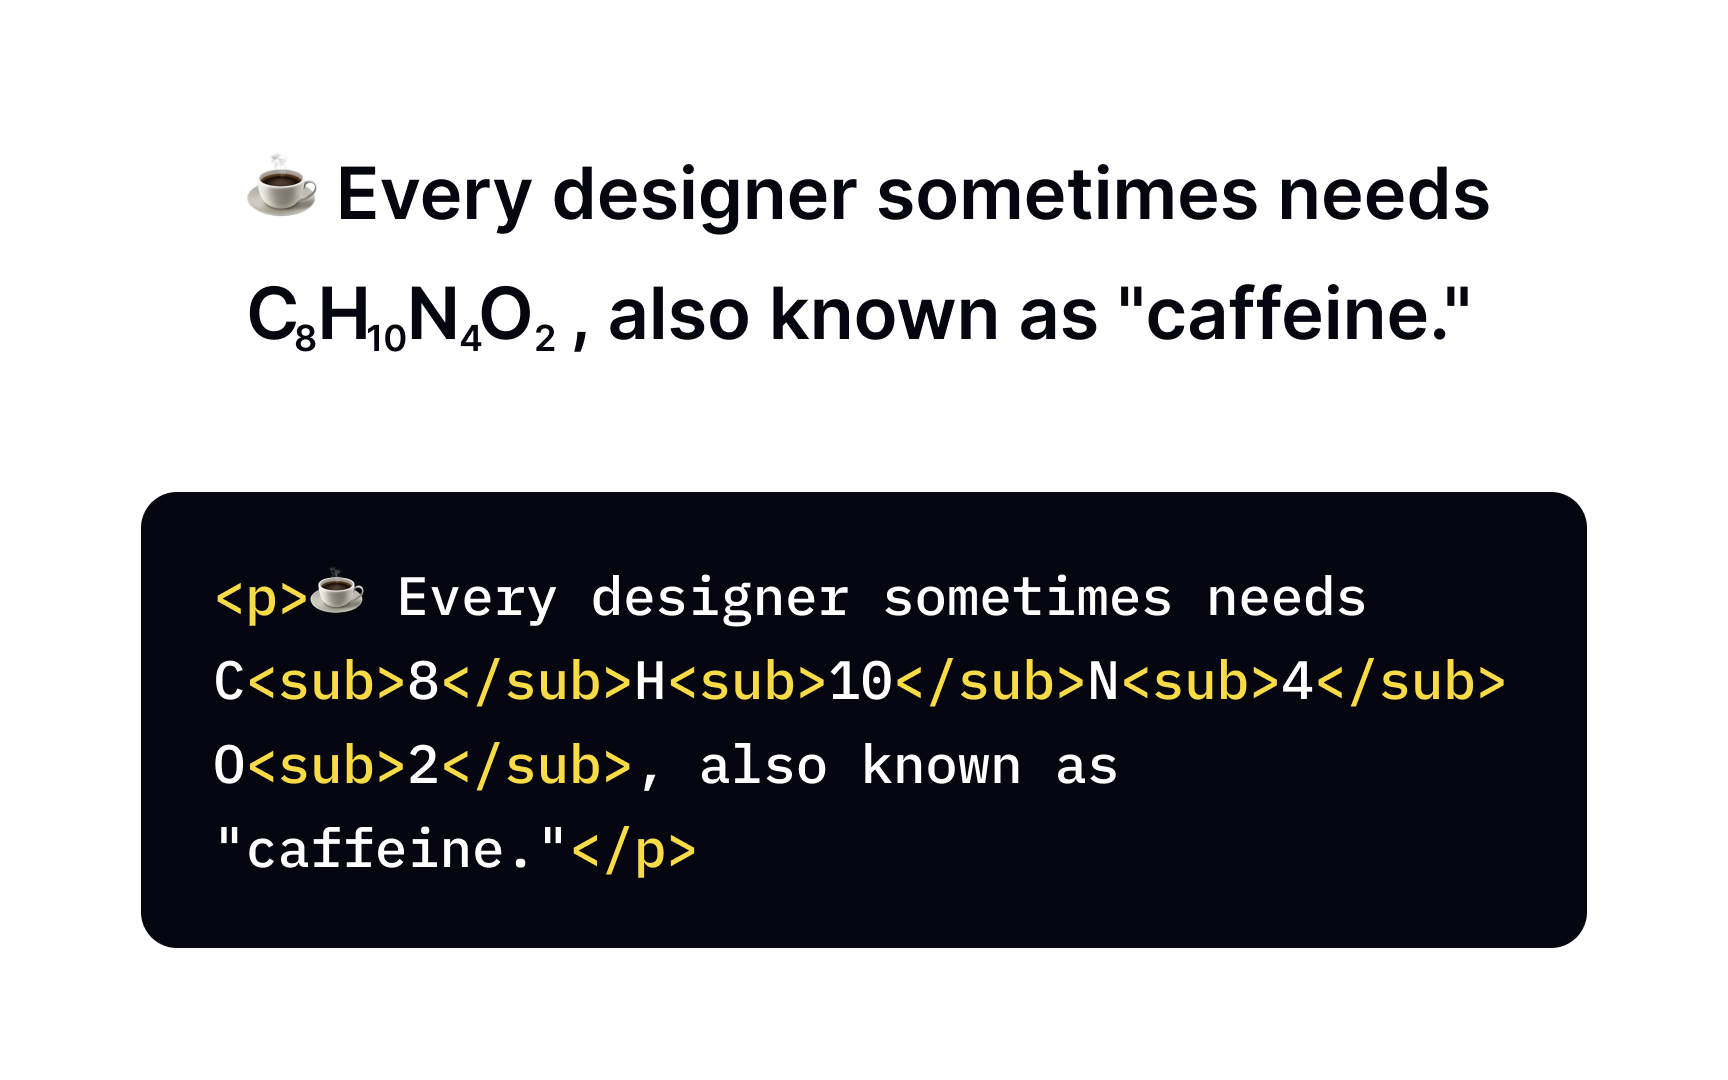
The <sub>
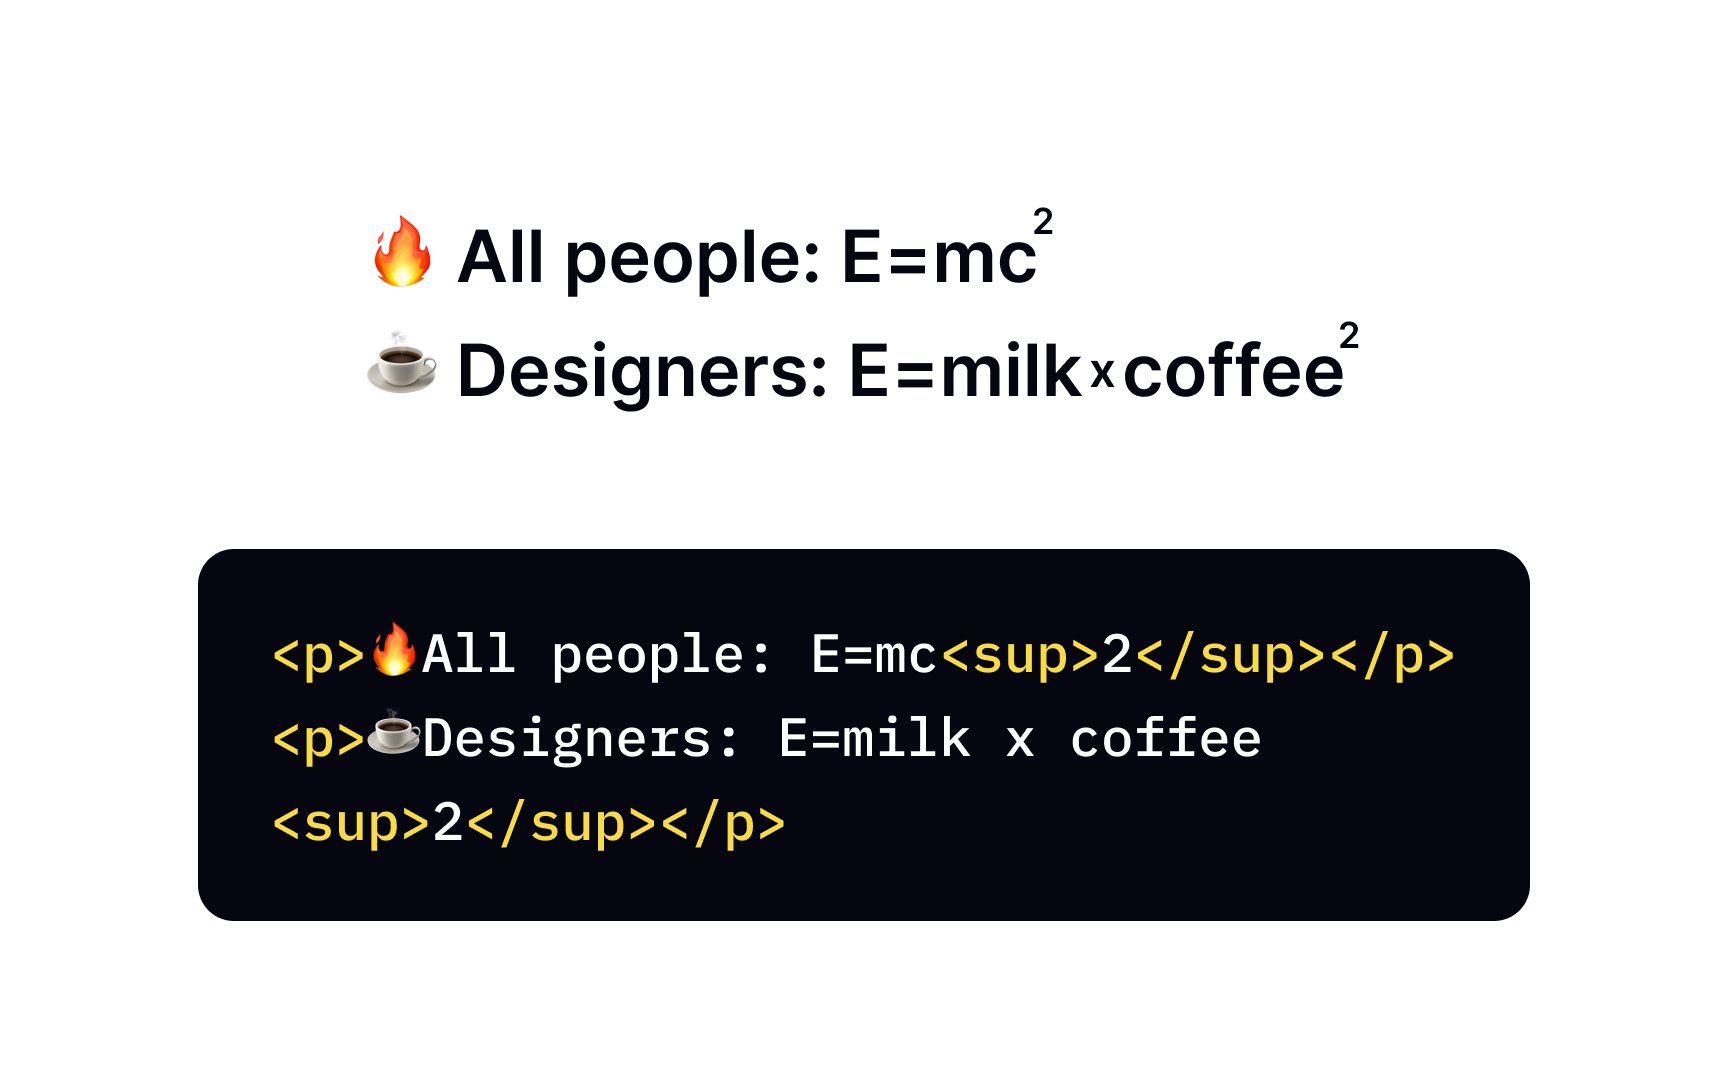
The <sup>

The <var> tag represents the name of a variable in a mathematical equation or computer program. As you probably remember from math classes, variables are symbols used in formulas as placeholders for quantities that change depending on the context. For example, the formula P = a + b + c used to calculate the perimeter of a triangle contains variables a, b, and c as placeholders for the triangle's sides' length and P as their sum.
As with other formatting <var> tag's purpose is not to style the
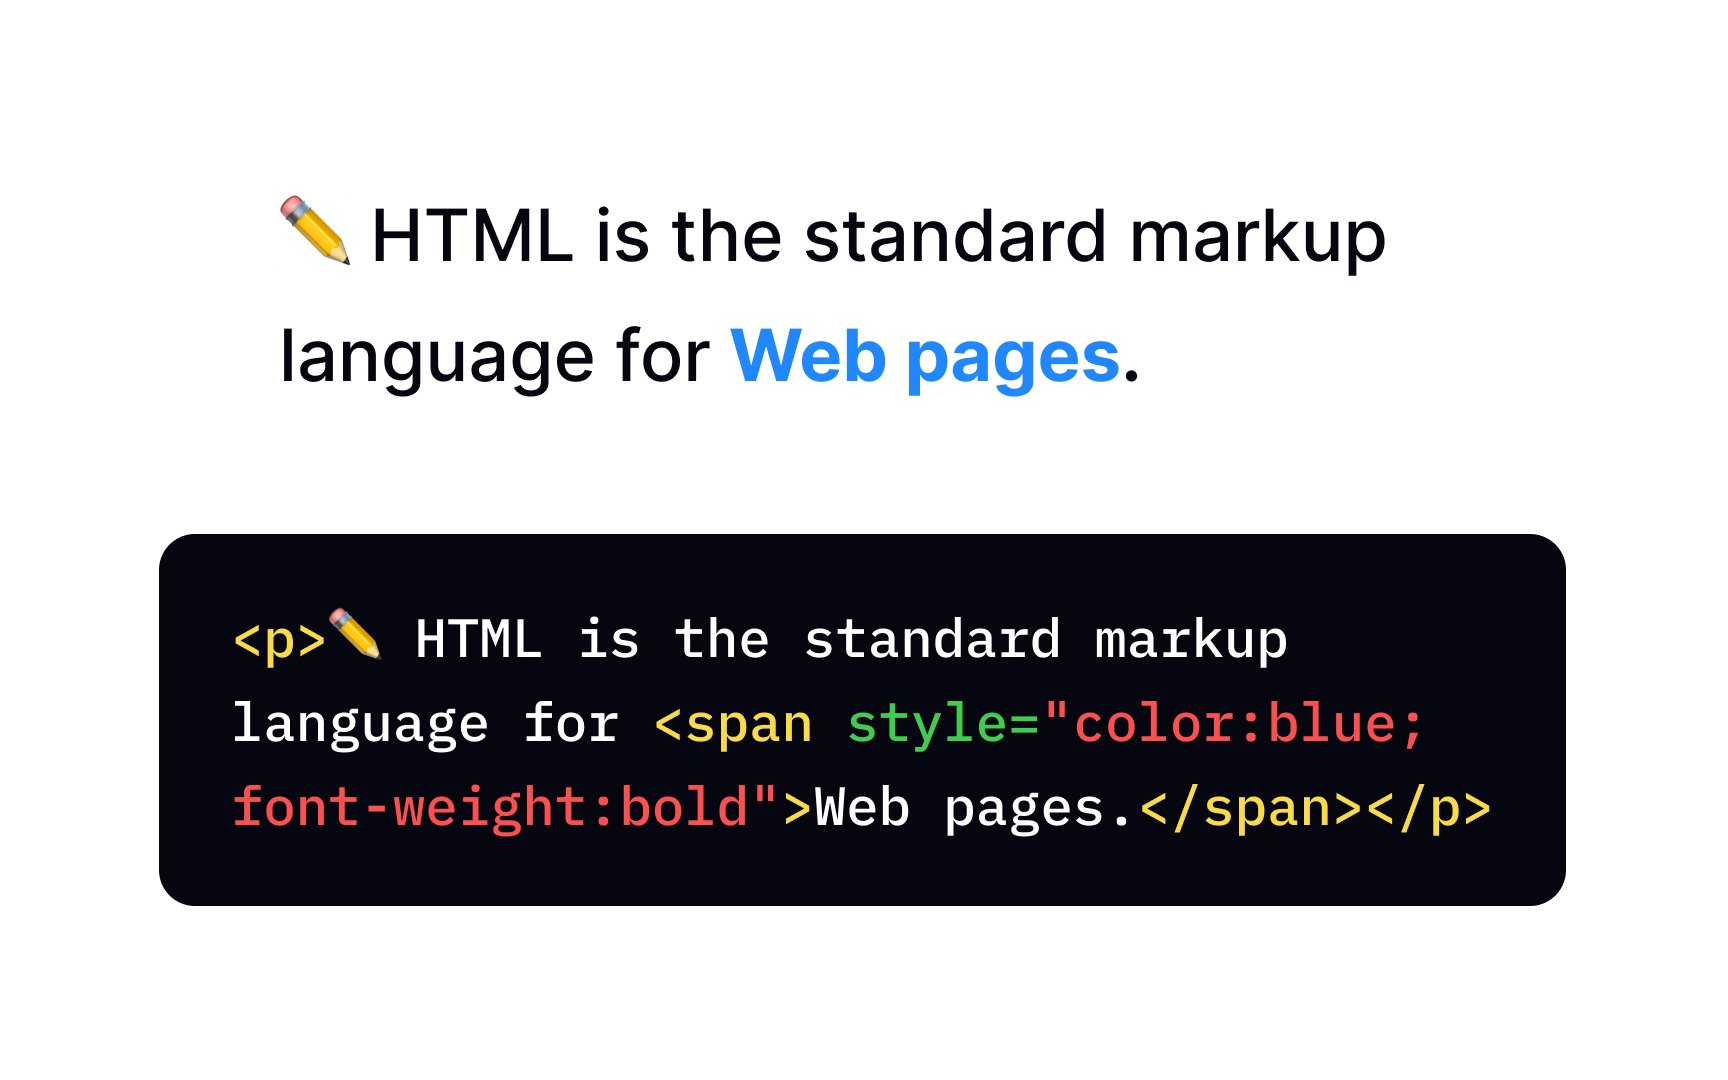
The <span>
For example, if you want to make a part of the text blue without adding any particular meaning, use the <span> tag with the attribute style and set the blue, like in the example above. But it's more than just about style. Another example of the tag's versatility would be to use the attribute lang to set a different language to a part of the text and ensure that words written in a language other than the default are displayed correctly.
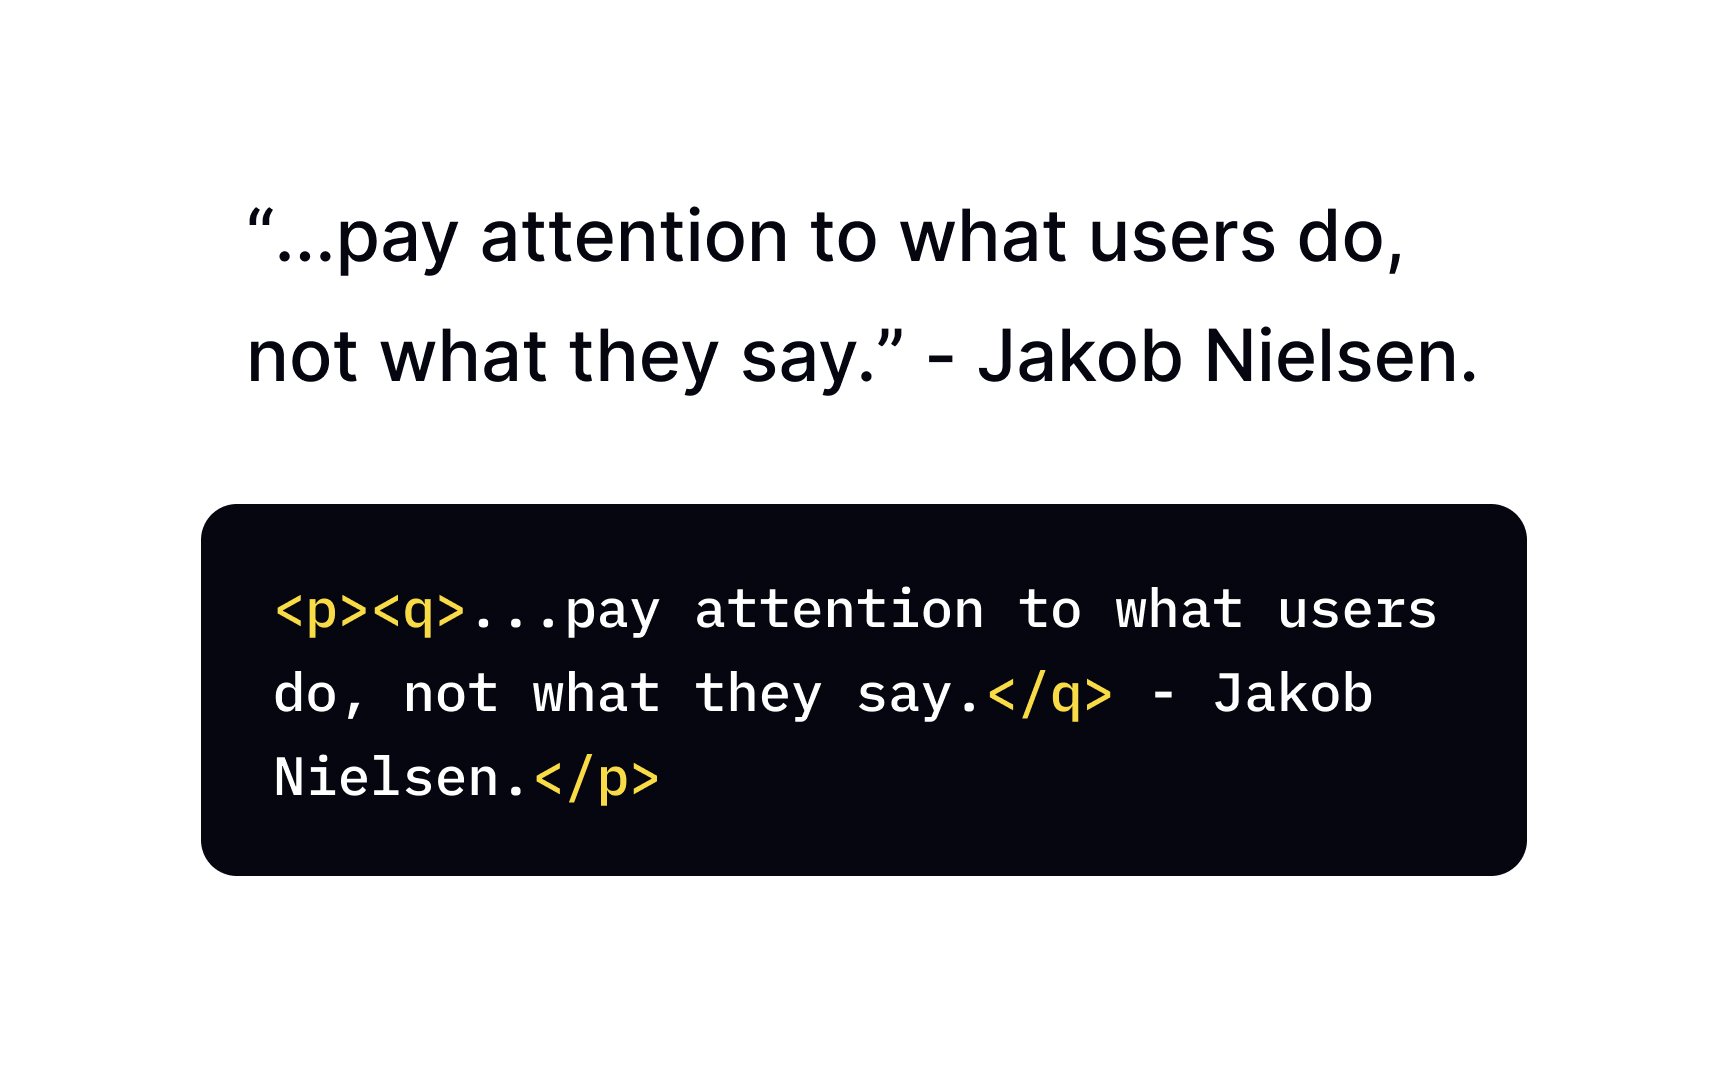
The <q>
Use the <q> element for short quotations that don't require line breaks. For longer quotes, there's a special <blockquote> element that comes with line breaks before and after.
Use the <em> <em> tag in italic.
The <mark> <strong> tag instead.
To mark inserted text, use the <ins> tag, and browsers will underline the <del> — there are some accessibility concerns with these two.
By default, assistive technologies like screen readers don't announce the presence of the <ins> and <del> <del> tag in this situation, New Price $<del>30</del>20 will cause a screen reader to read it as New Price $3020. While there's a way to circumvent this by using the content property to force screen readers to read it aloud, we recommend avoiding unnecessary use of the <ins> and <del> tags.
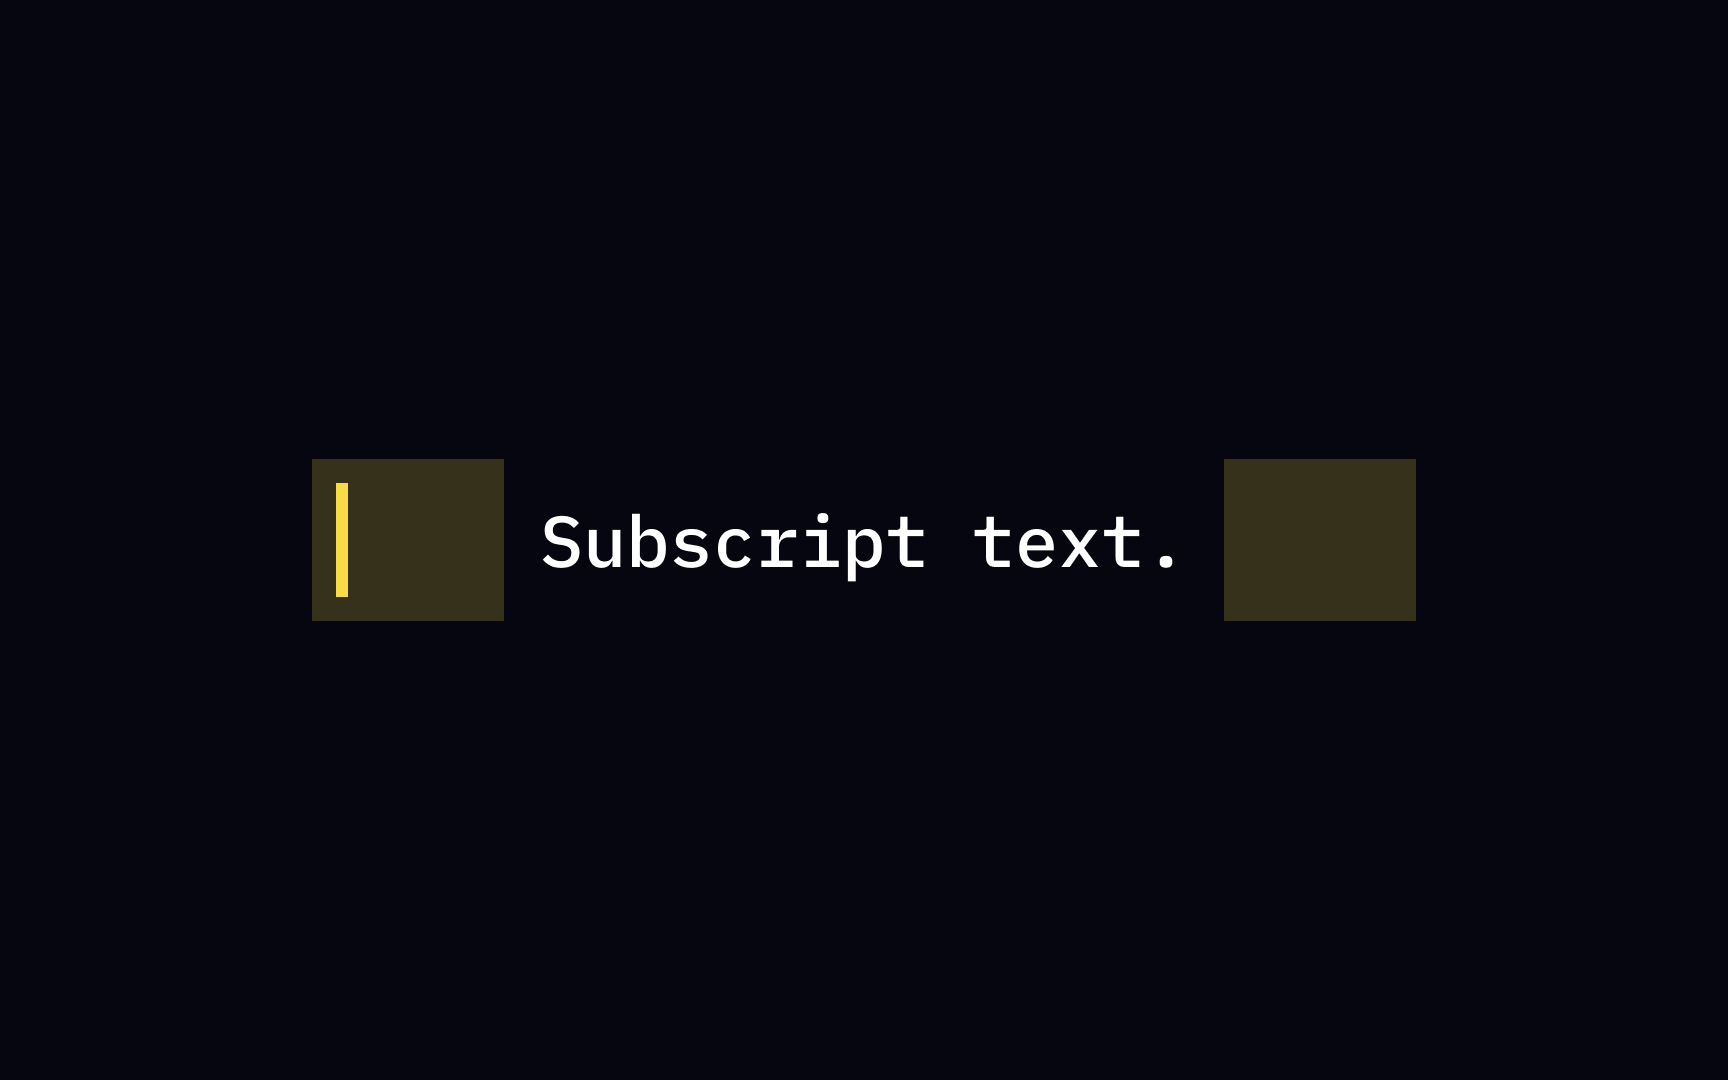
The <sub>
If you need to use text with an altered baseline for stylistic purposes — for example, to style a company's name — use the vertical-align


Similar lessons

Basics of HTML Attributes

Guide to CSS Selectors
