<?xml version="1.0" encoding="utf-8"?>

Contrast is an essential ingredient in any design recipe. It spices up your design “dish” and emphasizes elements, adding visual interest and vibrancy. 

Learning the different types of contrast you can add to your compositions to create specific effects is vital for designers. Combining different kinds of contrast creates a complex composition that grabs user attention and keeps them coming back for more.

Exercise #1

Contrast

Contrast is all about the juxtaposition of elements — small or large, bright or pale, round or square, etc. Imagine a Great Dane sitting next to a Chihuahua — the greater the difference, the more we take note. Contrast helps guide users through their journey, aids in creating accessible designs, and wows us when applied to marketing websites.

Exercise #2

Shape contrast

Shape contrast Bad Practice
Shape contrast Best Practice

Highlighting differences in shape can help us understand that elements in a composition perform different functions. For example, a rectangle button with sharp corners will immediately stand out among a sea of images with rounded corners, signaling to users that it’s an interactive element.

Exercise #3

Size contrast

Size contrast Bad Practice
Size contrast Best Practice

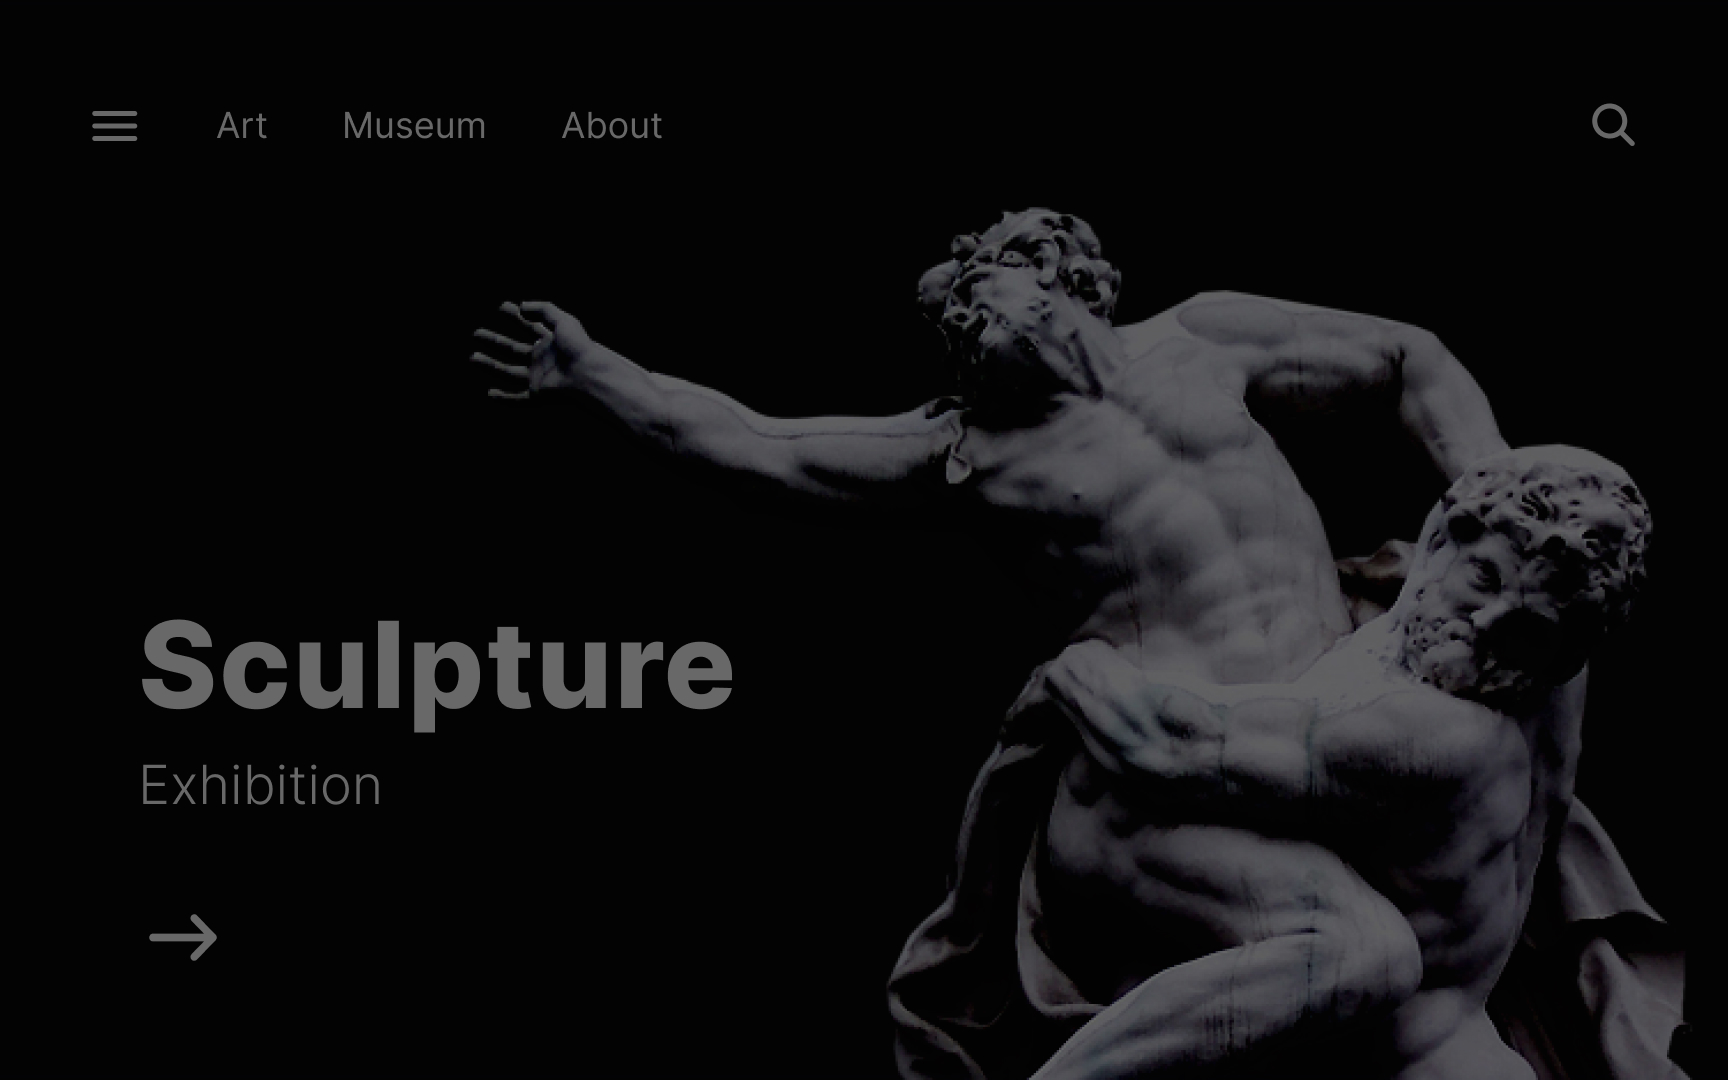
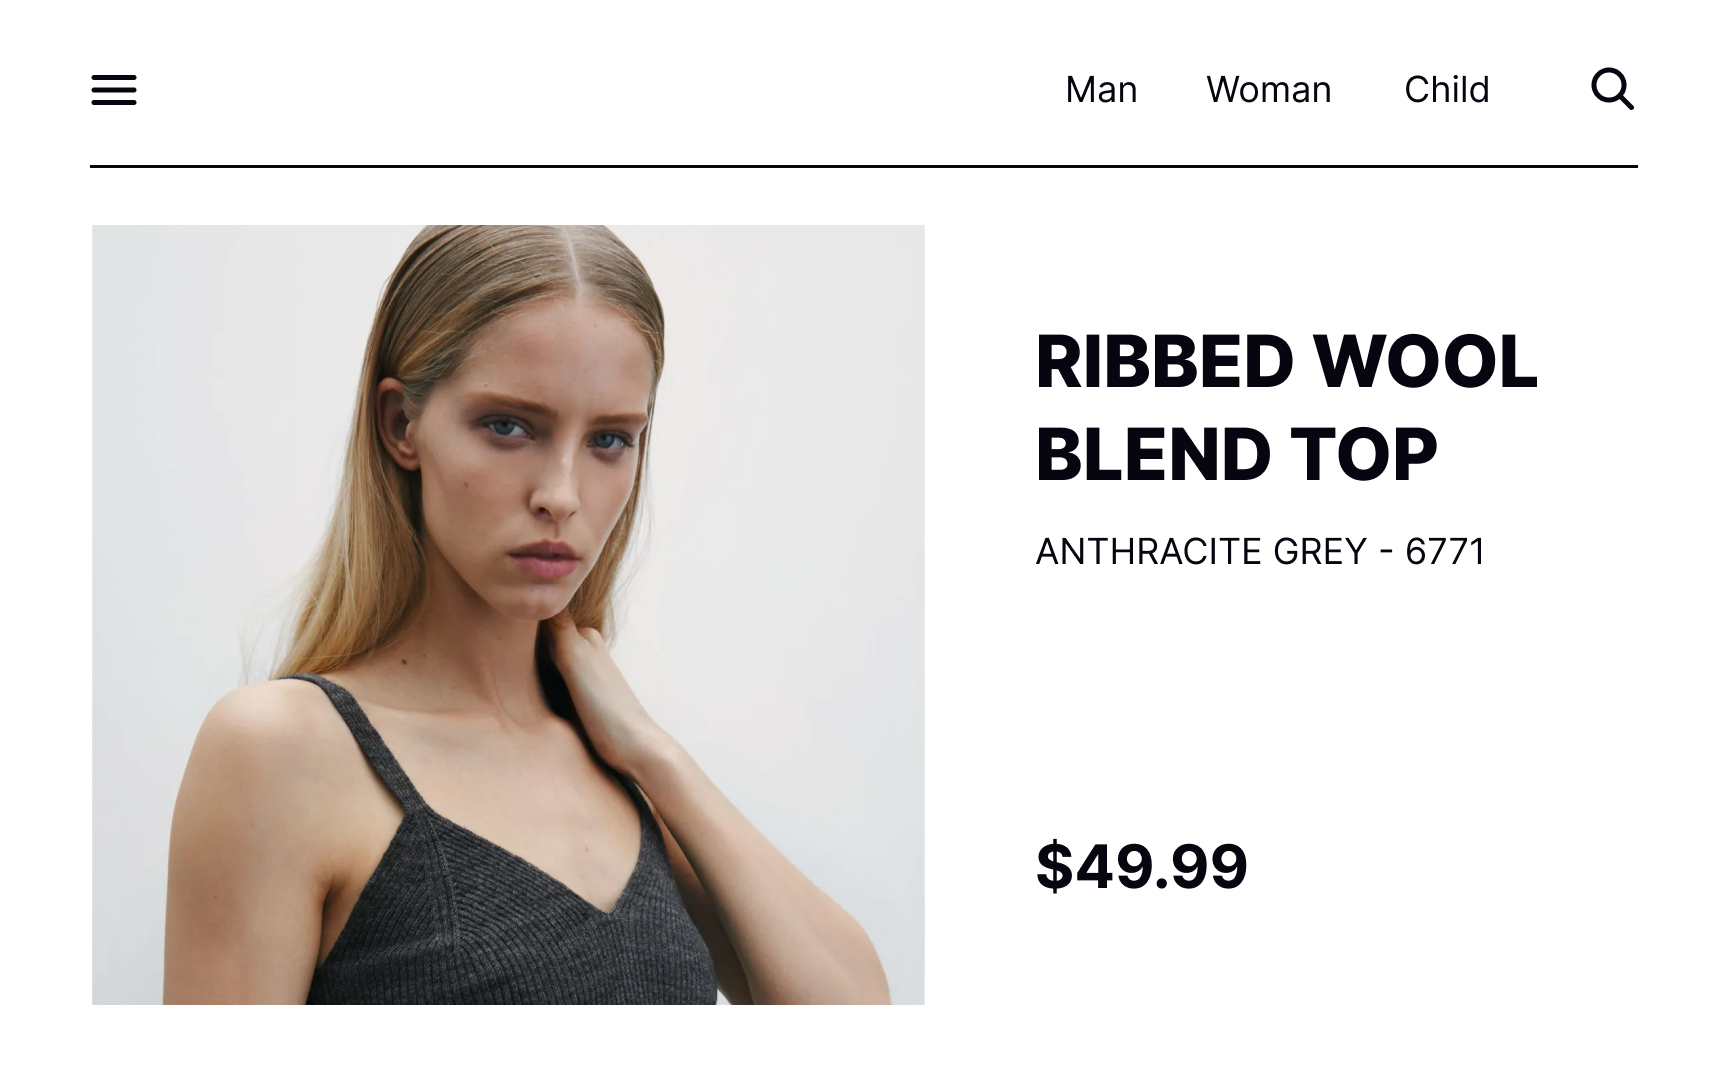
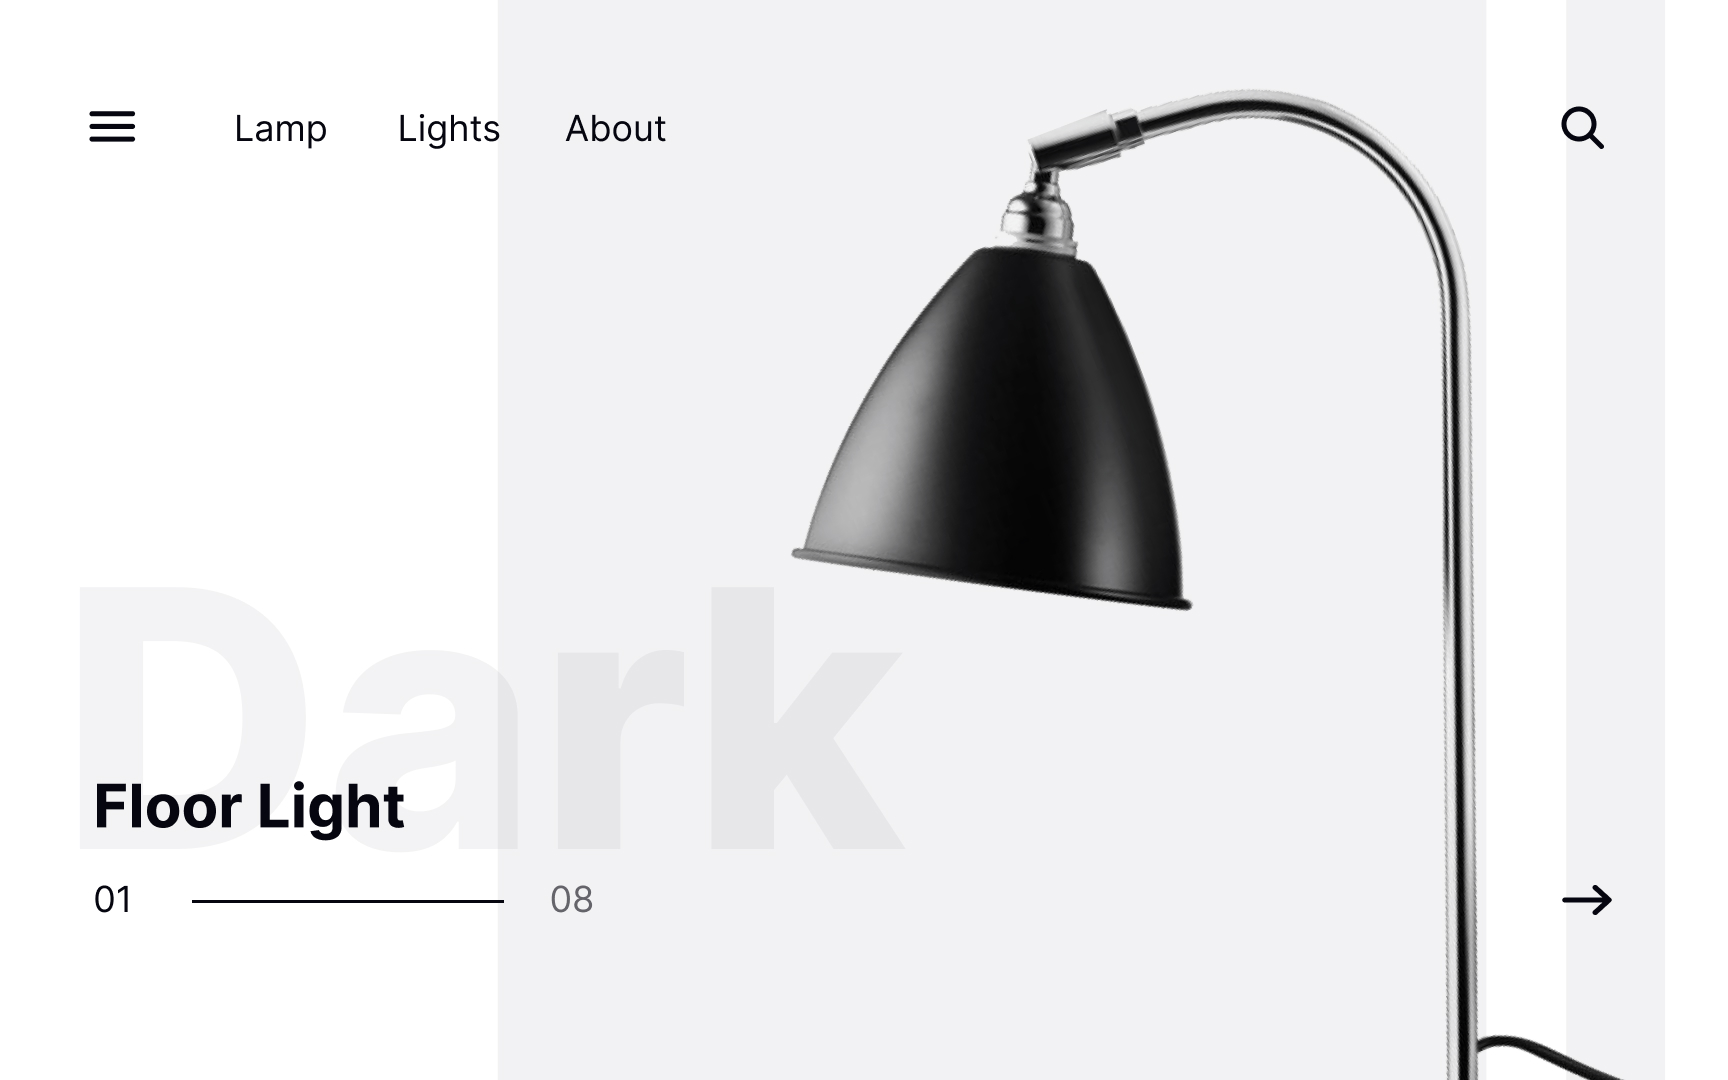
When combining shapes, each of a different size, we create size
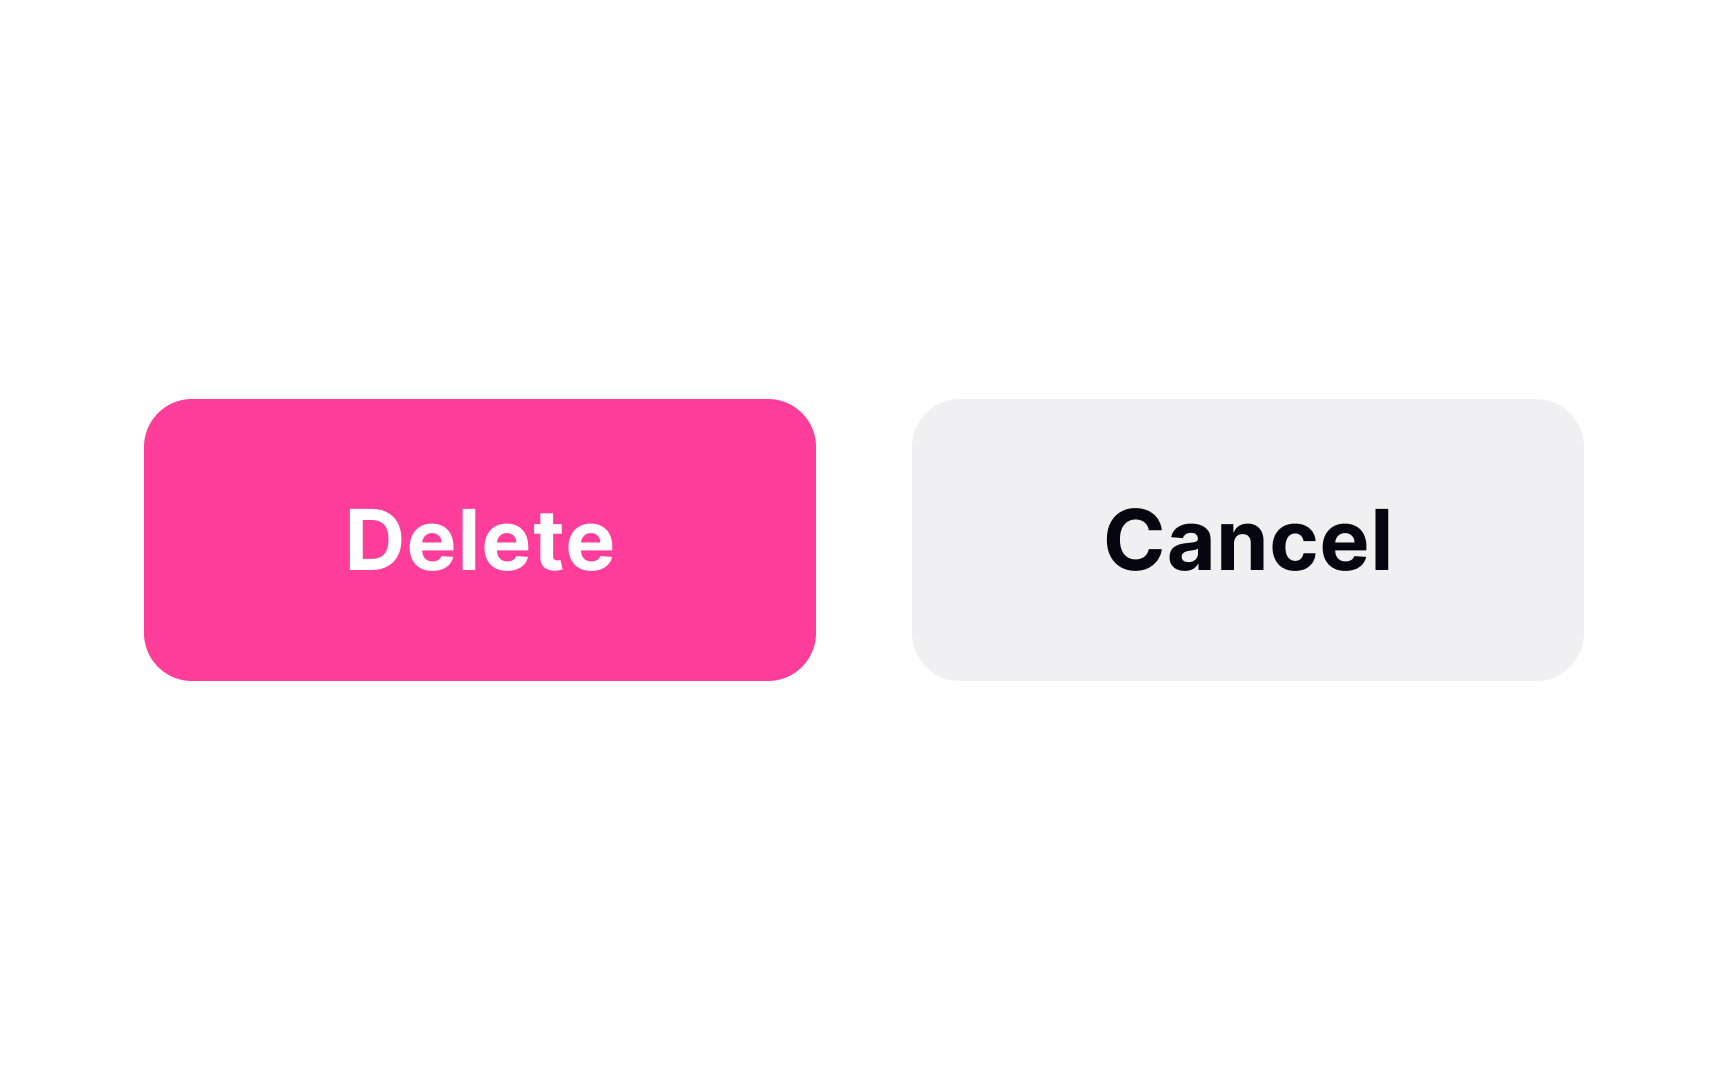
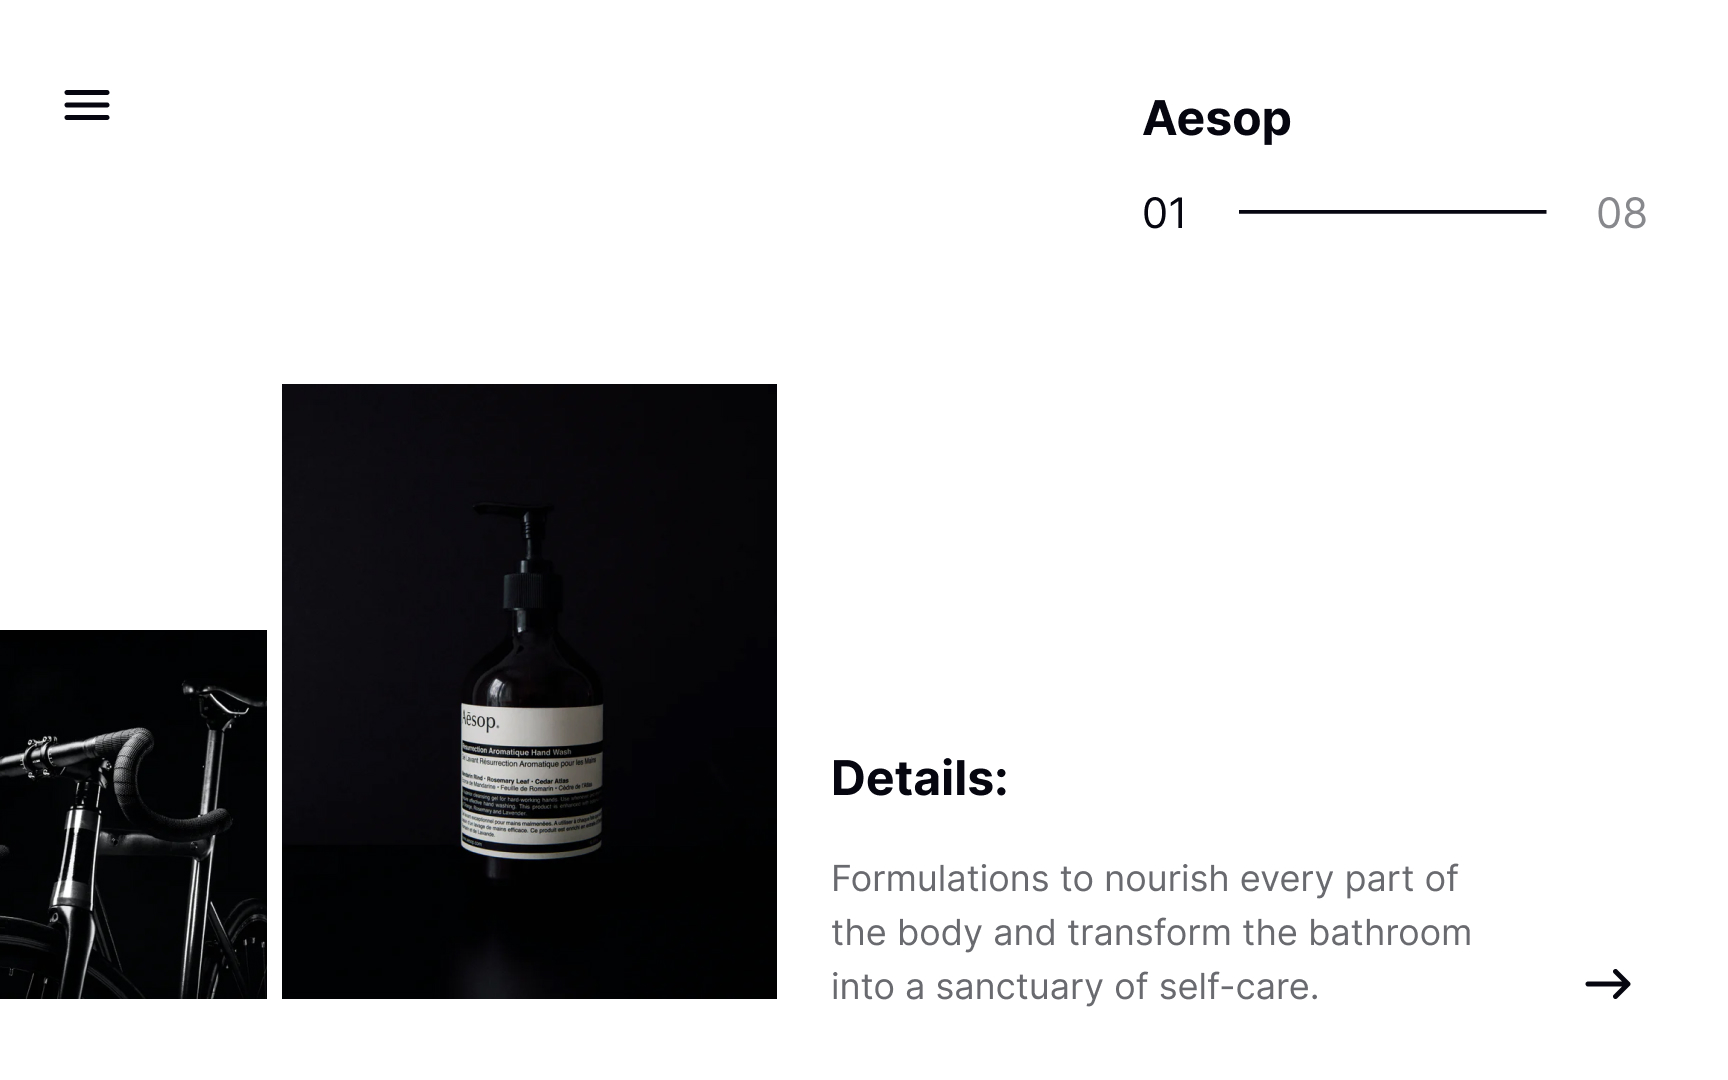
 contrast and emphasize that the larger one is more important.[1] Think of things like notification badges over avatars or icons. If the notification badge and avatar are the same size, it’s not immediately apparent which element is more important. By using a larger avatar and small notification badge, we get a sense of the hierarchy of those two elements — the avatar is the primary element and the notification badge is secondary.

Exercise #4

Color contrast

Color contrast Bad Practice
Color contrast Best Practice

Color contrast usually overpowers shape contrast, especially if the colors are very dissimilar, like red and gray. It’s one of the primary reasons designers use color contrast to differentiate things like button functions. For example, using red for a button with a destructive action (like “Delete”) clues users into the importance of that button and the visual weight warns them of the action they’re about to take. It gives them a chance to think twice before clicking it.

Exercise #5

Shape contrast

Shape contrast Bad Practice
Shape contrast Best Practice

Contrast creates complex relationships between objects, which, in turn, generates interest. Using a combination of contrast types creates more interest. For example, using color contrast along with shape contrast by combining circles with squares makes an interactive element way more eye-catching than using squares alone with contrasting colors.

Exercise #6

Size contrast

Size contrast Bad Practice
Size contrast Best Practice

Size contrast is one of the easiest and most straightforward ways to create visual hierarchy on a page. Using a large headline immediately grabs a user’s attention and makes it stand out as the most compelling feature on a page. It immediately sets the hierarchy for the page, especially when there’s a distinct contrast between the headline and subhead.

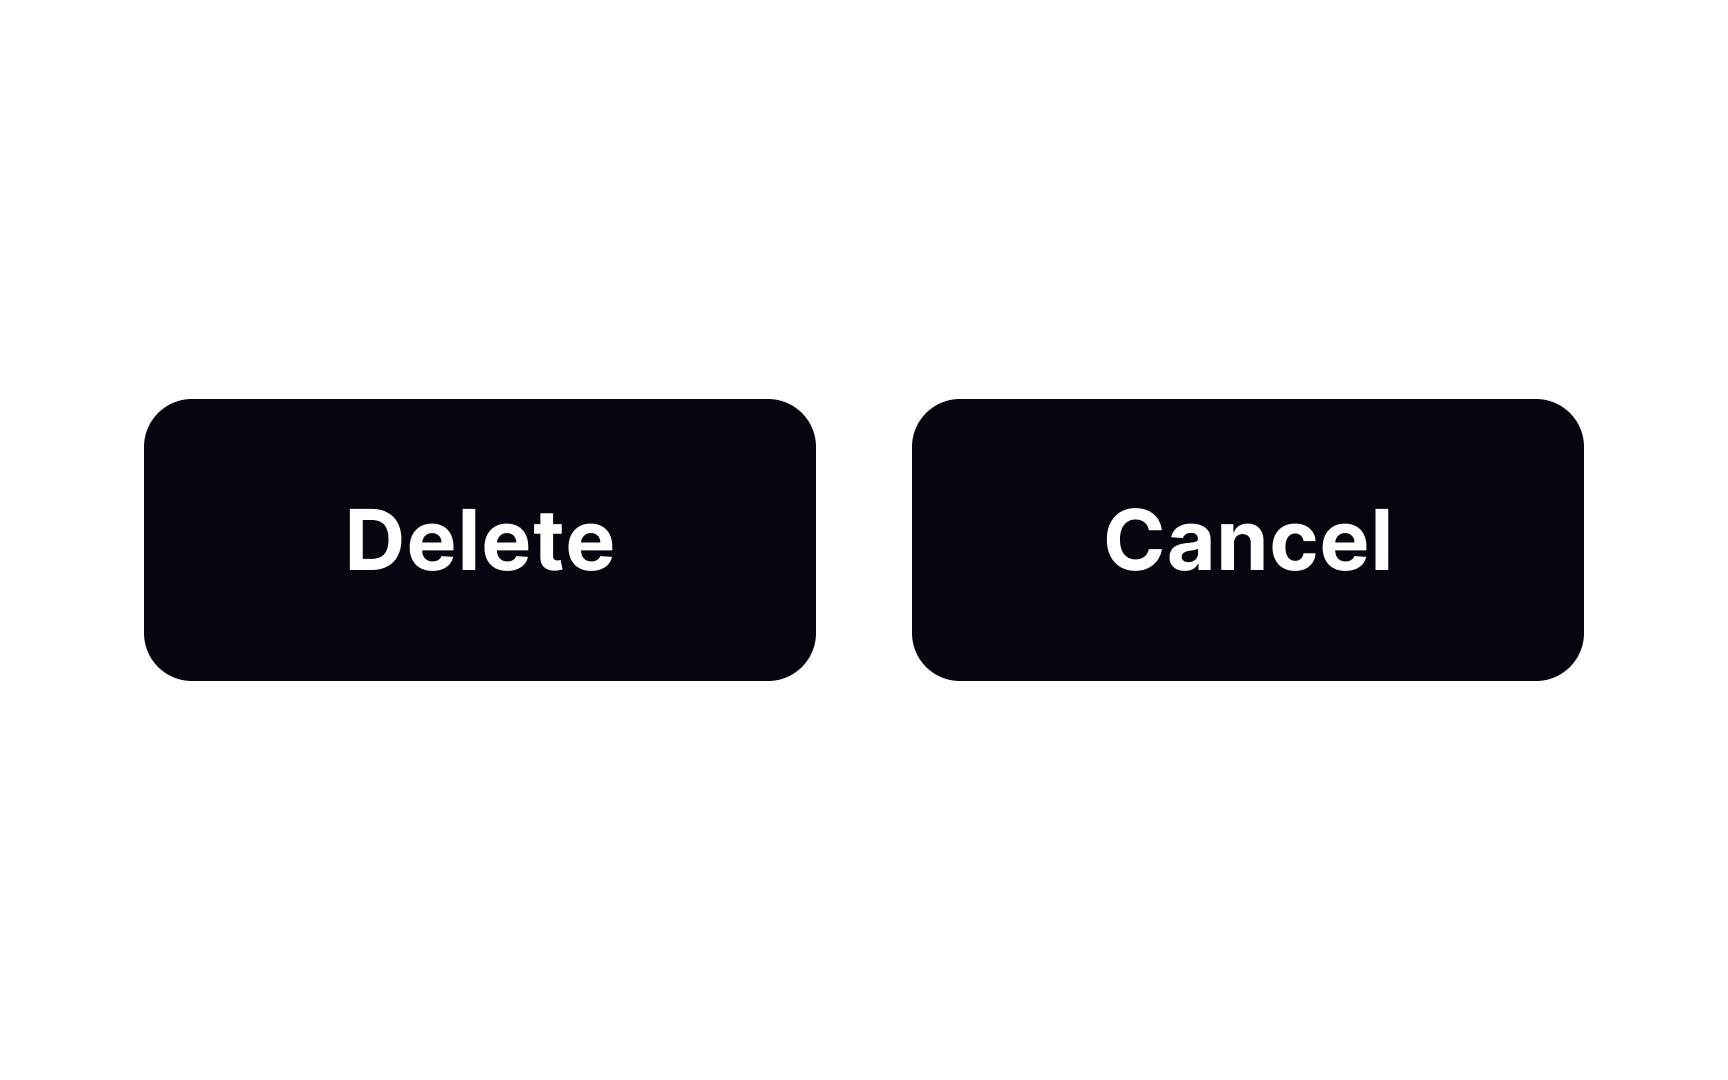
Pro Tip: Different font weights increase contrast, adding even more emphasis on a title.

Exercise #7

Color contrast

Color contrast Bad Practice
Color contrast Best Practice

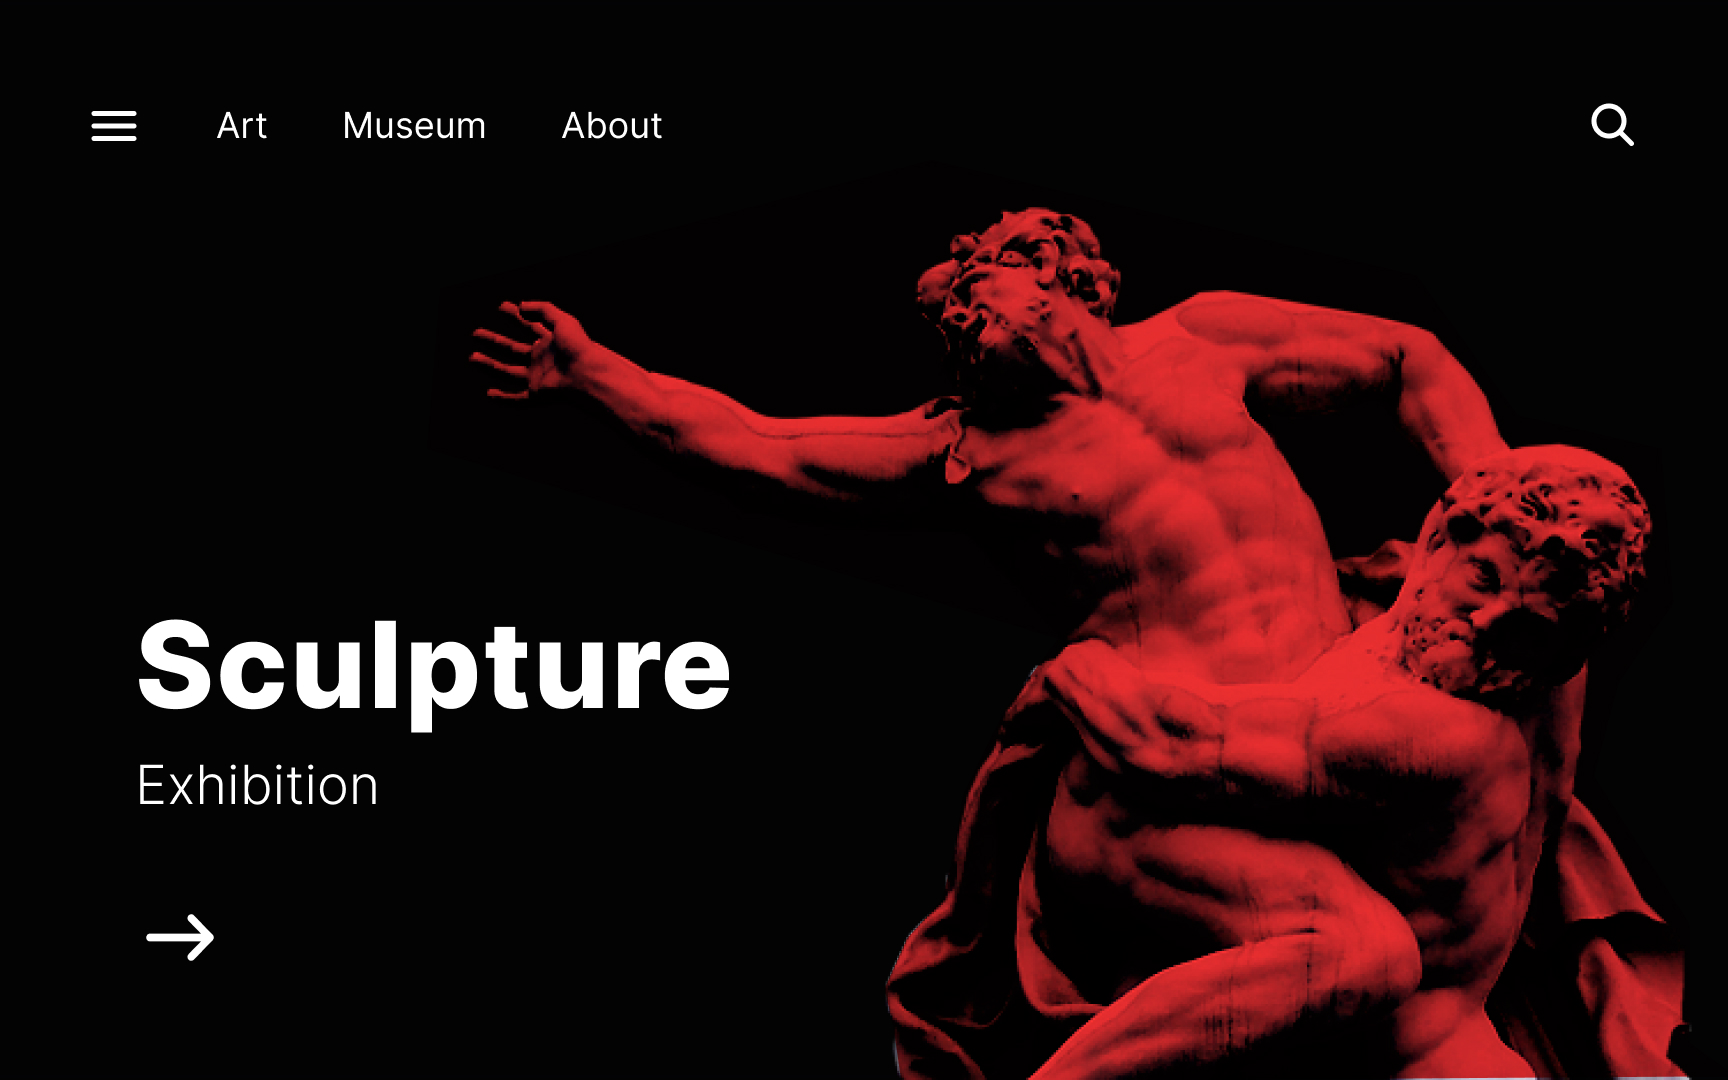
Using high-contrast colors is a bold move not every designer can pull off. One of the safest ways to pull this technique off, though, is to combine a bright color with a neutral. For example, a combination of black with dynamic red is a safe bet that is high contrast while avoiding visual conflict.

Pro Tip: Knowledge of color theory can come in handy to create striking and practical color palettes with high contrast.

Exercise #8

Quantity contrast

Quantity contrast Bad Practice
Quantity contrast Best Practice

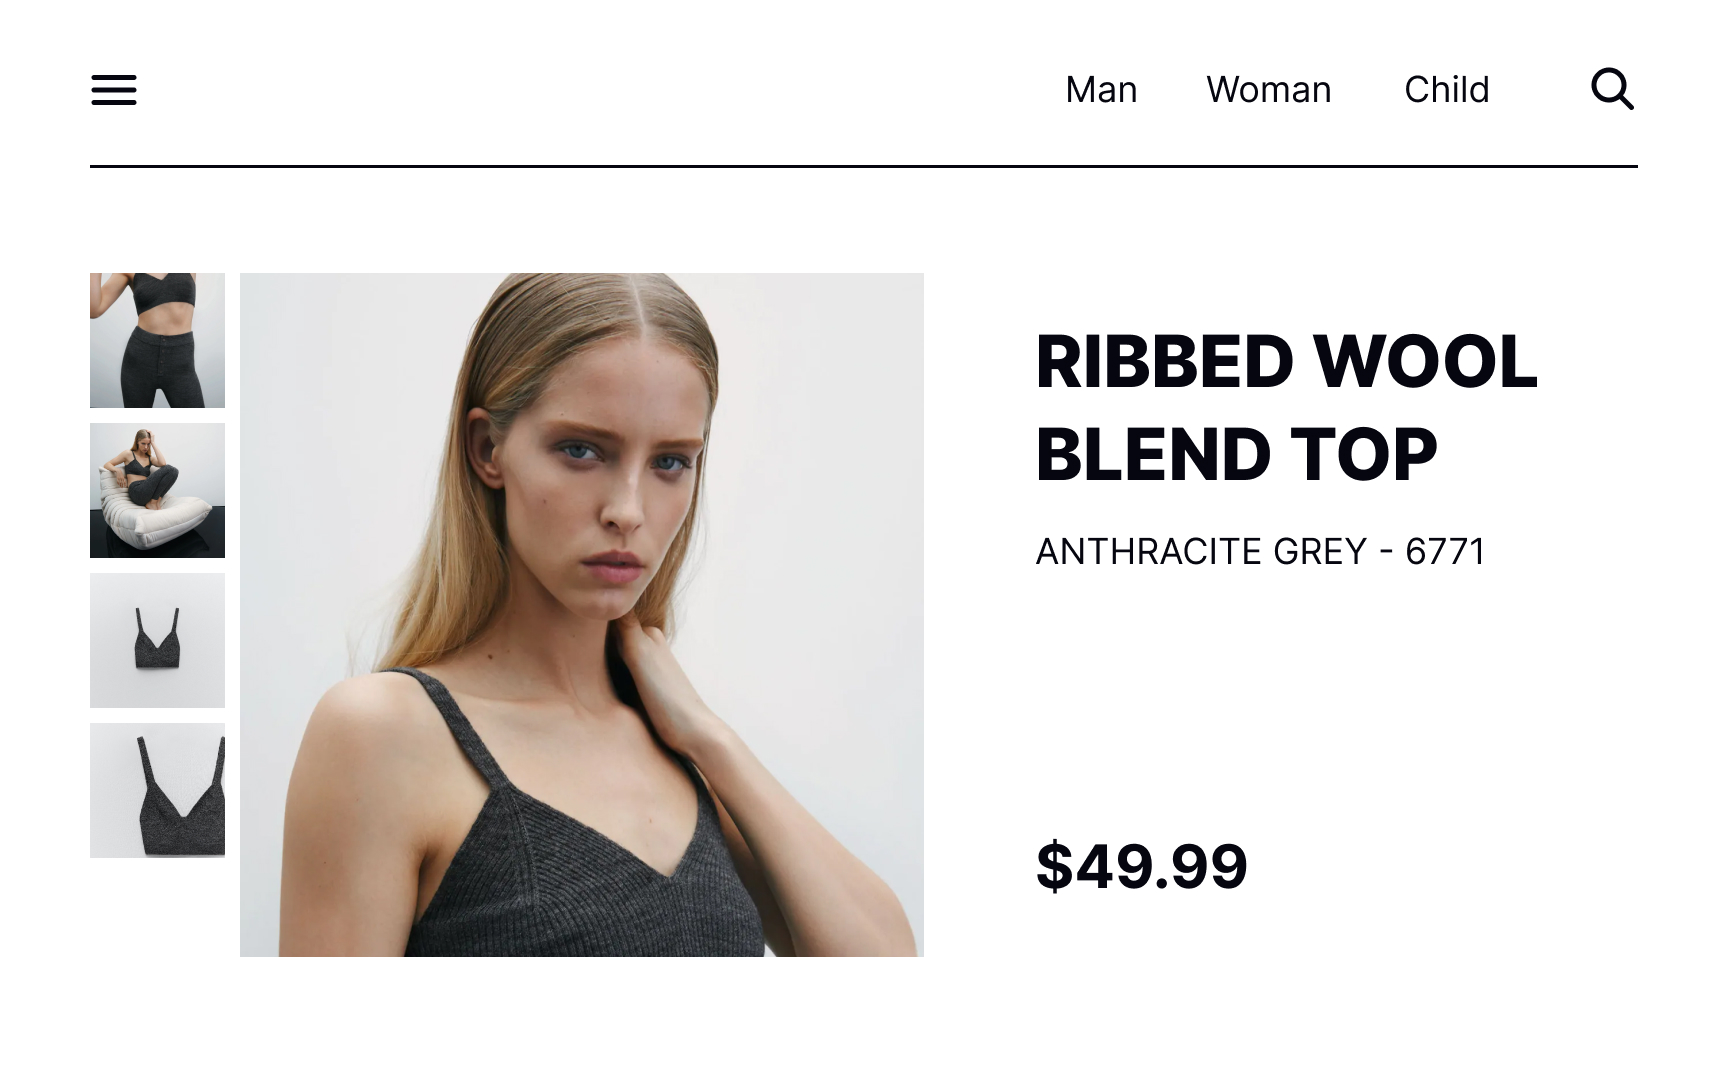
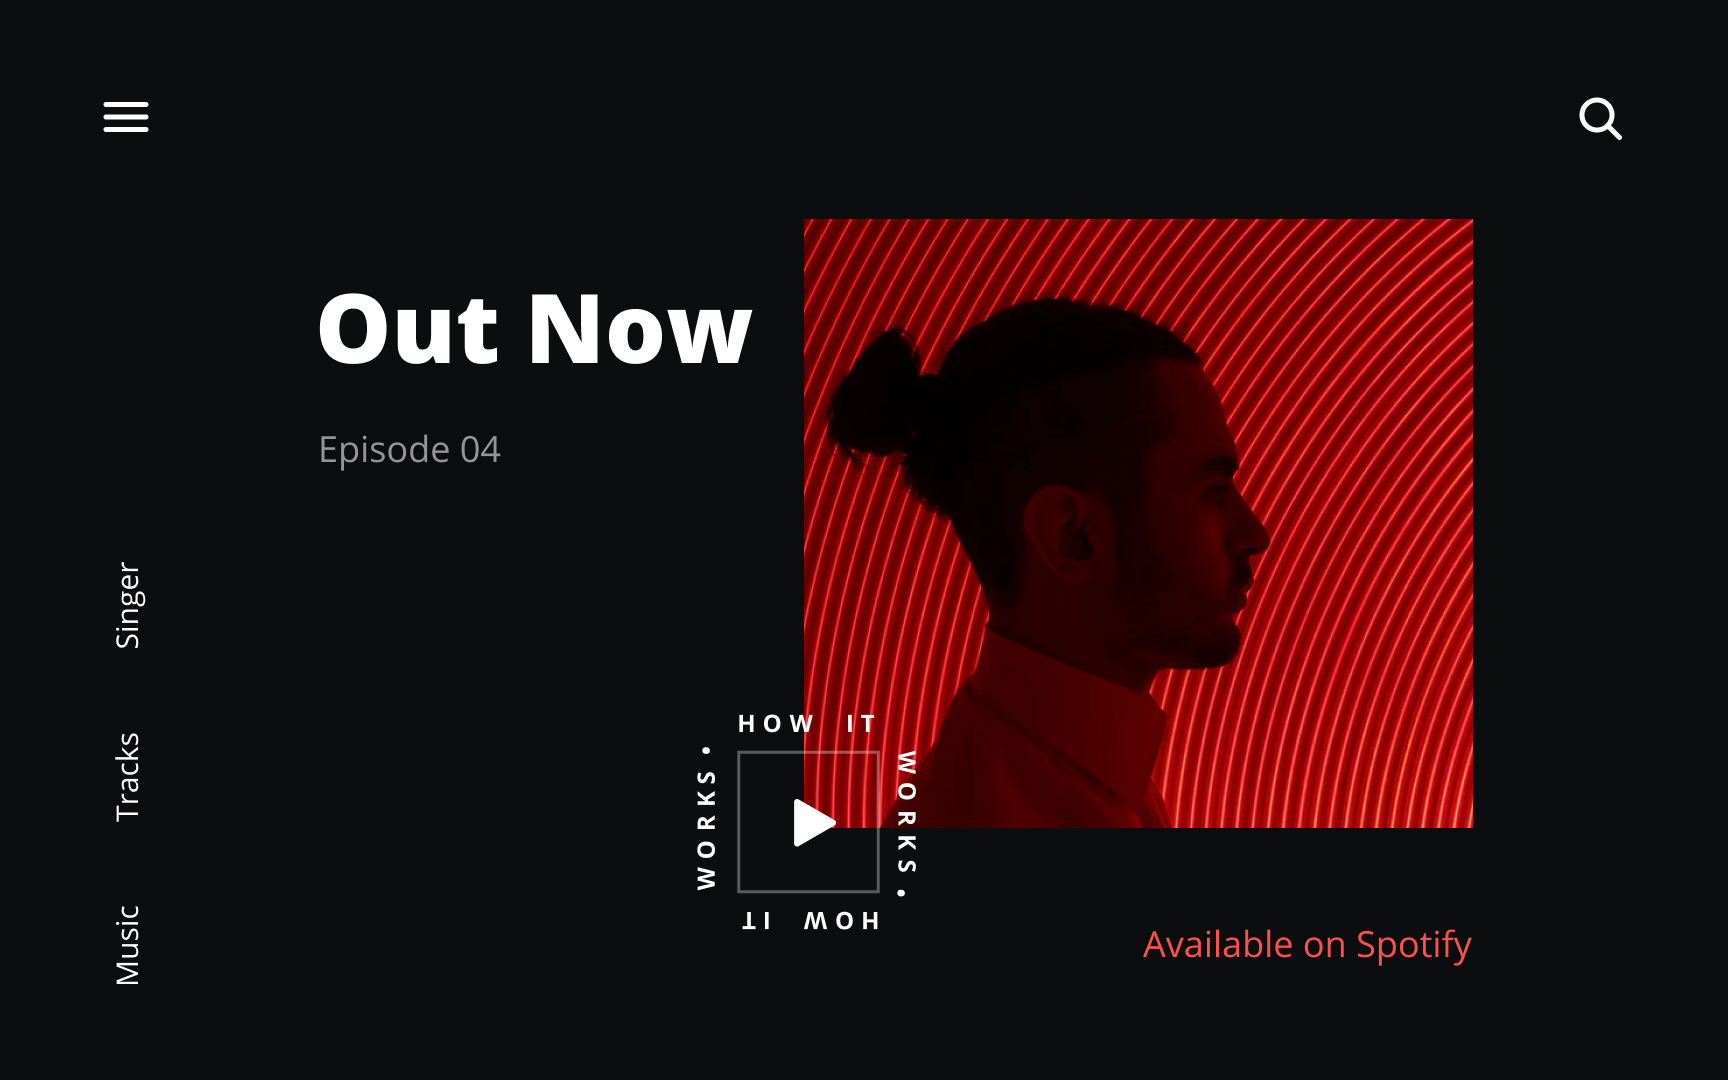
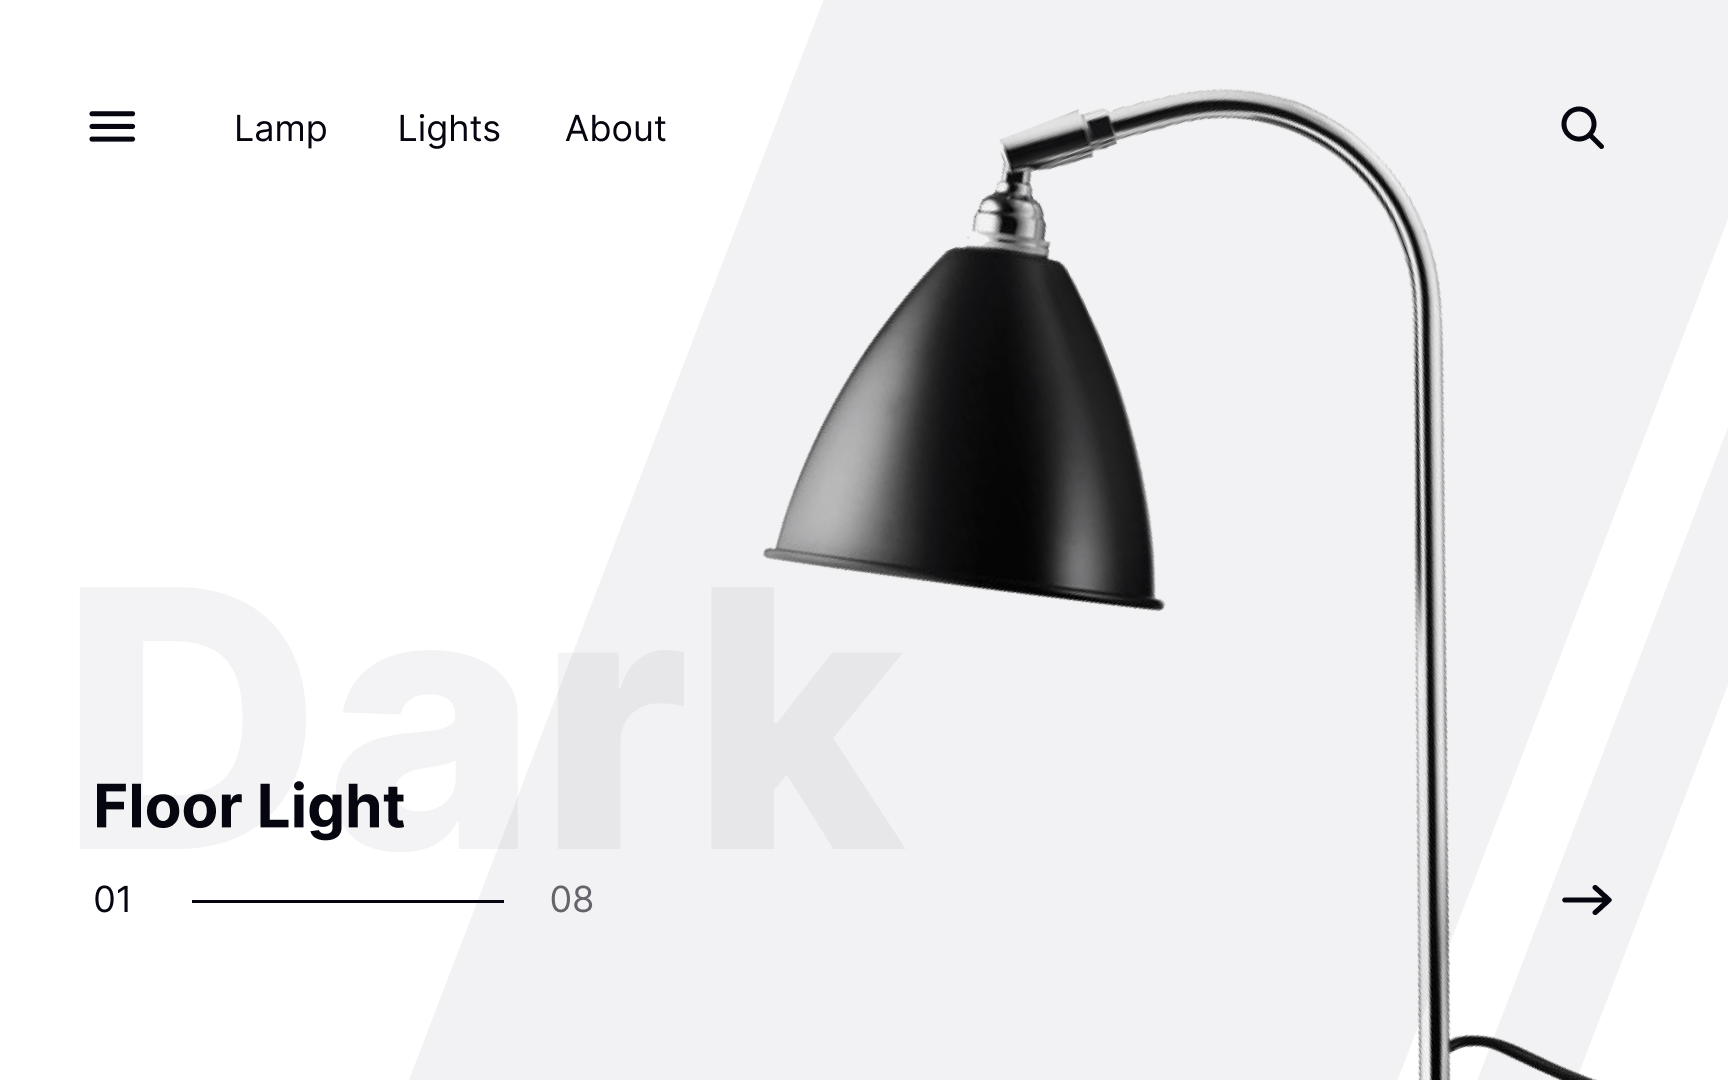
Experimenting with the number of elements on either side of a vertical axis can create balanced asymmetry, add a dynamic feeling, and disperse user attention. Combining a large image that serves as the focal point with a column of thumbnails creates a more balanced composition, for example, than simply a large image and text.

Exercise #9

Position сontrast

Position сontrast Bad Practice
Position сontrast Best Practice

Changing the position of elements on a page helps break up any monotony and keep users engaged.[2] What’s more, it guides attention to the most important element — a product image, for example — and makes the design more memorable.

Position within a composition can add (or subtract) visual weight to certain elements. Elements near the bottom of the composition will naturally appear heavier than those near the top.

Pro Tip: Aligning images and text to the bottom makes them look heavier in contrast with a "feather-light" title.

Exercise #10

Orientation сontrast

Orientation сontrast Bad Practice
Orientation сontrast Best Practice

Experiment with the orientation of elements to create more dynamic compositions. An angled background shape, for example, creates a sense of movement on the page compared with a shape that’s oriented on strict vertical and horizontal axes. In turn, that makes your focal point image stand out more.

Exercise #11

Context сontrast

Context сontrast Bad Practice
Context сontrast Best Practice

Advertising and marketing agencies love to use contrasting concepts to strengthen their message and grab users’ attention. For example, adding an obviously salty snack to a bottled water advertisement can make consumers thirsty, resulting in them buying more water. 

It’s important that the contrasting concepts reinforce and enhance the message, though, rather than leaving users confused. For example, a gothic typeface fails to enhance the message of this example and doesn’t encourage users to order delicious sweets.

Exercise #12

Visual weight contrast

Visual weight contrast Bad Practice
Visual weight contrast Best Practice

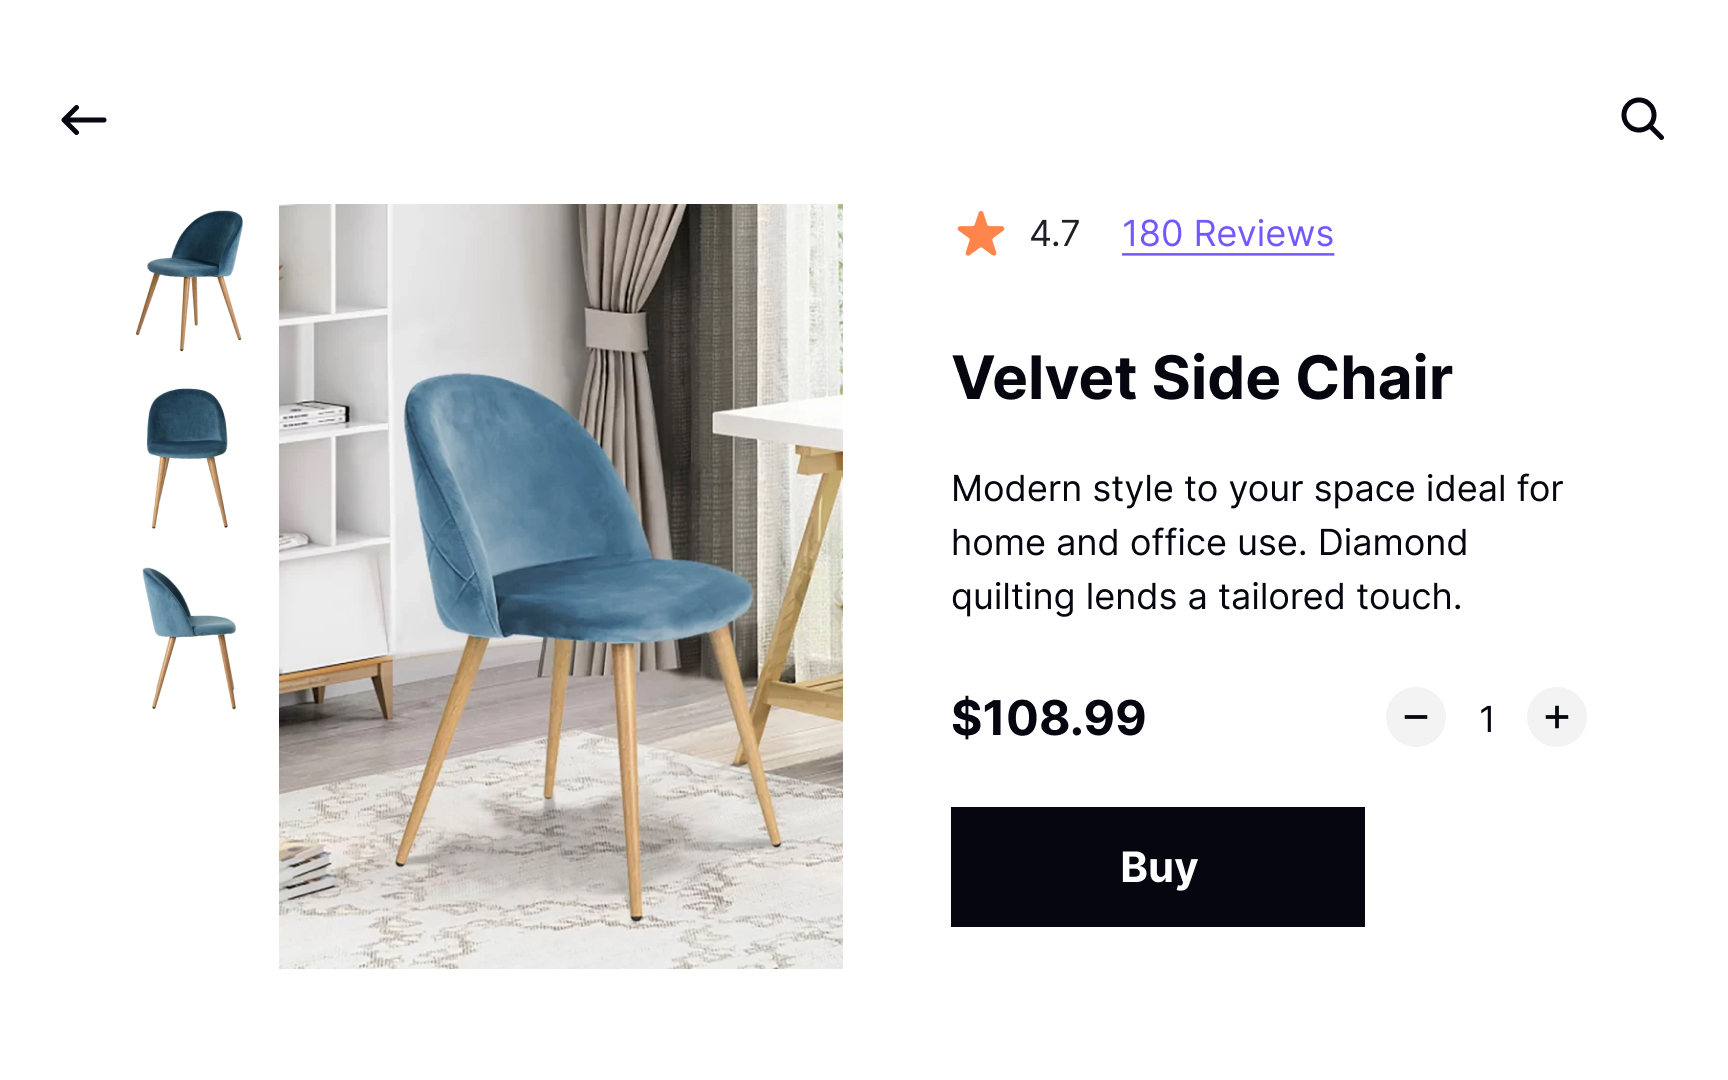
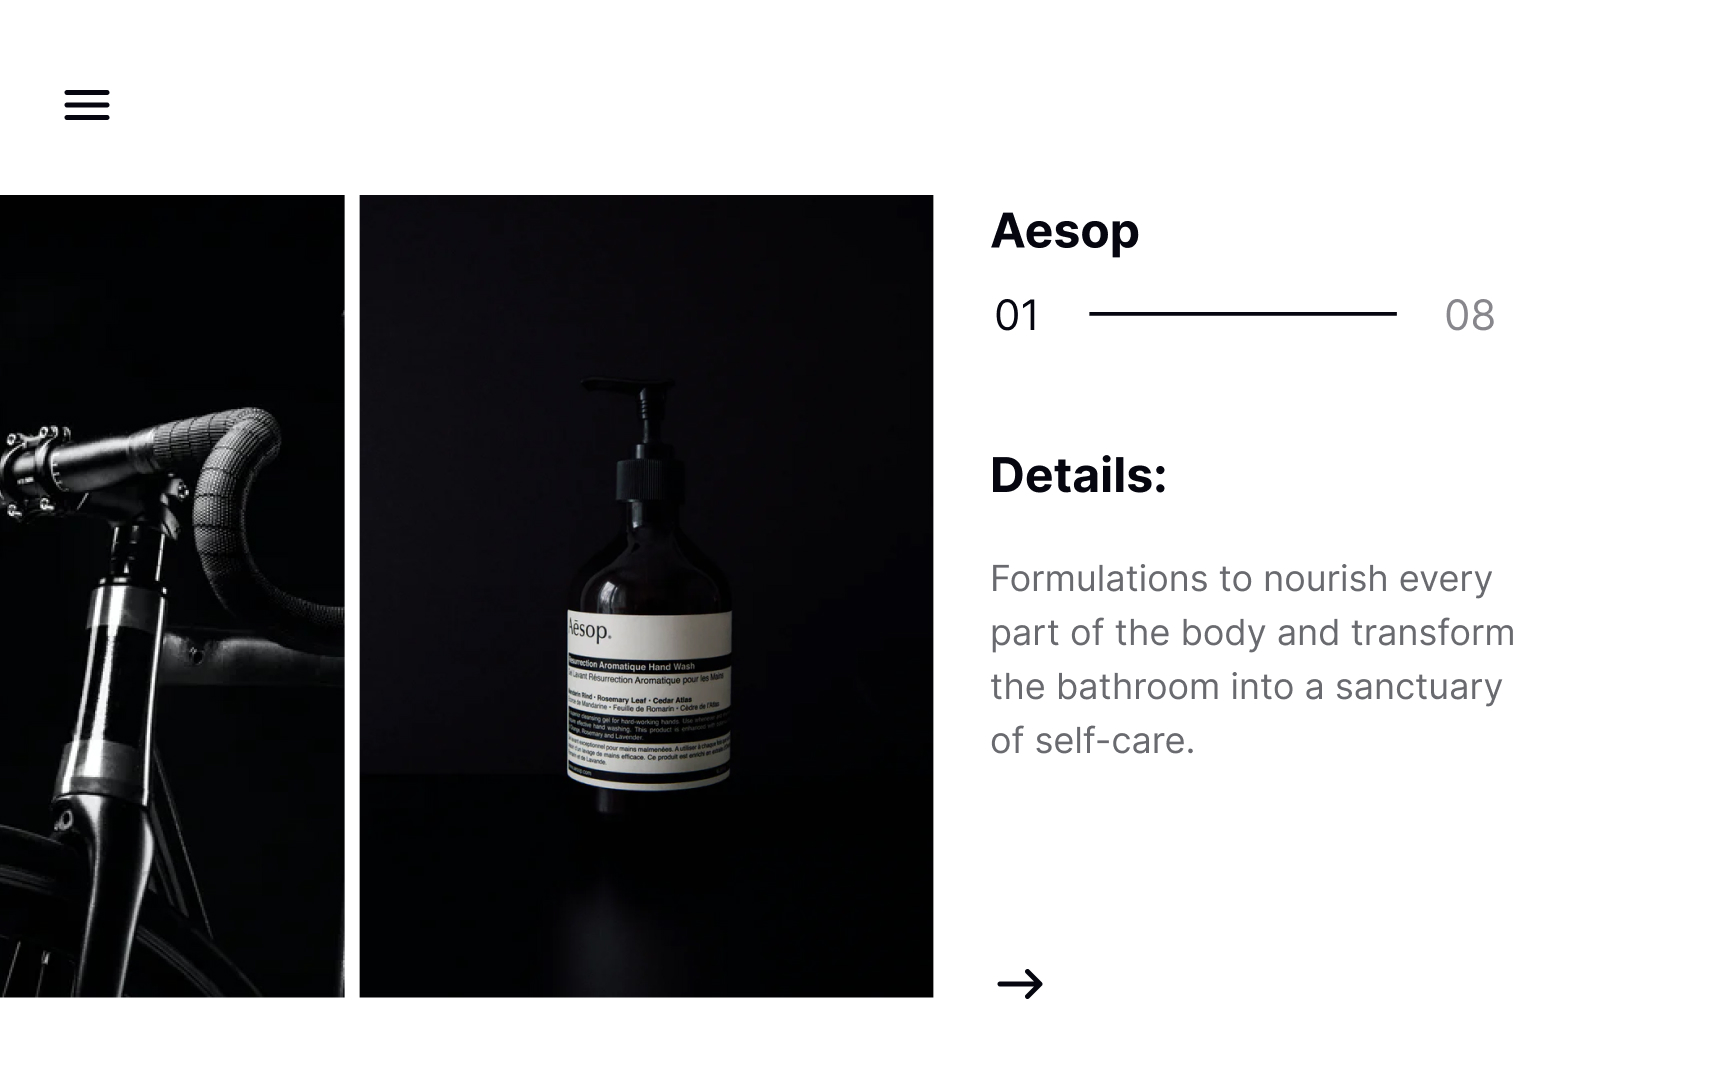
Balancing complex elements with simple ones is an excellent way to add visual weight contrast to a composition. For example, a large image is heavy and stands out due to its size.[3] White space and contrast immediately direct viewers’ attention to the subject. Pairing it with lighter text balances the composition without overpowering the image. 

In turn, a busier composition with lighter elements is still balanced, but the main image won’t stand out as much and the overall impression is much busier.

Complete this lesson and move one step closer to your course certificate