Masks vs. image fills
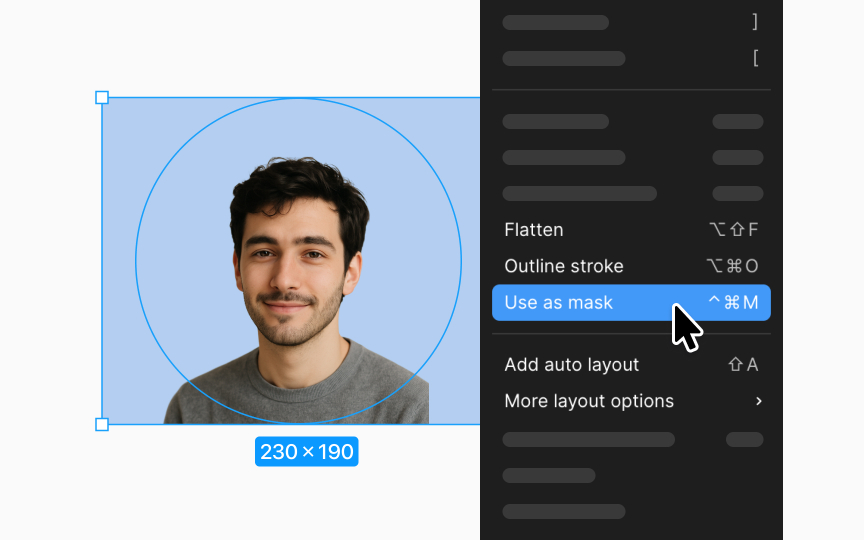
While using images as fills offers convenience for quickly applying visuals to shapes, it limits your flexibility in editing. Masks provide more precise control over the image's visible area, allowing you to move the image to select the exact area you want visible. In contrast, fills are less versatile. When an image is added as a fill to a shape, you cannot specify which area of the image is visible if the image is larger than the object. This makes fills less suitable for detailed design work where the focus is on a specific part of an image.
To add a mask over an image in Figma:
Pro Tip: Changing the fill setting to "crop" in the properties panel, via a window pop-up, allows you to define the visible area of the image.

