Surfaces & Shading
Delve into the world of surfaces and shading in 3D design, and discover techniques for creating realistic textures, materials, and shading effects that breathe life into your 3D models
In 3D graphics, the material properties of a surface, the distance of an object from light, the angle of light, the viewpoint, and other conditions affect the shading. Simply put, shading is the process of computing color, the way it changes, and basically how we see the object in a 3D scene.
You may aim to create a photorealistic shading that users can't distinguish from the real world, or you may want to try a new artistic approach with grotesque coloring. Depending on your goal, you should use a certain shading technique.
In this lesson, we'll go through the most common methods of shading in 3D, and learn their differences, so you can have the necessary background to further explore the topic.
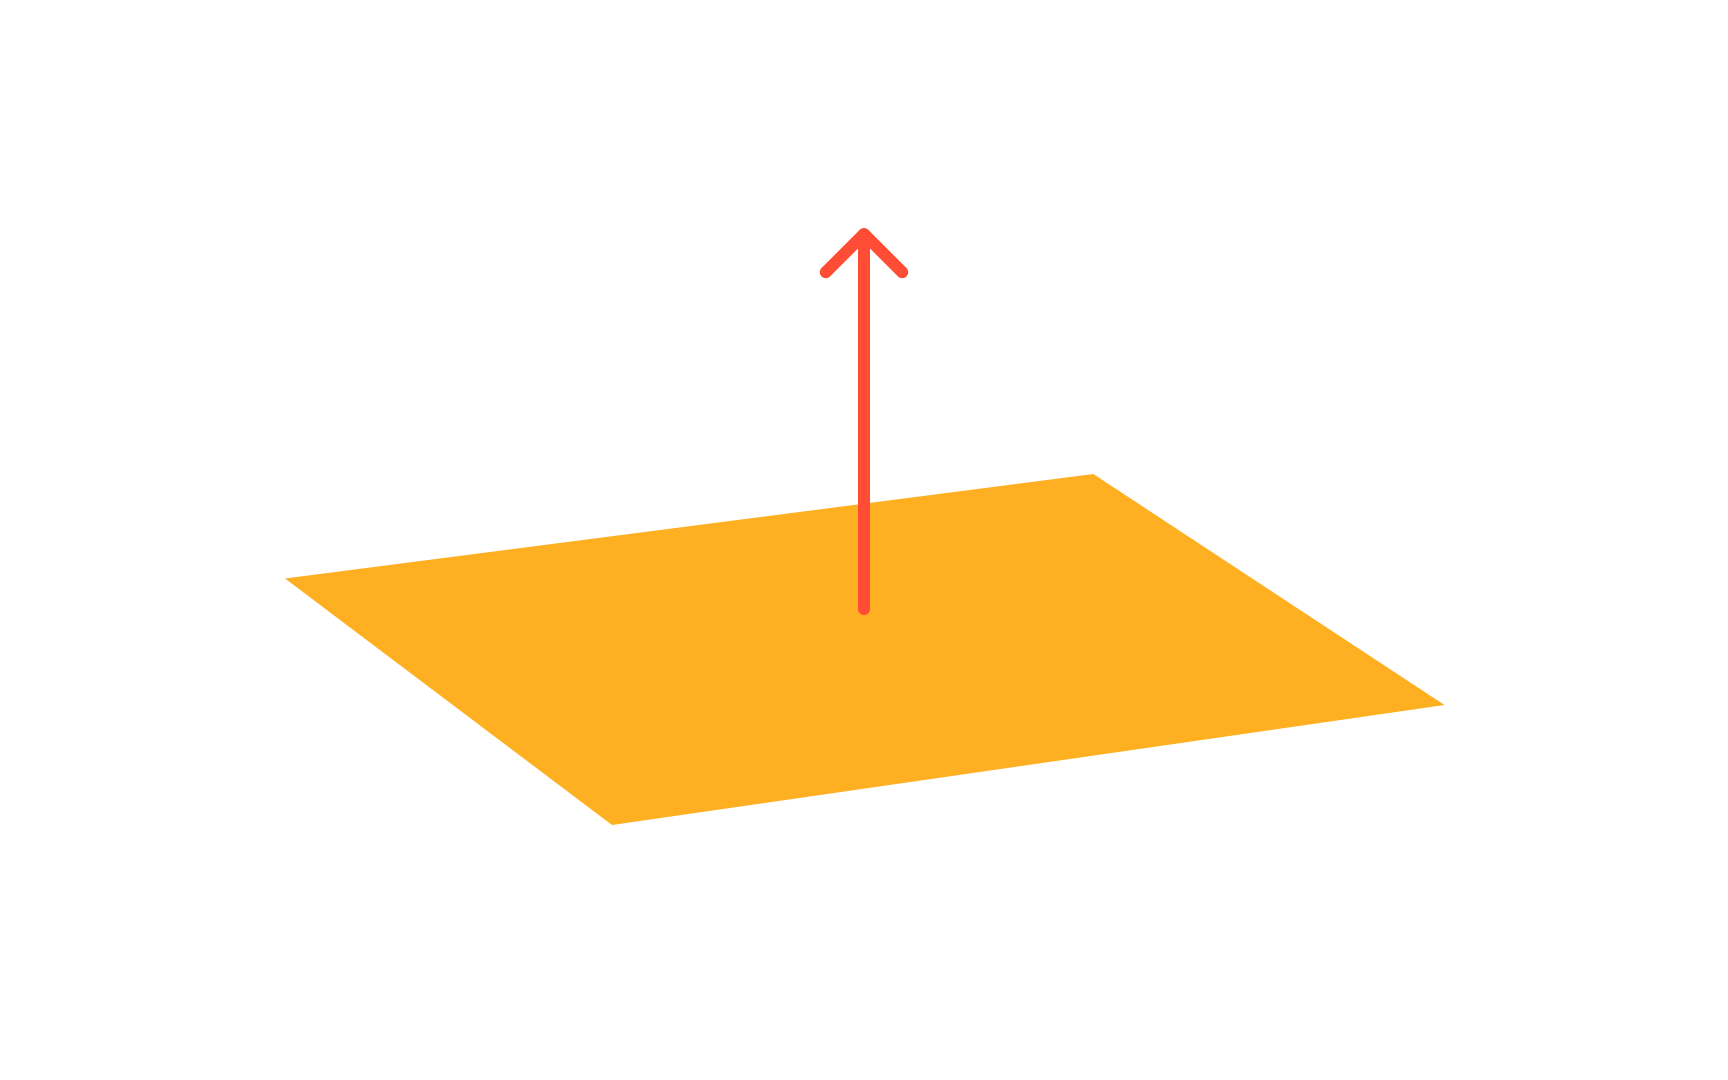
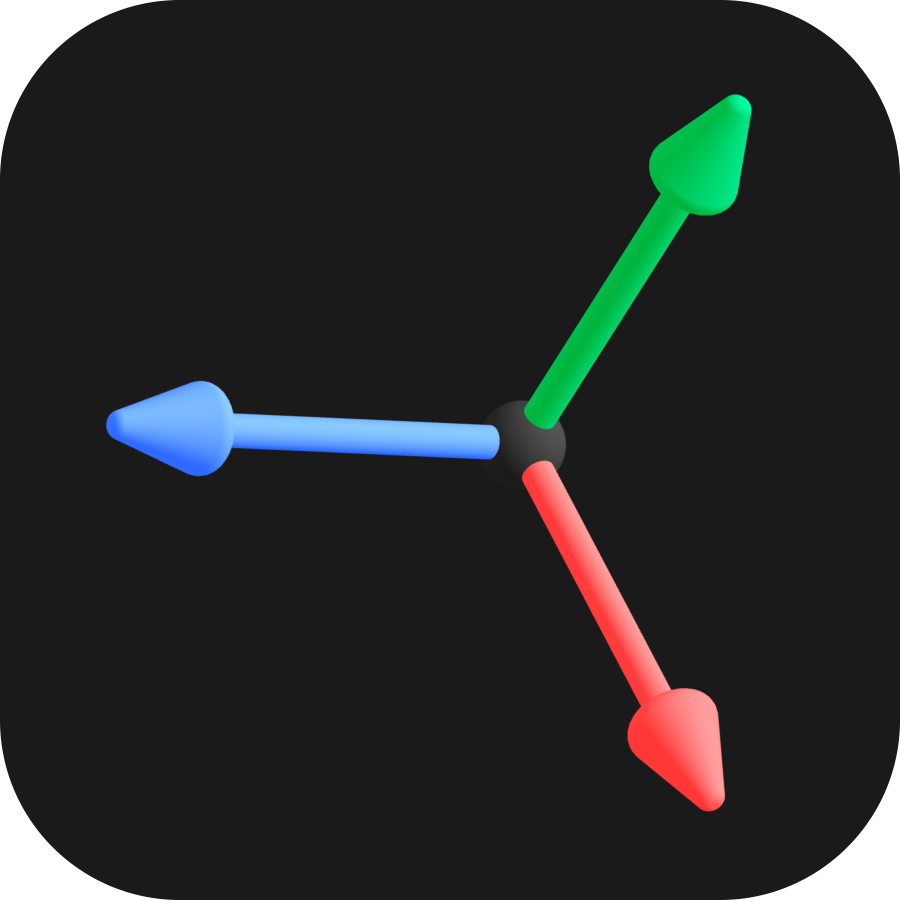
In design terms, reverse normals are normals that got reversed, flipped, or inverted and point in the opposite direction. For example, on average, a sphere's normals are pointing outward, making it look like a fuzzy monster or bacteria. When you have its normals reversed, they point inward. Why does it matter?
Flipped normals change the face orientation, showing its backside. As a result, the
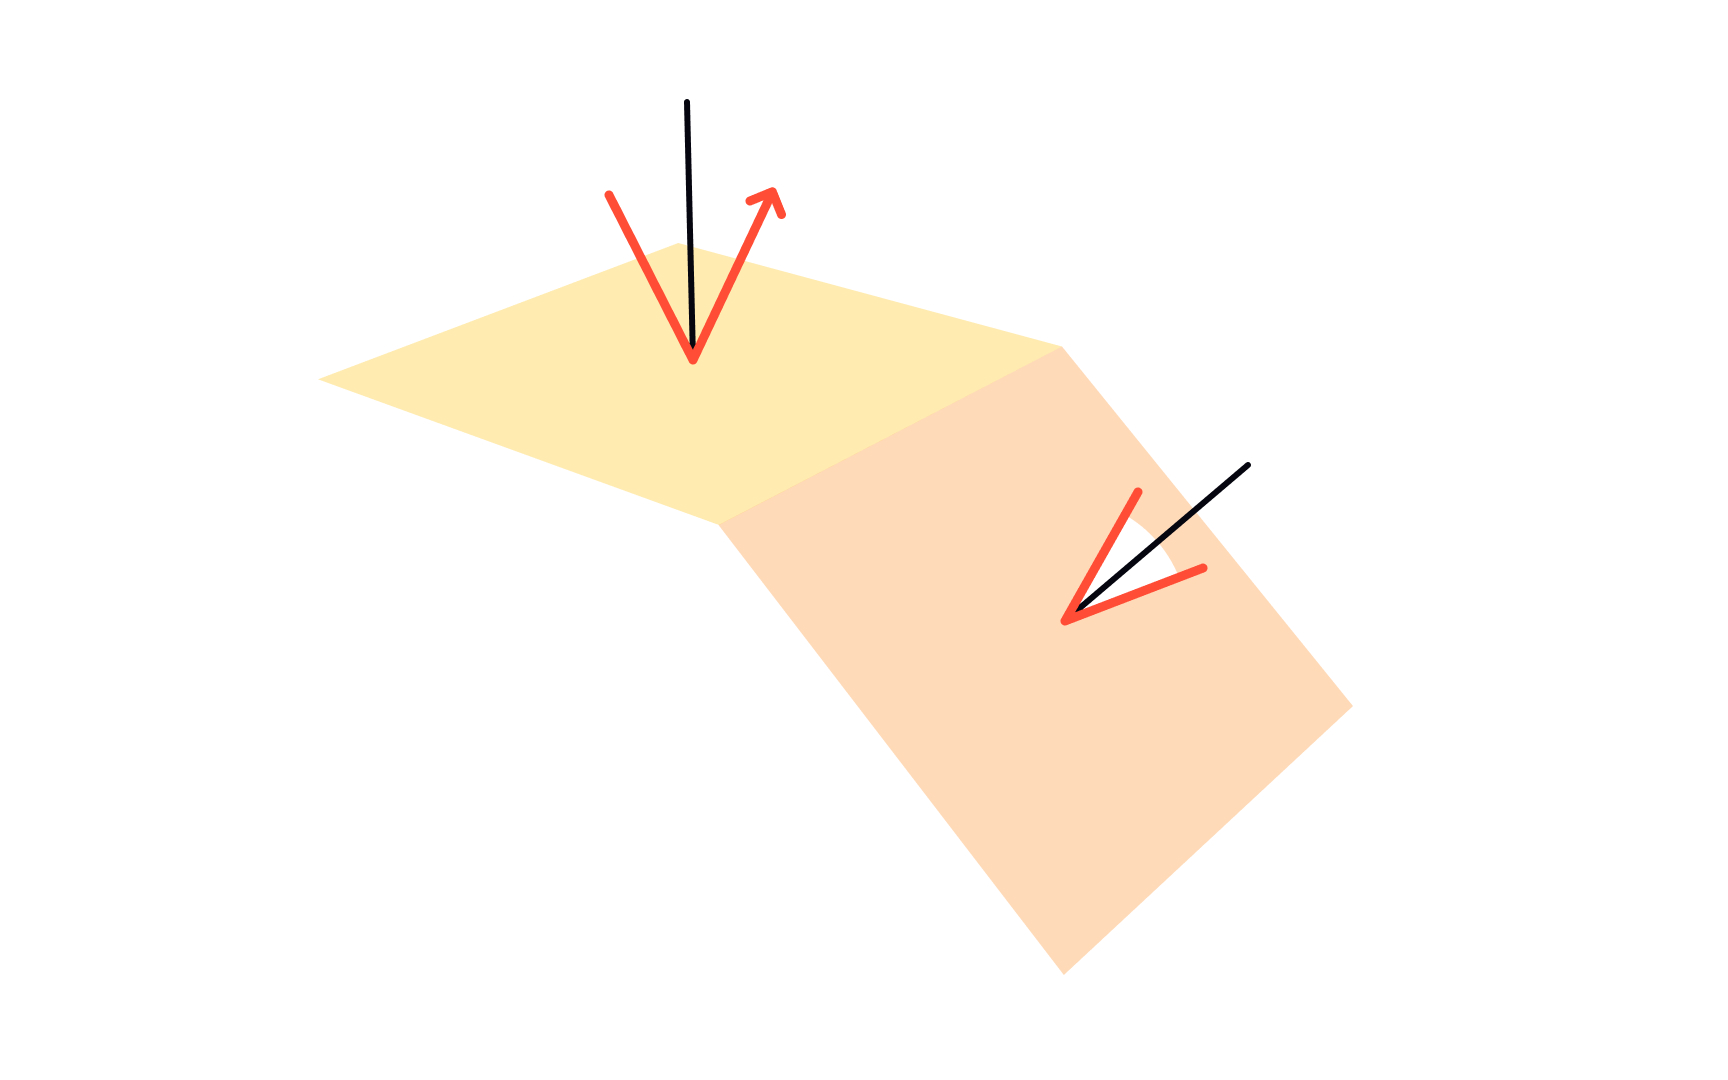
Normals are incredibly helpful and allow 3D designers to experiment with shadows. Manipulating the normals angle — the one formed by a normal vector and the light trajectory bouncing off the surface — you can adjust the shading. The greater the angle between a normal and light direction, the harder the
Flat
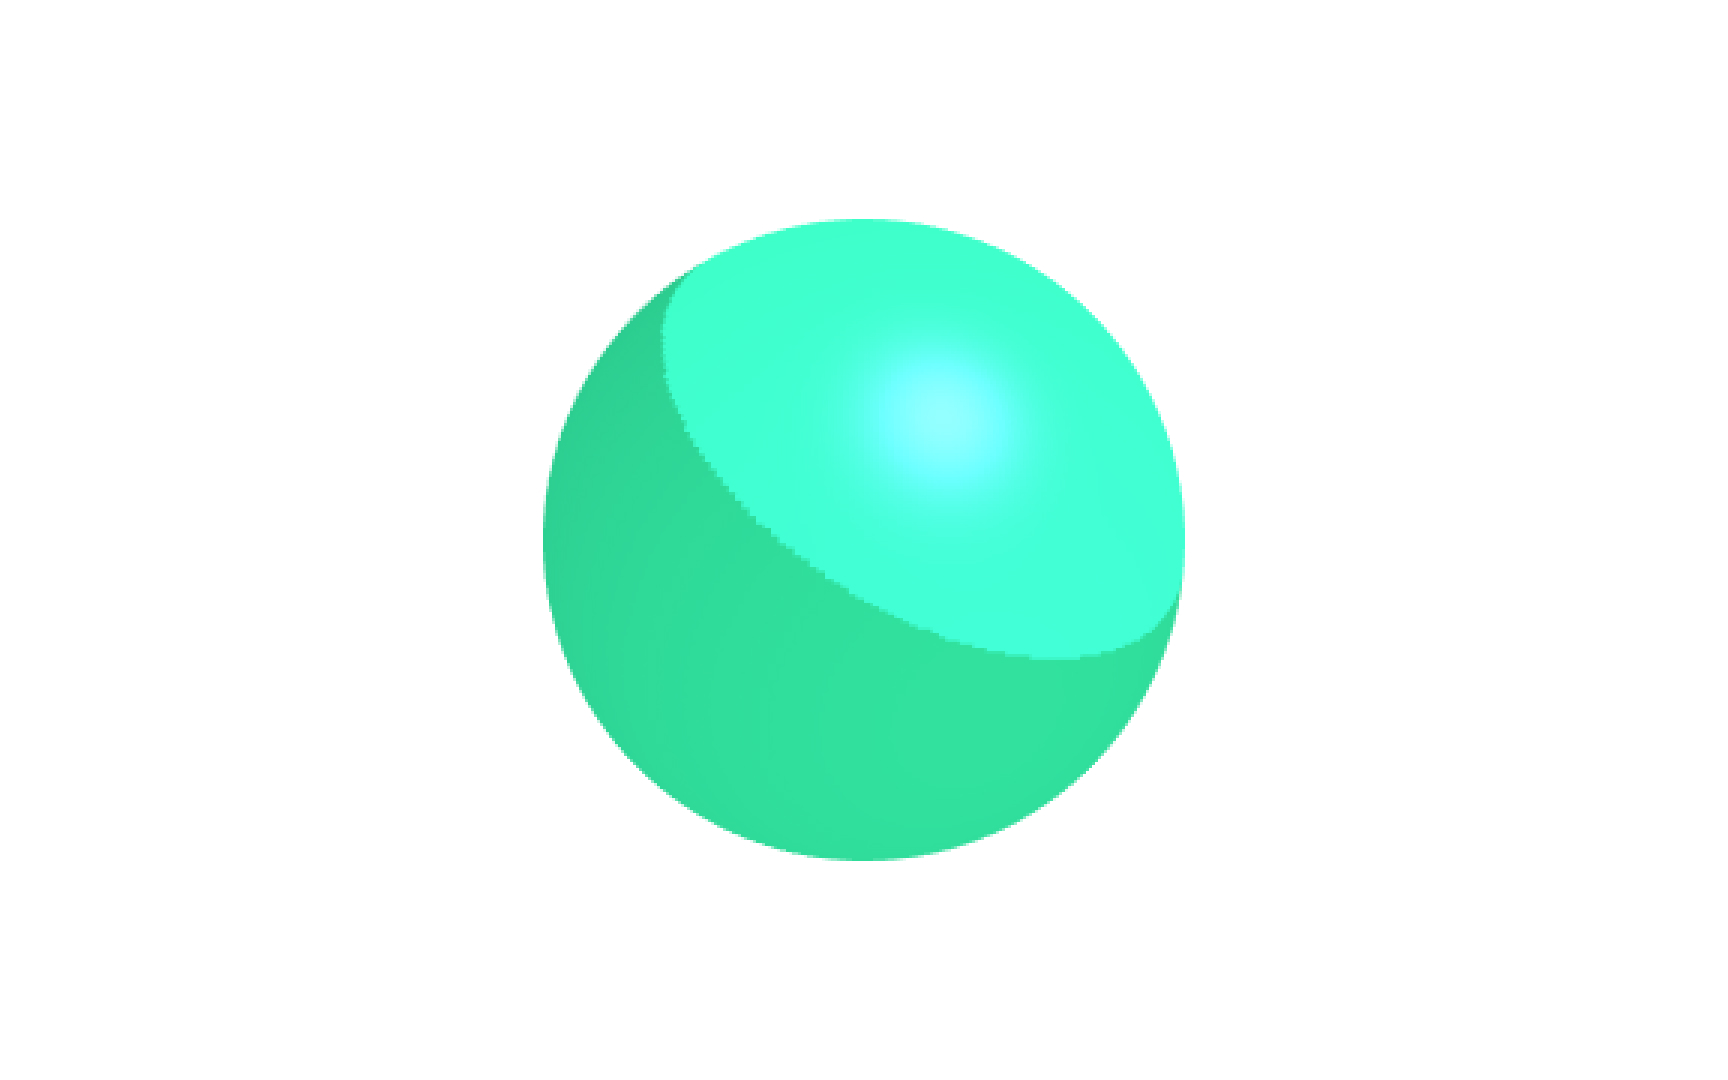
Smooth
As you may guess from its name, physical

Phong
Lambert
What differentiates cel
References
- Maya's Reverse Normals Tool | YouTube
- Physically Based Shading in Unreal Engine 4 | Unreal Engine
Top contributors

Topics
From Course

Share


Similar lessons

Applications of 3D Design
3D Coordinates System