Rendering Techniques
Unlock a world of possibilities with advanced 3D rendering techniques to achieve photorealistic and visually stunning renders
Rendering is one of the final stages of the 3D production pipeline. Think of it as combining all the information within a scene — objects, materials, lights, cameras — to produce a single or sequence of final rendered images.
This part of the production is usually computationally intense and sometimes can take hours — depending on the scene's complexity, quality, and intended platform. In this lesson, learn about different rendering techniques and their applications.
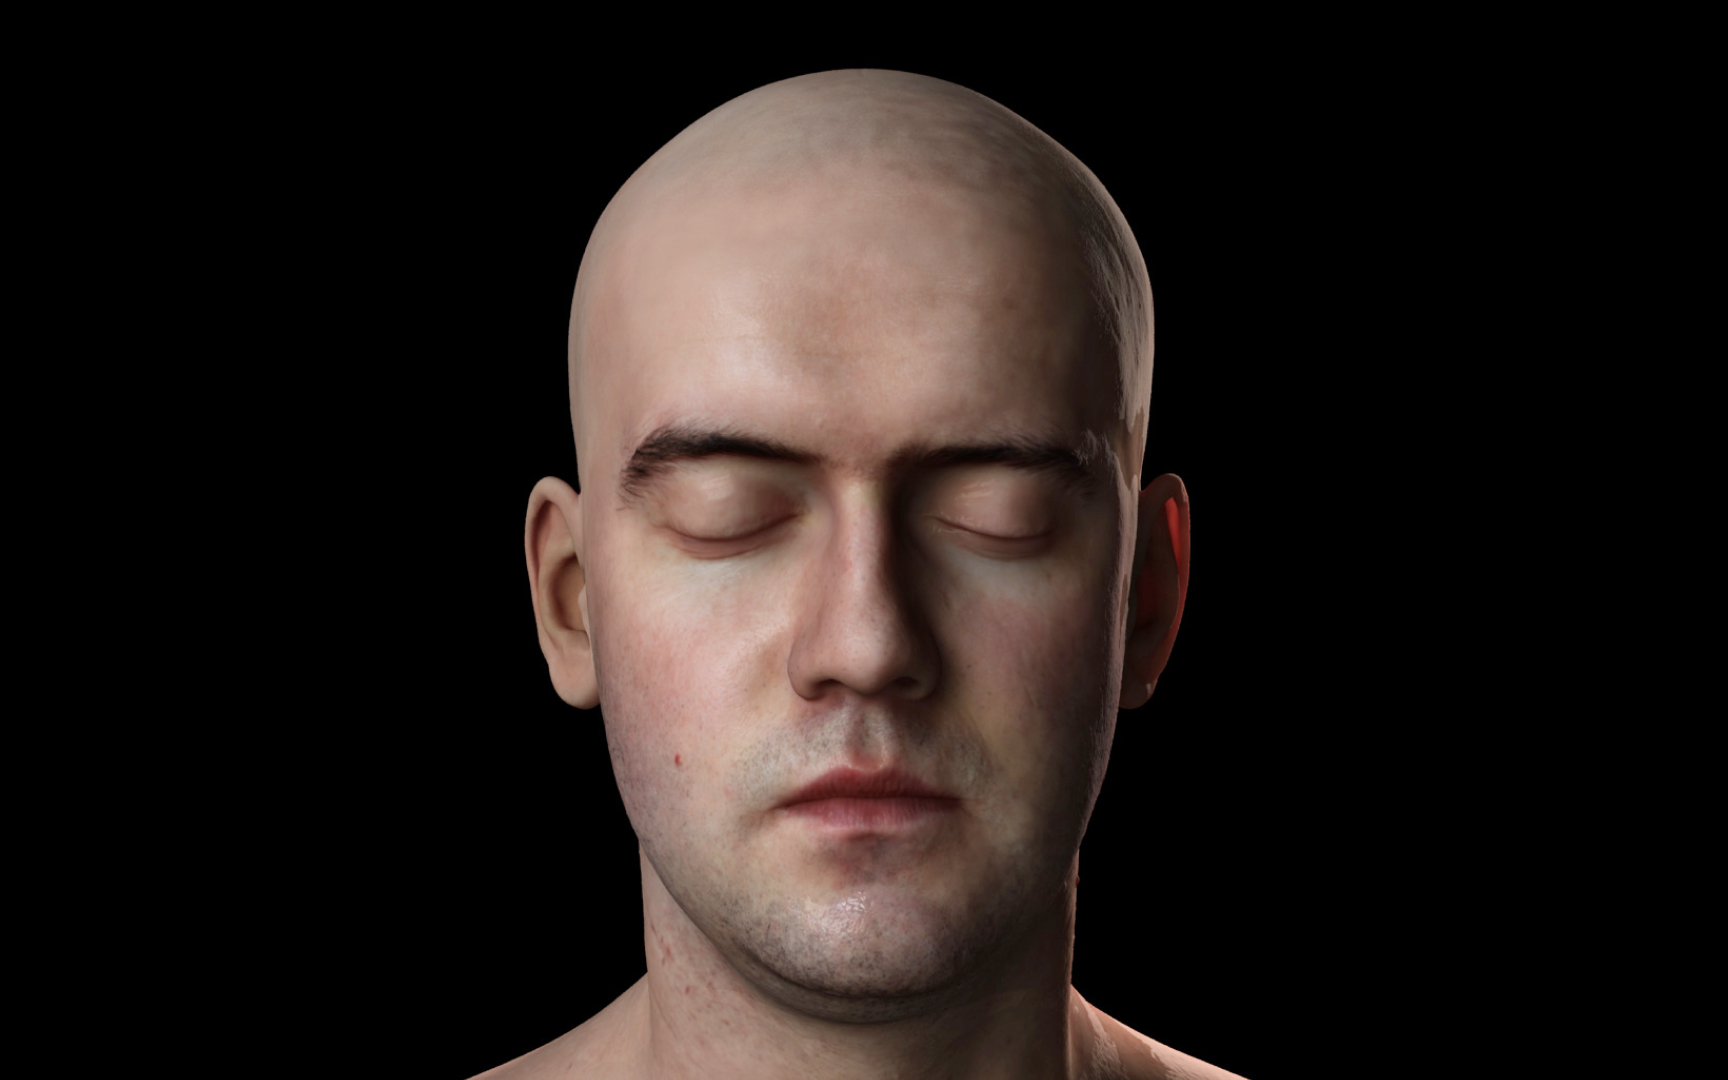
There are two main rendering techniques: photorealistic and non-photo-realistic rendering. Photorealistic rendering aims to develop real-life
Non-photorealistic rendering, also called NPR, is inspired by expressive styles of digital art: painting, drawing, technical illustration, and animated cartoons. The majority of NPR techniques like cel and Gooch shadings aim to create scenes that look two-dimensional. NPR is most commonly seen in video games and movies.
Ray tracing is the most common method of photorealistic rendering today. It uses algorithms to trace the path that a beam of light would take in the physical world, which results in very realistic
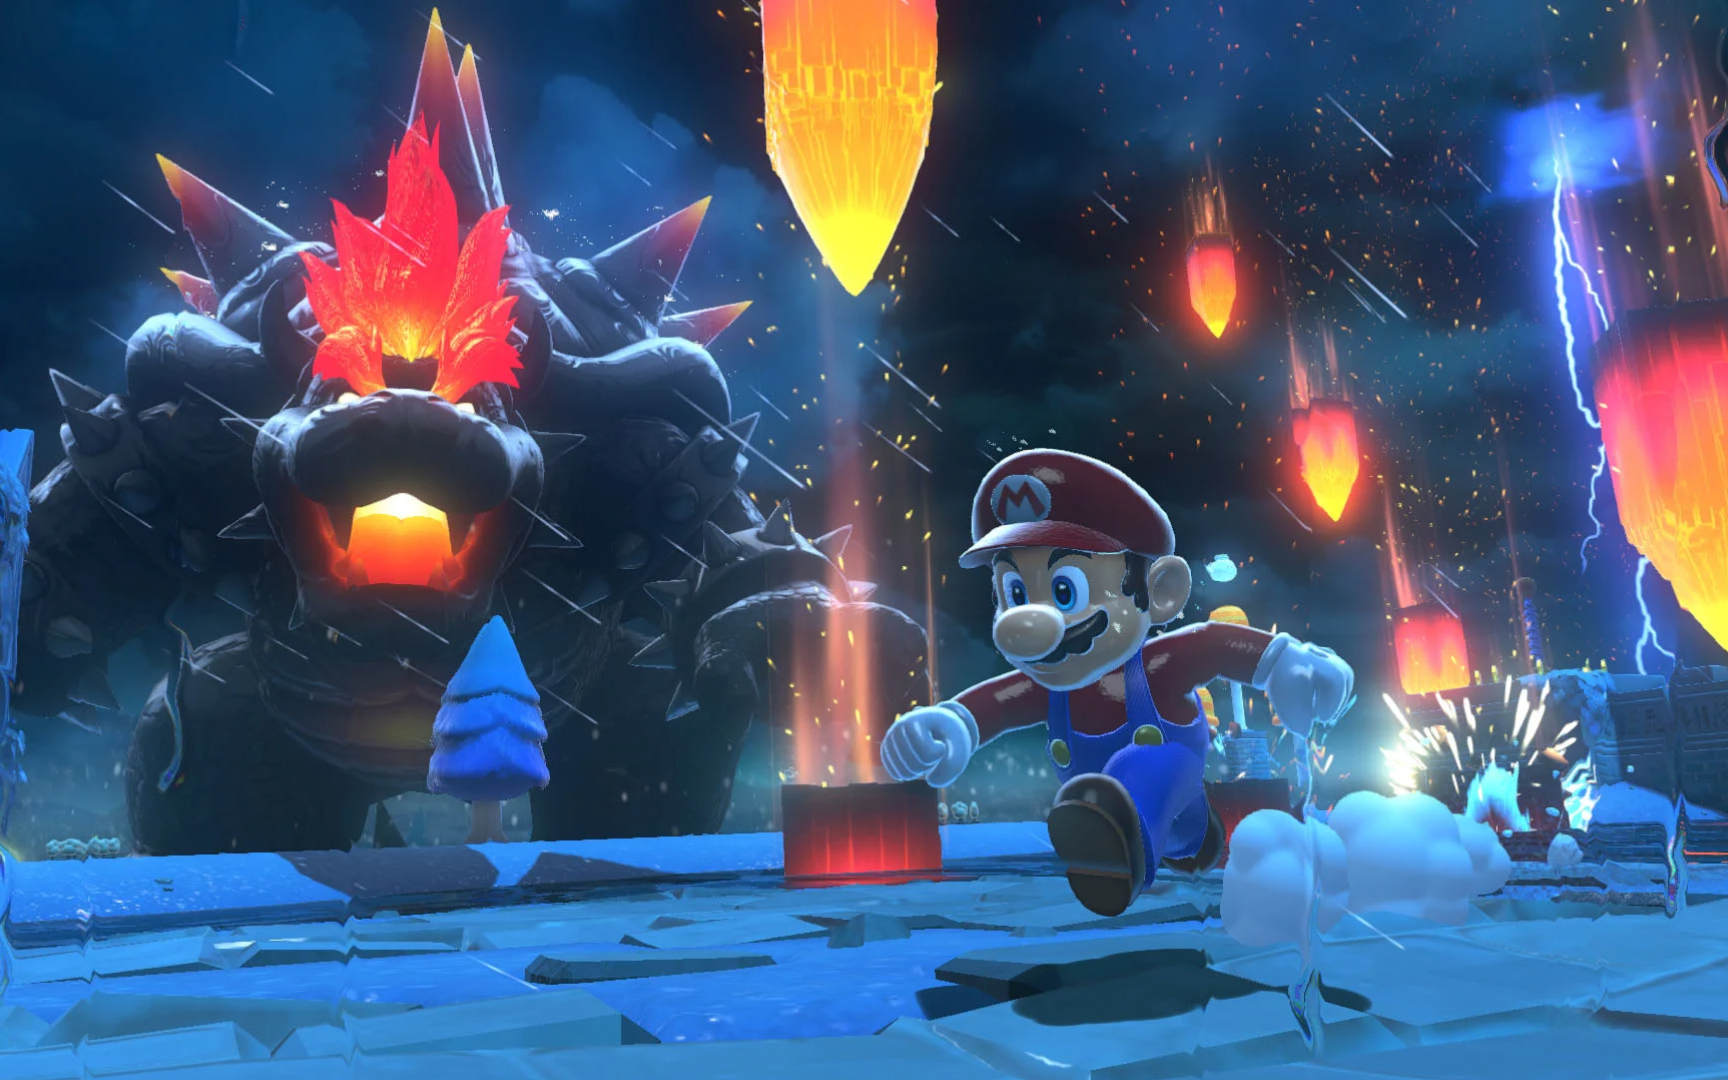
In real-time rendering, 3D elements are rendered so quickly that they appear to be generated in absolute real-time. This method is mostly used in video games, VR, or interactive graphics, as it allows players to interact with the graphics instantly. The downside is that it's more difficult to achieve a high degree of realism as it's not fully based on physics; instead, several shortcuts must be taken to achieve such speed (although this is quickly changing as GPUs get more powerful over time).
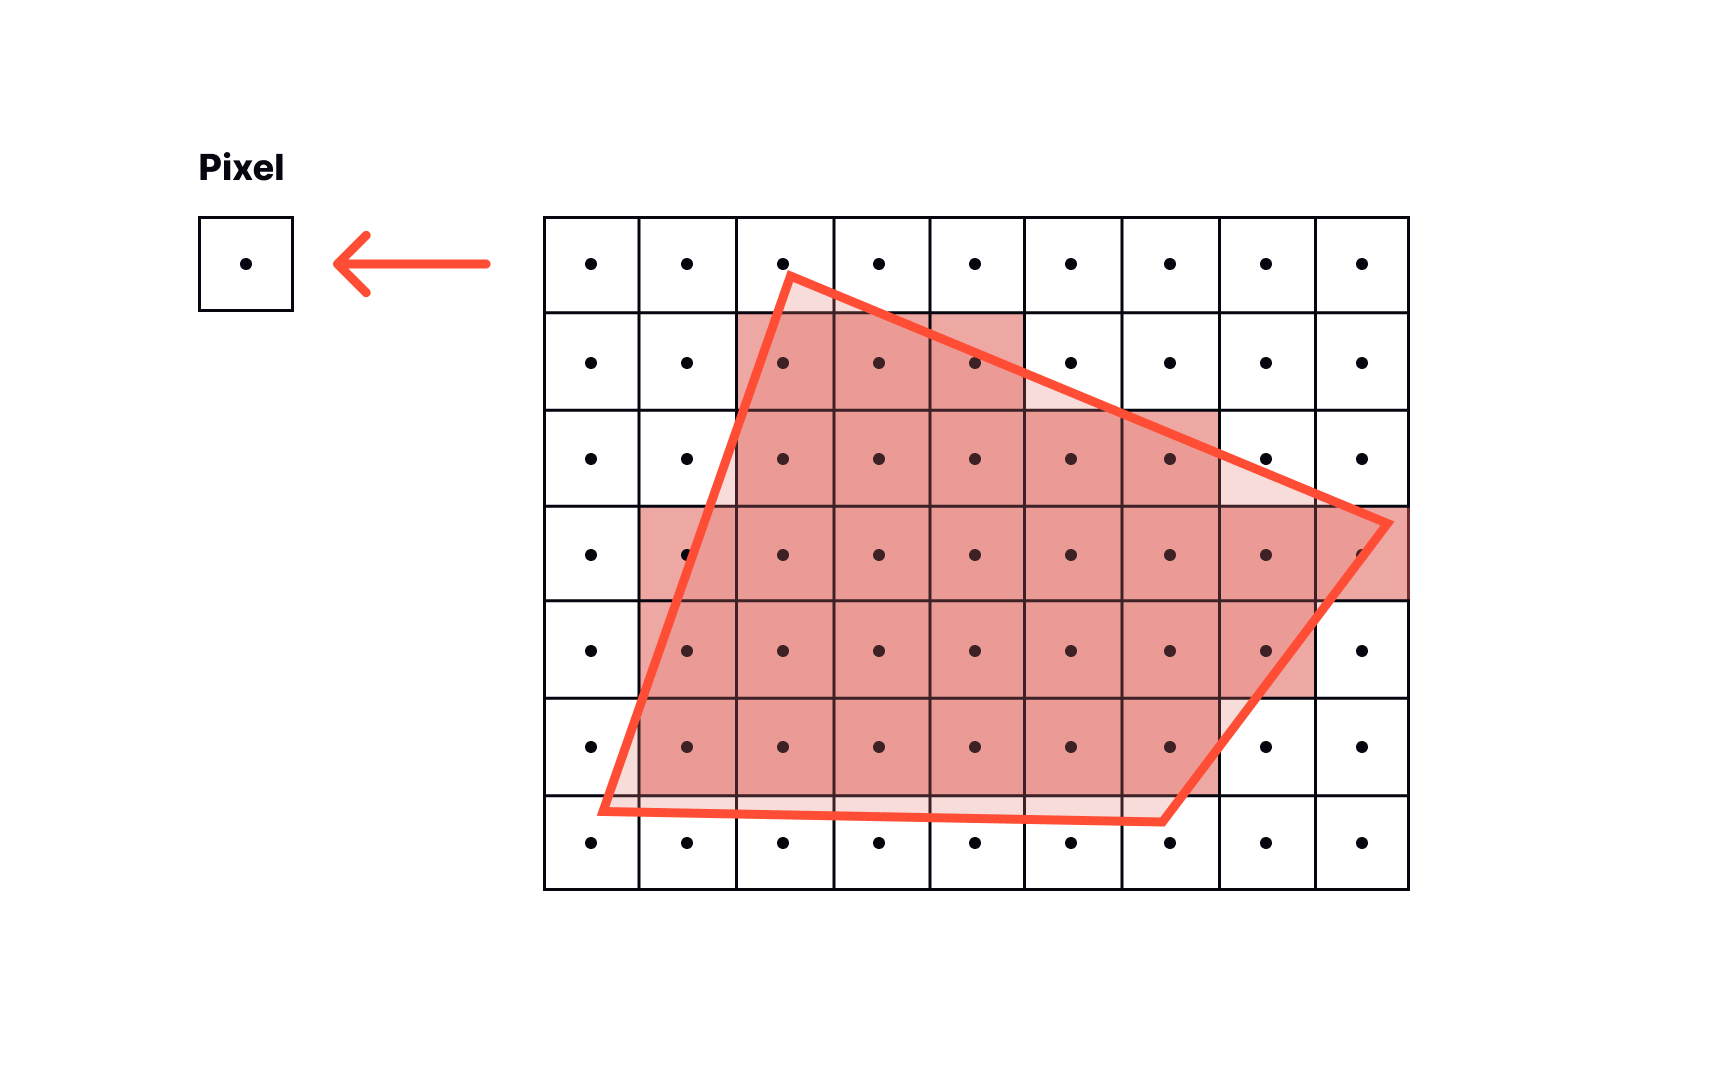
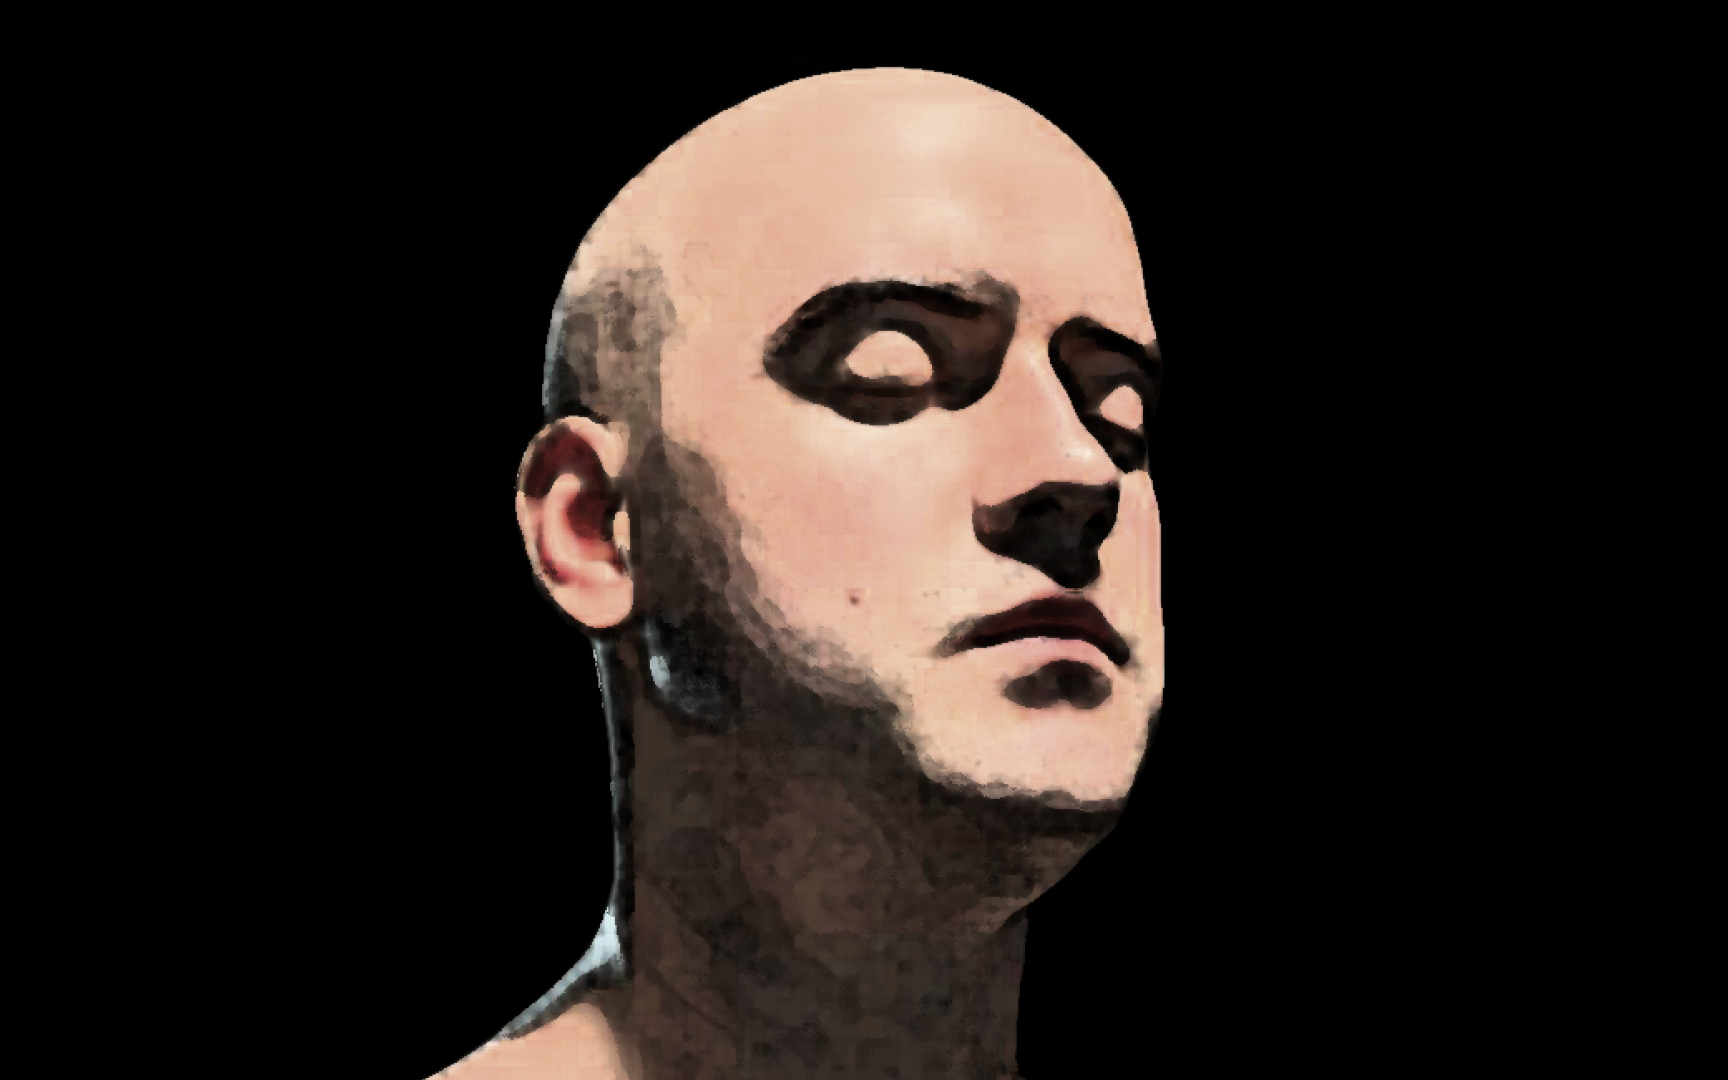
Rasterization is a rendering technique commonly used for real-time graphics. It may not produce very lifelike lighting, but it can be used to render relatively complex geometry very fast. The technique projects polygons of the 3D models into pixels on a 2D screen, assigning each pixel an initial color value from the data stored in them. The pixel's final color depends on the added colors based on how lights hit the objects. On complex scenes (too many polygons), it can be computationally intensive.

To help low-level software (which is more similar to the machine language) understand high-level software (more similar to the human language), we need to use an Application Programming Interface (API).[3] OpenGL is an API for rendering rasterized 2D and 3D graphics on different platforms. While it is an old API, it is being updated over time (currently, the 4.6 version from 2017 is the latest one).

To see and work with 3D in web browsers, use WebGL (also called Web Graphics Library). It's an API based on OpenGL that uses Javascript. WebGL can draw graphics inside HTML elements without plug-ins, allowing developers to put any real-time interactive 3D graphics in the browser: video games, data visualization, 3D design environments, 3D modeling, or anything else.[4]


Similar lessons

Applications of 3D Design
3D Coordinates System