Size & Composition
Learn how to arrange elements, control perspectives, and create visually balanced and appealing scenes that effectively convey your intended message
Quite often, 3D designers spend too much time on scene models, neglecting the composition completely. However, this is a tool that can turn a pretty average scene into an amazing one or ruin everything if done on a whim.
In this lesson, we'll learn how to create focal points and draw viewers' eyes with the help of sizing, proportions, and positioning objects in a scene. You'll find out what can help you add more depth, set the right mood, or lead the audience's attention to the most important areas. Get on board!
You're already familiar with optical illusions and know that our visual system is far from mathematical preciseness and sharpness. Being mathematically precise doesn't guarantee a balanced and visually pleasing
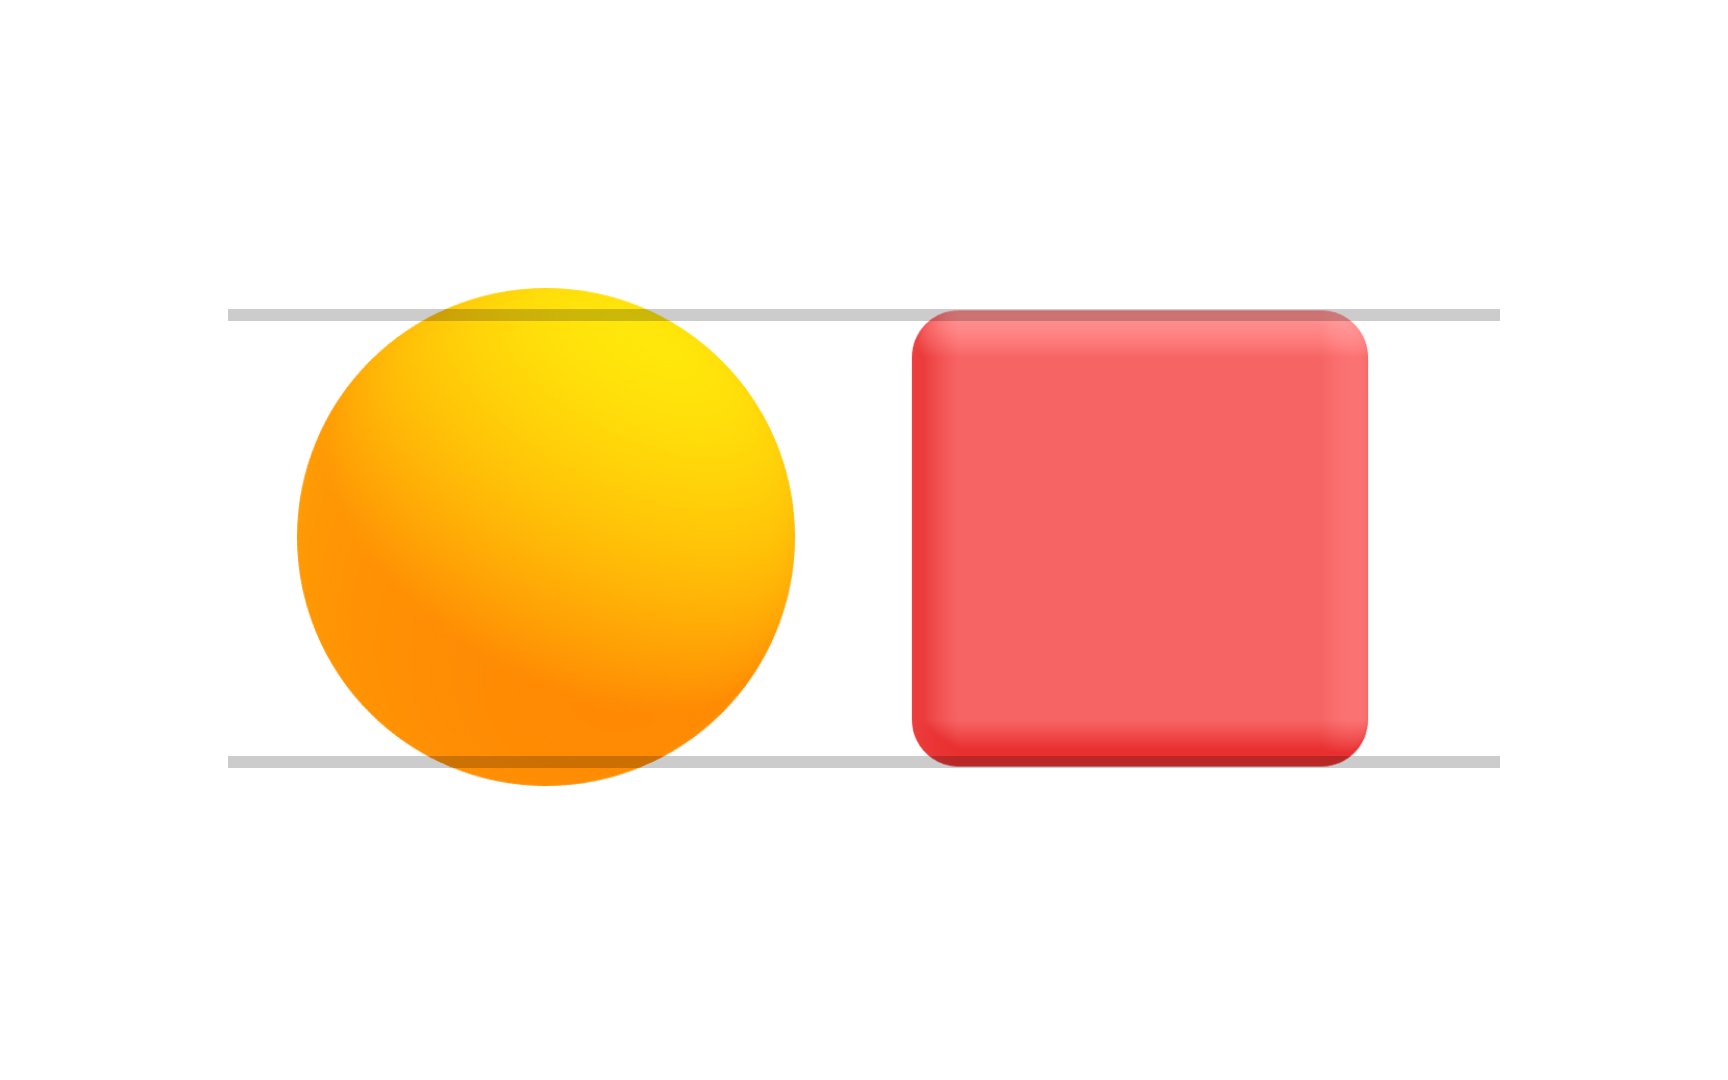
Proportions relate to the relationship between the dimensions of different elements and the overall
Proportion brings balance and order to our life. More than that, it follows the universal patterns from nature, such as shells, snowflakes, or honeycombs. In 3D modeling, realistic proportions repeat the real-life sizes of different object parts and how objects relate to each other in the overall
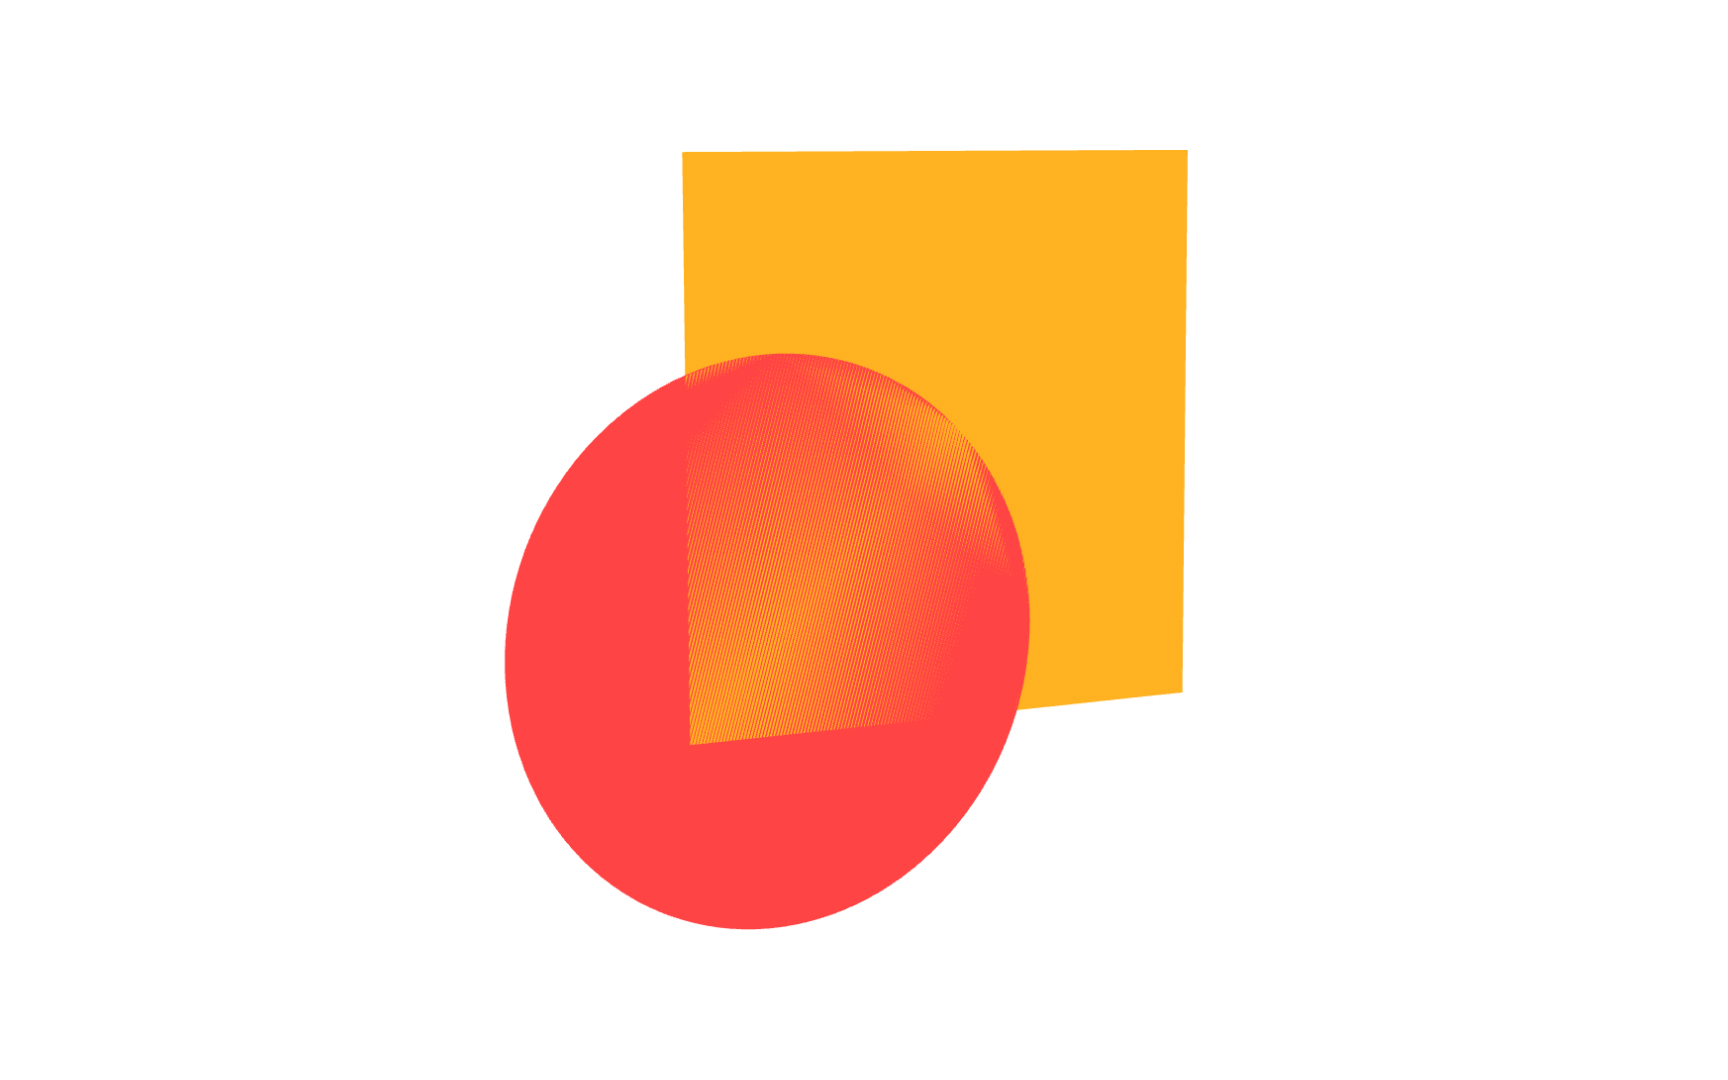
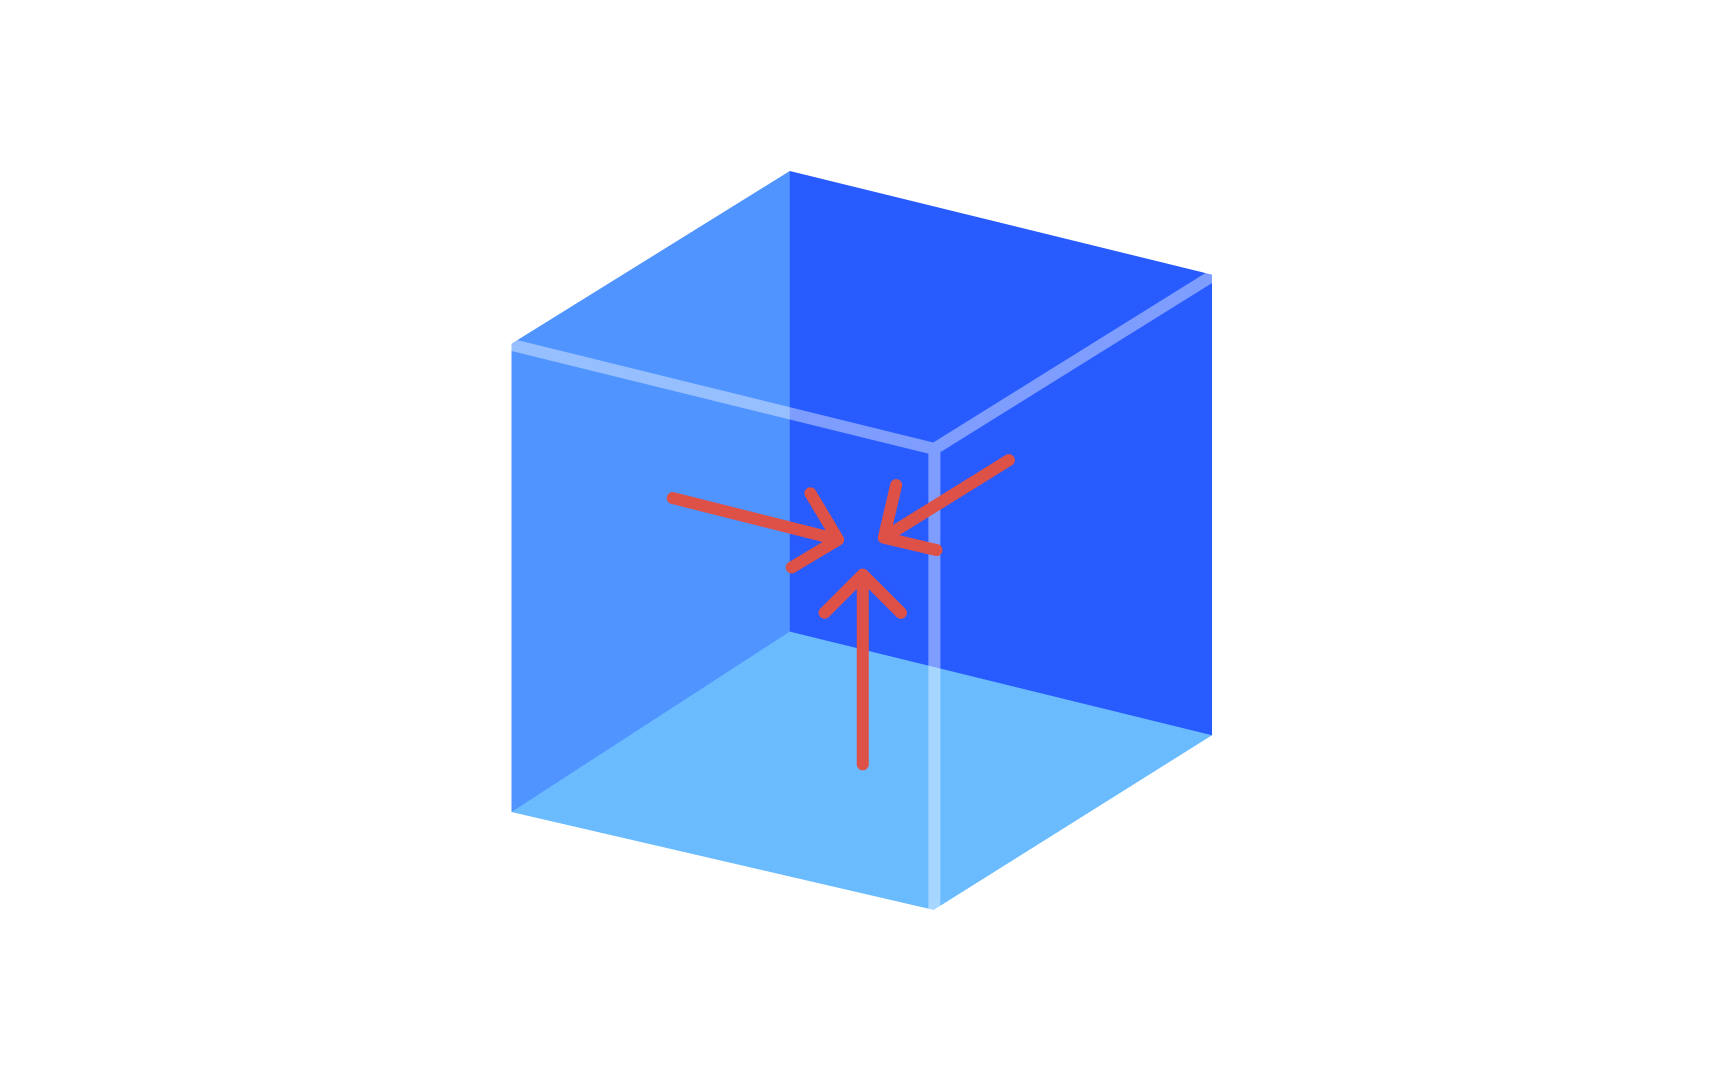
What happens when two kids attempt to play with the same toy? That's right — they fight for it. The same happens in the 3D rendering. Z-fighting occurs when two polygons of different colors overlap in the same location on the Z-axis and fight for who will color screen pixels. It results in flickering, noisy, and blurry images. The easiest solution with "fighting" polygons is the same as with bratty kids — move them apart.[3]
So, when we ask you to imagine a cube, your mind will likely visualize only 3 faces. By default, most 3D engines follow the same rule — if a polygon is invisible, it doesn't exist. In other words, they don't render the areas that don't face the camera. It's remarkably useful for performance optimization, especially when it comes to rendering real-time graphics, such as video games. Rendering only front-facing polygons requires less work, takes less time, and in general, is more efficient.[4]
It doesn't require much guesswork to understand that back-facing rendering is the opposite of front-facing. It reflects the back-sided polygons, ignoring the front faces. Back-facing is usually combined with front-facing when we need to see both back and front faces, like with grass leaves.

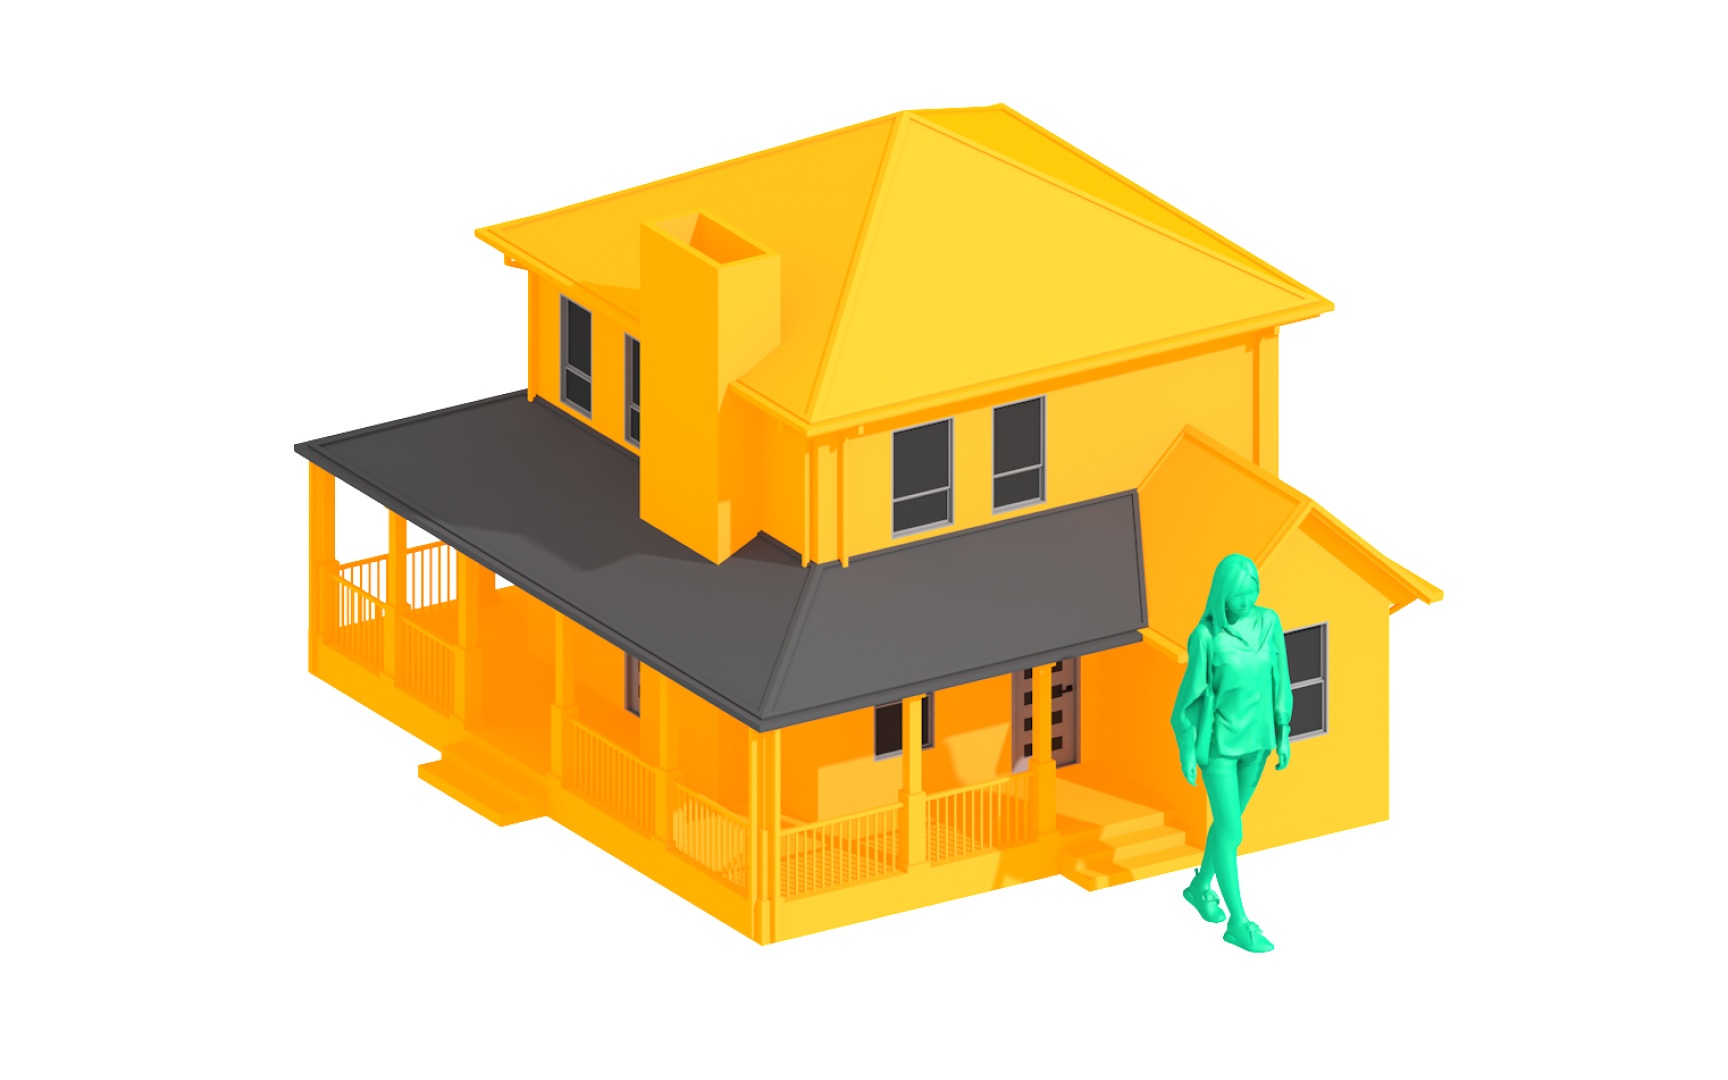
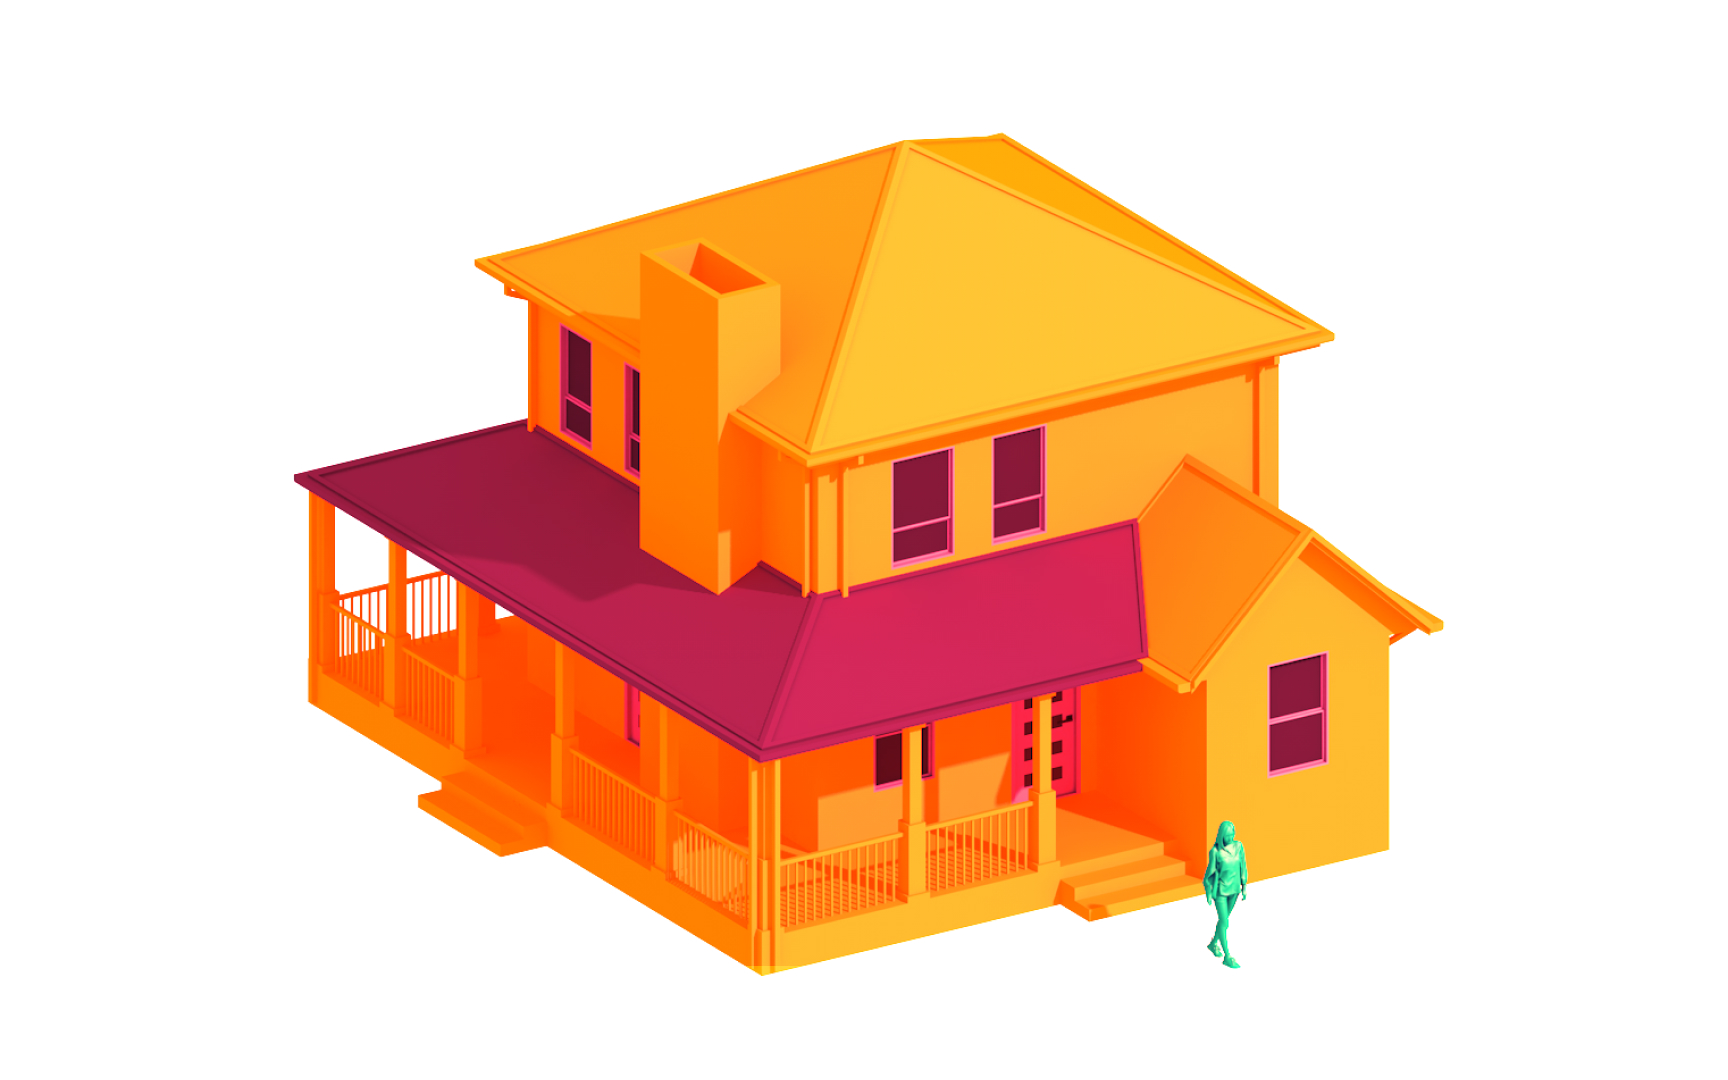
Believe it or not, but the foreground — anything that goes in front of the subject — can actually highlight the subject and its environment. Use the foreground elements to guide users' eyes to the important content. For instance, in photography, the leading lines like corridors, railways, or river flows can catch viewers' attention and lead them to the focal area in 3D
The background area indeed goes behind the subject, but it doesn't mean it's just a back room for utilizing unnecessary items. On the contrary, it helps draw viewers' attention and makes the subject stand out when designed correctly. It's like an introduction to a book that creates the setting and complements the character. Make sure to put as much effort into the background as you do into the subject.
Working with multiple objects, 3D artists should watch out for objects intersecting with each other — do they bounce off, overlap, or stay solid and untouched? To avoid unrealistic shape intersections — for instance, when we hold a mug, our fingers never pass through it — artists should apply collision detection techniques to ensure smooth and natural interaction. It's profoundly important for games with shooting or stabbing when accurate calculations are crucial for creating a realistic scene.[6]
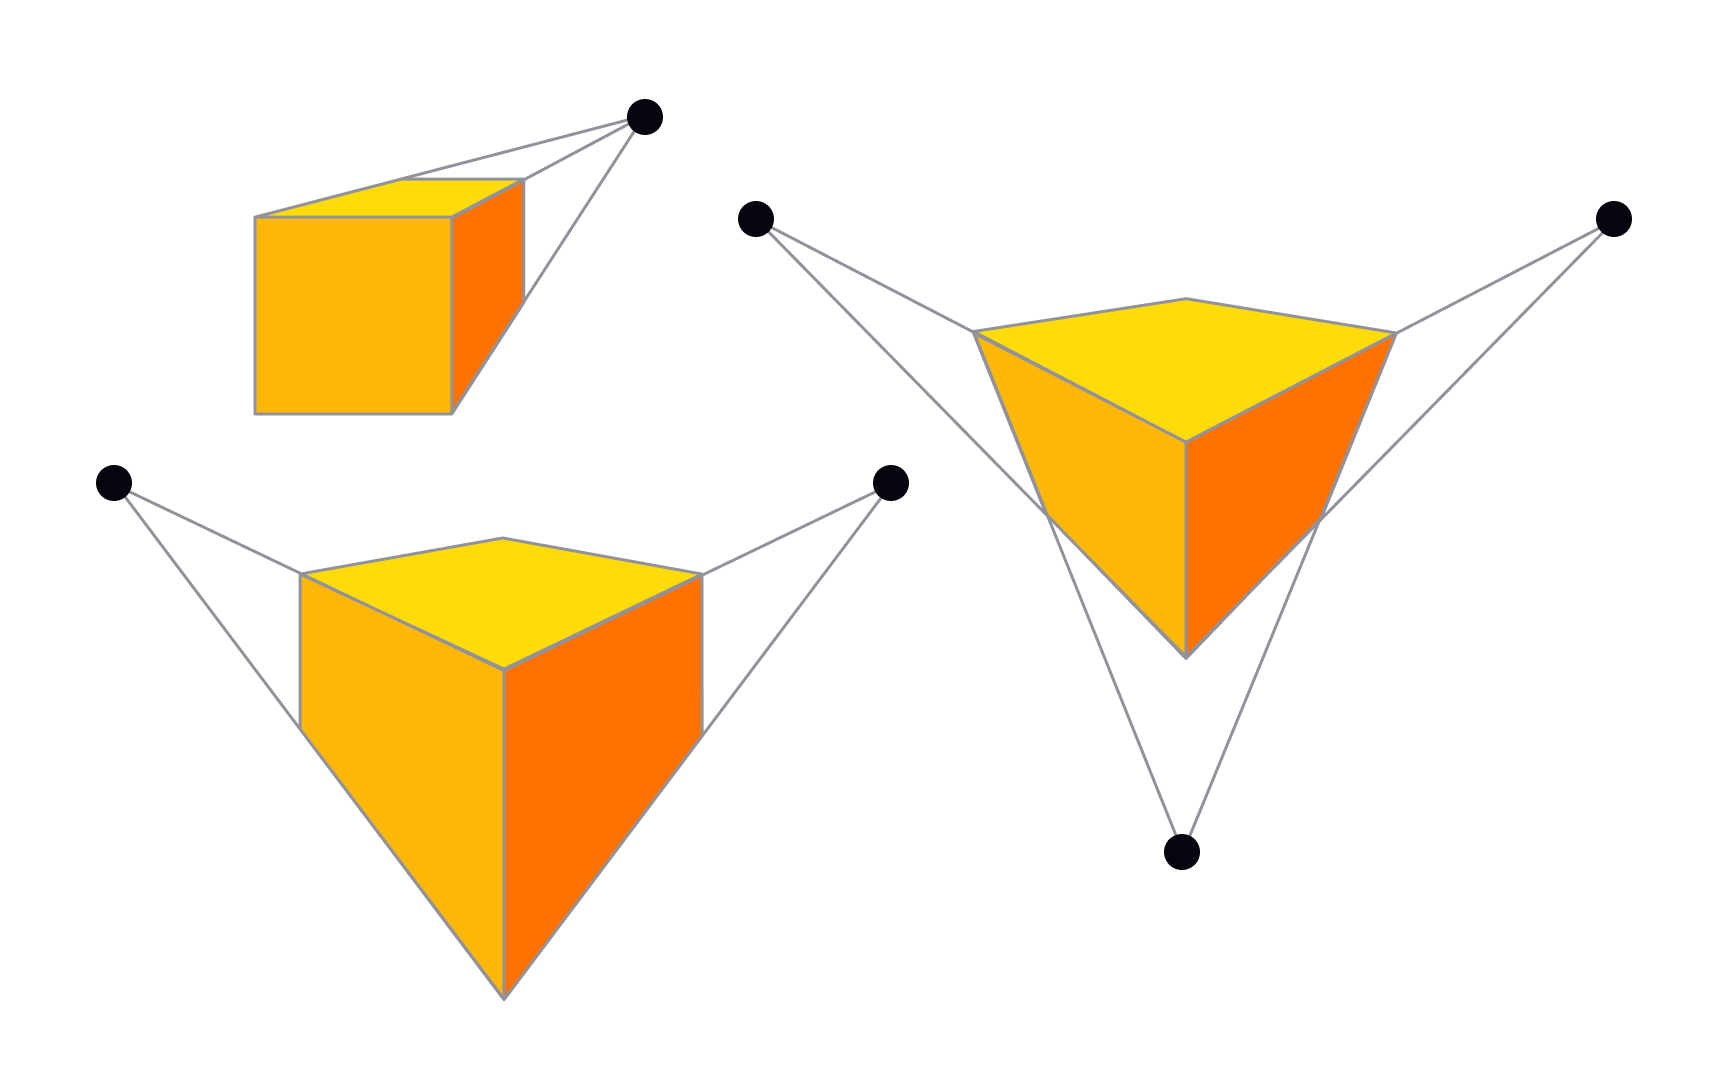
Have you done the trick by placing a coin in front of your eyes so that you can block out the moon? The farther objects seem smaller than they are, and the moon seems of the same size as the coin. Or imagine railway tracks — although they are parallel, our perception is deceived, and we see lines converging in the distance. That's basically how the perspective projection works.
However, sometimes, struggling with some problem, we must look at it from a different perspective.[7] The same thing happens in the 3D world. Distorting the viewpoint position and the angle, 3D artists manipulate how we perceive the object's shape, size, or distance from the camera.
Perspective distortion helps create unusual, fascinating scenes or brings a different mood.
References
- How to Use Foreground to Create Depth in Your Images | Digital Photography School
Top contributors

Topics
From Course

Share


Similar lessons

Applications of 3D Design

3D Coordinates System