Prototyping in Design Thinking
Learn how to effectively approach the prototyping stage in design thinking.
Oftentimes, enthusiasm for innovative ideas can lead teams to invest in planning, strategizing, and even executing solutions without concrete feedback from users. Prototyping serves as a remedy to this uncertainty. Swift and iterative prototyping offers a practical means to test assumptions, gather user insights, and refine ideas before extensive implementation. Most importantly, prototyping helps you fail quickly and inexpensively, helping you learn valuable lessons that inform your subsequent iterations.
Prototypes can range from simple sketches on a napkin to ultra-detailed variants, providing tangible and testable representations of ideas. The crux of prototypes is action, emphasizing doing and testing over assuming. Knowing how to create effective prototypes ensures that you maximize useful insights and steer the design process toward successful outcomes.
Prototyping is a pivotal stage in the design thinking process, offering tangible benefits that enhance the overall effectiveness of solution development. Here's why it's indispensable:
- Validates assumptions: Prototyping serves as a reality check, allowing designers to validate assumptions made during the earlier phases of research and ideation.
- Uncovers biases: It helps reveal inherent biases towards certain ideas, promoting a more objective and user-centric approach.
- Gains user insights: Through testing
prototypes , designers gain valuable insights into user preferences and behaviors that may not be apparent in the initial stages. - Mitigates risk: By testing prototypes early, teams can identify potential issues and make informed decisions, reducing the risk of investing in impractical or undesirable solutions.
- Improves buy-in: Prototypes provide a tangible basis for stakeholders to understand and engage with the proposed solutions, facilitating better collaboration and buy-in.[1]
In
- Ideation: Begin prototyping early during ideation. As a tangible representation of ideas,
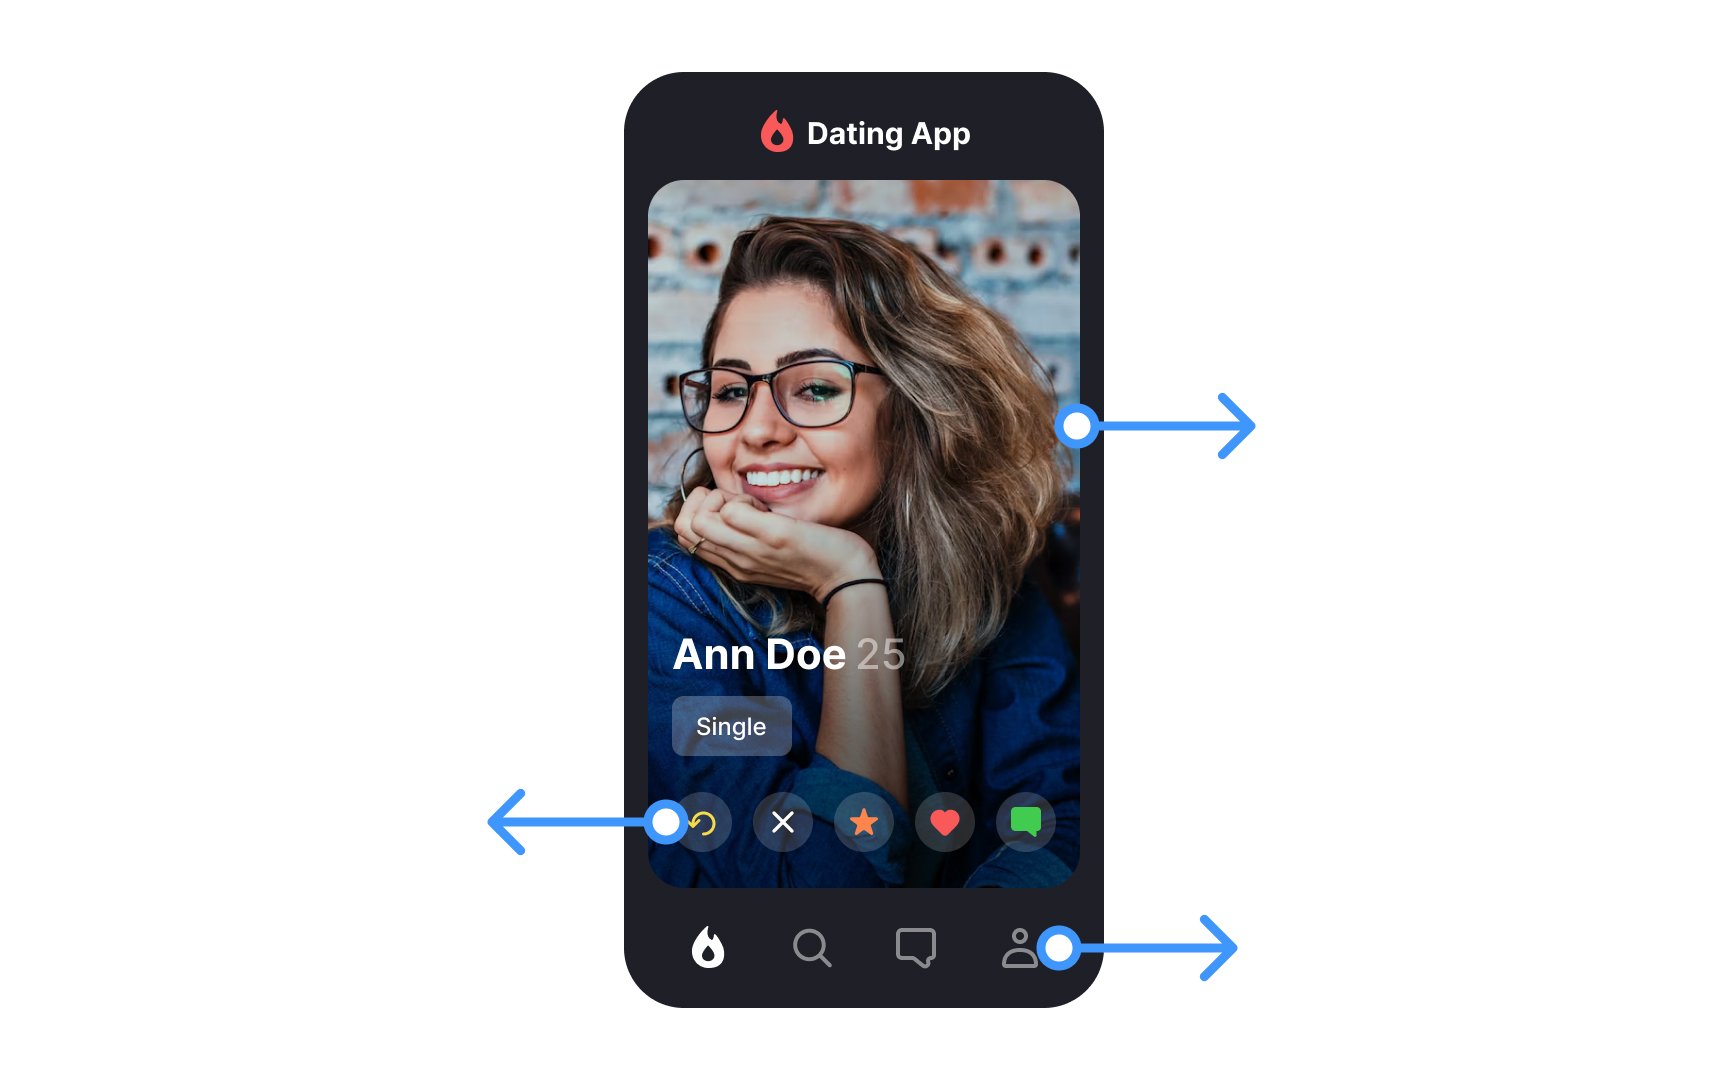
prototypes allow you to quickly shortlist and eliminate them. - Empathizing: Utilize prototypes to engage with end users, gathering valuable insights for informed design decisions.
- Experimentation: Use prototypes to experiment with incremental or radical changes. This can help explore problems, ideas, and opportunities within a focused area.
- Testing: Use prototypes to gain a deeper understanding of what users enjoy, dislike, or find confusing.
- Implementation: In the later stages, use prototypes to pitch and advocate for your ideas and motivate stakeholders towards implementing them full-scale.
Low-fidelity
Best suited for early
High-fidelity prototyping closely mirrors the final product's look and functionality. It involves detailed representations, like a 3D plastic model with movable parts or an interactive software version built using design tools.
Ideal for later
However, drawbacks include longer production times and higher costs. There could also be resistance to changes after an initial significant investment and the potential for giving a false impression of the final product's quality.
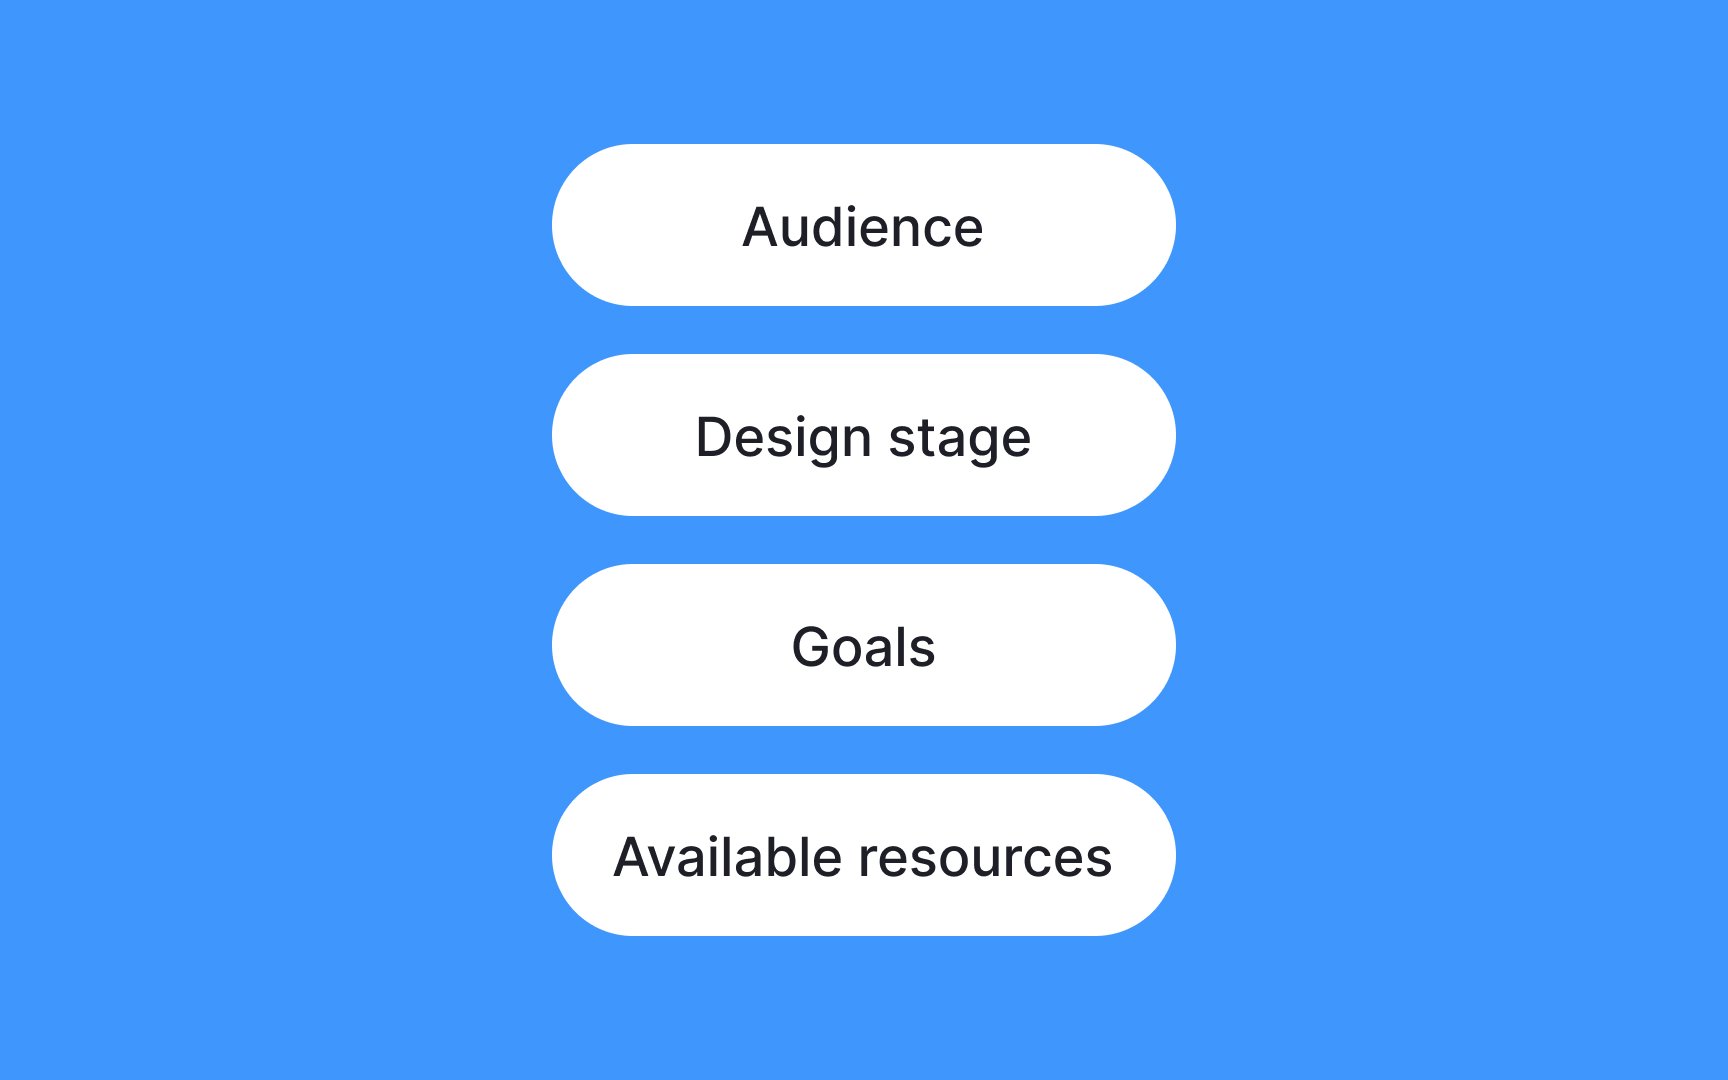
How do you decide what type of
- Define your goals: If exploring ideas, start with low-fidelity, like paper sketches. For testing functionality, consider a high-fidelity interactive digital prototype.
- Consider the design stage: Align the prototype's complexity with the project phase. Use low-fidelity for ideation and high-fidelity for
user testing . - Know your audience: Engage stakeholders with high-fidelity for realistic views. For quick feedback sessions, low-fidelity models will suffice.
- Evaluate resources: Low-fidelity is resource-efficient and ideal for rapid iterations. High-fidelity demands more resources but offers realistic product visualization.
- Iterate and adapt: Embrace iterative prototyping, adjusting as needed based on evolving project dynamics and feedback.
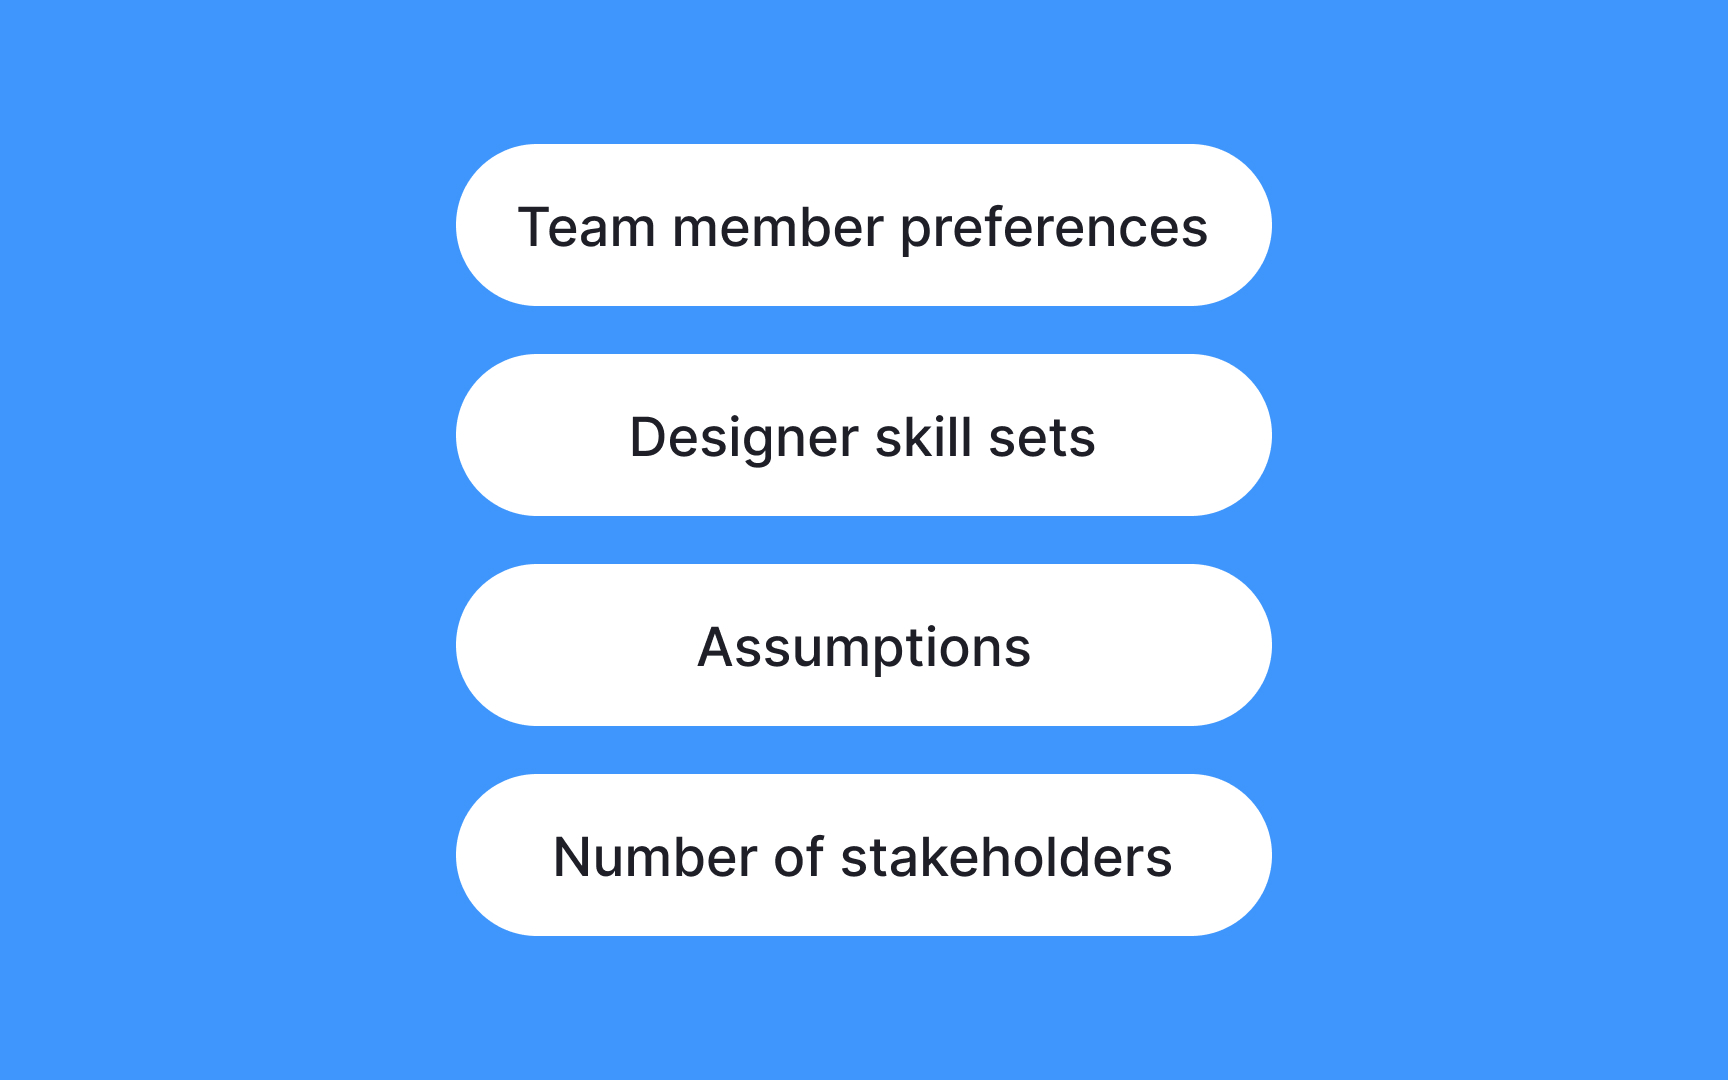
Choosing the appropriate tools for
- Understand project requirements: Identify the specific needs of your project. Whether it's a digital interface, a physical product, or a service, ensure the tools align with your project goals.
- Consider design complexity: Paper sketches or basic digital tools will suffice for simple concepts, while complex projects may require specialized software for intricate detailing.
- Evaluate collaboration needs: If collaboration is key, choose tools that support team interaction and sharing. Cloud-based platforms facilitate seamless collaboration among team members.
- Assess the learning curve: Consider the skill level of your team. Opt for tools that align with their expertise to enhance efficiency and reduce the learning curve.
- Factor in budget constraints: Open-source or free options may be suitable for cost-effective prototyping, while advanced features in premium tools may justify the investment.
Being prepared to quickly
Best practices for iterative prototyping include:
- Develop easily adjustable modular components to localize changes, streamlining iterations and minimizing unintended consequences.
- Use feature-rich tools like Figma, Sketch, or Adobe XD for rapid modifications, promoting efficient collaboration among team members.
- Implement systematic version control to track changes and maintain a clear record of design evolution, allowing for easy reversion if necessary.
- Actively integrate user feedback through regular testing and feedback loops, facilitating prompt identification of areas for improvement.
- Foster a collaborative environment for swift communication and agreement on changes among designers, developers, and stakeholders.
- Maintain comprehensive documentation of design decisions to support seamless collaboration, especially in multi-team iteration processes.
References
Top contributors

Topics
From Course

Share


