Design Workshop Presentations
Learn how to build workshop presentations that are visually appealing, concise, informative, and engaging.
Have you ever found yourself nodding off in a gathering where the speaker goes on and on and the presentation never seems to end? Your worst nightmare as a facilitator might be coming across like that guy. Boring your workshop participants is the last thing that you want — especially considering that you need them to be active and creative to produce their best ideas.
You’ll need to make use of presentations at multiple points during your workshop — while discussing your workshop goals, explaining the rules of activities, and presenting relevant background information, among others. This doesn’t mean your workshop has to be a drag. Liven things up by making sure your workshop presentations are visually appealing, targeted precisely at the crowd, explanatory, and informative while also being concise.

They say a picture is worth a thousand words. When it comes to presentations, that’s absolutely right. Why jot down lengthy bullet points when you can convey a message in a single visual on a slide? By using visuals in your presentation, you’ll save significant amounts of time. How?
If you’ve got the right ideas, putting together a visual presentation will take much less time than stringing together a highly textual one. Consequently, your audience will be able to scan and process slides much faster, speeding up your workshop and helping you stay on agenda.
What’s more, visual presentations work great for sharing in remote workshops. These visuals can also be repurposed for social media posts to get across the insights and message of the workshop.

You wouldn't run a workshop for teenagers like you would for adults. Exercise the same judgment when putting together a design workshop — especially considering that you might invite people from different teams like marketing, development, finance, and the like.
To make sure your workshop is understood by and is beneficial to all your attendees, consider the following:
- Who your attendees are
- What they already know, considering their professional backgrounds
- Why they’re each there and what expectations they have from the workshop
- What type of jargon they’re comfortable with and aware of[1]
Tailor your presentation deck along with your communication tone and style according to this information to captivate your attendees.
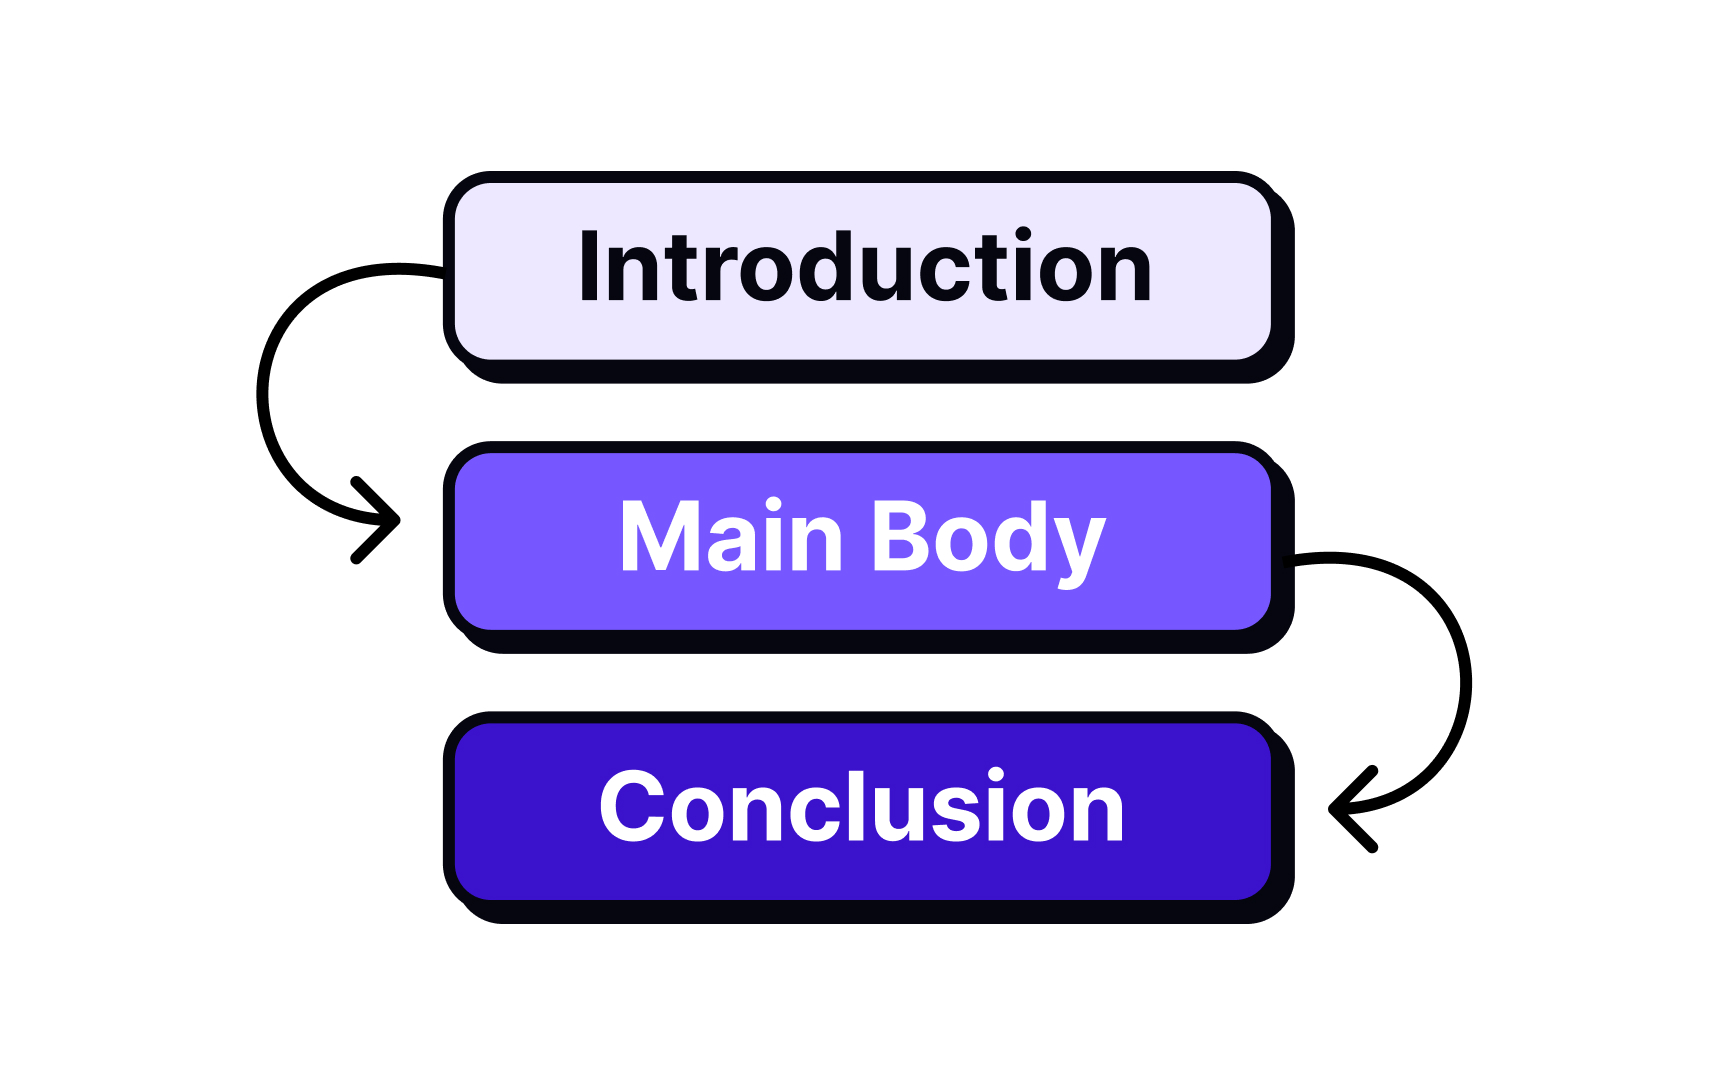
Your presentation should follow your agenda and have an introduction, main body, and conclusion — beginning with warming up, followed by thought-intensive activities, and finally concluding with actionable insights and plans for the future. Each part will contain one or more of the following types of slides:
Structural: These include the workshop agenda and scheduled breaks
Informational: These include data and facts relevant to the topic of discussion
Instructional: These include explanations and guidelines for the workshop activities
Supplemental: These are optional slides that could contain extra workshop activities, additional research findings, user data, etc.[2]
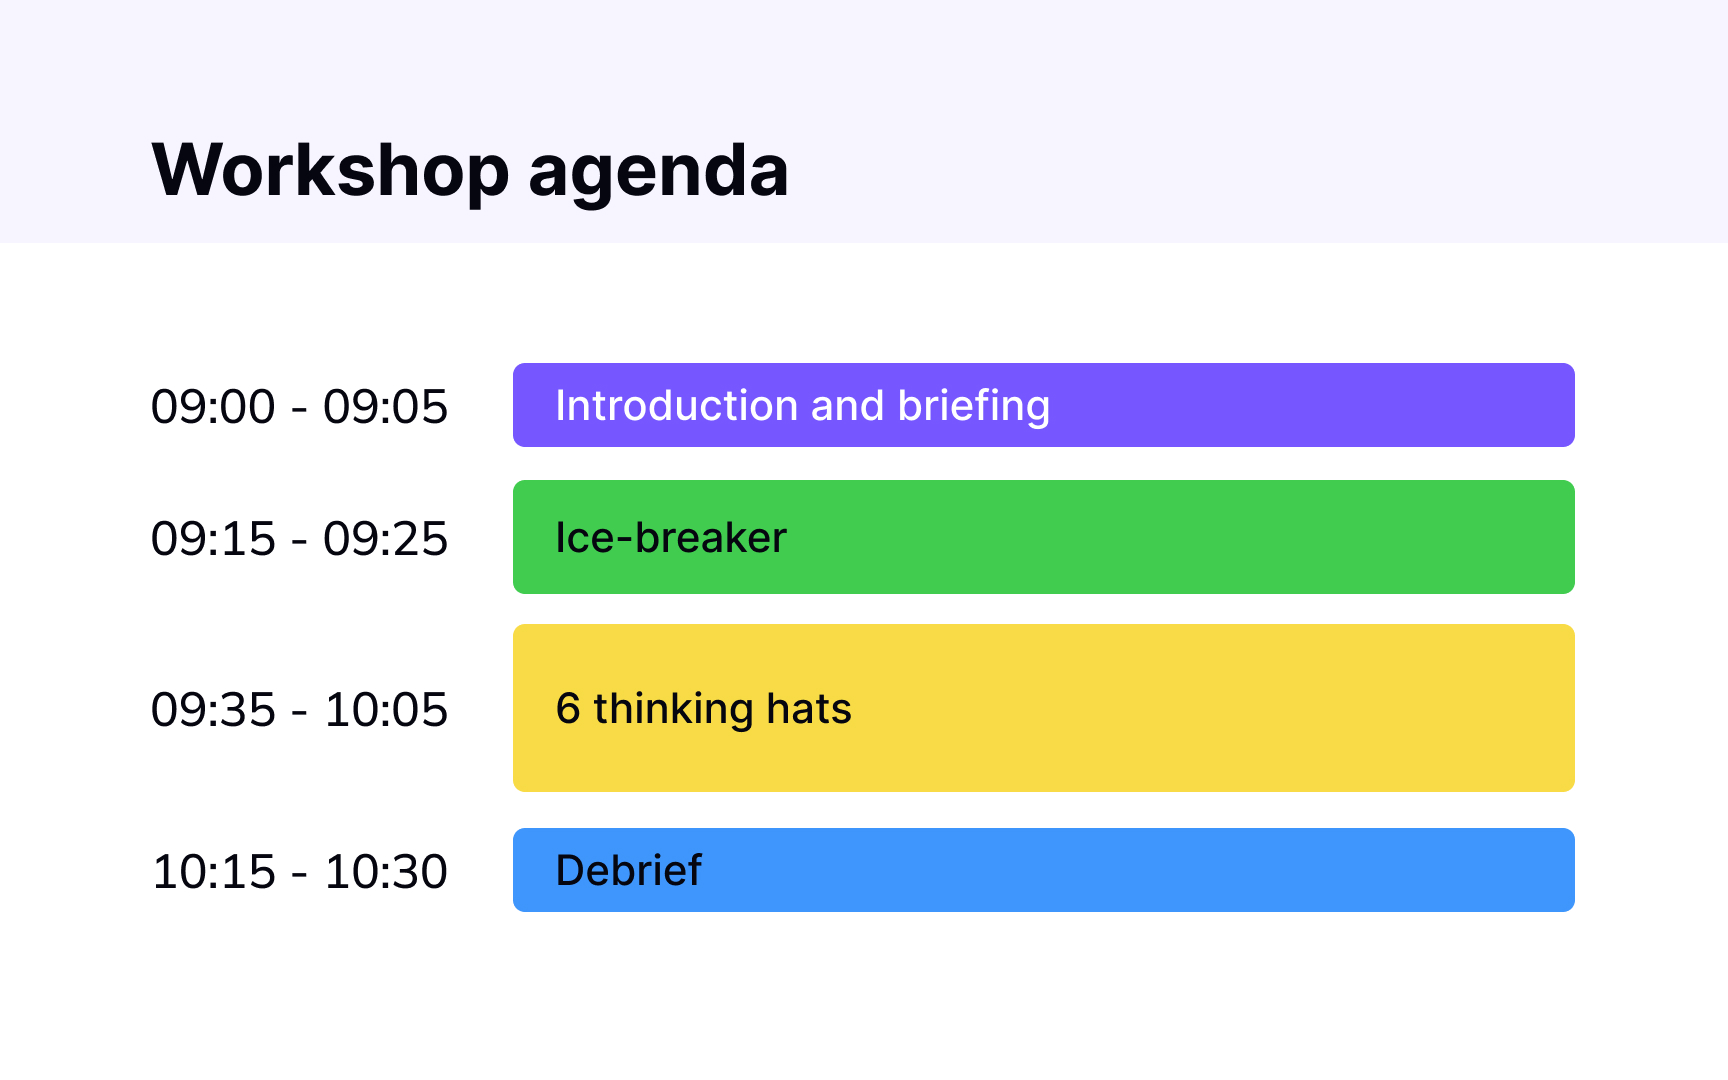
Make sure you display your workshop agenda prominently at the beginning of the workshop. Your agenda will not just cover the type of activities you intend to conduct but also their duration and the time available for scheduled breaks. This makes it easy for people to anticipate the events of the day and stay mentally prepared.
Also, keep in mind that your presentation should follow your workshop agenda. For example, if the first scheduled activity on the agenda is making introductions, your first few slides should be on icebreaking activities.
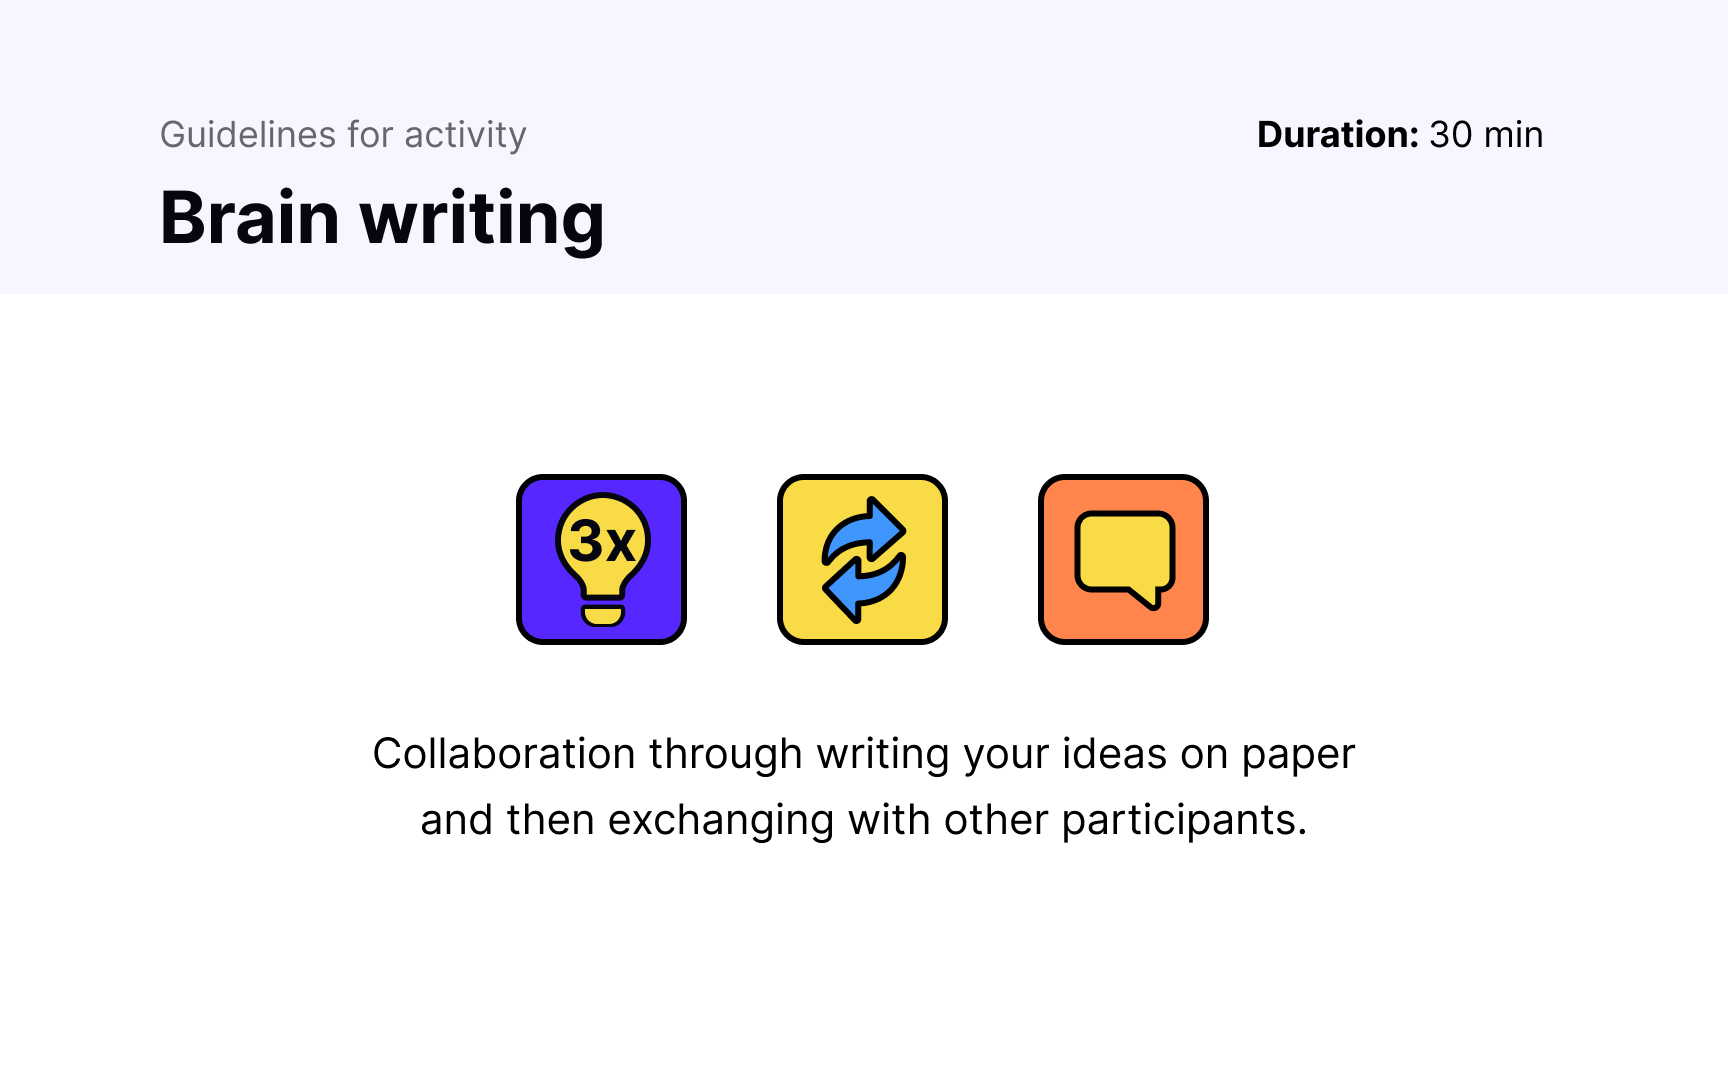

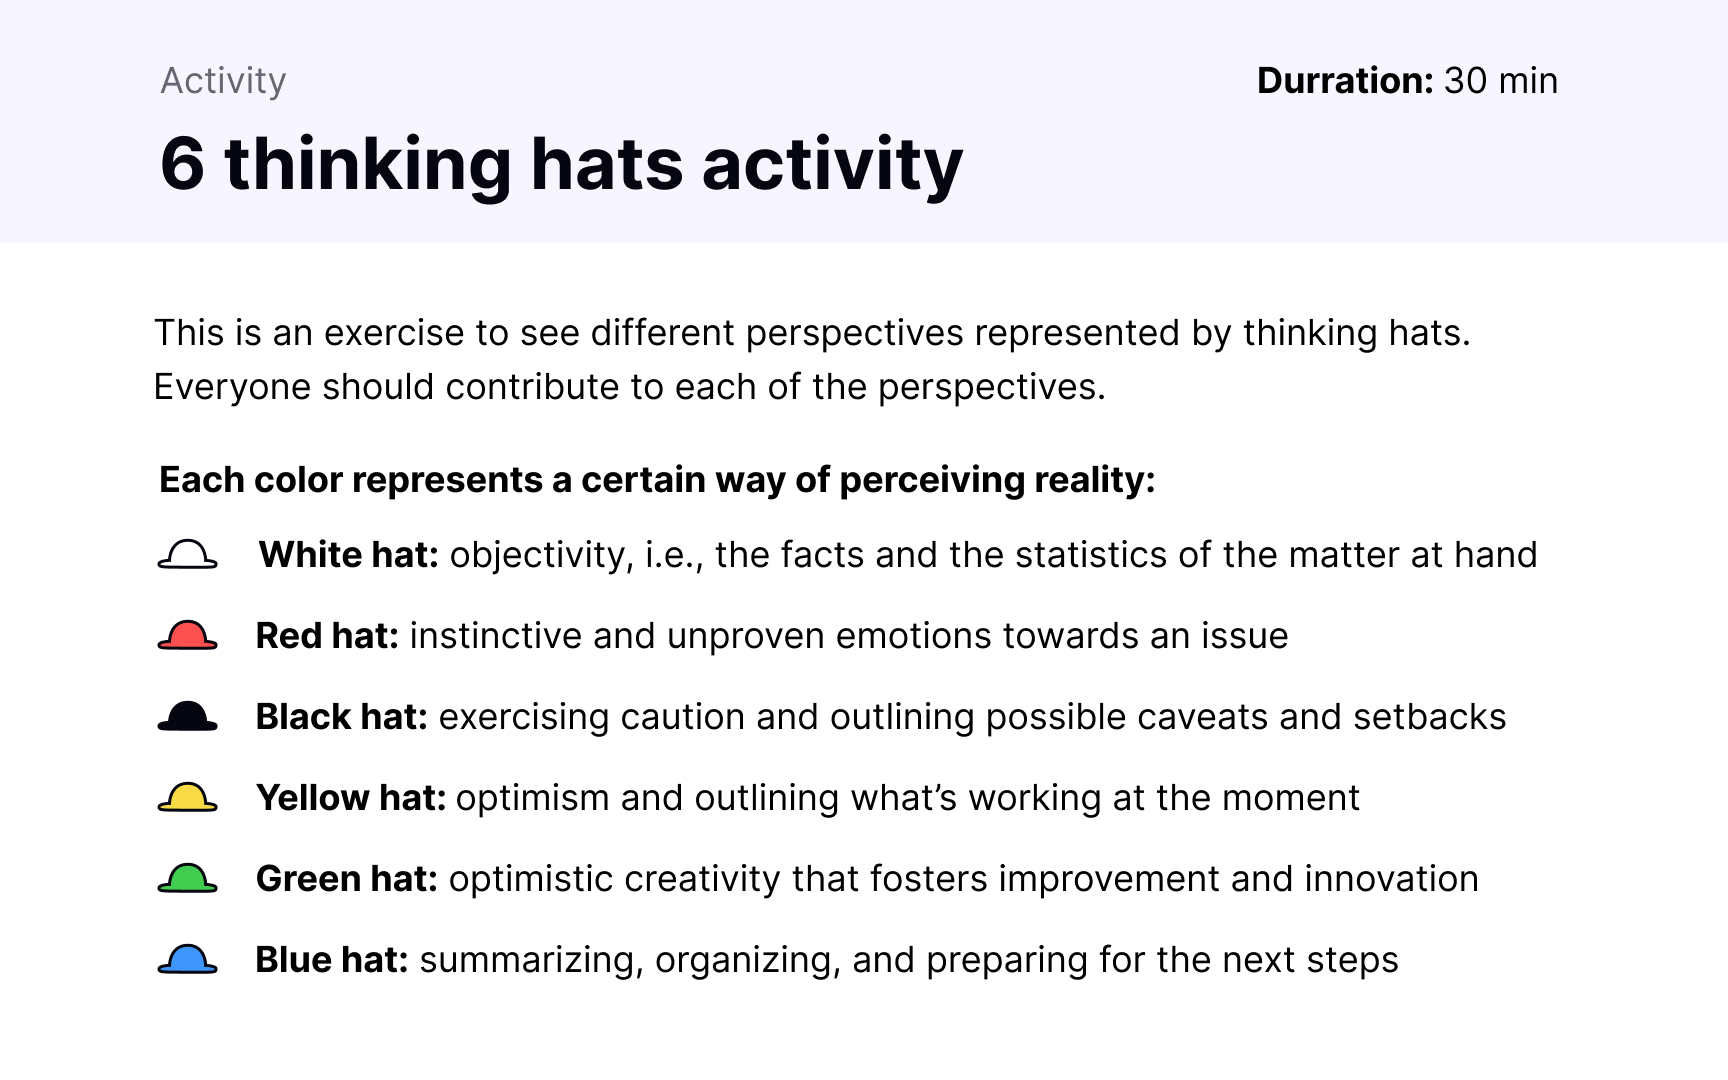
Include instructional slides in your presentation for activities for brainstorming and decision-making. Not everyone may be familiar with the rules of activities like the 100$ test, Six Thinking Hats, and brainwriting. So steer clear from assuming that your attendees know how to perform these activities. Instead, write basic and clear guidelines that people can refer back to during any point of the activity if confused or uncertain about what to do next.
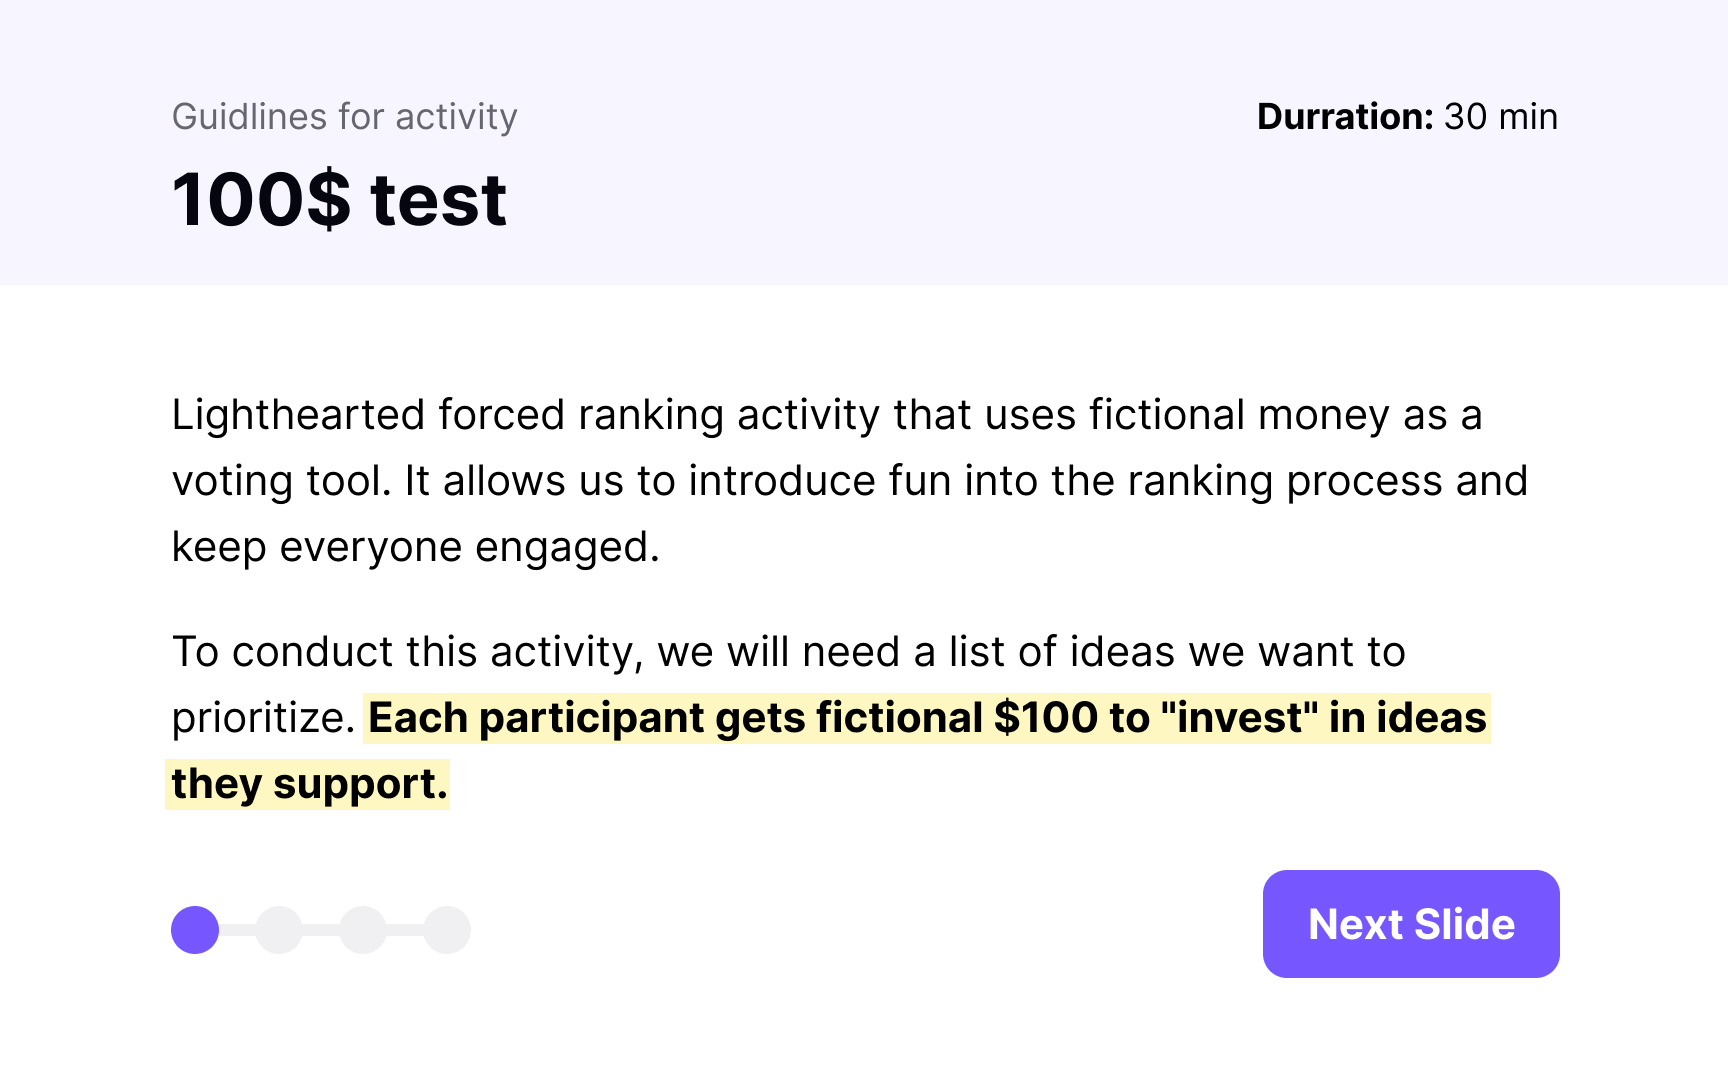
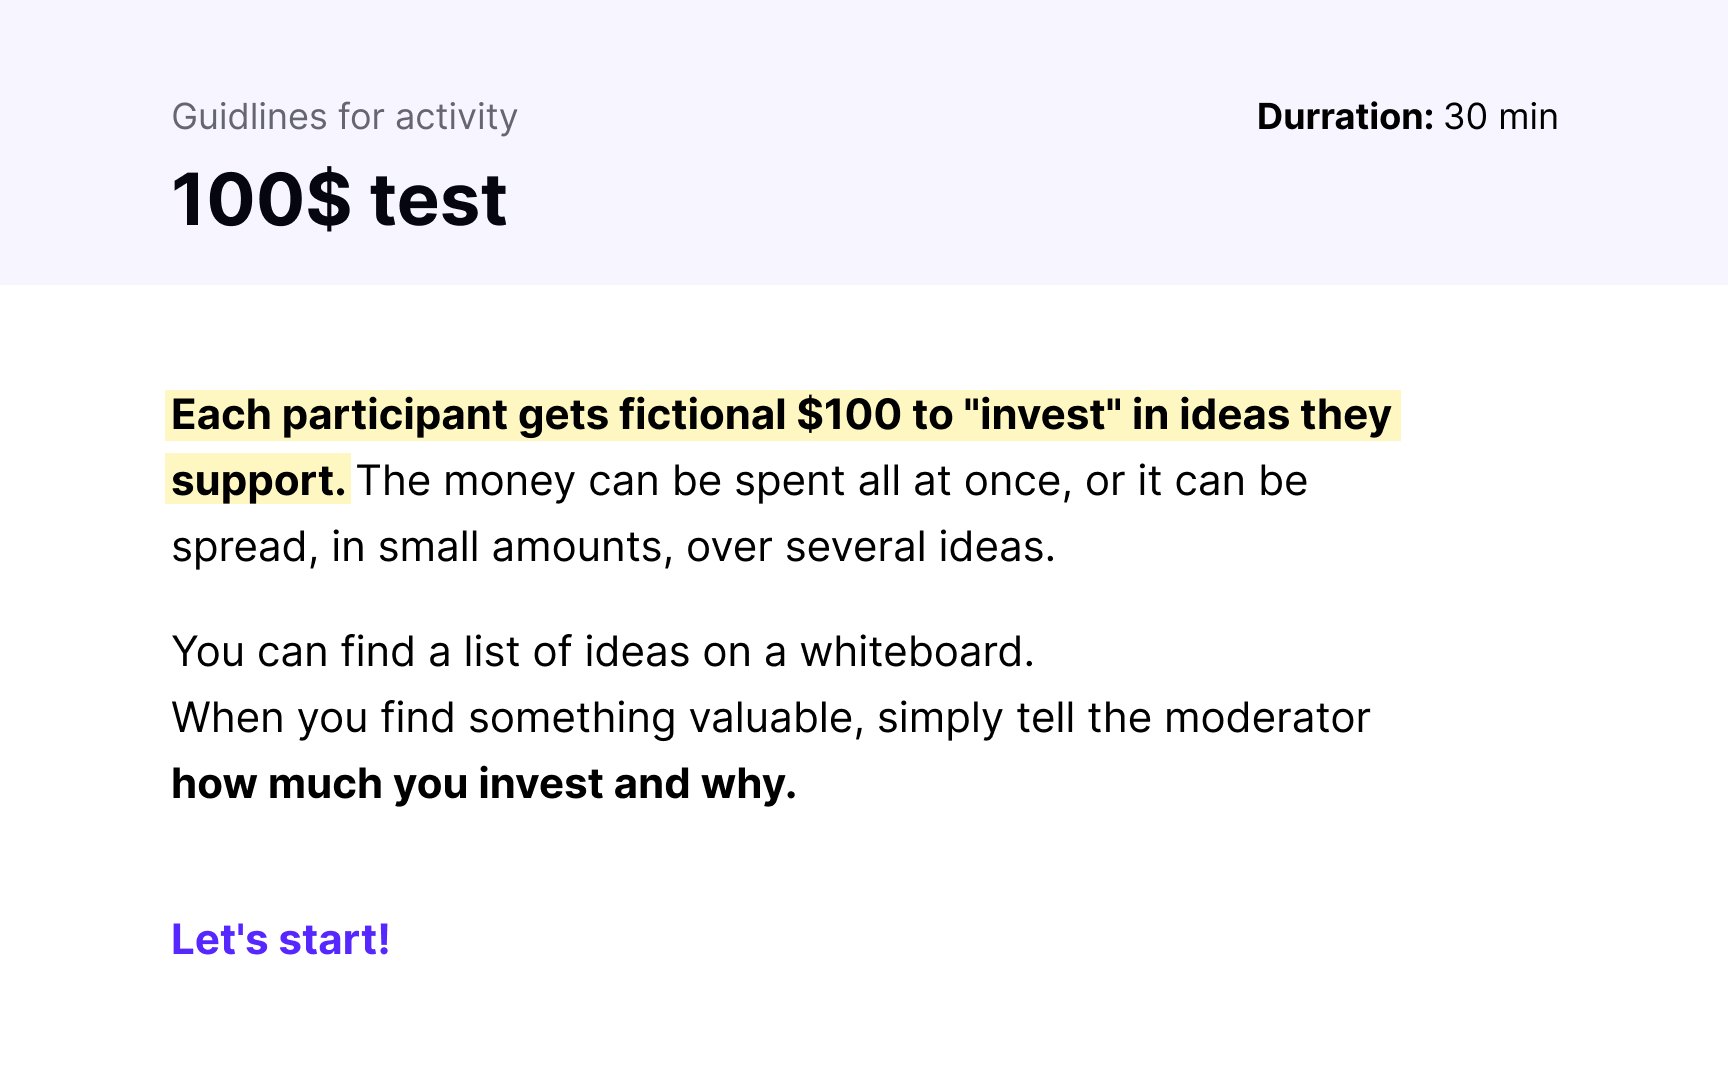
In a design presentation, less is always more. This is especially true when it comes to instructional slides for workshop activities. You’ll want to keep your instructions as concise as possible and restrict them to a single slide — so you don’t have to go back and forth for different people trying to view different information.

The topic of discussion in your workshop will come with its unique set of data points, facts, and background information. It can help workshop attendees to be aware of them before they participate in the workshop's activities. So, make sure you present any such relevant information before the beginning of each workshop activity. For example, share any user research data that you may have before you ask participants to come up with ideas for a new feature on your product.
By its very nature, a
For example, virtual facilitation tools like Stormz, MeetButter, Mentimeter, or Slido allow for video conferences, whiteboards, and other engagement features in one place. Using these tools, you can get participants to
References
Top contributors

Topics
From Course

Share


Similar lessons

Design Workshop Basics

Design Workshop Types
