Essential Tools in Design Workshops
Explore the tools, techniques, activities, and materials you'll need to run a design workshop
Workshop facilitation does not mean taking charge or generating the most promising ideas. Your job is to help the workshop participants create their ideas and end up with the best possible decisions. To do this, gather your own facilitation toolkit of activities, people techniques, and materials. The contents of this toolkit will depend on your own facilitation style.
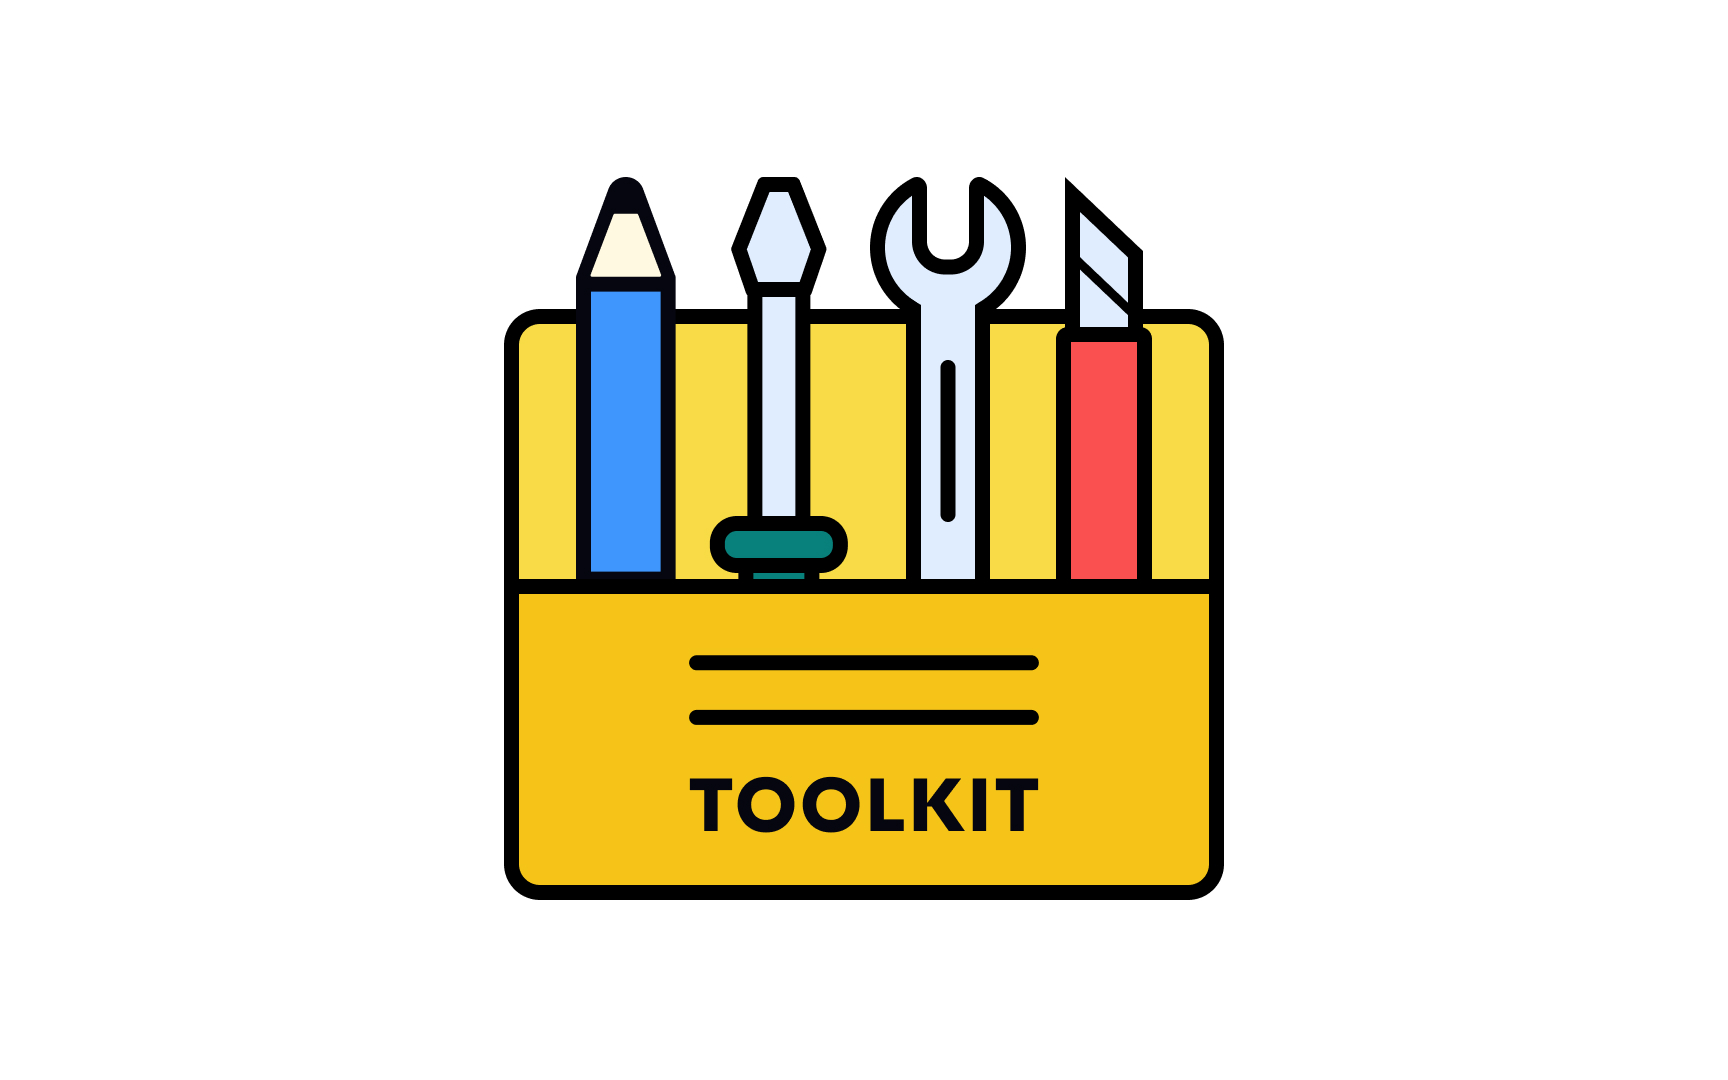
A workshop facilitator's basic tools can be roughly divided into 3 categories:
- Activities: Exercises you can engage people in to develop and validate ideas. For example, post-up, role-playing, brainwriting, etc. With time, you’ll be able to build your own collection of activities that work well in different situations.
- Materials: Physical prompts that can help you do these activities. These include sticky notes, sharpies, voting dots, whiteboards, etc.
- Techniques: Tactics you can use to smooth out communication between participants. For example, prompting people to speak up, asking for contrary opinions, or bringing unrelated comments back to the topic at hand.
The more you facilitate, the more robust your toolkit will become. In time, you'll build your own collection of materials, activities, and techniques and learn what works best for different situations.

Thousands of workshop exercises exist. According to the Nielsen Norman group, at the core of all these exercises are the same 7 foundational activities:
- Postup: An activity where participants individually generate content on sticky notes, then post them up on a wall. Contributions are then discussed, captured, and shared.
- Affinity diagramming: Clustering information, often sticky notes, into relational groups based on similarities or themes.
- Landscape mapping: Arranging groups of similar content into a preassigned structure — for example, a customer-journey map.
- Forced ranking: A prioritization activity where participants rank items as a group to create a strict order.
- Storyboarding: Creating a storyboard that communicates a story through images displayed in a sequence of panels. It chronologically maps the story’s main events.
- Role-playing: Acting out another perspective (e.g., user) or system (a set of known information or data) as a technique for exploration and discovery.
- Playback: Sharing the progress, process, or insights gained by an individual to the group.
You can combine, mix, and remix these fundamental activities to create almost any exercise needed. As a facilitator, these core activities should be familiar tools in your back pocket.[1]


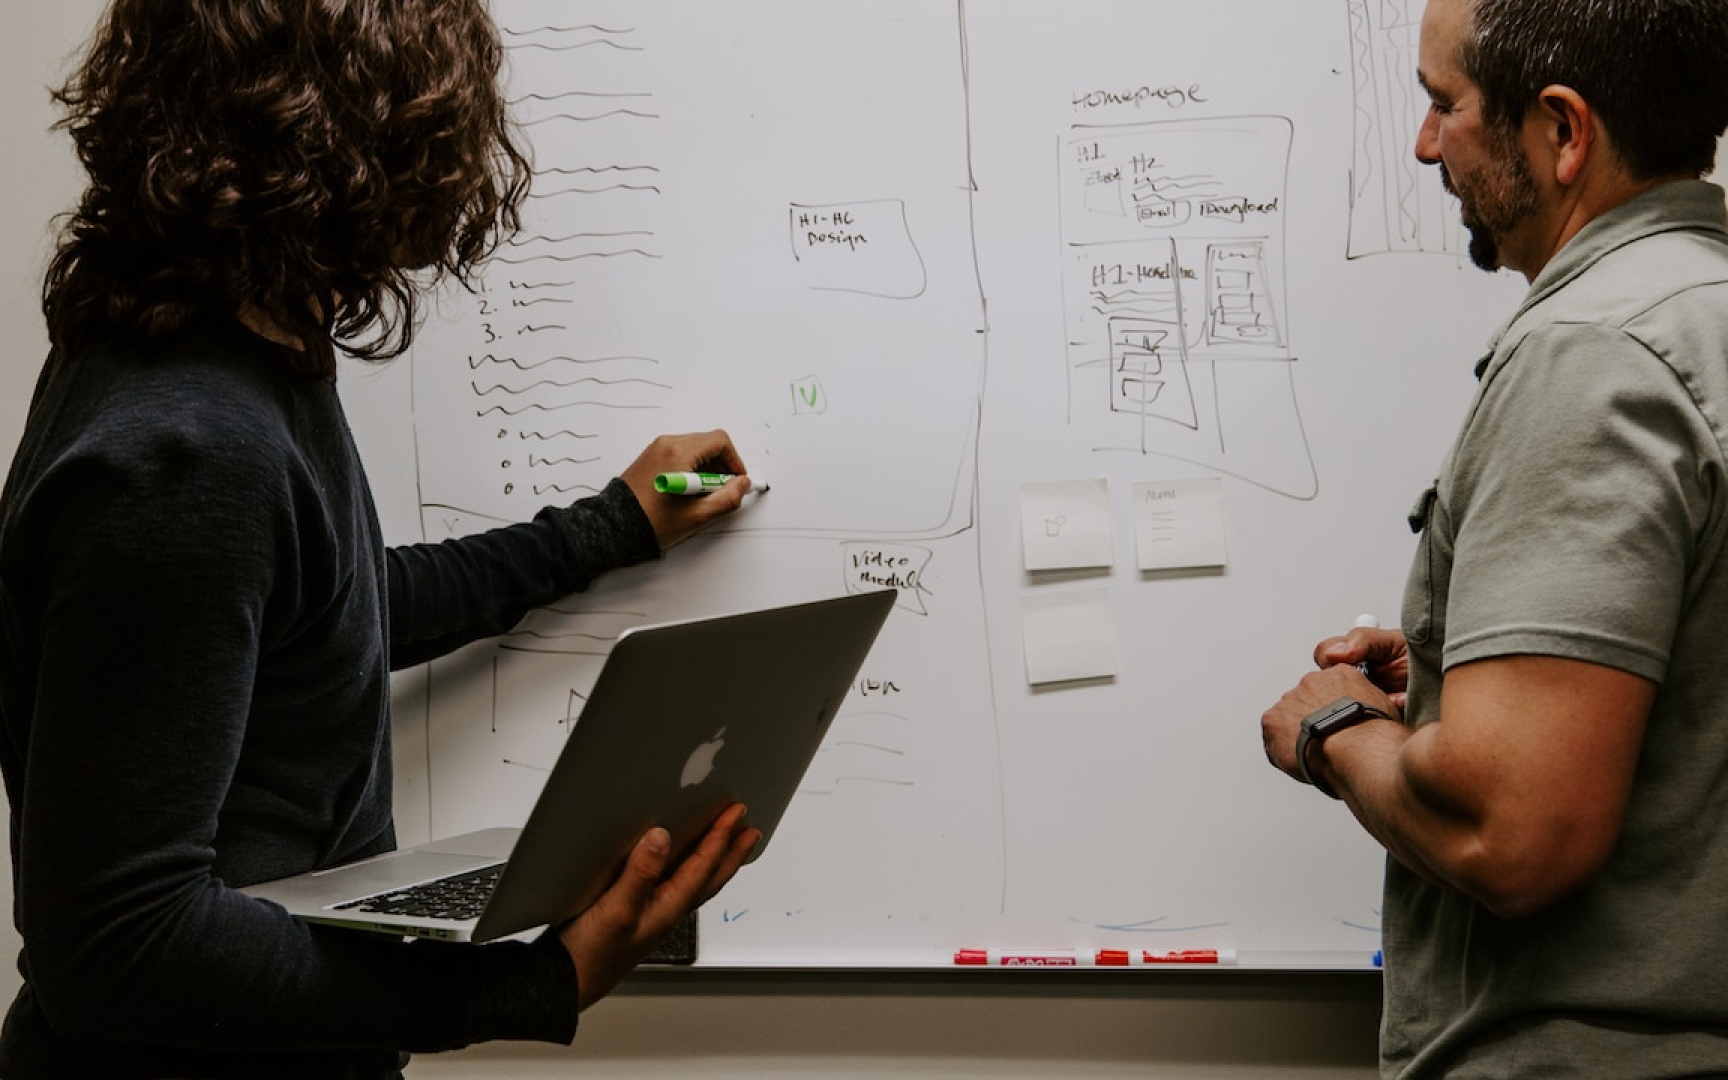
Design thinking methods often require all participants to get up and engage in the activity on a whiteboard or around a wall. Ideally, you'll need a big room with a whiteboard or alternatives (easel pads, big glass doors, etc.) where you can move about. It's helpful when the space accommodates a large group and allows people to move about freely.
The facilitator of a group activity also needs room to stand up and move around to keep participants involved in the activity. A sitting facilitator can't engage the room quite as well as a standing, lively one can.
Pro Tip: Arrange for a space where people are comfortable to ensure the most productivity.
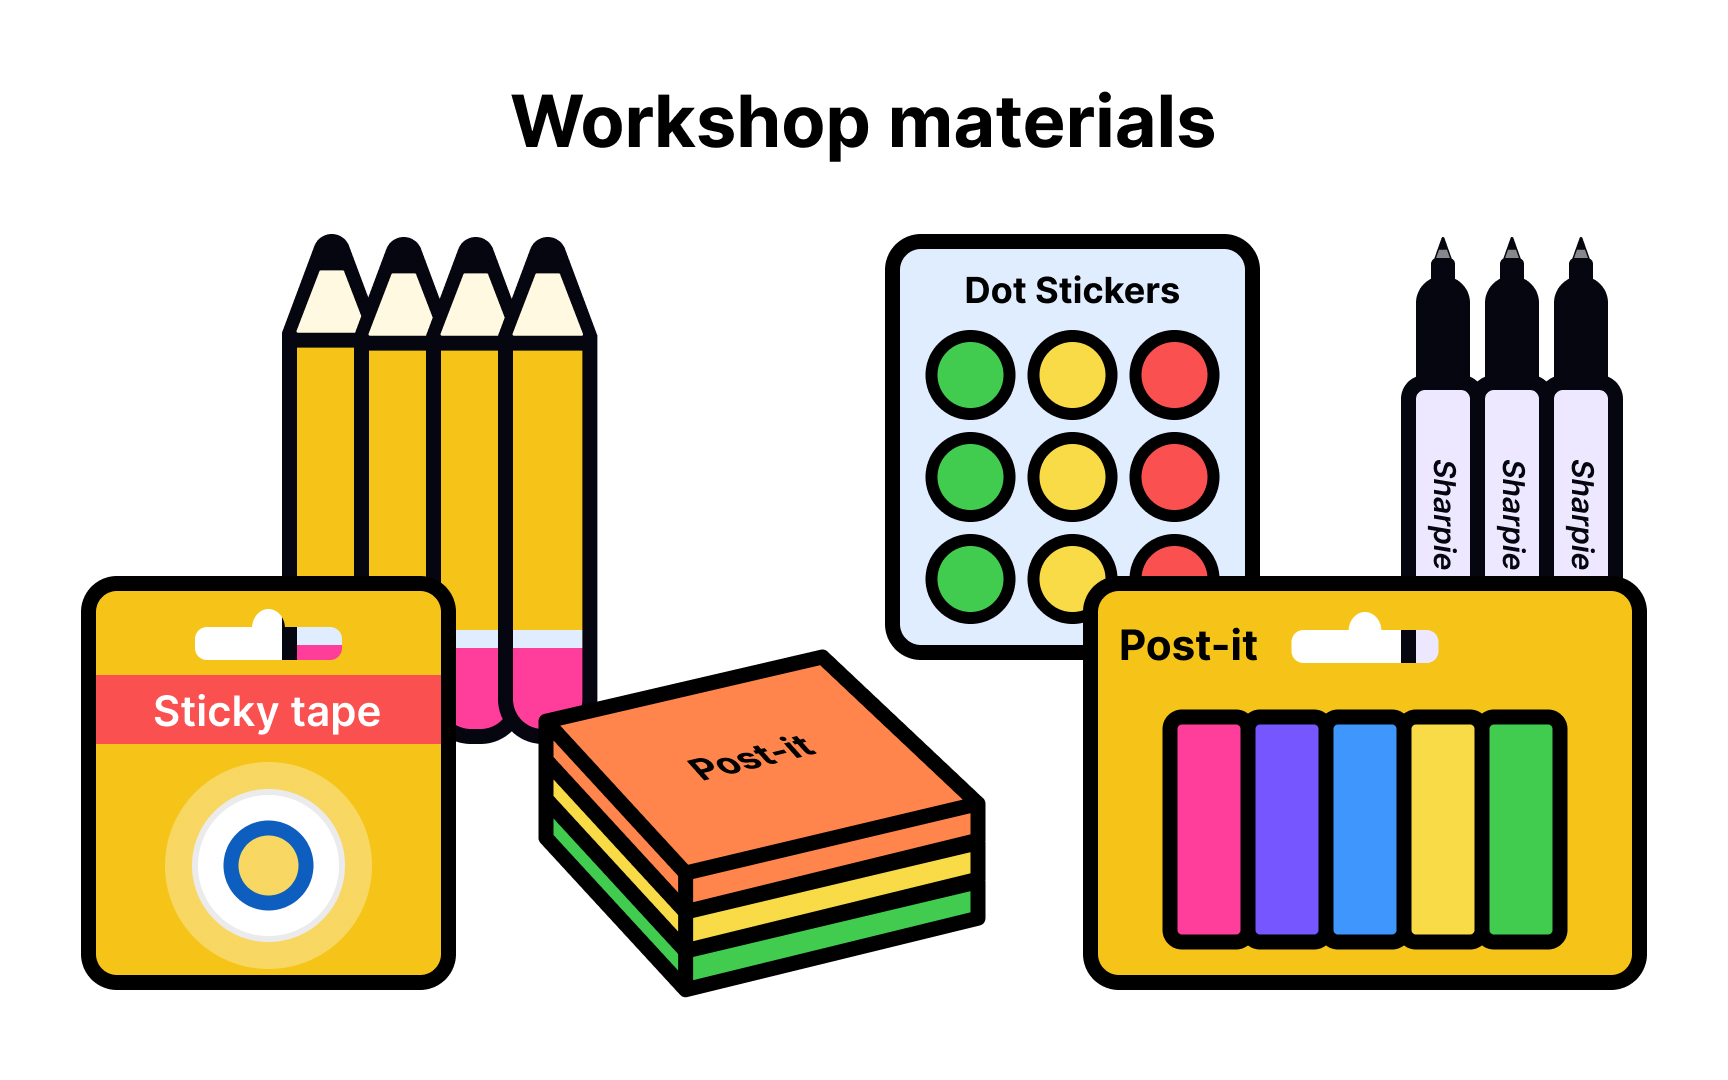
Most workshop activities will require some kind of supplies, so have them ready at your disposal. Different materials serve different goals: to simplify activities, inspire creativity, or create artifacts.
Here's a list of the essential materials for a workshop facilitator's toolbox:
- Sticky notes and permanent markers to write on them
- Dry-erase markers and an eraser for the whiteboard
- Pencils and pens for fast sketches in notebooks and penciling in dates on calendars
- Dot stickers in various colors for visualizing votes
Some other nice-to-haves are:
- A projector with connectors to review documents, visit websites, or share web tools with participants
- A USB flash drive for situations when you lose connection during a meeting and need to swap files quickly
- Tape to help stick sticky notes that fall off
- Yarn for making grids on whiteboards or for dividing up walls in sections

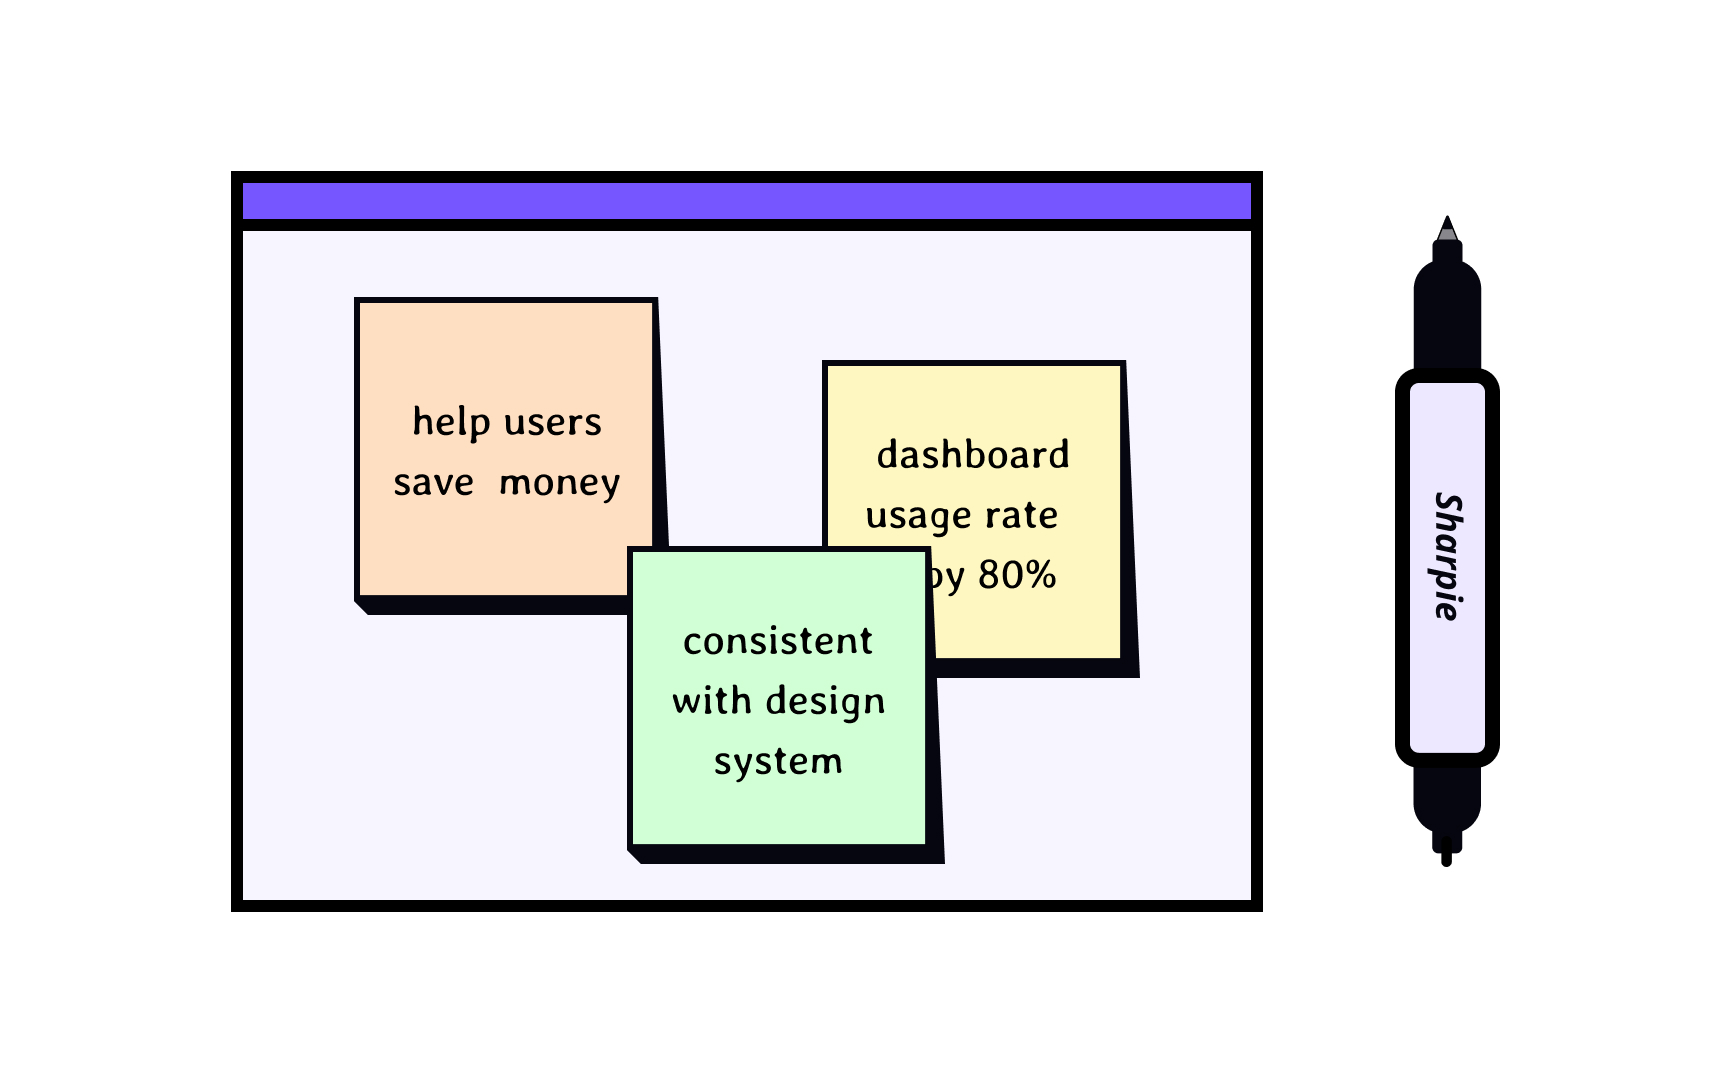
Many workshop activities revolve around sticky notes, which are vital to any facilitator’s toolkit. Have a bunch of these in various
Bring plenty of permanent markers (sharpies) to write on sticky notes. Compared to pens and pencils, markers are superior for workshop purposes. Their thickness ensures that notes are readable from afar, and people are forced to be more concise to fit their idea within the limited space.
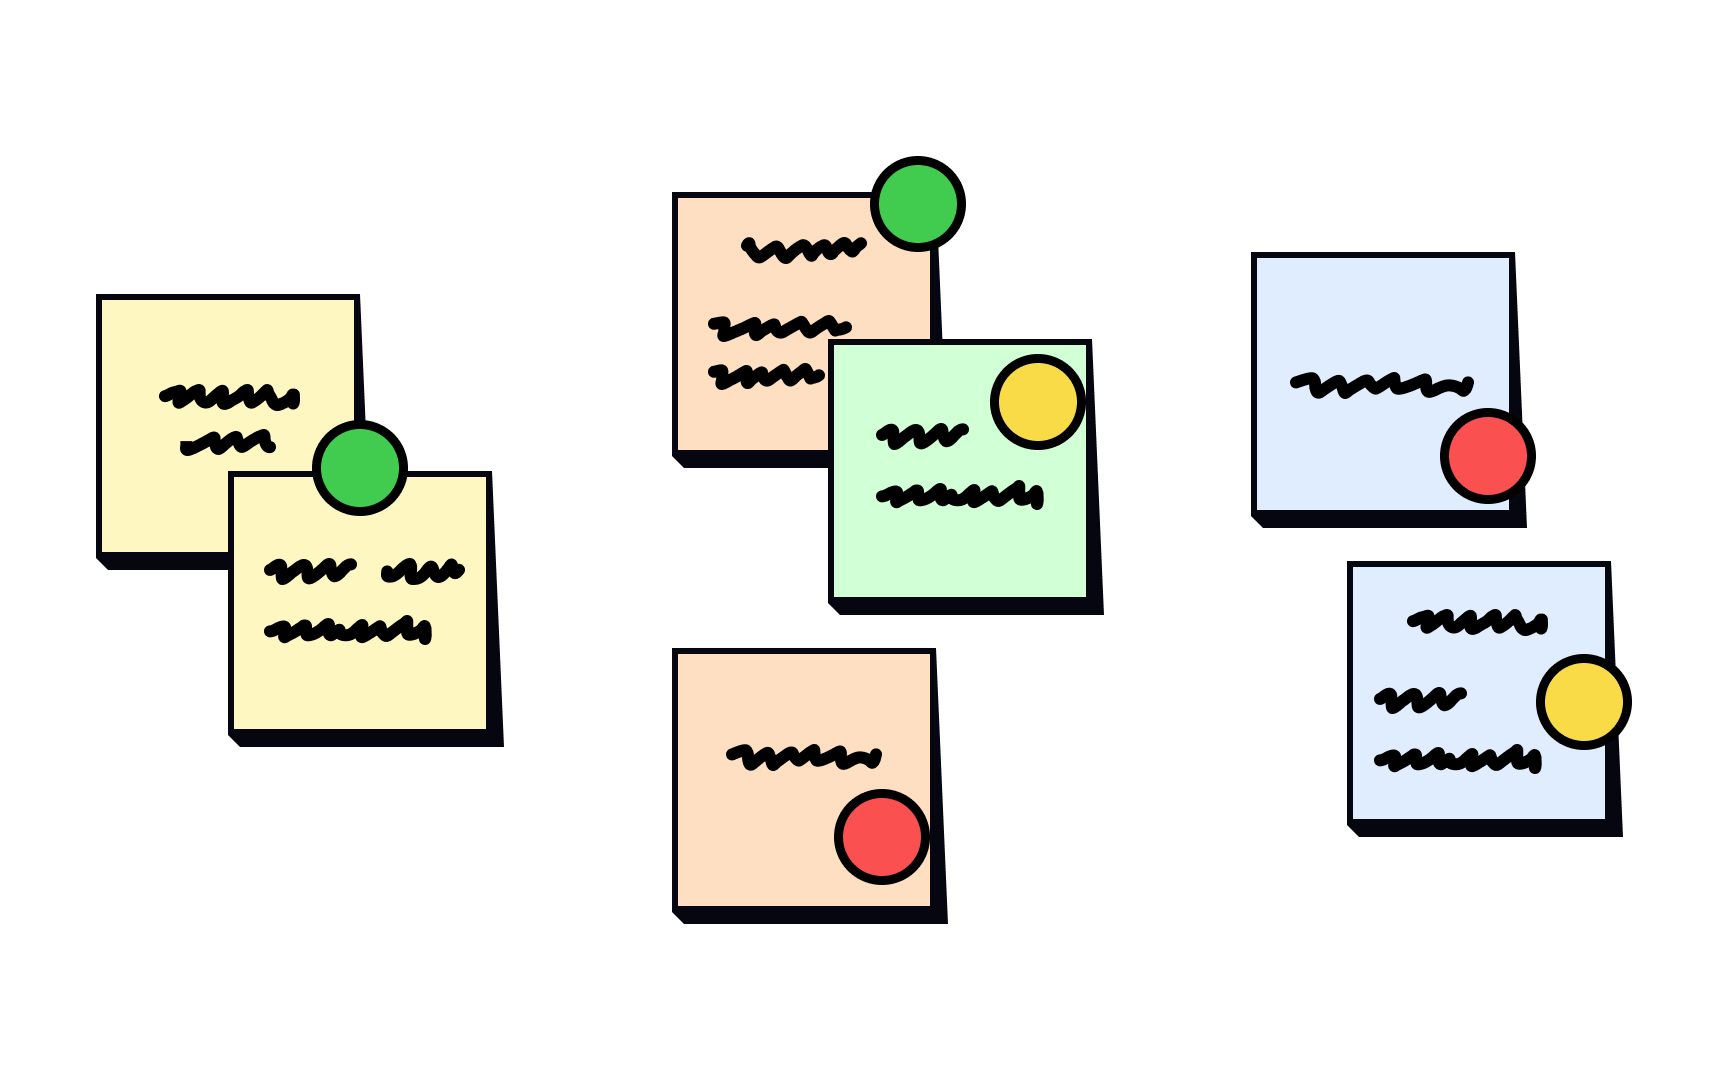
Voting dots are small circular stickers used to cast votes. Using colored dots, workshop participants individually vote on the importance of design ideas, features, usability findings, and anything else that requires
Voting dots might seem like a minor thing, but they are incredibly useful and work well in any situation. It's a simple tool to democratically prioritize items or make decisions in a group setting, narrow down alternatives, and converge on a set of concepts or ideas. Most commonly, dot voting is used to vote on options represented on sticky notes (usually hung on a wall or whiteboard) or as a written list on a large, easel-sized pad of paper.
Traditional dot voting uses same-colored dots, but you can consider introducing other

As a facilitator, one of your goals is to stimulate a rich and diverse discussion. This includes encouraging quieter participants to speak, averting too much input from dominating participants, or helping the group stick to the topic.
There's no one-size-fits-all recipe. As you do more
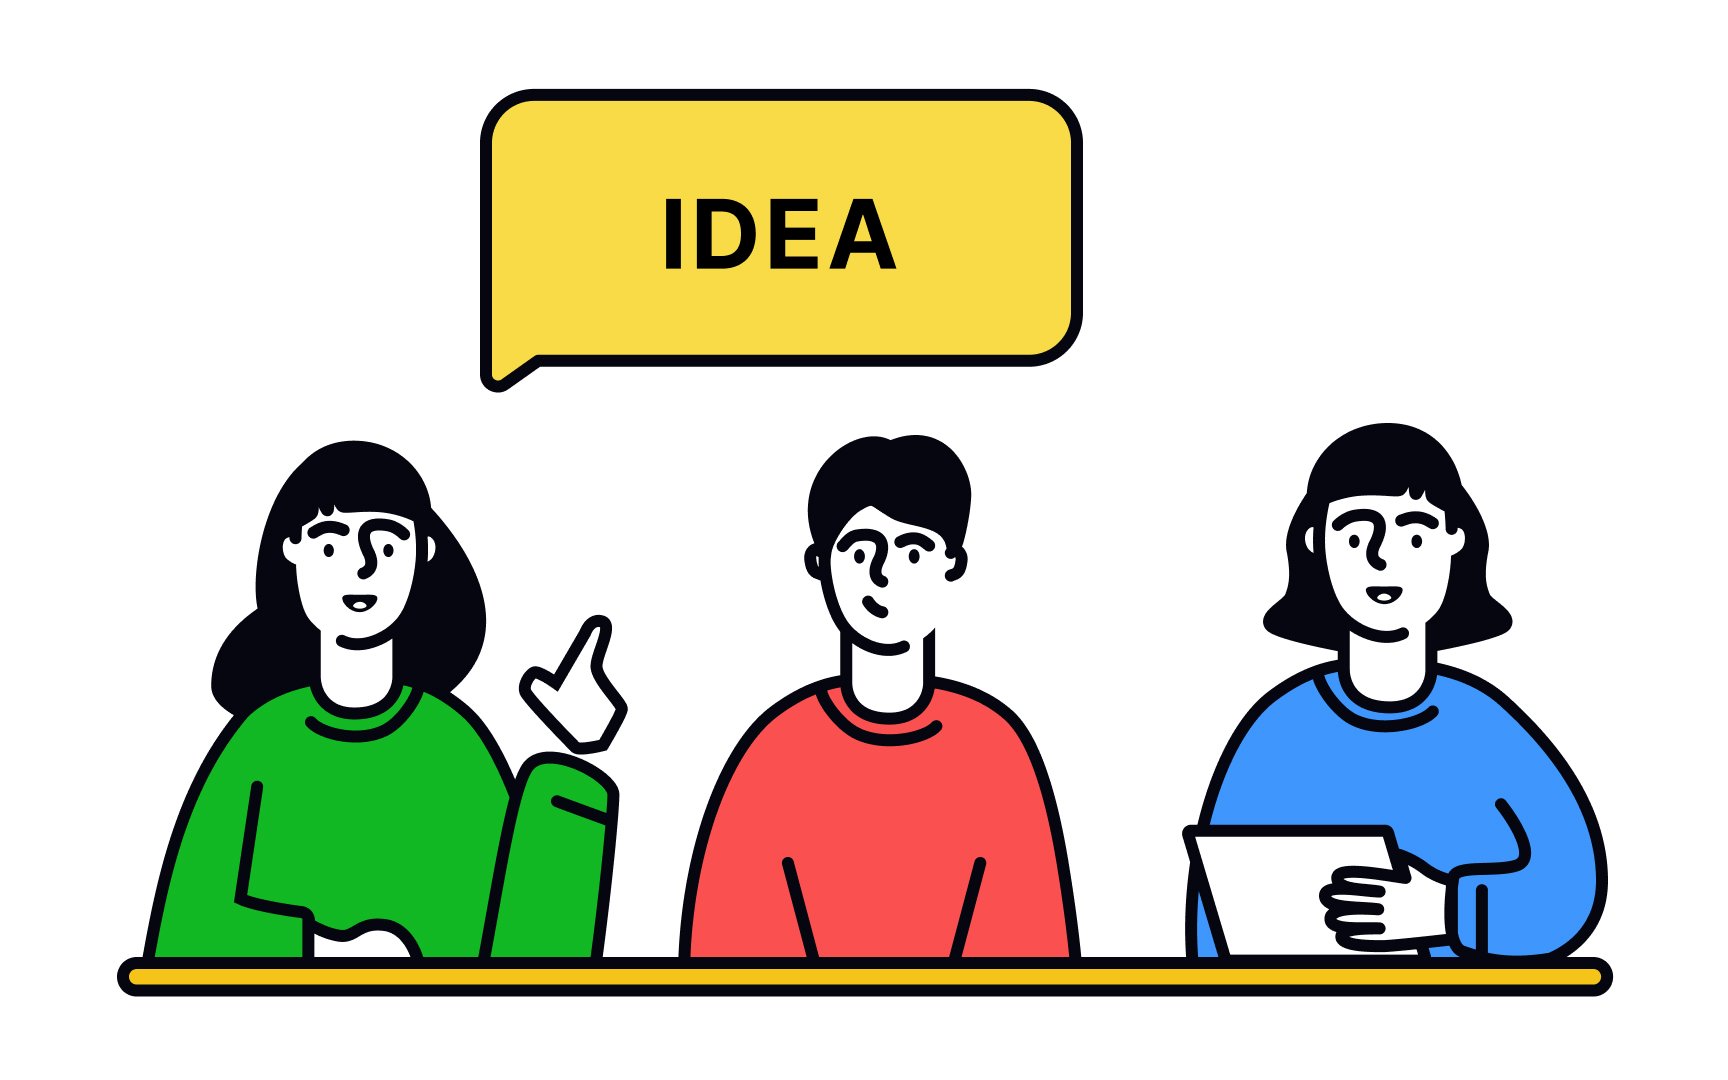
Your goal as a facilitator is to gather a range of techniques for dealing with different kinds of people and potential conflicts within the workshop. Here are ideas for 3 types of situations:
- Redirect: Refocus people's attention if they get off topic. You can do it by restating the workshop's goal and saving their valuable but off-topic ideas for later.
- Balance: Invite non-dominant participants to contribute to balance the voices of dominant participants. Ask participants to share their perspectives in turns or ask for a specific number of ideas from each person (e.g., two aspects of the design that seem to meet users' needs well and one aspect that could be improved).
- Silence: Remove verbal contributions from the group to ensure mutual participation from everyone. A post-up is an excellent activity for this — make participants individually write ideas on sticky notes, then post them up on a wall to be shared and discussed.[2]
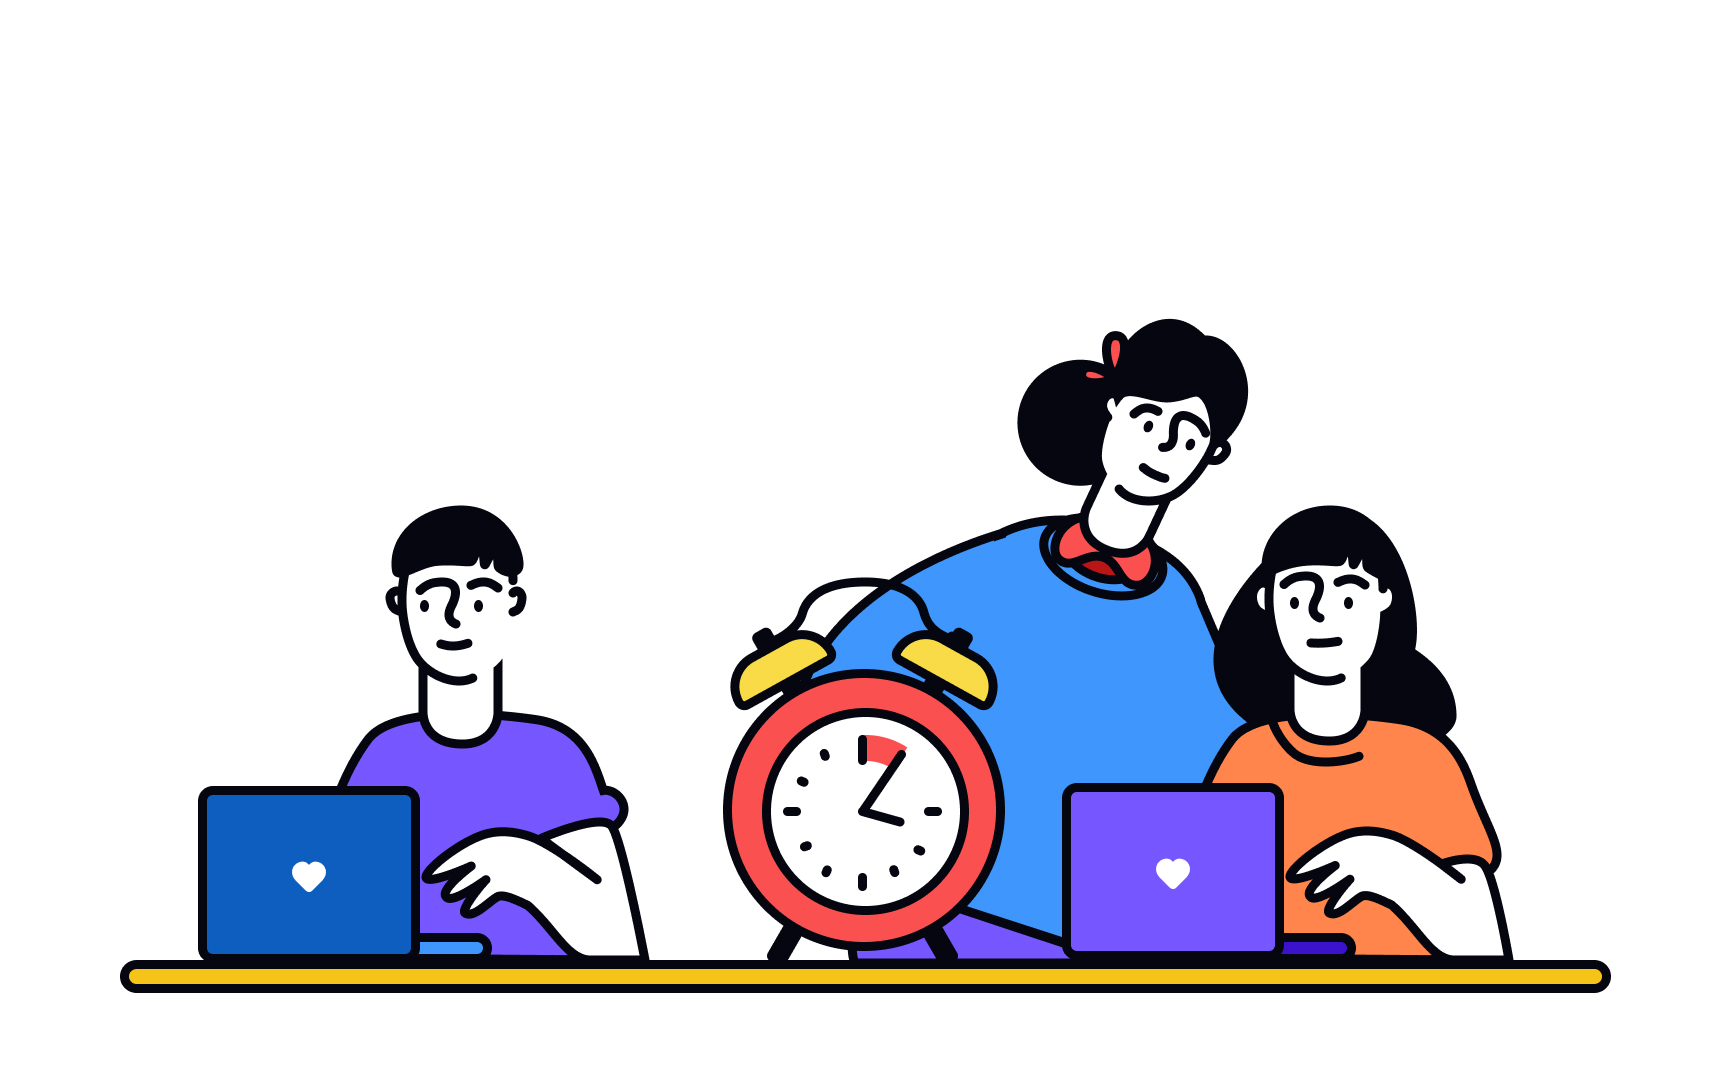
Parkinson's law states that an activity expands to fill the time available for its completion.[3] In the context of design workshops, this means that without time limits, activities can go on forever.
Another point is that, when given too much time to explore ideas, people go deep into a few concepts and get attached to them quickly. We want to avoid this in design workshops when the goal is to generate a large number of ideas, not a few ideas of quality.
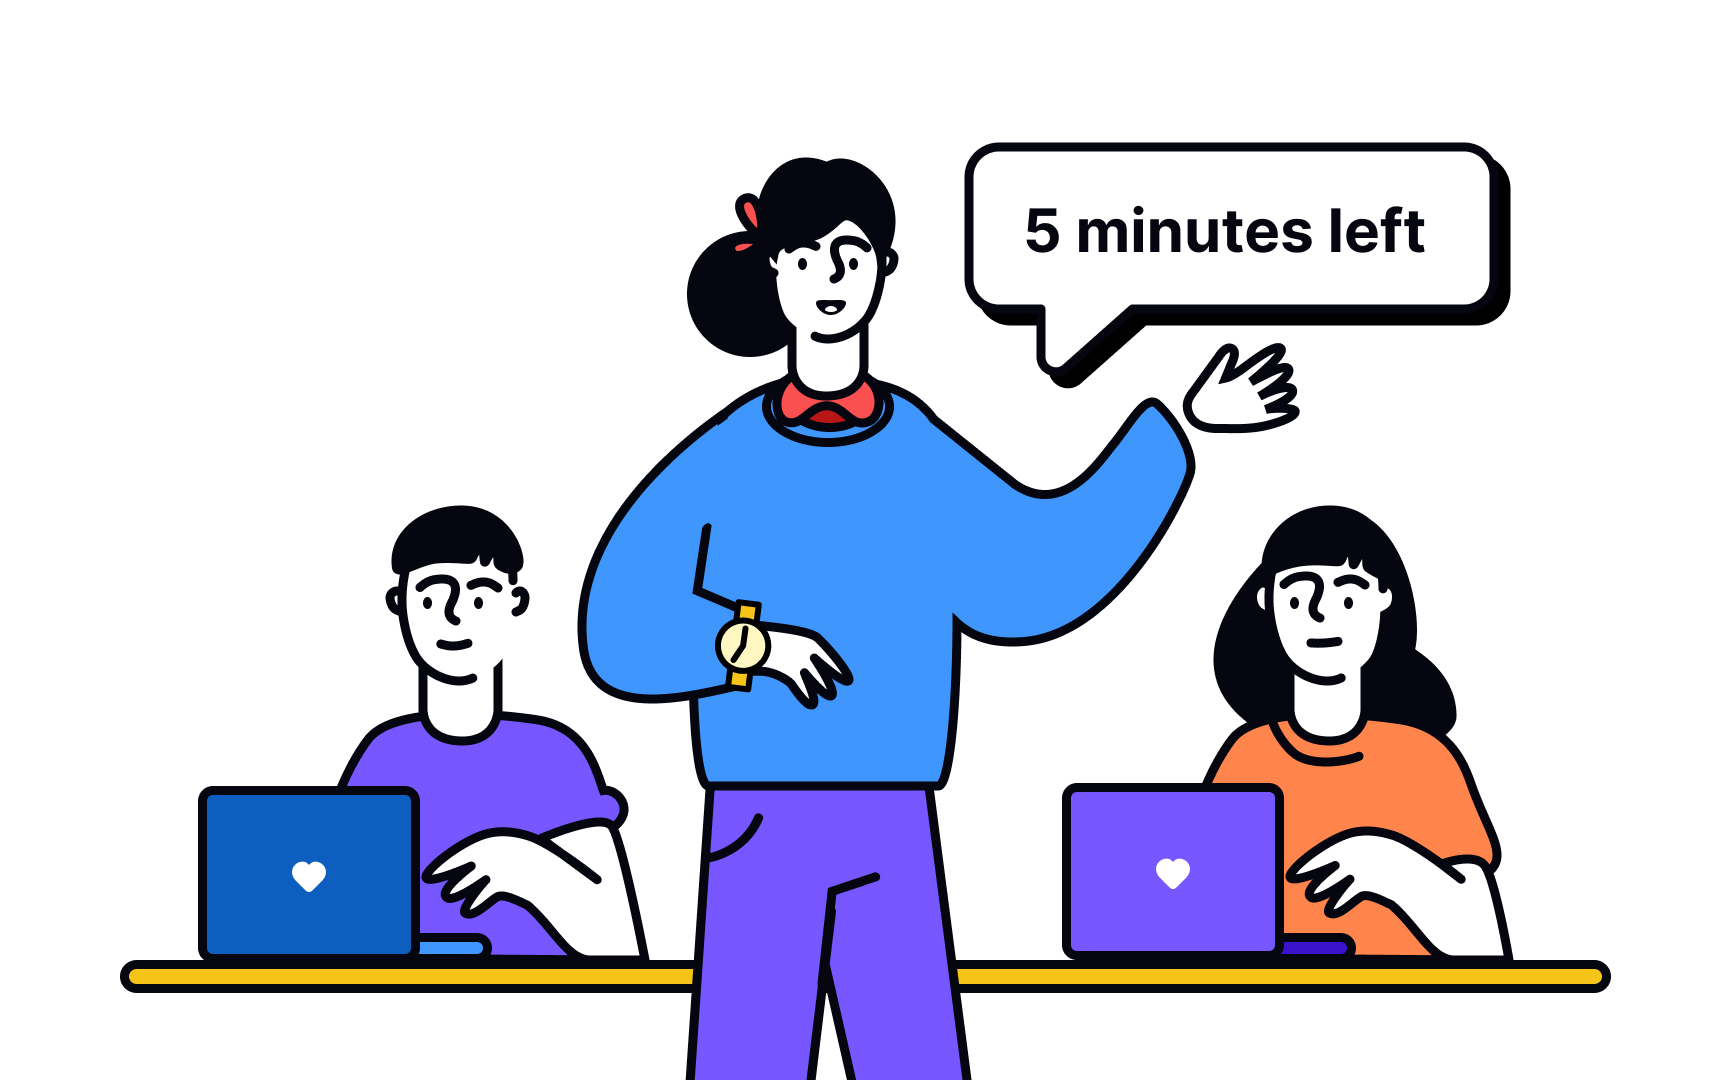
Always estimate how long something will take, but expect to adapt on the spot — that's why it's helpful to plan in some time buffer. Keep an eye on the clock to stay on track, but do this subtly. Using a visible countdown time can create a pressured environment, making it harder to brainstorm and be creative. Instead, announce the time limit for an exercise and keep your eye on the clock. This will require a little more effort on your part, but it will put participants at ease.
Pro Tip: Allocate a reasonable amount of time per activity — usually, 15-30 minutes.
As you build your facilitation skills, the goal is to document your activities and tactics and what works or doesn't. It can be a paper artifact or a digital document. The benefit of digital documents is that you can share them with others to exchange ideas or get feedback.
This library of techniques and tools will help you save time when planning workshops. As you use and improve activities and techniques, you'll be able to change them on the fly as the situation requires. You don't need to consult the library every time you plan a workshop, but it's great to have a list of working solutions you can always consult.
References
- Foundational UX Workshop Activities | Nielsen Norman Group
- How to Handle Dominating Participants in UX Workshops: 3 Tactics | Nielsen Norman Group
- How to overcome Parkinson's Law | Work Life by Atlassian
Topics
From Course

Share


Similar lessons

Design Workshop Basics

Design Workshop Types
