Mobile Prototyping
Explore the best practices for building realistic interactive models of your upcoming mobile app
Prototypes are interactive models that simulate how a mobile app will function. They allow teams to test ideas, gather feedback, and avoid wasting time and resources on features or designs that don’t work.
If stakeholders or team members don’t fully understand the importance of prototyping, explain how it helps identify potential issues early. Poor design choices — such as a confusing interface, unnecessary features, or ineffective onboarding — can lead to user frustration and app abandonment. Prototyping helps ensure the app meets user needs and delivers a smooth, satisfying experience.
Unlike wireframes, prototypes are more dynamic and visually detailed. They can be introduced at various stages of the design process, depending on the project’s needs, and are invaluable for ensuring that the app concept works well in practice.
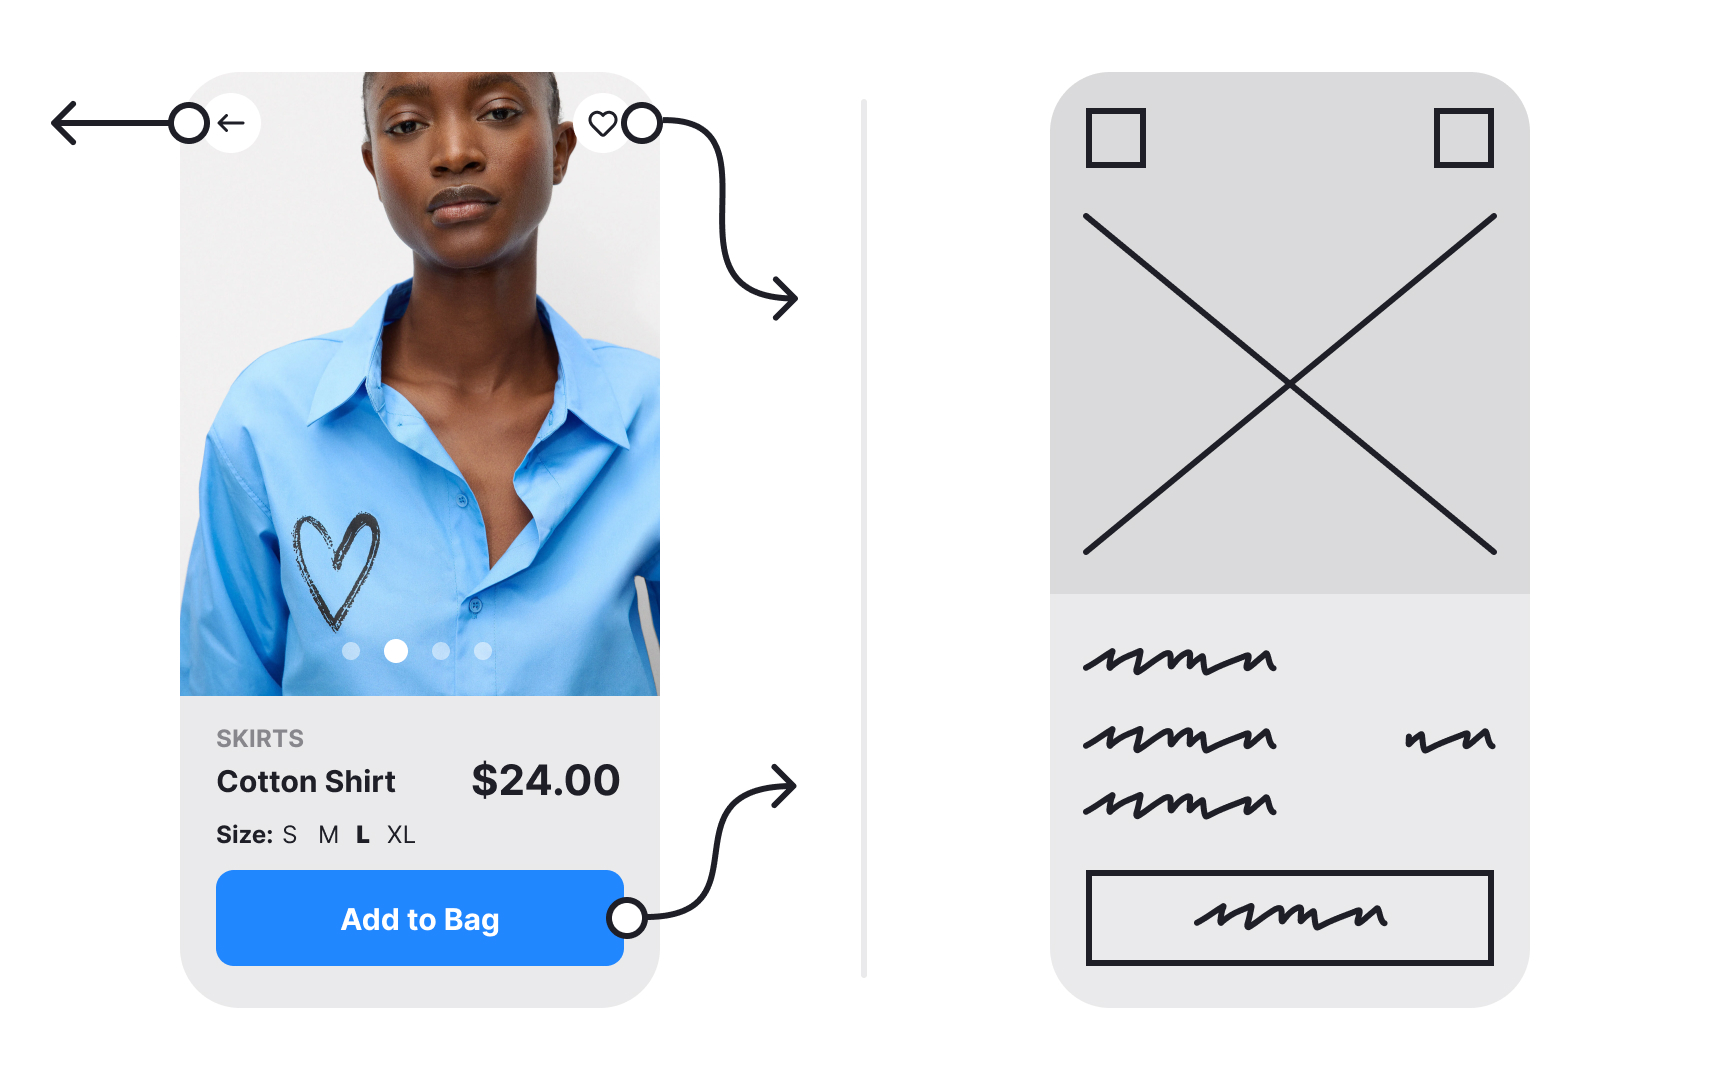
Prototypes are high-fidelity representations that simulate the actual user experience of your product. They let users interact with animations, transitions, and complex interactions like gesture controls or data input. While wireframes help validate basic layout and flow, prototypes provide a testable version of your product with full visual design, including colors, typography, and real content.
Prototypes are typically created in specialized design software like Figma, Adobe XD, or ProtoPie, which offer advanced animation and interaction capabilities.
Sometimes, teams skip the prototyping stage and start developing a minimum viable product (MVP) to save time and effort. In doing so, they spend even more time and effort implementing a product that wasn't tested properly and didn't receive enough user feedback. Prototyping can help prevent such costly errors.
What are the other benefits of including prototyping in your design process?
Prototypes (especially high-fidelity prototypes) resemble real products and are more appealing and interactive thanwireframes . They motivate users to provide more thoughts and ideas about their mobile experience.- Prototyping involves all team members, including upper management. This ensures the final product meets product and marketing goals and doesn't contradict user needs or technical requirements.
- Prototyping shows what a final product will look like and what features and
interactions it will include. This gives teams a chance to make final updates to improve visual or functional issues.
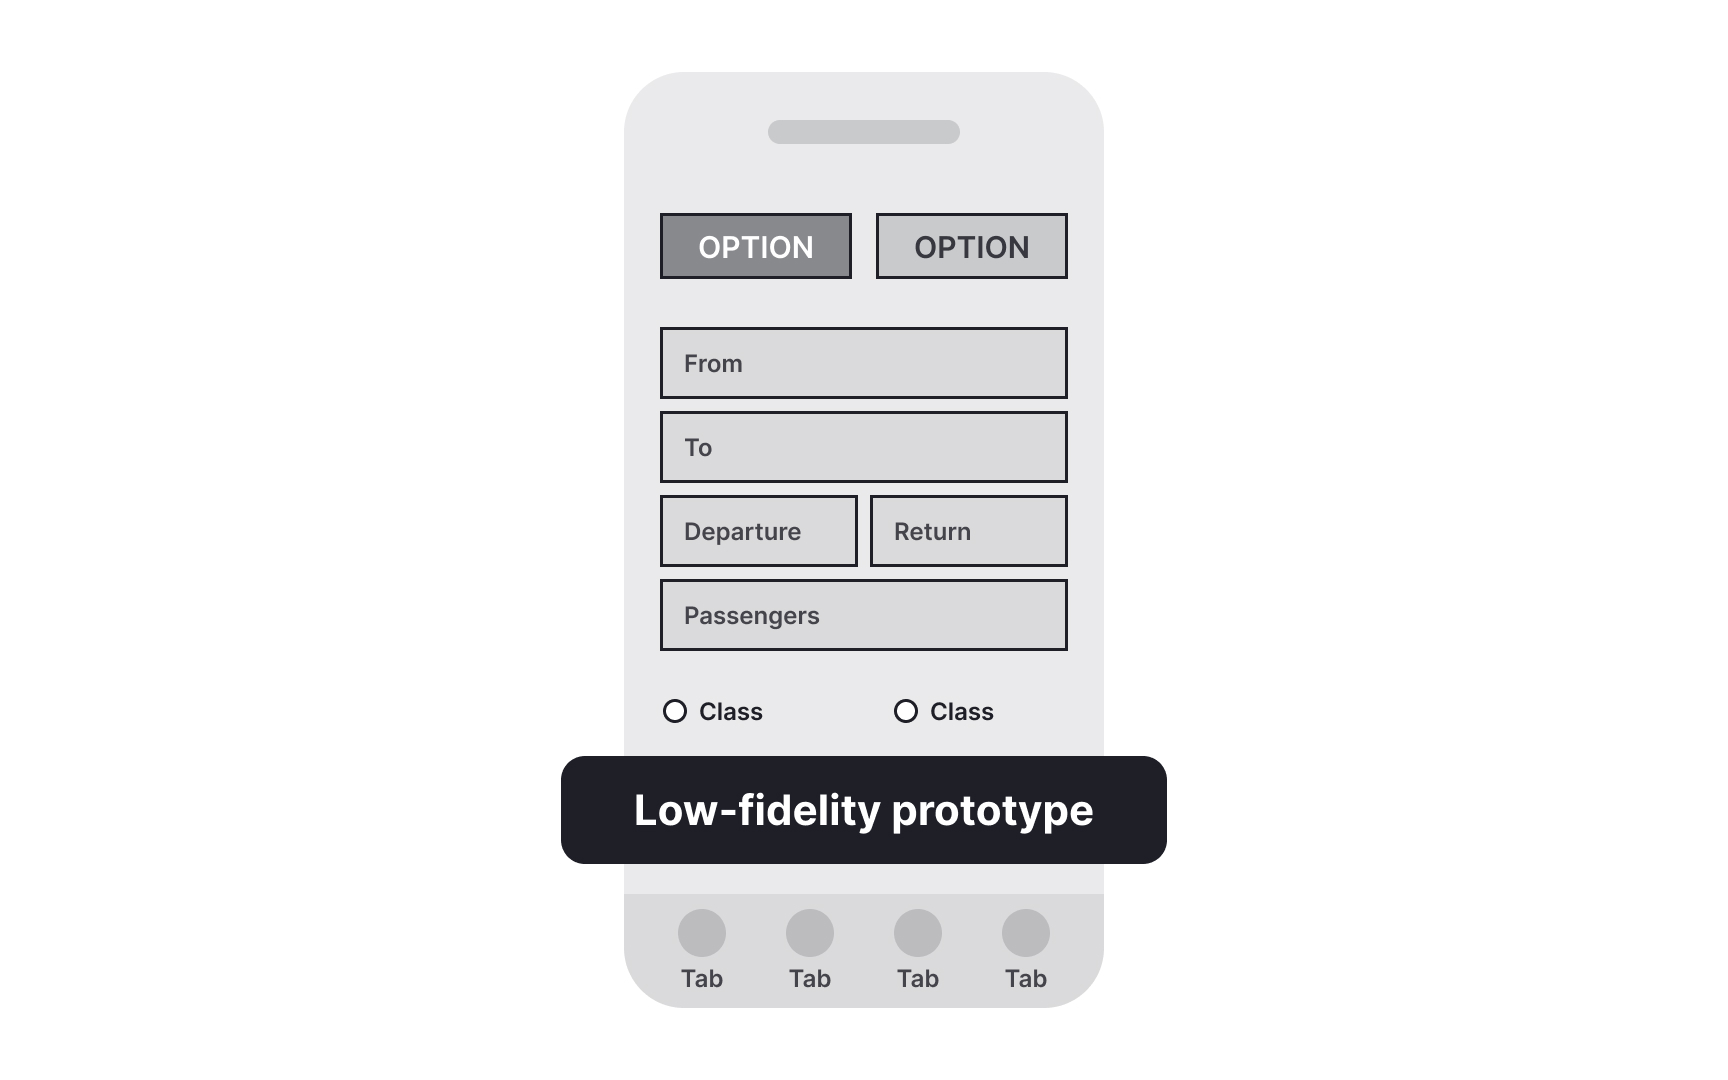
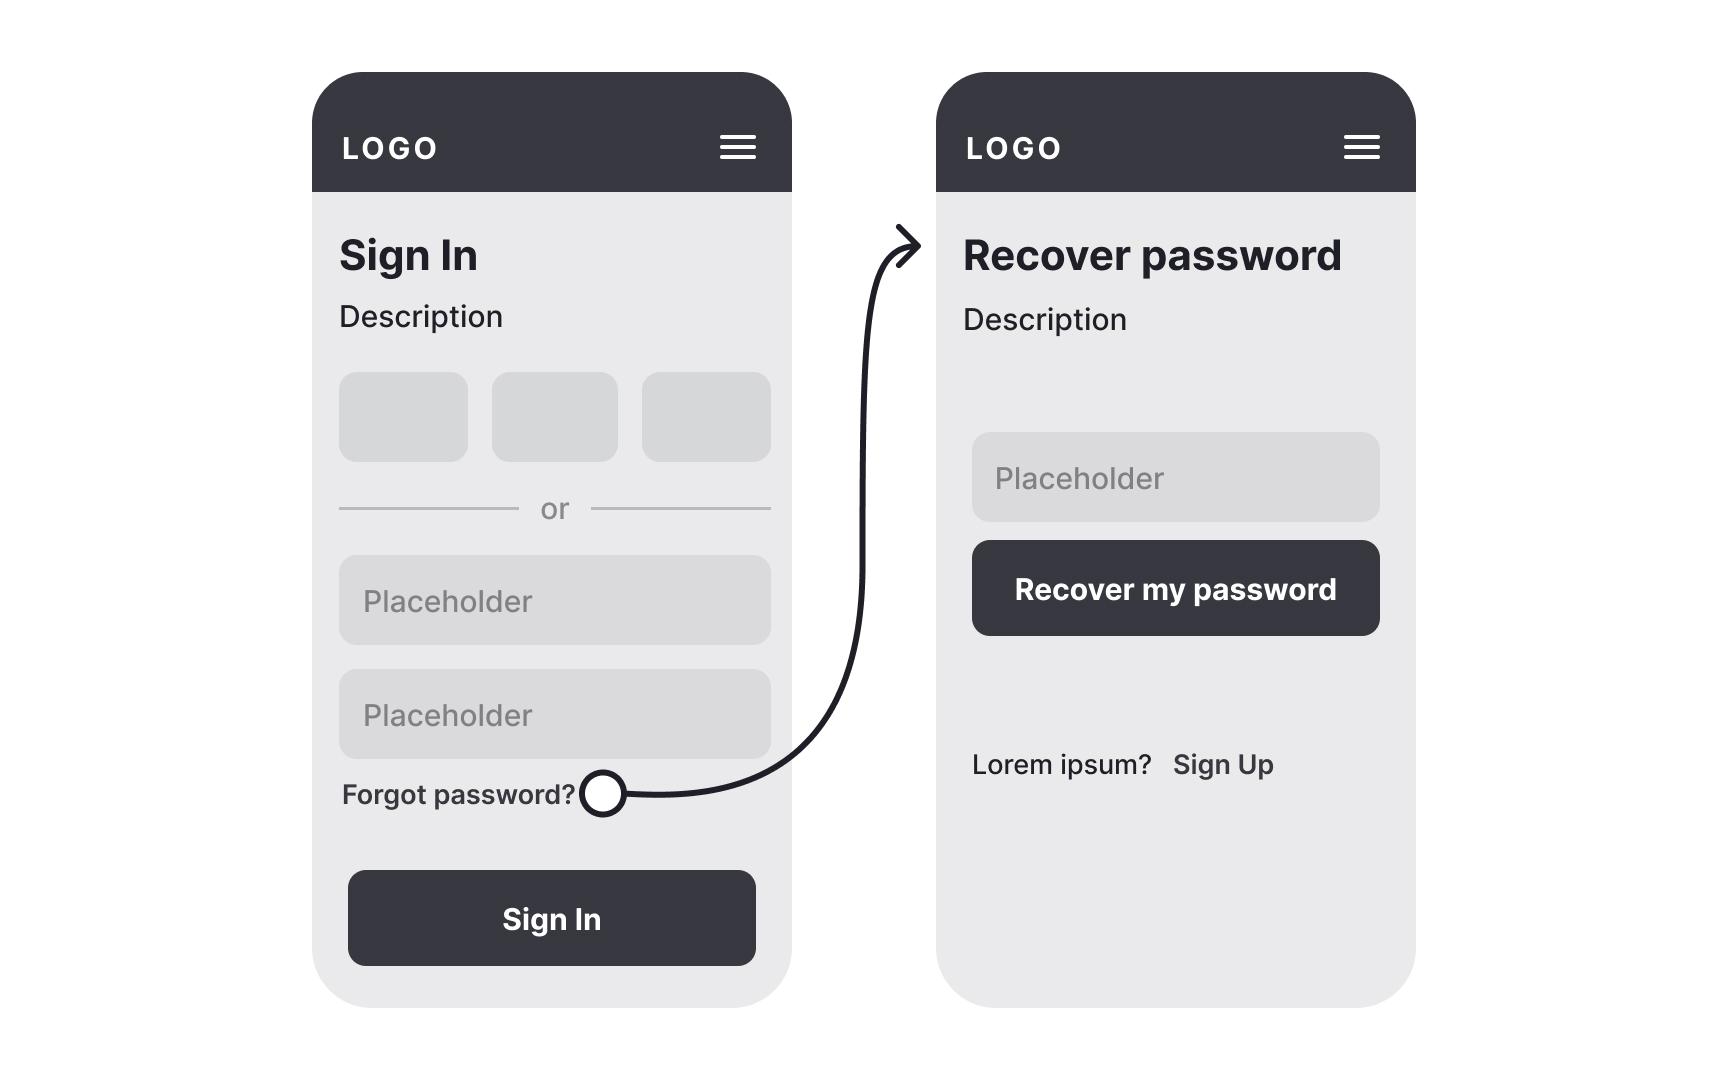
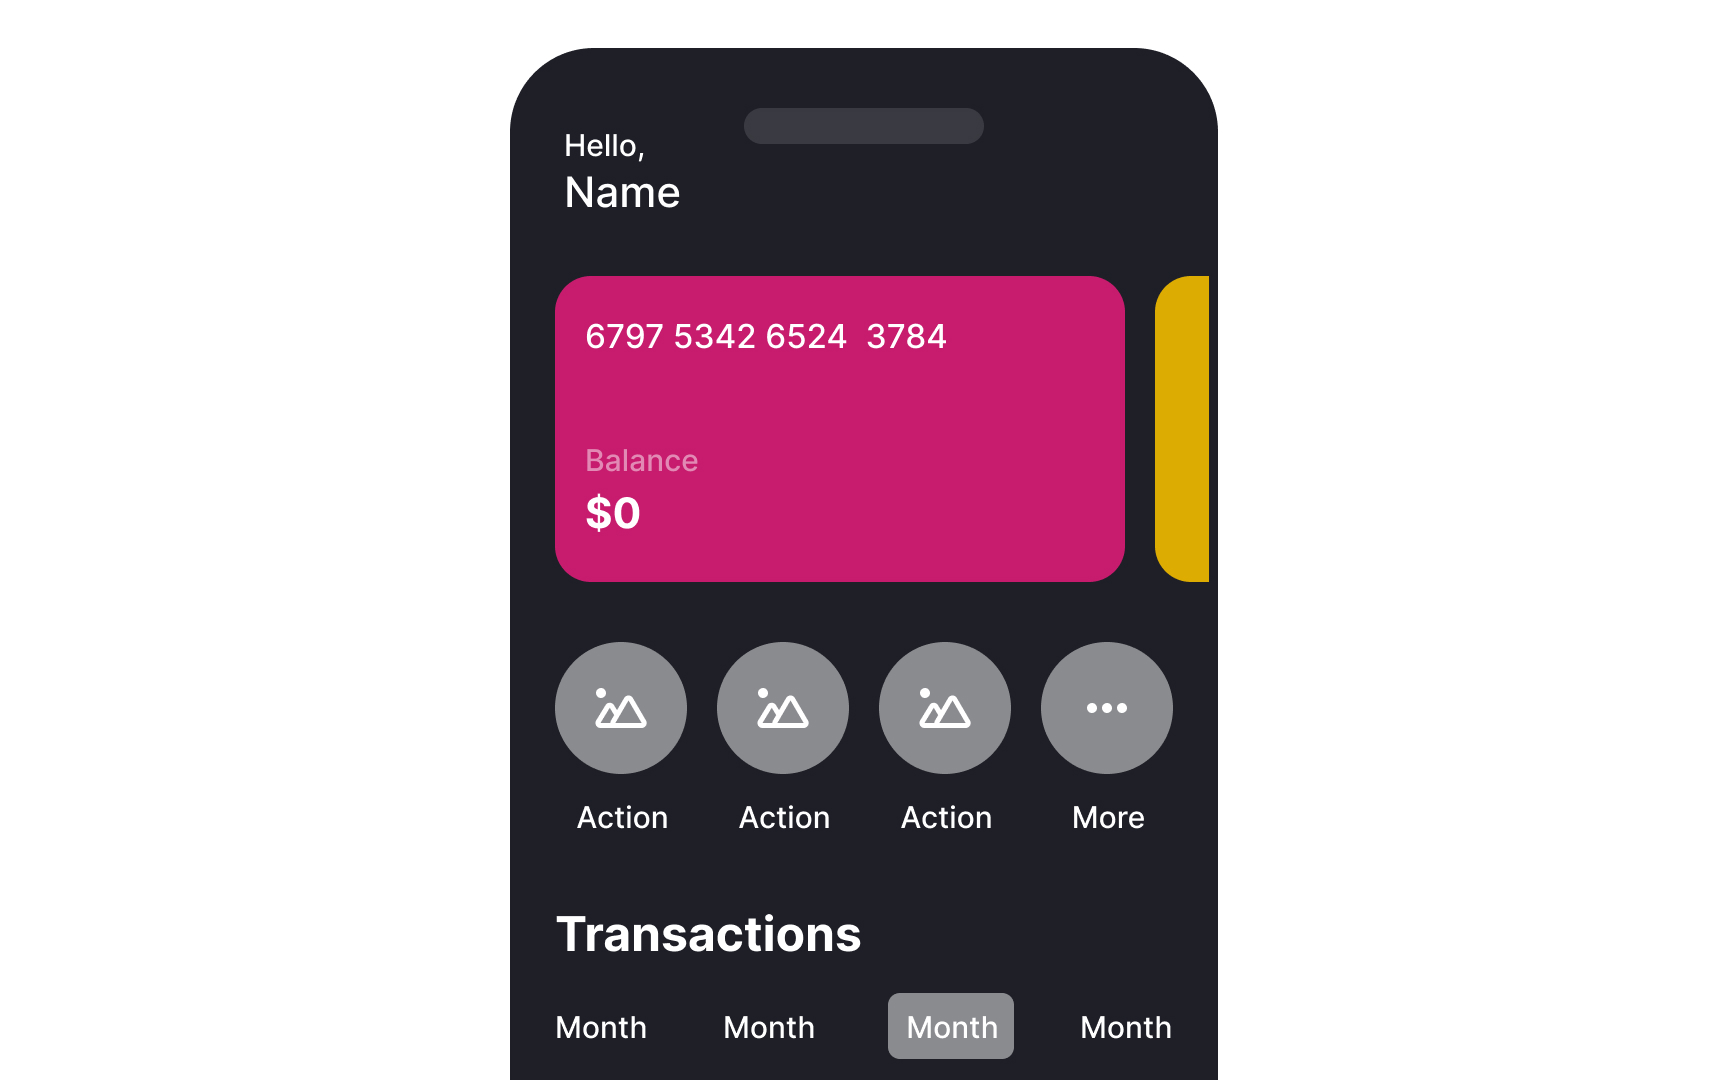
Low-fidelity
While
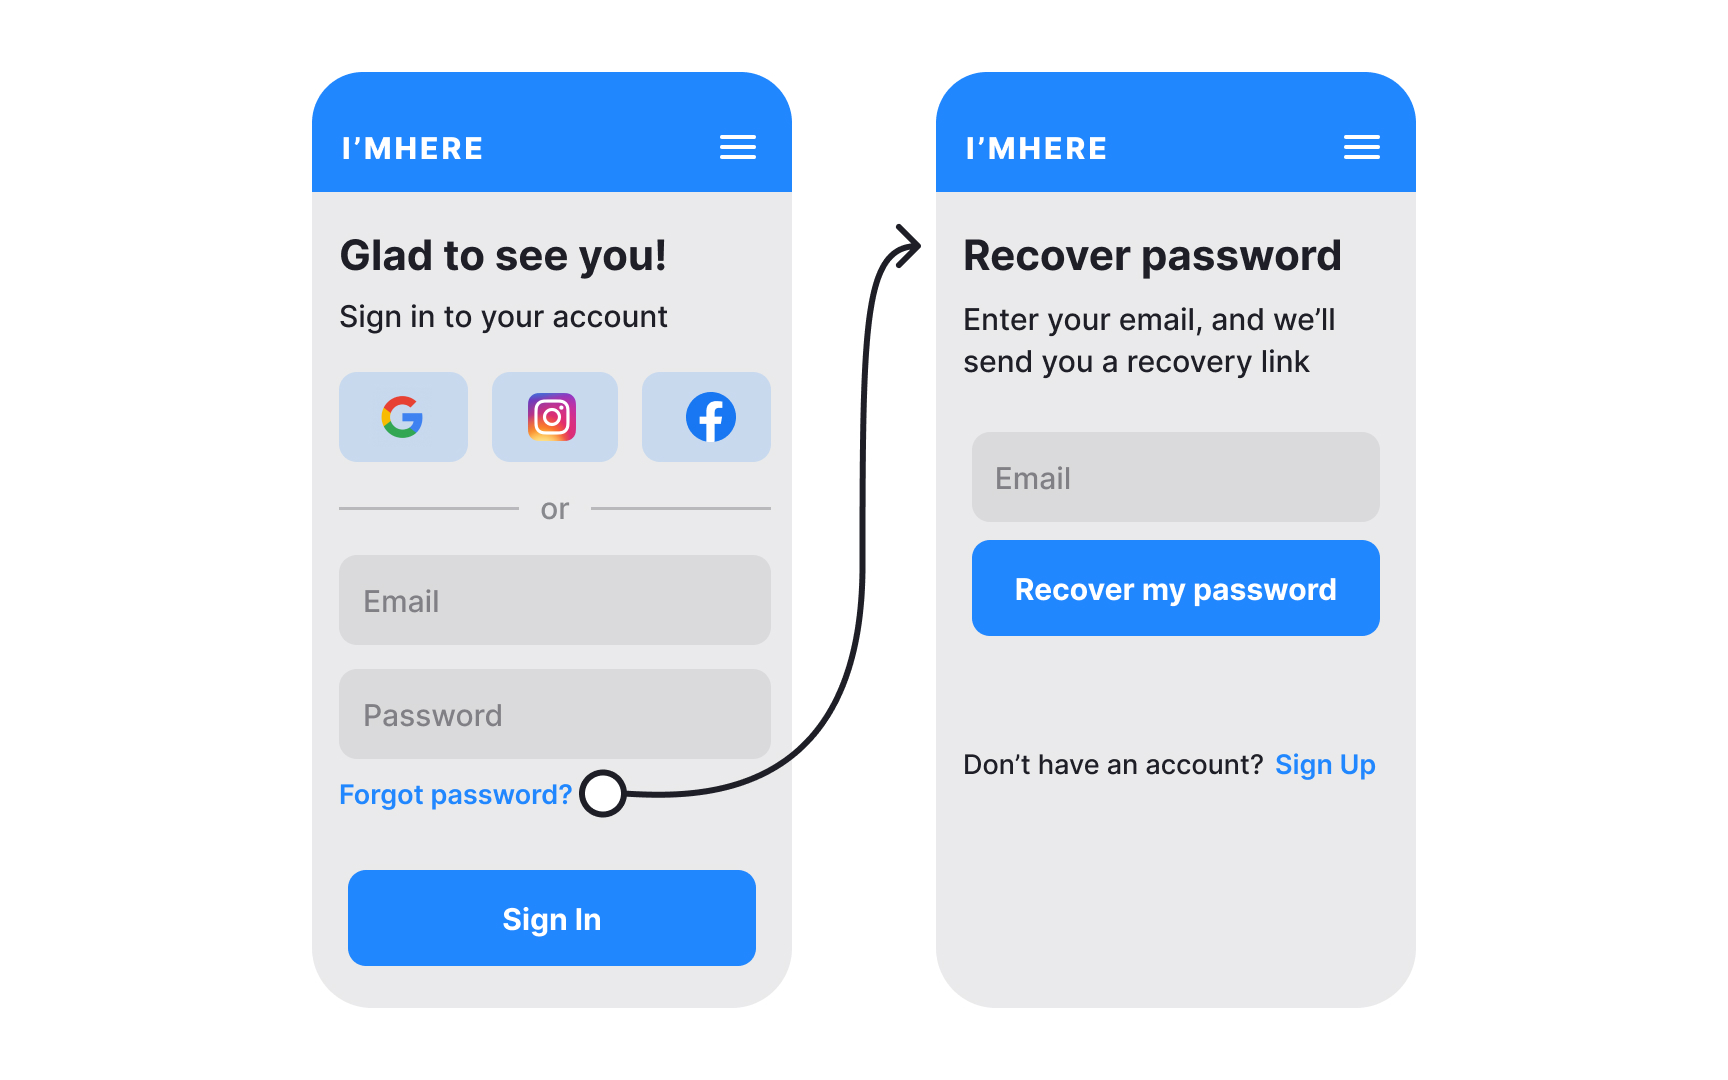
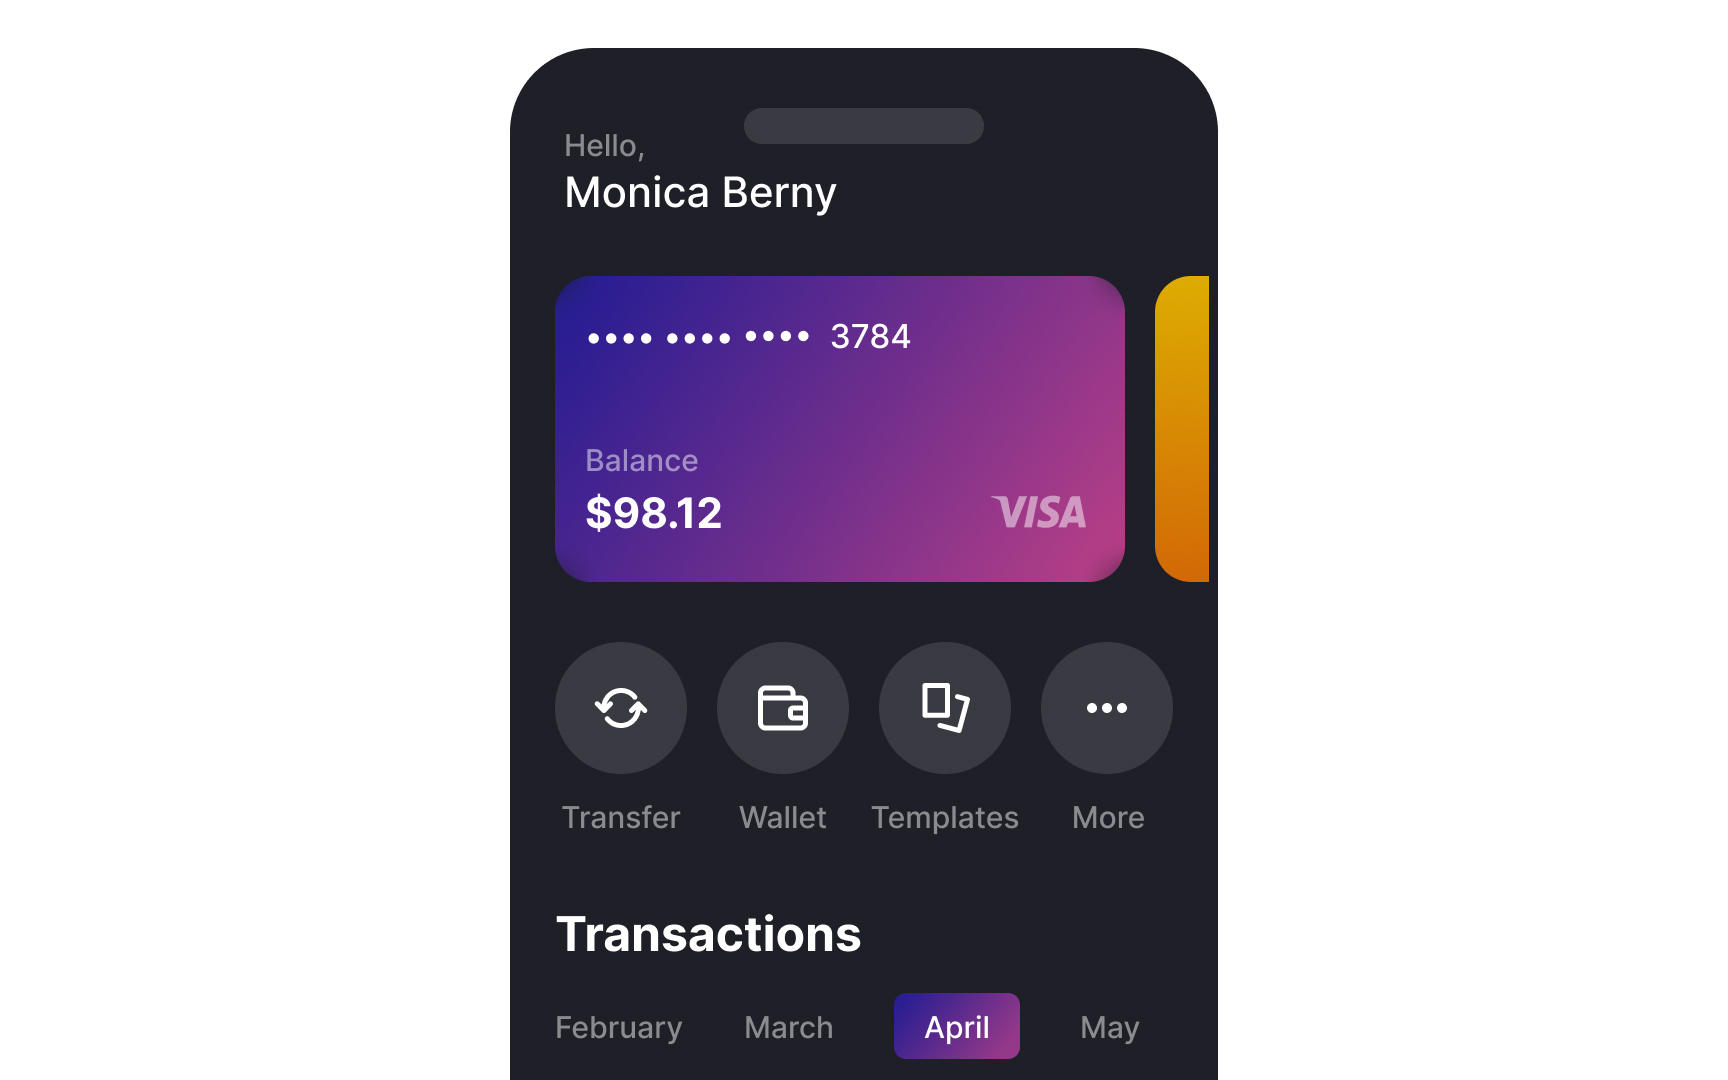
High-fidelity
The realistic nature of high-fidelity prototypes serves multiple purposes. During user testing, participants interact with what feels like a real product, leading to more natural behaviors and more valuable feedback. These prototypes also excel at testing specific interface elements like microinteractions,
The scope of your
When determining prototype scope, also consider what aspects of your design carry the most risk or uncertainty. Critical interactions, new design patterns, or complex user flows are prime candidates for prototyping. You can further limit your prototype's scope by focusing on specific devices or screen sizes initially. This targeted approach helps teams get valuable feedback quickly without getting bogged down in less critical details that can be refined later in the development process.
There are multiple prototyping tools available, allowing you to find one tailored to your specific needs. What should you look for when selecting a prototyping tool?
- Design patterns: If you want to save time or don't have design skills, make sure the tool has a good library of
design patterns (e.g., navigational elements, forms, menus, buttons, product pages, calendar pickers, etc.). - Interactive components: To build high-fidelity
prototypes , the tool should allow you to create advanced transitions,animations , and overlays. - Low learning curve: The tool should be intuitive, simple, and not require too much effort or time to learn.
- Testing and demo features: It should be easy to present prototypes to clients or share them with usability test participants.
- Code features: In some teams, developers are responsible for preparing prototypes, and the ability to use conditional logic and variables can be a nice feature. Plus, it allows for more complex and interactive prototypes.
- Multi-platform support: Testing your app on only one platform can lead to numerous
errors and usability issues on devices you didn't test it on. So, ensure the tool lets you test your prototypes across multiple platforms.

Iterative prototyping involves creating successive versions of your
Each iteration should address specific questions or assumptions about your design. For example, you might start with a low-fidelity prototype testing basic
Prototyping's primary value lies in its ability to test and validate design decisions before development. During the early design stages, teams generate numerous ideas and assumptions about user needs and behaviors. Rather than debating these ideas theoretically, prototypes provide a practical way to test them with real users. For example, your team might assume users prefer a tab bar
Prototypes are powerful tools for communicating your design vision to stakeholders, but their effectiveness depends heavily on how you present them. High-fidelity prototypes with polished visuals and
A successful


Similar lessons

Designing for Mobile Interfaces

Responsive vs. Adaptive Design
