Cross-Functional Brainstorming Techniques
Leverage diverse team expertise to generate innovative solutions when complex product challenges require multidisciplinary insights
Product teams turn to cross-functional brainstorming when standard solutions fall short or complex challenges demand diverse expertise. Most crucial during early product planning, feature expansion, or system redesigns, this collaborative approach prevents costly revisions and missed requirements. Teams can also leverage these sessions to identify potential bottlenecks before development, validate technical feasibility alongside user needs, and ensure business viability from day one.
The practice proves particularly valuable when projects impact multiple departments, require significant technical trade-offs, or need to balance competing stakeholder interests. Beyond immediate problem-solving, these sessions create a shared understanding that streamlines decision-making, reduces back-and-forth between departments, and accelerates product development. Strategic timing of cross-functional brainstorming often determines whether a product succeeds or struggles during implementation.
Icebreakers create psychological safety and establish an open environment essential for productive cross-functional
Here are some ice breakers to consider:
- Skill swap: Each team member takes 60 seconds to teach others a quick trick or tip from their expertise (like a keyboard shortcut or user research technique), building appreciation for different domains.
- Future headlines: Teams write newspaper headlines as if their project became a massive success ("App Revolutionizes Healthcare, Users Report 90% Better Experience"), encouraging optimistic thinking.
- Two truths and a lie professional edition: Participants share 3 statements about their work experience or skills, with one being false, helping teams discover unexpected expertise.
- Reverse brainstorming: The team spends 10 minutes listing the worst possible solutions to their challenge, making subsequent serious ideation feel easier and reducing fear of bad ideas.
- Domain dictionary: Each specialist chooses a complex term from their field and explains it in simple language, building shared understanding across departments.
These activities should typically take 5-10 minutes and relate loosely to the brainstorming objective while remaining playful and inclusive. You should be able to strike a balance between fun activities and meaningful exchanges that support team building, rather than focusing solely on relationships or testing skills.
The design studio method structures
Here’s how it’s conducted:
- Problem definition (10 mins): The product owner or manager presents the challenge — like "How might we reduce cart abandonment?" — while each department shares their key constraints and metrics.
- Individual sketching (10 mins): Each participant sketches solutions from their domain perspective.
- Presentation & critique (3 mins per person): Team members present their ideas while others provide domain-specific feedback. For instance, marketing might highlight brand consistency issues, while engineering notes technical feasibility.
- Iteration (10 mins): Cross-functional pairs (like designer + developer) combine their ideas, creating solutions that are both user-friendly and technically viable.
- Final presentation (5 mins per group): Teams present refined solutions that address multiple perspectives, such as a streamlined checkout that balances security requirements with user experience.
The entire process typically takes 90-120 minutes, depending on team size.
Brainwriting overcomes common
Here's how the 6-3-5 brainwriting format works:
- Setup (5 mins): 6 participants each receive a worksheet divided into 3 columns and rows.
- Initial ideation (5 mins): Each person writes 3 different solution ideas for the shared challenge on their first row.
- Rotation & building (5 mins per round): Worksheets rotate clockwise, with each person reading the previous ideas and adding 3 new or modified ideas.
- Review (15 mins): After 5 rotations, the team will have generated 108 ideas (6 people × 3 ideas × 6 rounds).
- Clustering (10 mins): The team groups similar ideas and identifies promising combinations or patterns.
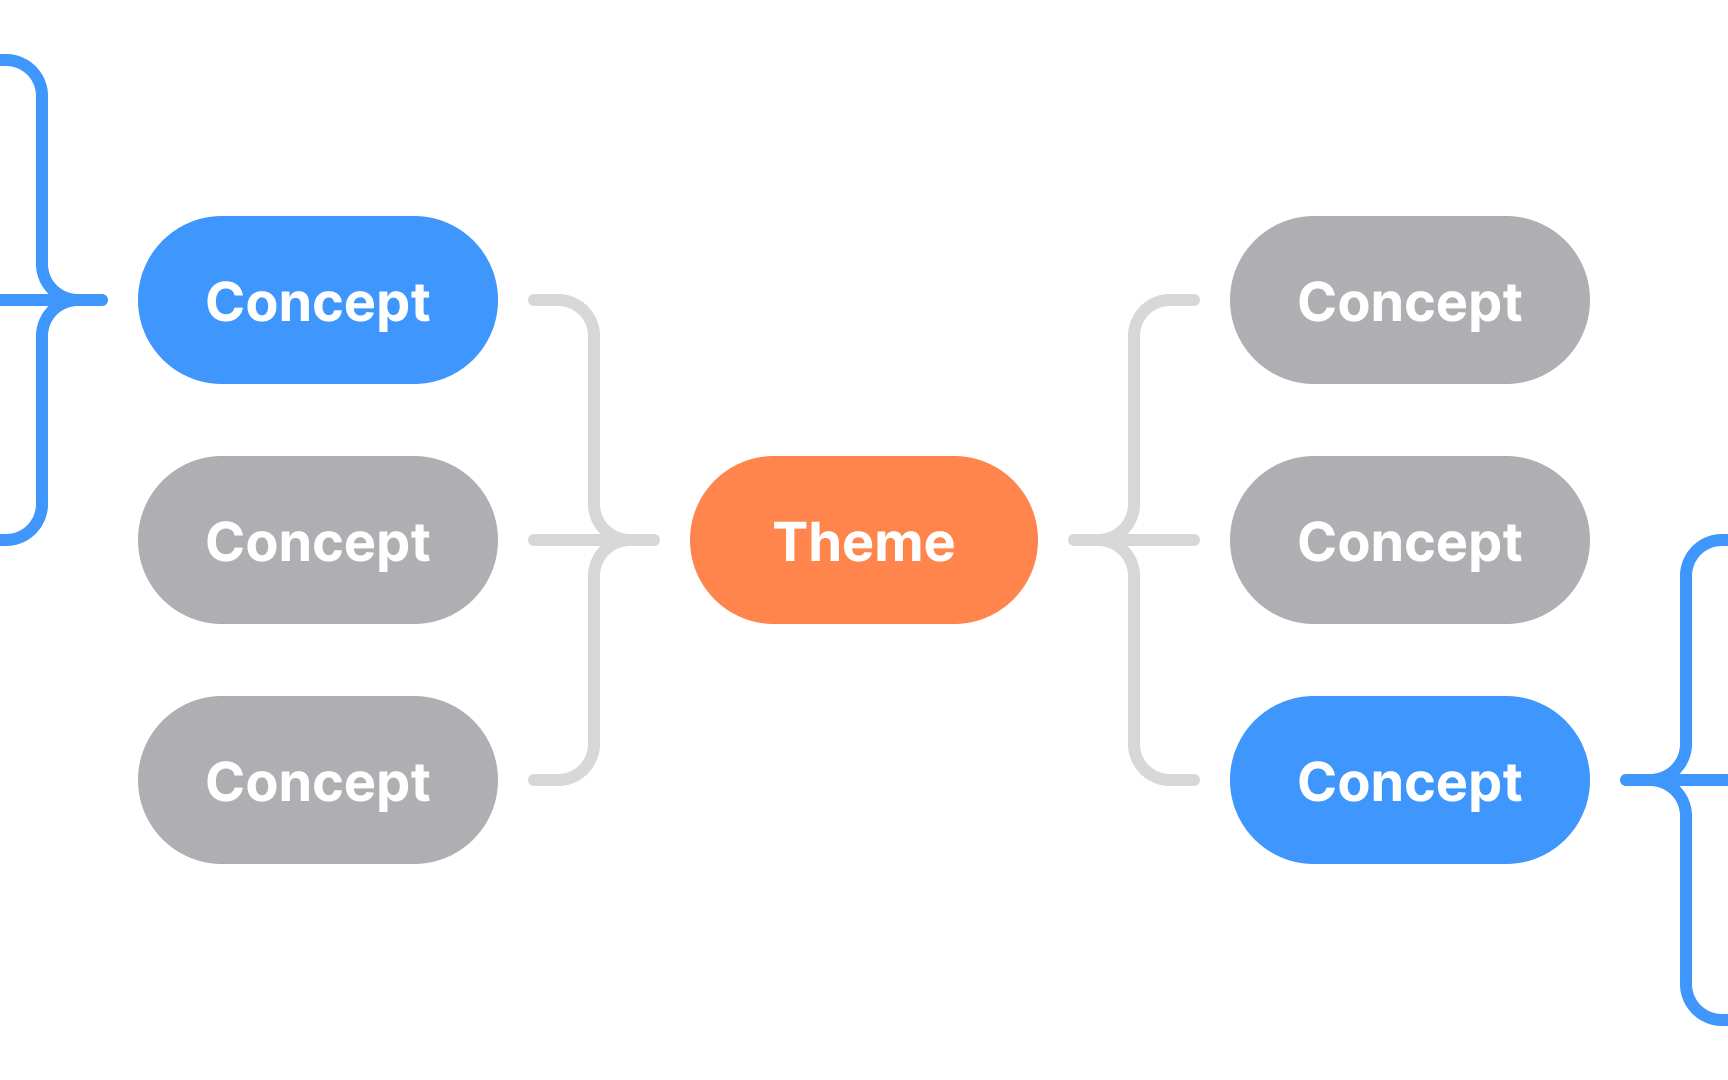
Mind mapping helps visualize complex relationships between different aspects of a challenge, making it easier to spot unexpected connections between technical constraints, user needs, and business goals. This technique excels at breaking down silos by showing how different departments' concerns interconnect.
Here's how to conduct cross-functional mind mapping:
- Core concept (2 mins): Write the main challenge in the center — for example, "Improving user account management."
- Primary branches (5 mins): Each department adds their key considerations as main branches. For example:
- Development: Authentication, data security, performance
- Design: User flows, accessibility, interface elements
- Business: Conversion points, retention features, upsell opportunities
- Secondary branches (10 mins): Team members circulate, adding sub-branches to other departments' areas, highlighting interdependencies.
- Connection phase (8 mins): Draw lines between related elements across branches, like connecting "password recovery" to both "security protocols" and "user frustration points."
- Opportunity identification (10 mins): Circle areas where multiple departments' concerns intersect, as these often reveal critical focus points.
The resulting map serves as a shared reference point for understanding how changes in one area might impact others.
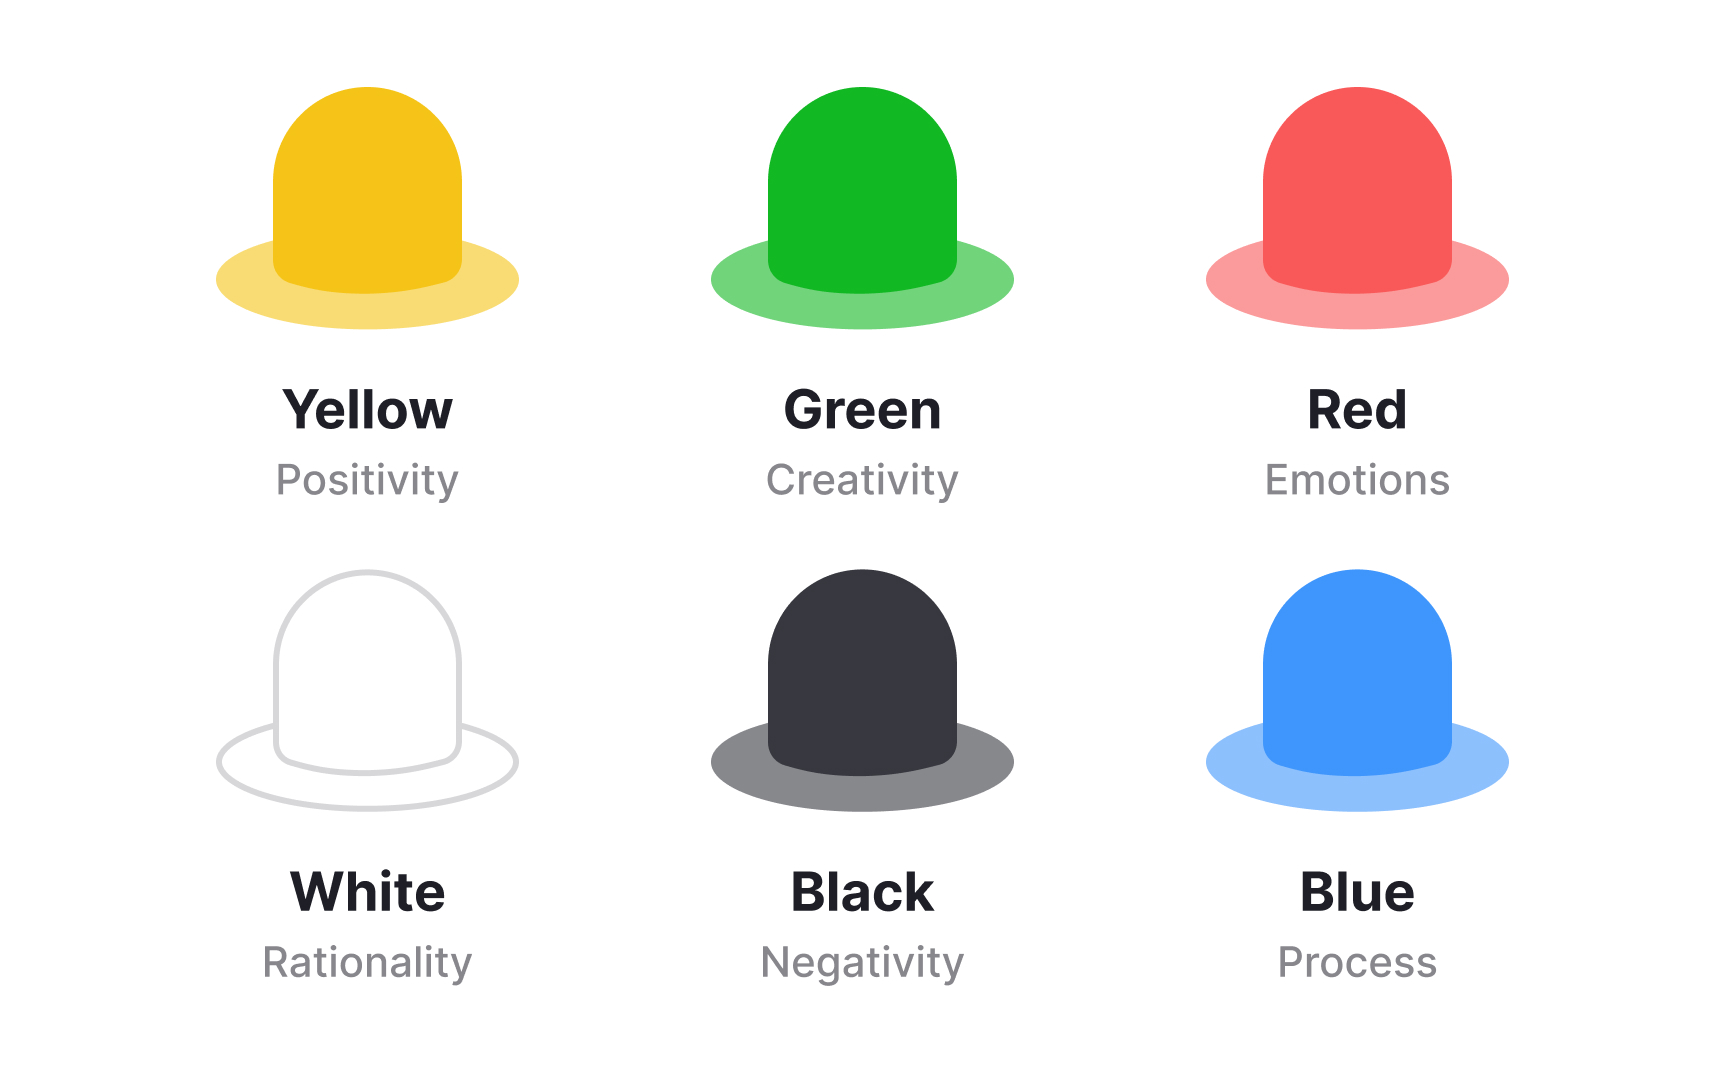
The six thinking hats technique prevents cross-functional conflicts by having the entire team adopt the same thinking perspective (hat) simultaneously, making it easier to consider all aspects of a solution.[2]
Before starting the session, clearly define the solution or idea to be evaluated, prepare a shared document or board for capturing insights, and appoint both a timekeeper and note-taker. Use a visual aid (like a simple slide or chart) to show what each hat represents. This will help the team stay focused on the current perspective.
Here’s how to facilitate the session:
- Blue hat opening: Facilitator explains process flow and desired outcomes for the session.
- White hat phase: Everyone shares only known facts and data points about the topic/ problem at hand.
- Yellow hat phase: Team members identify potential benefits and opportunities.
- Black hat phase: Group examines risks and challenges without attempting solutions yet.
- Red hat phase: Each person briefly shares emotional responses and intuitive reactions.
- Green hat phase: Teams generate ideas to address challenges identified earlier.
- Blue hat closing: Facilitator guides team in summarizing key insights and next steps.
For remote sessions, use collaboration tools like Miro or Mural to create dedicated spaces for each hat's insights. This visual cue helps maintain synchronized thinking across the team.
SCAMPER is an acronym, with each letter standing for a way of modifying a product:
- Substitute (S): Can you substitute a part of your product with something else?
- Combine (C): Can you combine some or all of your existing features?
- Adapt (A): Are there other products that could be used to achieve the same goal as your product?
- Modify (M): Can you modify some or all aspects of your product?
- Put to other uses (P): Can your product be used for other things than how you intended for it to be used?
- Eliminate (E): Can you get rid of any features or components of your product?
- Rearrange/Reverse (R): Can you interchange the components or sequence of your product?
To conduct a SCAMPER session, divide a large wall or board into 7 halves titled S, C, A, M, P, E, and R. Allocate time for participants to
Roleplaying helps better understand different user perspectives and uncover potential issues by acting out specific scenarios. It is especially valuable when teams need to validate
Before starting, prepare 2-3 specific scenarios that highlight different aspects of your product or feature. Each scenario should have a clear context, user goal, and success criteria. For example, "A busy parent trying to schedule multiple doctor appointments while commuting." During the session, assign key roles for the scenario like primary user with specific characteristics, customer support representative, system/interface (person acting as the product), and observers taking notes on pain points and opportunities.
For each scenario:
- Start with a clear scene-setting where you describe the context and user's goal.
- Then allow 5 minutes for acting out the interaction, with observers taking notes.
- Follow this with a 3-minute individual reflection period where everyone, including the actors, writes down their observations.
- Conclude each scenario with a 5-minute group discussion focusing on pain points identified and potential solutions.
- End the session by clustering similar observations on a shared board and prioritizing the most critical issues to address.
The how might we (HMW) technique transforms problem statements into opportunity spaces for cross-functional
Before starting, gather your team's identified problems or pain points. These could come from
Here's how to reframe problems into HMW questions:
- Problem: "Users abandon our
checkout process.” - HMW: "How might we make checkout feel faster while maintaining security?"
After generating HMW questions, vote as a team on which ones to tackle first. Focus on questions that are neither too broad ("How might we improve the entire app?") nor too narrow ("How might we change the button color?").
References
- Facilitating an Effective Design Studio Workshop | Nielsen Norman Group
- Using “How Might We” Questions to Ideate on the Right Problems | Nielsen Norman Group
Topics
From Course
Share


Similar lessons

Continuous Discovery Mindset

Business Outcomes vs. Product Outcomes
